Begin by adding a bit of glimmer and glam to Mini Clothespins. On a protected surface, use a paint brush to lightly apply Gold FolkArt® Glitterific™ Acrylic Paint to both flat sides of five to six clothespins. Sit upright and allow to dry completely.

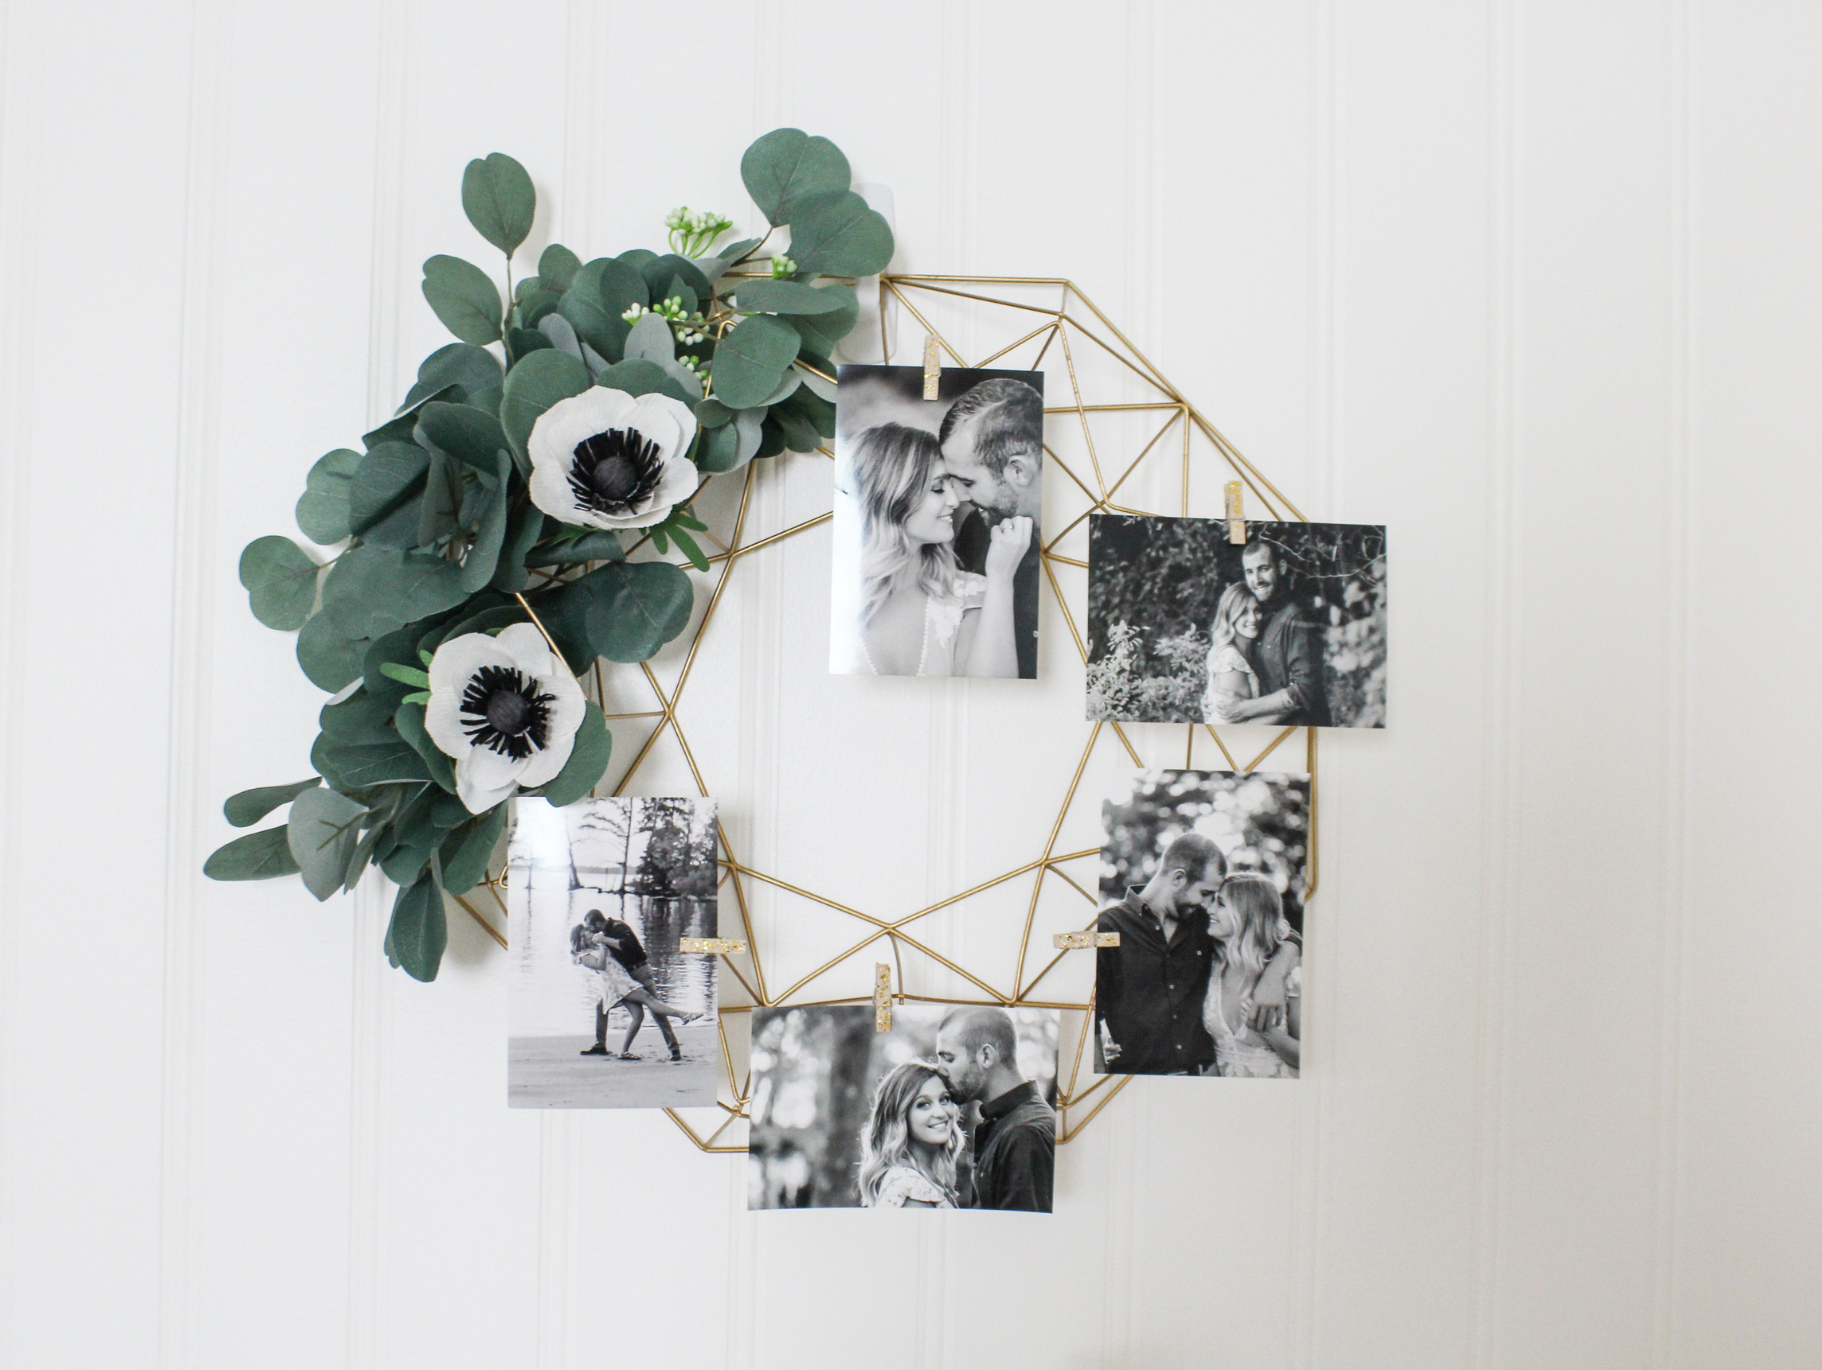
Choose the photos you would like to use and lay them out on the Gold Geometric Frame. For the frame pictured here we used five 4" x 6" black and white photographs, two in vertical orientation and three in horizontal orientation. Laying the pictures out on the frame helps you determine exactly where you will need to adhere your botanicals, and it also helps you determine the best positioning for the images you've chosen to use.

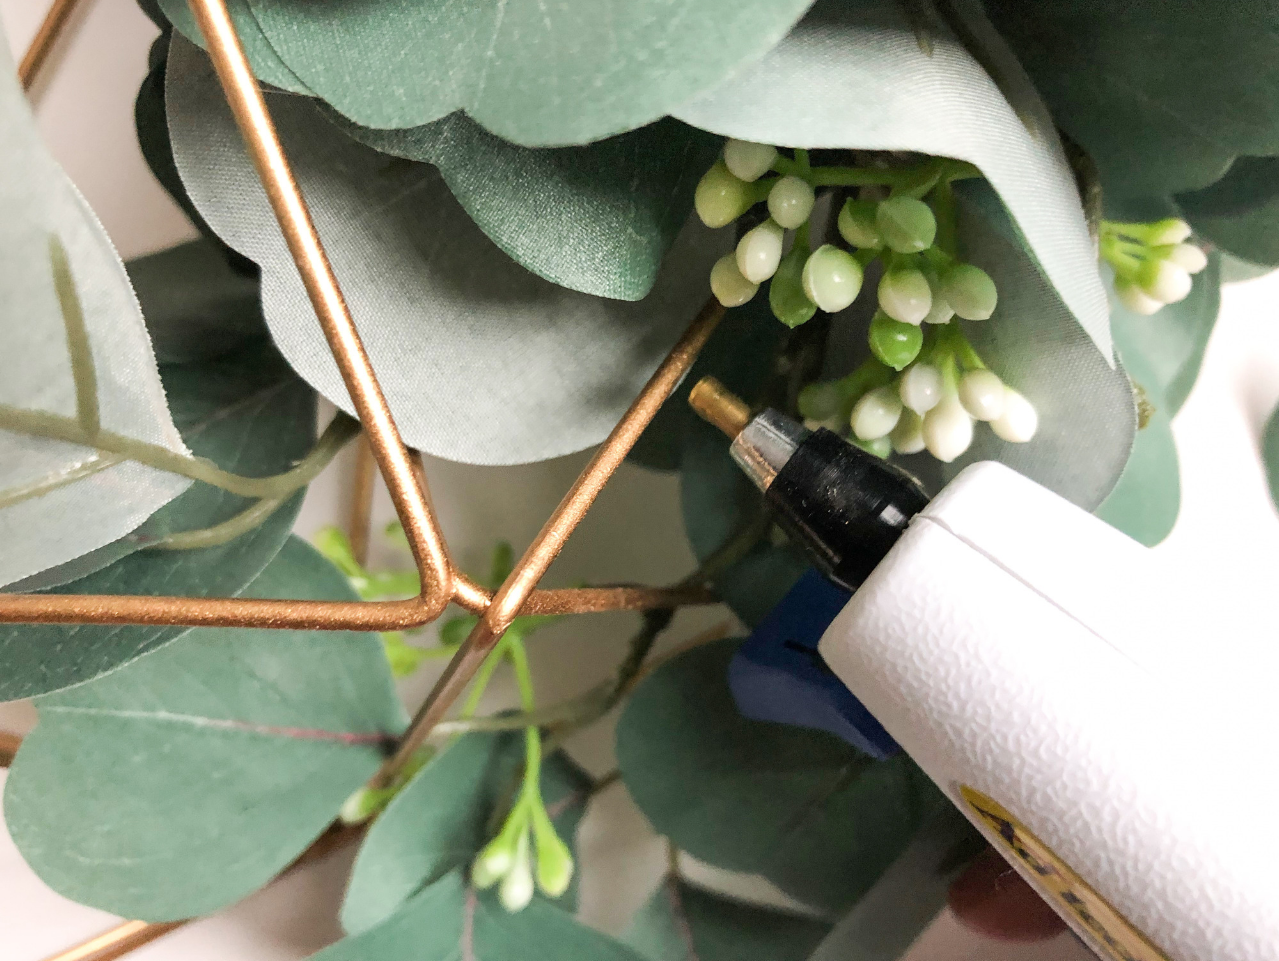
Now it's time to make this gorgeous wreath come to life! Cut Silver Dollar Eucalyptus Garland and Frosted Greenery Stems into small bundles. Working quickly so the glue doesn't dry, apply hot glue directly to the wire frame. Immediately place the stem of your botanical clipping onto the glue and hold until it is secure. Sometimes the glue can be stubborn and won't hold. Repeat the process, being sure to work quickly and apply pressure until adhesion is achieved. Continue to add greenery until you have reached the fullness that you desire.

The minimal addition of statement florals is what really takes this wreath to the next level. Lay them on the wreath and play with the positioning until you know exactly where you'd like to secure them. Hot glue them into place, being sure to apply pressure immediately as mentioned in the previous step. If you like our crepe paper anemone flowers, make sure to see our tutorial on Botanical Hoop Place Cards to make your own!

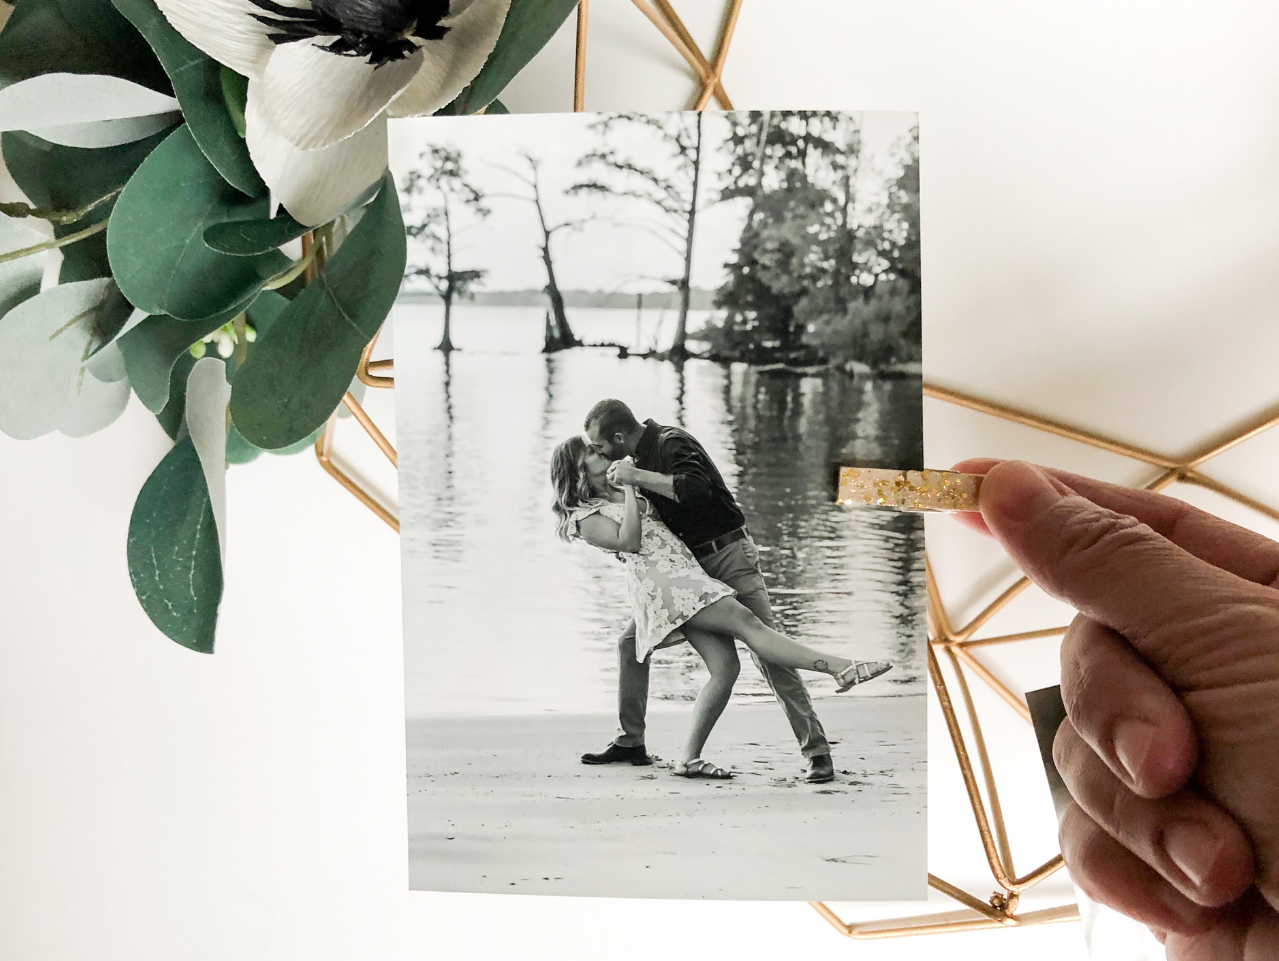
Use the glittery clothespins to secure the photos to the frame.

Hang up your photo wreath in a spot for everyone at your event to see!
See the complete Gold Botanical Bridal Shower as well as the tutorial to make your own Botanical Hoop Place Cards. You won't want to miss the recipe for Herb Pressed Biscuits either!

Begin by adding a bit of glimmer and glam to Mini Clothespins. On a protected surface, use a paint brush to lightly apply Gold FolkArt® Glitterific™ Acrylic Paint to both flat sides of five to six clothespins. Sit upright and allow to dry completely.

Choose the photos you would like to use and lay them out on the Gold Geometric Frame. For the frame pictured here we used five 4" x 6" black and white photographs, two in vertical orientation and three in horizontal orientation. Laying the pictures out on the frame helps you determine exactly where you will need to adhere your botanicals, and it also helps you determine the best positioning for the images you've chosen to use.

Now it's time to make this gorgeous wreath come to life! Cut Silver Dollar Eucalyptus Garland and Frosted Greenery Stems into small bundles. Working quickly so the glue doesn't dry, apply hot glue directly to the wire frame. Immediately place the stem of your botanical clipping onto the glue and hold until it is secure. Sometimes the glue can be stubborn and won't hold. Repeat the process, being sure to work quickly and apply pressure until adhesion is achieved. Continue to add greenery until you have reached the fullness that you desire.

The minimal addition of statement florals is what really takes this wreath to the next level. Lay them on the wreath and play with the positioning until you know exactly where you'd like to secure them. Hot glue them into place, being sure to apply pressure immediately as mentioned in the previous step. If you like our crepe paper anemone flowers, make sure to see our tutorial on Botanical Hoop Place Cards to make your own!

Use the glittery clothespins to secure the photos to the frame.

Hang up your photo wreath in a spot for everyone at your event to see!
See the complete Gold Botanical Bridal Shower as well as the tutorial to make your own Botanical Hoop Place Cards. You won't want to miss the recipe for Herb Pressed Biscuits either!


