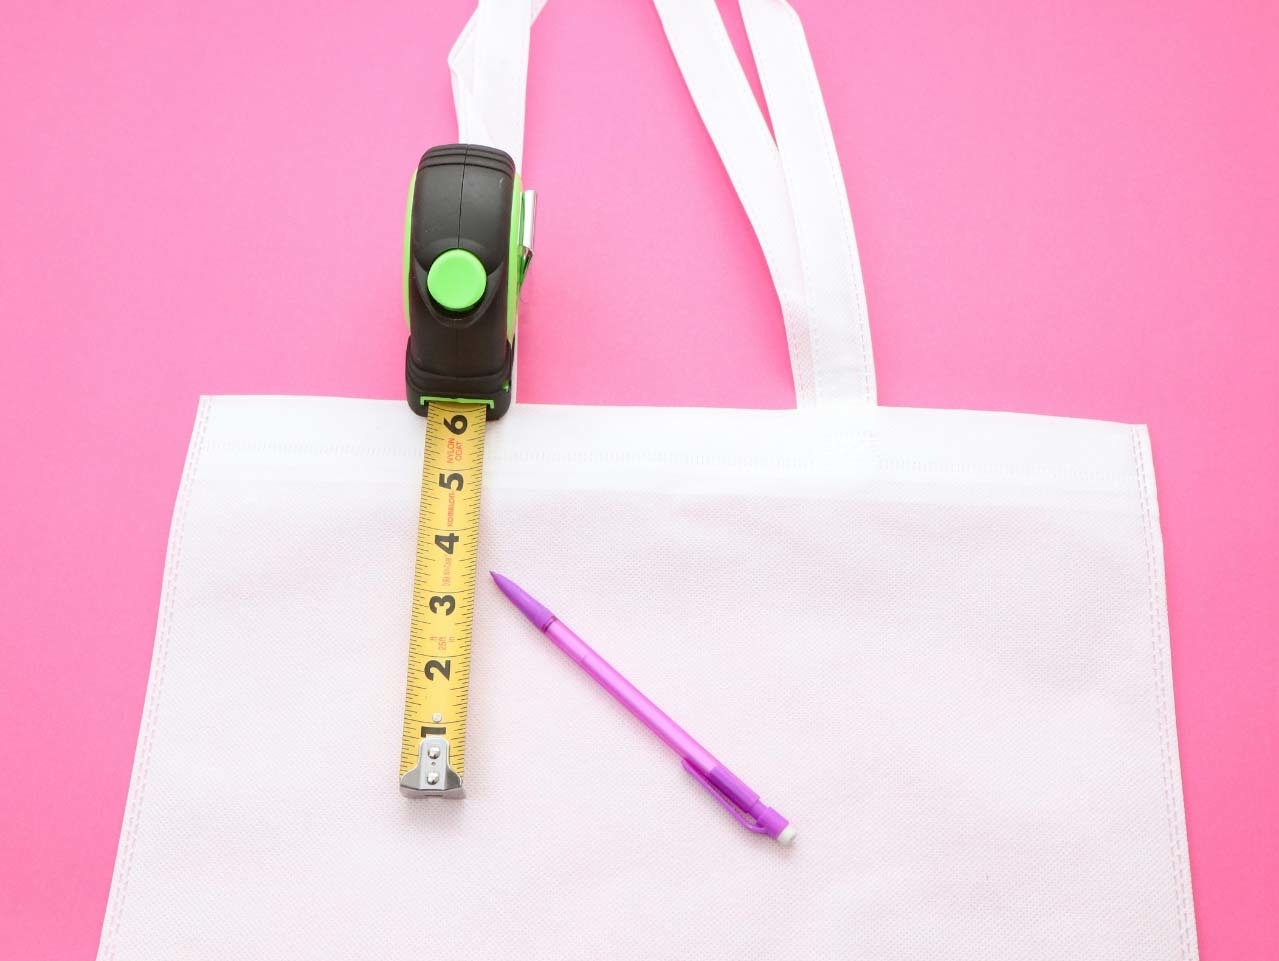
First, use a measuring tape and pencil to mark out the starting holes for the lace up design.
Start 6 inches down from the strap and 6 inches out from each side of the Large White Tote Bag.
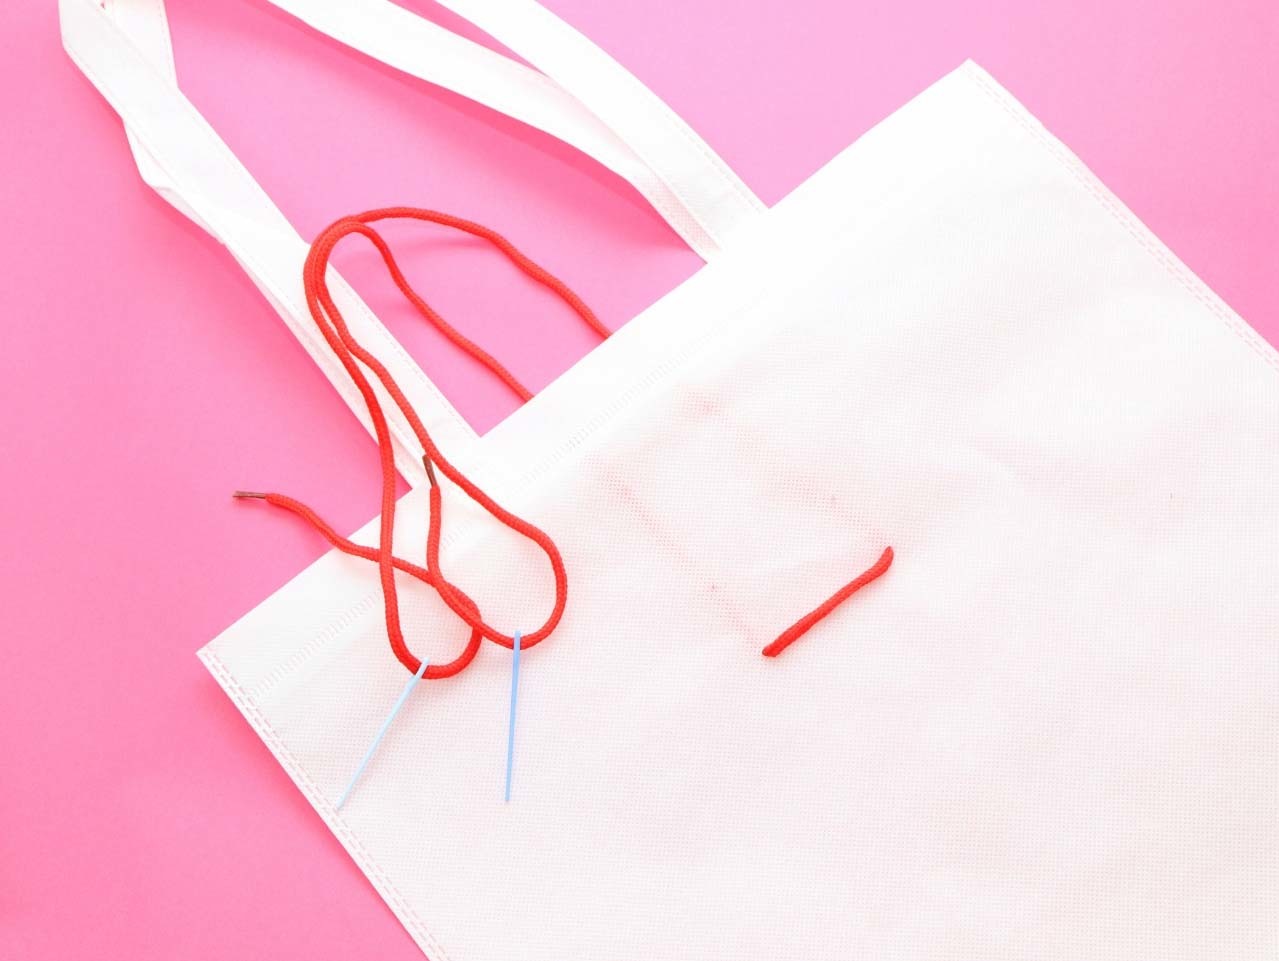

Next, gently flatten the tips of Lace It Up Tipped Bead Laces with pliers. Thread each end through a Super Safe Lacing Needle.
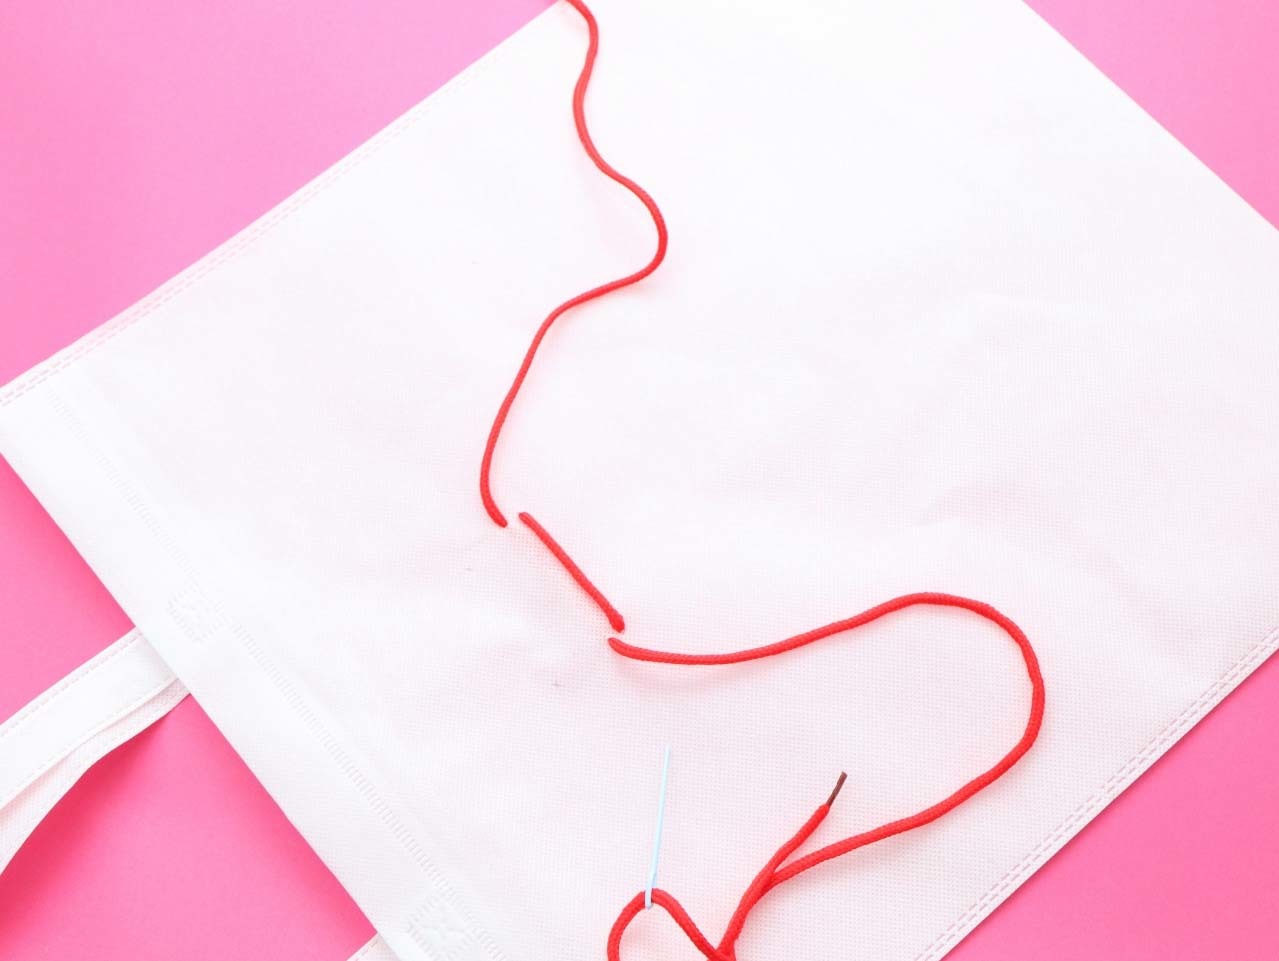
Starting from the front, thread the ends through the holes marked in pencil. Thread through to make each end the same length.
Then just above these holes (approx. 1/8 inch), thread the needles back through from back to front.
TIP: Pull gently to ensure the holes are not torn wider.
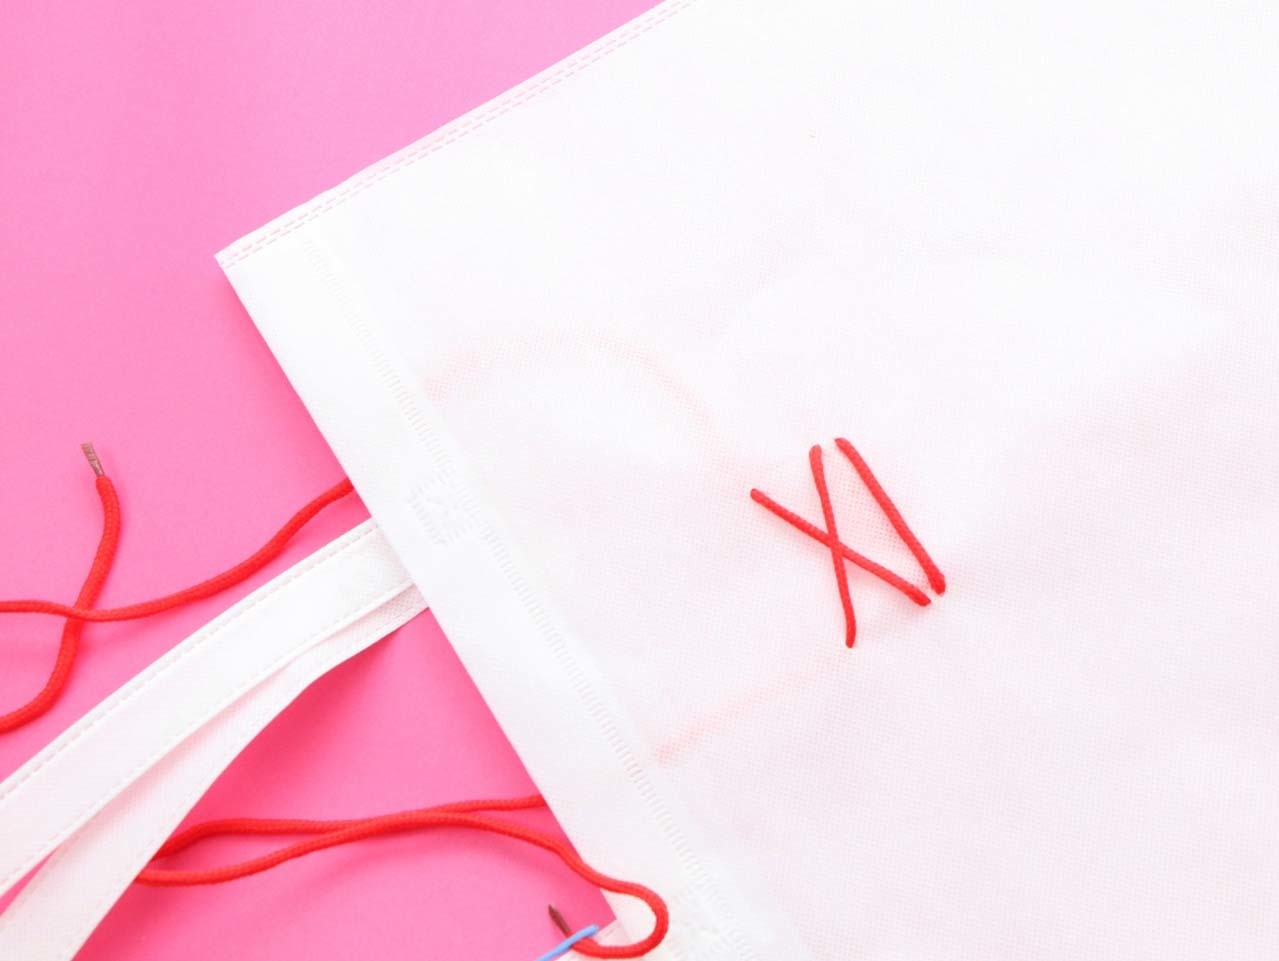

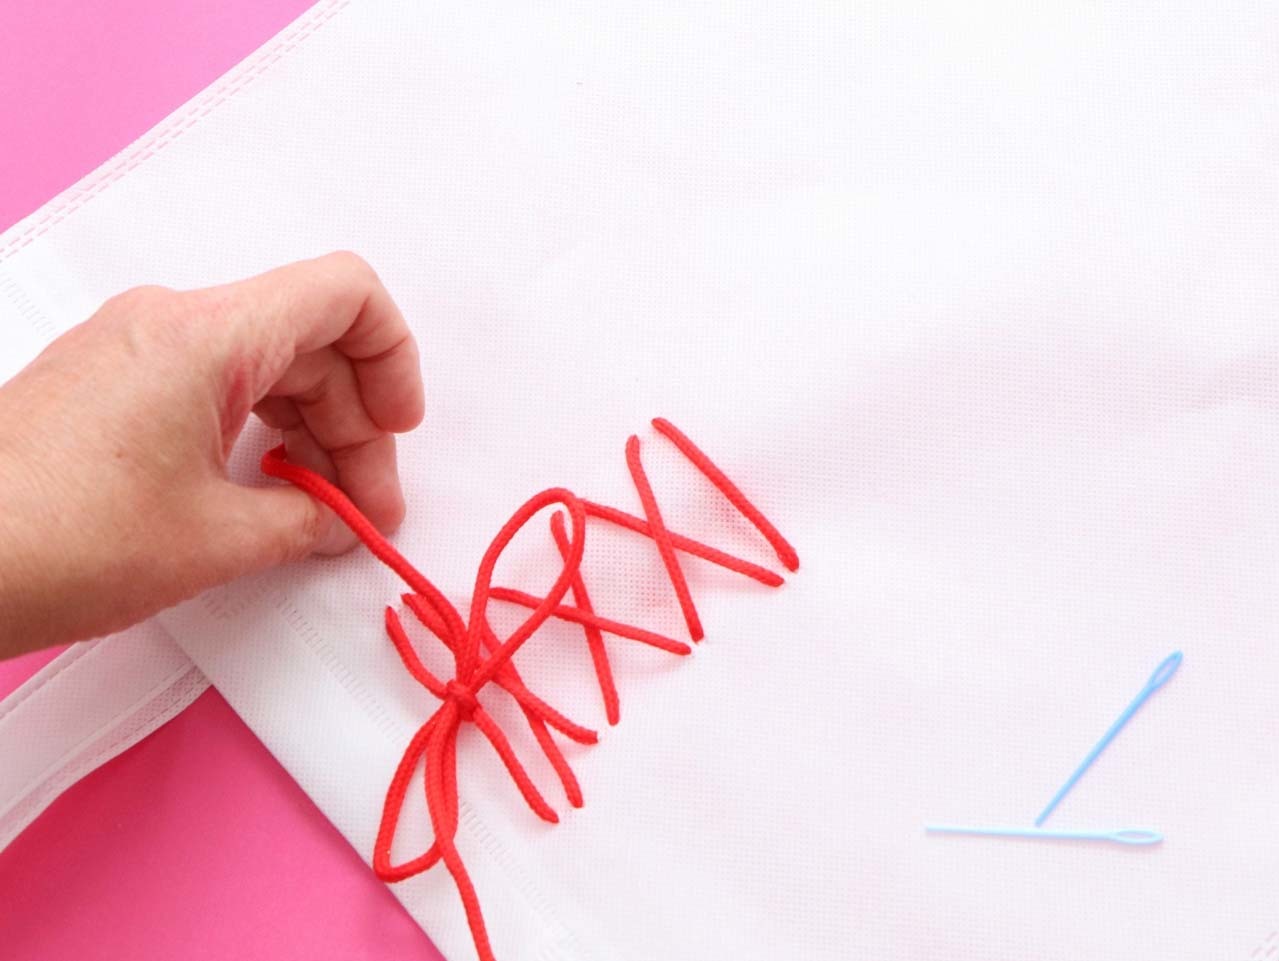
Next, start the criss cross pattern. Follow the line of the marked hole, moving upwards (approx 1" apart). Alternating left to right, front to back, to create the cross.
When coming back through to the front, start just above the cross (approx 1/8 inch) on the same side. Then, create the next cross front to back as above.
At the top of the last cross, move each side out 1/2" wider before coming back to the front. Then tie a bow at the front top.
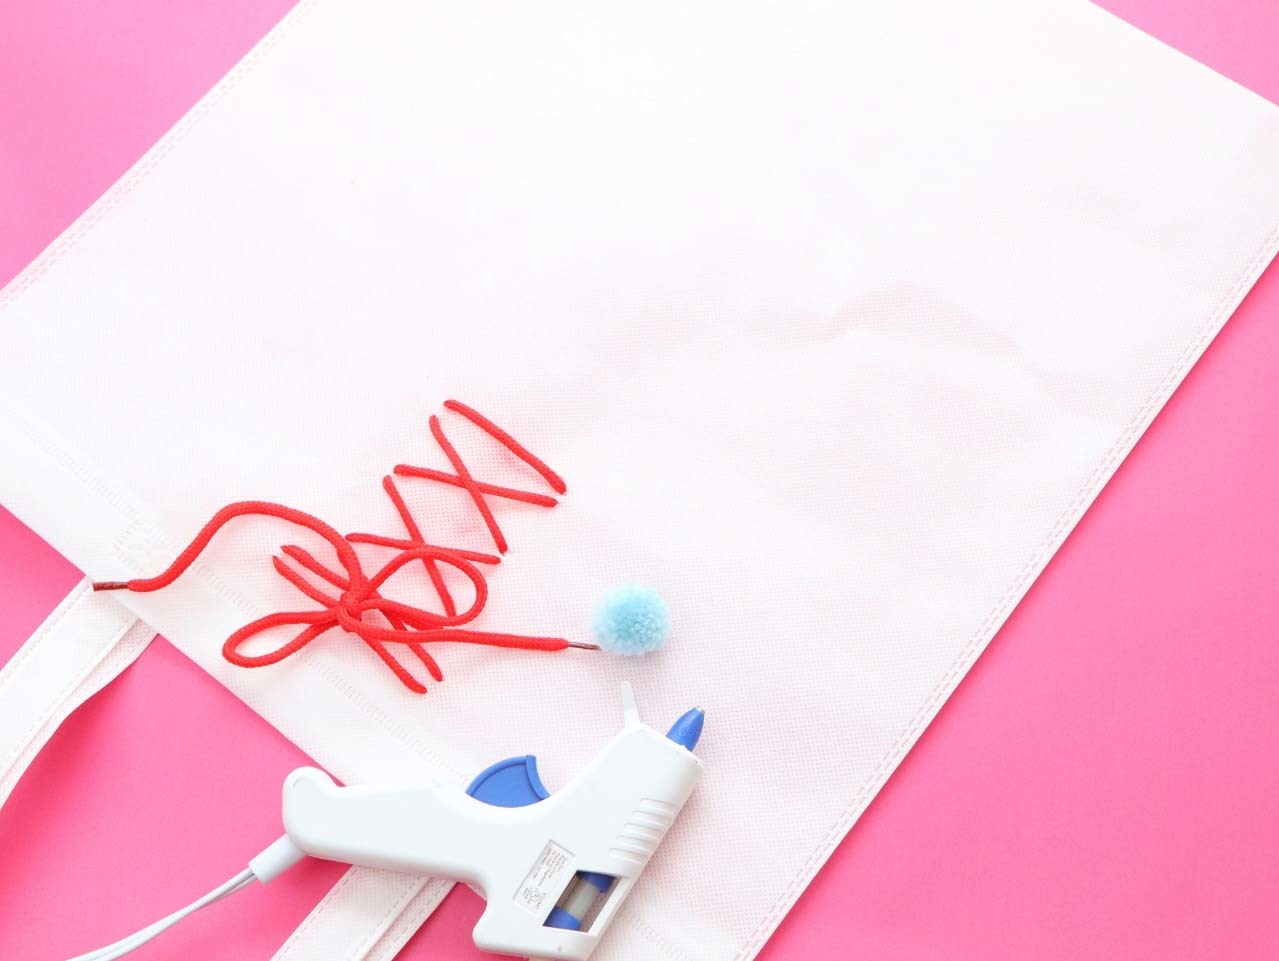
Next, push the tip of the lace into the center of a Light Blue Yarn Pom-Pom. Secure firmly in place with hot glue.
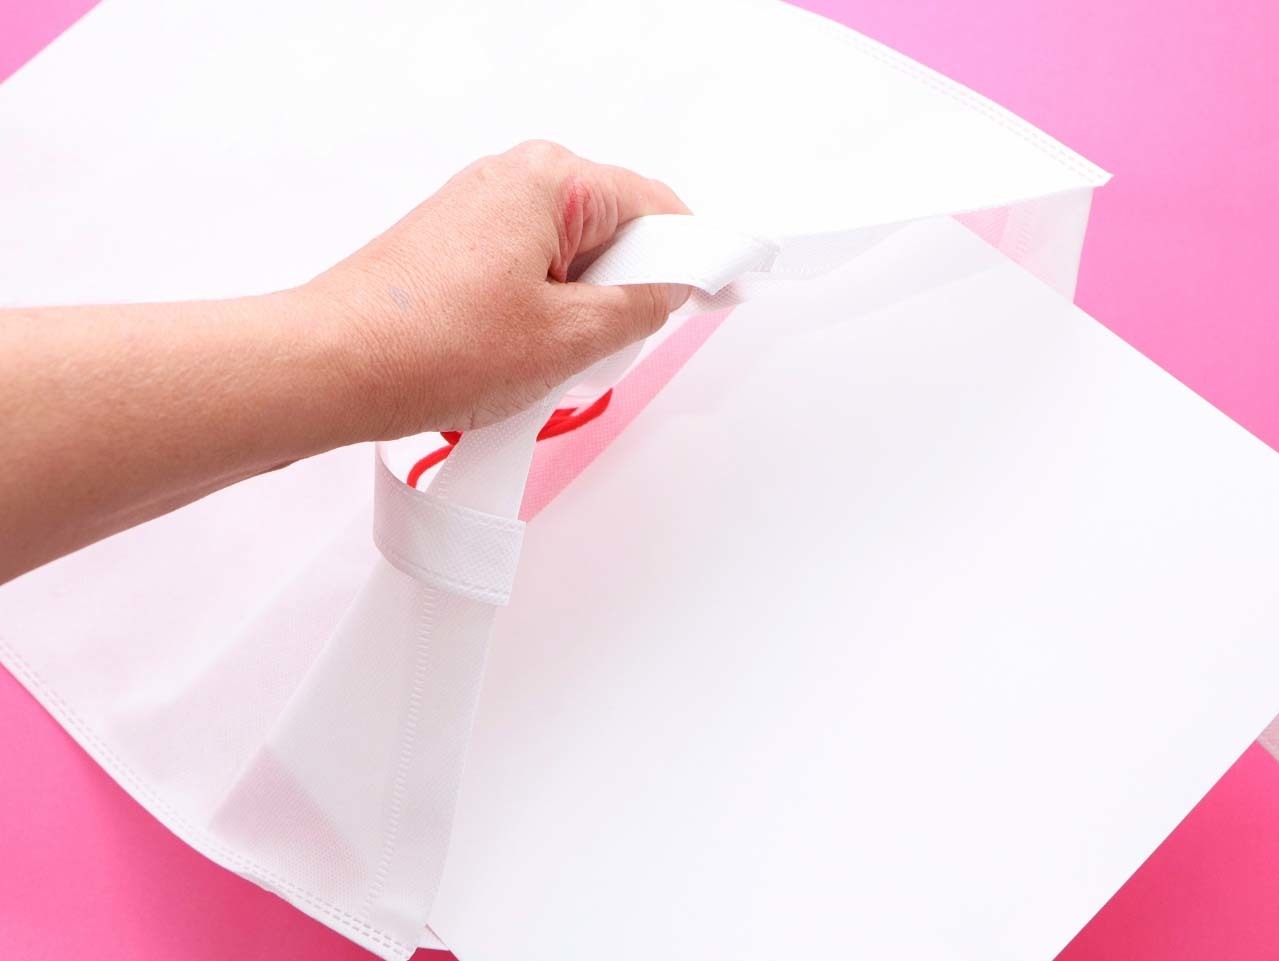

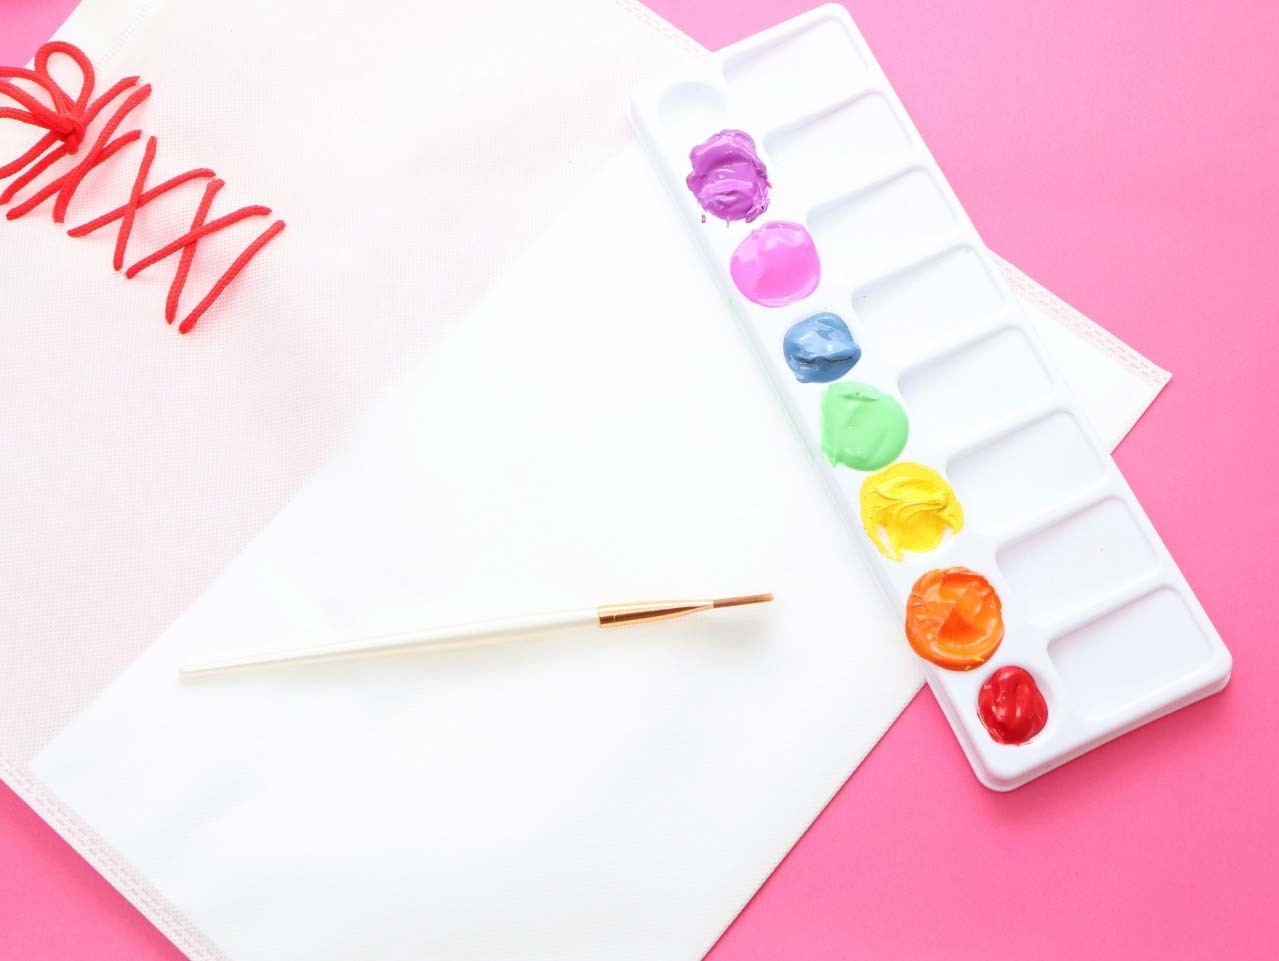
Once finished, place sheets of card stock into the bag to prevent paint from soaking through to the back of the bag.
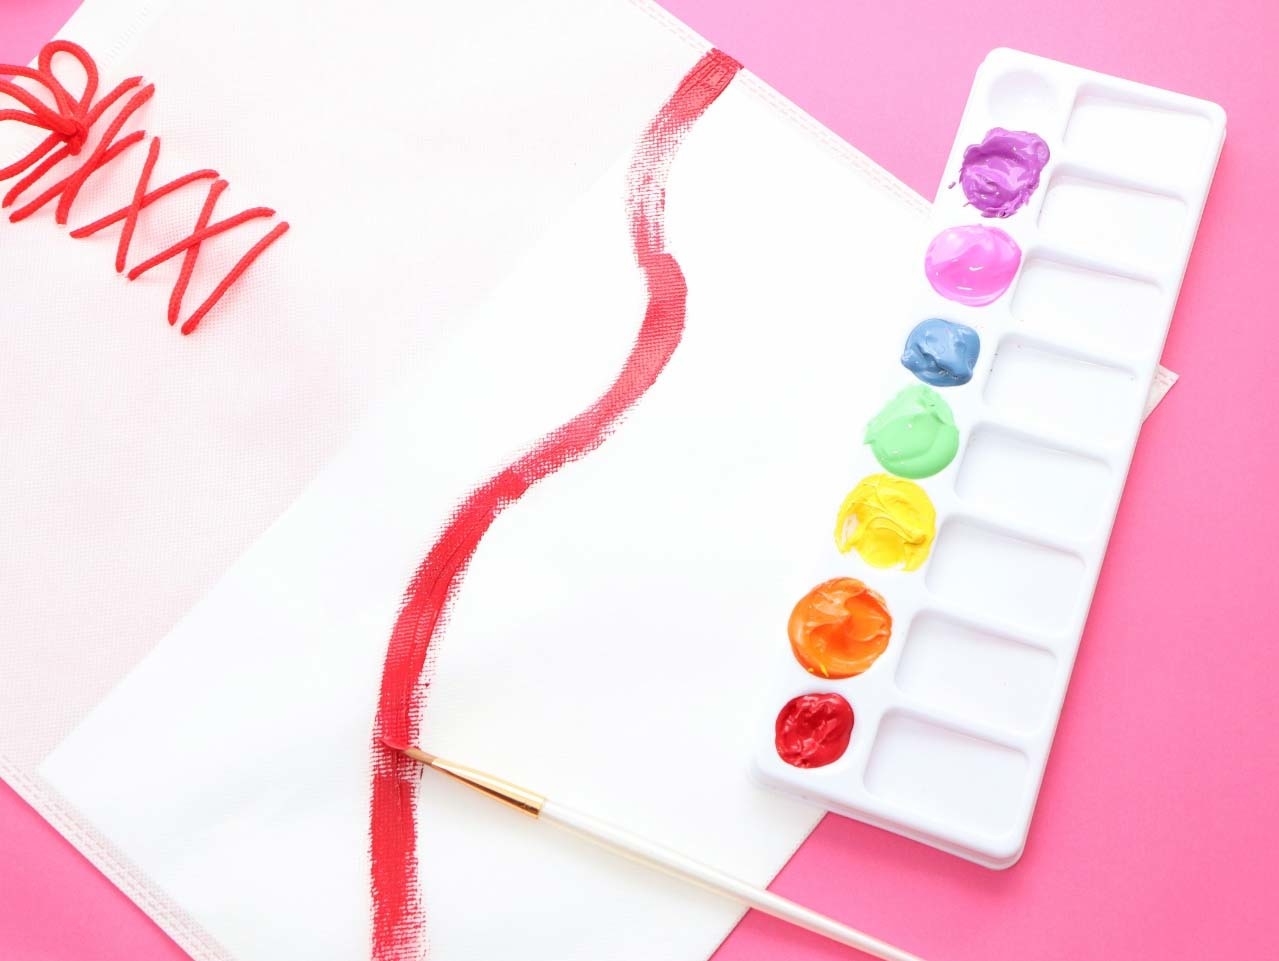

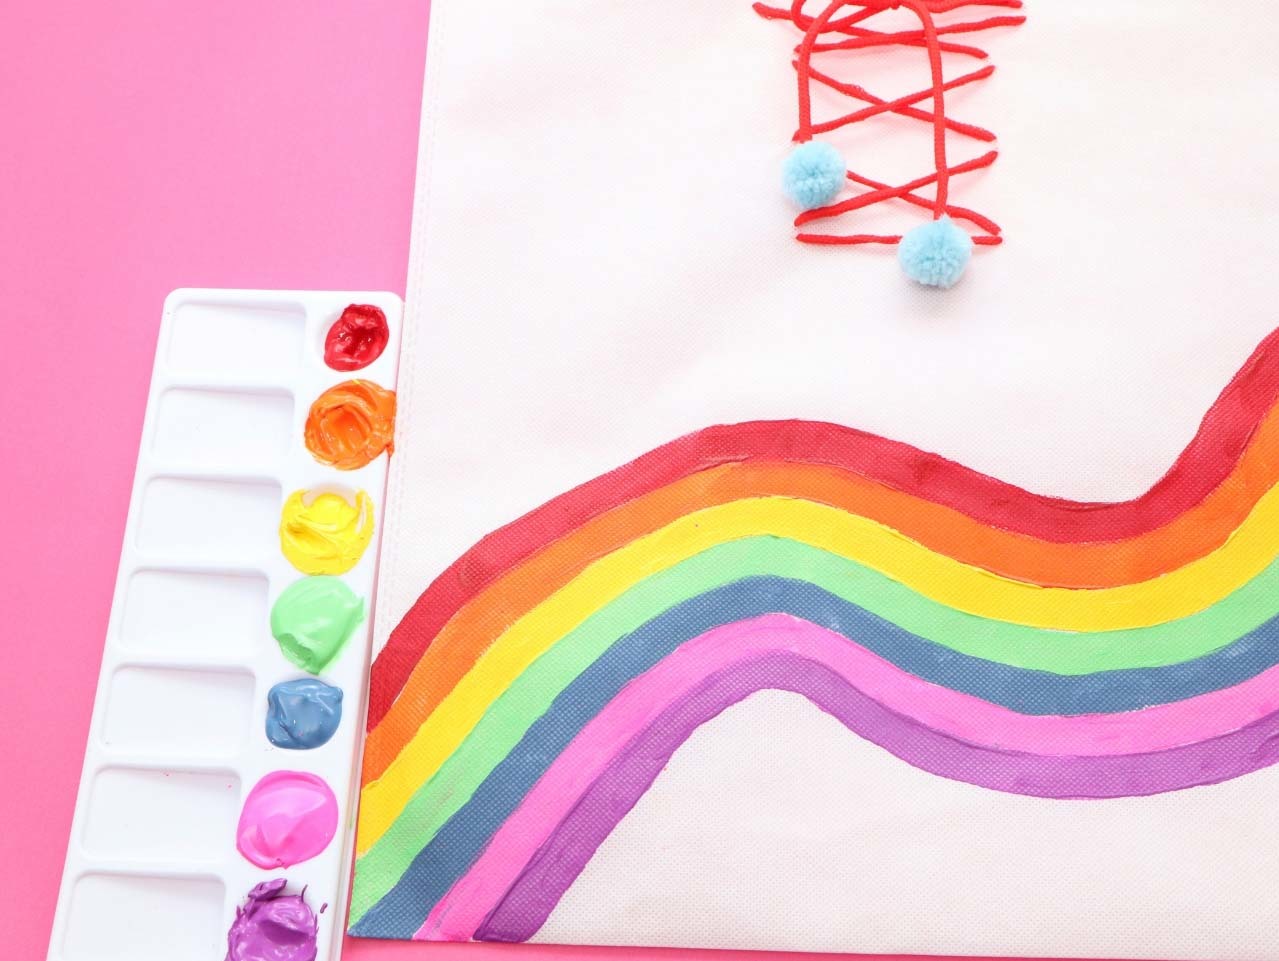
Prepare paint for each color of the rainbow. Use the 4-Oz. Assorted Colors Acrylic Paint - Set of 8 and mix colors to create the shades desired.
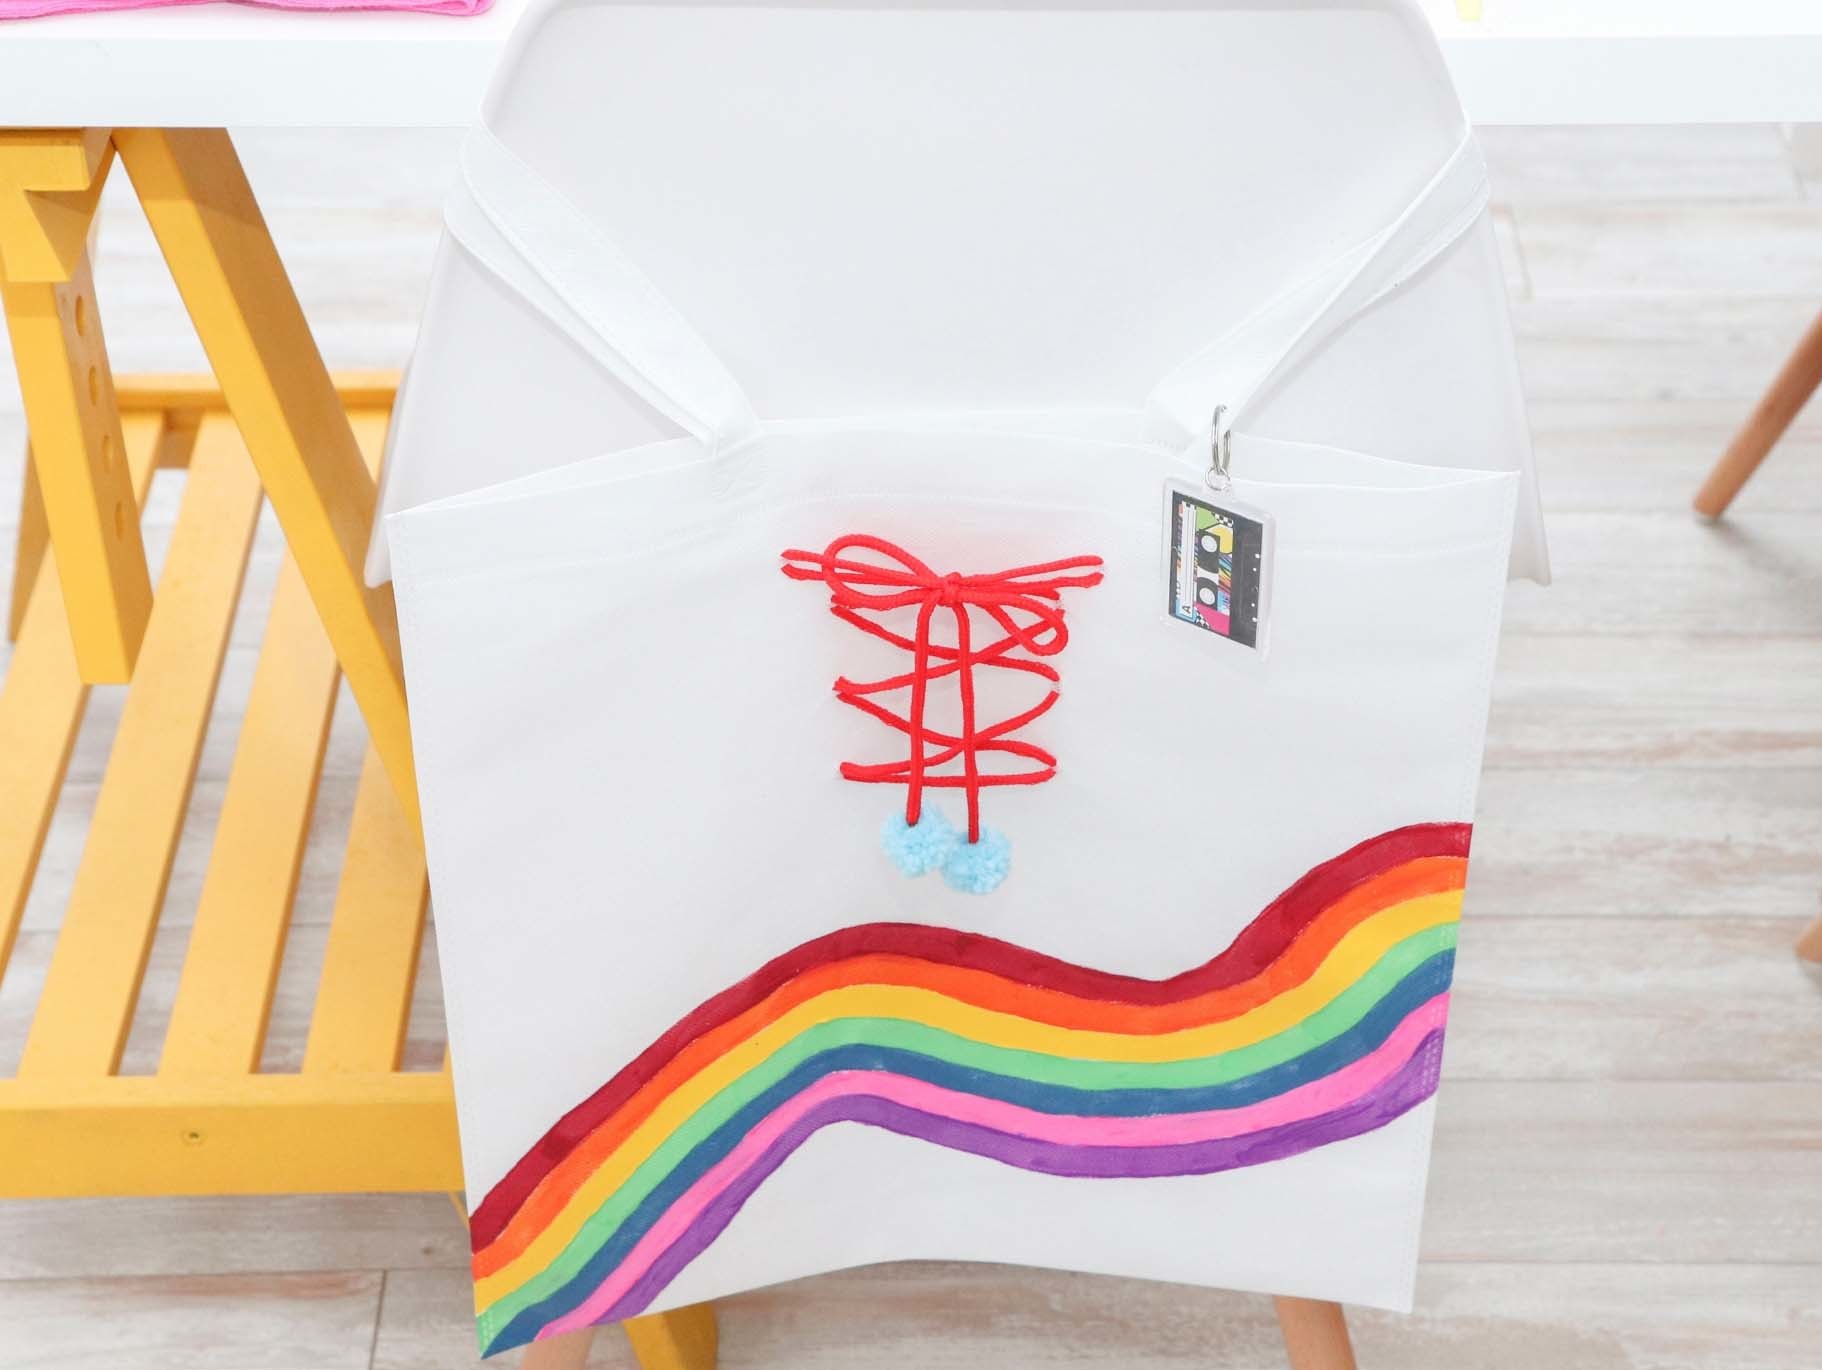
Start with red and create a curve, paint over the curve until the red stripe is fully colored in. There is no wrong way to do this, each of mine were slightly different, create a curve you love!
Next wash off your brush and follow the red curve with an orange stripe, repeat until each color is complete.
TIP: If painting isn't your thing use 10-Color Neon Tulip® Fabric Markers
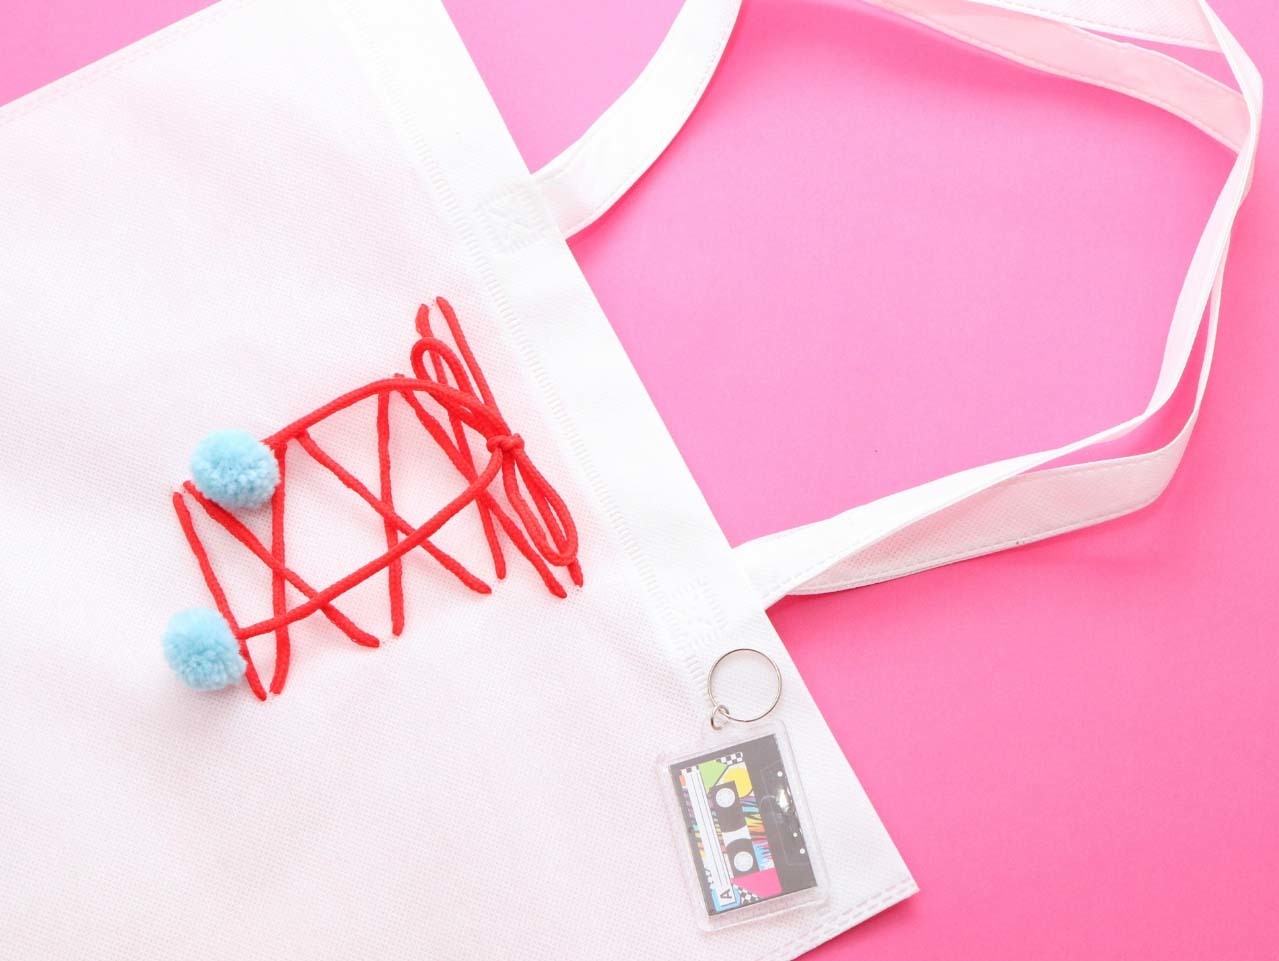
Next, add on a fun Awesome 80s Theme Picture Frame Key Chains to the bag strap.
There are many fun alternatives to this key chain. Check out the Unicorn Reversible Sequin Backpack Clip Key Chains or the Plush Rainbow Pom-Pom Key Chains for another coordinating look.
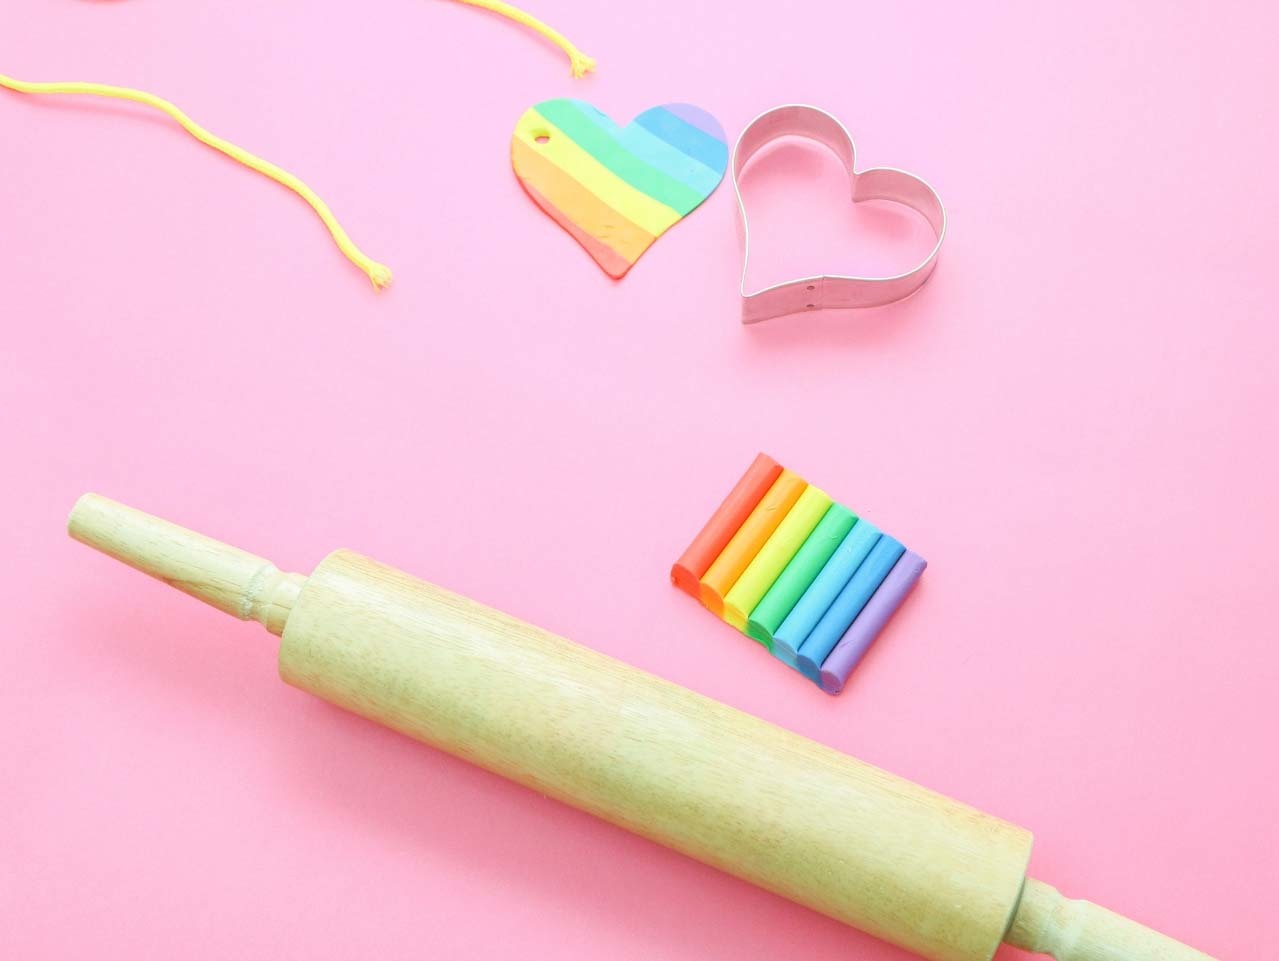

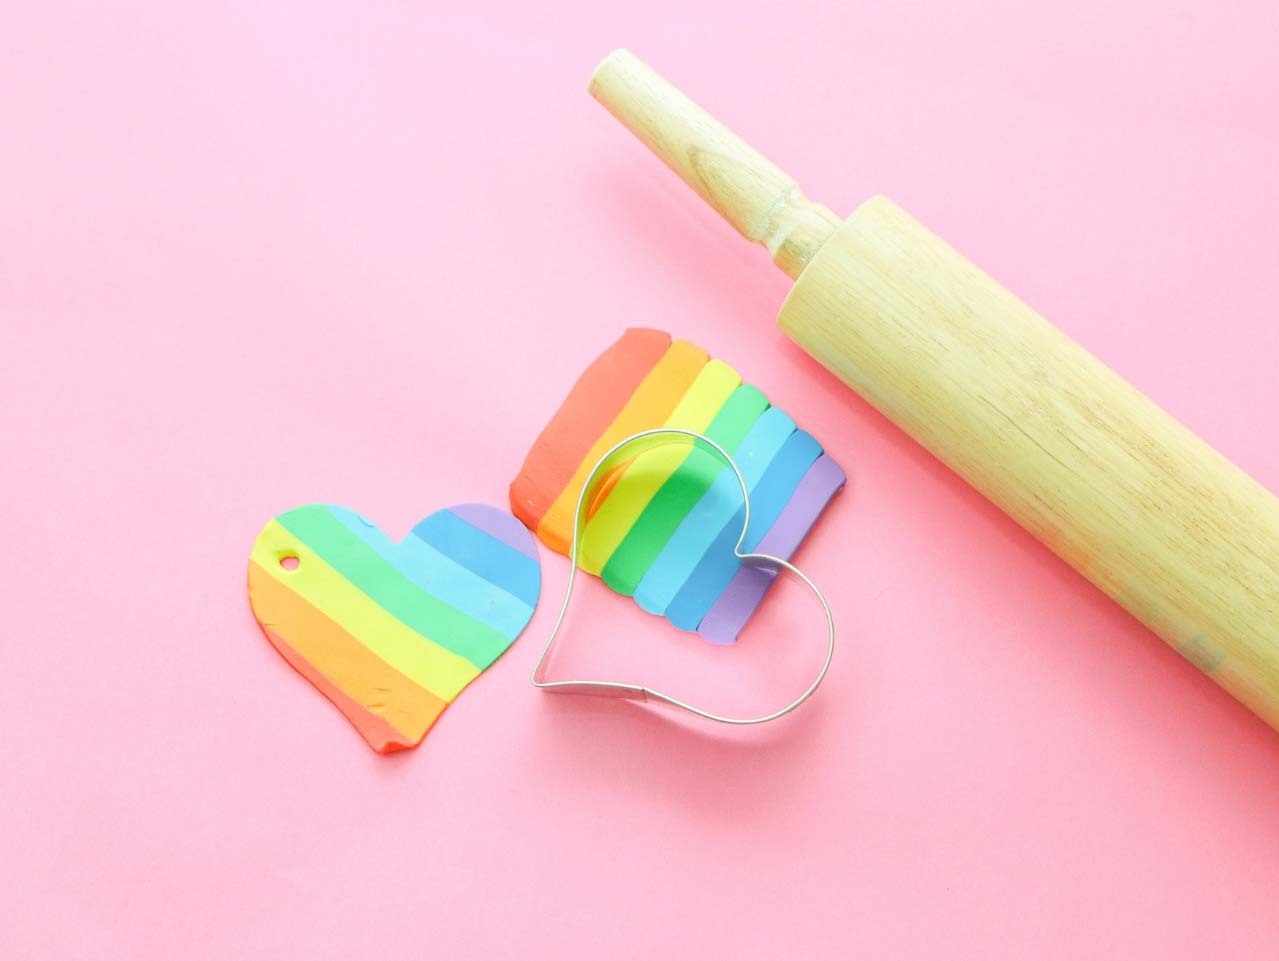
Next, create a fun roller skate tag to match the tote bag with a Crayola® Model Magic®Deluxe Variety Pack. Roll out all the colors together to create a flattened rainbow.
Use a heart shaped cookie cutter to cut out hearts and a pencil to make a hole in the top corner of the heart. Let the heart set.
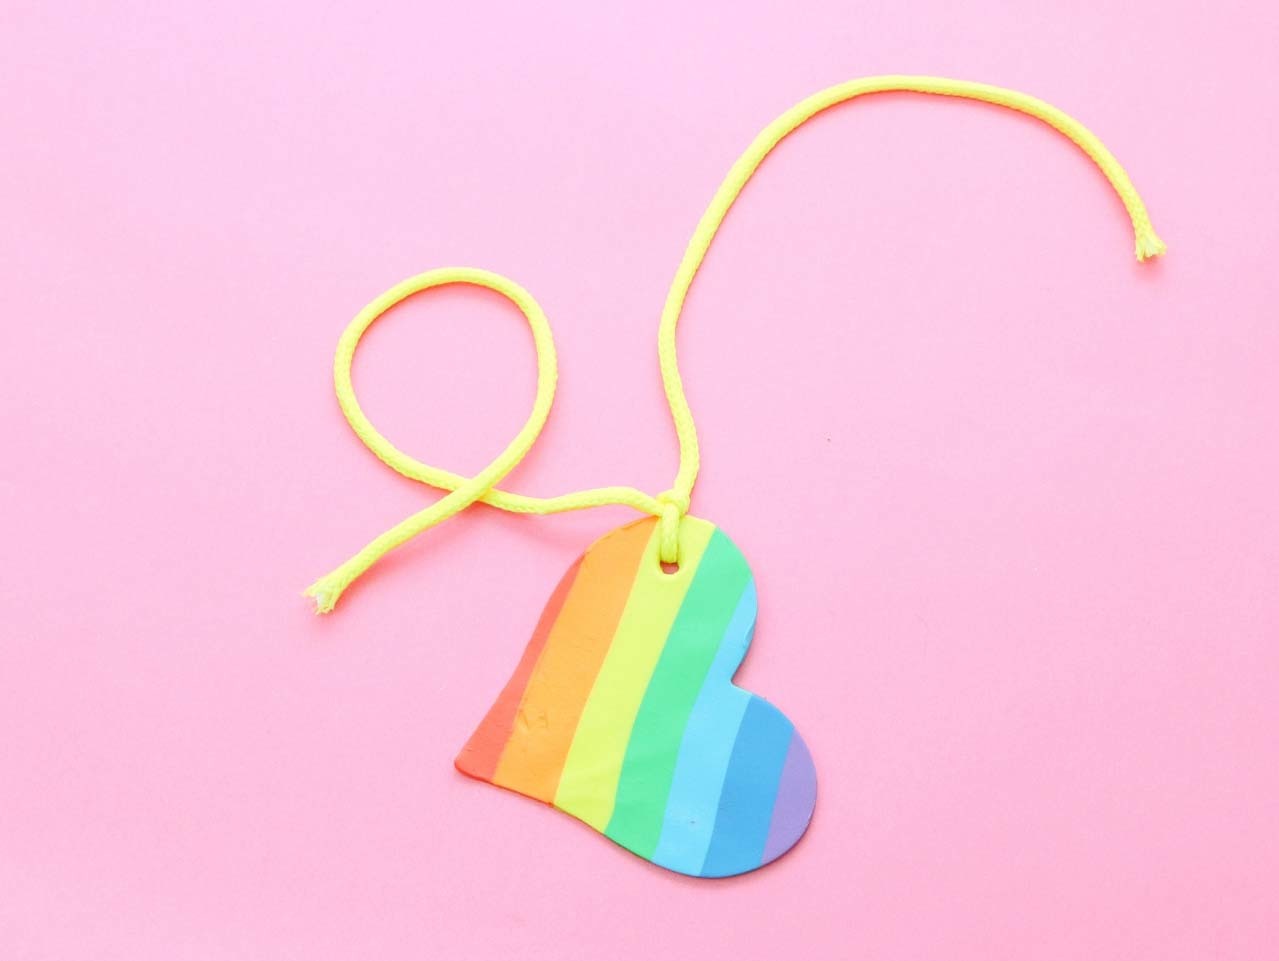

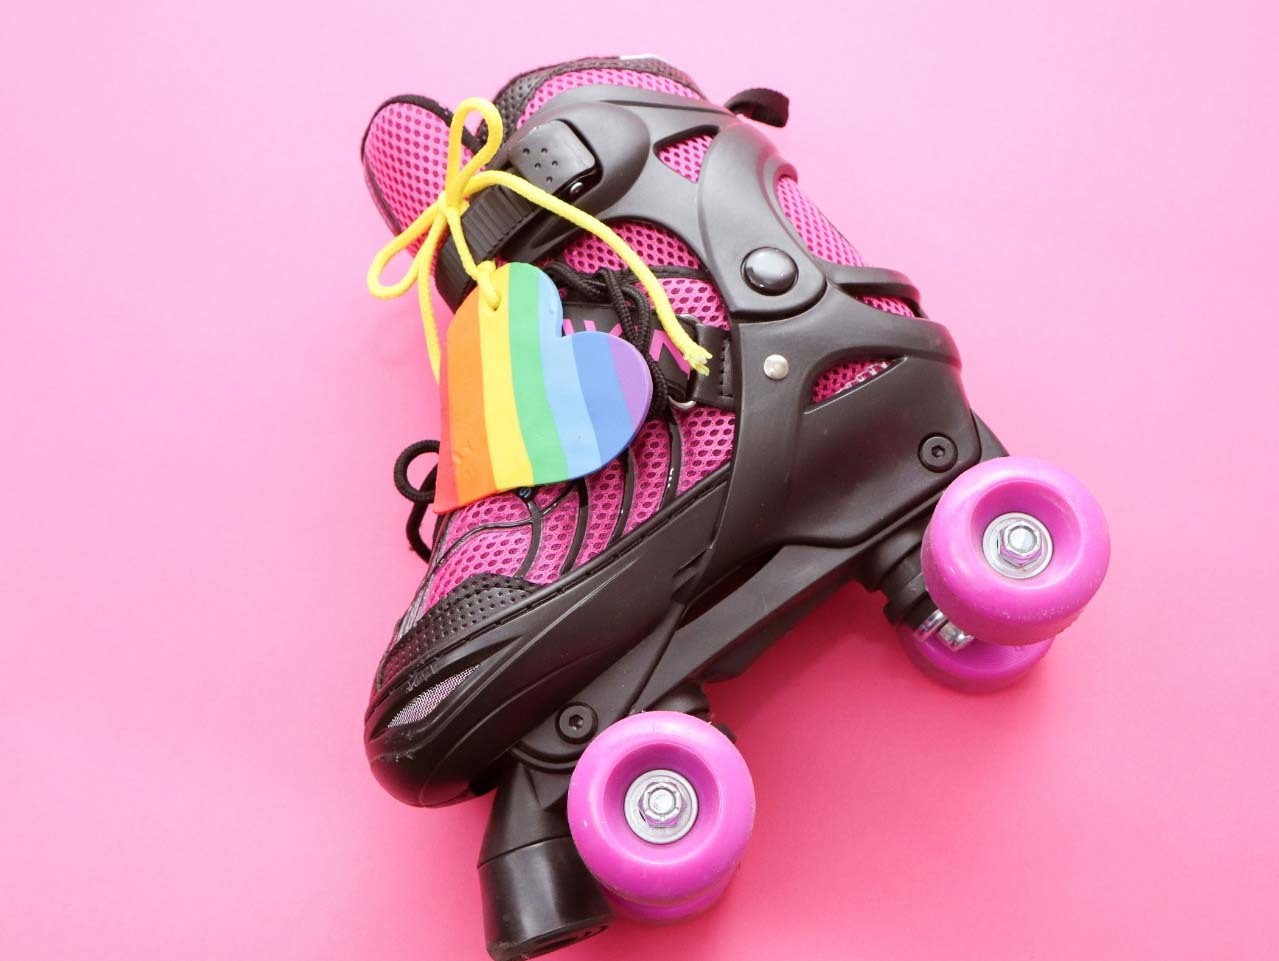
Tie the heart to roller skates using Lace It Up Tipped Bead Laces.
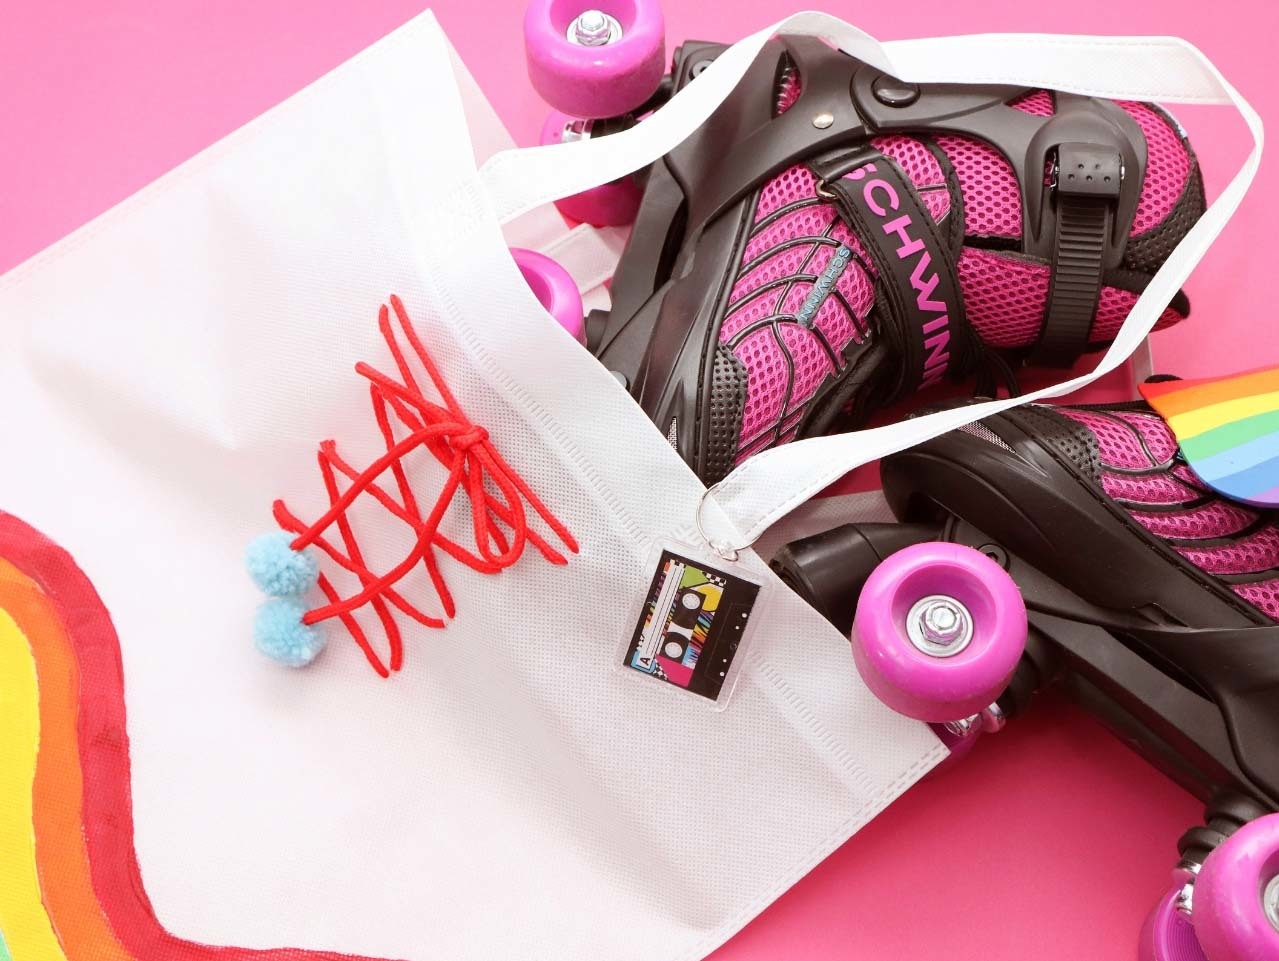
Place the roller skates into the DIY Roller Skate Tote Bags and let's go skating!
Be sure to check out the entire rad Roller Skating Party and the other fun projects to go along with it like the DIY Roller Skate Placecards and DIY Disco Ball Cake Stand.

First, use a measuring tape and pencil to mark out the starting holes for the lace up design.
Start 6 inches down from the strap and 6 inches out from each side of the Large White Tote Bag.


Next, gently flatten the tips of Lace It Up Tipped Bead Laces with pliers. Thread each end through a Super Safe Lacing Needle.
Starting from the front, thread the ends through the holes marked in pencil. Thread through to make each end the same length.
Then just above these holes (approx. 1/8 inch), thread the needles back through from back to front.
TIP: Pull gently to ensure the holes are not torn wider.


Next, start the criss cross pattern. Follow the line of the marked hole, moving upwards (approx 1" apart). Alternating left to right, front to back, to create the cross.
When coming back through to the front, start just above the cross (approx 1/8 inch) on the same side. Then, create the next cross front to back as above.
At the top of the last cross, move each side out 1/2" wider before coming back to the front. Then tie a bow at the front top.

Next, push the tip of the lace into the center of a Light Blue Yarn Pom-Pom. Secure firmly in place with hot glue.


Once finished, place sheets of card stock into the bag to prevent paint from soaking through to the back of the bag.


Prepare paint for each color of the rainbow. Use the 4-Oz. Assorted Colors Acrylic Paint - Set of 8 and mix colors to create the shades desired.
Start with red and create a curve, paint over the curve until the red stripe is fully colored in. There is no wrong way to do this, each of mine were slightly different, create a curve you love!
Next wash off your brush and follow the red curve with an orange stripe, repeat until each color is complete.
TIP: If painting isn't your thing use 10-Color Neon Tulip® Fabric Markers

Next, add on a fun Awesome 80s Theme Picture Frame Key Chains to the bag strap.
There are many fun alternatives to this key chain. Check out the Unicorn Reversible Sequin Backpack Clip Key Chains or the Plush Rainbow Pom-Pom Key Chains for another coordinating look.


Next, create a fun roller skate tag to match the tote bag with a Crayola® Model Magic®Deluxe Variety Pack. Roll out all the colors together to create a flattened rainbow.
Use a heart shaped cookie cutter to cut out hearts and a pencil to make a hole in the top corner of the heart. Let the heart set.


Tie the heart to roller skates using Lace It Up Tipped Bead Laces.

Place the roller skates into the DIY Roller Skate Tote Bags and let's go skating!
Be sure to check out the entire rad Roller Skating Party and the other fun projects to go along with it like the DIY Roller Skate Placecards and DIY Disco Ball Cake Stand.

