Begin creating the ice cream cone by finding the center point the shorter end of an 8x10 foam board and lightly marking it with pencil. Using a ruler, lightly draw a line from both the upper left and upper right corners down to the center point at the bottom. Using an exacto knife, cut the cone shape out and discard the two side pieces.

Next, mix a bit of white with the darker brown shade of paint in a paint palette to achieve a darker tan color to paint the entire cone. You may need to apply two or three layers of paint to achieve a fully opaque color.


While the paint on the cone is drying, download and print the ice cream scoop printable found here and cut it out. Trace around the shape on an 8x10 foam board, and then carefully cut it out using an Exacto knife.

Mix together a bit of white with the pink paint to create a pale pink color, and then coat the ice cream scoop in the light pink. This will be the base for our flowers so coverage does not need to be as perfect. Set the scoop aside to dry.


Once the paint has fully dried on the ice cream cone, add long pieces of washi tape on the diagonal to use as guidelines for painting the "waffle" lines on the cone. To paint the lines, mix a bit of the lighter shade of tan you created for the cone to white paint to achieve an off-white color. Using a paintbrush with a narrow head, follow the tape lines to paint diagonally. Remove the tape, and then repeat the process in the opposite direction once the paint has fully dried.


Now it's time to add the flowers to the ice cream scoop. Using scissors, snip flowers from a light pink flower garland close to the base of the bloom, and then using hot glue, adhere them to the scoop. Be sure to lift the petals so they are more free flowing and not stuck flat to the scoop.


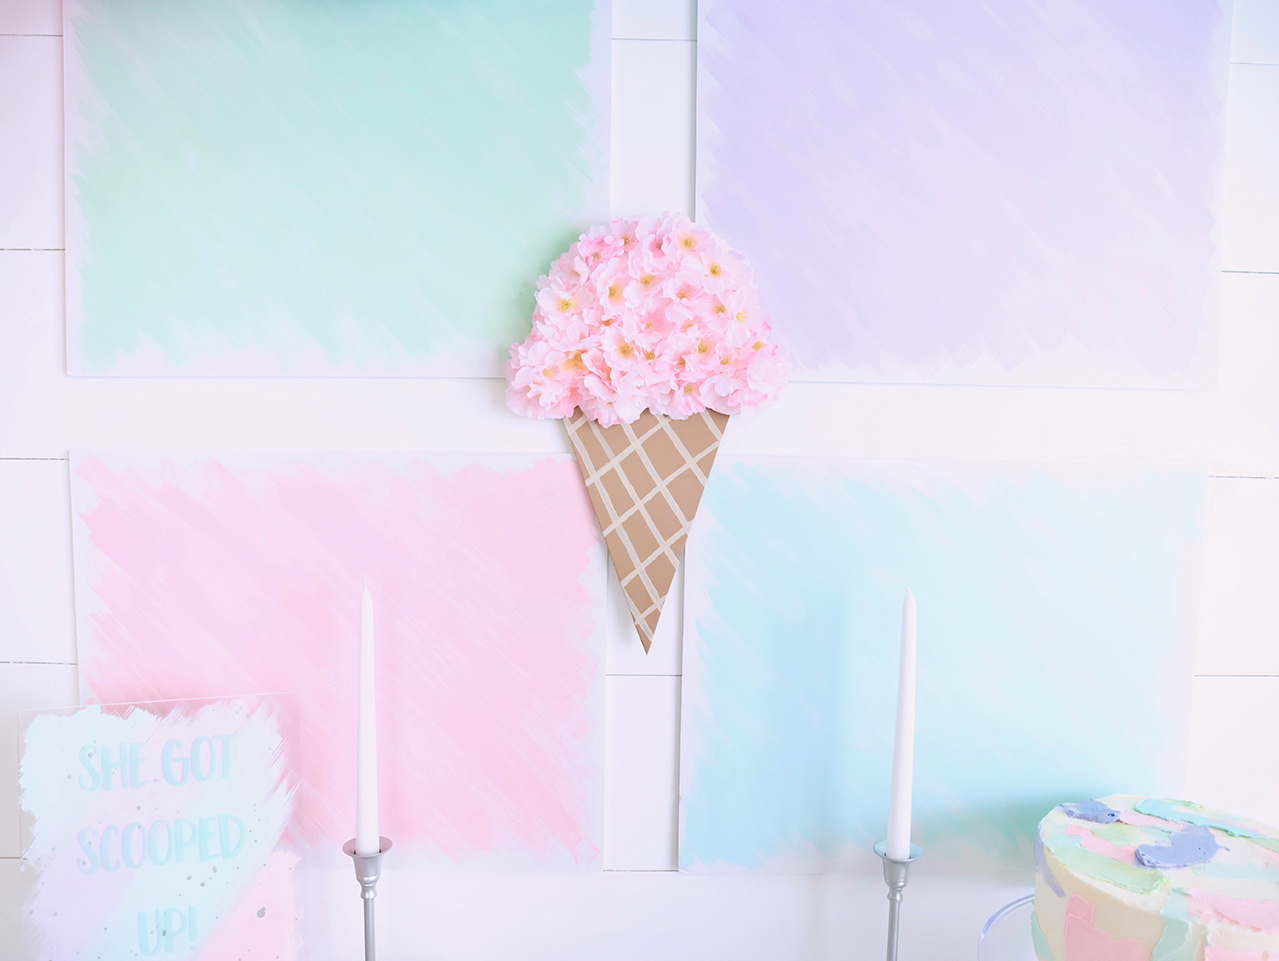
Finally, and the scoop by using a bead of hot glue across the top of the cone. Hang your floral ice cream creation on the wall, using double sided foam tape. I lightly painted four additional foam boards in my theme's colors to hang behind my ice cream cone for an additional pop of color. Be sure to check out the full She Got Scooped Up Bridal Shower, DIY Ice Cream Cone Centerpiece Place Cards and my Boozy Strawberry Cake Ice Cream Floats!

Begin creating the ice cream cone by finding the center point the shorter end of an 8x10 foam board and lightly marking it with pencil. Using a ruler, lightly draw a line from both the upper left and upper right corners down to the center point at the bottom. Using an exacto knife, cut the cone shape out and discard the two side pieces.

Next, mix a bit of white with the darker brown shade of paint in a paint palette to achieve a darker tan color to paint the entire cone. You may need to apply two or three layers of paint to achieve a fully opaque color.


While the paint on the cone is drying, download and print the ice cream scoop printable found here and cut it out. Trace around the shape on an 8x10 foam board, and then carefully cut it out using an Exacto knife.

Mix together a bit of white with the pink paint to create a pale pink color, and then coat the ice cream scoop in the light pink. This will be the base for our flowers so coverage does not need to be as perfect. Set the scoop aside to dry.


Once the paint has fully dried on the ice cream cone, add long pieces of washi tape on the diagonal to use as guidelines for painting the "waffle" lines on the cone. To paint the lines, mix a bit of the lighter shade of tan you created for the cone to white paint to achieve an off-white color. Using a paintbrush with a narrow head, follow the tape lines to paint diagonally. Remove the tape, and then repeat the process in the opposite direction once the paint has fully dried.


Now it's time to add the flowers to the ice cream scoop. Using scissors, snip flowers from a light pink flower garland close to the base of the bloom, and then using hot glue, adhere them to the scoop. Be sure to lift the petals so they are more free flowing and not stuck flat to the scoop.


Finally, and the scoop by using a bead of hot glue across the top of the cone. Hang your floral ice cream creation on the wall, using double sided foam tape. I lightly painted four additional foam boards in my theme's colors to hang behind my ice cream cone for an additional pop of color. Be sure to check out the full She Got Scooped Up Bridal Shower, DIY Ice Cream Cone Centerpiece Place Cards and my Boozy Strawberry Cake Ice Cream Floats!


