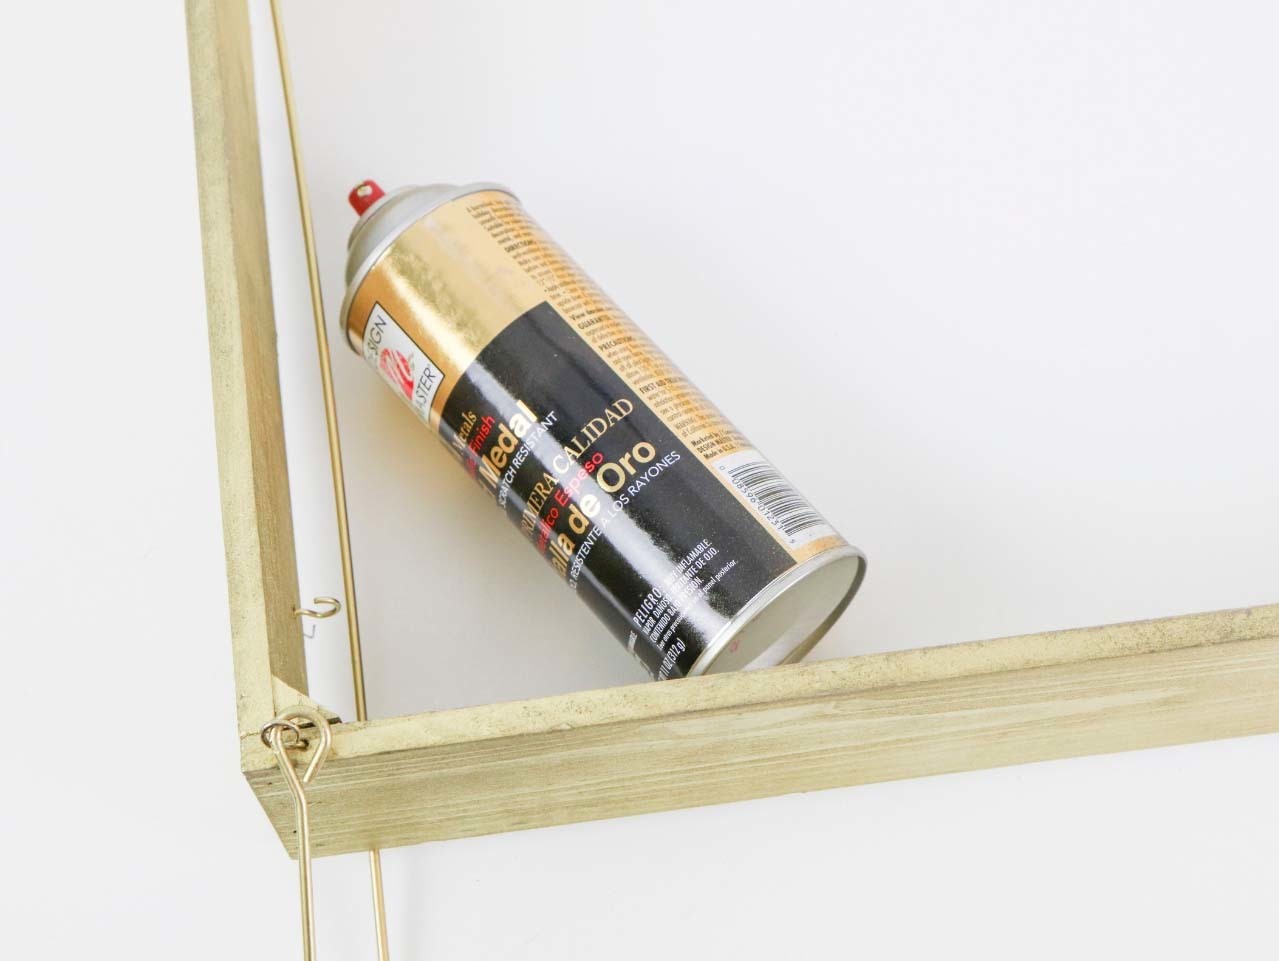

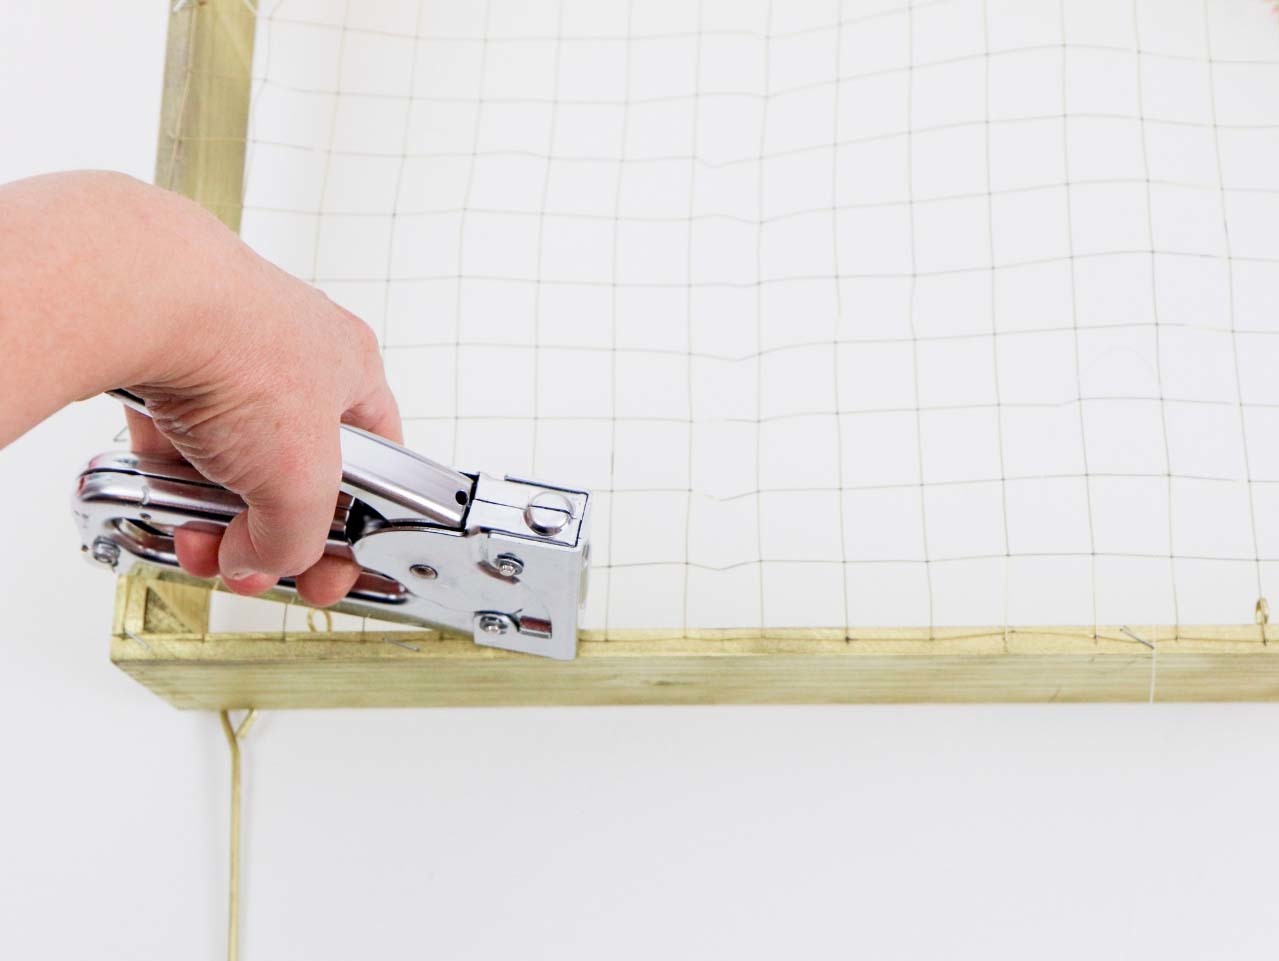
First, spray paint a Vintage Wood Chandelier gold. Then cut a piece of gold floral grid wire to fit the chandelier. This can be found at your local craft supply store. Use a staple gun to attach the wire to the chandelier.


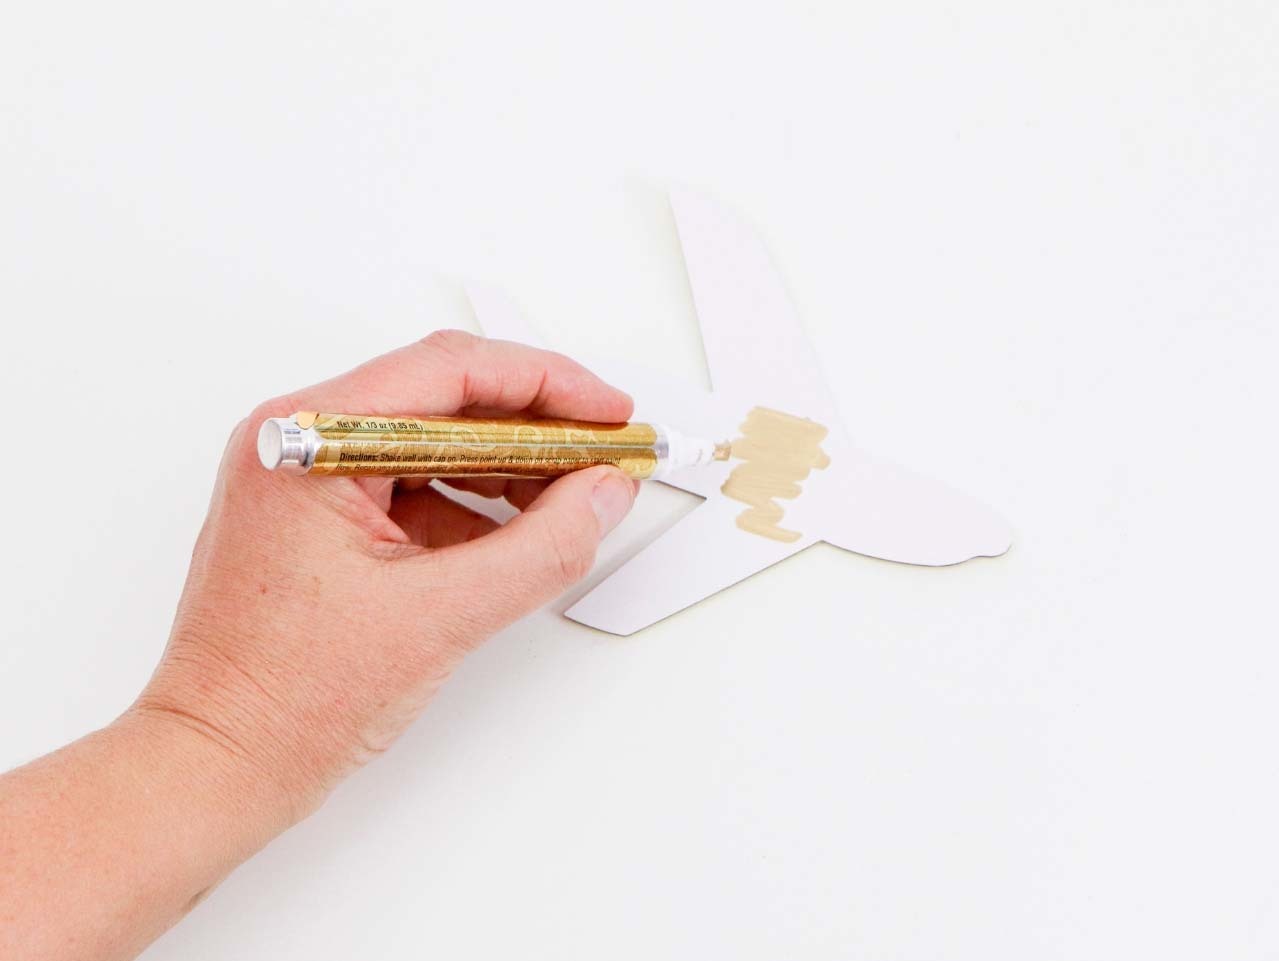
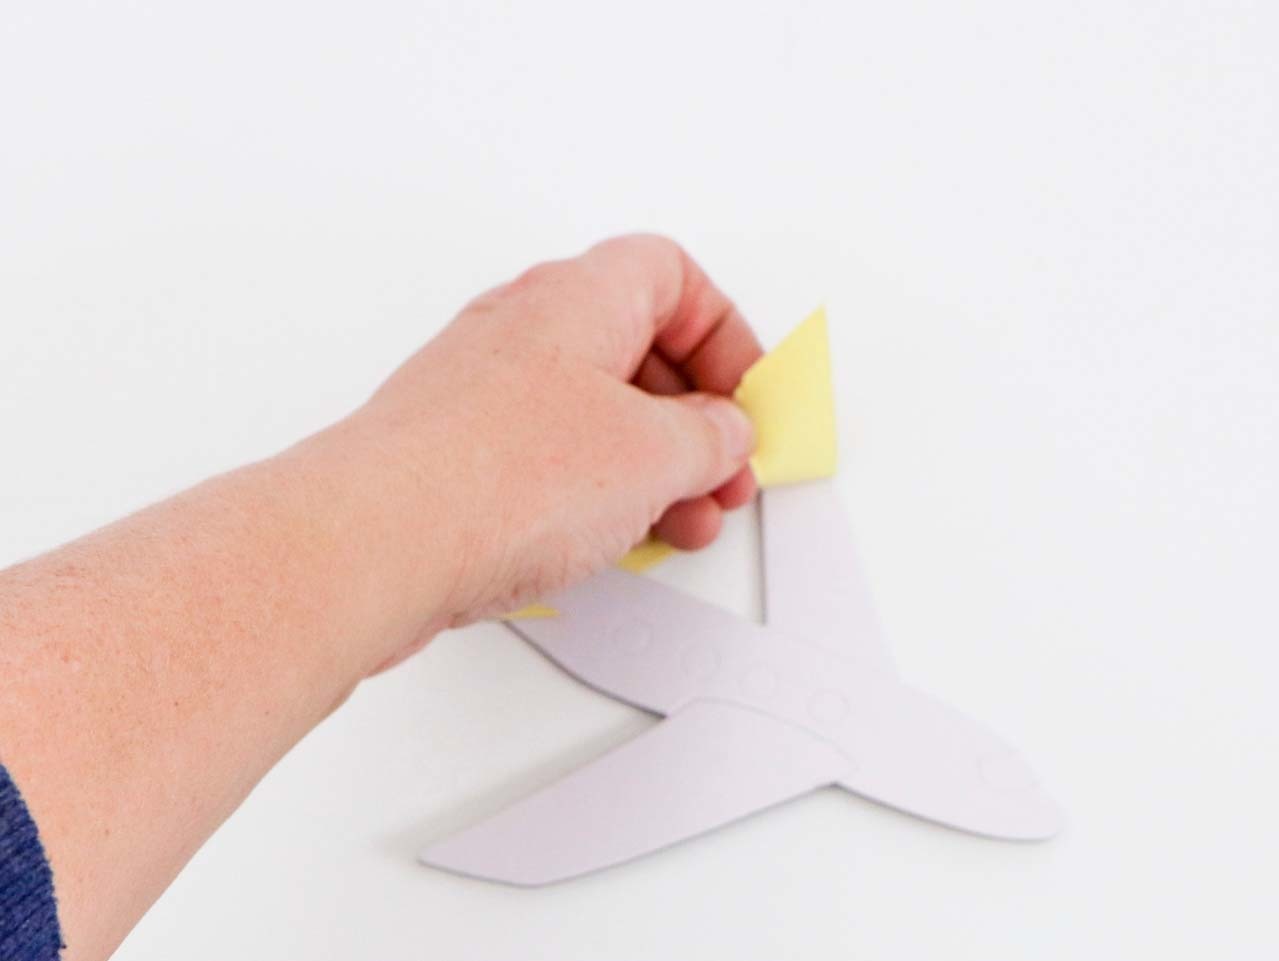
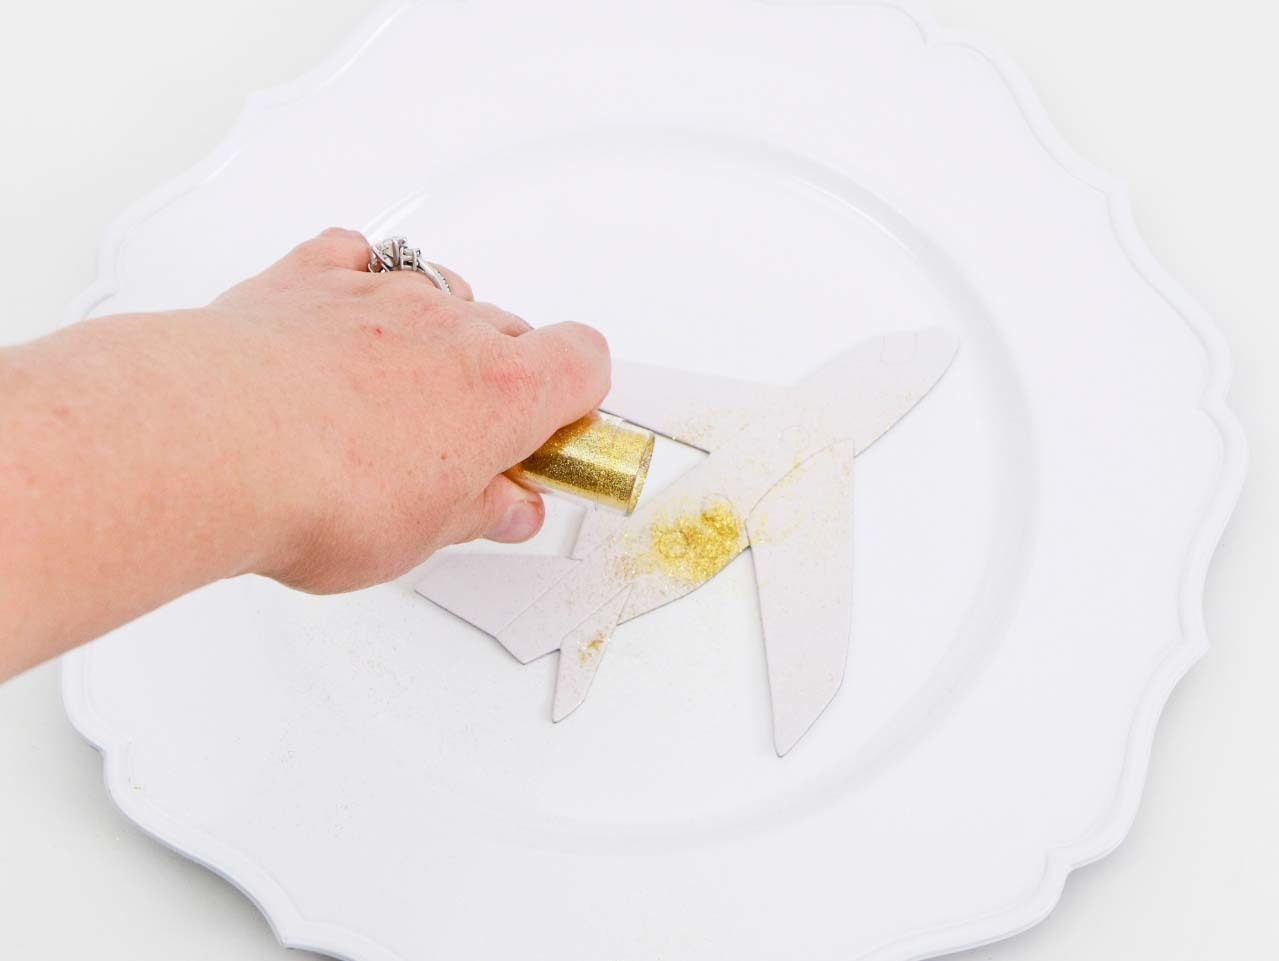
Next, turn the Sand Art Airplanes over and color in the back of the planes with gold foil pen or gold paint. Once dry, turn over and remove the protective film from the front of the Sand Art Airplanes. Rather than sand, use Gold Glitter on the adhesive until the plane is completely covered.
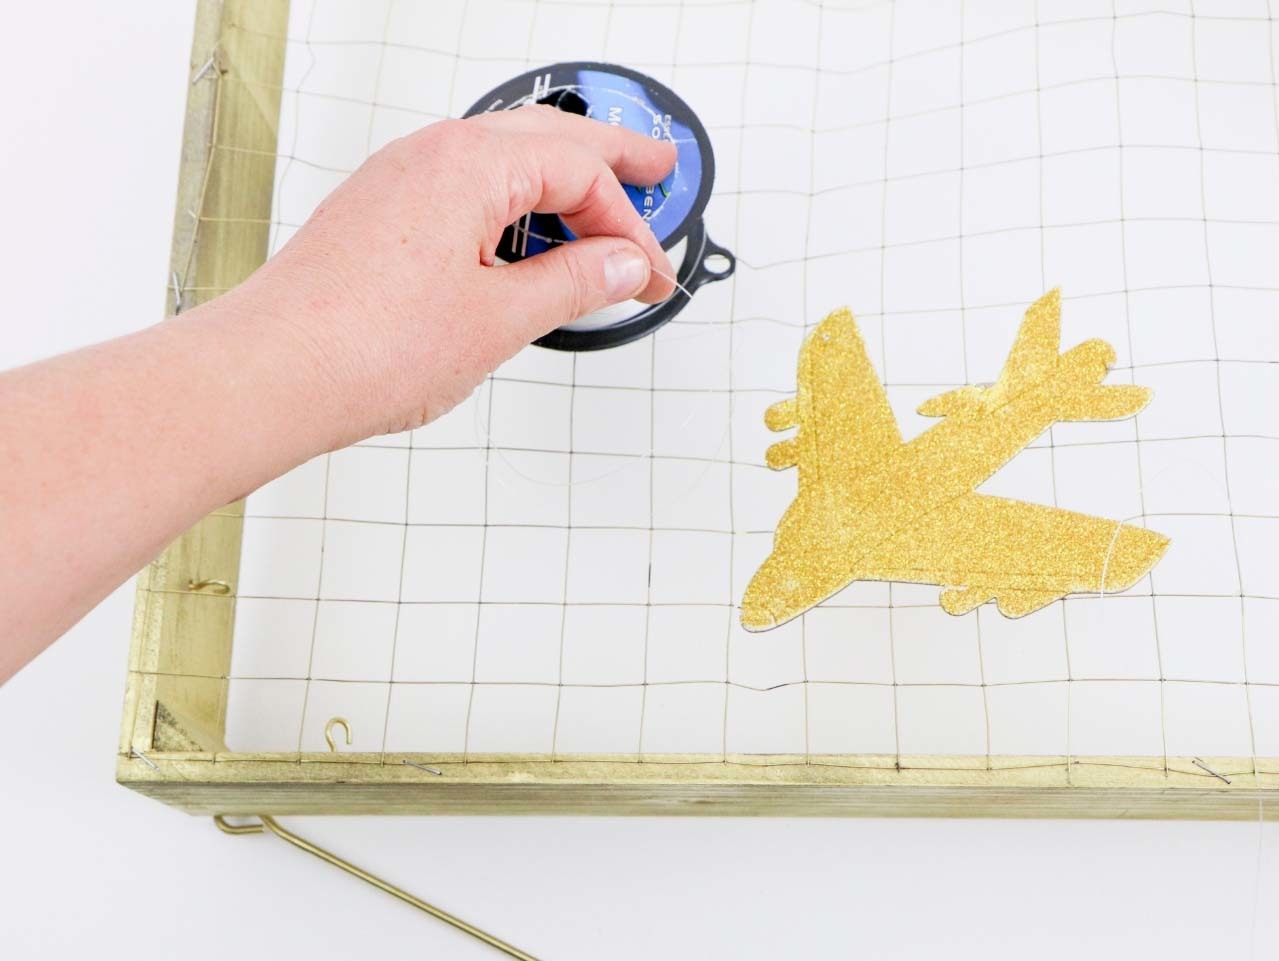

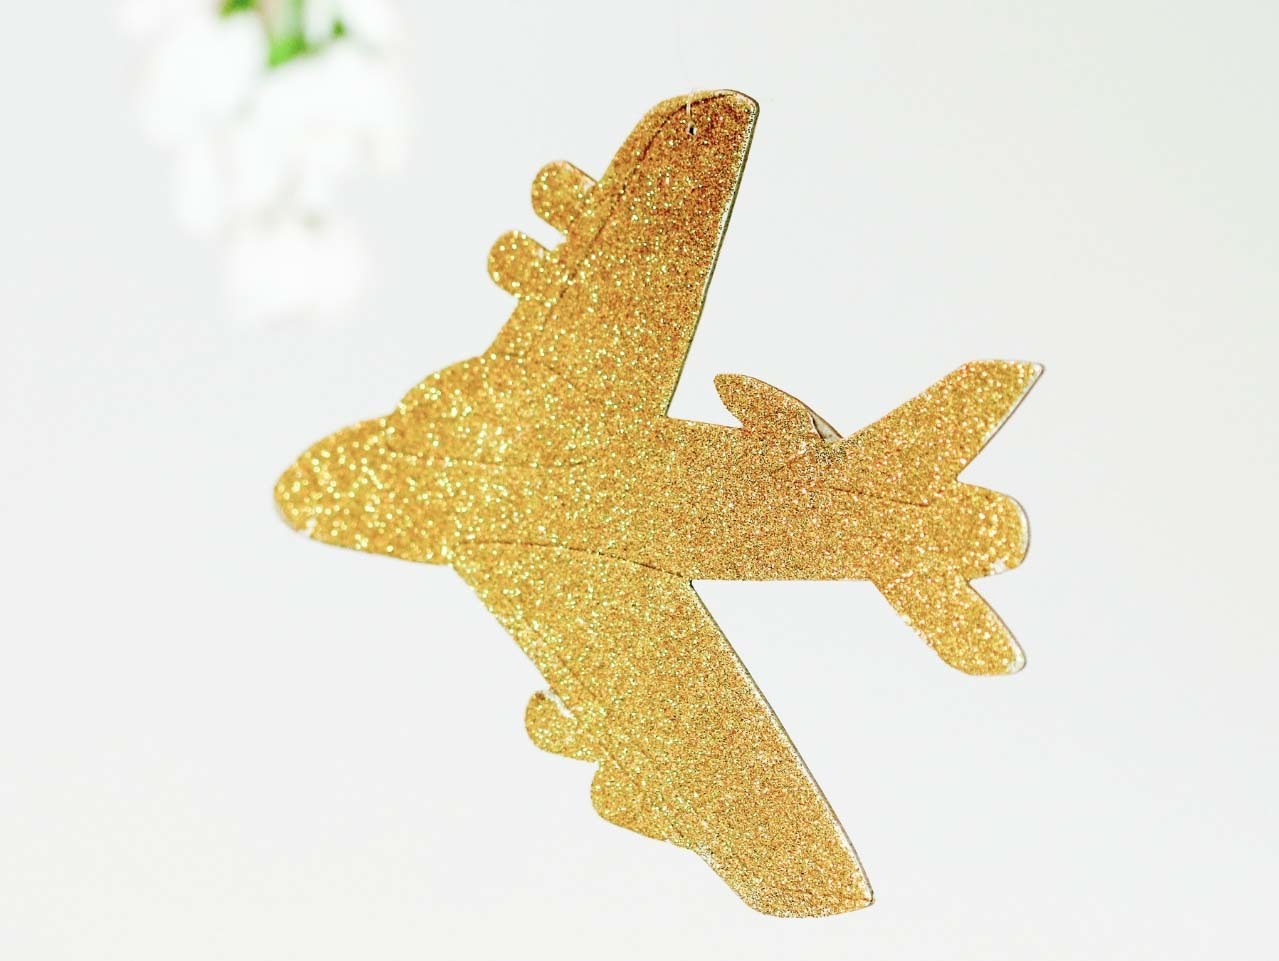
Use a small hole punch to punch a hole in the top of the wing. Thread fishing wire through the hole and tie the plane to the bottom of the grid wire.
The plane should hang down under the chandelier.
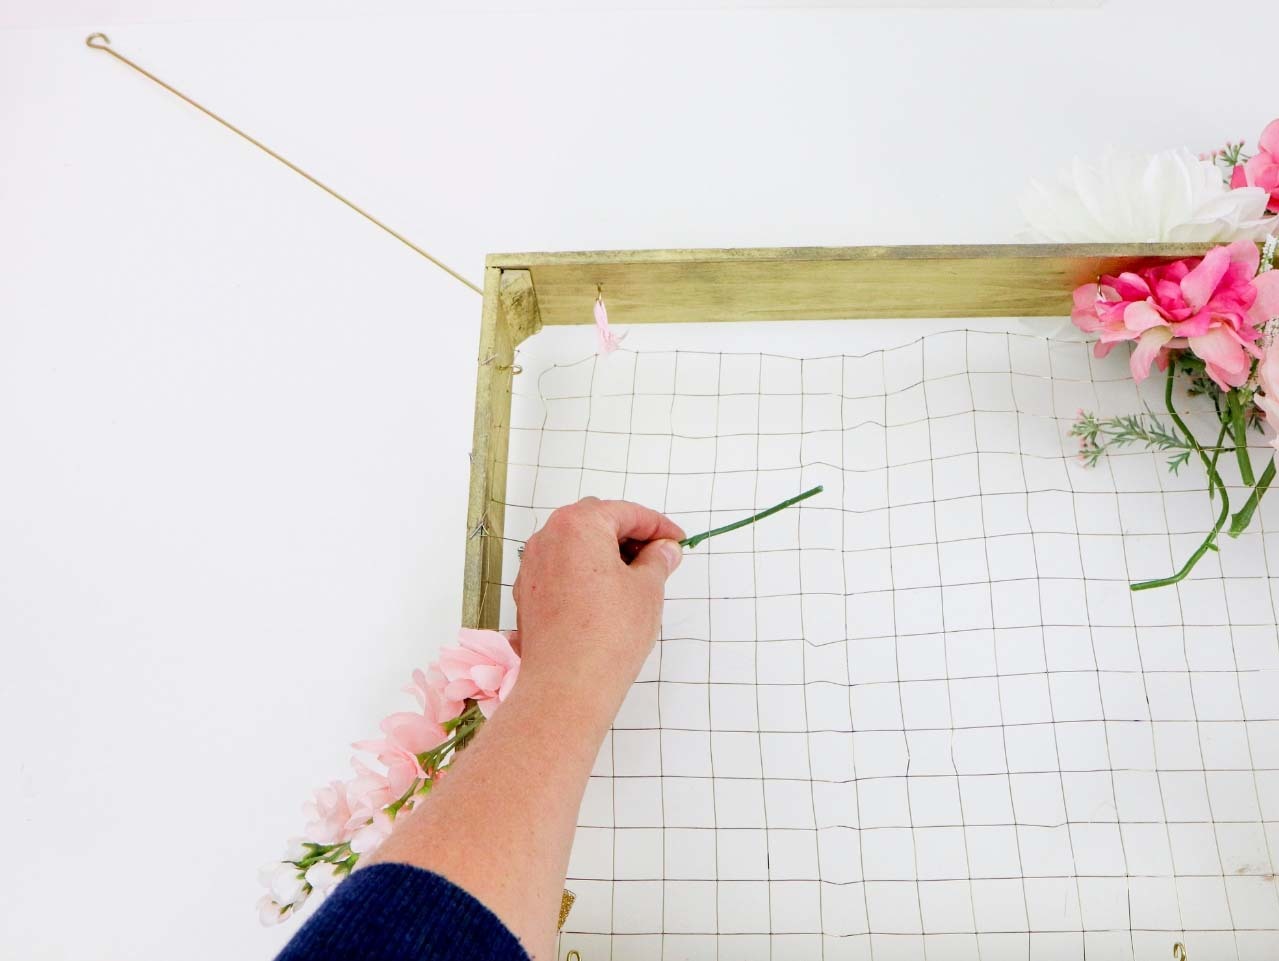

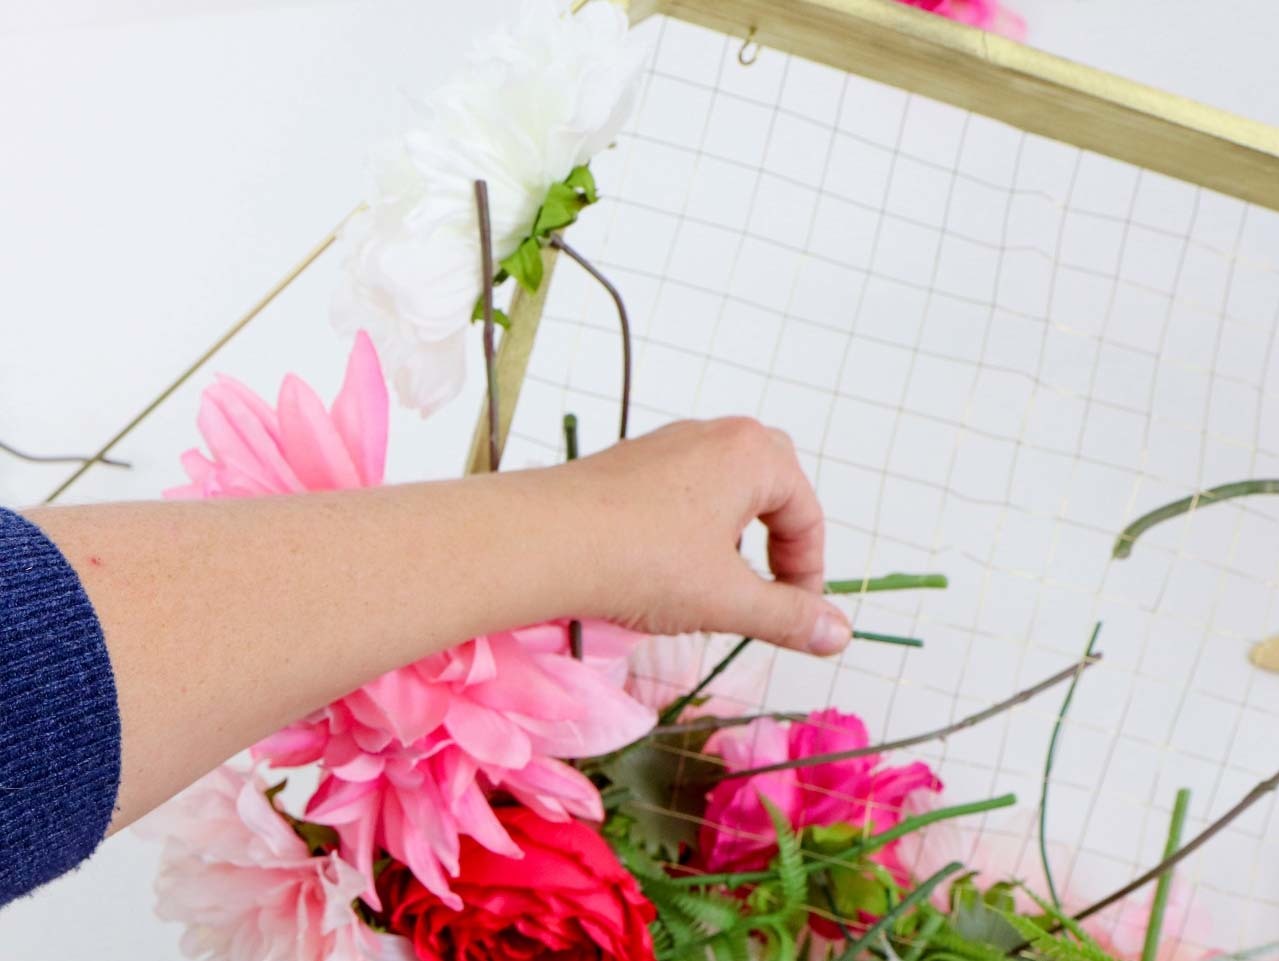
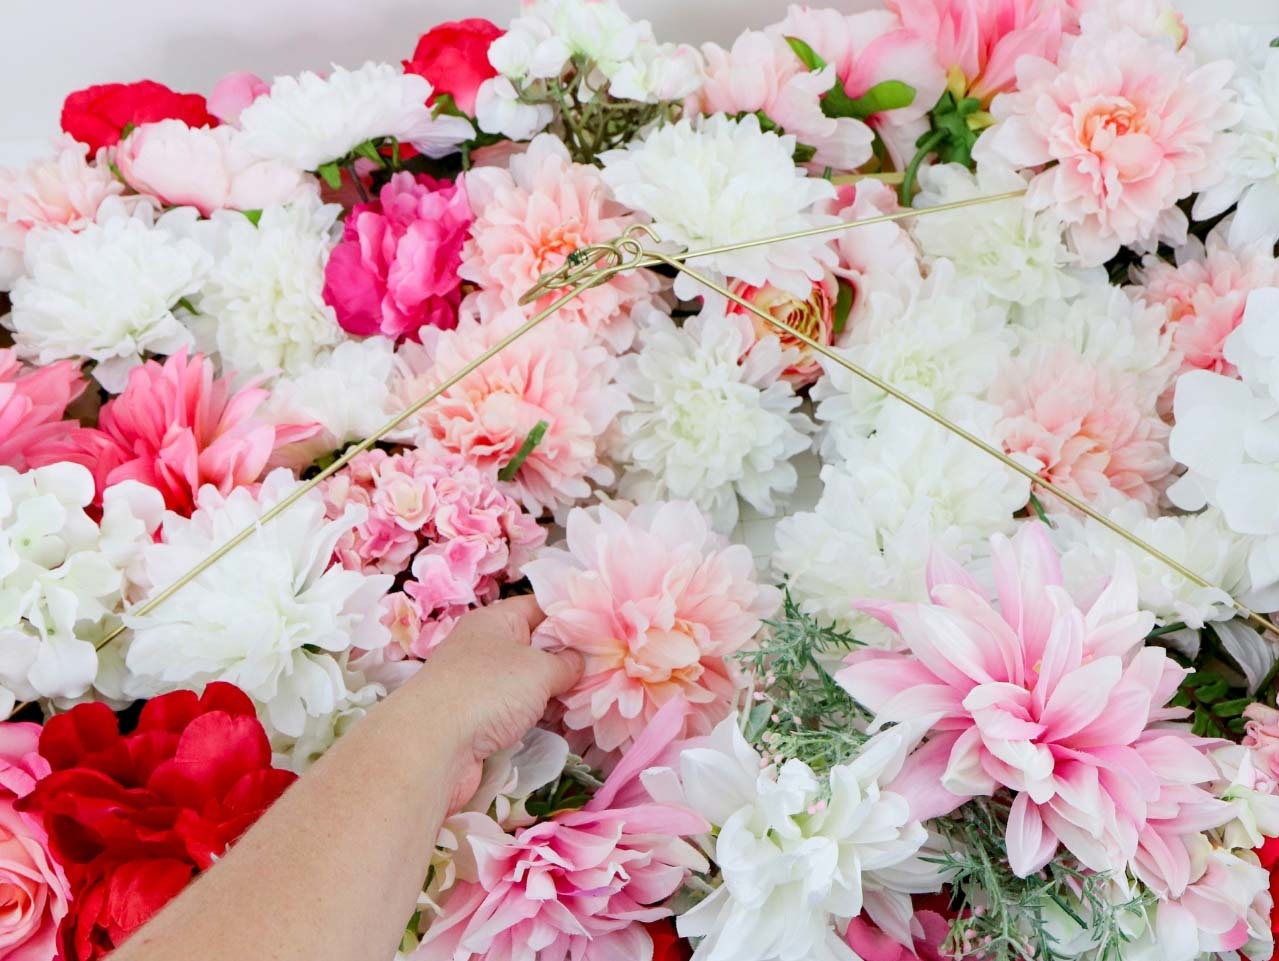
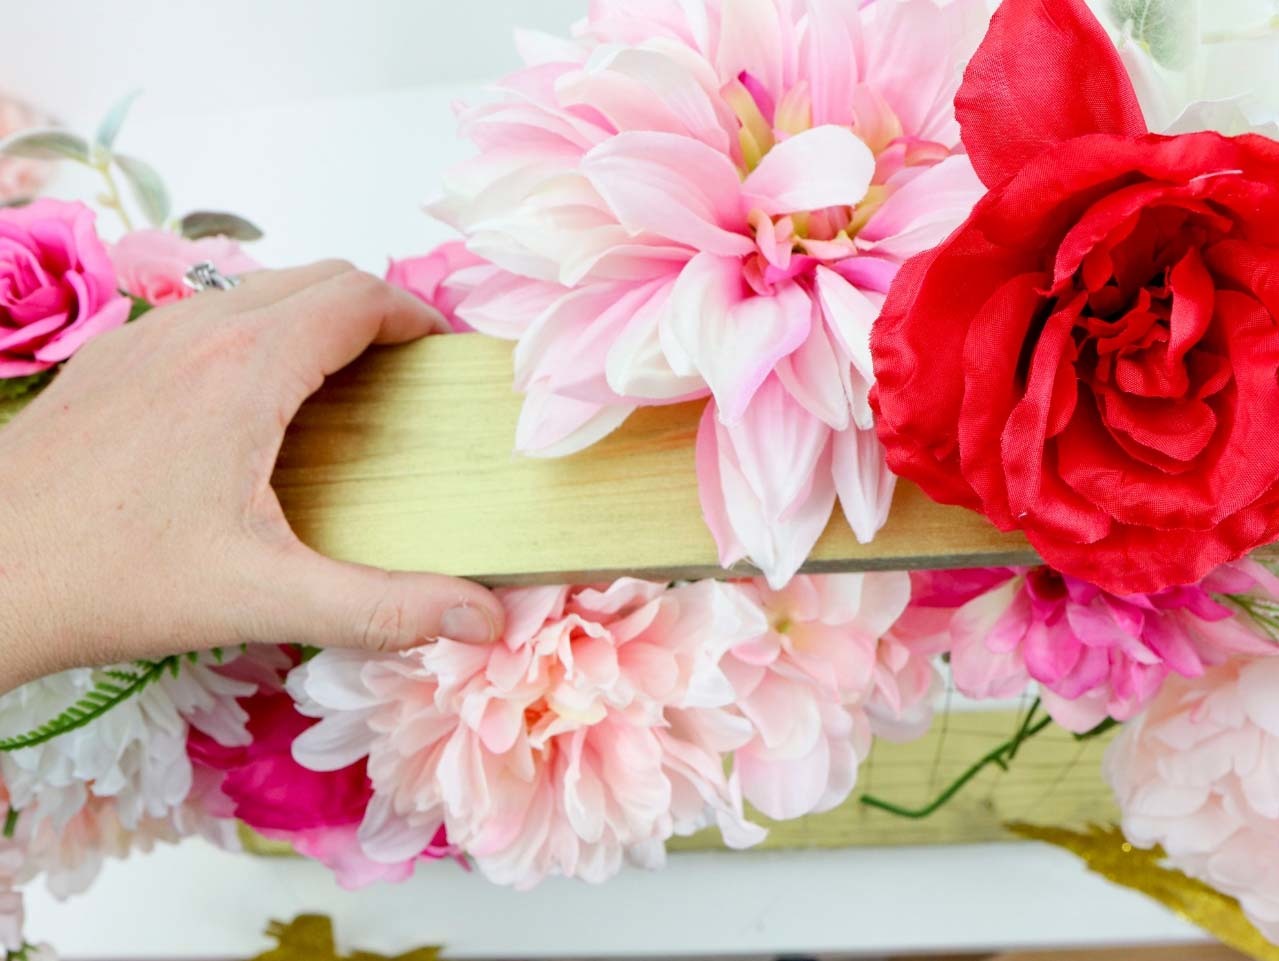
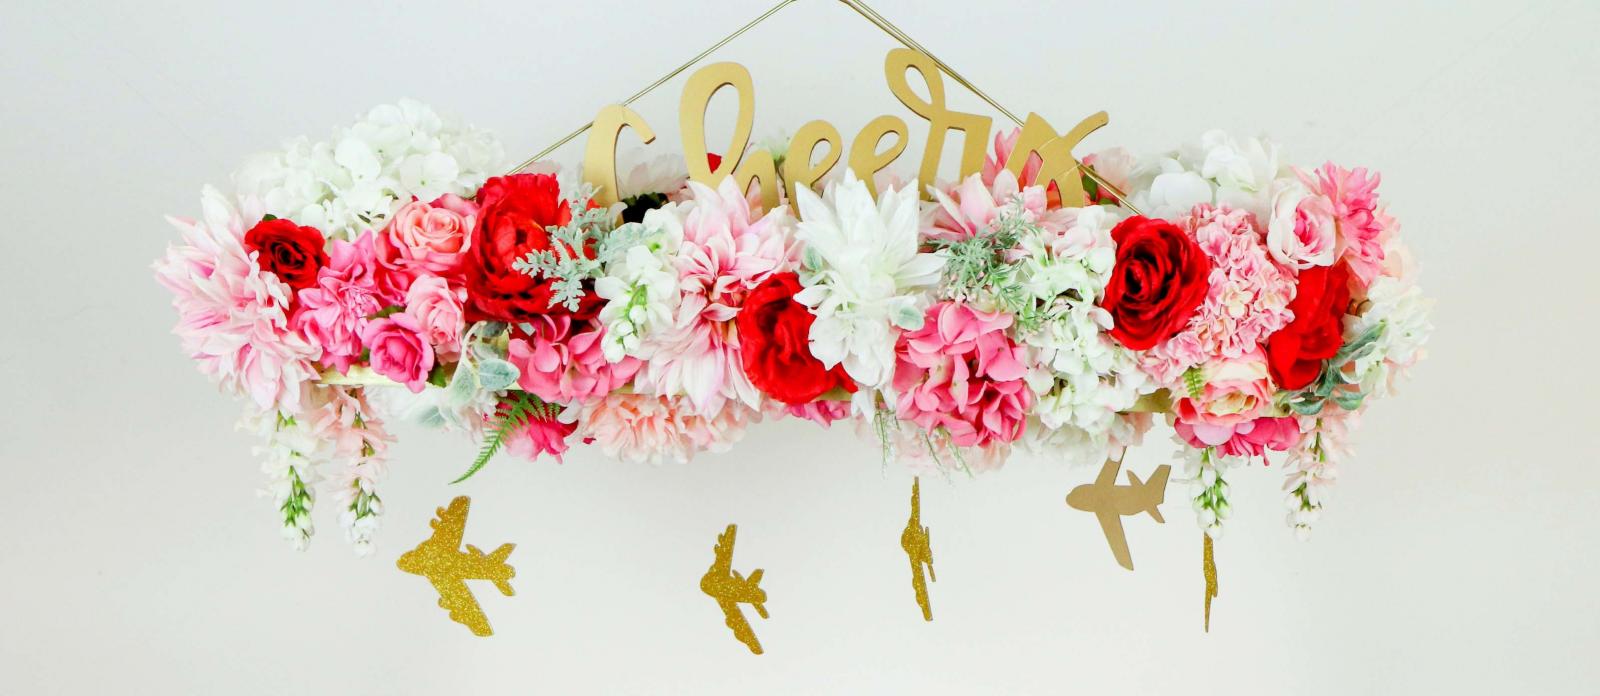
Next, thread faux flowers through the grid in a weaving motion (i.e. under, over, under or vice versa) I started at the top of the chandelier and had the flowers spilling over the top edge of the chandelier. I then hung the chandelier and wove from the bottom to ensure all the green stems were covered with flowers. If guests look up they should only see blooms.
Tip: Use pliers to cut stems to fit
I used a mix of faux florals including Prize Peony, Pink Peony, English Rose, Hermes Rose, Viburnum, Coral Dahlia, White Peony and Cream Dahlia.
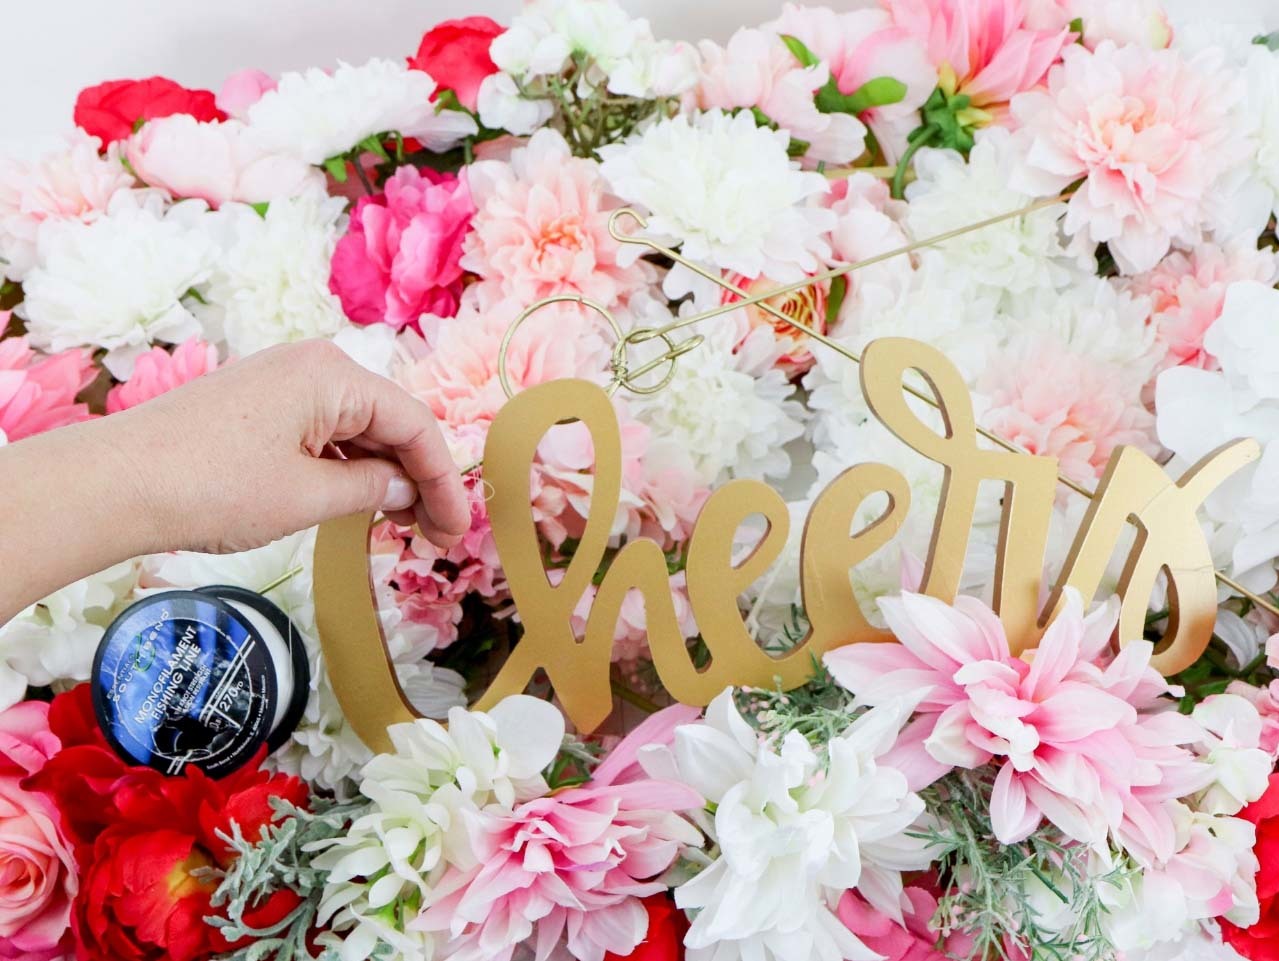

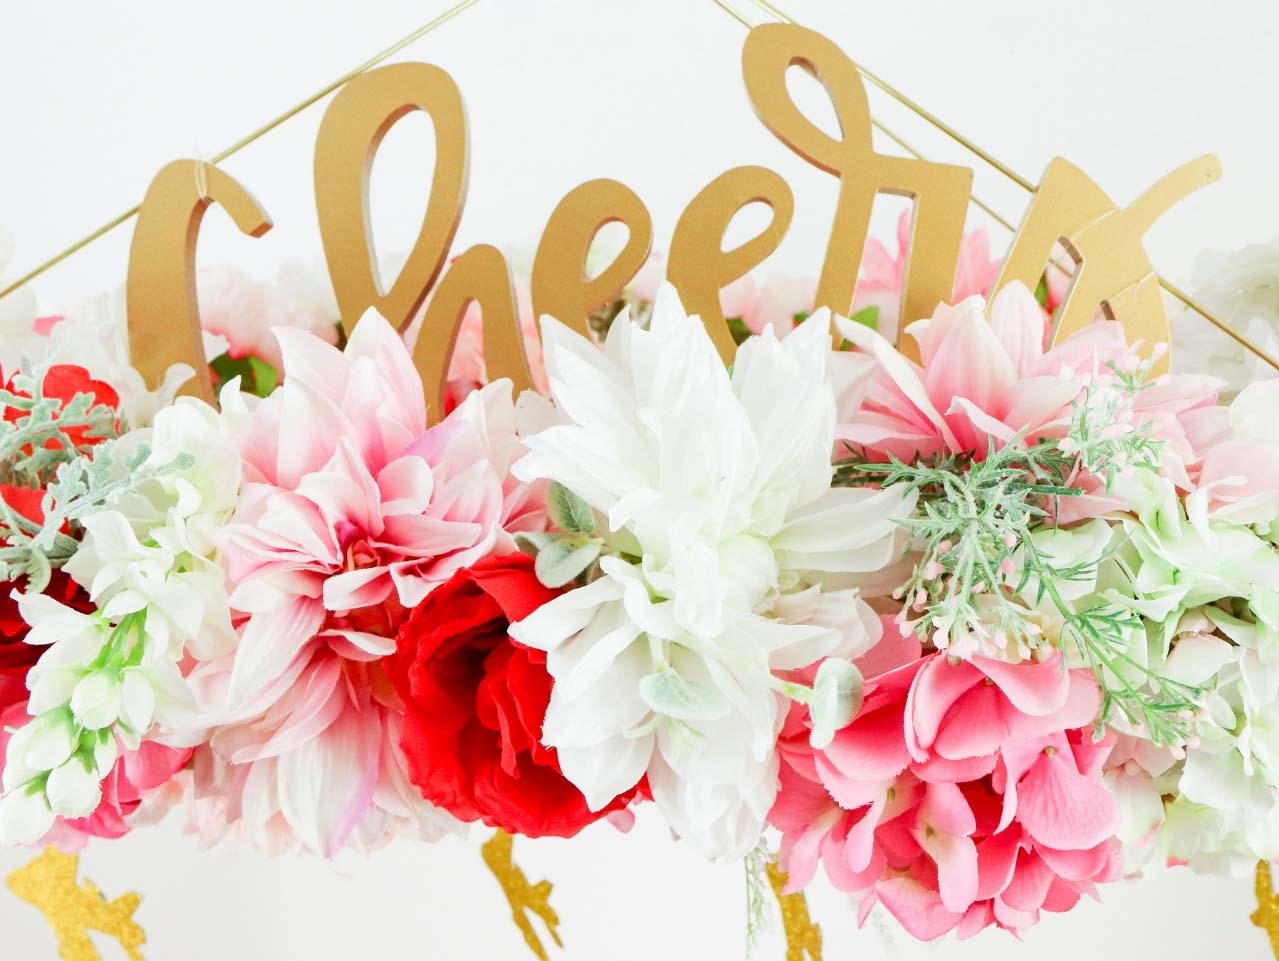
Once the flowers have been added to the chandelier, use fishing wire to tie the Gold Cheers Calligraphy Cut Out Sign to the bars that hang the chandelier.
The sign should sit high on top of the flowers and the fishing wire keeps the sign upright and centered.
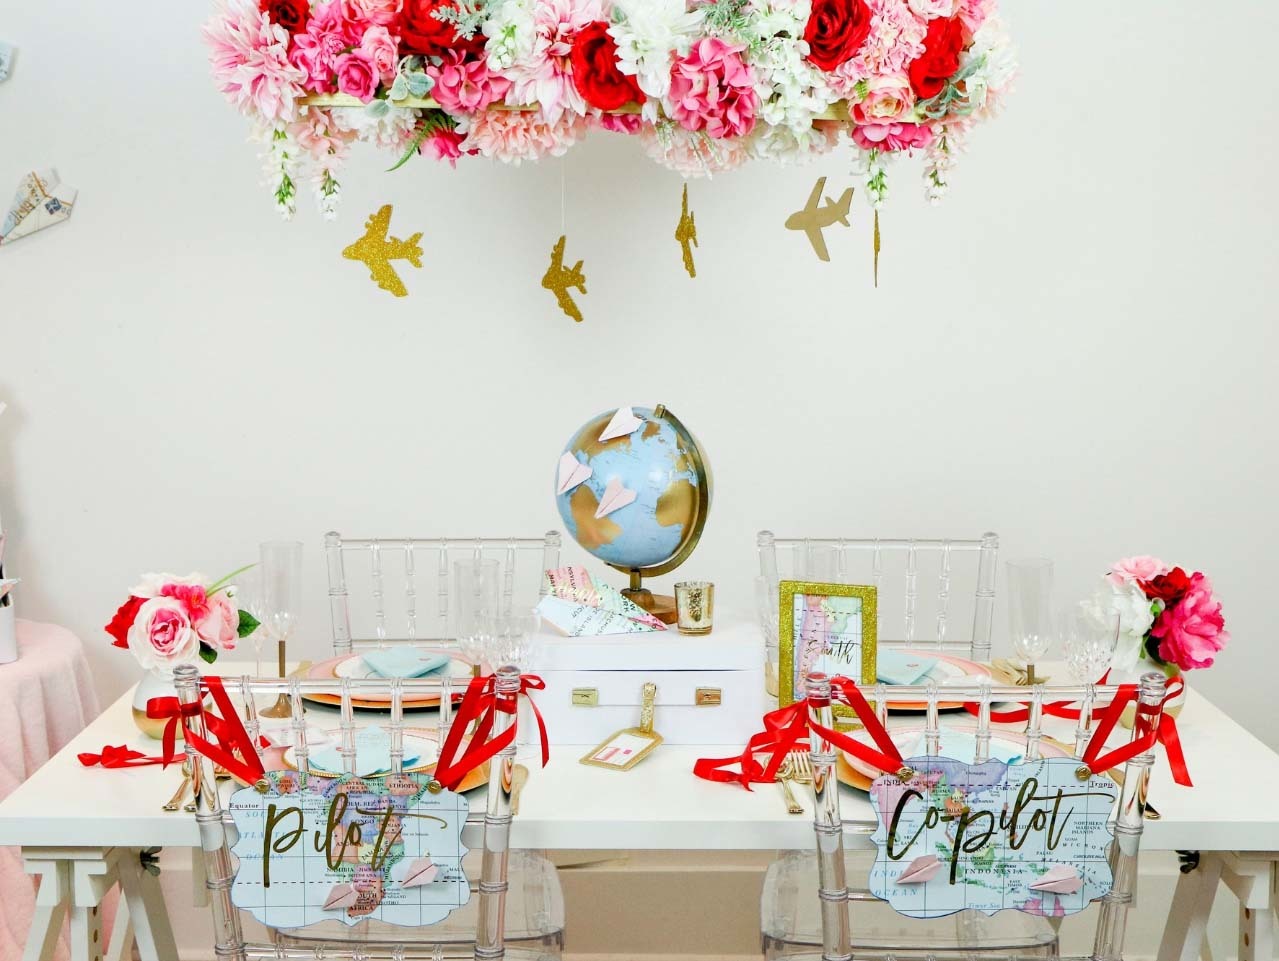
Finally, hang the chandelier from a removable hook attached to the ceiling.
Tip: When the chandelier is up you can fine tune the plane placement and adjust any flowers to ensure full coverage.
Be sure to check out my "Fly Away With Me", Travel Themed Wedding, Travel Themed Wedding Chair Backers and DIY Paper Place Wedding Toss.


First, spray paint a Vintage Wood Chandelier gold. Then cut a piece of gold floral grid wire to fit the chandelier. This can be found at your local craft supply store. Use a staple gun to attach the wire to the chandelier.


Next, turn the Sand Art Airplanes over and color in the back of the planes with gold foil pen or gold paint. Once dry, turn over and remove the protective film from the front of the Sand Art Airplanes. Rather than sand, use Gold Glitter on the adhesive until the plane is completely covered.


Use a small hole punch to punch a hole in the top of the wing. Thread fishing wire through the hole and tie the plane to the bottom of the grid wire.
The plane should hang down under the chandelier.


Next, thread faux flowers through the grid in a weaving motion (i.e. under, over, under or vice versa) I started at the top of the chandelier and had the flowers spilling over the top edge of the chandelier. I then hung the chandelier and wove from the bottom to ensure all the green stems were covered with flowers. If guests look up they should only see blooms.
Tip: Use pliers to cut stems to fit
I used a mix of faux florals including Prize Peony, Pink Peony, English Rose, Hermes Rose, Viburnum, Coral Dahlia, White Peony and Cream Dahlia.


Once the flowers have been added to the chandelier, use fishing wire to tie the Gold Cheers Calligraphy Cut Out Sign to the bars that hang the chandelier.
The sign should sit high on top of the flowers and the fishing wire keeps the sign upright and centered.

Finally, hang the chandelier from a removable hook attached to the ceiling.
Tip: When the chandelier is up you can fine tune the plane placement and adjust any flowers to ensure full coverage.
Be sure to check out my "Fly Away With Me", Travel Themed Wedding, Travel Themed Wedding Chair Backers and DIY Paper Place Wedding Toss.

