Perfect for a fall or winter wedding, a hot chocolate bar will give guests a fun experience they will be sure to remember. The trick to making a hot chocolate bar successful is to offer a variety of toppings. Style them in cute chipboard containers on seasonal wood slabs for that extra special detail that will make this table shine. When the night starts to get chilly, a warm cup of hot chocolate with a sprinkle of marshmallows will make your guests feel loved.
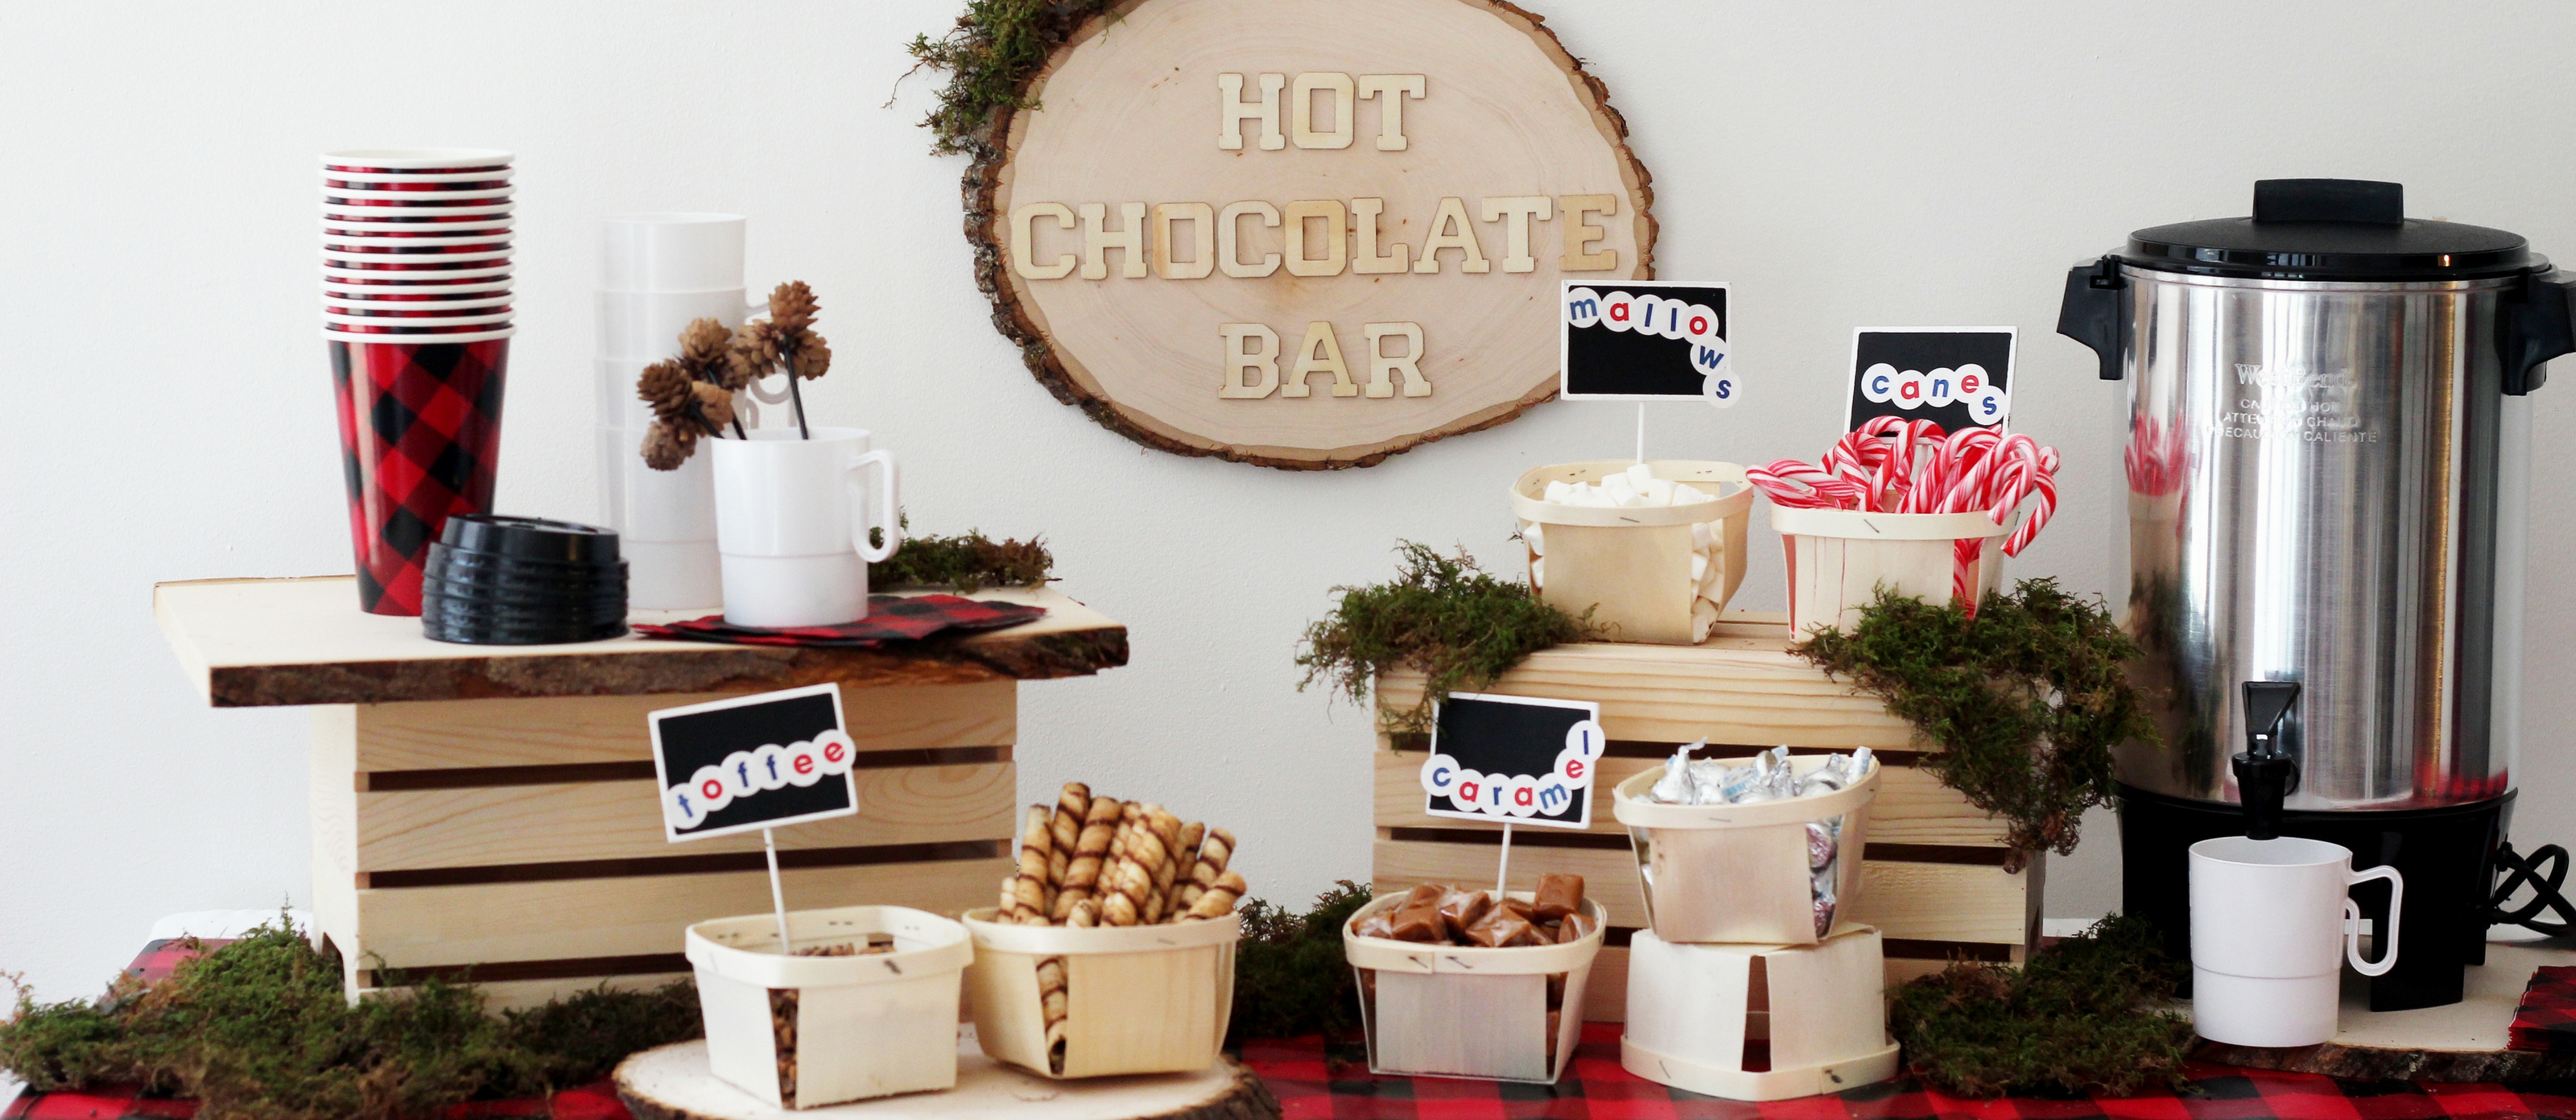
 Start with a woodsy sign on the wall behind your hot chocolate bar. I made this one with a Wood Medium Centerpiece and Wooden Letters. Simply use tacky glue to attach the letters to the wood. A small bit of moss completes the woodsy look.
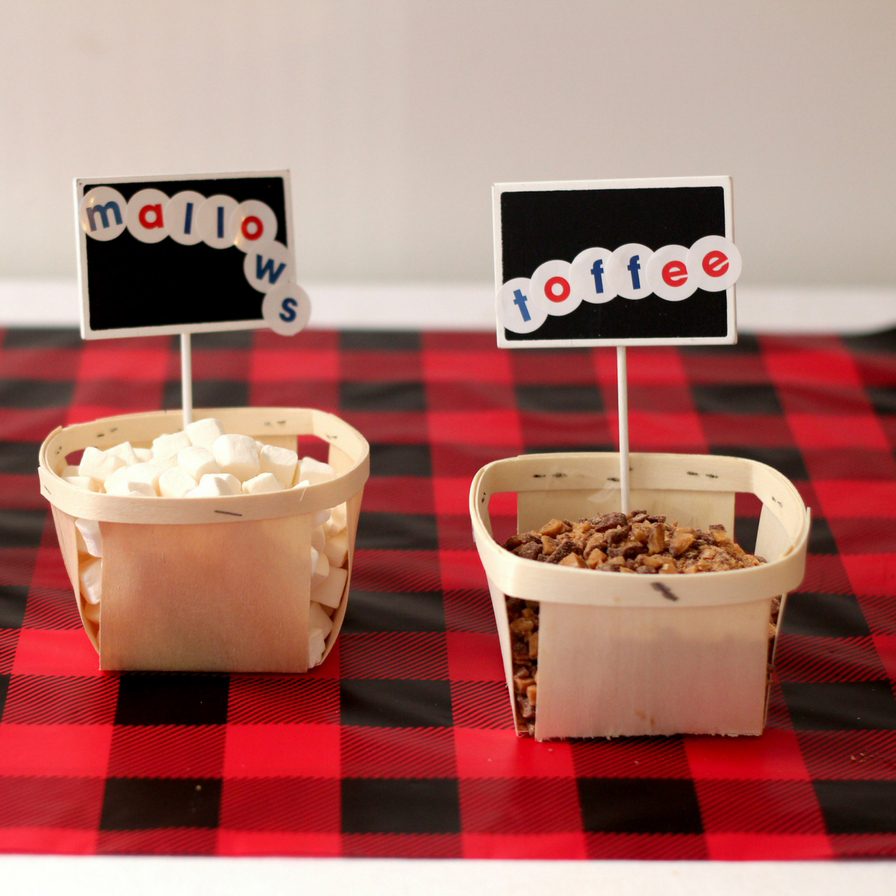
  Make sure the bar is stocked with a lot of toppings. Here I styled candy canes and mini marshmallows in chipboard baskets. Other ideas for toppings are toffee, chocolate pieces, peanut butter chips, caramels, and even coconut. You can make those cute signs by following the instructions DIY Sticker Label post right over here.
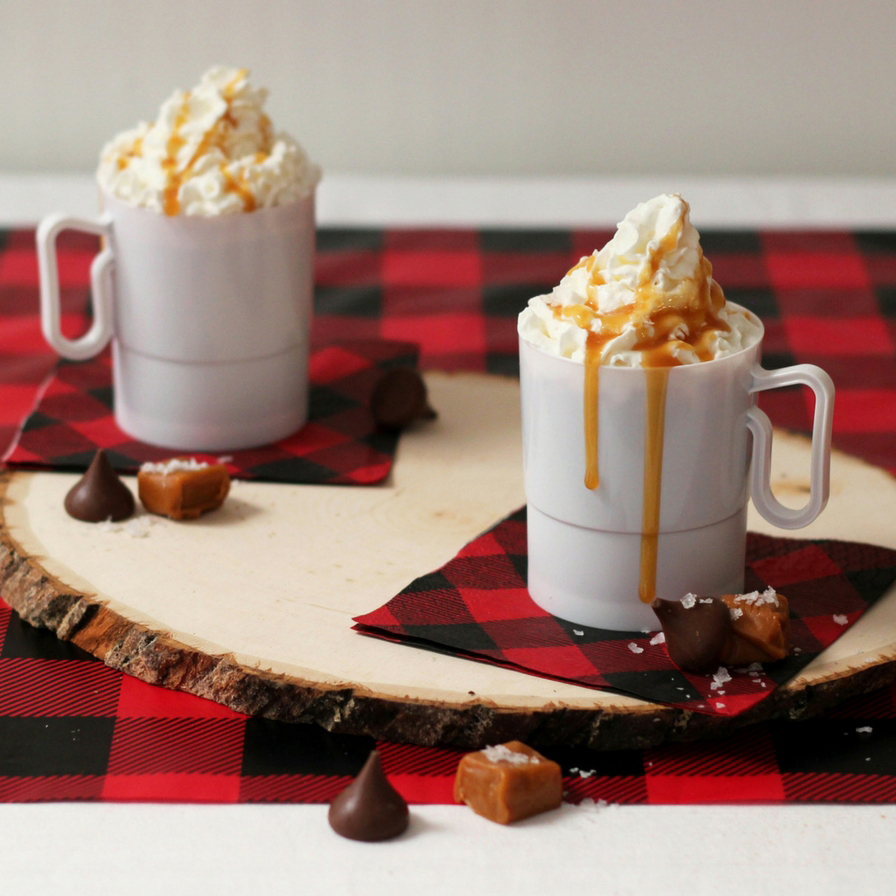
  If you are putting this bar out at the end of your wedding, give guests the option of drinking their hot chocolate on the dance floor or back at the hotel by offering two different cups. These plaid coffee cups and white mugs are the perfect size for a DIY hot chocolate. Make those cute pinecone drink stirrers yourself too!
  Create height on the table by flipping a wooden crate upside down and placing a wooden centerpiece on top. You instantly have height and a larger surface for displaying cups and toppings on the table.
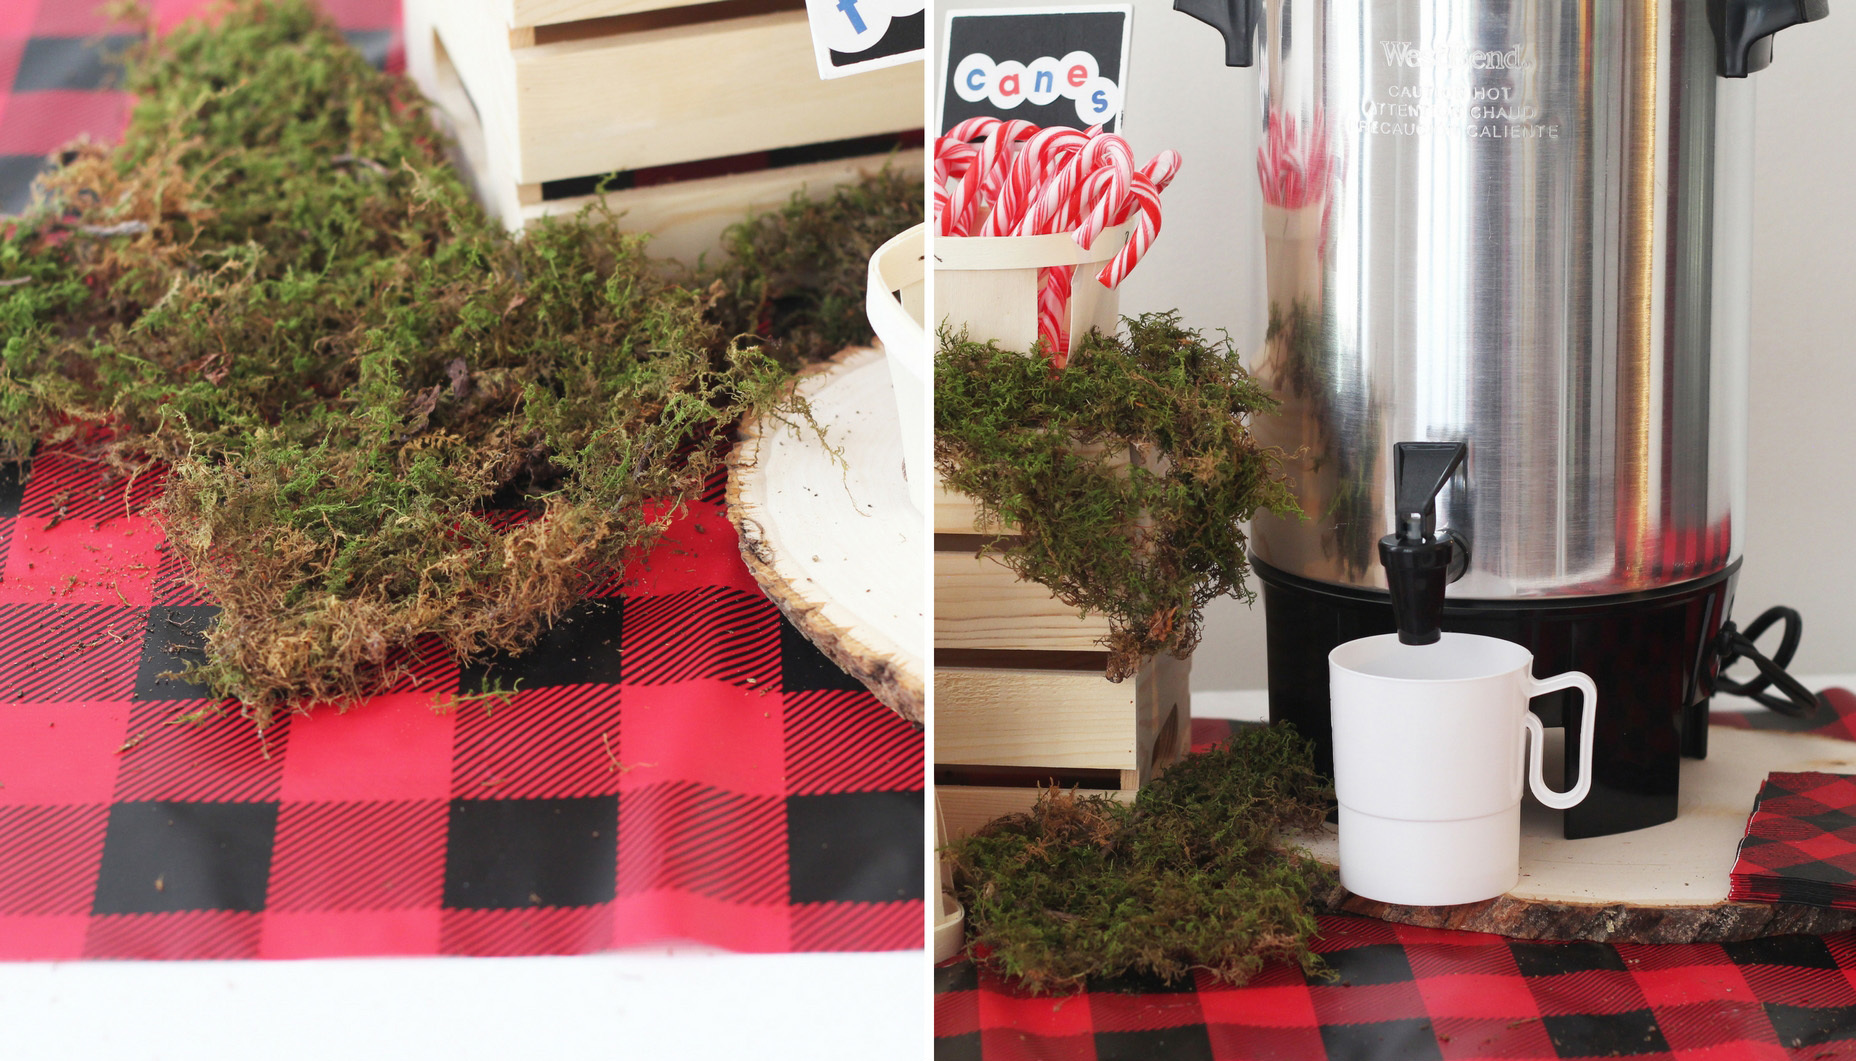
  This buffalo plaid runner is such a nice woodsy pattern for a hot chocolate bar. Bring the woods to the table by adding bits of real moss around the platters.


