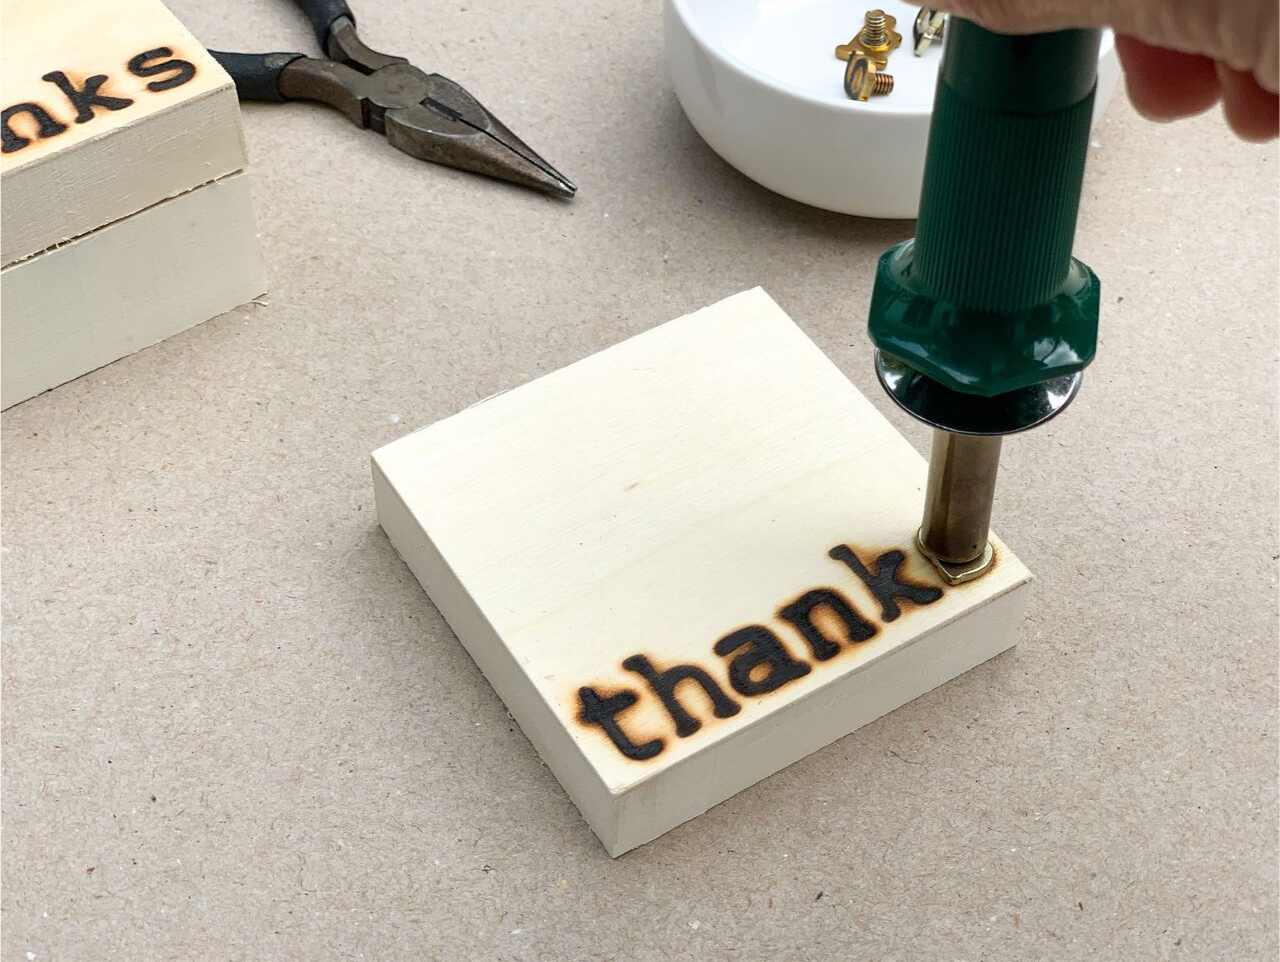
To begin, set up a work space outside or in a well ventilated area. Remove the letters you need from the Lowercase Alphabet Hot Stamps Set. Unscrew the tip from the Creative Woodburner® Value Tool and screw on the first letter that you'll be using. Heat up the tool. Remove the lids from the Unfinished Wood Trinket Boxes and place them nearby. Once the wood burner tool is hot, press the tool against the box lid and hold until the desired burn is achieved (mine took about six seconds). Repeat burning that same letter into the other box lids.
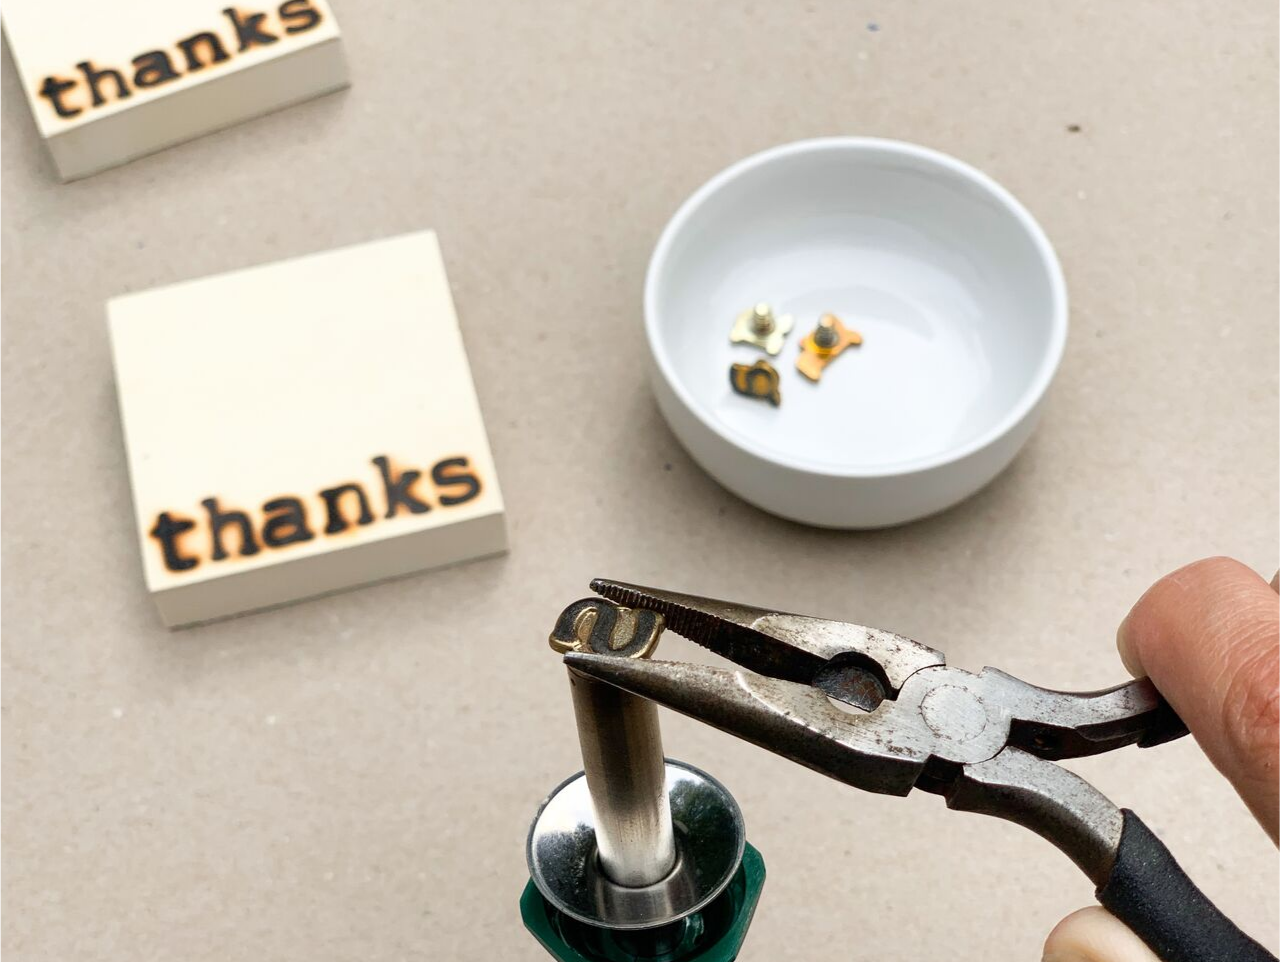
When you are ready to move to the next letter, use pliers to unscrew the hot letter and screw on the next one. Place the hot letter in a small glass bowl to cool off. Repeat this process until your entire word has been stamped onto every box. Unplug the wood burning tool.
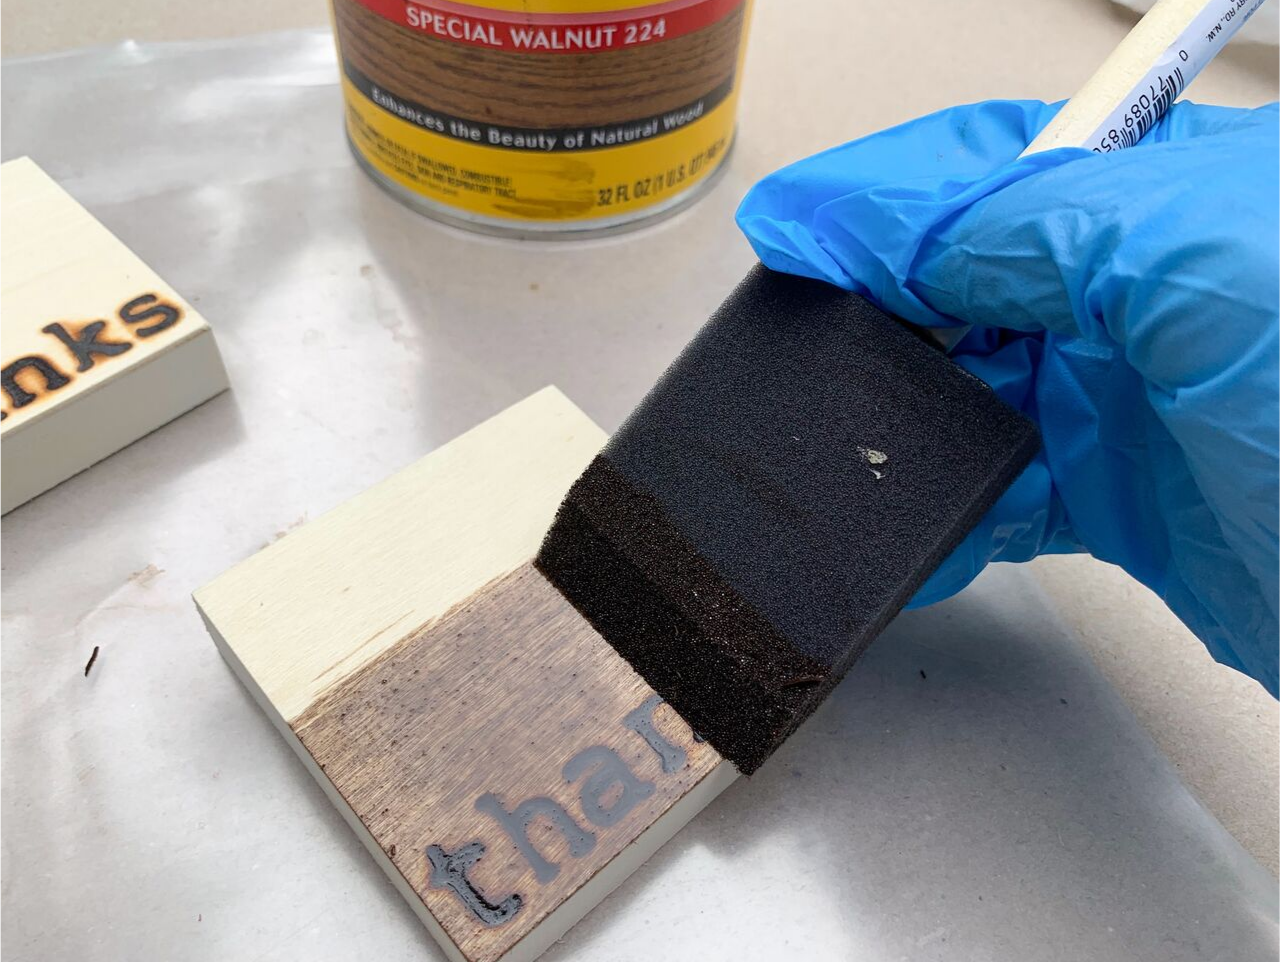

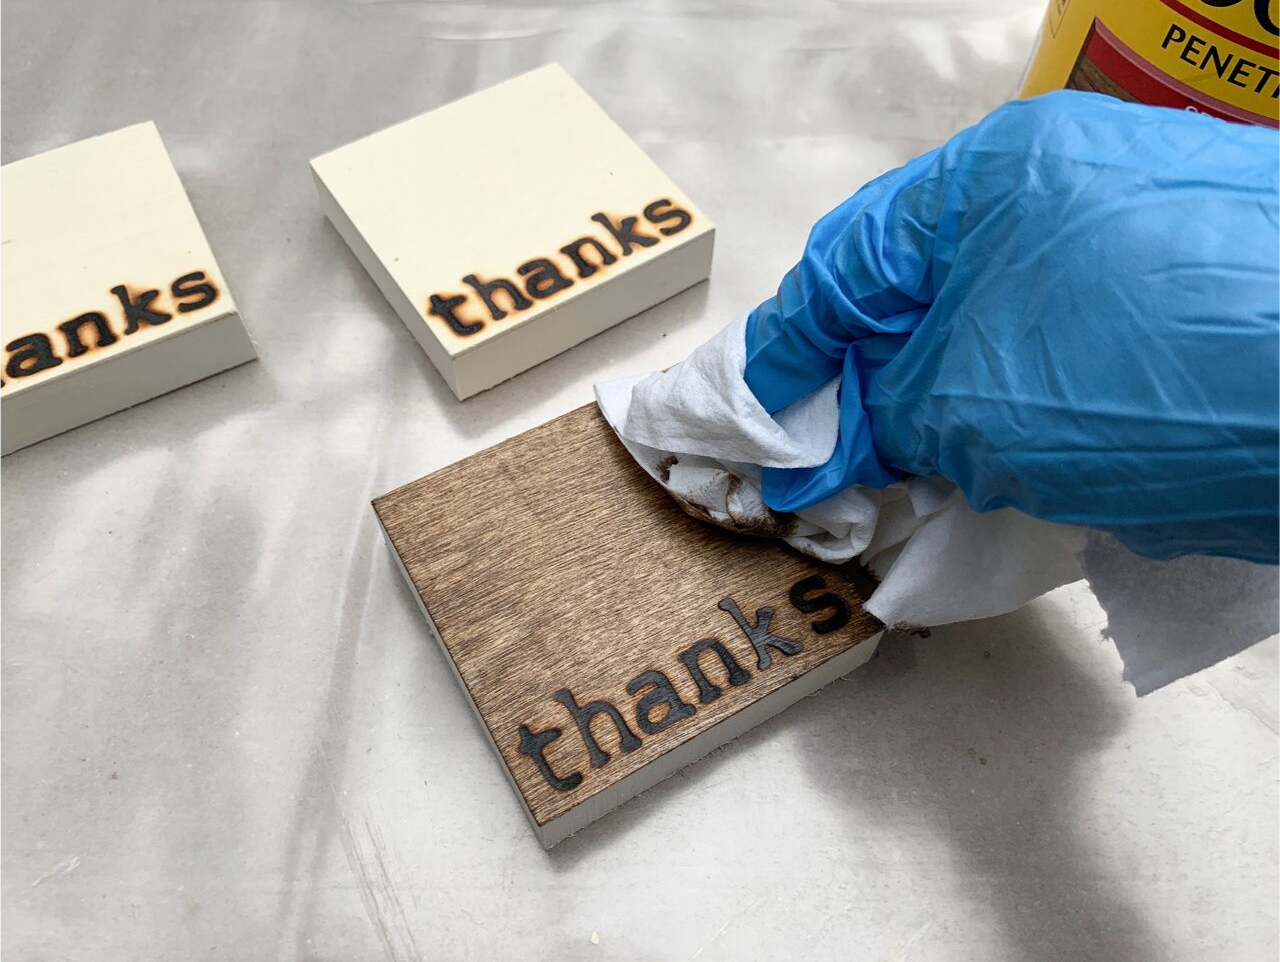
Wearing disposable gloves, use a foam brush to apply stain to the box lids and bottoms (you don't need to stain the inside). I used Minwax® stain in "Special Walnut." Brush the stain on then immediately use a rag to wipe it off. Continue this process until all of the boxes are stained. Allow to dry.
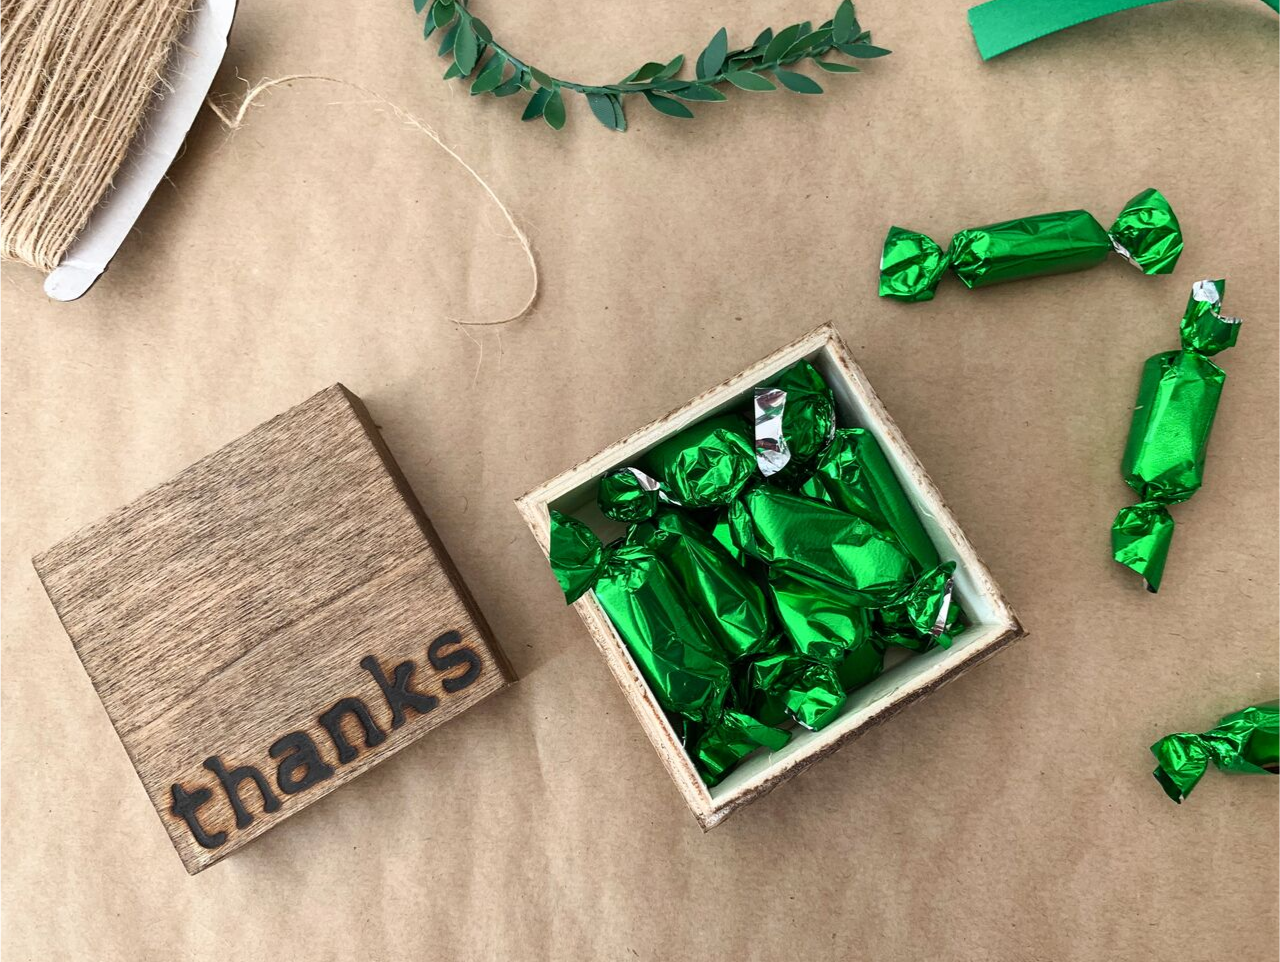
Once the stain on the boxes has dried, fill the boxes with goodies. We used these Green Foil Wrapped Caramels and they are soooo good!
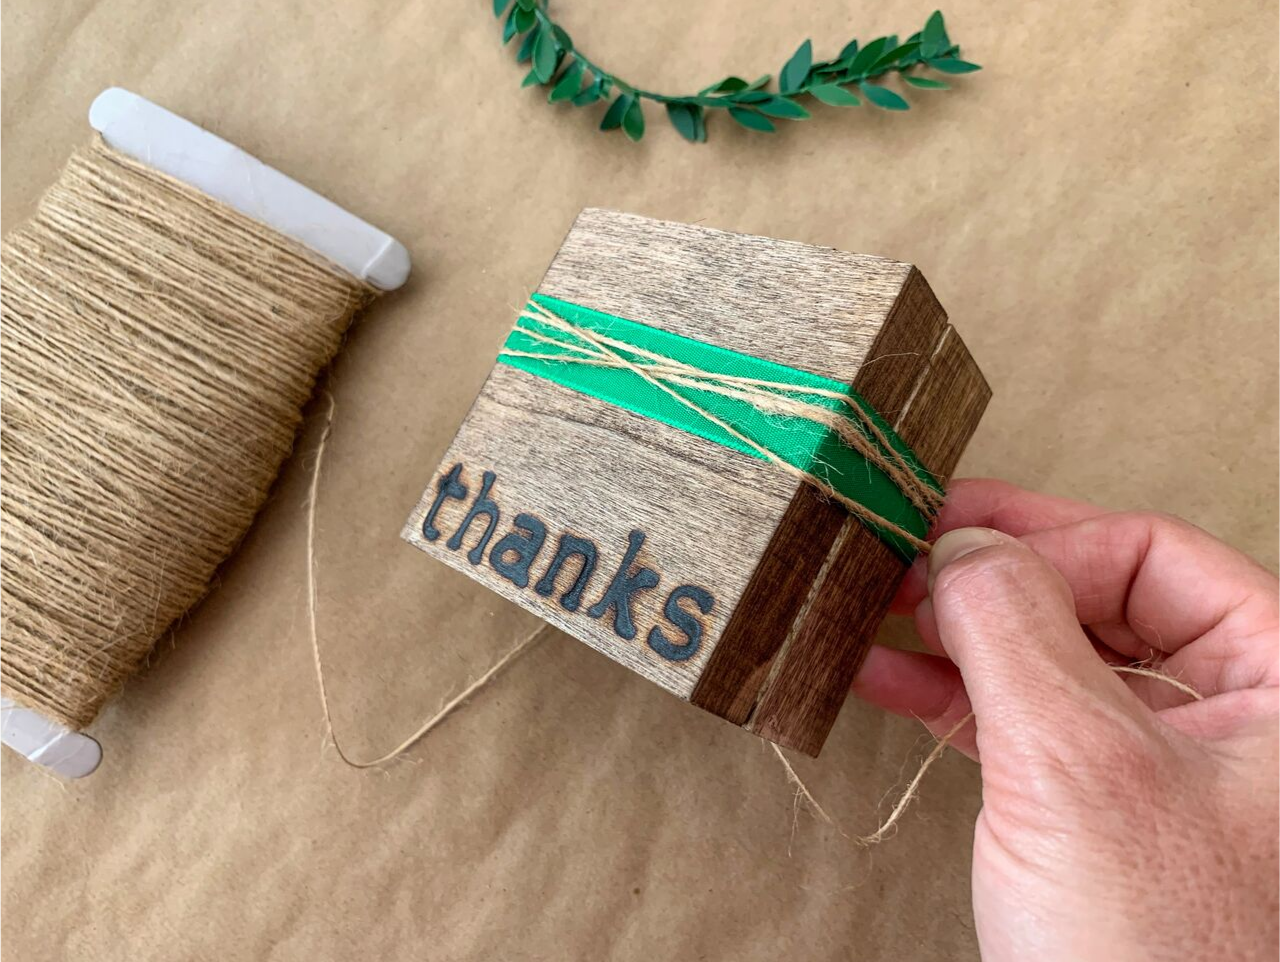
Next, secure one end of Emerald Green Single Faced Satin Ribbon to the bottom of the box with tape. Wrap the ribbon around the box and cut it where it meets the other end in the back. Secure with tape. Secure one end of Natural Jute Cording to the back of the box and wrap the cording around the box several times. Cut and secure in the back. We used tape here instead of hot glue so that the boxes will be easy for the guests to open.
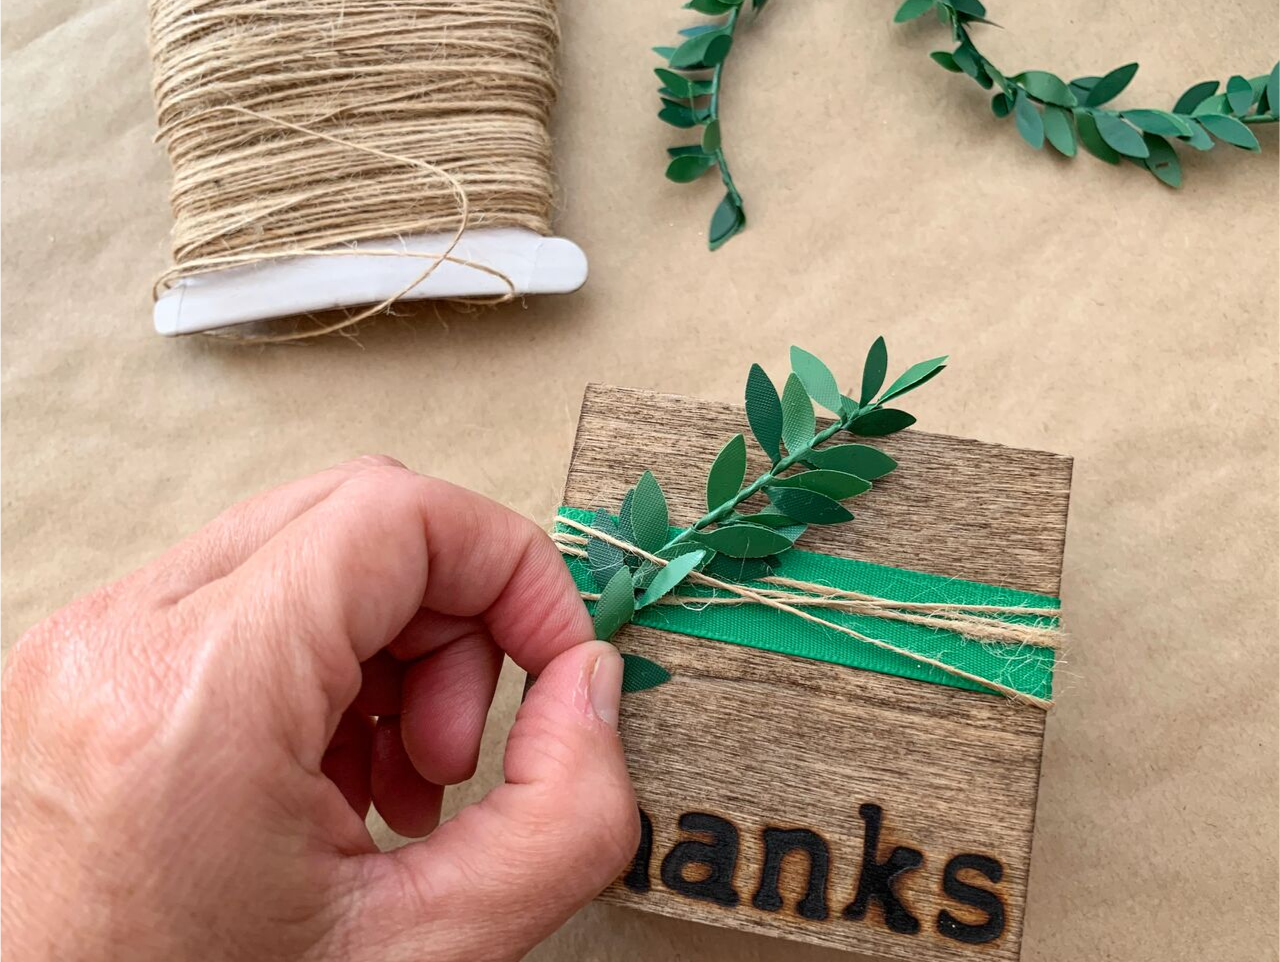
Cut a sprig of Boxwood Leaf Ribbon and tuck it into the jute cording on the box.
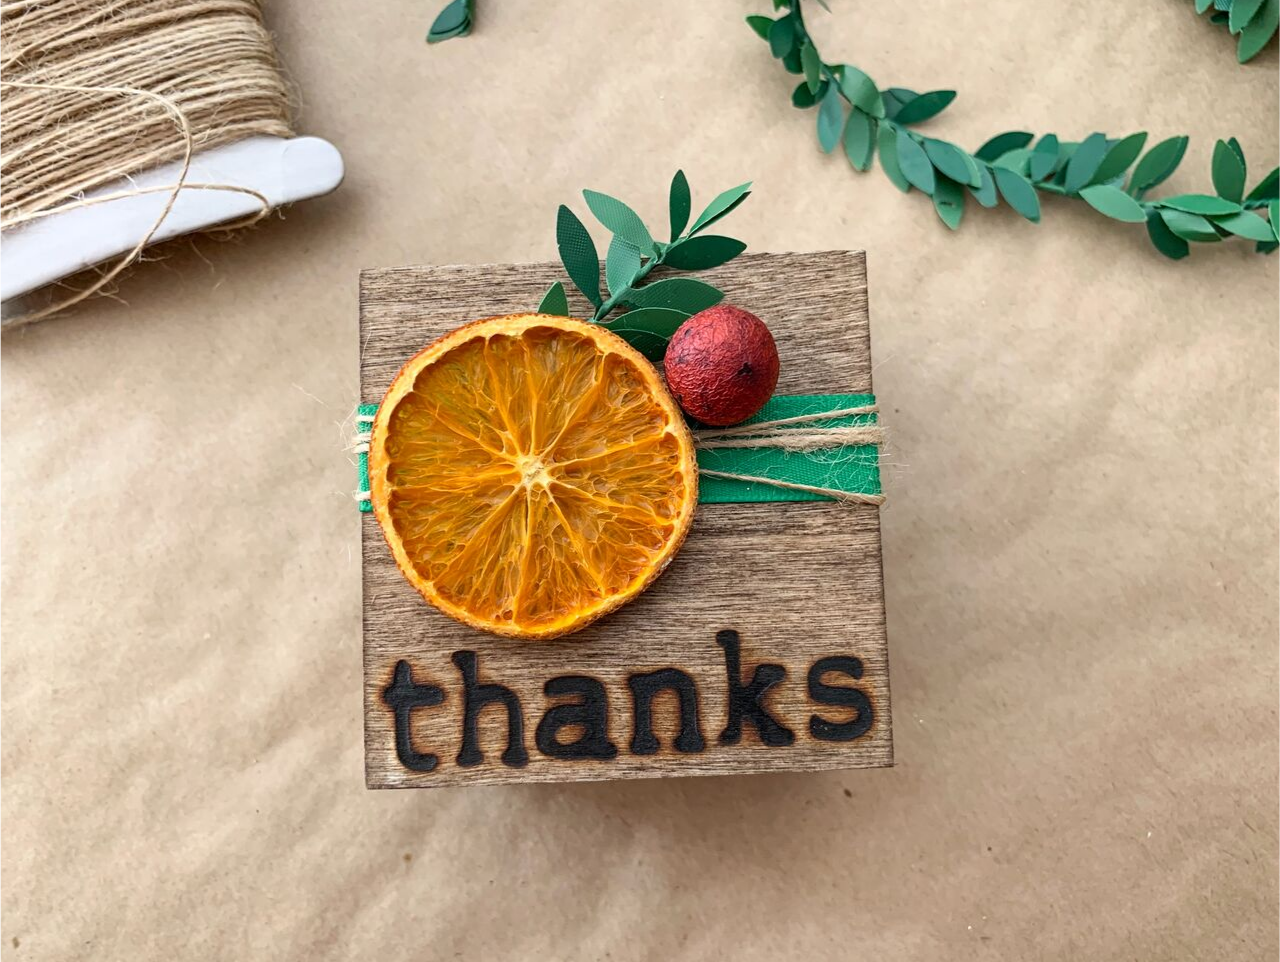
Use hot glue to secure a dehydrated orange slice and a dried cranberry to the ribbon. These are both readily available online, but if you'd like to dehydrate your own orange slices, see the optional step below.
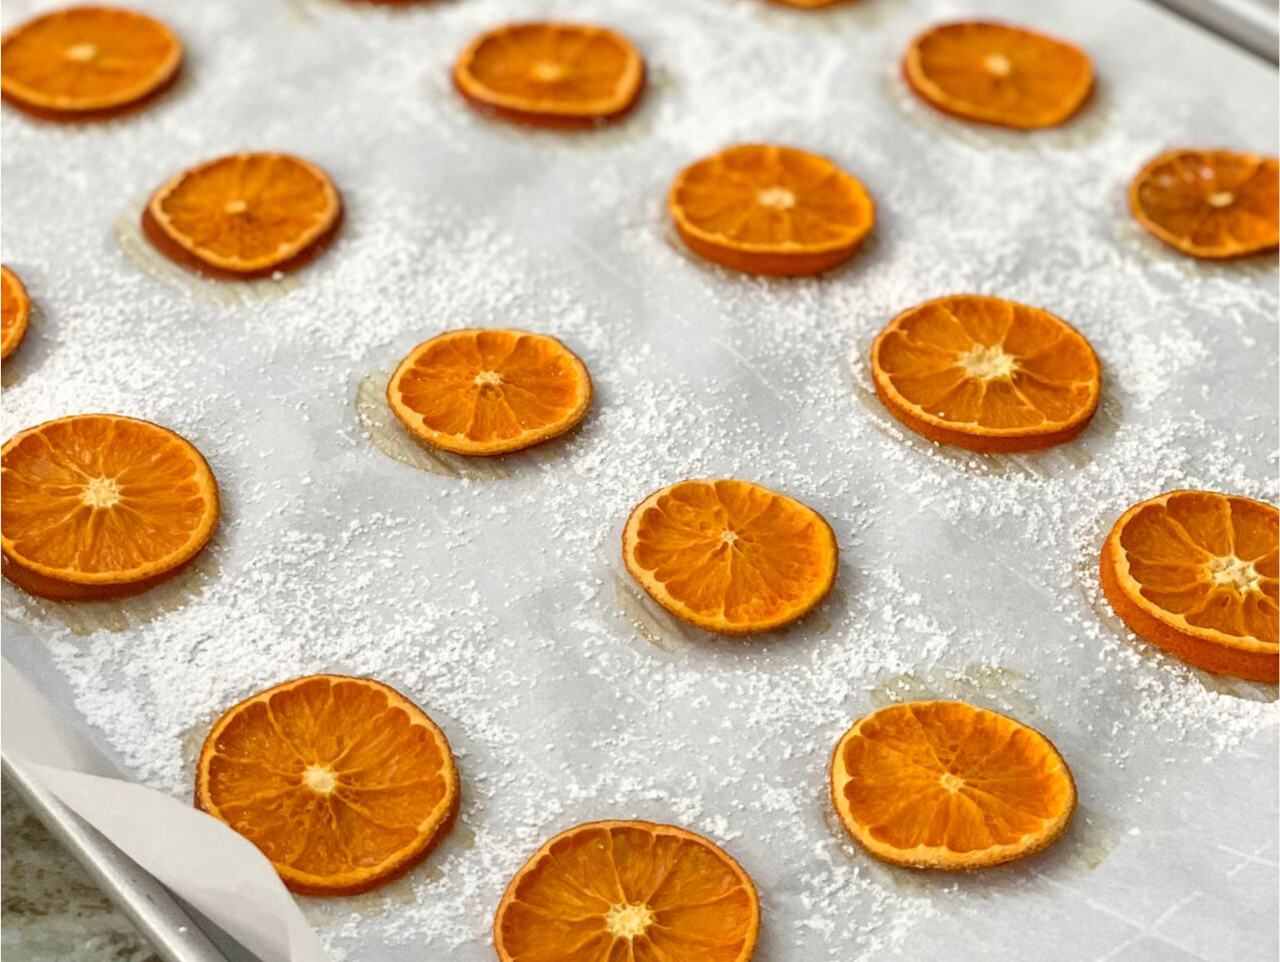
If you want to dehydrate your own oranges, thinly slice clementines and place them on a piece of parchment paper on a baking sheet. Sprinkle with powdered sugar. Bake at 200 degrees for two to three hours, or until they're nice and dehydrated.
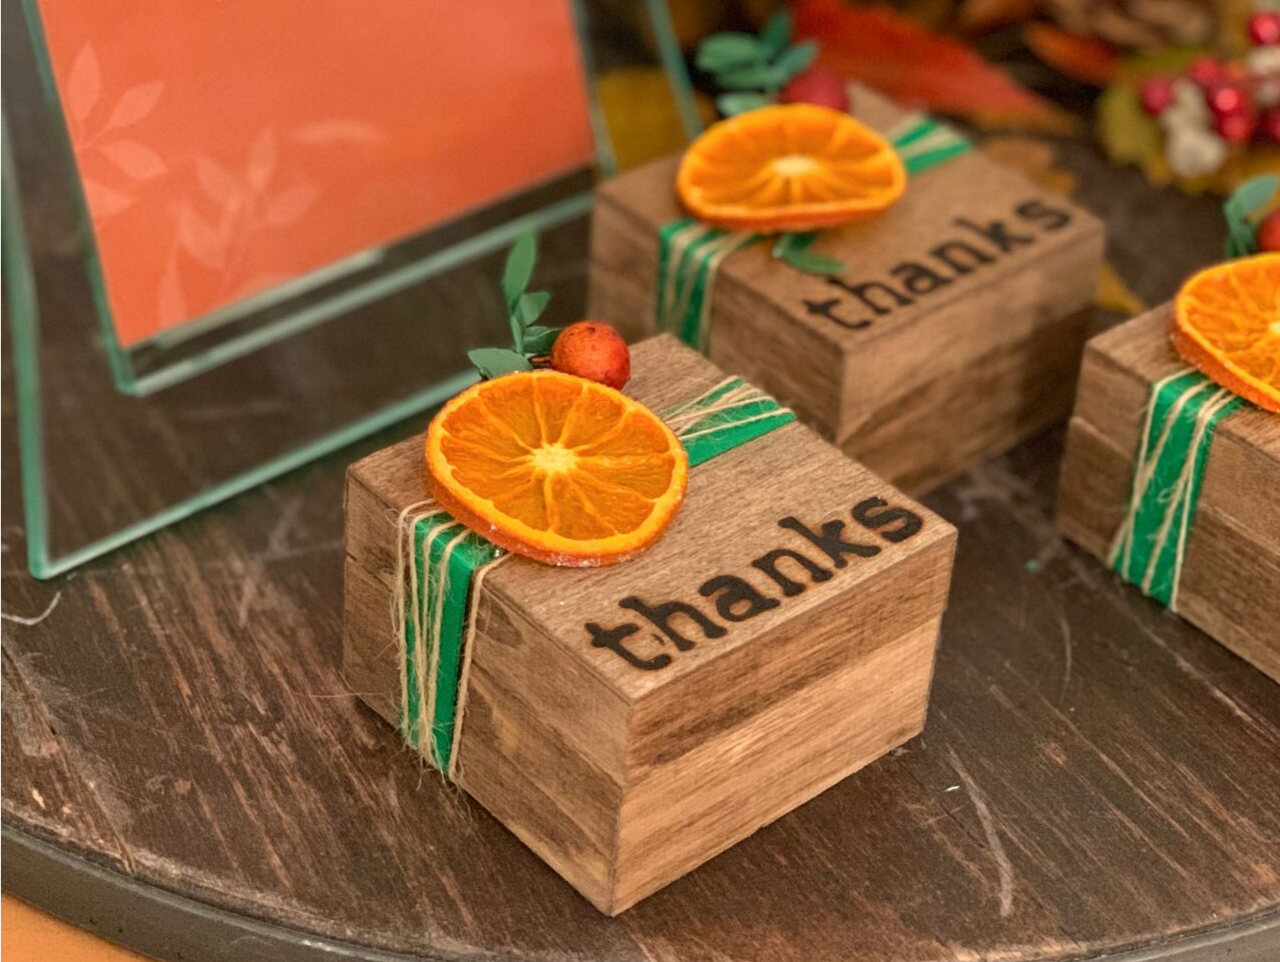
Hand out your favors and wow guests as you tell them that you actually wood burned these boxes yourself!
See the entire Emerald & Orange Thanksgiving Table and see how you can make your own DIY Agate Coasters as well. Don't miss out on all of the FREE Thanksgiving Printables that match perfectly with our theme.

To begin, set up a work space outside or in a well ventilated area. Remove the letters you need from the Lowercase Alphabet Hot Stamps Set. Unscrew the tip from the Creative Woodburner® Value Tool and screw on the first letter that you'll be using. Heat up the tool. Remove the lids from the Unfinished Wood Trinket Boxes and place them nearby. Once the wood burner tool is hot, press the tool against the box lid and hold until the desired burn is achieved (mine took about six seconds). Repeat burning that same letter into the other box lids.

When you are ready to move to the next letter, use pliers to unscrew the hot letter and screw on the next one. Place the hot letter in a small glass bowl to cool off. Repeat this process until your entire word has been stamped onto every box. Unplug the wood burning tool.


Wearing disposable gloves, use a foam brush to apply stain to the box lids and bottoms (you don't need to stain the inside). I used Minwax® stain in "Special Walnut." Brush the stain on then immediately use a rag to wipe it off. Continue this process until all of the boxes are stained. Allow to dry.

Once the stain on the boxes has dried, fill the boxes with goodies. We used these Green Foil Wrapped Caramels and they are soooo good!

Next, secure one end of Emerald Green Single Faced Satin Ribbon to the bottom of the box with tape. Wrap the ribbon around the box and cut it where it meets the other end in the back. Secure with tape. Secure one end of Natural Jute Cording to the back of the box and wrap the cording around the box several times. Cut and secure in the back. We used tape here instead of hot glue so that the boxes will be easy for the guests to open.

Cut a sprig of Boxwood Leaf Ribbon and tuck it into the jute cording on the box.

Use hot glue to secure a dehydrated orange slice and a dried cranberry to the ribbon. These are both readily available online, but if you'd like to dehydrate your own orange slices, see the optional step below.

If you want to dehydrate your own oranges, thinly slice clementines and place them on a piece of parchment paper on a baking sheet. Sprinkle with powdered sugar. Bake at 200 degrees for two to three hours, or until they're nice and dehydrated.

Hand out your favors and wow guests as you tell them that you actually wood burned these boxes yourself!
See the entire Emerald & Orange Thanksgiving Table and see how you can make your own DIY Agate Coasters as well. Don't miss out on all of the FREE Thanksgiving Printables that match perfectly with our theme.


