
Begin by staining a Medium Embroidery Hoop with a warm shade of wood stain. Use a sponge brush to apply the stain evenly around the hoop. Set the hoop aside to dry.
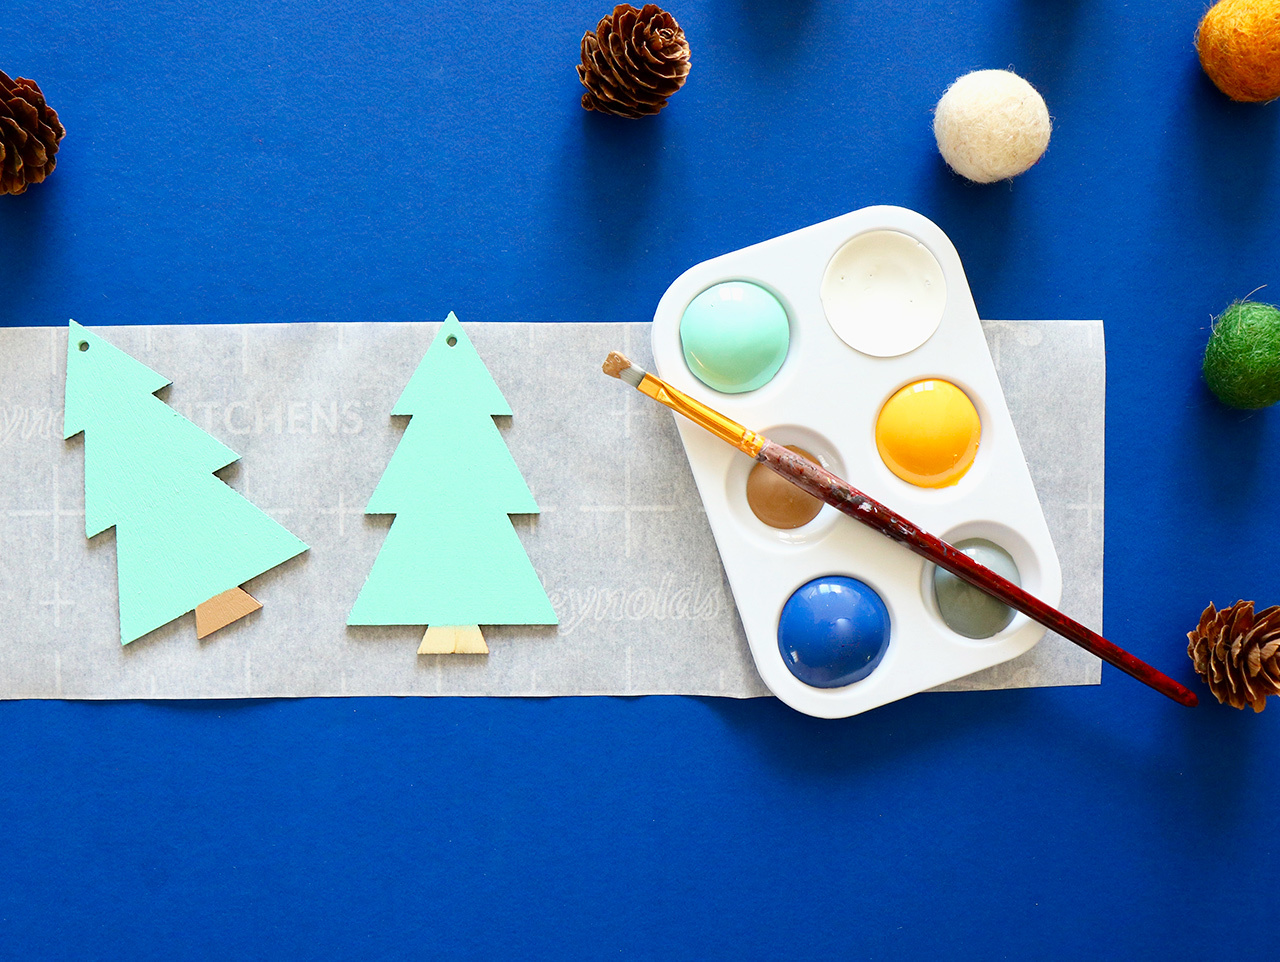


Next, paint two DIY Wood Tree Ornaments mint green with light tan trunks. Paint two smaller wooden beads and one larger bead yellow, dark blue and mint green.


Download and print the cloud, moon and mountain templates, found here, onto white cardstock. Trace one moon onto yellow felt, two clouds onto white felt, and two mountains onto grey felt. You will need to trace two pieces per shape.

Once you've cut the mountain shapes, cut the snowcaps from the mountain template and trace them onto white felt. Use tacky glue to adhere them to the tops of each mountain.

Tie long lengths of Natural Jute Cording to the DIY Wood Tree Ornaments once the paint has dried.
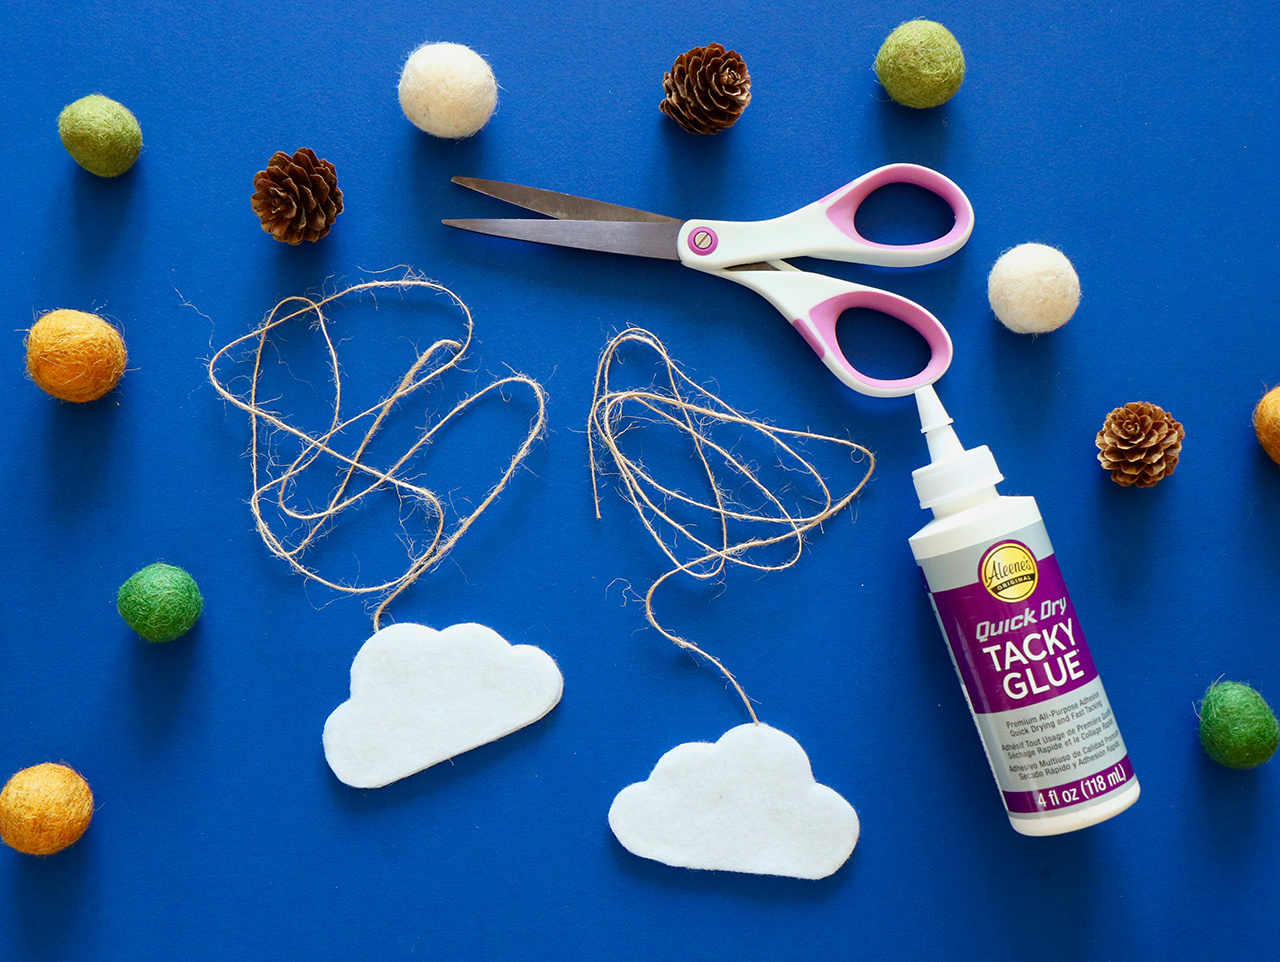


Now, cut long lengths of Natural Jute Cording and glue them to the top of one side of each of the mountain shapes and the clouds.
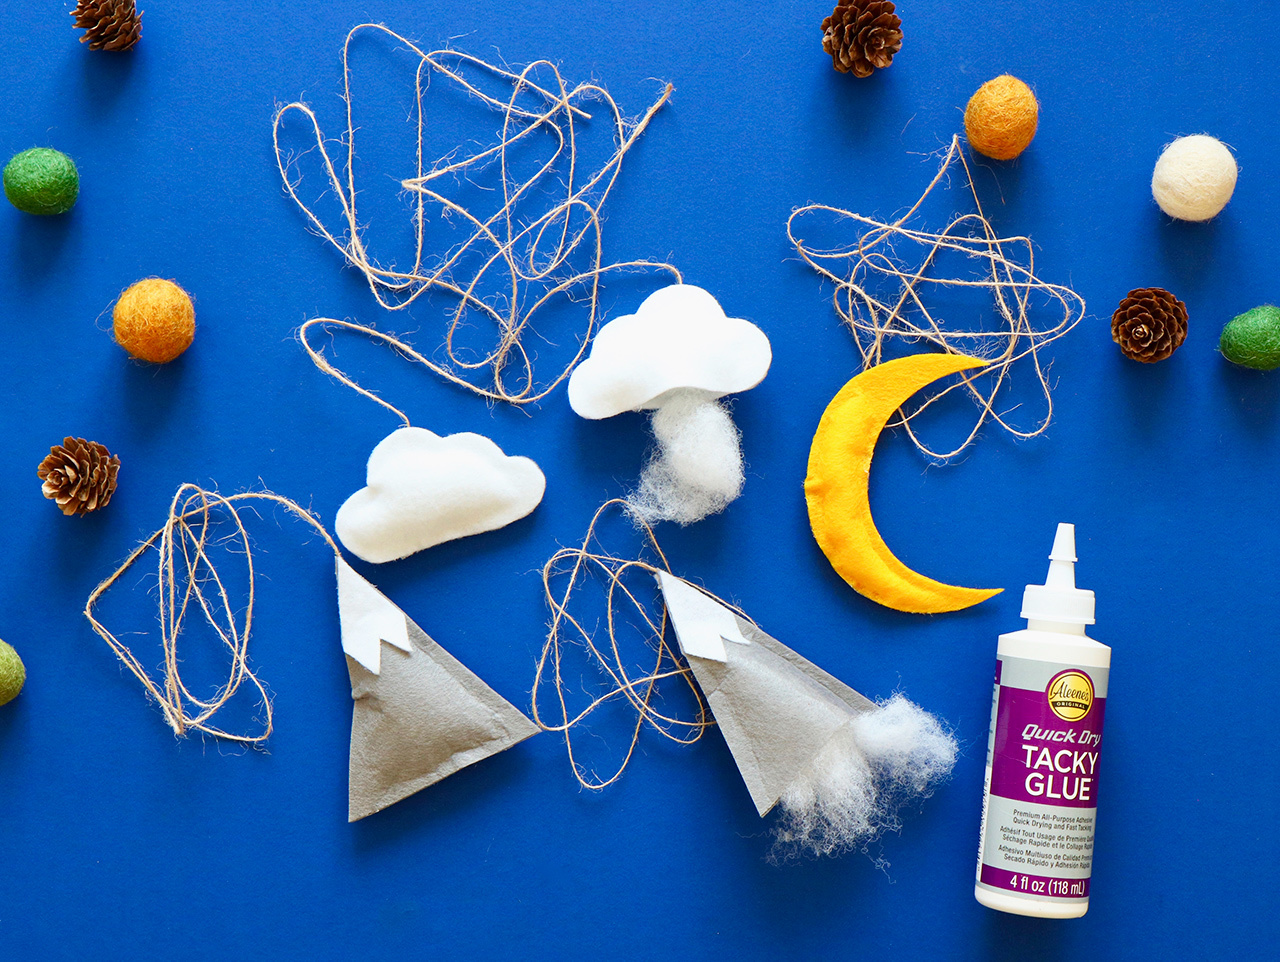
Next, glue each of the shapes together to form "pillows". To do so, lay two pieces back to back, then apply glue along the outer edges to secure them together. Be sure to leave an opening so you can insert the quilt batting. Glue the bottoms together once you have filled them to your liking.

Thread the ends of each strand of Natural Jute Cording through a needle with a large eye. Thread a Wool Felt Pom Pom onto each cording strand to coordinate with the shapes attached. We used the white, teal and navy colors for ours and gave the moon three pom poms for added visual interest.
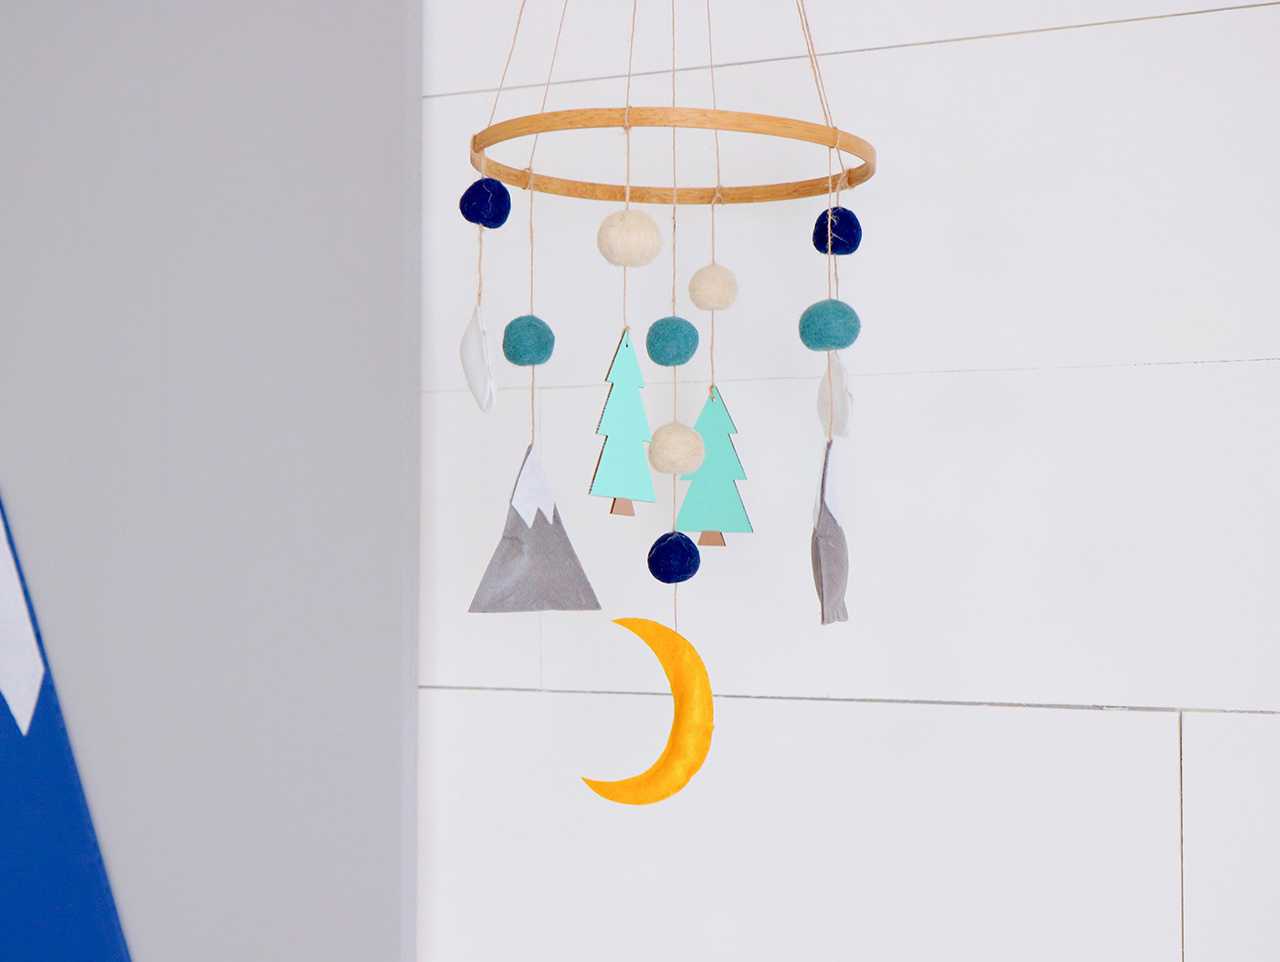


Tie the mountain, cloud and tree shapes to the embroidery hoop, alternating the shapes and staggering the height of each by knotting them close to the hoop. Be sure to leave the longer length of jute cording at the top. Add the moon to the center of the hoop and thread the ends of the jute cording through the three wooden beads. Once they're all threaded through the wooden beads and the hoop is sitting level, tie all the strands of jute into one knot to secure them in place.

Finally, hang the adorable DIY Mountain Mobile as a decorative element during your favorite mama-to-be's Mountain Themed Baby Shower. Once the shower is over, send the mobile home with mama to hang over the baby's crib!
Be sure to check out the tutorial for the DIY Mountain Backdrop and Dessert Table, the steps to create an Adventure Awaits Nursery Sign and ideas to host a Rustic Mountain Themed Baby Shower!

Begin by staining a Medium Embroidery Hoop with a warm shade of wood stain. Use a sponge brush to apply the stain evenly around the hoop. Set the hoop aside to dry.


Next, paint two DIY Wood Tree Ornaments mint green with light tan trunks. Paint two smaller wooden beads and one larger bead yellow, dark blue and mint green.


Download and print the cloud, moon and mountain templates, found here, onto white cardstock. Trace one moon onto yellow felt, two clouds onto white felt, and two mountains onto grey felt. You will need to trace two pieces per shape.

Once you've cut the mountain shapes, cut the snowcaps from the mountain template and trace them onto white felt. Use tacky glue to adhere them to the tops of each mountain.

Tie long lengths of Natural Jute Cording to the DIY Wood Tree Ornaments once the paint has dried.


Now, cut long lengths of Natural Jute Cording and glue them to the top of one side of each of the mountain shapes and the clouds.

Next, glue each of the shapes together to form "pillows". To do so, lay two pieces back to back, then apply glue along the outer edges to secure them together. Be sure to leave an opening so you can insert the quilt batting. Glue the bottoms together once you have filled them to your liking.

Thread the ends of each strand of Natural Jute Cording through a needle with a large eye. Thread a Wool Felt Pom Pom onto each cording strand to coordinate with the shapes attached. We used the white, teal and navy colors for ours and gave the moon three pom poms for added visual interest.


Tie the mountain, cloud and tree shapes to the embroidery hoop, alternating the shapes and staggering the height of each by knotting them close to the hoop. Be sure to leave the longer length of jute cording at the top. Add the moon to the center of the hoop and thread the ends of the jute cording through the three wooden beads. Once they're all threaded through the wooden beads and the hoop is sitting level, tie all the strands of jute into one knot to secure them in place.

Finally, hang the adorable DIY Mountain Mobile as a decorative element during your favorite mama-to-be's Mountain Themed Baby Shower. Once the shower is over, send the mobile home with mama to hang over the baby's crib!
Be sure to check out the tutorial for the DIY Mountain Backdrop and Dessert Table, the steps to create an Adventure Awaits Nursery Sign and ideas to host a Rustic Mountain Themed Baby Shower!


