
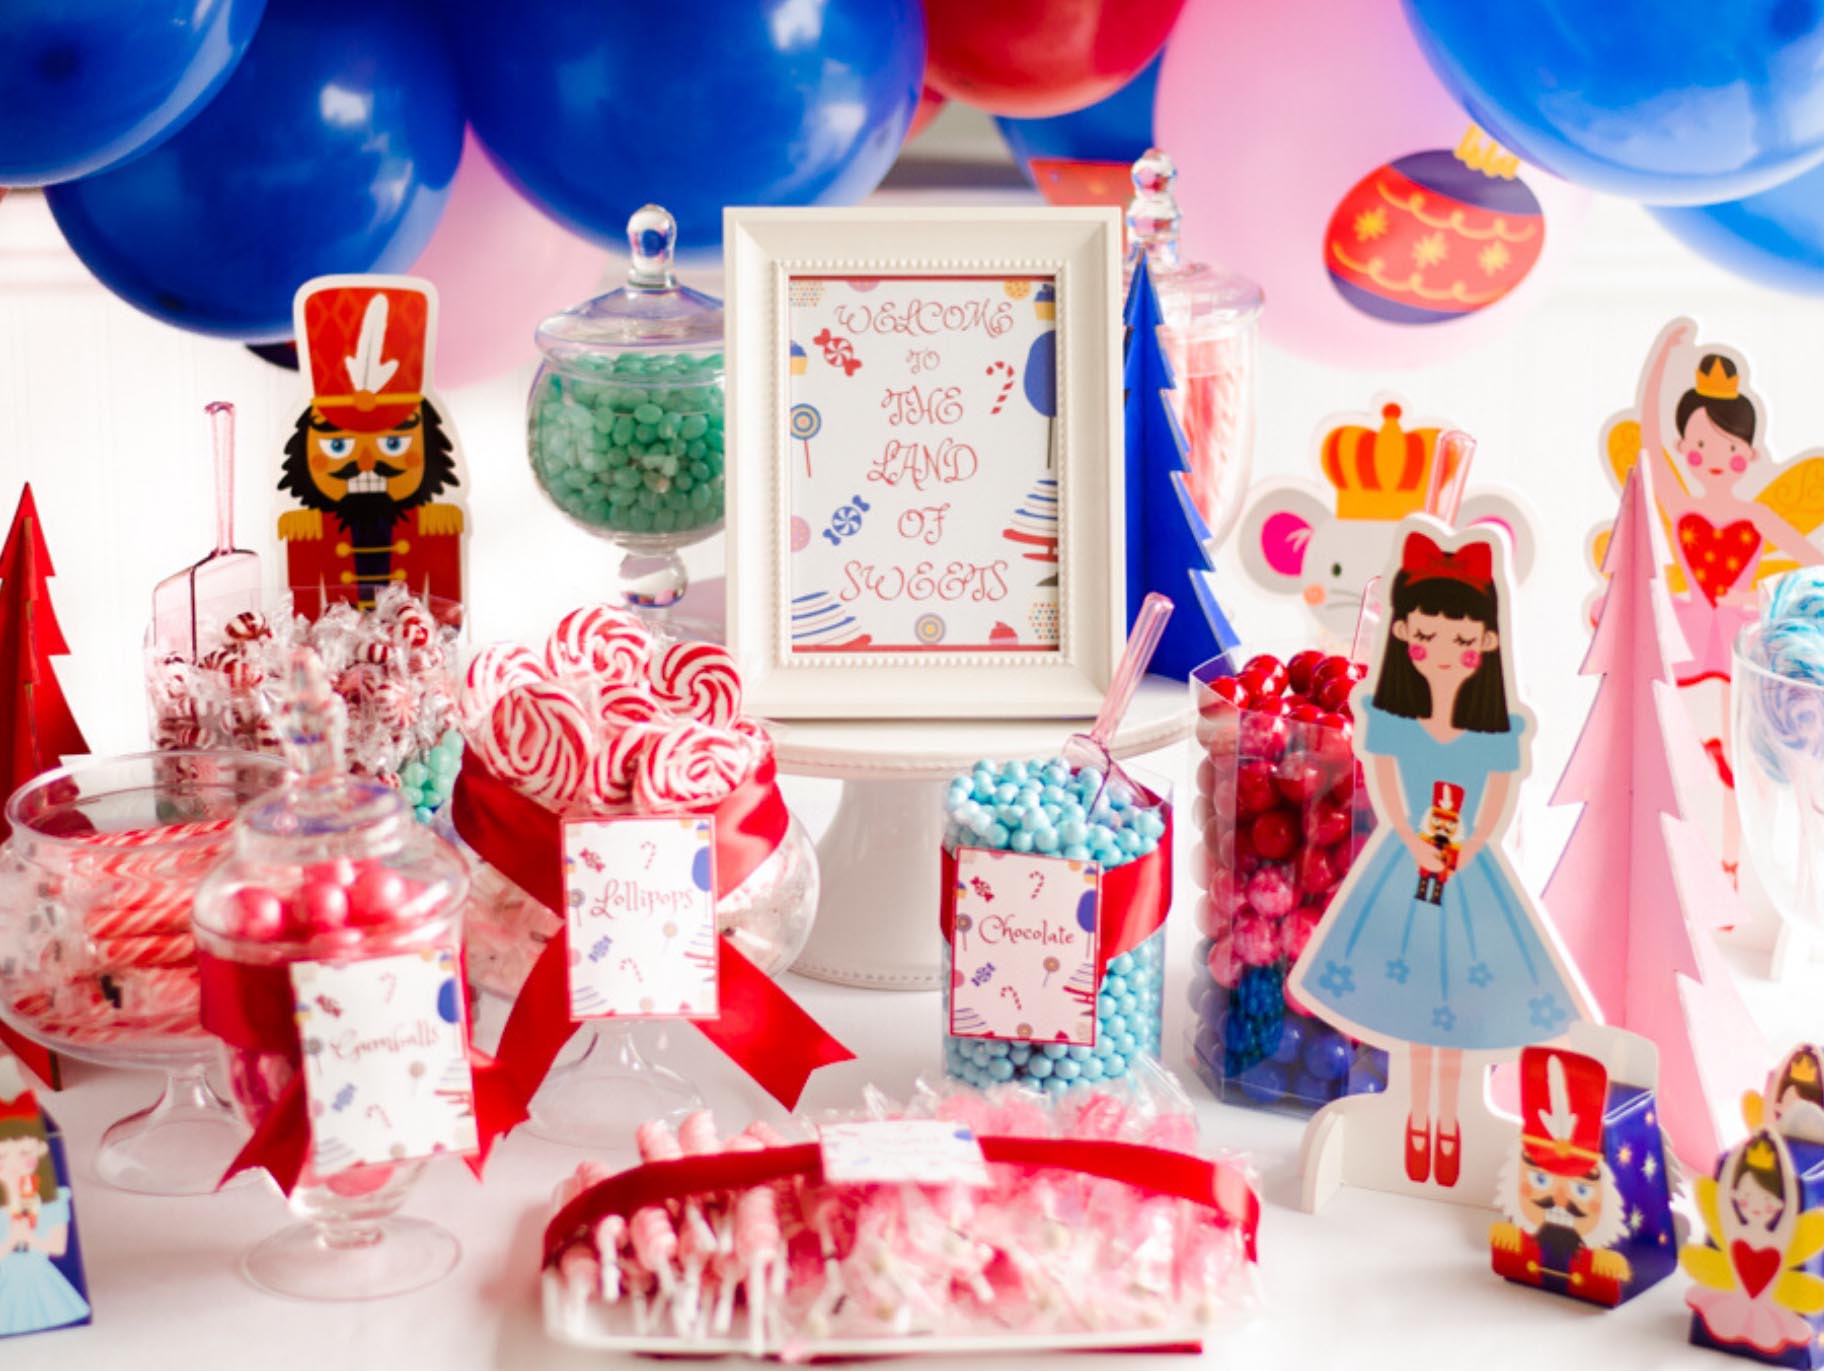

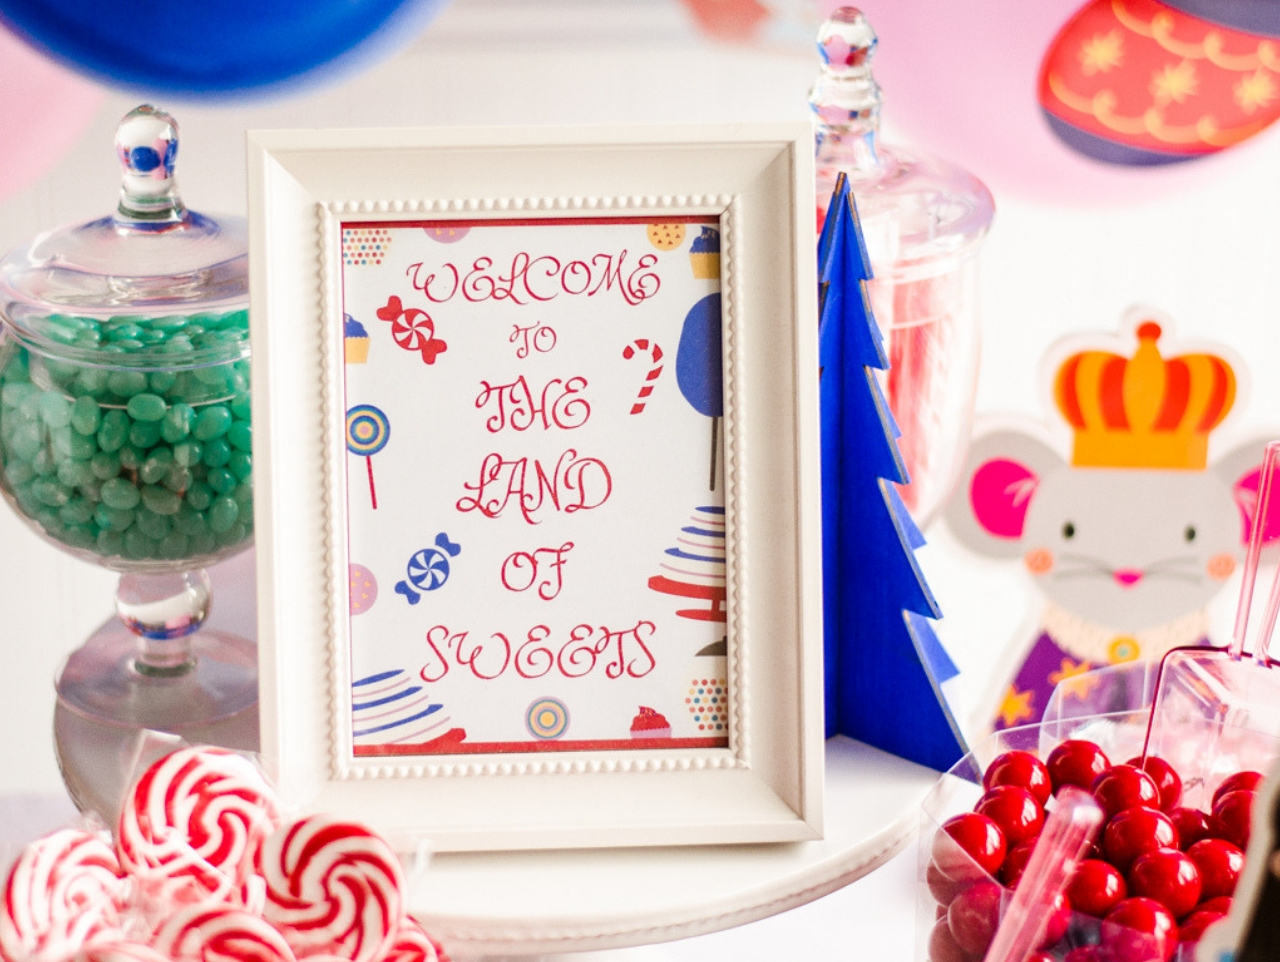
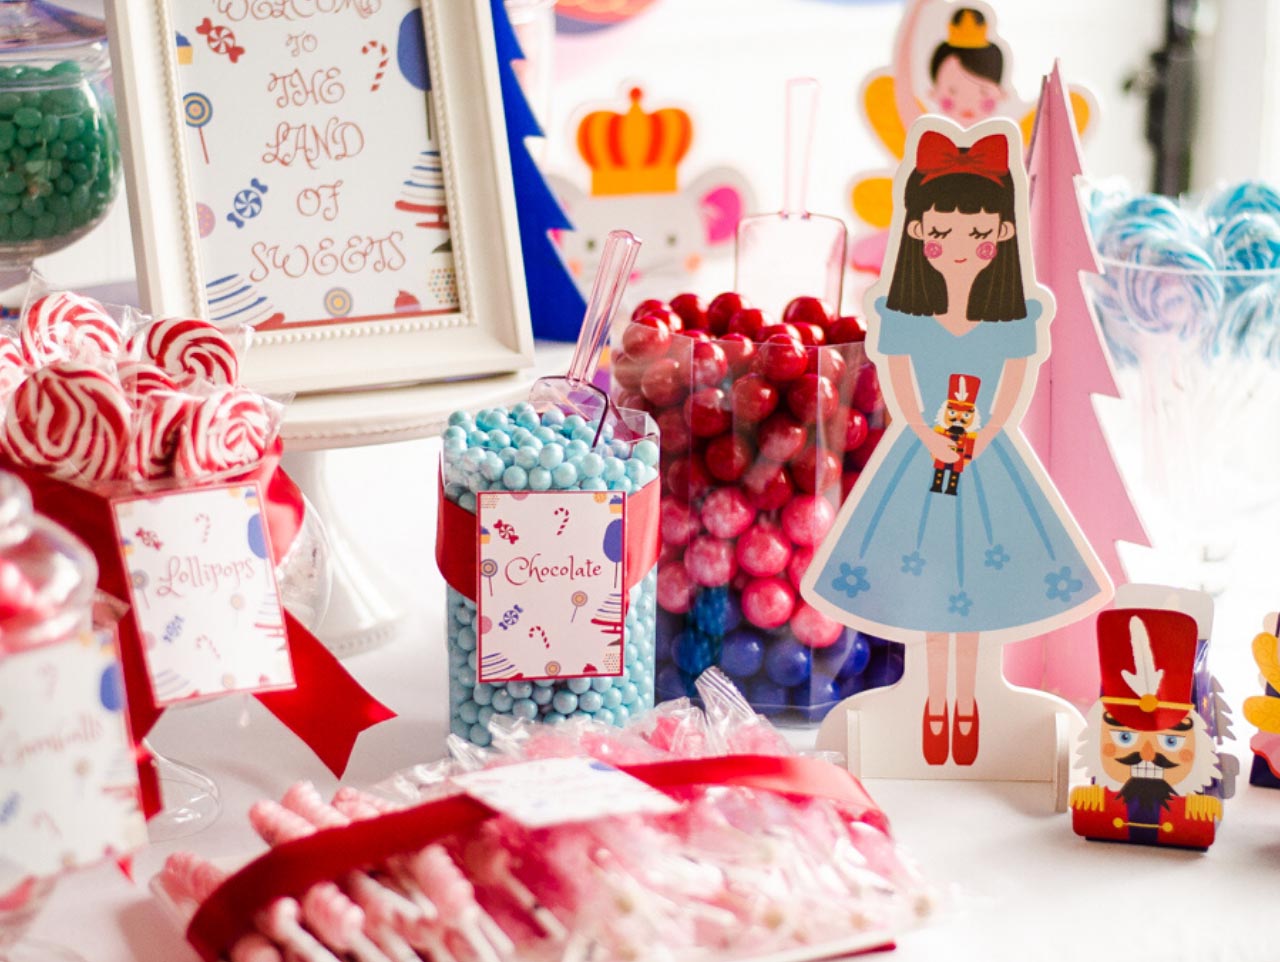
Print out the "Welcome to the Land or Sweets" printable onto Spectrum Noir Ultra Smooth Premium Cardstock and place in a DIY Unfinished Wood Picture Frame that has been painted white.
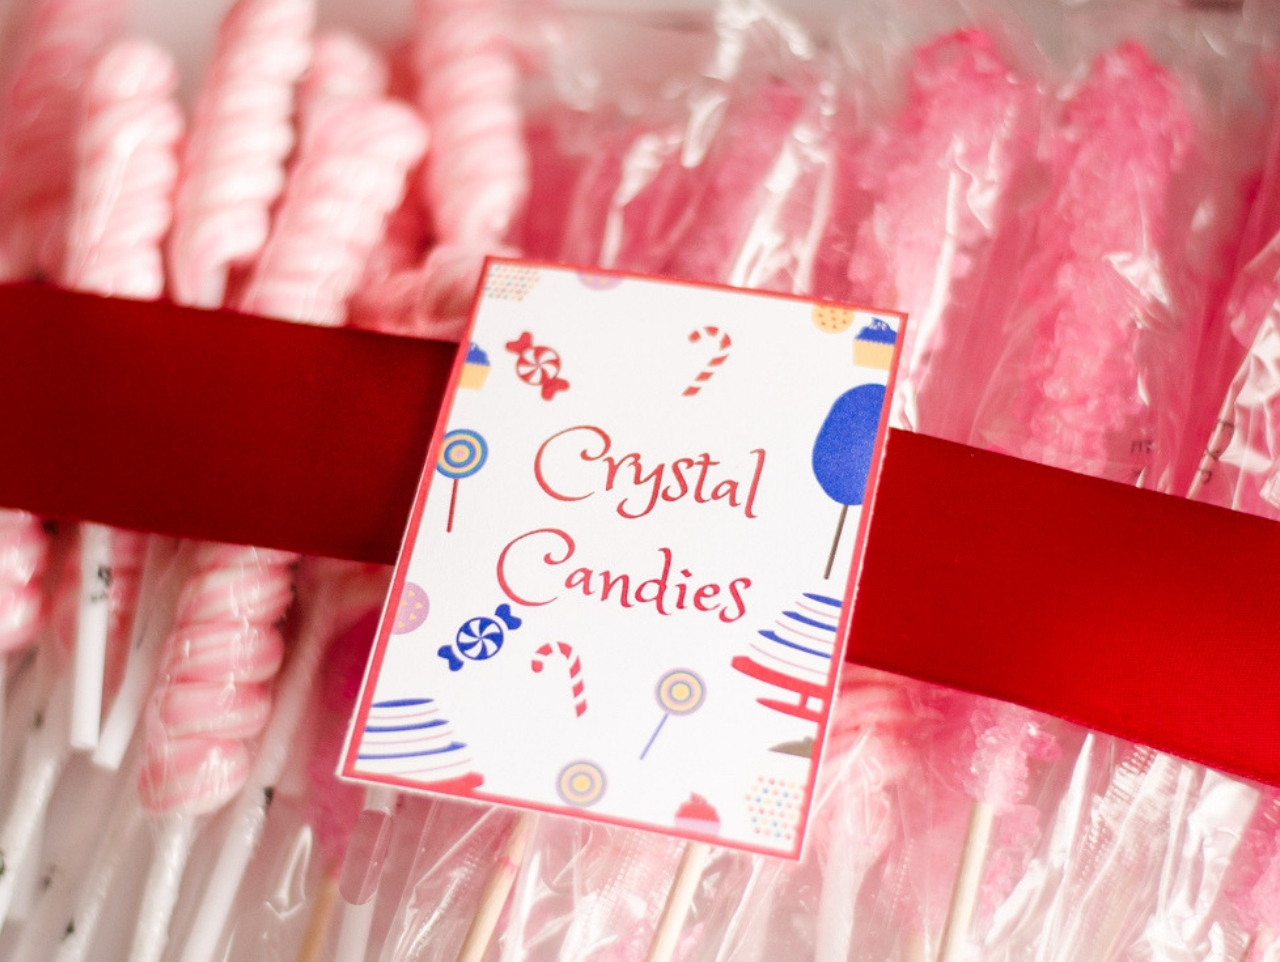
Print out the sheet of candy labels onto Spectrum Noir Ultra Smooth Premium Cardstock and cut out using a Scrapbooking Paper Trimmer. Place an assortment of Pink Rock Candy Lollipops and Pink Mini Twisty Lollipops onto a Small Serving Tray. Tie a strand of Single Faced Satin Red Ribbon around the candies and attach the candy label to the ribbon using glue dots.
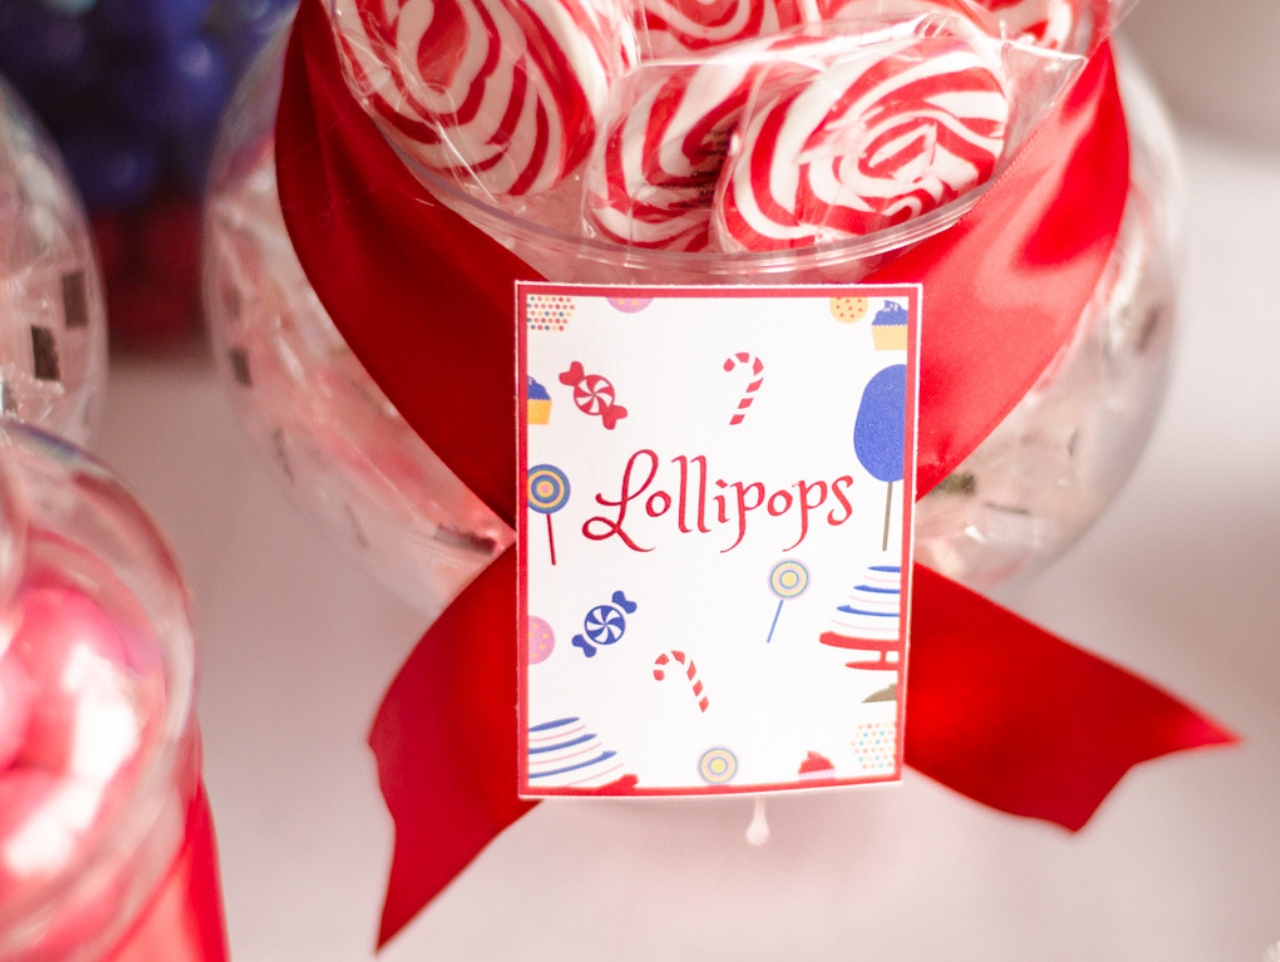
Red Lollipops look so sweet placed inside a Short Round Pedestal Jar. Tie a strand of Single Faced Satin Red Ribbon around the jar and add a little hot glue to secure the ribbon to the jar so the ribbon doesn't slip off. Attach the lollipop label to the front of the jar using a Glue Dot.
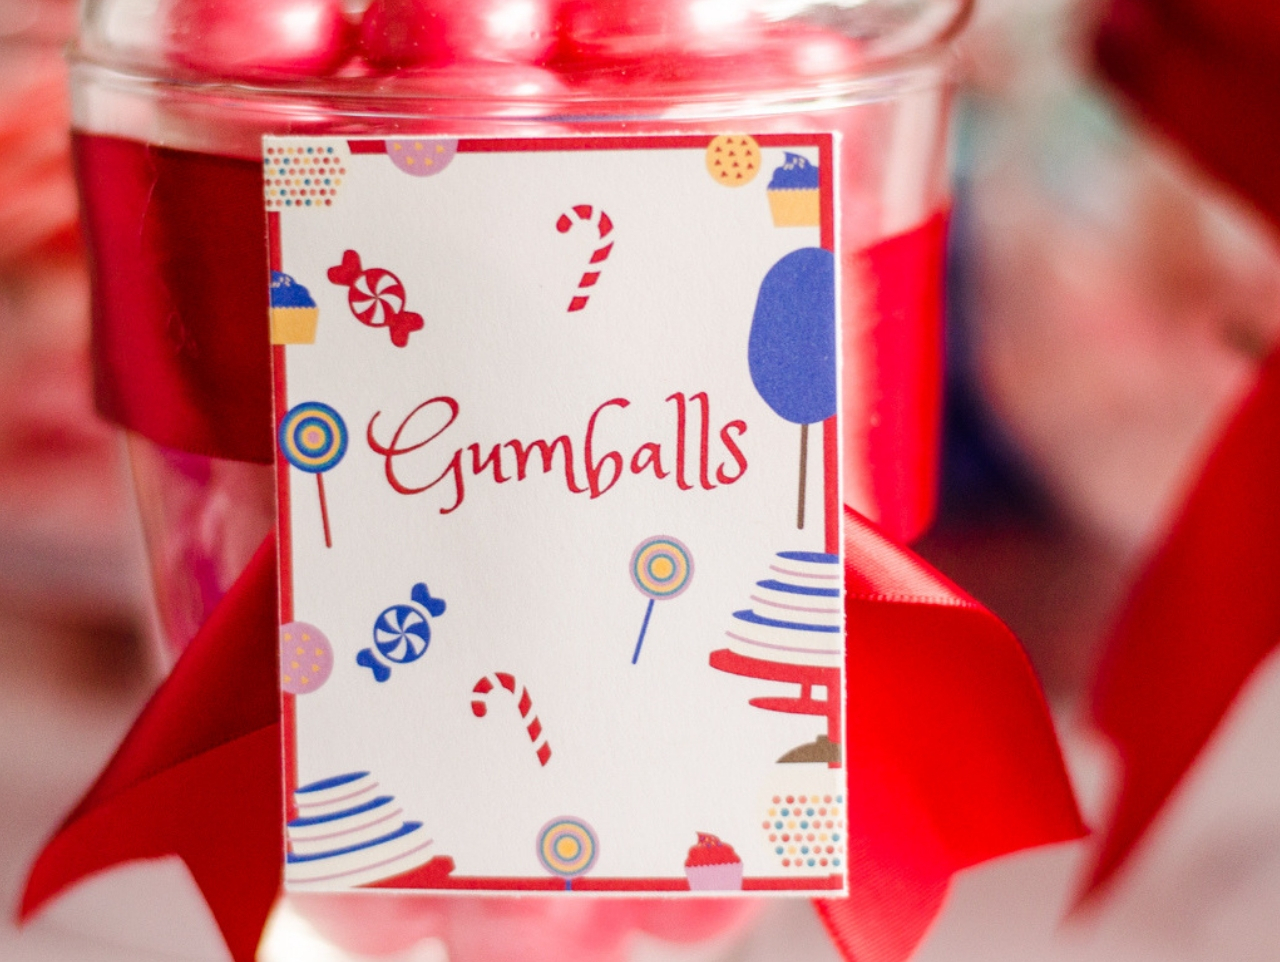
This trio of Glass Jars are the perfect way to display Large Shimmer Pink Gumballs. Tie a strand of Single Faced Satin Red Ribbon around the jar and add a little hot glue to secure the ribbon. Print out the gumball label and attach it to the jar using a Glue Dot.
Mix and match candies in the color palette of your party. Here I placed a layer of Large Blue Gumballs, Large Shimmer Pink Gumballs and Large Red Gumballs inside a Clear Octagon Candy Bucket. I then added a Light Pink Candy Scoop so the guests could easily help themselves.
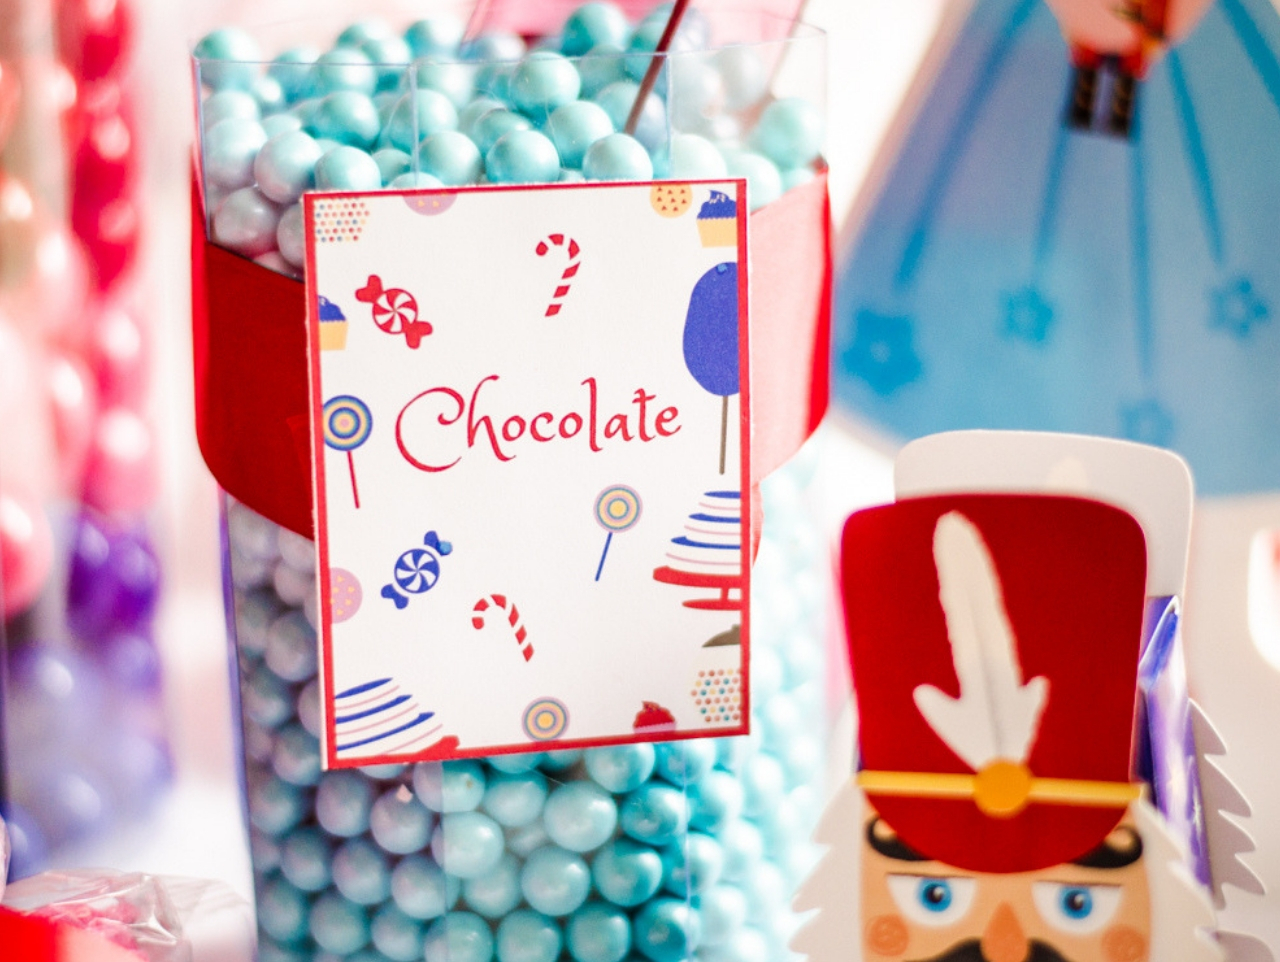
We can't forget the chocolate! These Sparkling Powder Blue Chocolate Candy fit this winter ballet theme perfectly. I poured them into a small Clear Octagon Candy Bucket and attached Red Single Faced Satin Ribbon around the bucket. Add the chocolate printable using a Glue Dot to attach and you're all set to place everything on the candy table!

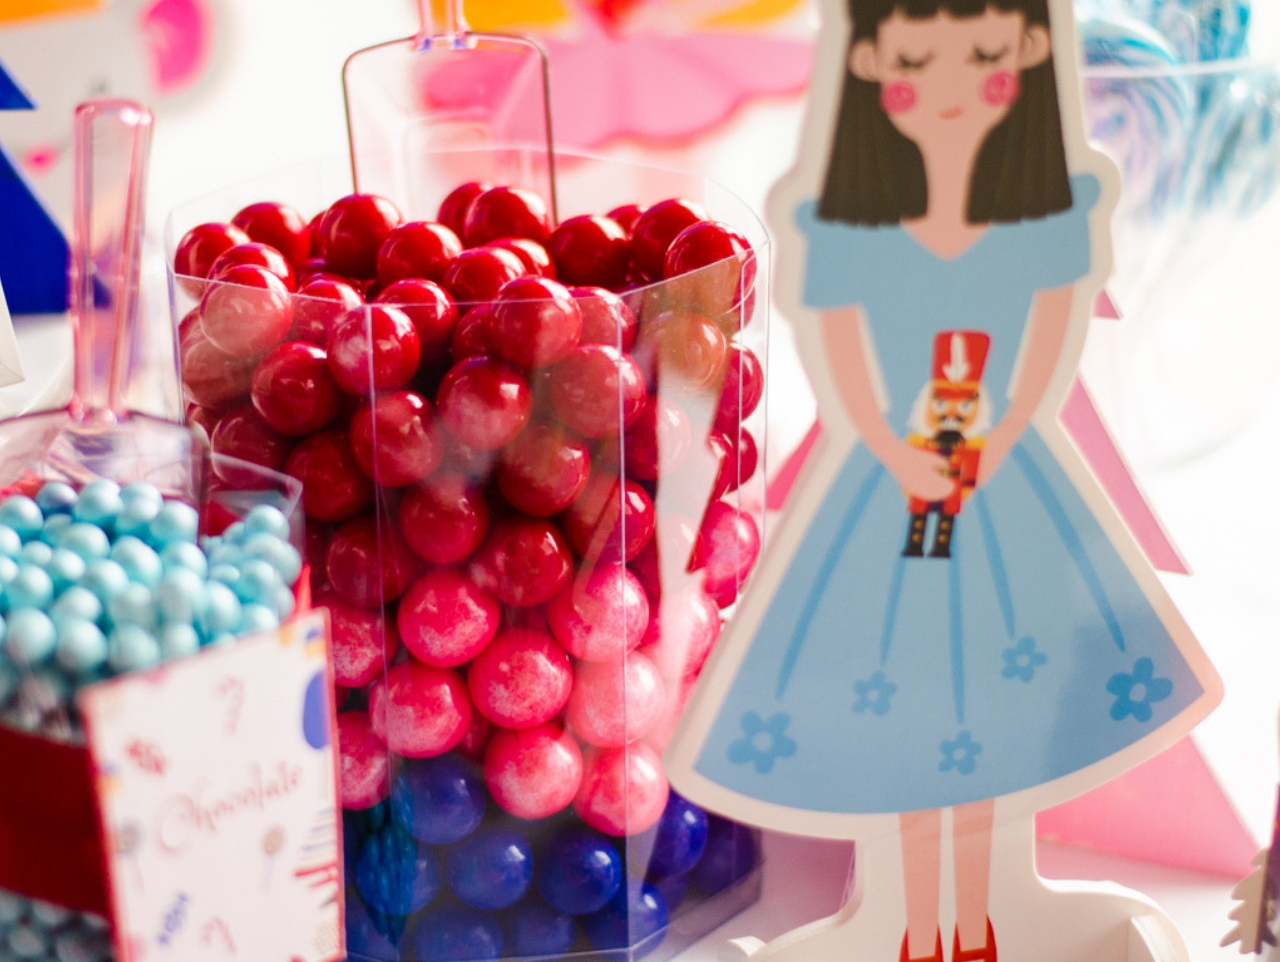
Adding height and dimension to a candy table is a must, so I used a Ceramic Cake Stand to place the welcome sign and a candy jar on. I wanted the "Welcome to the Land of Sweets" sign to be the focal point and having it raised a little higher than the rest of the decor really makes it stand out. Next, add the various jars of candies around the sign and place these darling Nutcracker Centerpieces around the candy table as well.
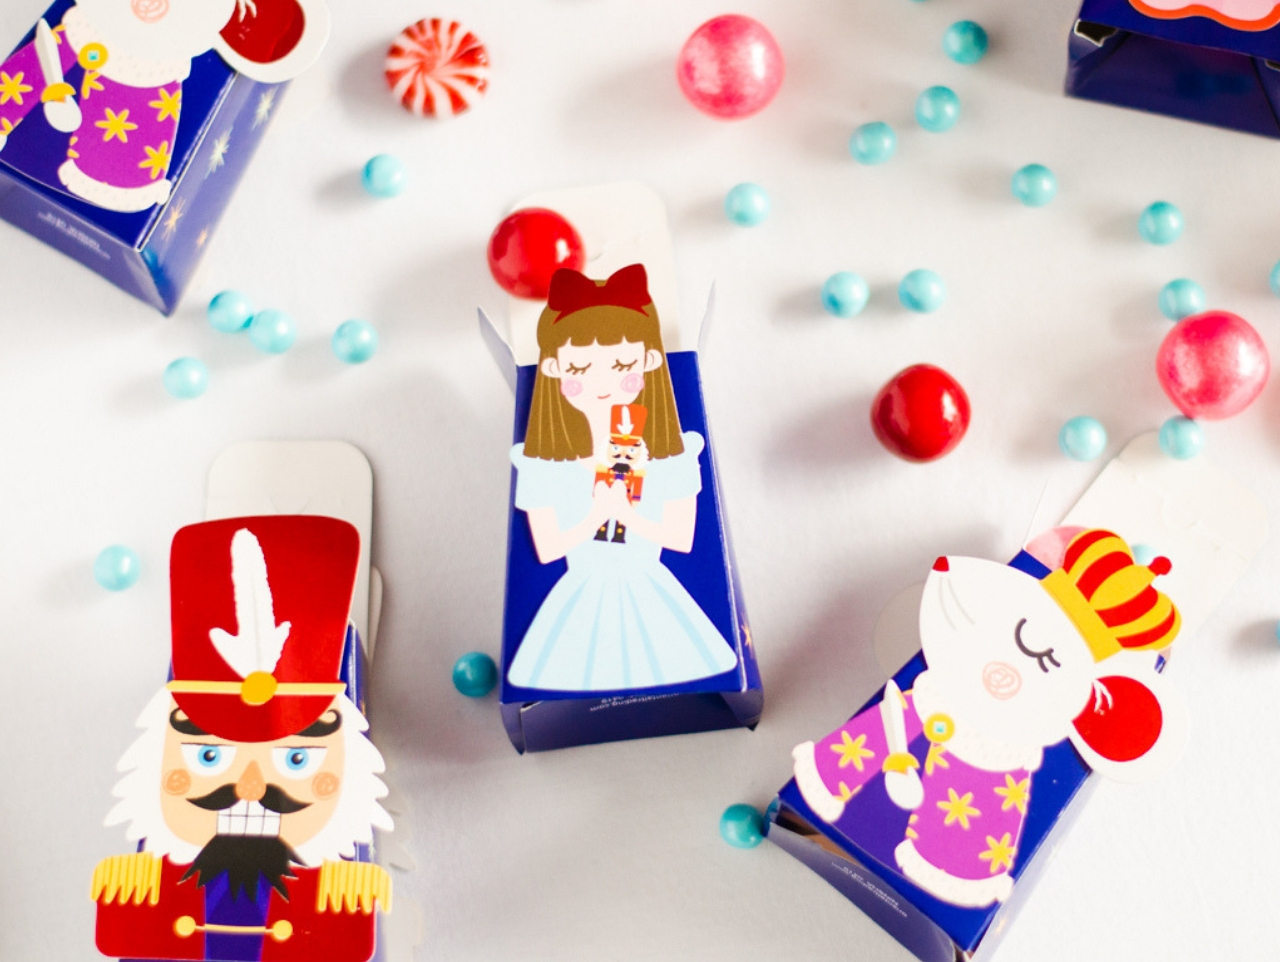
Place these sweet Nutcracker Treat Boxes at the table for the guests to place all their goodies in as they enter The Land of Sweets. Kids will love all the fun characters to choose from like the Nutcracker, Mouse King and Clara.
And now your Land of Sweets Dessert Station is complete! See the entire Nutcracker Tea Party as well as the DIY projects for Nutcracker Ballerina Necklaces and Pom Pom Mouse Craft.
Print out the "Welcome to the Land or Sweets" printable onto Spectrum Noir Ultra Smooth Premium Cardstock and place in a DIY Unfinished Wood Picture Frame that has been painted white.
Print out the sheet of candy labels onto Spectrum Noir Ultra Smooth Premium Cardstock and cut out using a Scrapbooking Paper Trimmer. Place an assortment of Pink Rock Candy Lollipops and Pink Mini Twisty Lollipops onto a Small Serving Tray. Tie a strand of Single Faced Satin Red Ribbon around the candies and attach the candy label to the ribbon using glue dots.
Red Lollipops look so sweet placed inside a Short Round Pedestal Jar. Tie a strand of Single Faced Satin Red Ribbon around the jar and add a little hot glue to secure the ribbon to the jar so the ribbon doesn't slip off. Attach the lollipop label to the front of the jar using a Glue Dot.
This trio of Glass Jars are the perfect way to display Large Shimmer Pink Gumballs. Tie a strand of Single Faced Satin Red Ribbon around the jar and add a little hot glue to secure the ribbon. Print out the gumball label and attach it to the jar using a Glue Dot.
Mix and match candies in the color palette of your party. Here I placed a layer of Large Blue Gumballs, Large Shimmer Pink Gumballs and Large Red Gumballs inside a Clear Octagon Candy Bucket. I then added a Light Pink Candy Scoop so the guests could easily help themselves.
We can't forget the chocolate! These Sparkling Powder Blue Chocolate Candy fit this winter ballet theme perfectly. I poured them into a small Clear Octagon Candy Bucket and attached Red Single Faced Satin Ribbon around the bucket. Add the chocolate printable using a Glue Dot to attach and you're all set to place everything on the candy table!
Adding height and dimension to a candy table is a must, so I used a Ceramic Cake Stand to place the welcome sign and a candy jar on. I wanted the "Welcome to the Land of Sweets" sign to be the focal point and having it raised a little higher than the rest of the decor really makes it stand out. Next, add the various jars of candies around the sign and place these darling Nutcracker Centerpieces around the candy table as well.
Place these sweet Nutcracker Treat Boxes at the table for the guests to place all their goodies in as they enter The Land of Sweets. Kids will love all the fun characters to choose from like the Nutcracker, Mouse King and Clara.
And now your Land of Sweets Dessert Station is complete! See the entire Nutcracker Tea Party as well as the DIY projects for Nutcracker Ballerina Necklaces and Pom Pom Mouse Craft.


