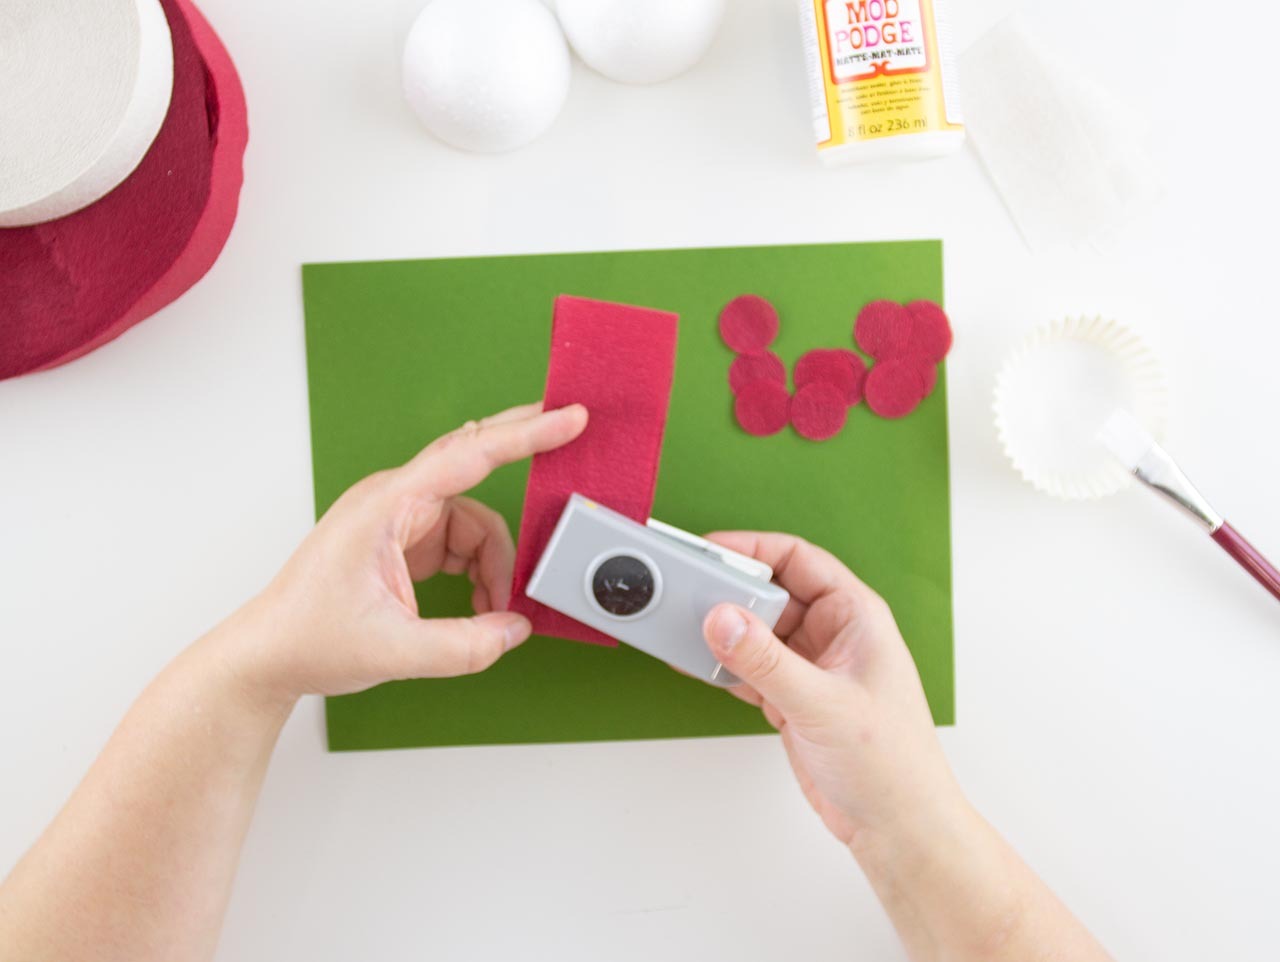
Carefully cut the Styrofoam Balls in half. Use larger styrofoam balls to make larger mushrooms. We used 6-8" foam balls for our tabletop mushrooms. Cut small squares from the red tissue paper or use a small 1" circle punch to punch out circles. If tissue paper isn't available, you can use crepe paper streamers instead!
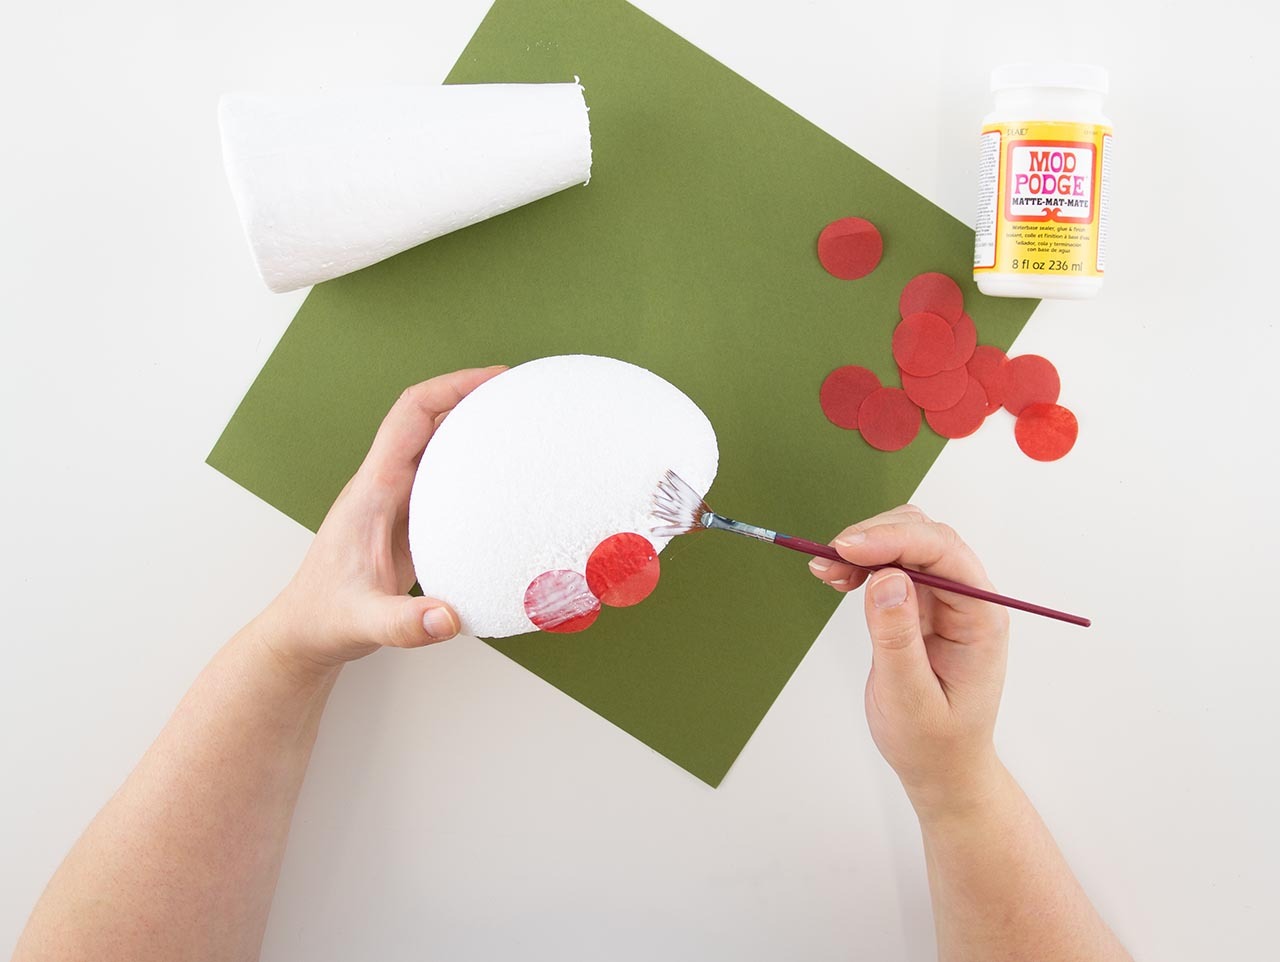
Apply a thin layer of Mod Podge® onto the Styrofoam ball. TIP: Put the Styrofoam ball onto a wooden dowel to make applying the Mod Podge nearly mess-free. Apply the cut tissue or crepe paper pieces onto the Styrofoam ball and then apply another layer of Mod Podge to seal the tissue in place. Apply a thin layer of Mod Podge® along the outer bottom edge of the Styrofoam ball. Wrap the tissue/crepe paper that is hanging off the ball around the bottom of the ball. Apply another thin layer of Mod Podge® to seal the paper in place.
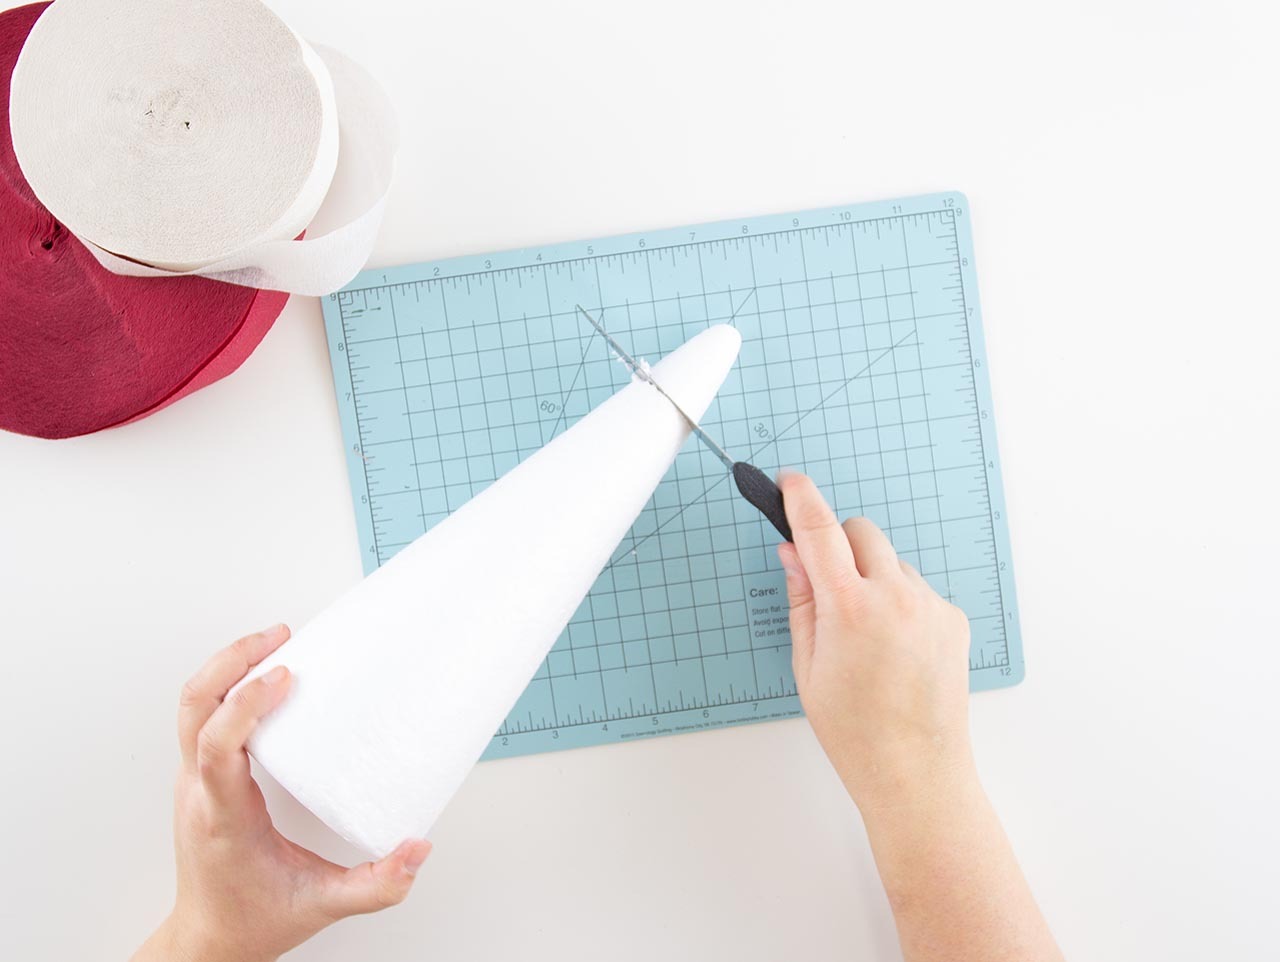


Cut off the top 2-4" from the DIY Medium Styrofoam Cones. Apply a thin layer of Mod Podge® onto the Styrofoam cone. TIP: Put the Styrofoam cone onto a wooden dowel to make applying the Mod Podge easy. Save the cut-off tops to create smaller mushroom bases.
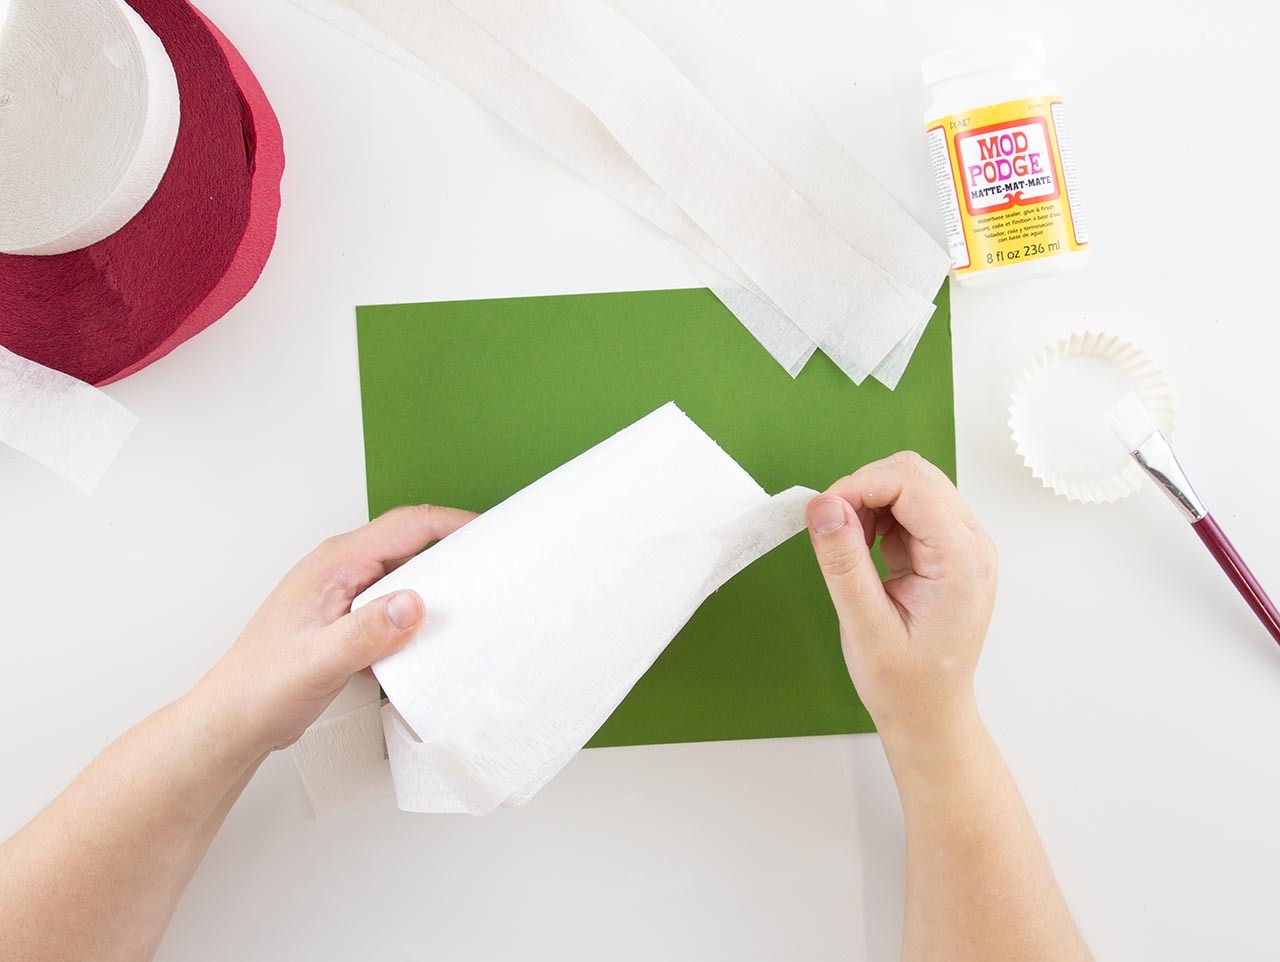
Apply cut tissue paper strips or crepe paper streamers onto the Styrofoam cone and apply another layer of Mod Podge® to seal the paper.
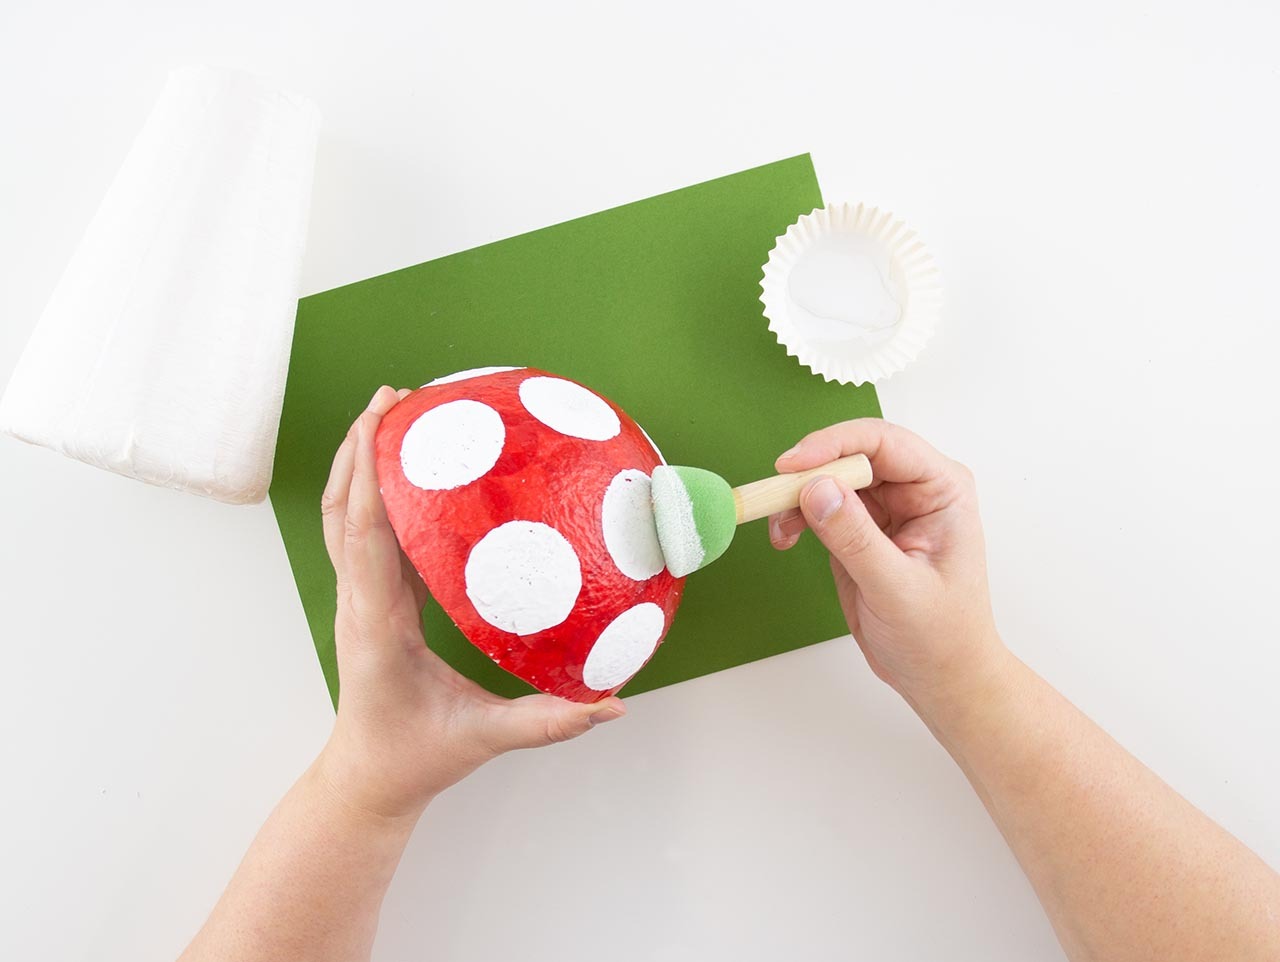
Use a Dot Foam Paintbrush and acrylic paint to paint dots on the mushroom top. Allow time for the paint to dry.
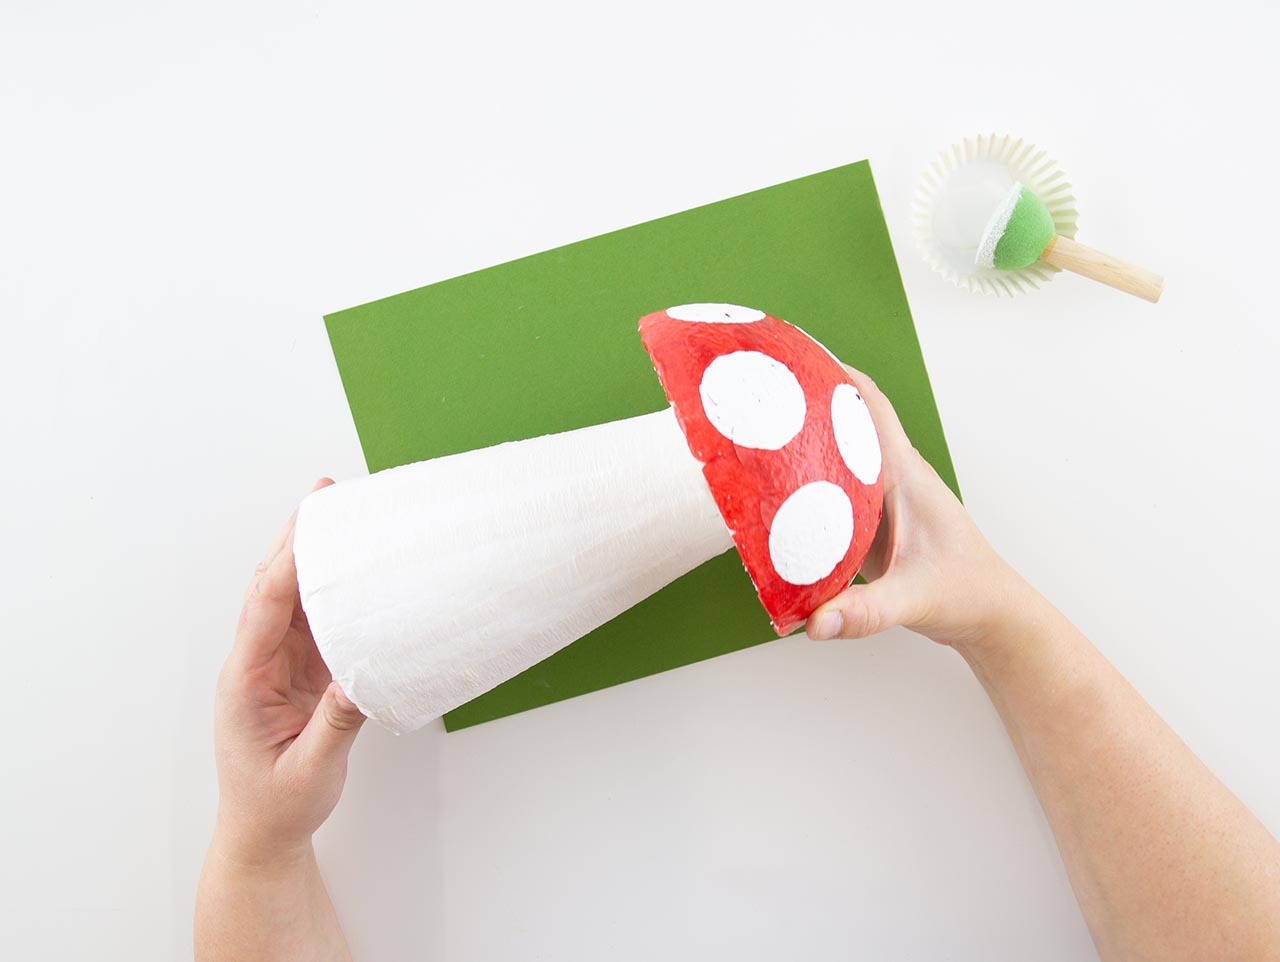

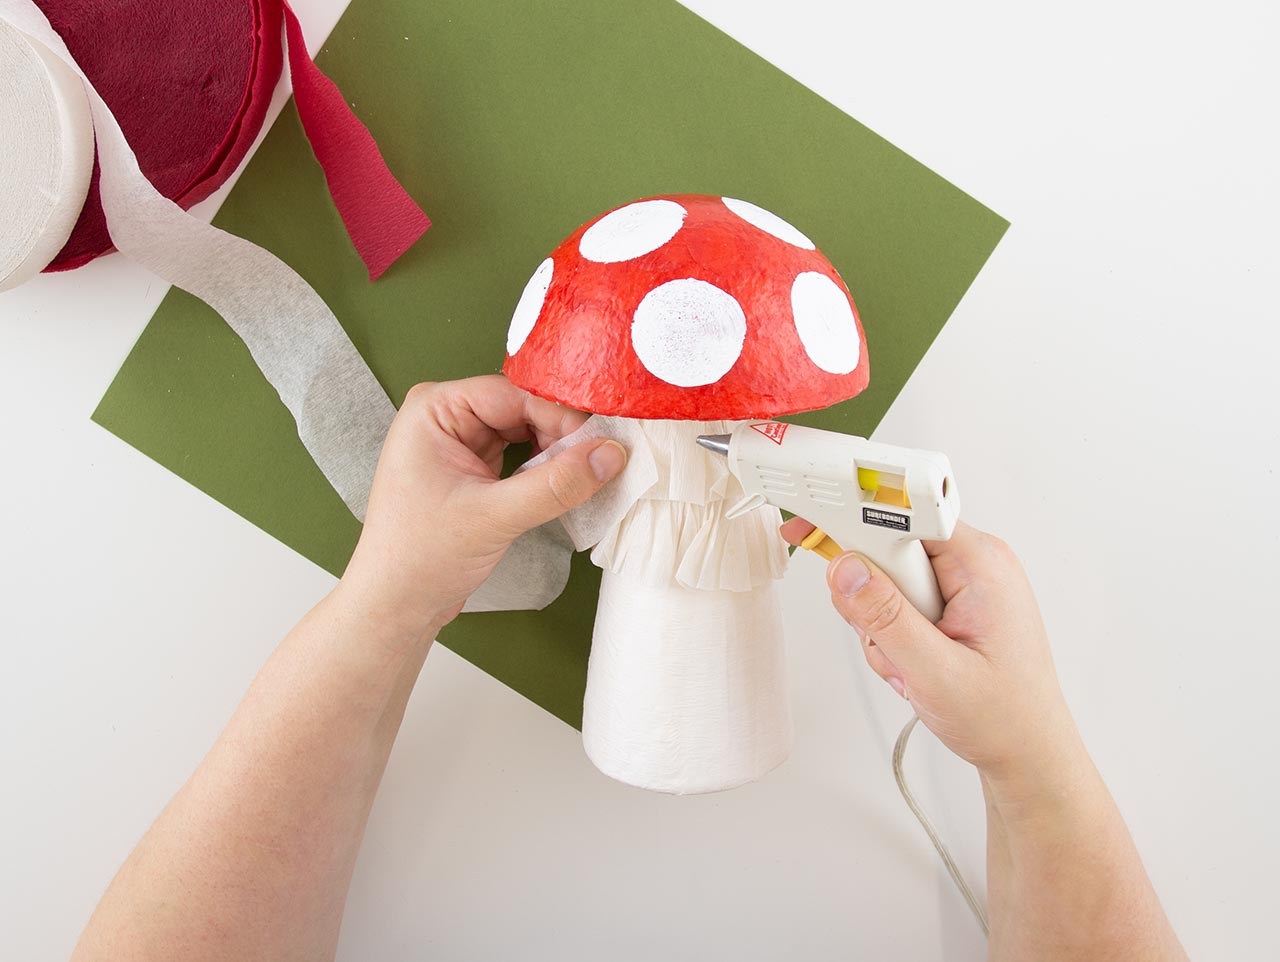
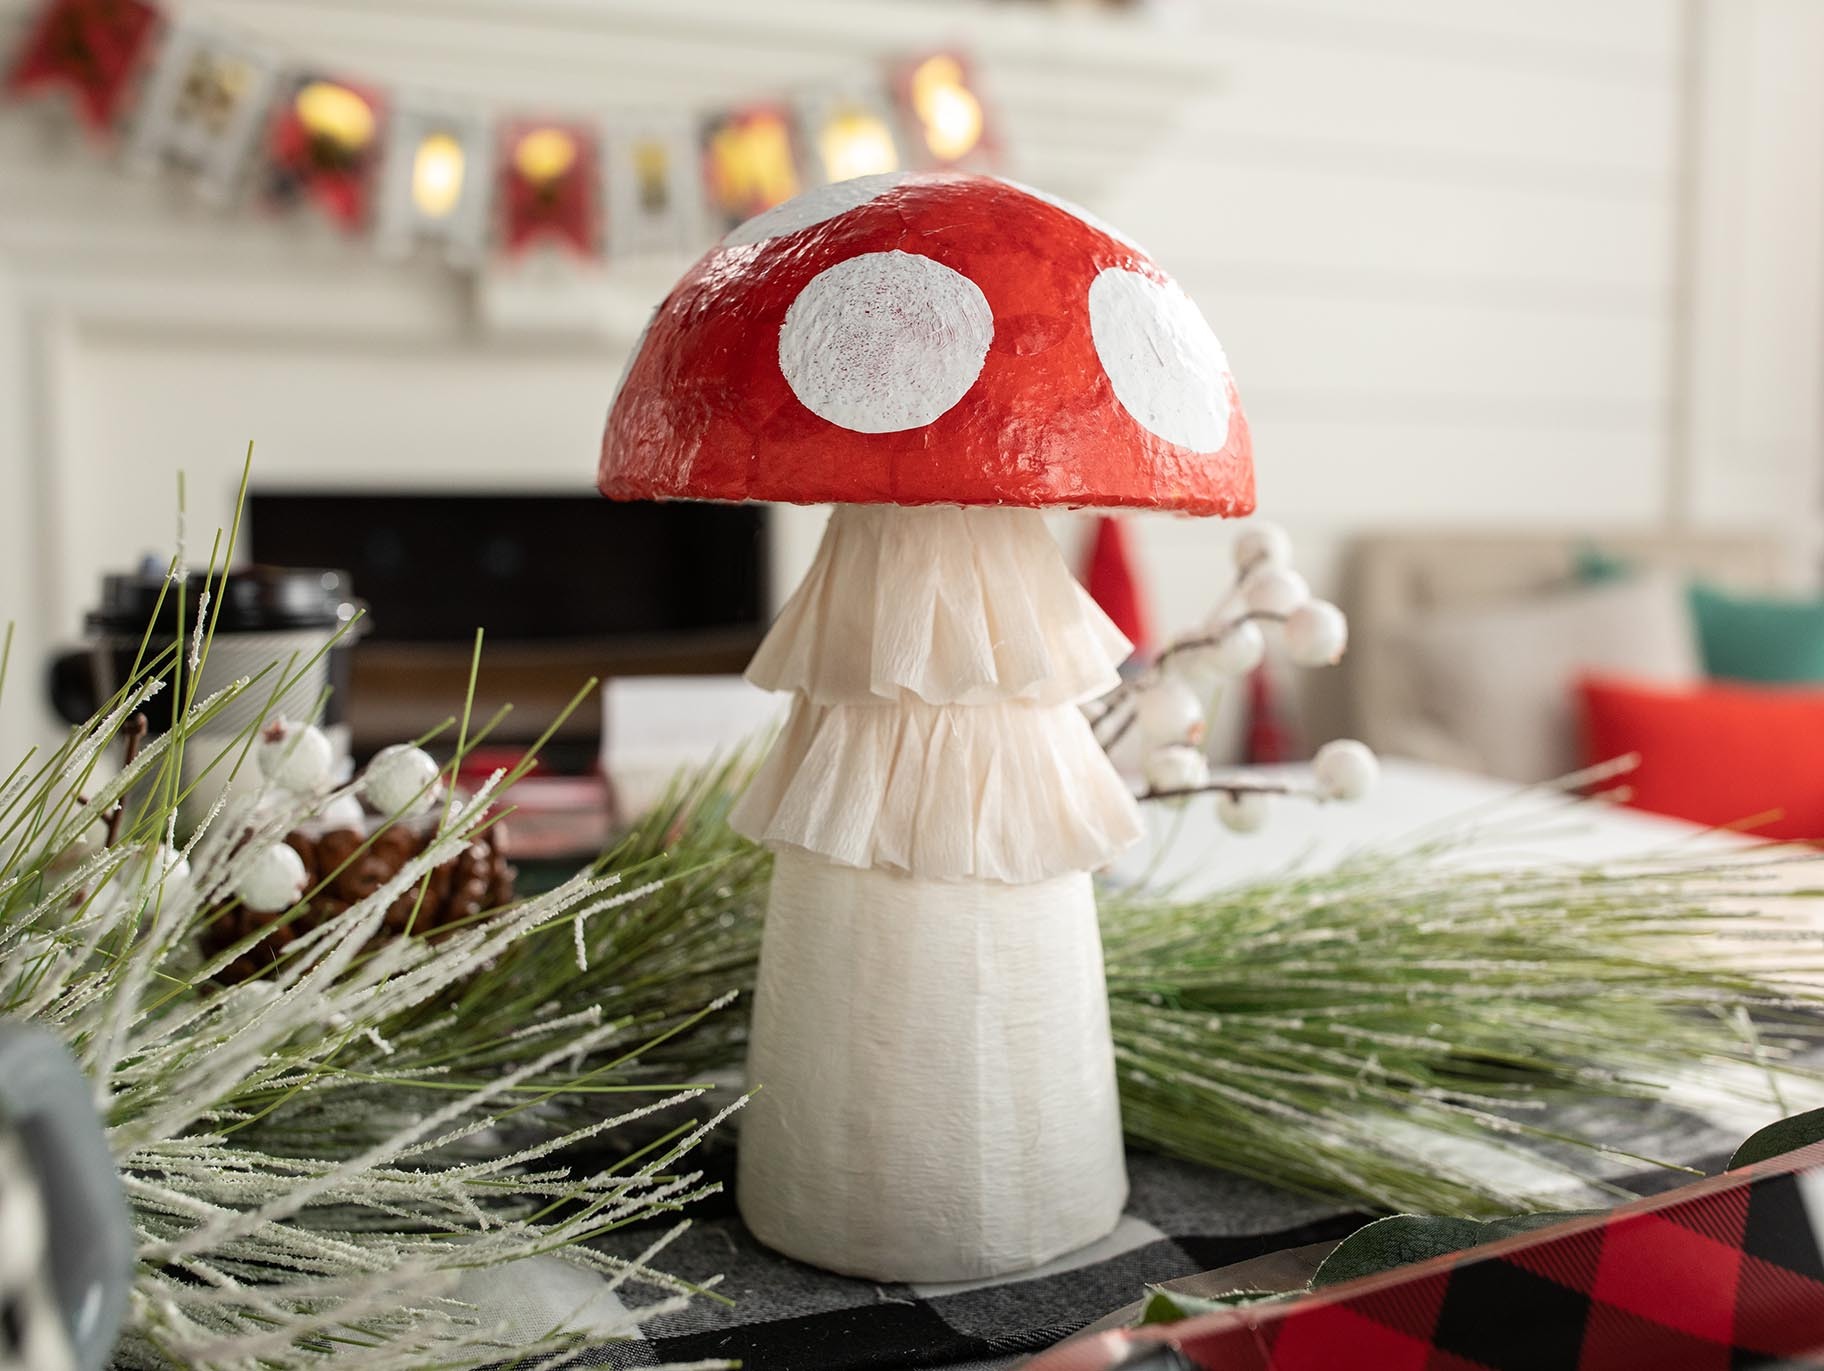
Once the base layer is dry, gather and glue strips of streamers around the top of the base. Use a glue gun to secure the mushroom top to the Styrofoam cone.
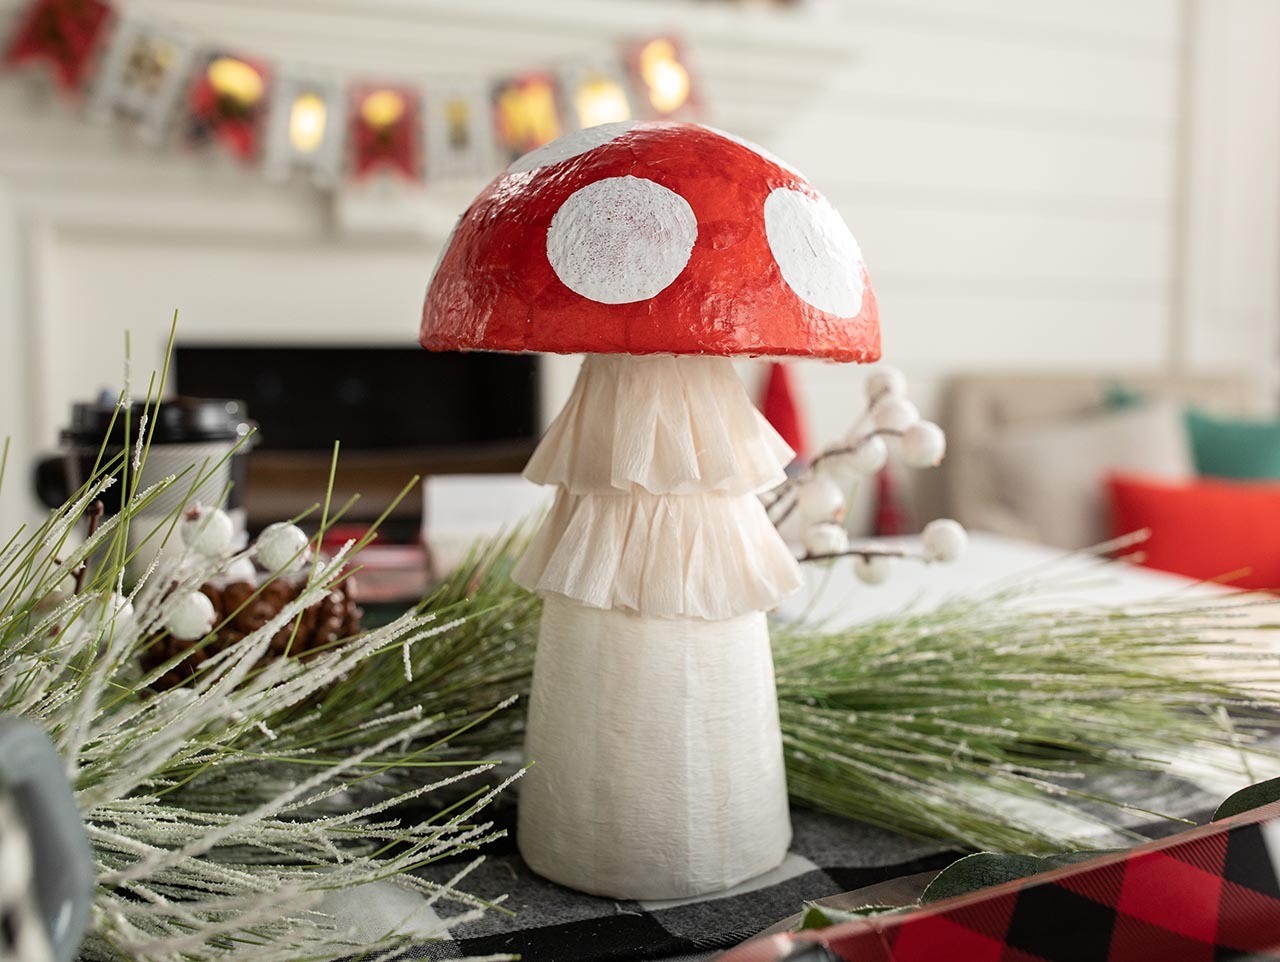
Now prop those cute mushrooms anywhere and everywhere to accent your cozy Woodland Christmas look! They look especially charming as part of your Christmas table centerpiece, but also look amazing on side tables and shelves.

Carefully cut the Styrofoam Balls in half. Use larger styrofoam balls to make larger mushrooms. We used 6-8" foam balls for our tabletop mushrooms. Cut small squares from the red tissue paper or use a small 1" circle punch to punch out circles. If tissue paper isn't available, you can use crepe paper streamers instead!

Apply a thin layer of Mod Podge® onto the Styrofoam ball. TIP: Put the Styrofoam ball onto a wooden dowel to make applying the Mod Podge nearly mess-free. Apply the cut tissue or crepe paper pieces onto the Styrofoam ball and then apply another layer of Mod Podge to seal the tissue in place. Apply a thin layer of Mod Podge® along the outer bottom edge of the Styrofoam ball. Wrap the tissue/crepe paper that is hanging off the ball around the bottom of the ball. Apply another thin layer of Mod Podge® to seal the paper in place.


Cut off the top 2-4" from the DIY Medium Styrofoam Cones. Apply a thin layer of Mod Podge® onto the Styrofoam cone. TIP: Put the Styrofoam cone onto a wooden dowel to make applying the Mod Podge easy. Save the cut-off tops to create smaller mushroom bases.

Apply cut tissue paper strips or crepe paper streamers onto the Styrofoam cone and apply another layer of Mod Podge® to seal the paper.

Use a Dot Foam Paintbrush and acrylic paint to paint dots on the mushroom top. Allow time for the paint to dry.


Once the base layer is dry, gather and glue strips of streamers around the top of the base. Use a glue gun to secure the mushroom top to the Styrofoam cone.

Now prop those cute mushrooms anywhere and everywhere to accent your cozy Woodland Christmas look! They look especially charming as part of your Christmas table centerpiece, but also look amazing on side tables and shelves.

