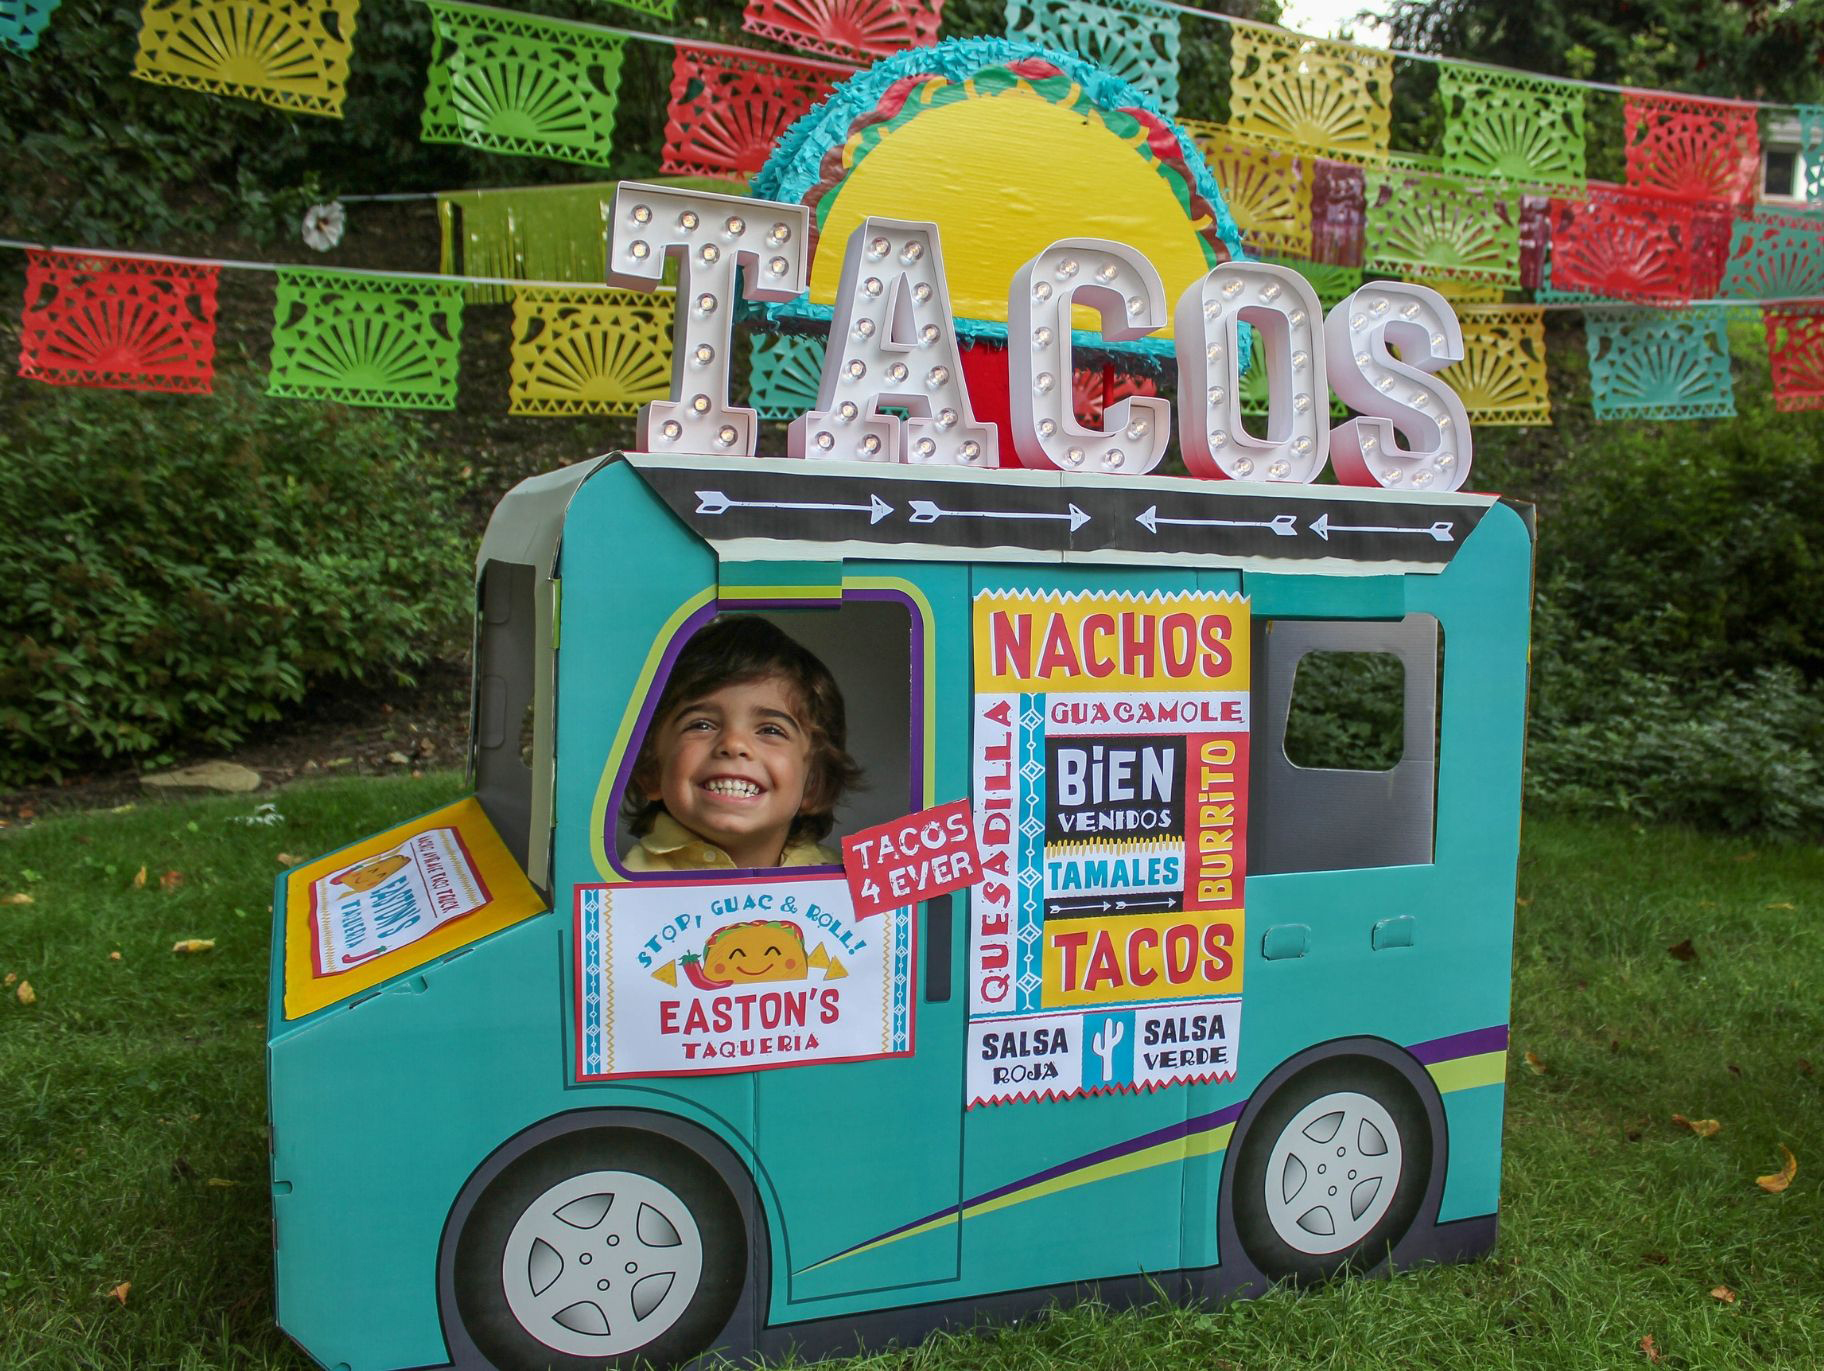
Assemble the Pet Mobile Cardboard Playhouse according to the instructions. Then, with an xacto knife carefully remove the dog from the back window of the truck.

The next several steps all involve painting the Pet Mobile Cardboard Playhouse to cover some of the existing graphics. The rest of the pet graphics will be covered in later steps using the printable taco truck graphics. To fully cover the preprinted graphics on the truck you will first need to apply a coat of white acrylic paint to the surface. This will act as a "primer." You will need to prime the hood area, entire roof, and entire back and doors. Allow all white paint to fully dry before moving on to the next step.
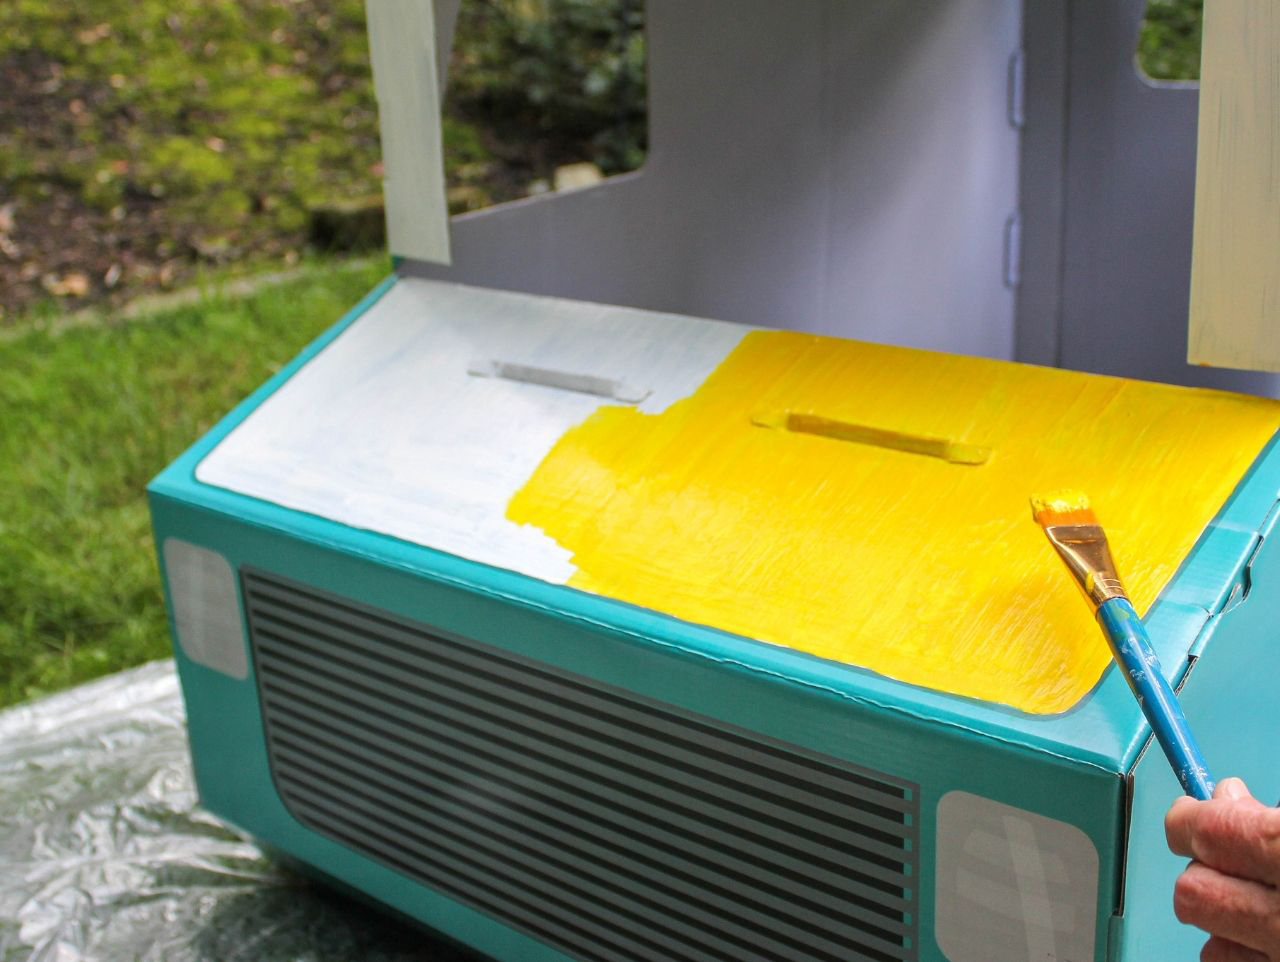
Once the white paint is fully dry, apply yellow acrylic paint to the front hood area. Allow to dry. Apply a second coat if needed.

Next, apply a coat of white acrylic paint to the windshield area. Allow to fully dry and then apply a second coat if needed.

Next, paint the angled side flaps of the roof white as well. Again, allow paint to fully dry and apply a second coat if needed.

Now it's time to paint the roof! Apply red acrylic paint to the entire roof. Allow to dry fully and apply a second coat if needed.

To paint the back of the truck apply yellow acrylic paint around the doors, framing them. Also, paint around the bottom bumper and back tail lights, allowing the original pet graphics to show through.

Next, cut your dowel rod into 2 pieces each 8 inches long. Paint both of them with red acrylic paint and allow them to dry fully.
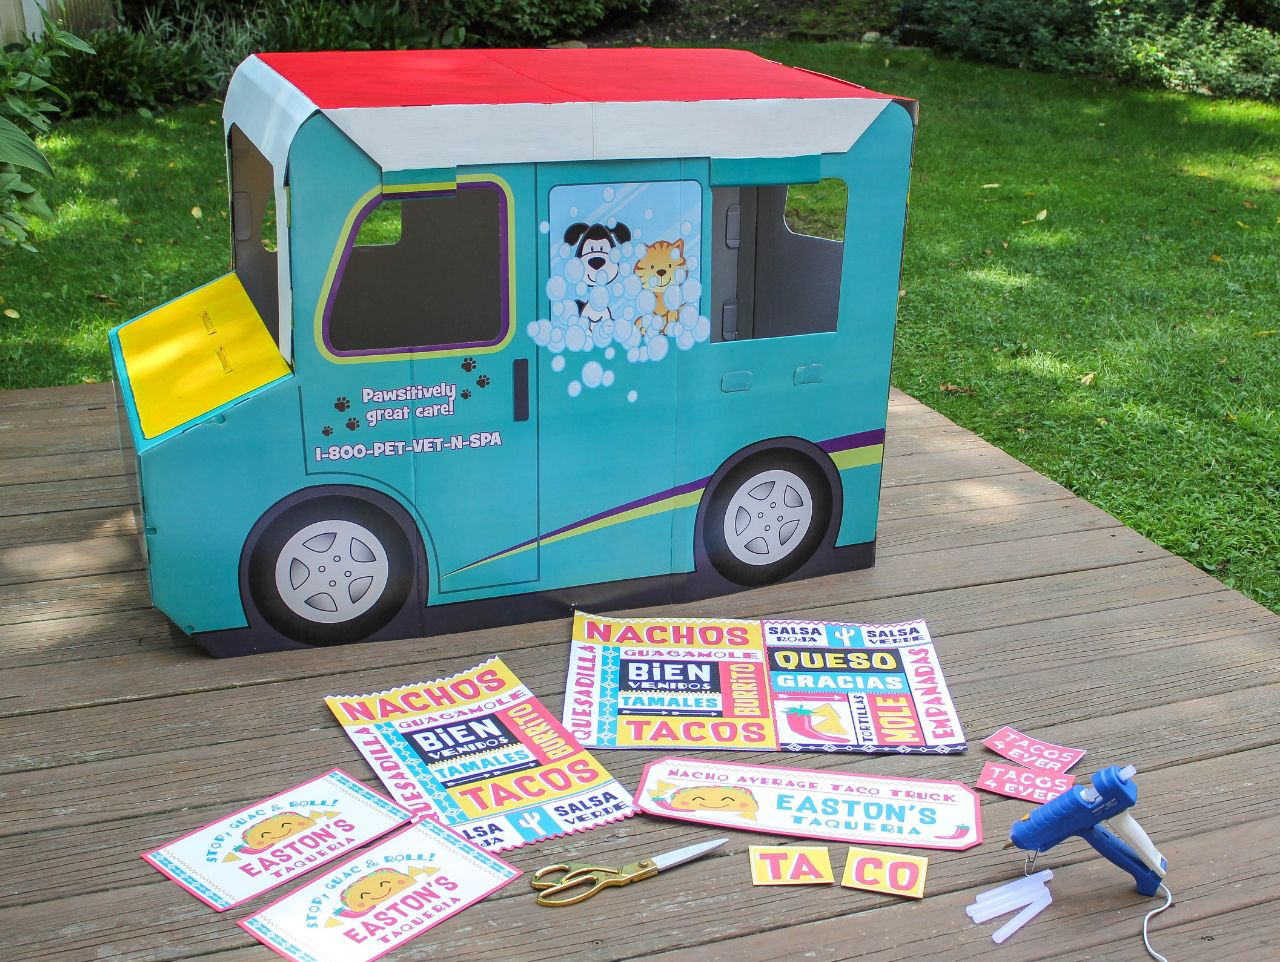
While your dowel rods are drying, print and cut out all of the taco truck graphics. The name area on the graphics is editable in Adobe Reader. To edit the printables you will need to download the free font, Supersonic Rocketship.
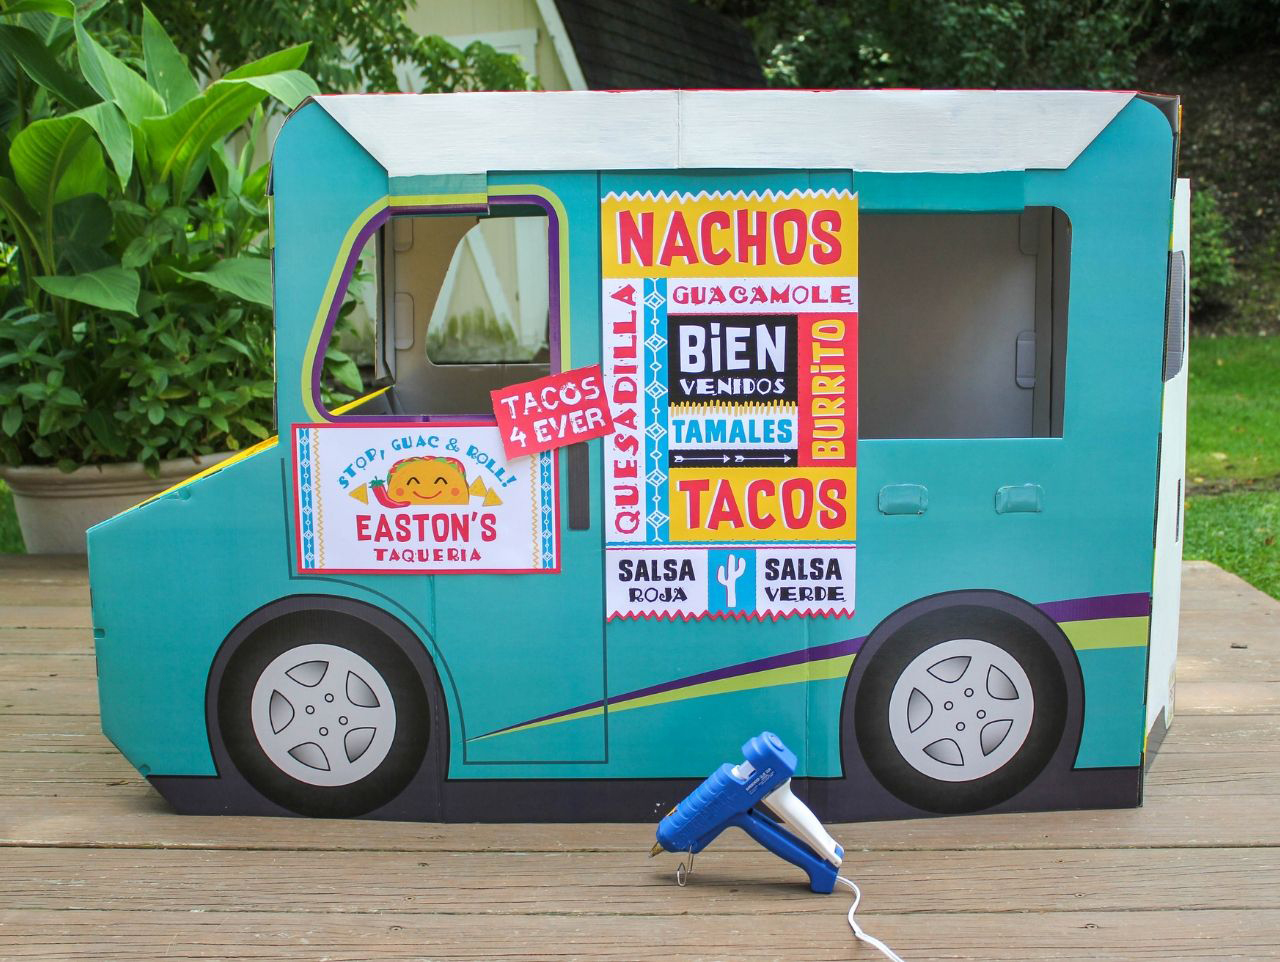
The next set of several steps all involve gluing the truck graphics in place. Your hot glue gun will become your best friend! Starting with the side of the truck with the ordering window, hot glue 3 truck graphics in place according to the photo.

Next, glue the "Nacho Average Taco Truck" printable sign on the hood of the truck.
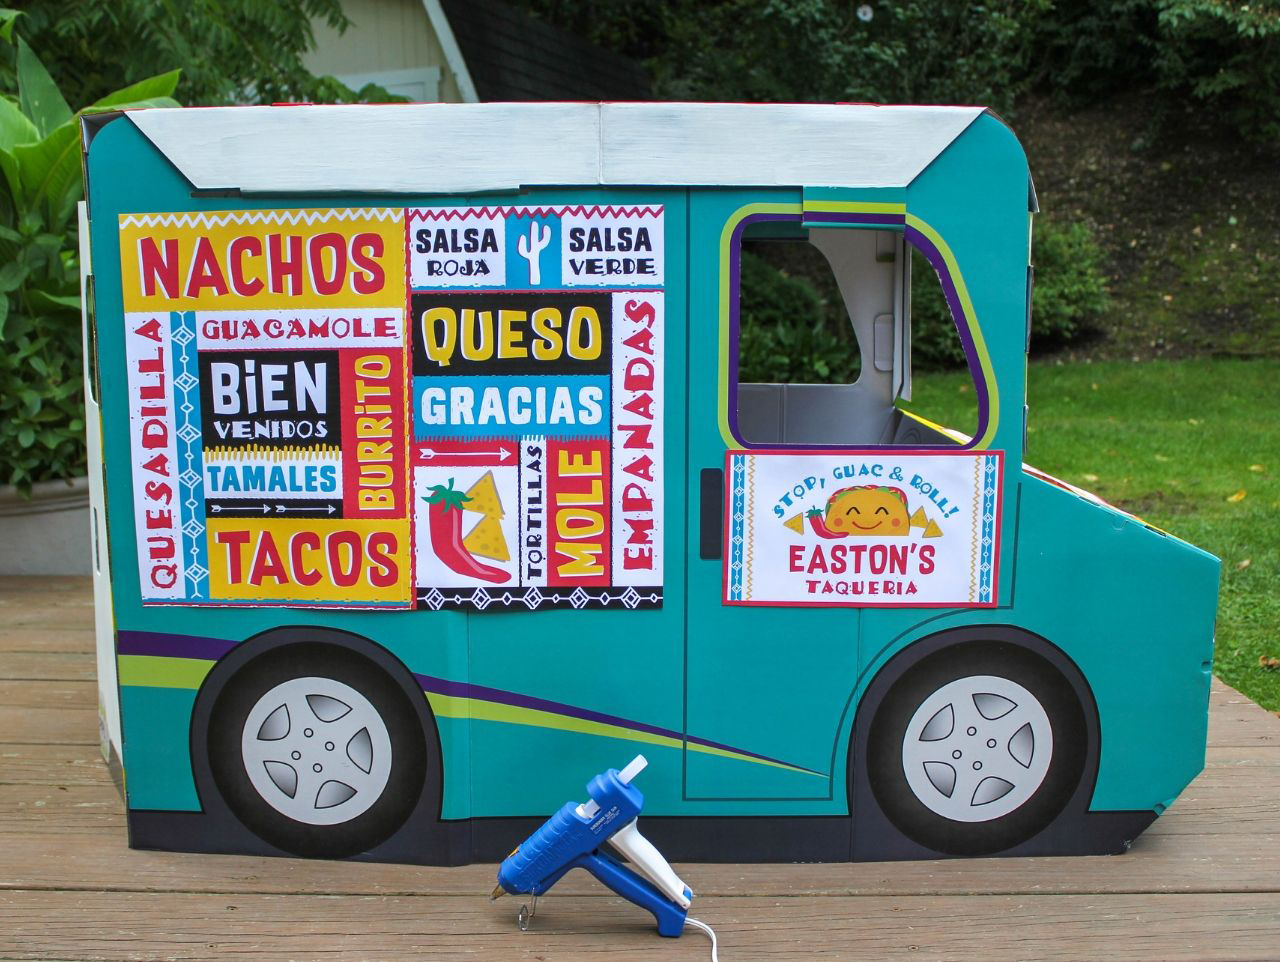
Opposite the ordering window side of the truck, glue the printable door sign and large 20x15 menu graphic according to the photo.

Now it's time to add the license plate and bumper sticker to the back of the truck. Glue both of these in place with hot glue. Now all of the truck graphics are in place!
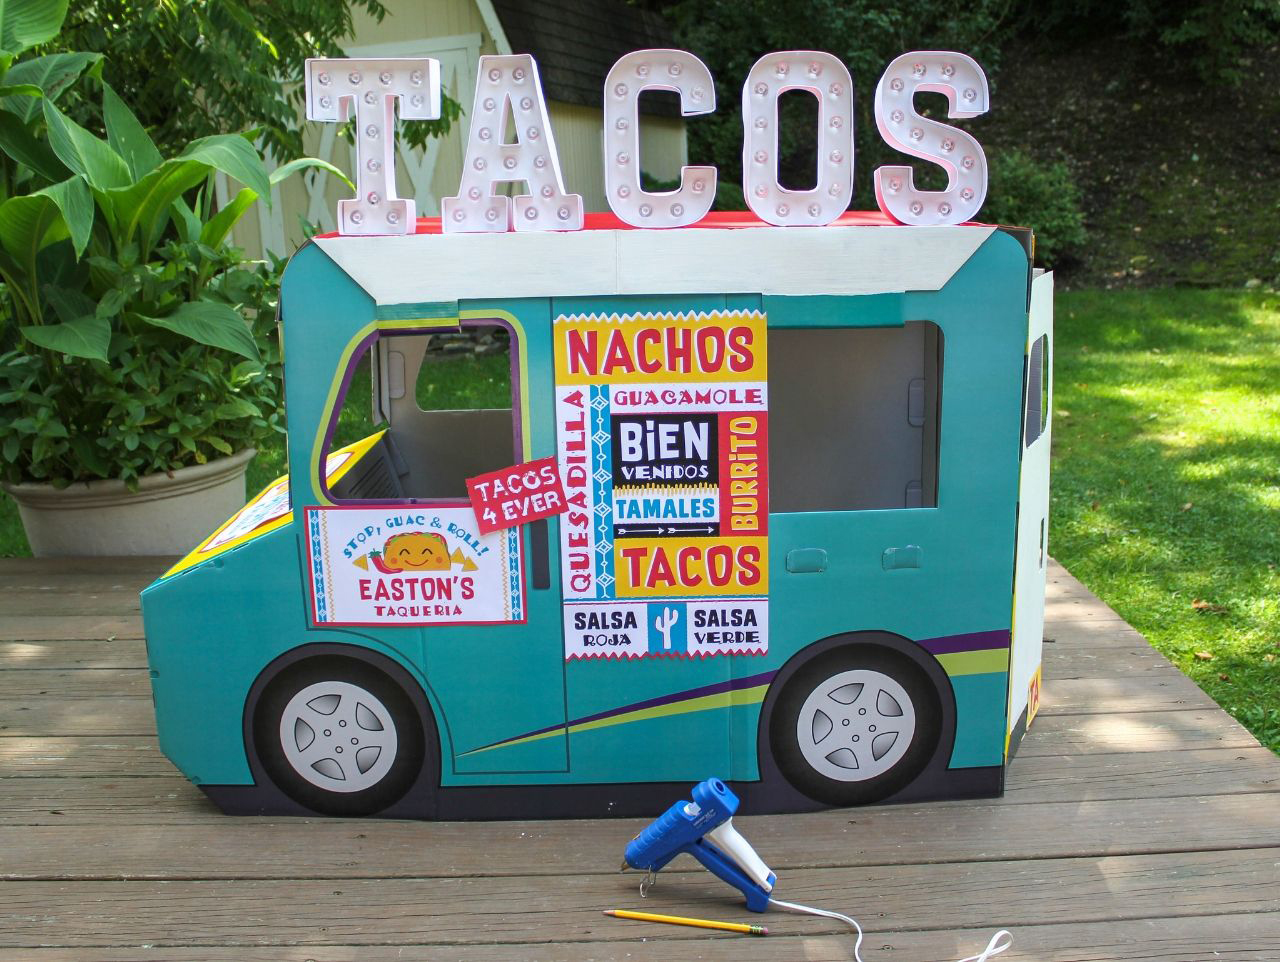
Start by placing the T-A-C-O-S marquee lights on the top of the truck close to the edge of the side of the truck with the ordering window. Try to make the spacing between each letter as even as possible. Then, with a pencil, mark the placement of each letter as your guide. Apply a generous amount of hot glue and attach each letter to the truck.

Glue both dowel rods to the bottom of the Taco Piñata with a generous amount of hot glue. Depending on the thickness of your dowels you might also want to glue a piece of styrofoam wrapped in red felt in between the dowels for added reinforcement.

Flip the Taco Piñata right-side-up and apply hot glue to the bottom of the dowel rods. Attach to the center of the roof of the taco truck. Hold in place until glue dries and hardens. Again, for added reinforcement, attach styrofoam mentioned in Step 15 if needed.
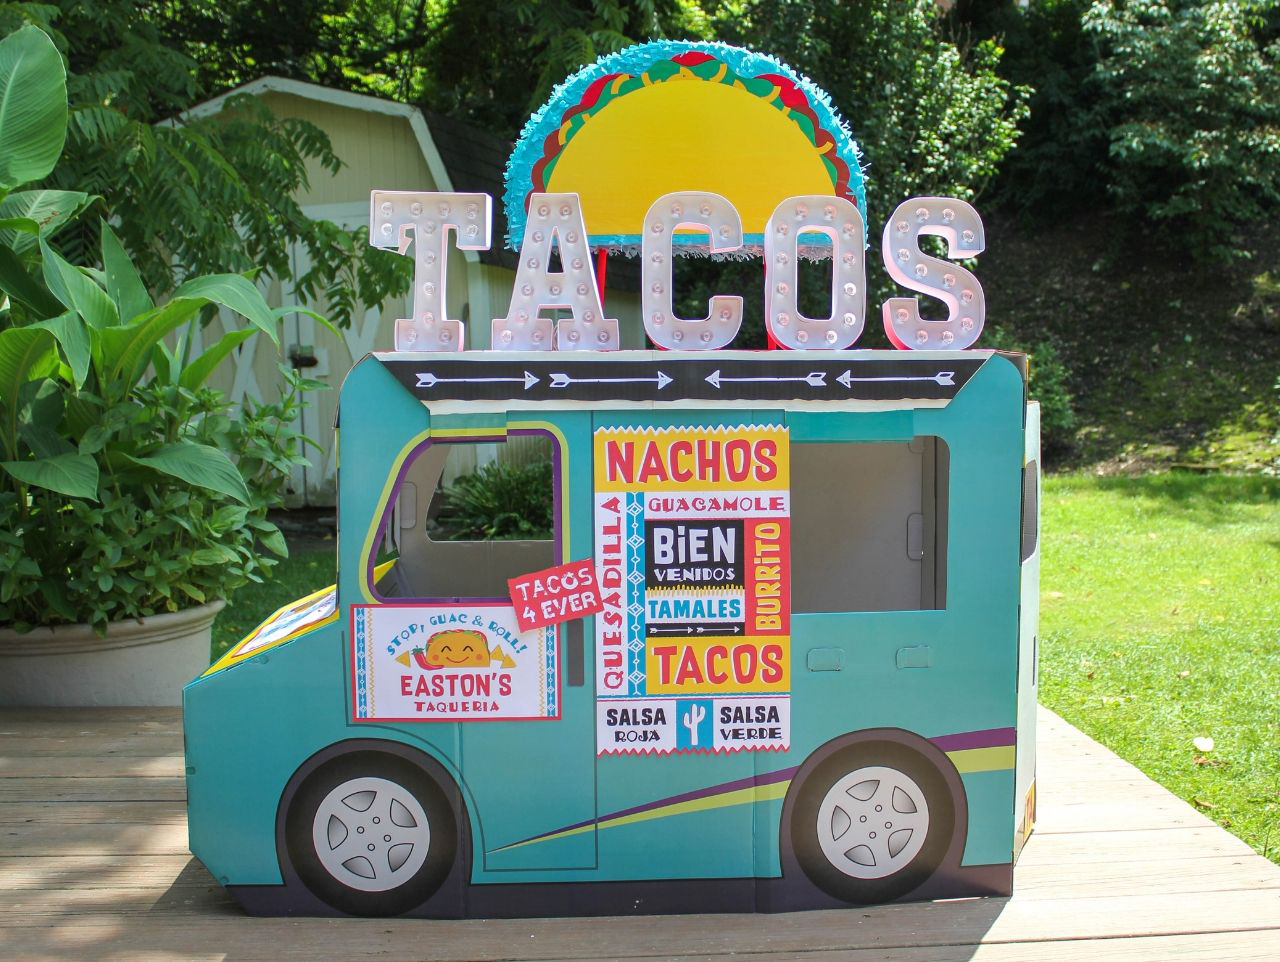
Lastly, glue large arrow trim border printable to the sides of the taco truck and trim both sides at an angle to fit. Done! Now you're open for business! Taco 'bout an adorable truck!
Looking for more Taco Truck Party inspiration? No problemo! Check out all of the details from our Taco Truck Kids Birthday Party. It's nacho average party! Full of so many great ideas and a full pack of FREE Taco Truck Party Printables. Taco 'bout awesome!

Assemble the Pet Mobile Cardboard Playhouse according to the instructions. Then, with an xacto knife carefully remove the dog from the back window of the truck.

The next several steps all involve painting the Pet Mobile Cardboard Playhouse to cover some of the existing graphics. The rest of the pet graphics will be covered in later steps using the printable taco truck graphics. To fully cover the preprinted graphics on the truck you will first need to apply a coat of white acrylic paint to the surface. This will act as a "primer." You will need to prime the hood area, entire roof, and entire back and doors. Allow all white paint to fully dry before moving on to the next step.

Once the white paint is fully dry, apply yellow acrylic paint to the front hood area. Allow to dry. Apply a second coat if needed.

Next, apply a coat of white acrylic paint to the windshield area. Allow to fully dry and then apply a second coat if needed.

Next, paint the angled side flaps of the roof white as well. Again, allow paint to fully dry and apply a second coat if needed.

Now it's time to paint the roof! Apply red acrylic paint to the entire roof. Allow to dry fully and apply a second coat if needed.

To paint the back of the truck apply yellow acrylic paint around the doors, framing them. Also, paint around the bottom bumper and back tail lights, allowing the original pet graphics to show through.

Next, cut your dowel rod into 2 pieces each 8 inches long. Paint both of them with red acrylic paint and allow them to dry fully.

While your dowel rods are drying, print and cut out all of the taco truck graphics. The name area on the graphics is editable in Adobe Reader. To edit the printables you will need to download the free font, Supersonic Rocketship.

The next set of several steps all involve gluing the truck graphics in place. Your hot glue gun will become your best friend! Starting with the side of the truck with the ordering window, hot glue 3 truck graphics in place according to the photo.

Next, glue the "Nacho Average Taco Truck" printable sign on the hood of the truck.

Opposite the ordering window side of the truck, glue the printable door sign and large 20x15 menu graphic according to the photo.

Now it's time to add the license plate and bumper sticker to the back of the truck. Glue both of these in place with hot glue. Now all of the truck graphics are in place!

Start by placing the T-A-C-O-S marquee lights on the top of the truck close to the edge of the side of the truck with the ordering window. Try to make the spacing between each letter as even as possible. Then, with a pencil, mark the placement of each letter as your guide. Apply a generous amount of hot glue and attach each letter to the truck.

Glue both dowel rods to the bottom of the Taco Piñata with a generous amount of hot glue. Depending on the thickness of your dowels you might also want to glue a piece of styrofoam wrapped in red felt in between the dowels for added reinforcement.

Flip the Taco Piñata right-side-up and apply hot glue to the bottom of the dowel rods. Attach to the center of the roof of the taco truck. Hold in place until glue dries and hardens. Again, for added reinforcement, attach styrofoam mentioned in Step 15 if needed.

Lastly, glue large arrow trim border printable to the sides of the taco truck and trim both sides at an angle to fit. Done! Now you're open for business! Taco 'bout an adorable truck!
Looking for more Taco Truck Party inspiration? No problemo! Check out all of the details from our Taco Truck Kids Birthday Party. It's nacho average party! Full of so many great ideas and a full pack of FREE Taco Truck Party Printables. Taco 'bout awesome!

