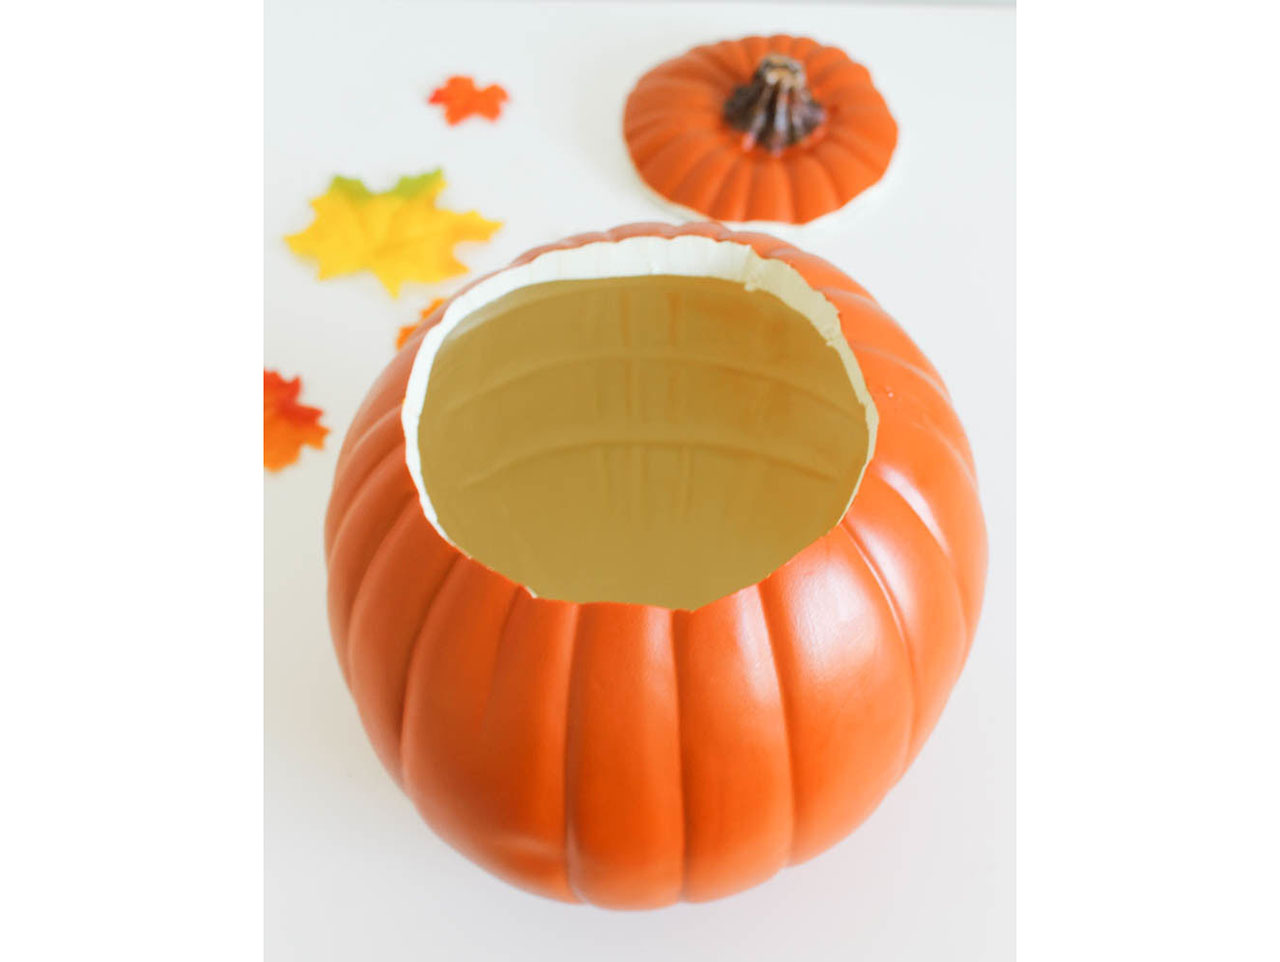
Begin by cutting into the top of the Foam Pumpkin and removing a 5 to 6 inch circular section; including the stem. This will allow enough space for the Small Rectangular Vase to fit into the Foam Pumpkin.
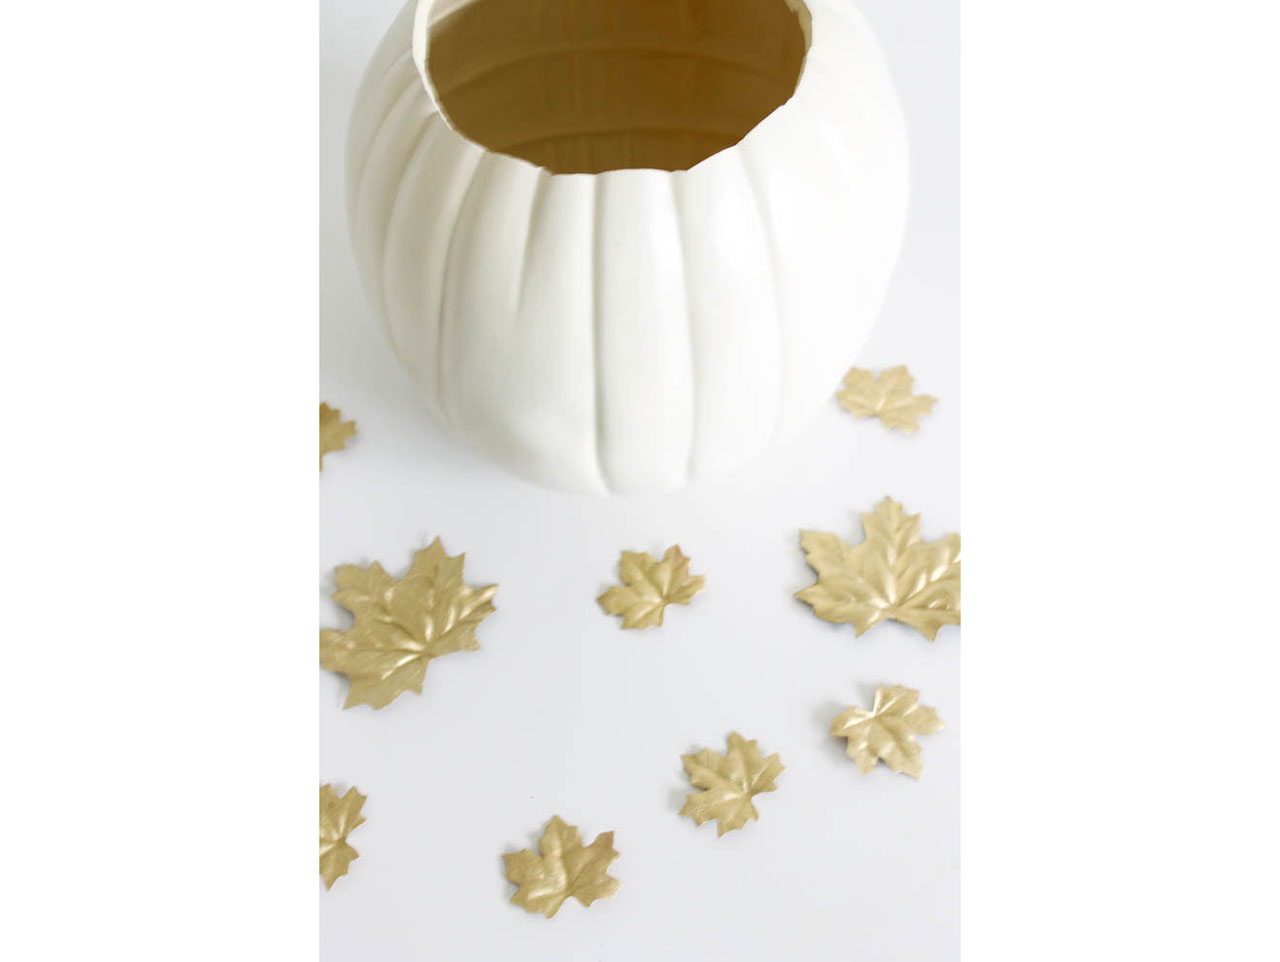
Now that the top of your pumpkin has been removed, it is time to paint! Make sure to head to a well ventilated area and paint the Foam Pumpkin with the Ivory Spray Paint and allow to dry. While there, add a coat of gold spray paint to your leaves!
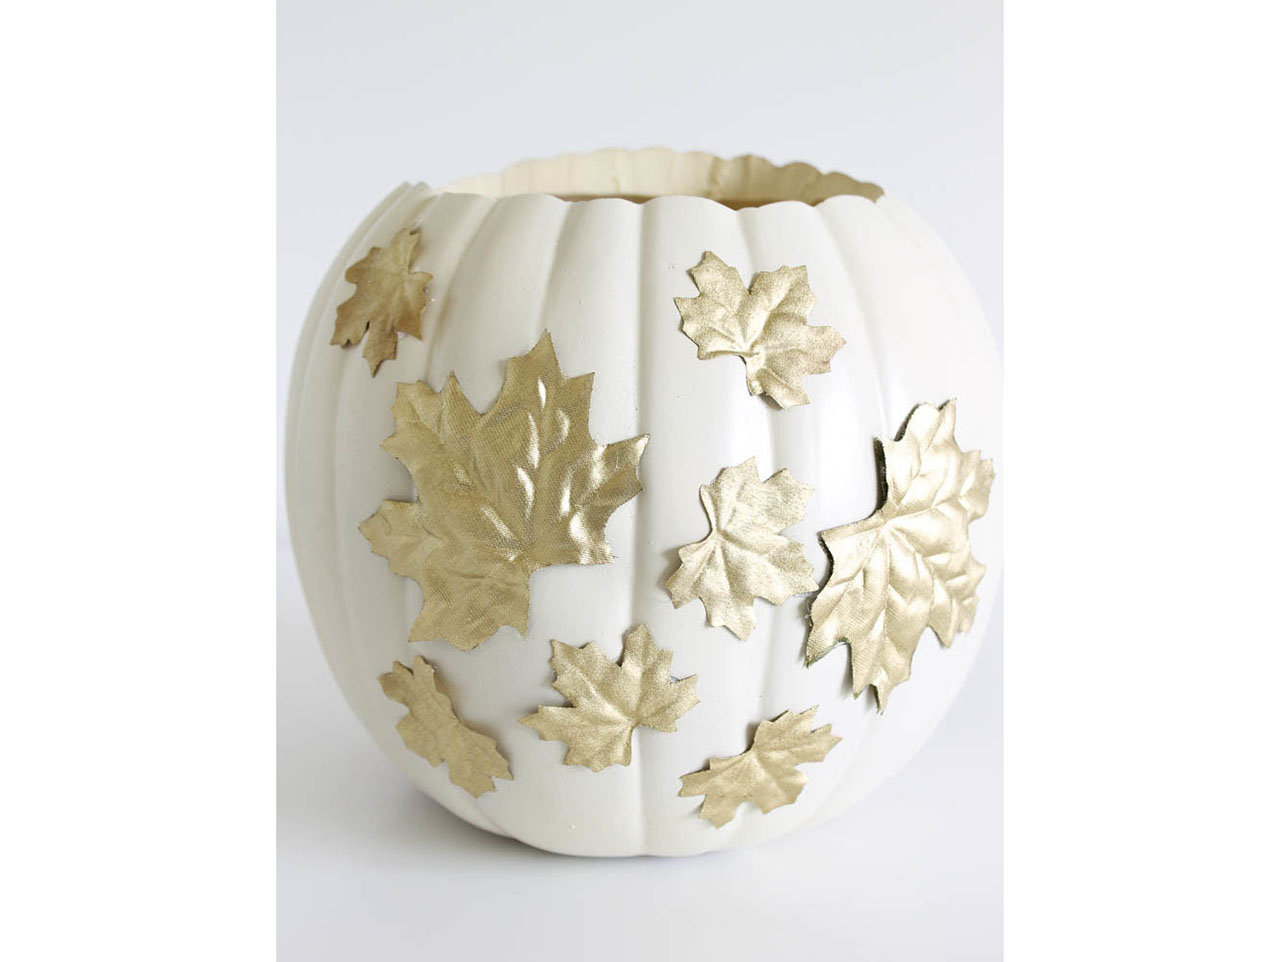
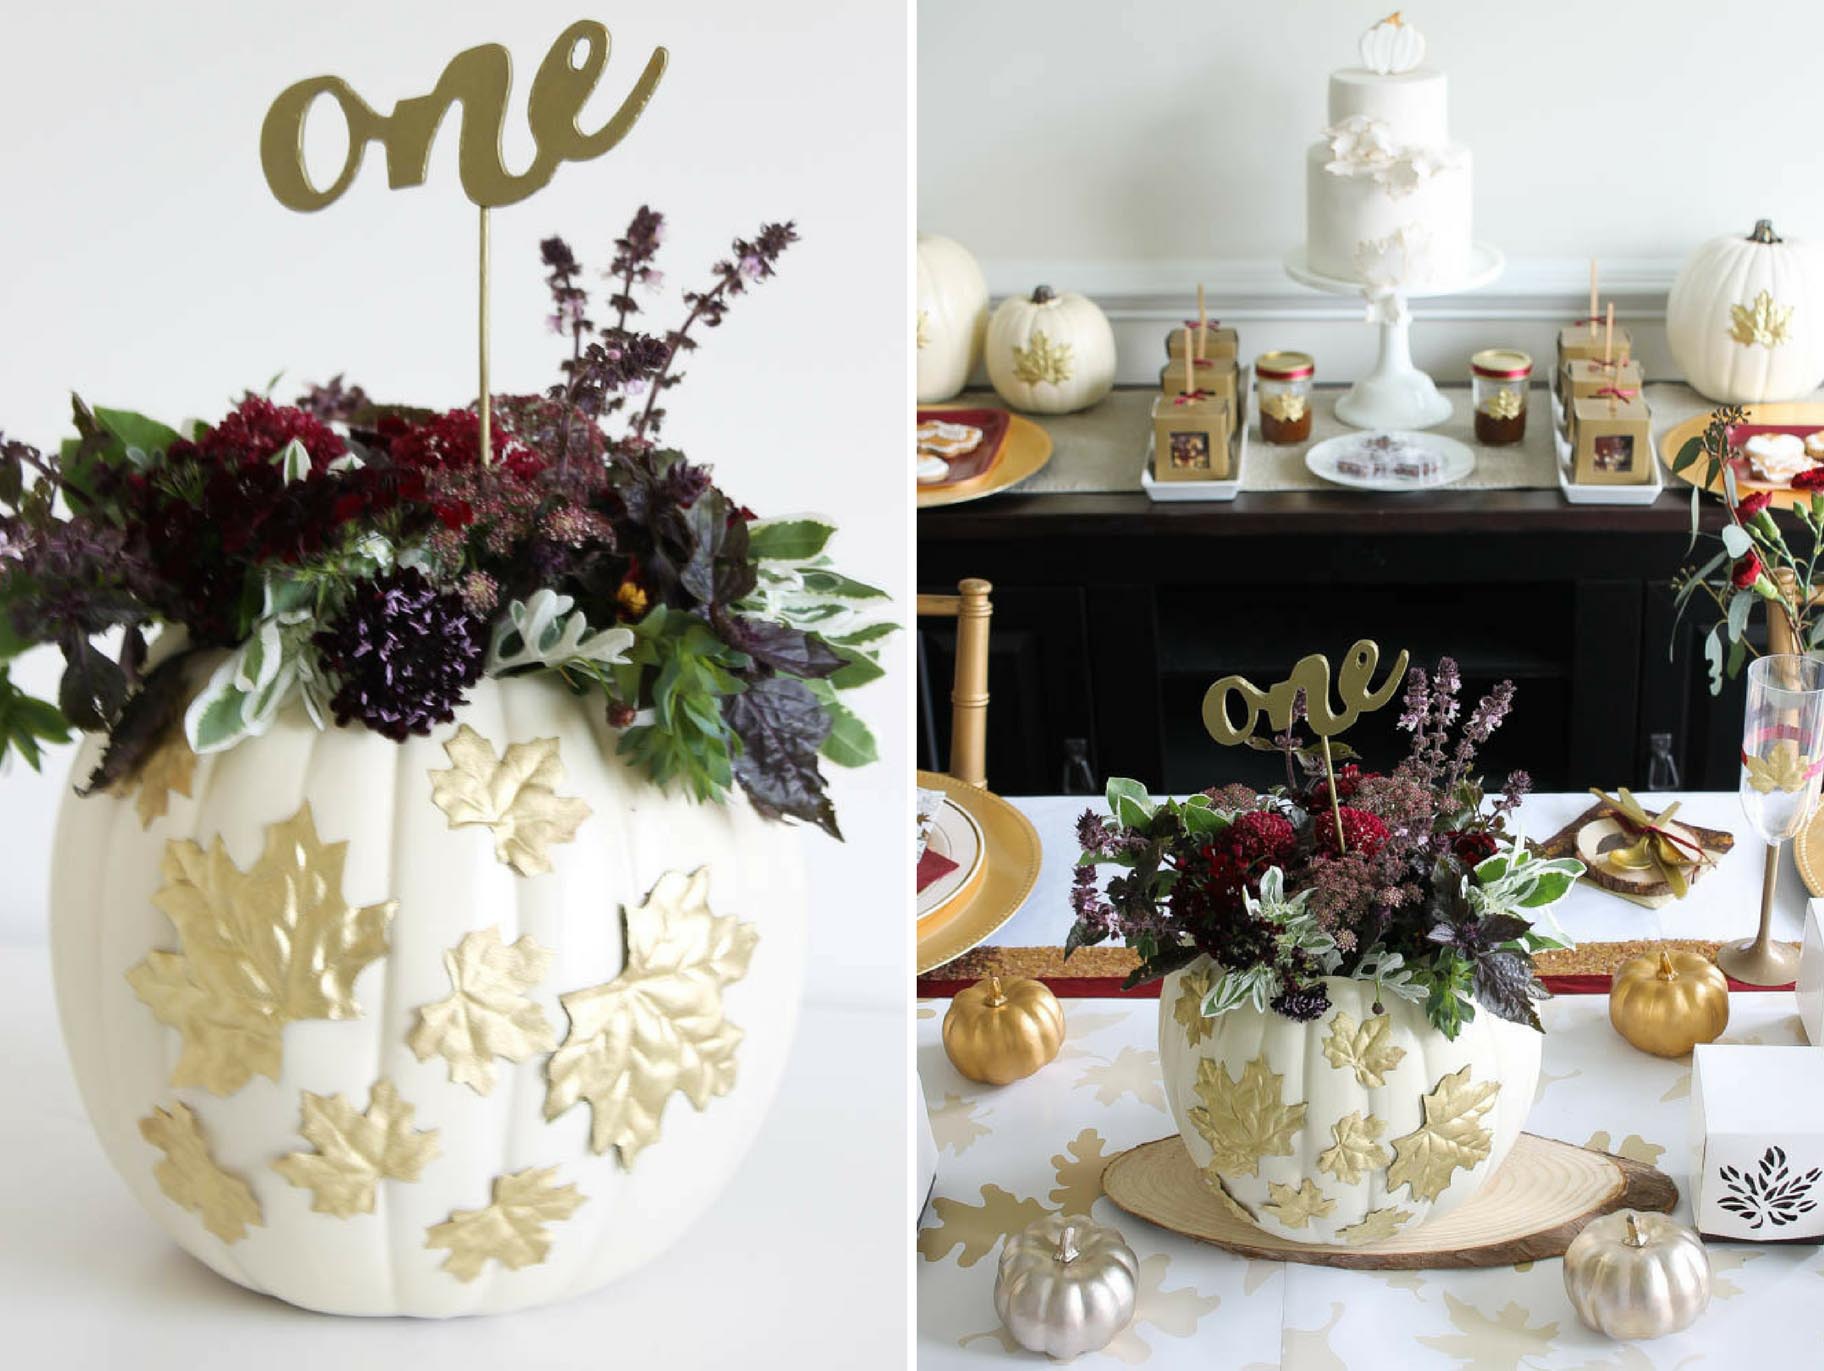
Once the paint has dried, you can arrange and hot glue the newly painted gold leaves onto the pumpkin. You can now add the Small Rectangular Vase with a bit of water inside the pumpkin.
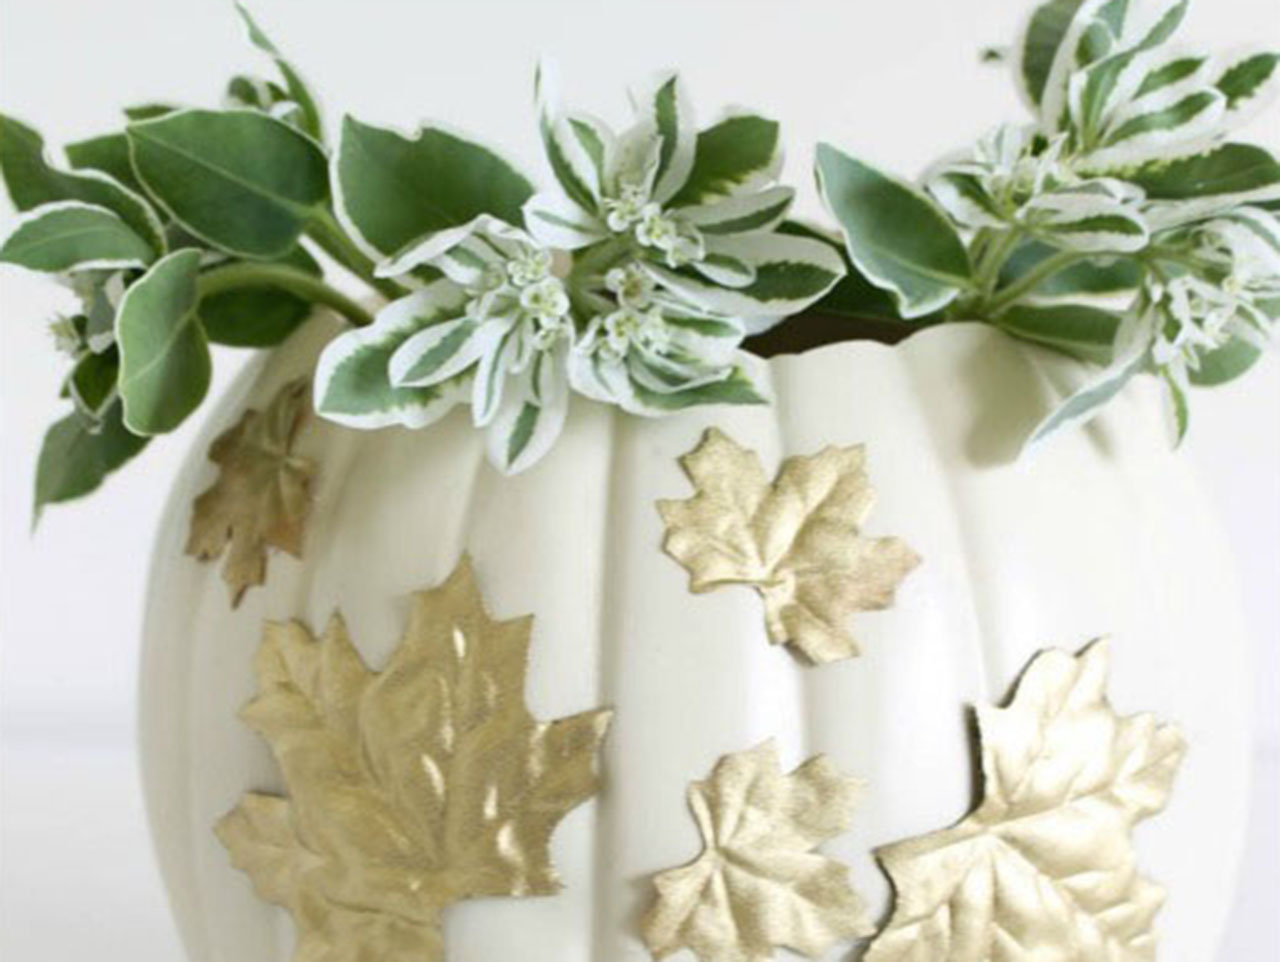

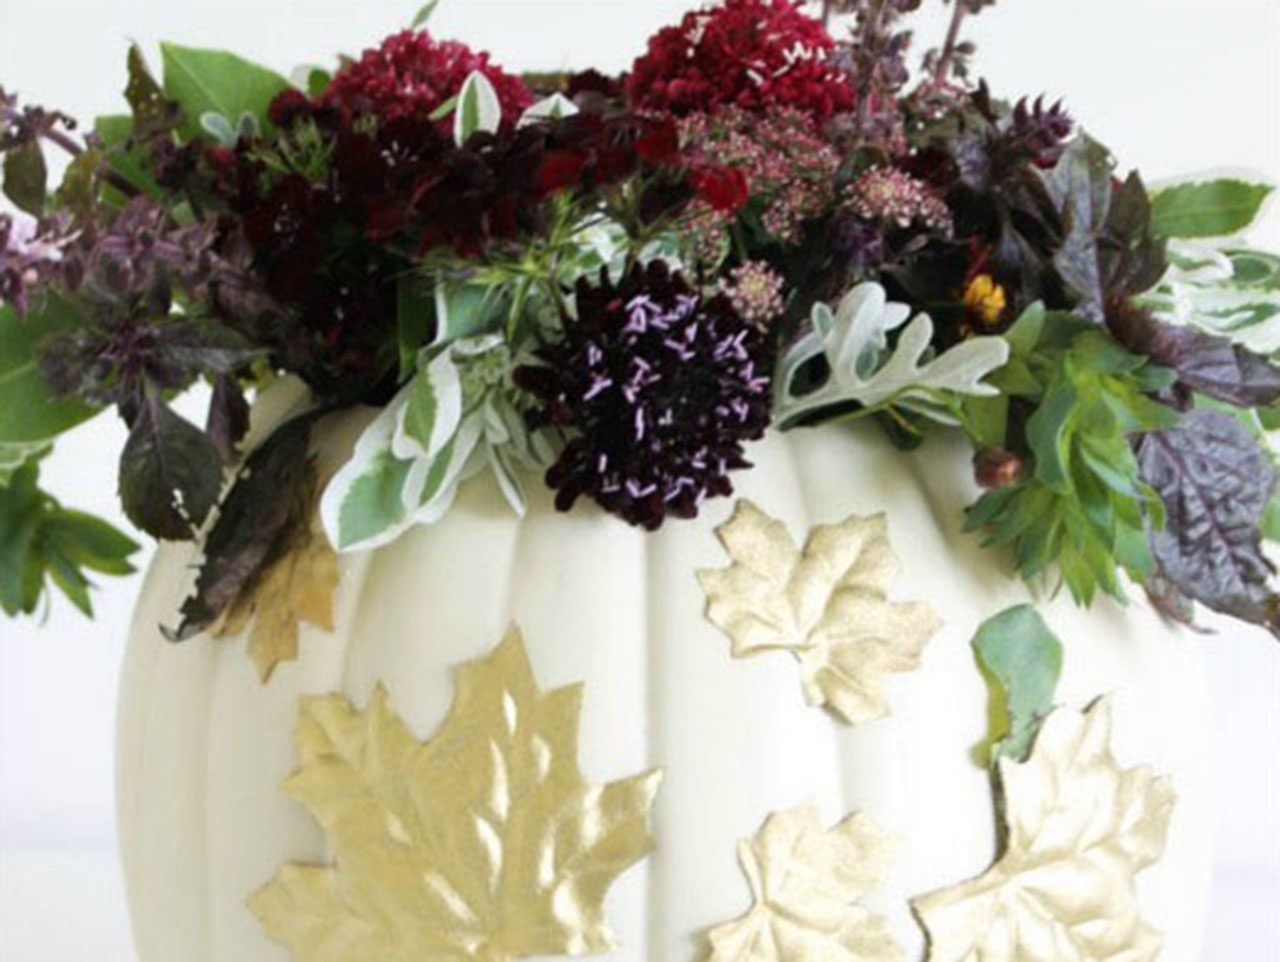
Take your fresh flowers and begin arranging them in the Small Rectangular Vase. We like to start with our greens and larger flowers first and then add in the smaller, more delicate flowers.
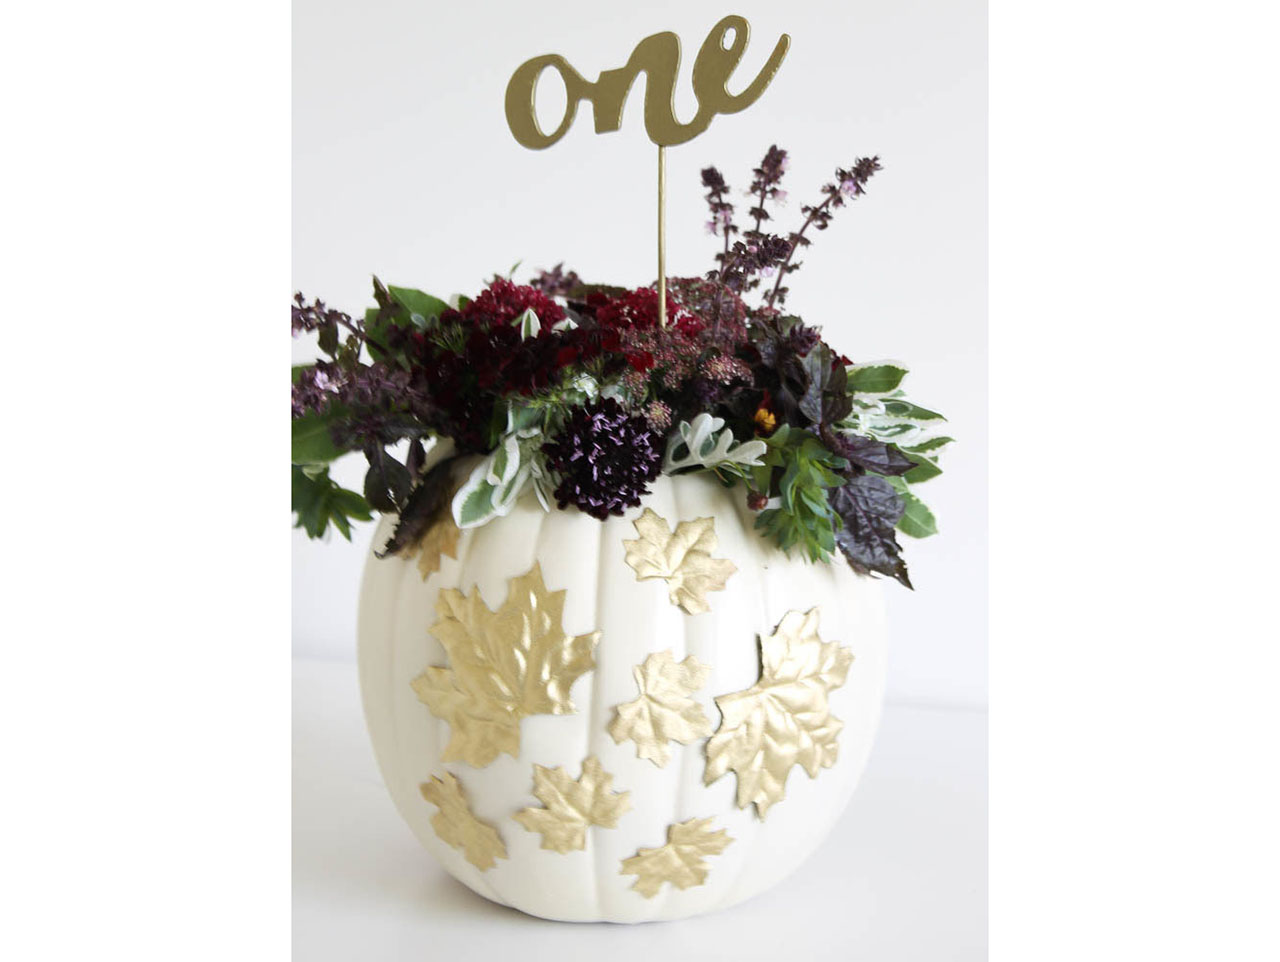

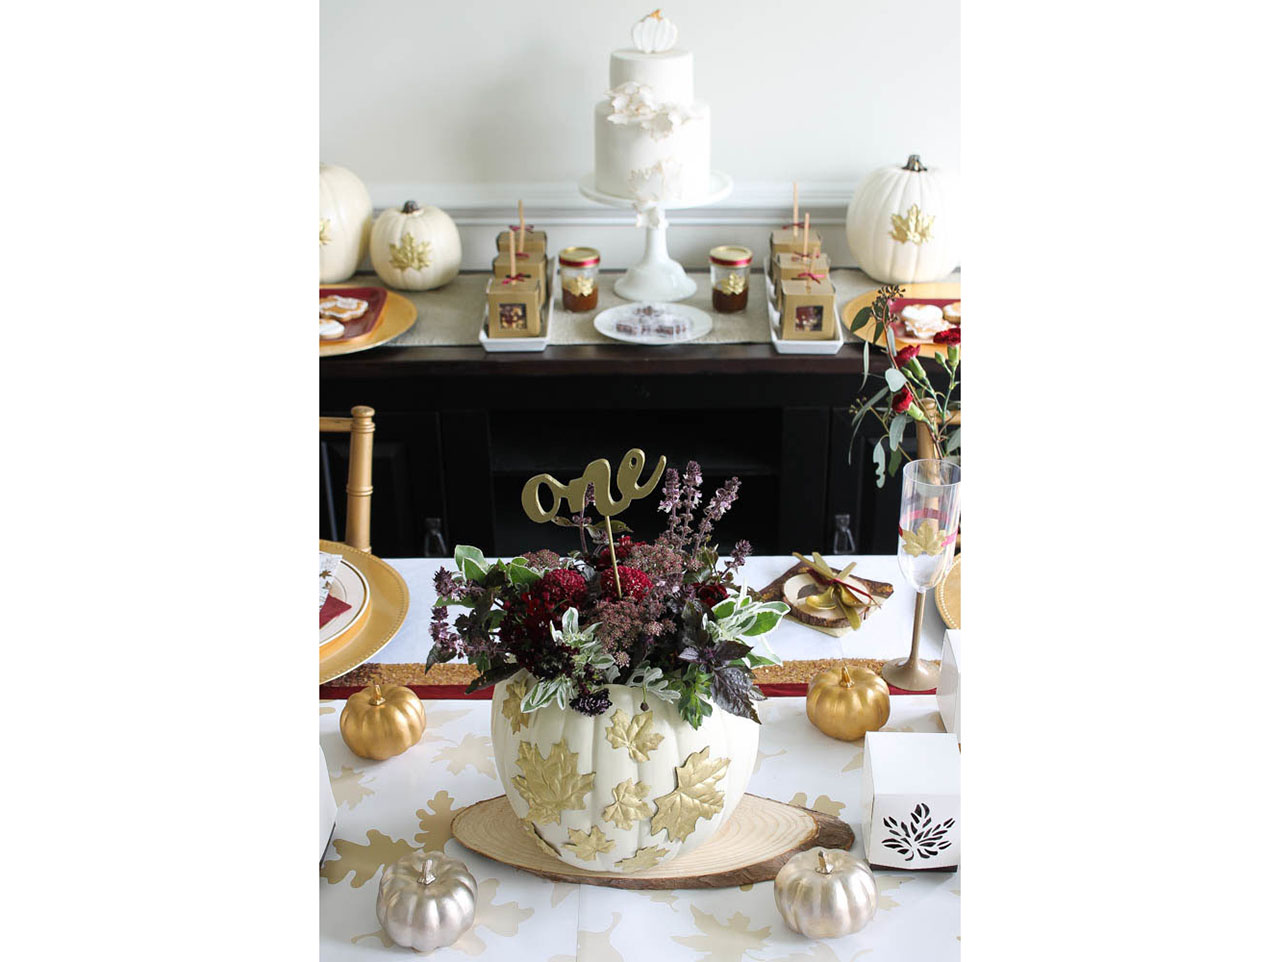
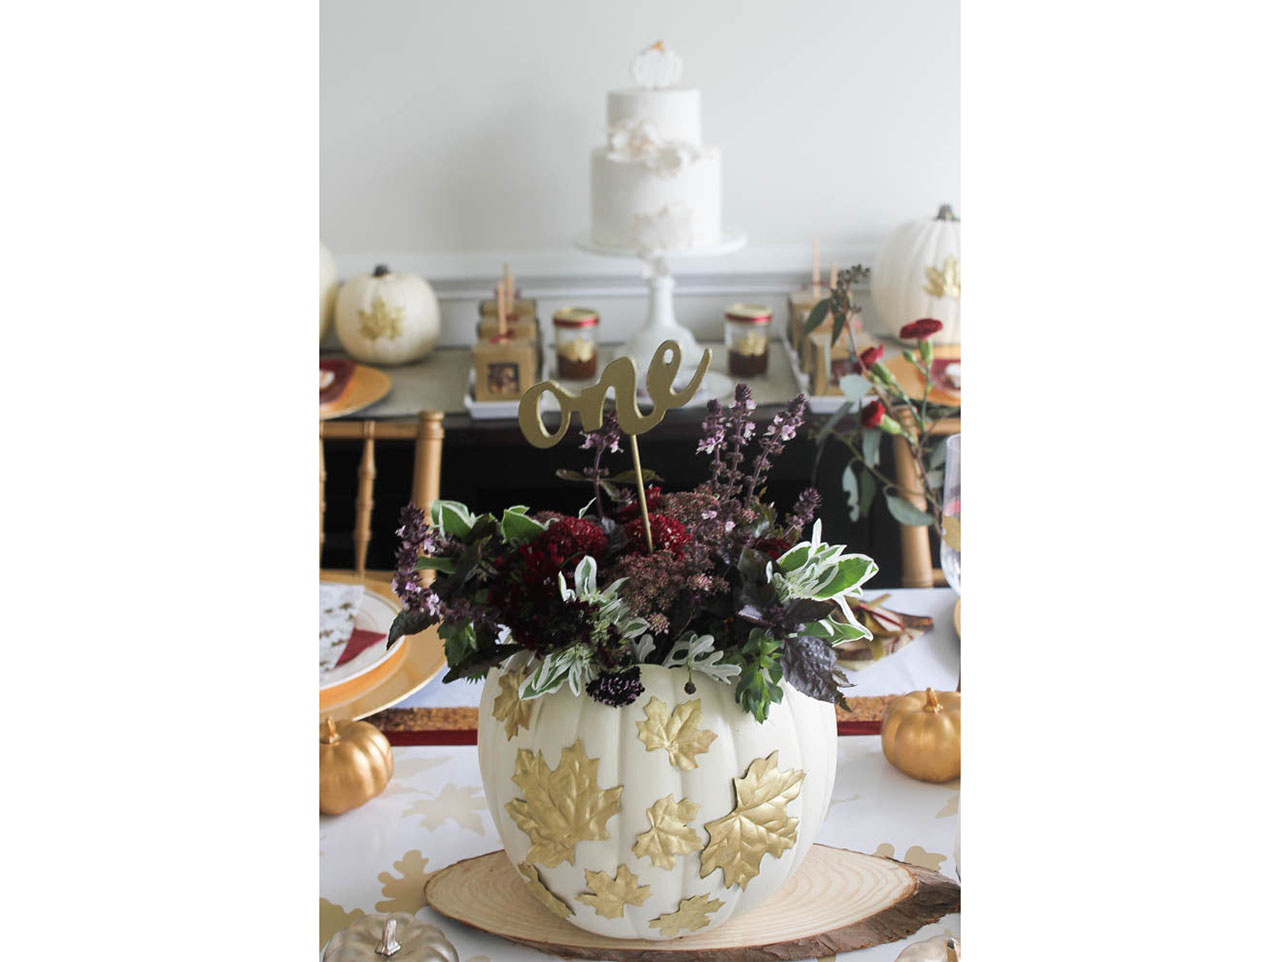
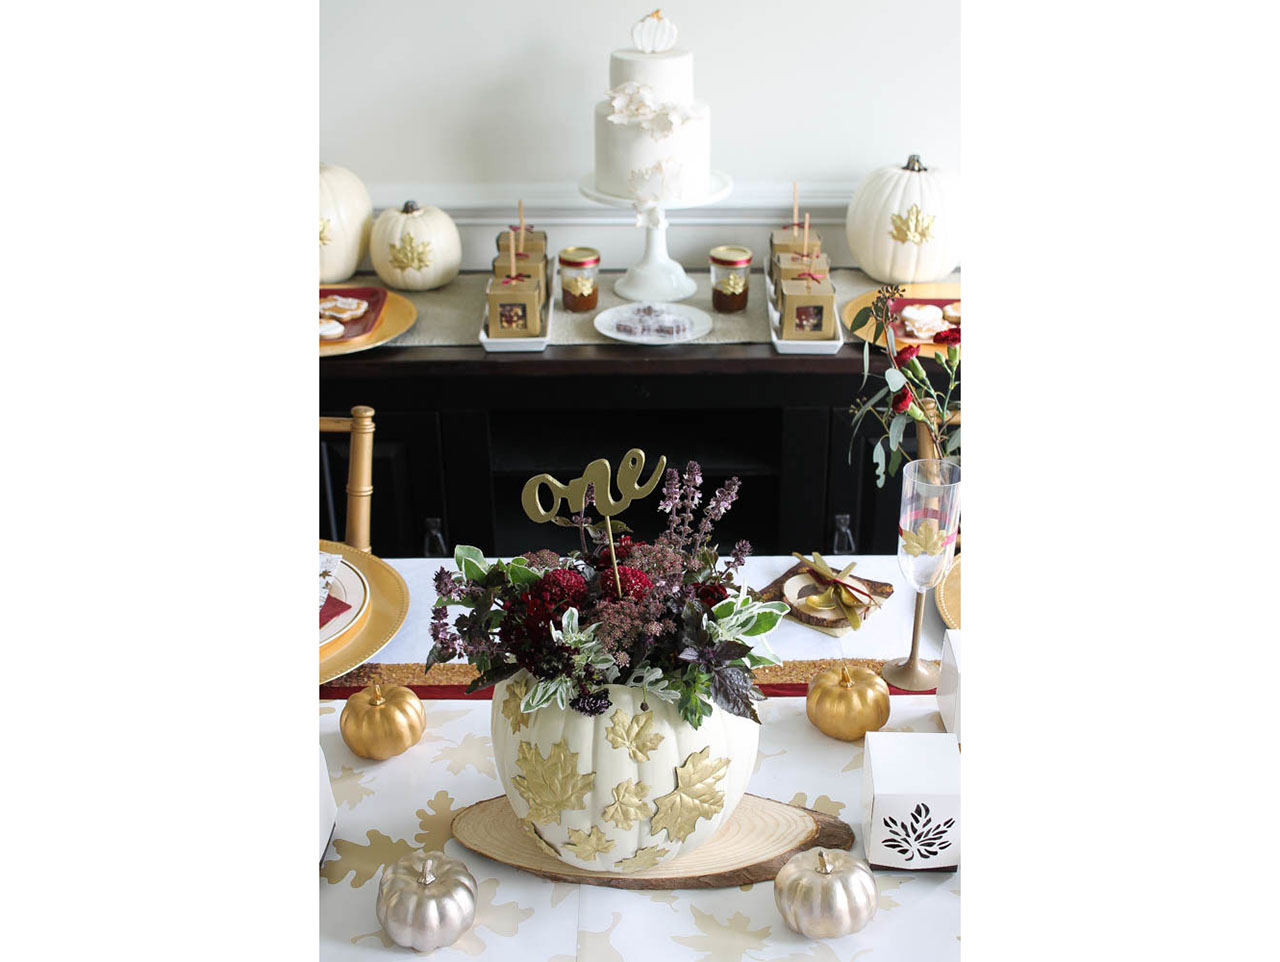
Once you are happy with your floral arrangement, take the Calligraphy Table Number and place it into the center of the flowers. Repeat this process until you have created the needed amount of DIY Pumpkin Floral Centerpieces for your fall wedding!
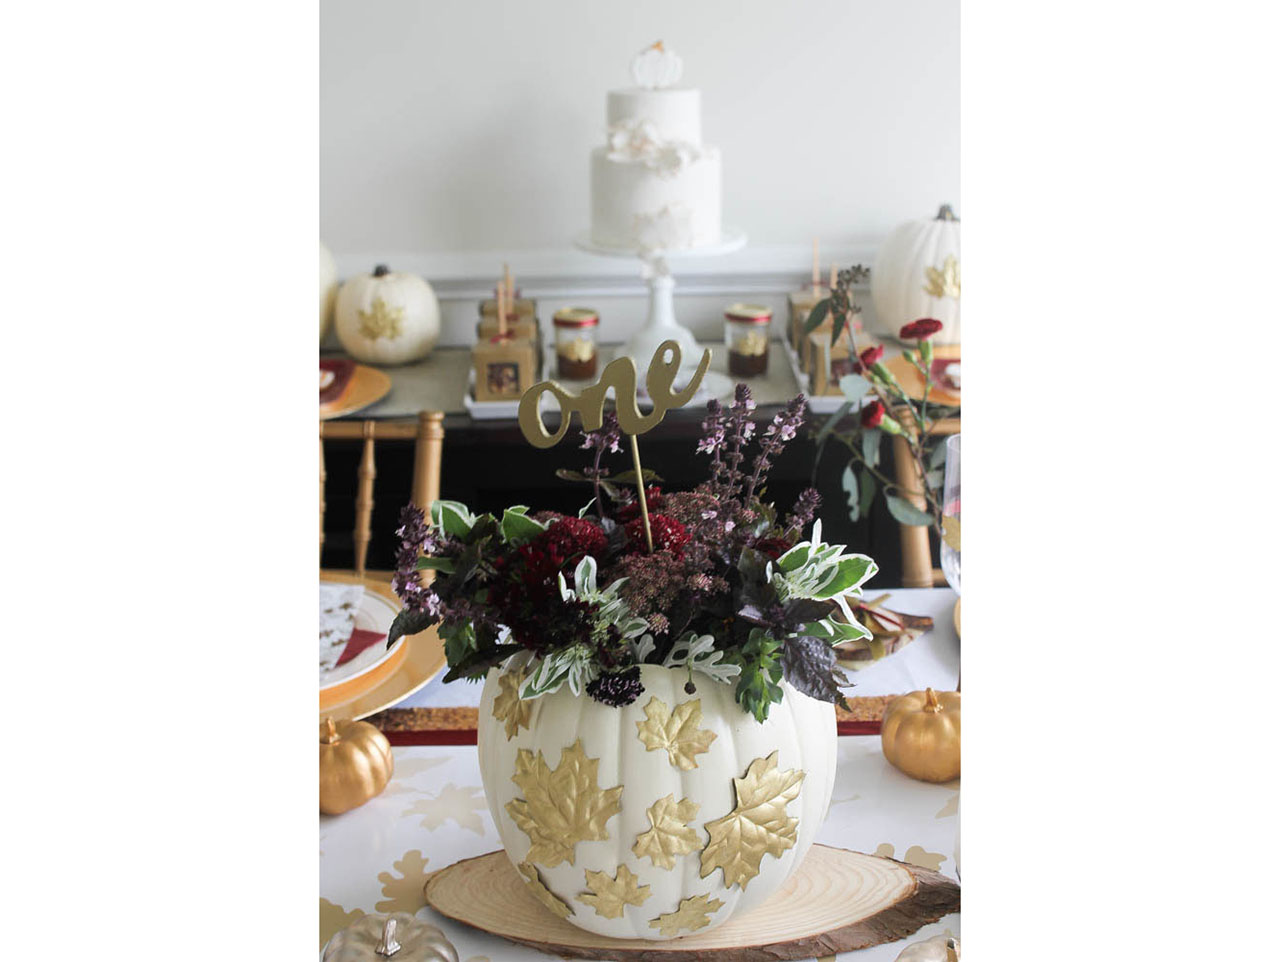
Place the DIY Pumpkin Floral Centerpieces in the center of each table for a fabulous, eye catching piece of decor! We love the glamorous, yet rustic touch this added to our Fall Wedding Tablescape! Make sure to check out our Fall Wedding Tablescape, DIY Ceramic Leaf Place Card, and Salted Caramel Apple Recipe for even more inspiration!

Begin by cutting into the top of the Foam Pumpkin and removing a 5 to 6 inch circular section; including the stem. This will allow enough space for the Small Rectangular Vase to fit into the Foam Pumpkin.

Now that the top of your pumpkin has been removed, it is time to paint! Make sure to head to a well ventilated area and paint the Foam Pumpkin with the Ivory Spray Paint and allow to dry. While there, add a coat of gold spray paint to your leaves!

Once the paint has dried, you can arrange and hot glue the newly painted gold leaves onto the pumpkin. You can now add the Small Rectangular Vase with a bit of water inside the pumpkin.


Take your fresh flowers and begin arranging them in the Small Rectangular Vase. We like to start with our greens and larger flowers first and then add in the smaller, more delicate flowers.


Once you are happy with your floral arrangement, take the Calligraphy Table Number and place it into the center of the flowers. Repeat this process until you have created the needed amount of DIY Pumpkin Floral Centerpieces for your fall wedding!

Place the DIY Pumpkin Floral Centerpieces in the center of each table for a fabulous, eye catching piece of decor! We love the glamorous, yet rustic touch this added to our Fall Wedding Tablescape! Make sure to check out our Fall Wedding Tablescape, DIY Ceramic Leaf Place Card, and Salted Caramel Apple Recipe for even more inspiration!

