Using a craft blade, carefully cut two slits on either side of a two and a half inch cardstock circle, as shown.

Trim a length of pink satin ribbon to about twenty inches, then insert the ribbon through the slits, taking care not to tear the cardstock.

Using hot glue, adhere a large pink peony bloom to the top of the cardstock circle. Allow to dry well before moving on to the next step.

Beneath the flower, some of the cardstock may still be visible, but not to worry! Tuck a few yarn poms into the space. Once you have the arrangement you like, use hot glue to attach them permanently.

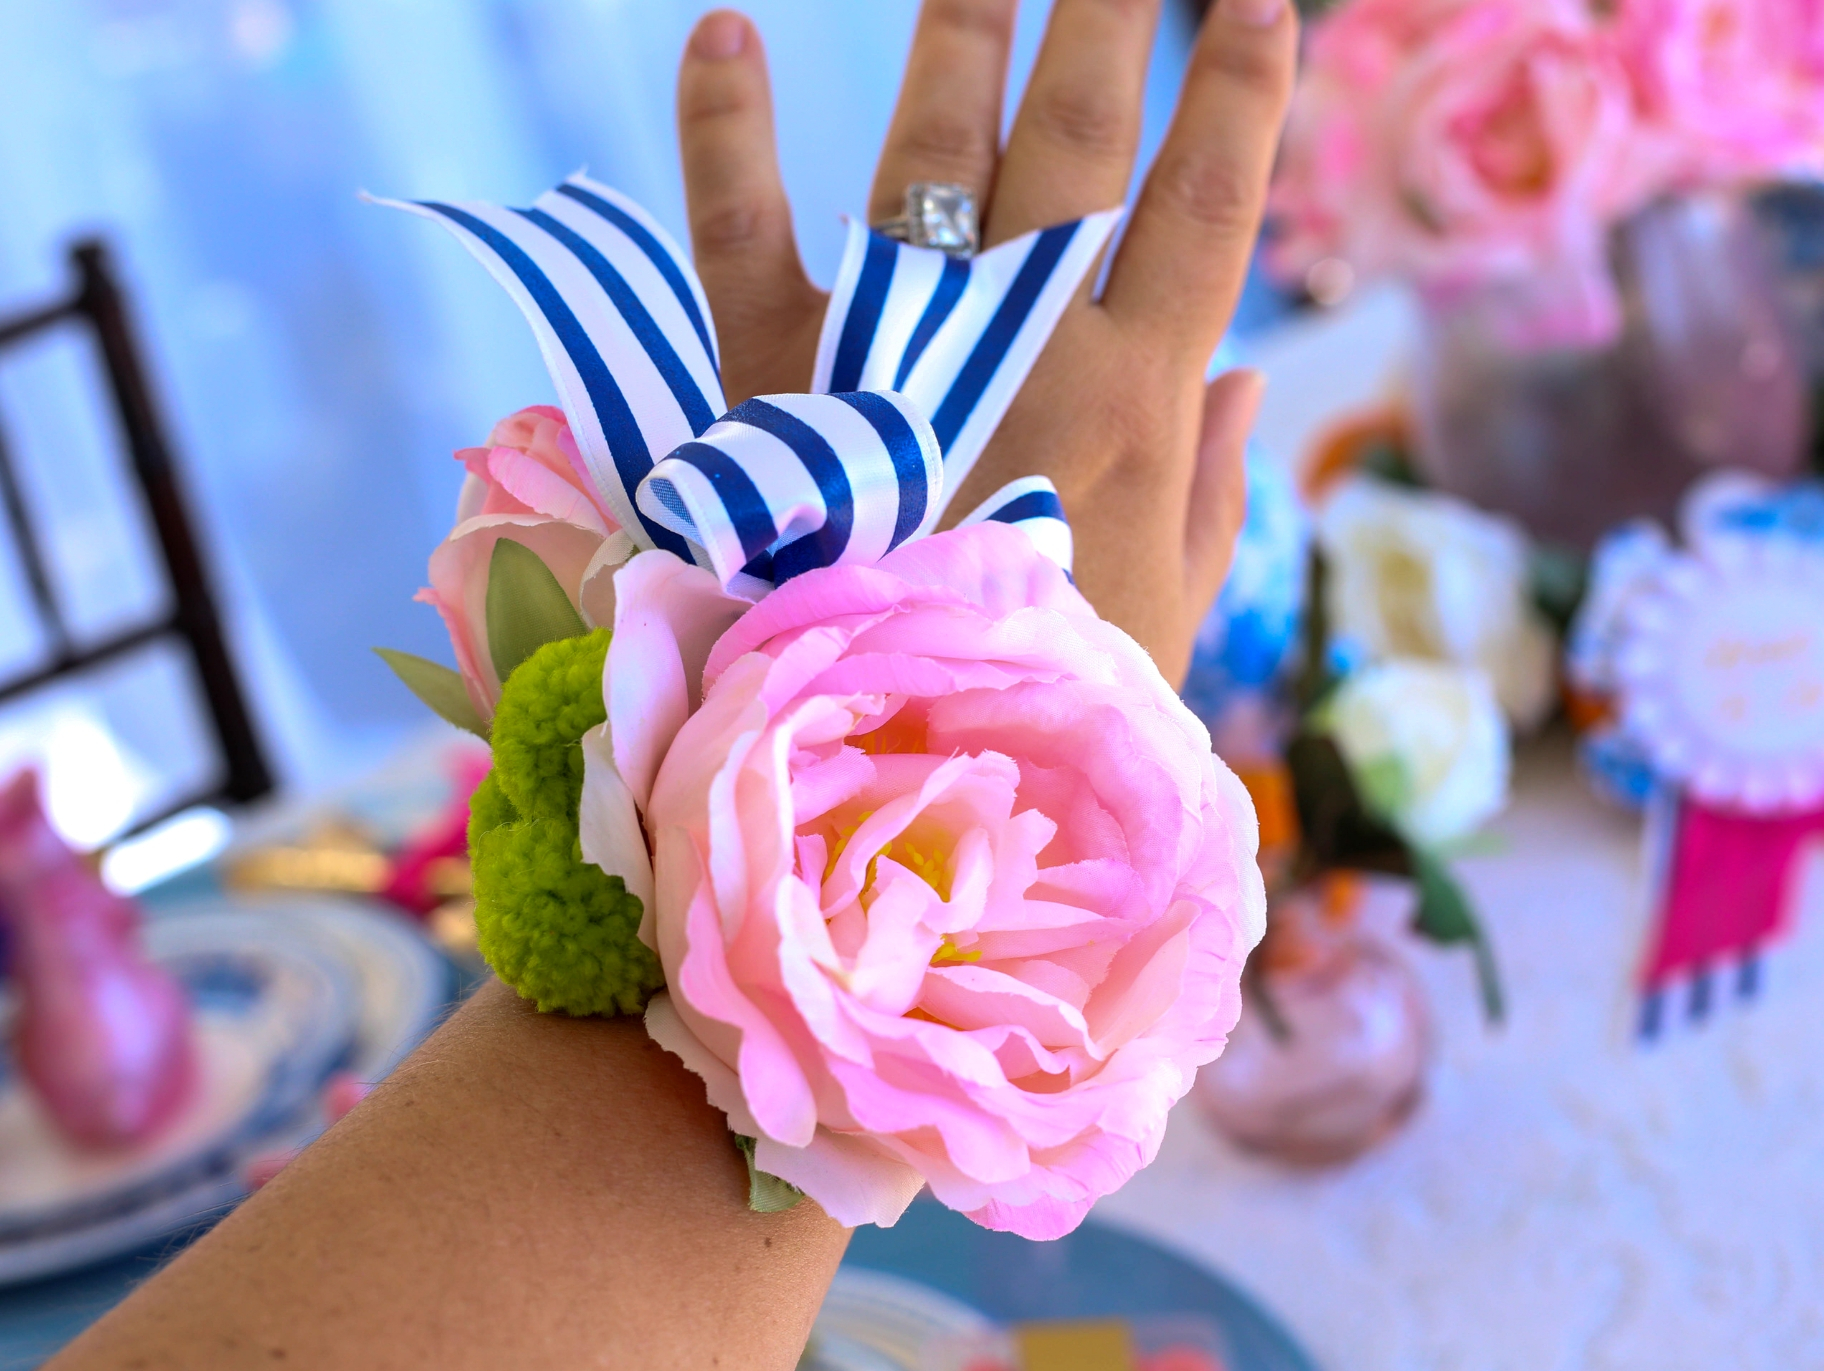
Use scissors to trim enough navy and white striped satin ribbon to create a pretty bow. I like to take the extra step of dovetailing the ends, which is achieved by folding the ends of the ribbon vertically and trimming at an angle. The pointed tails of the ribbon add an elegant look.

Tuck the ribbon into the corsage wherever you think it looks best. I like to position it so that it seems to come from one side, as an accent, but you can place it anywhere you like.

To wear the corsage, simply place the ends of the pink ribbon around the wrist of the person who will wear it, and tie in a bow that is just tight enough to keep it in place.
Be sure to see the whole Garden Themed Bridal Shower, DIY Wide Brim Hats Backdrop, and DIY Chinoiserie Table Decor.

Using a craft blade, carefully cut two slits on either side of a two and a half inch cardstock circle, as shown.

Trim a length of pink satin ribbon to about twenty inches, then insert the ribbon through the slits, taking care not to tear the cardstock.

Using hot glue, adhere a large pink peony bloom to the top of the cardstock circle. Allow to dry well before moving on to the next step.

Beneath the flower, some of the cardstock may still be visible, but not to worry! Tuck a few yarn poms into the space. Once you have the arrangement you like, use hot glue to attach them permanently.

Use scissors to trim enough navy and white striped satin ribbon to create a pretty bow. I like to take the extra step of dovetailing the ends, which is achieved by folding the ends of the ribbon vertically and trimming at an angle. The pointed tails of the ribbon add an elegant look.

Tuck the ribbon into the corsage wherever you think it looks best. I like to position it so that it seems to come from one side, as an accent, but you can place it anywhere you like.

To wear the corsage, simply place the ends of the pink ribbon around the wrist of the person who will wear it, and tie in a bow that is just tight enough to keep it in place.
Be sure to see the whole Garden Themed Bridal Shower, DIY Wide Brim Hats Backdrop, and DIY Chinoiserie Table Decor.


