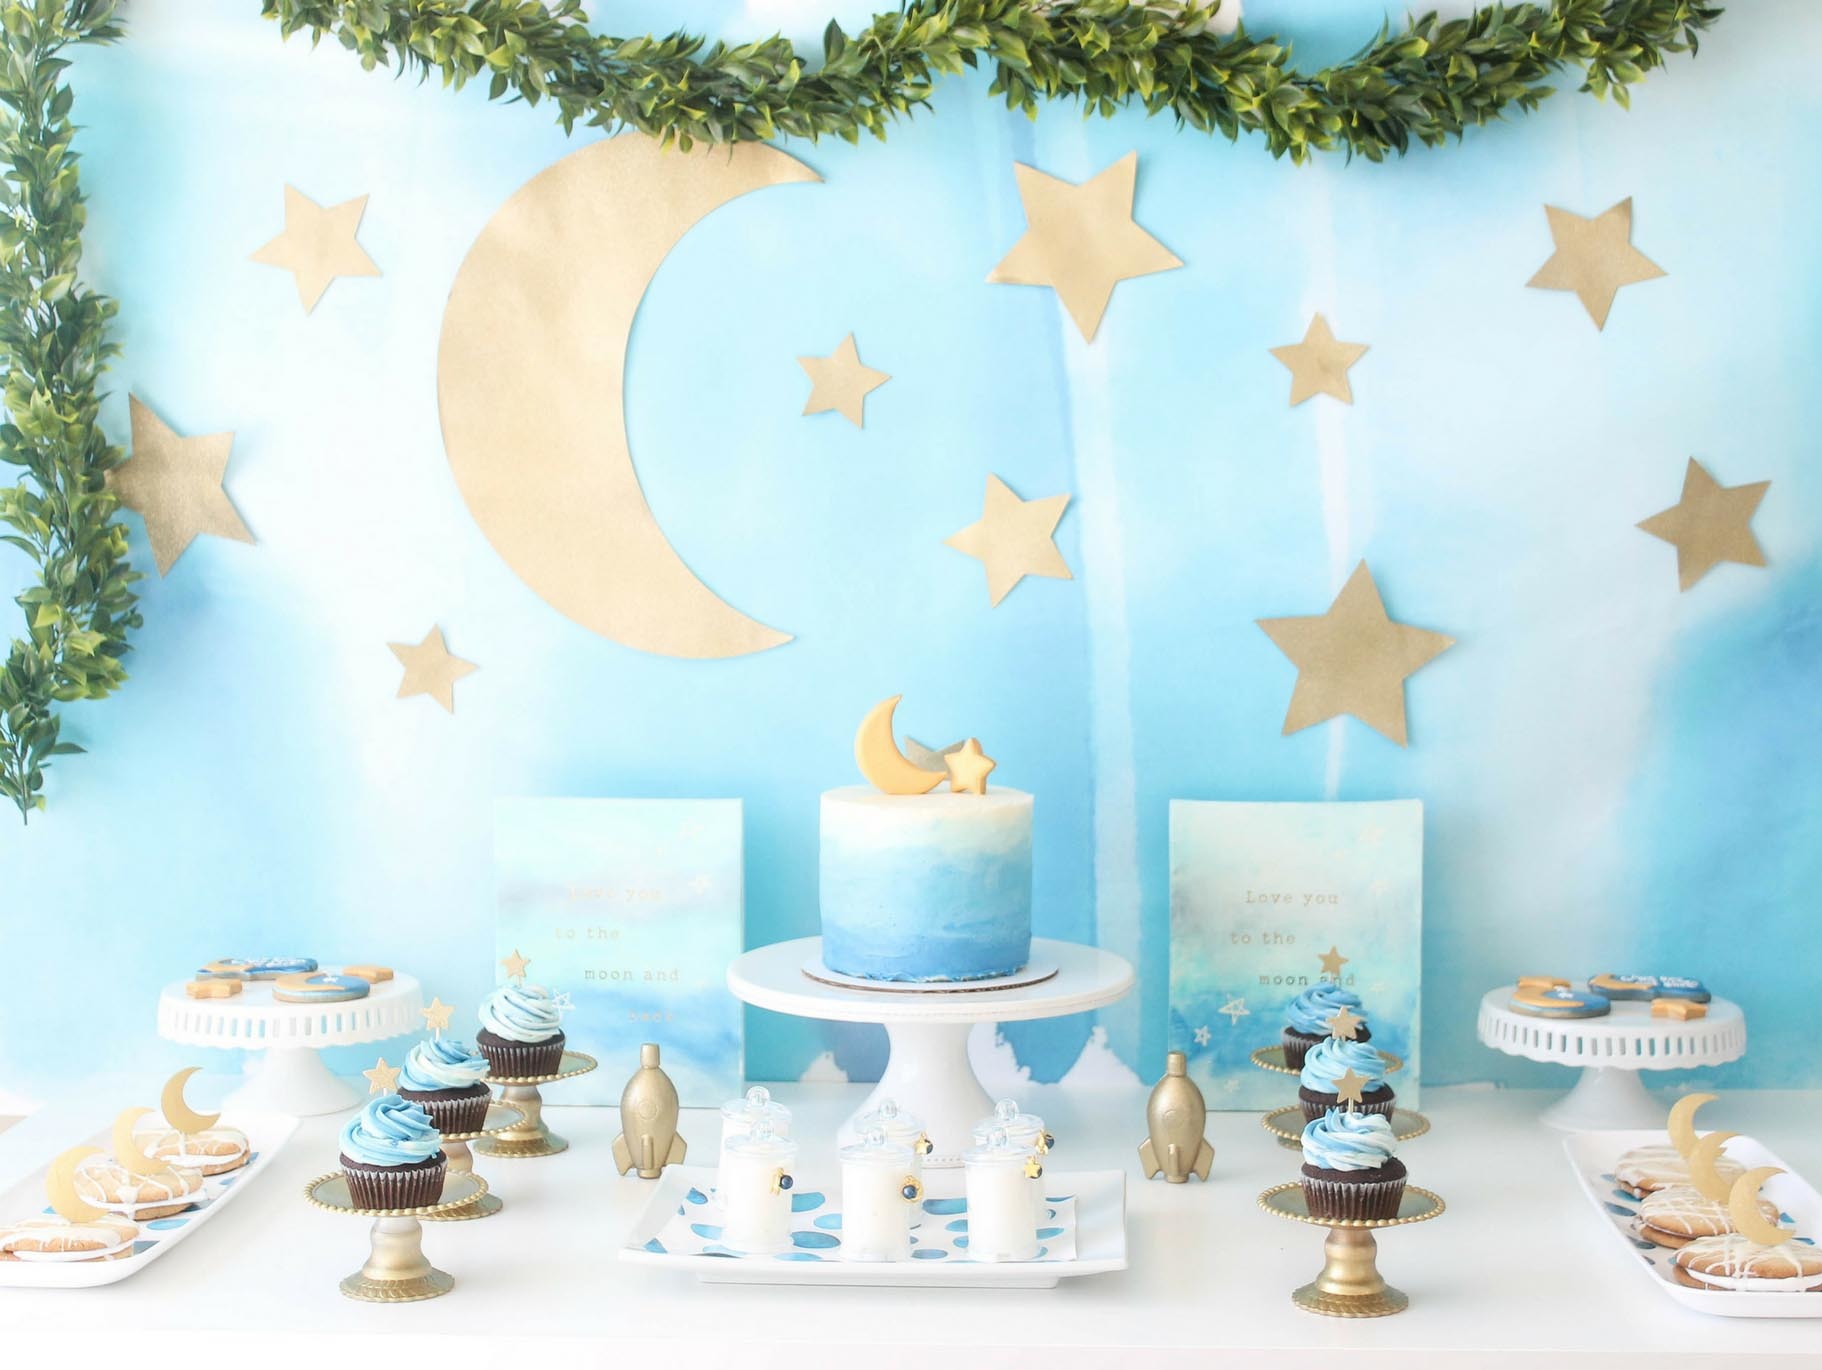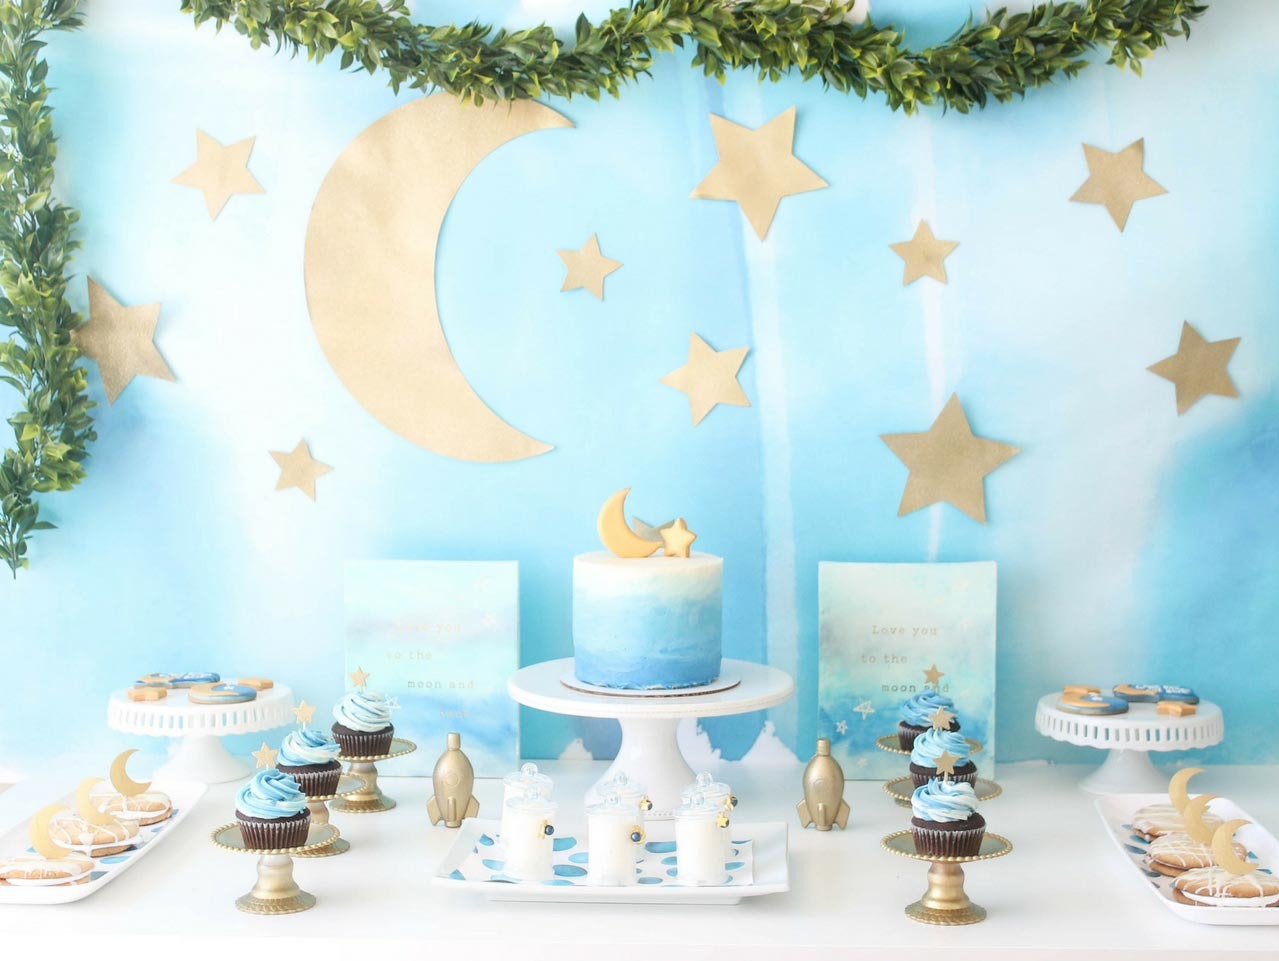
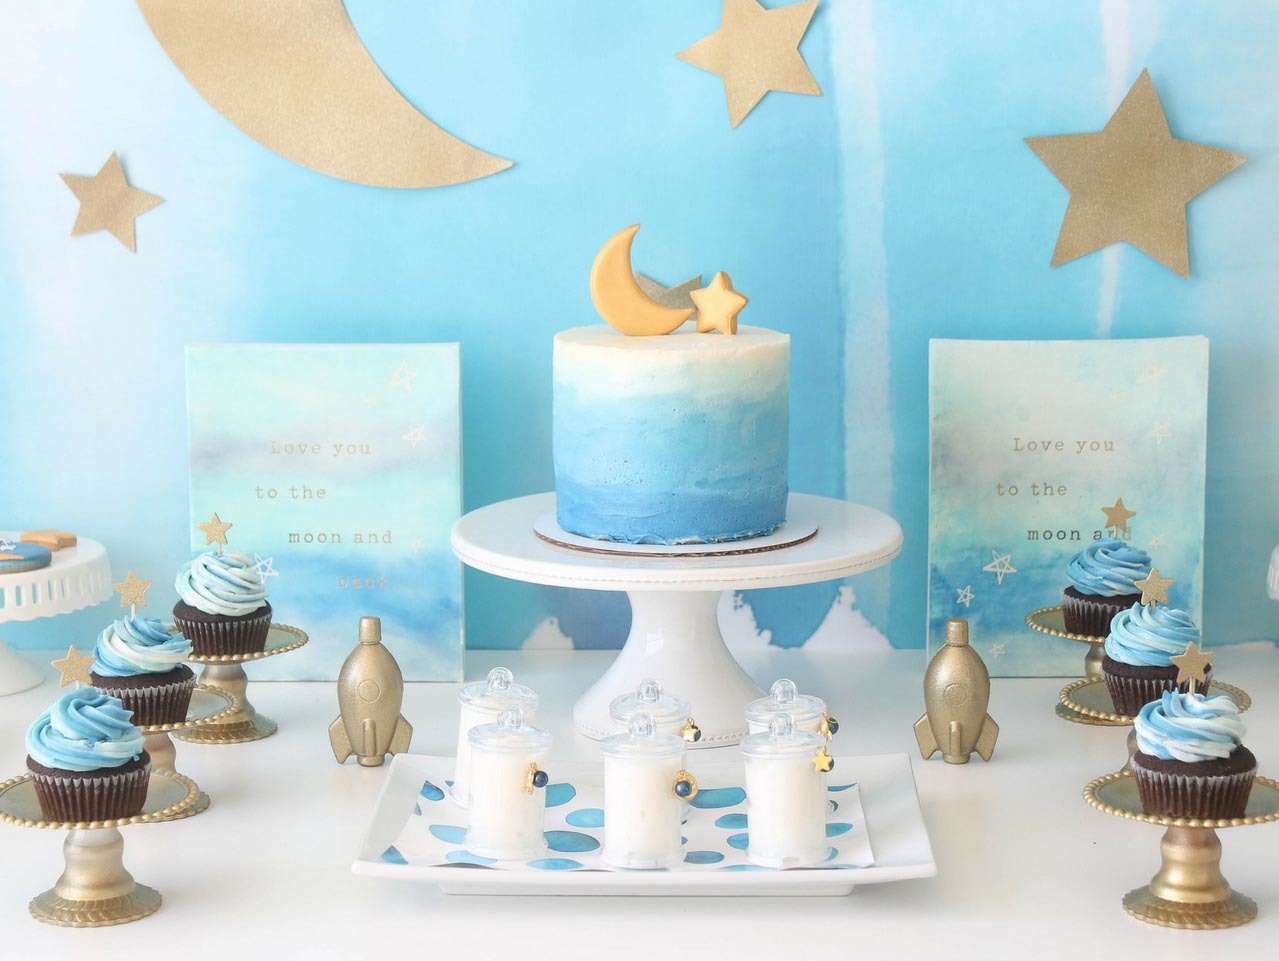
Begin by creating the backdrop. Hang the Blue Watercolor Vinyl Backdrop horizontally so it fits the length of the table and gives the appearance of a nighttime sky. Add a layer of gold and gold glitter spray paint to the Glitter Camp Glam Moon and Stars Garland. Separate the pieces from the garland string and hang them on the backdrop using sticky putty.
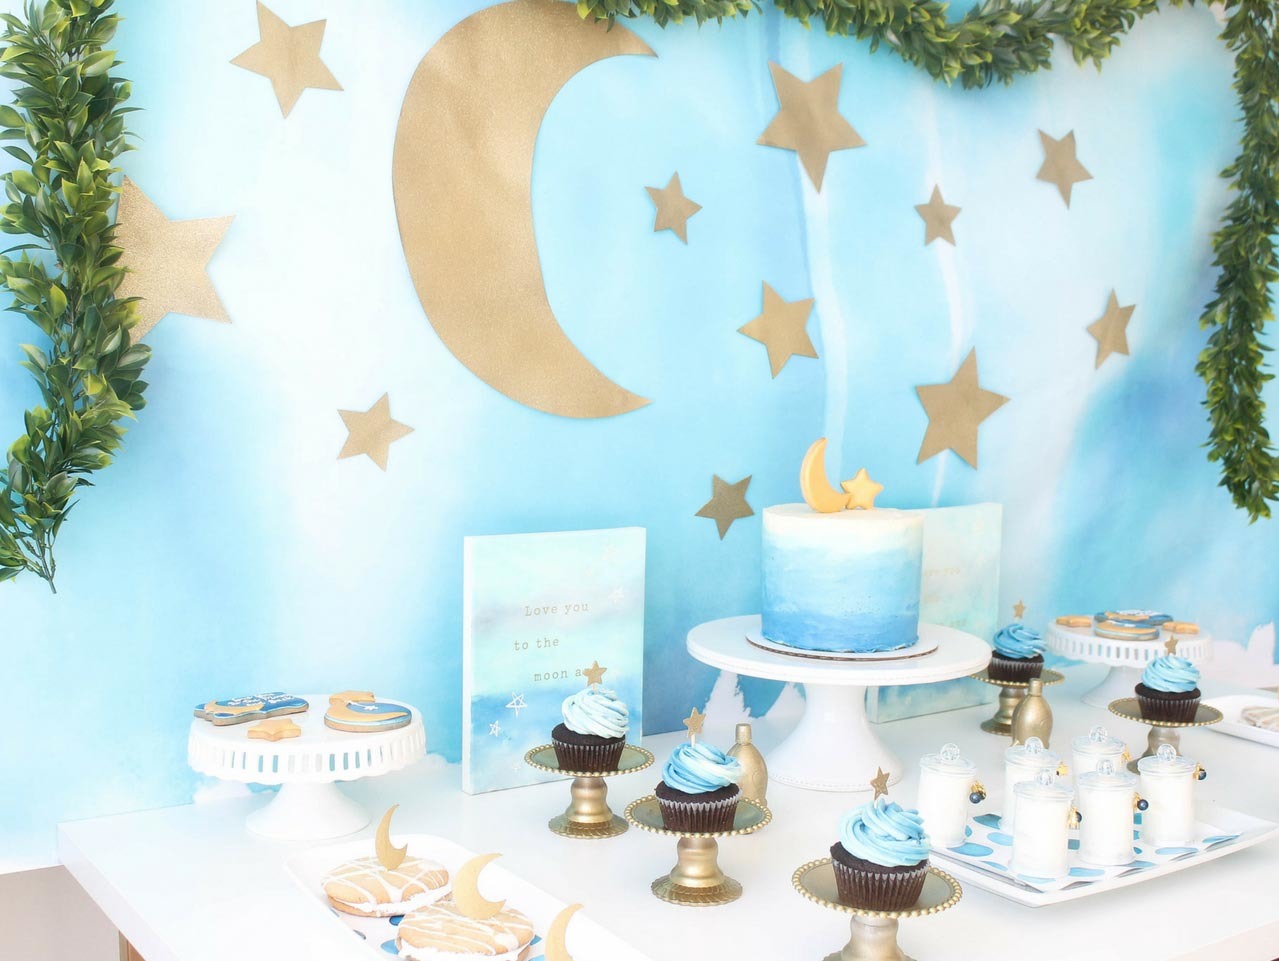
Place a few Command® Hooks across the top of the Backdrop above the Moon and Stars and then lay the Faux Eucalyptus Greenery Garland across it, letting the ends hang down either side so it frames the night sky scene.
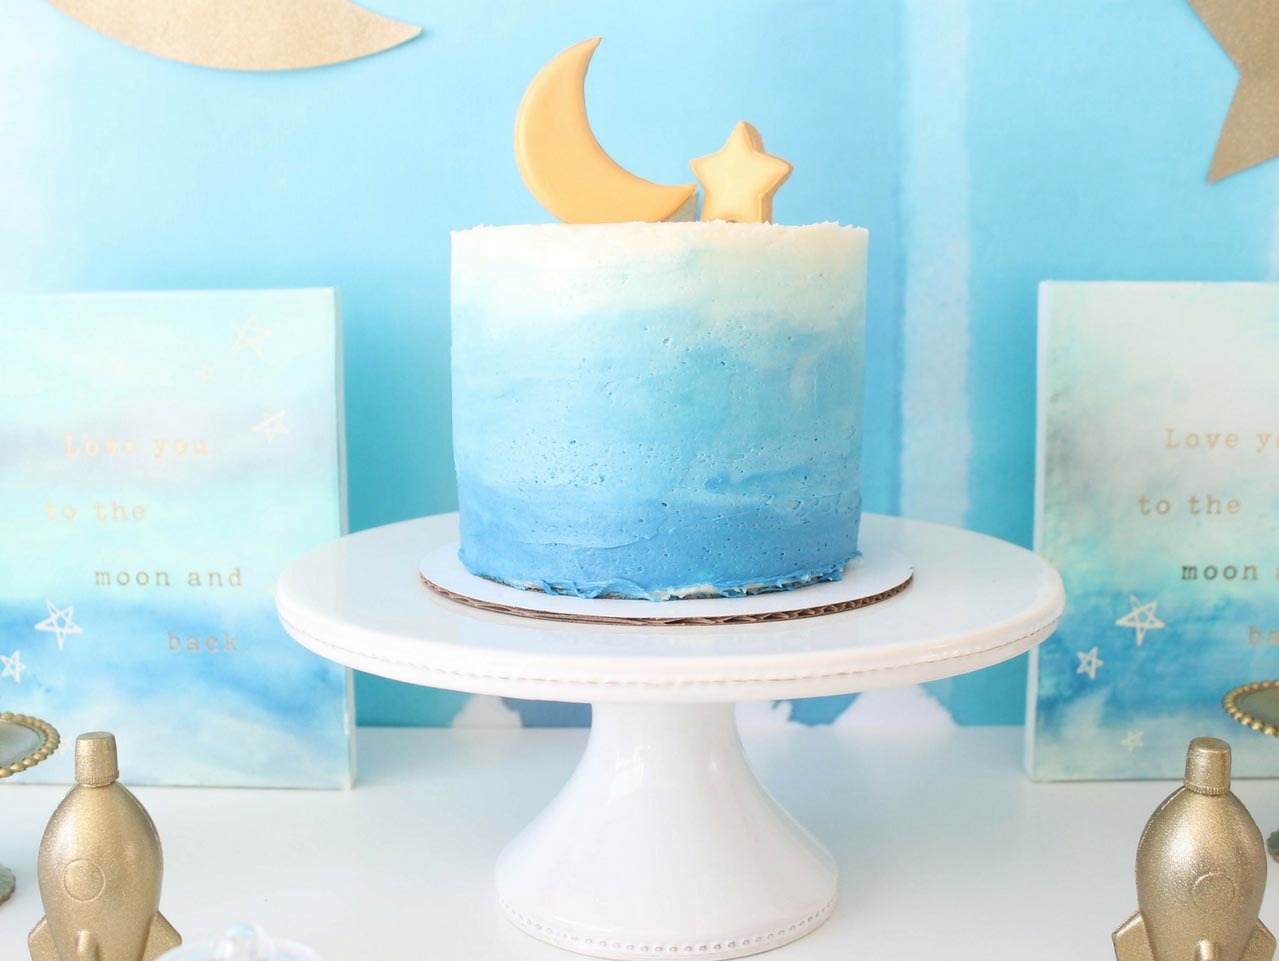
For the sweets, start by placing the cake on a White Ceramic Cake Stand in the back, center of the table. This will serve as the focal point of the dessert bar. Rather than spend money on a cake topper, try topping with a few extra cookies! It's a simple way to use what you have while bringing in thematic details. Flank the cake with two painted Rocket Ship Sand Art Bottles and two Love you to the Moon and Back Watercolor Panels. Follow this simple tutorial on how to create the watercolor effect using Magic Markers!
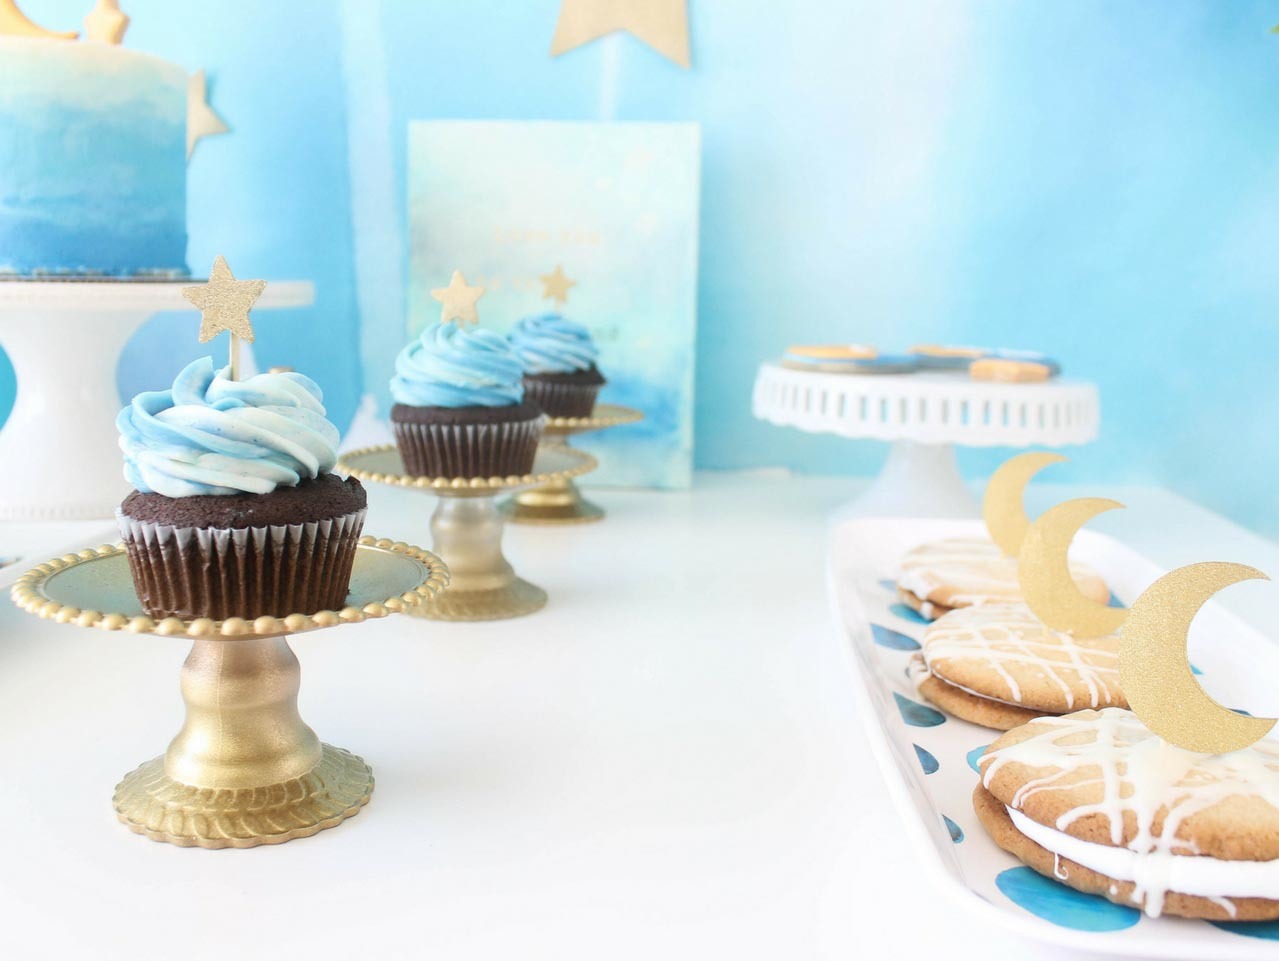

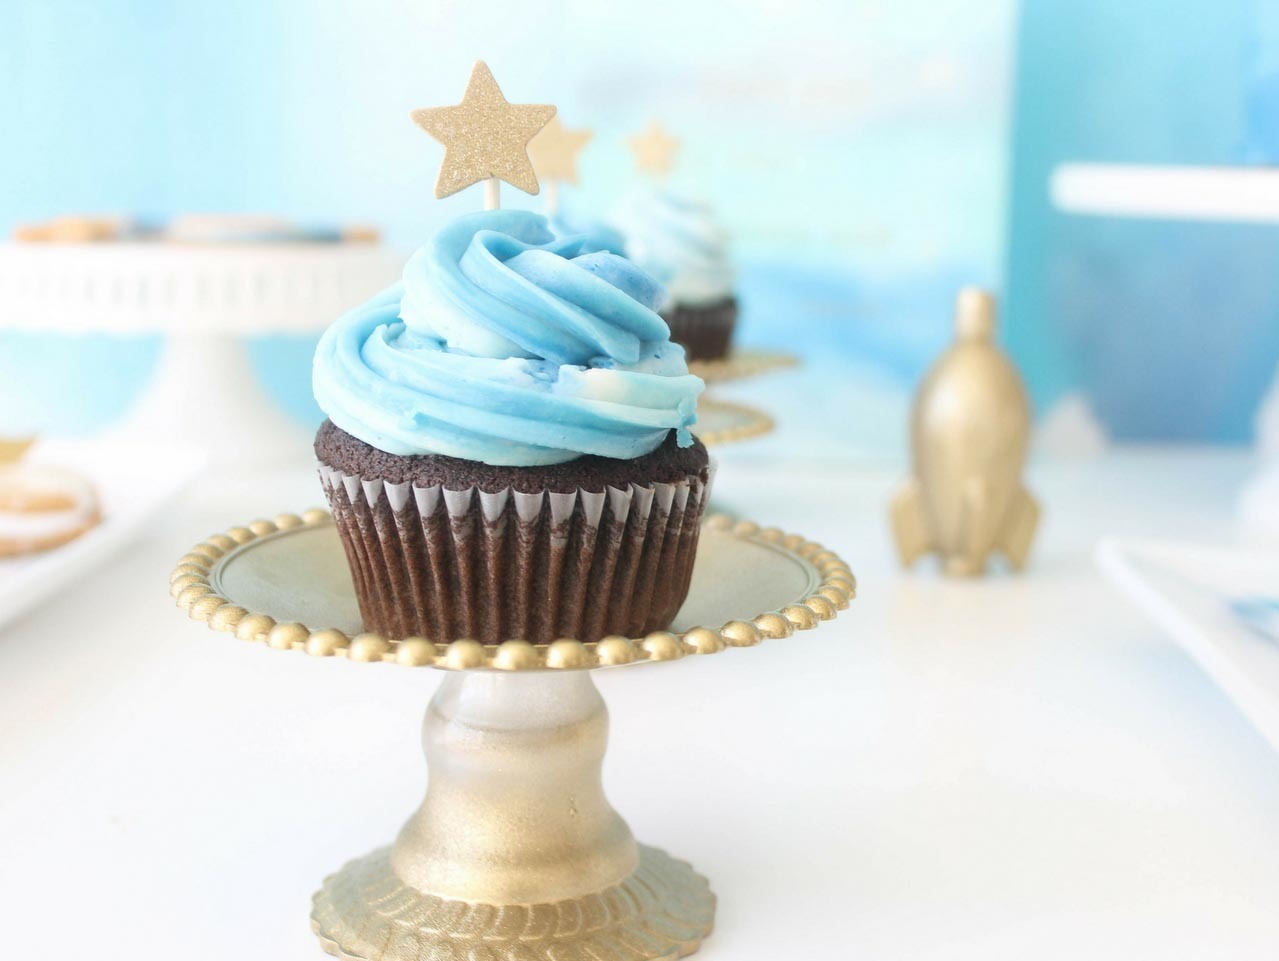
Cupcakes are another great, inexpensive option to have available on your dessert bar. We took a few Clear Cupcake Stands, painted and glittered them gold and then topped the cupcakes with a gold-painted DIY Wood Star adhered to a toothpick.
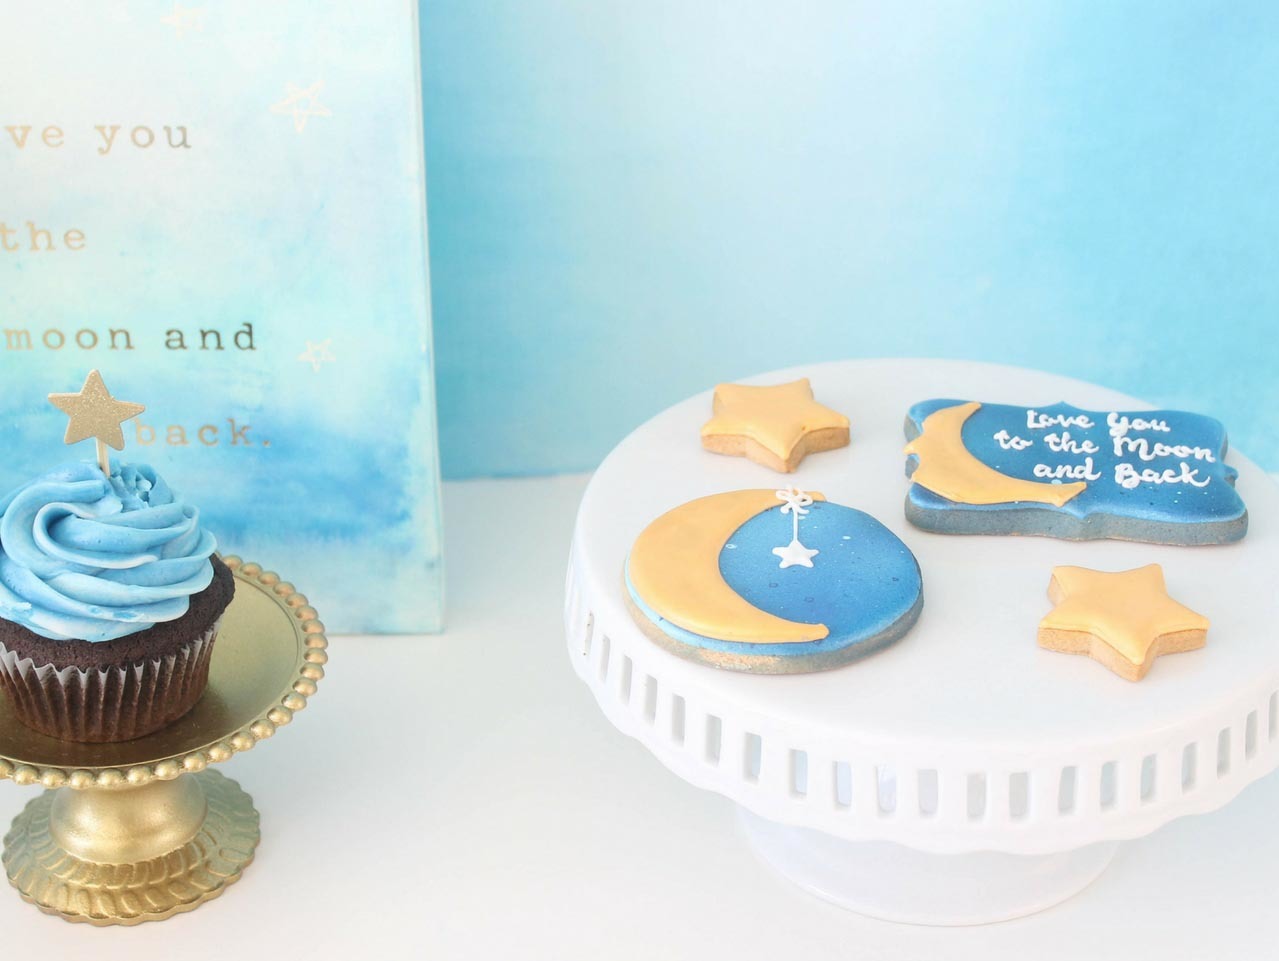
Add in some decorated cookies on miniature cake stands to really bring your theme to life. We called on our friends from Katie's Creative Baking for these hand-crafted sweets. If you don't have access to decorated cookies, plain sugar cookies with color-coordinating icing is always a cute and simple option!

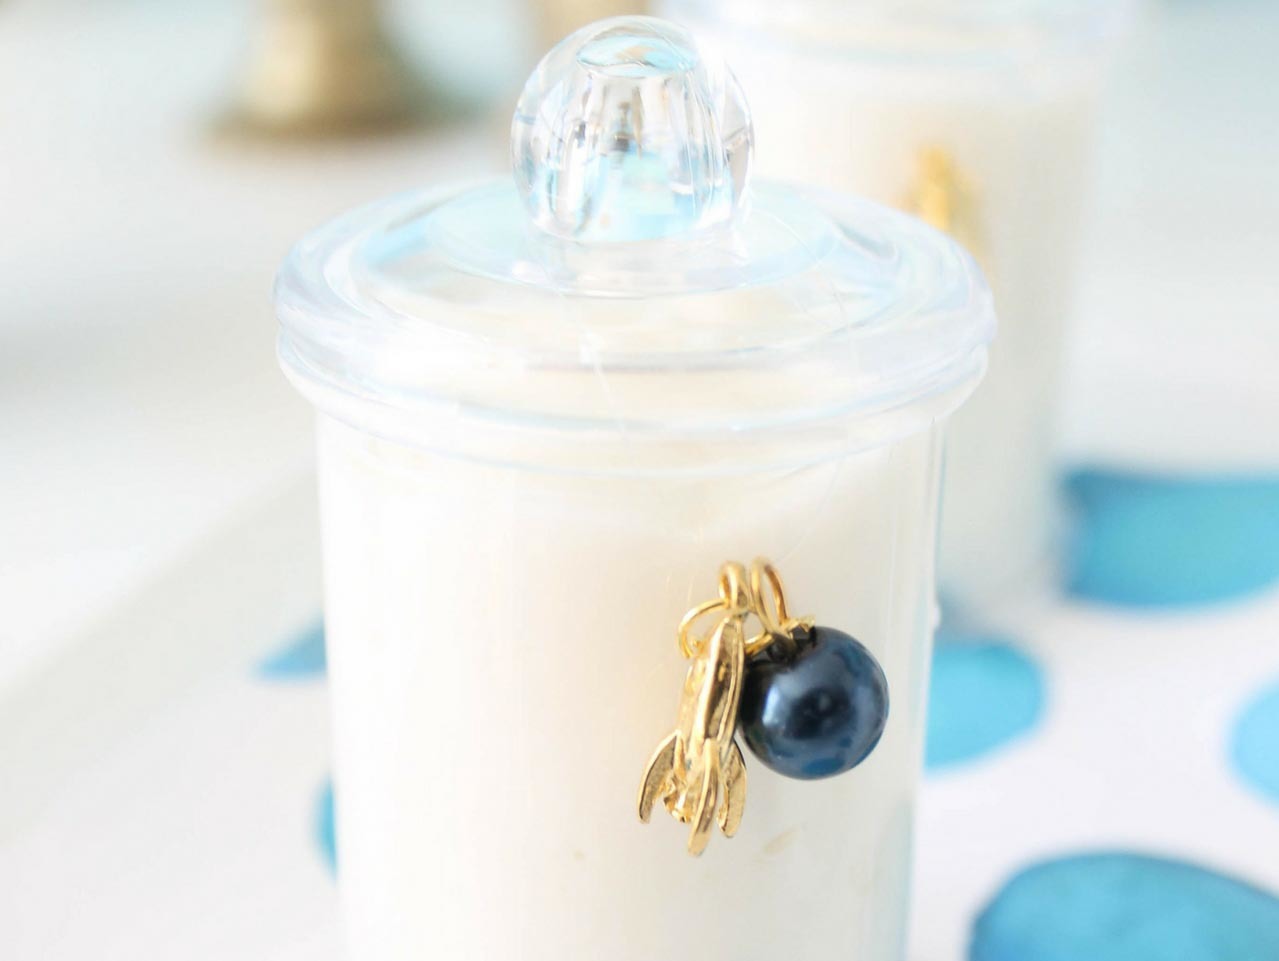
Next, fill a few Mini Plastic Candy Containers with vanilla yogurt or pudding and place on a White Serving Tray lined with a piece cut from the Coastal Seaside Paper Table Runner. We added the cutest Inspiring Love you to the Moon Charm to the lid of the Container.
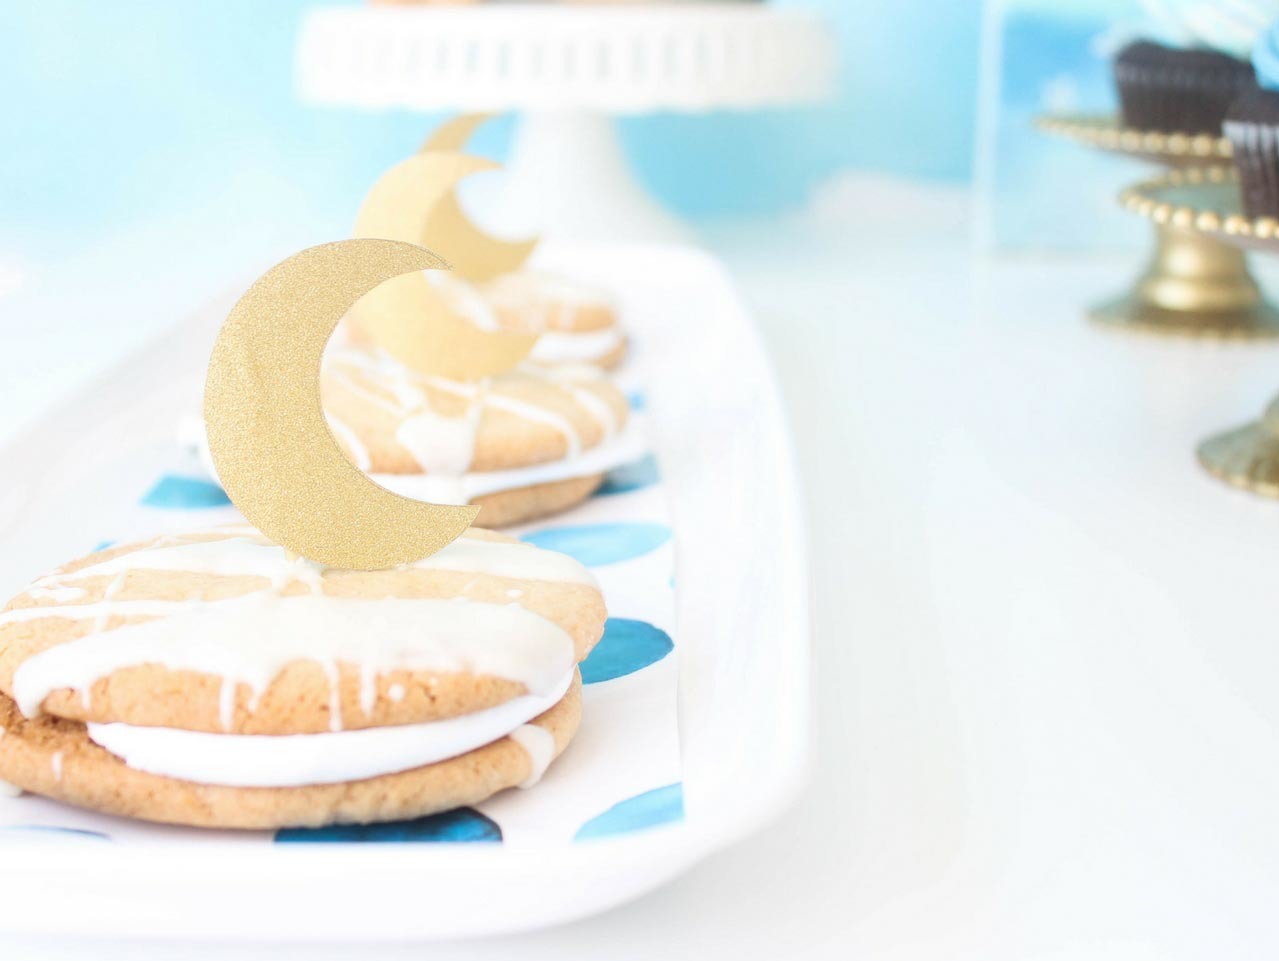
Lastly, whip up a batch of our White Chocolate Moon Pies and place them on two more lined, White Serving Trays. Add a glittering, gold crescent moon made of Gold Glitter Contact Paper for a fabulous, final touch. Your DIY Dessert Bar and Backdrop is now complete!
Make sure to check out our Love you to the Moon and Back Baby Shower, DIY Centerpiece and White Chocolate Moon Pie Recipe for even more baby shower inspiration!

Begin by creating the backdrop. Hang the Blue Watercolor Vinyl Backdrop horizontally so it fits the length of the table and gives the appearance of a nighttime sky. Add a layer of gold and gold glitter spray paint to the Glitter Camp Glam Moon and Stars Garland. Separate the pieces from the garland string and hang them on the backdrop using sticky putty.

Place a few Command® Hooks across the top of the Backdrop above the Moon and Stars and then lay the Faux Eucalyptus Greenery Garland across it, letting the ends hang down either side so it frames the night sky scene.

For the sweets, start by placing the cake on a White Ceramic Cake Stand in the back, center of the table. This will serve as the focal point of the dessert bar. Rather than spend money on a cake topper, try topping with a few extra cookies! It's a simple way to use what you have while bringing in thematic details. Flank the cake with two painted Rocket Ship Sand Art Bottles and two Love you to the Moon and Back Watercolor Panels. Follow this simple tutorial on how to create the watercolor effect using Magic Markers!


Cupcakes are another great, inexpensive option to have available on your dessert bar. We took a few Clear Cupcake Stands, painted and glittered them gold and then topped the cupcakes with a gold-painted DIY Wood Star adhered to a toothpick.

Add in some decorated cookies on miniature cake stands to really bring your theme to life. We called on our friends from Katie's Creative Baking for these hand-crafted sweets. If you don't have access to decorated cookies, plain sugar cookies with color-coordinating icing is always a cute and simple option!


Next, fill a few Mini Plastic Candy Containers with vanilla yogurt or pudding and place on a White Serving Tray lined with a piece cut from the Coastal Seaside Paper Table Runner. We added the cutest Inspiring Love you to the Moon Charm to the lid of the Container.

Lastly, whip up a batch of our White Chocolate Moon Pies and place them on two more lined, White Serving Trays. Add a glittering, gold crescent moon made of Gold Glitter Contact Paper for a fabulous, final touch. Your DIY Dessert Bar and Backdrop is now complete!
Make sure to check out our Love you to the Moon and Back Baby Shower, DIY Centerpiece and White Chocolate Moon Pie Recipe for even more baby shower inspiration!

