- 1 Box Kellogg's® Rice Krispies Treats® Original bars
- 1 Bag Yellow Candy Melts
- 1 Bag Orange Candy Melts
- 1 Bag Black Candy Melts
- 1/4 C. Shredded Coconut
- Yellow Food Coloring
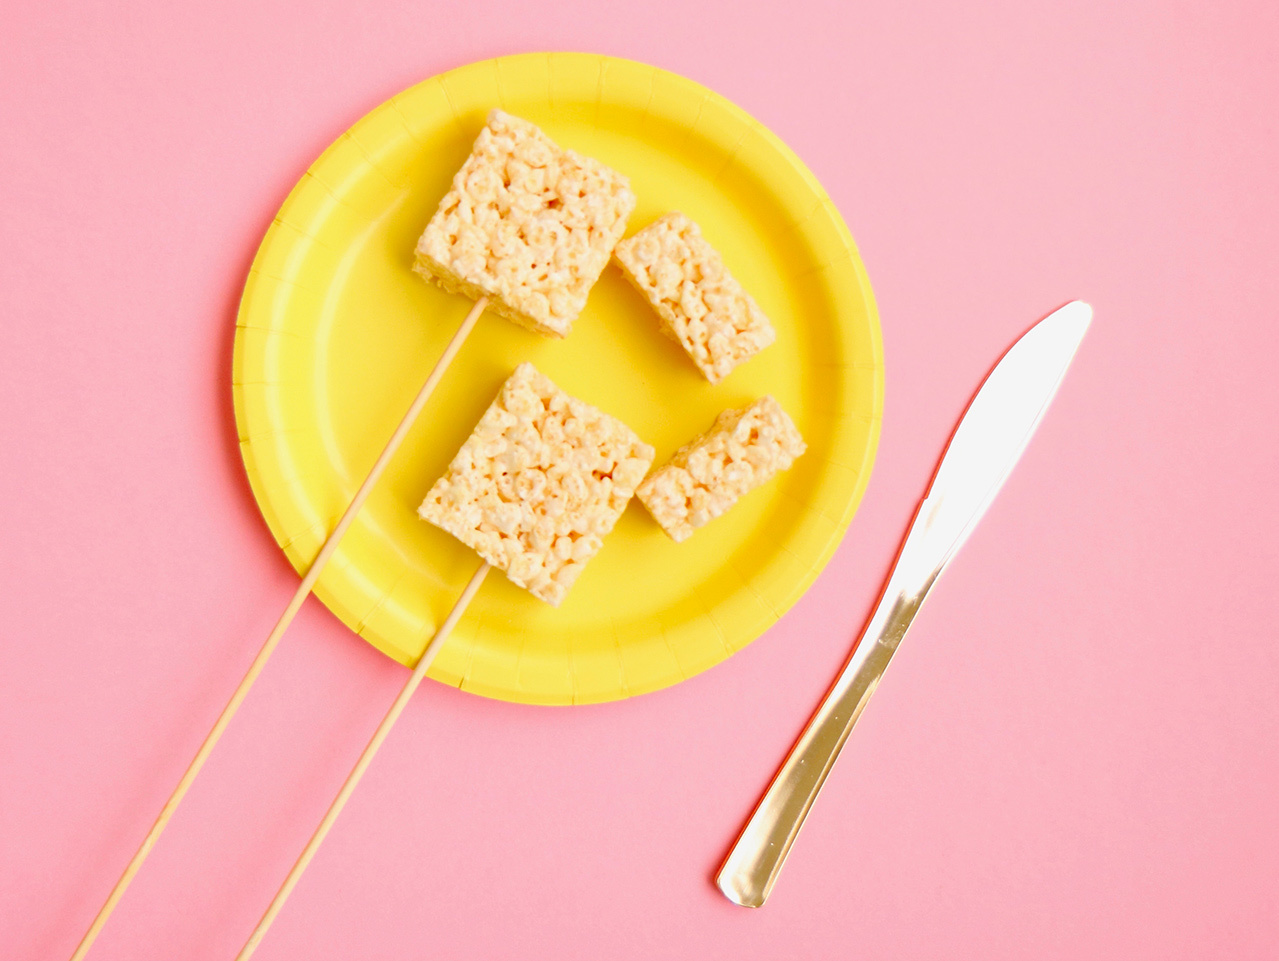
Begin creating your Easter chicks by taking the Kellogg's® Rice Krispies Treats® Original bars out of their packaging and cutting off about a 1" piece from the long end of each. Next, insert a bamboo skewer into the bottom of each one, trimming the ends of the sticks to your desired height.
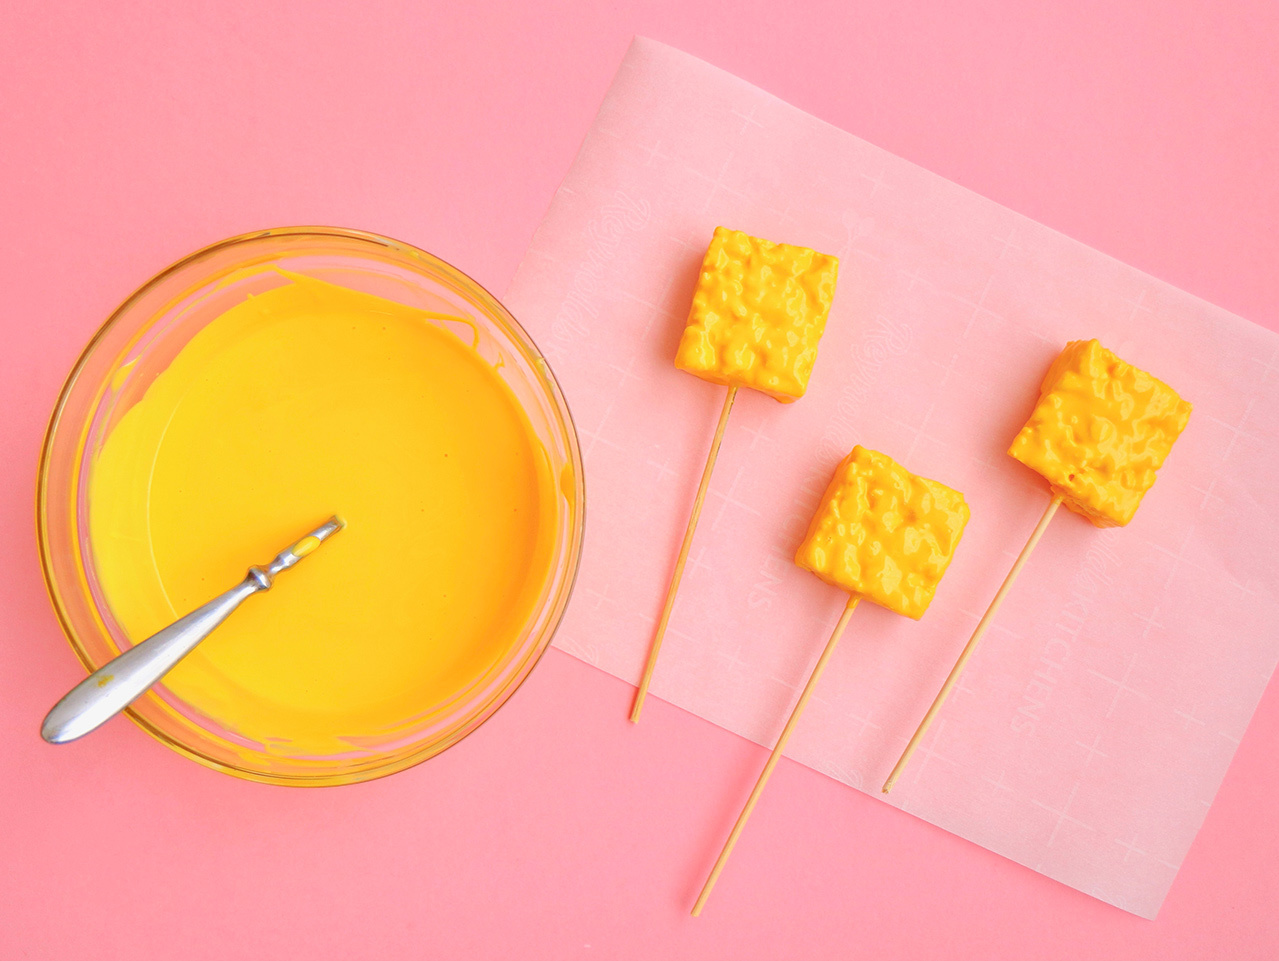
Pour the yellow chocolate candy melts into a microwave safe bowl and heat them in 30-second intervals until fully melted. Scoop small amounts of the chocolate in a spoon and then drizzle it over the entire surface of the Rice Krispies Treats® to coat them fully. Allow any excess chocolate to drip into the bowl. Place the coated Rice Krispies Treats® on a piece of parchment paper to cool.
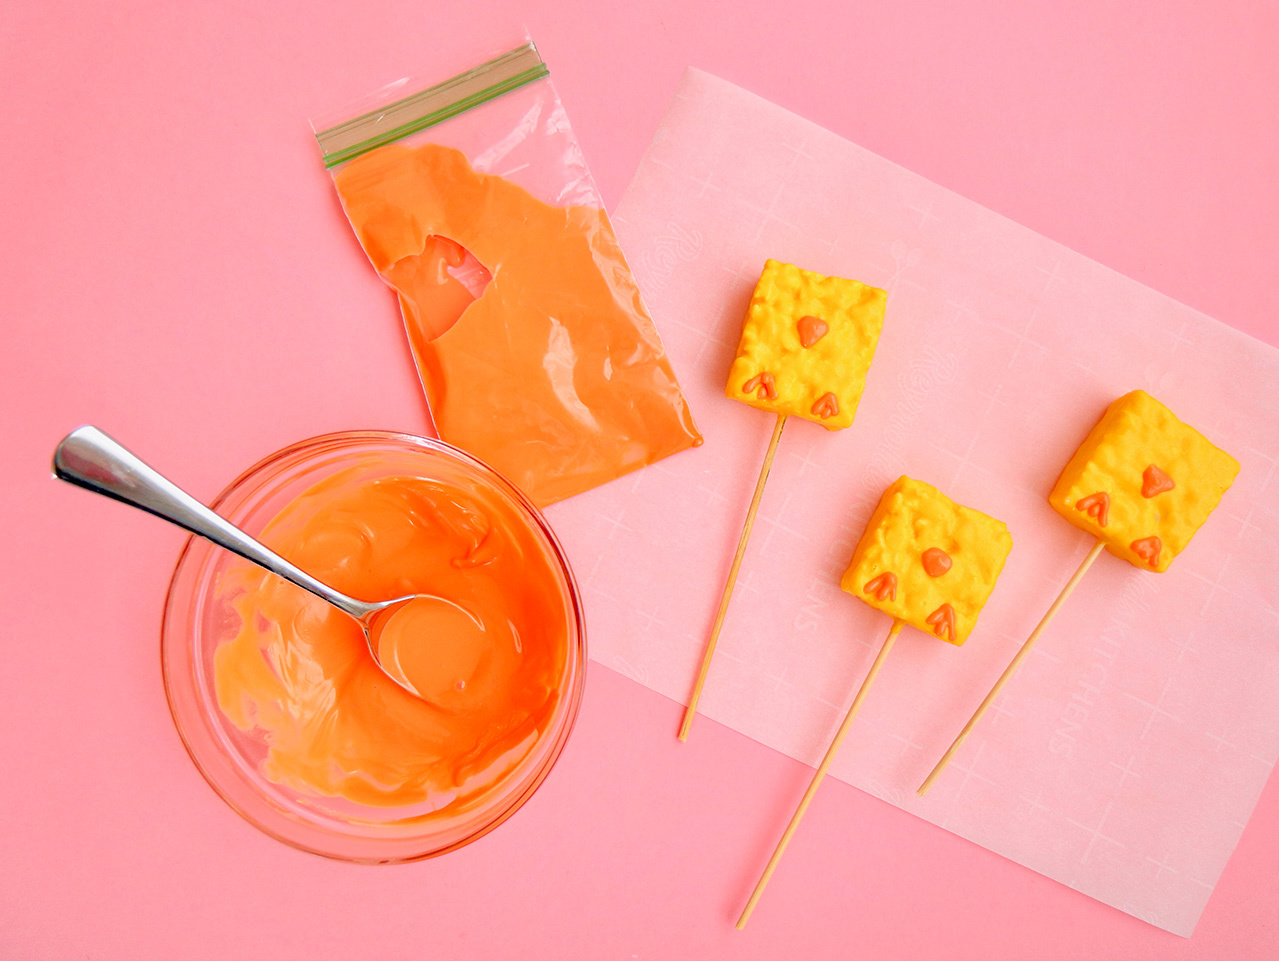
Once the yellow chocolate has set, melt the orange chocolate melts in a microwave-safe bowl and then add a few spoonfuls to a small plastic baggie. Snip off one corner of the baggie with scissors, then gently squeeze the orange chocolate onto the Rice Krispies Treats® to create a small triangle-shaped beak. Next, create the chick's feet by creating three straight lines; two on an angle that meet in the center, and the third coming straight down from the center of the first two as shown.
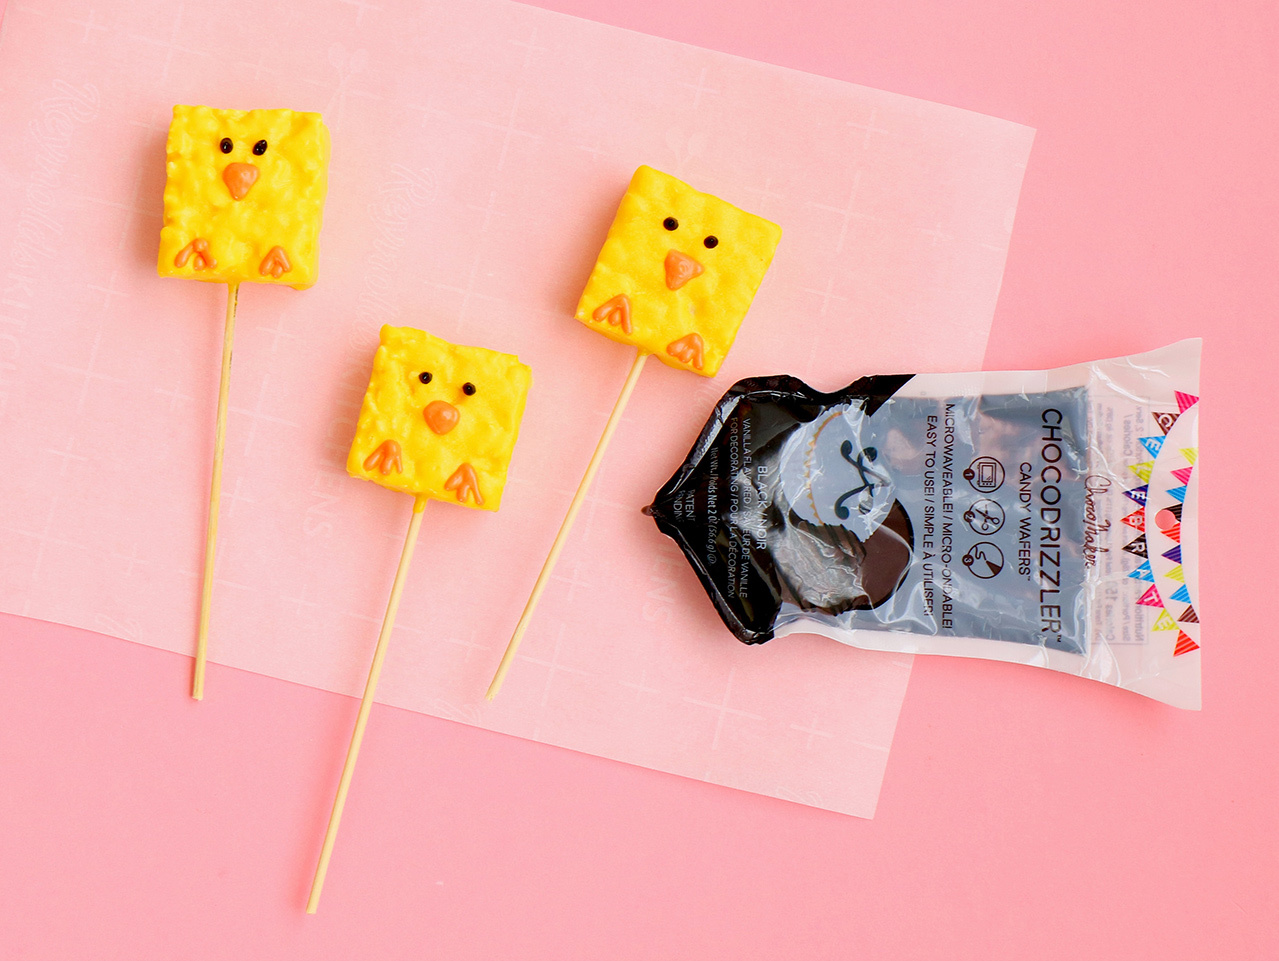
The final step in creating the chick's face is to add two small dots for its eyes. To do this, melt black candy melts in the microwave in 30-second intervals. I was able to find mini candy melts already in a squeezable package, but if you're unable to do so, follow the same steps as above with the orange melts, and spoon them into a small baggie.
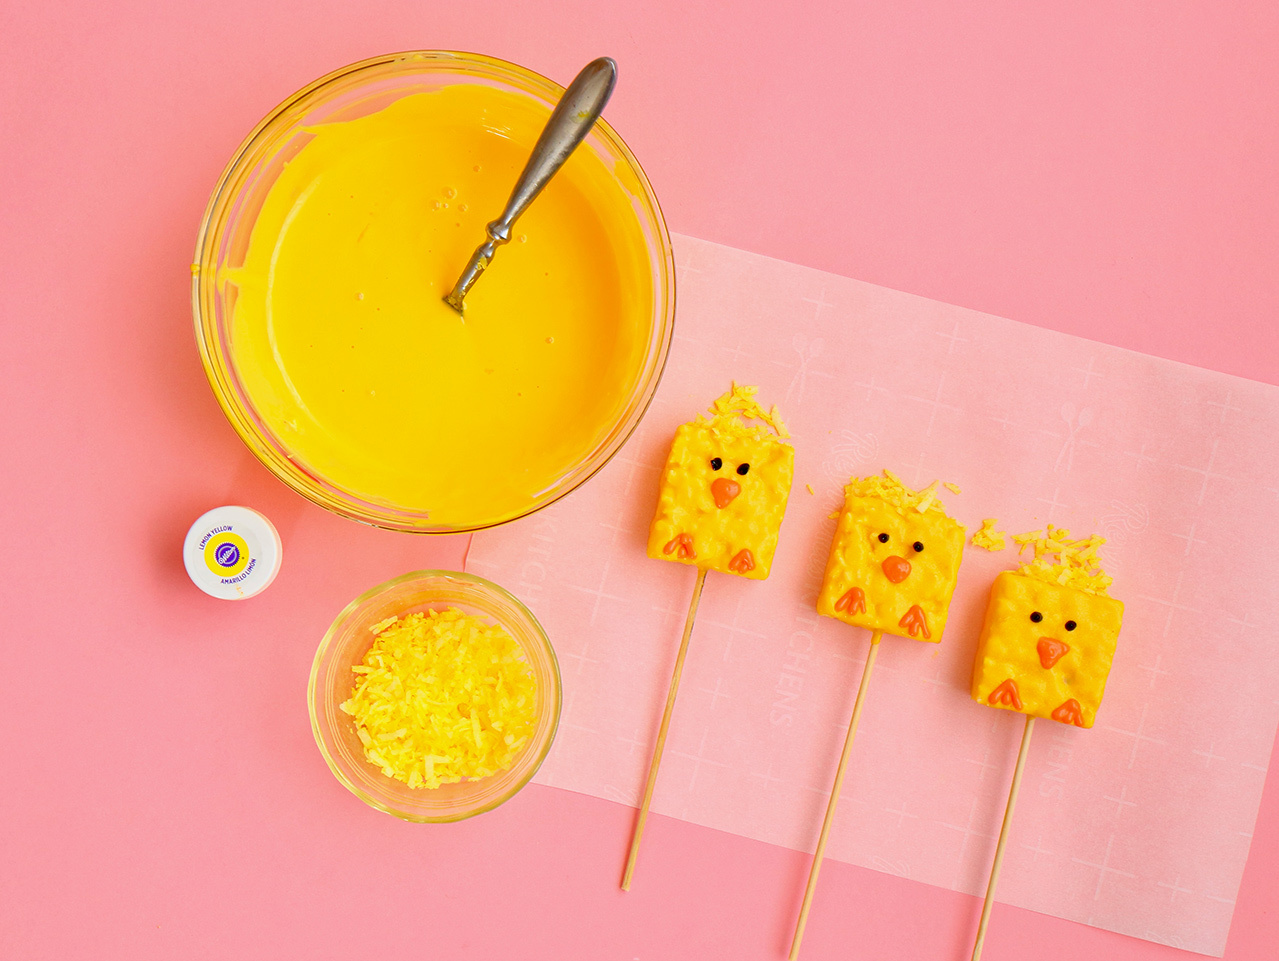
Next add a little cuteness to the chicks by topping their heads with shredded coconut "feathers". To tint the coconut yellow, simply add a few drops of yellow food coloring to a bowl of shredded coconut. Stir to distribute the color evenly. Once it's all tinted, spoon a tiny amount of yellow melted chocolate onto the top of the chick's head and sprinkle a bit of the coconut over the top. Set aside to dry.
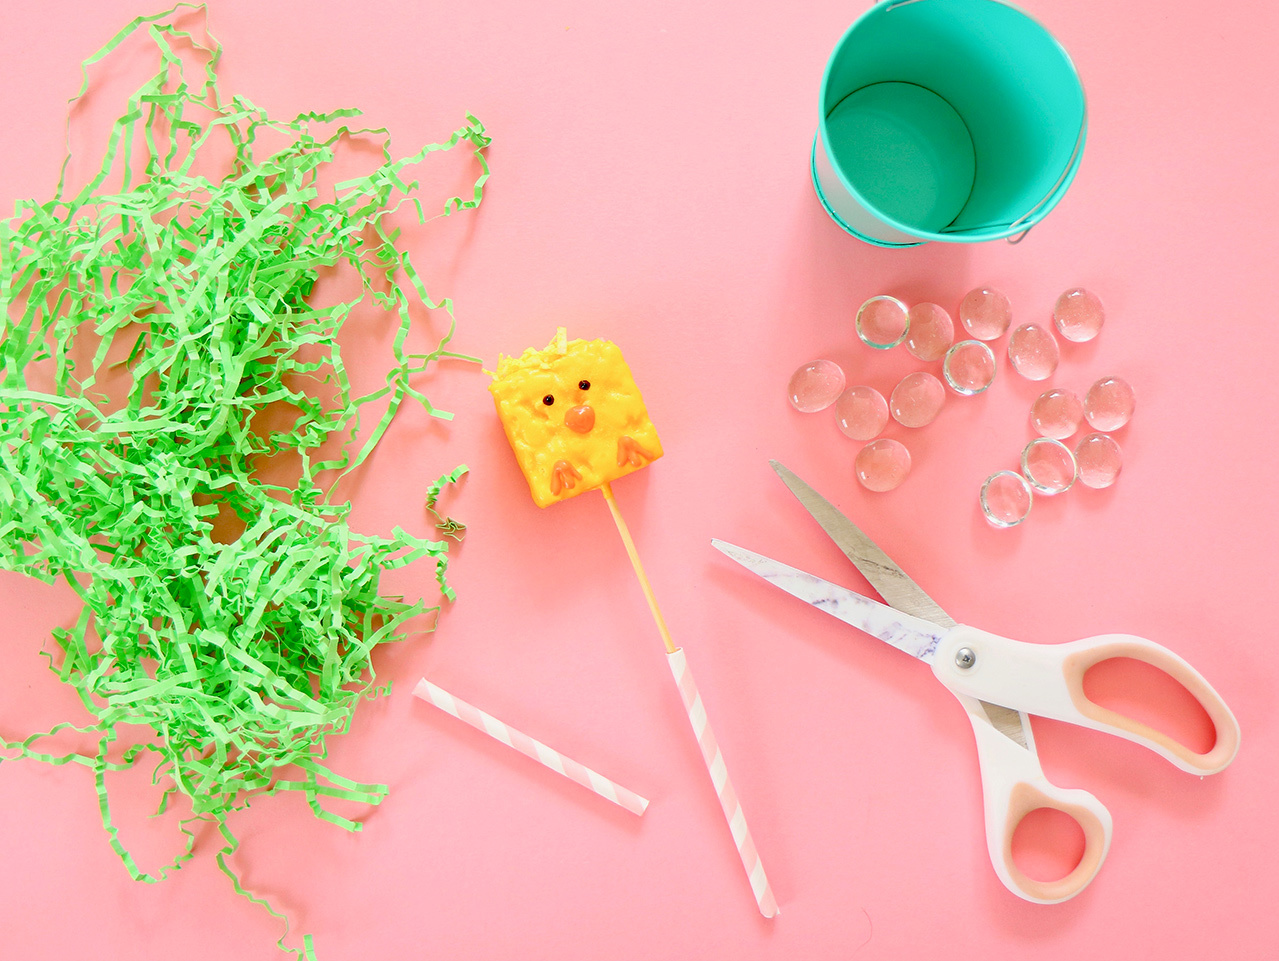
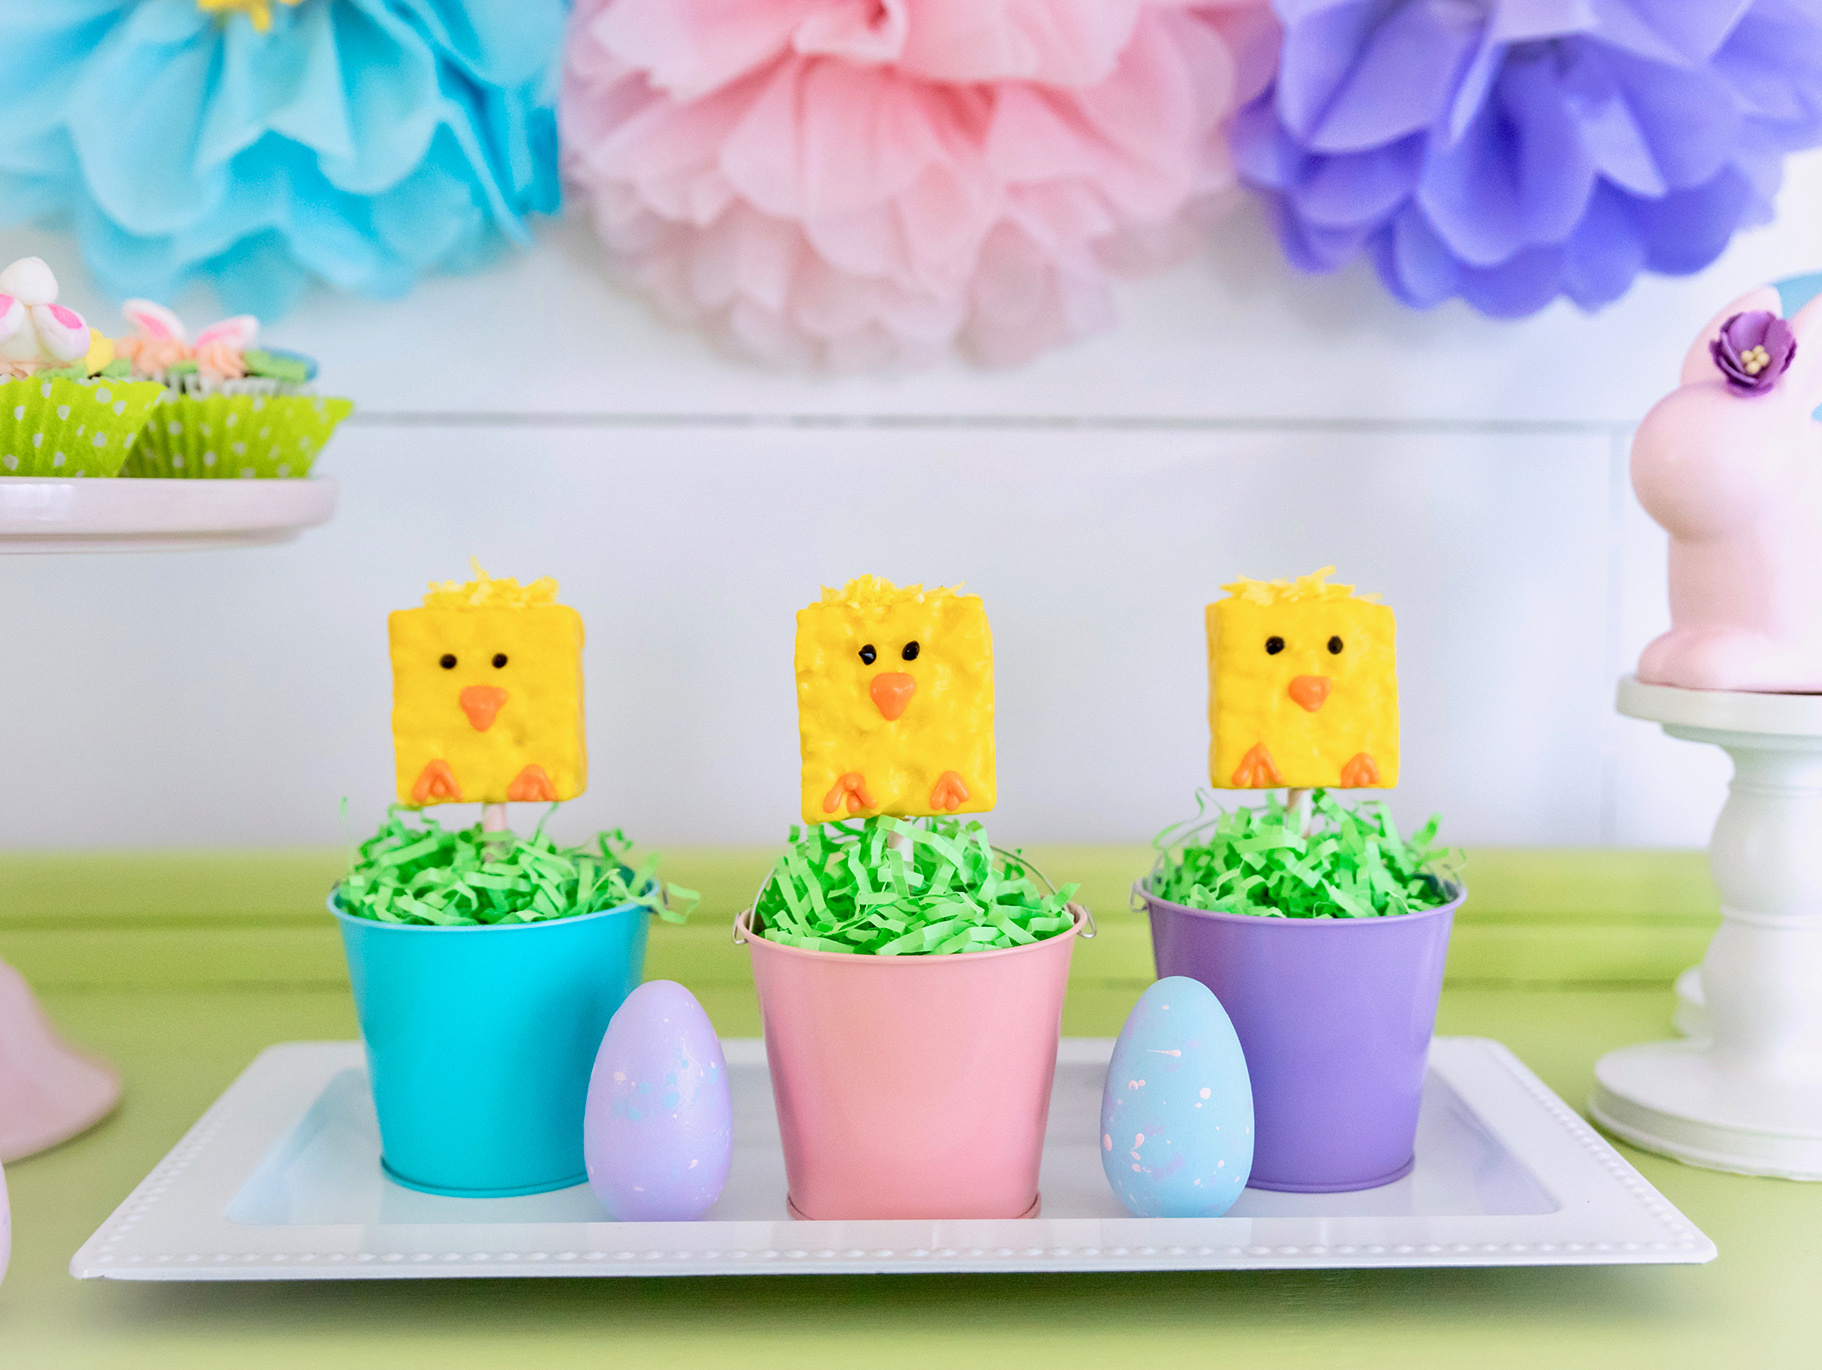
Now it's time to tuck your chicks into individual "nests". Cut a pink striped straw to the same length as the bottom part of the bamboo skewer and slide over the the bamboo skewer to hide the stick.
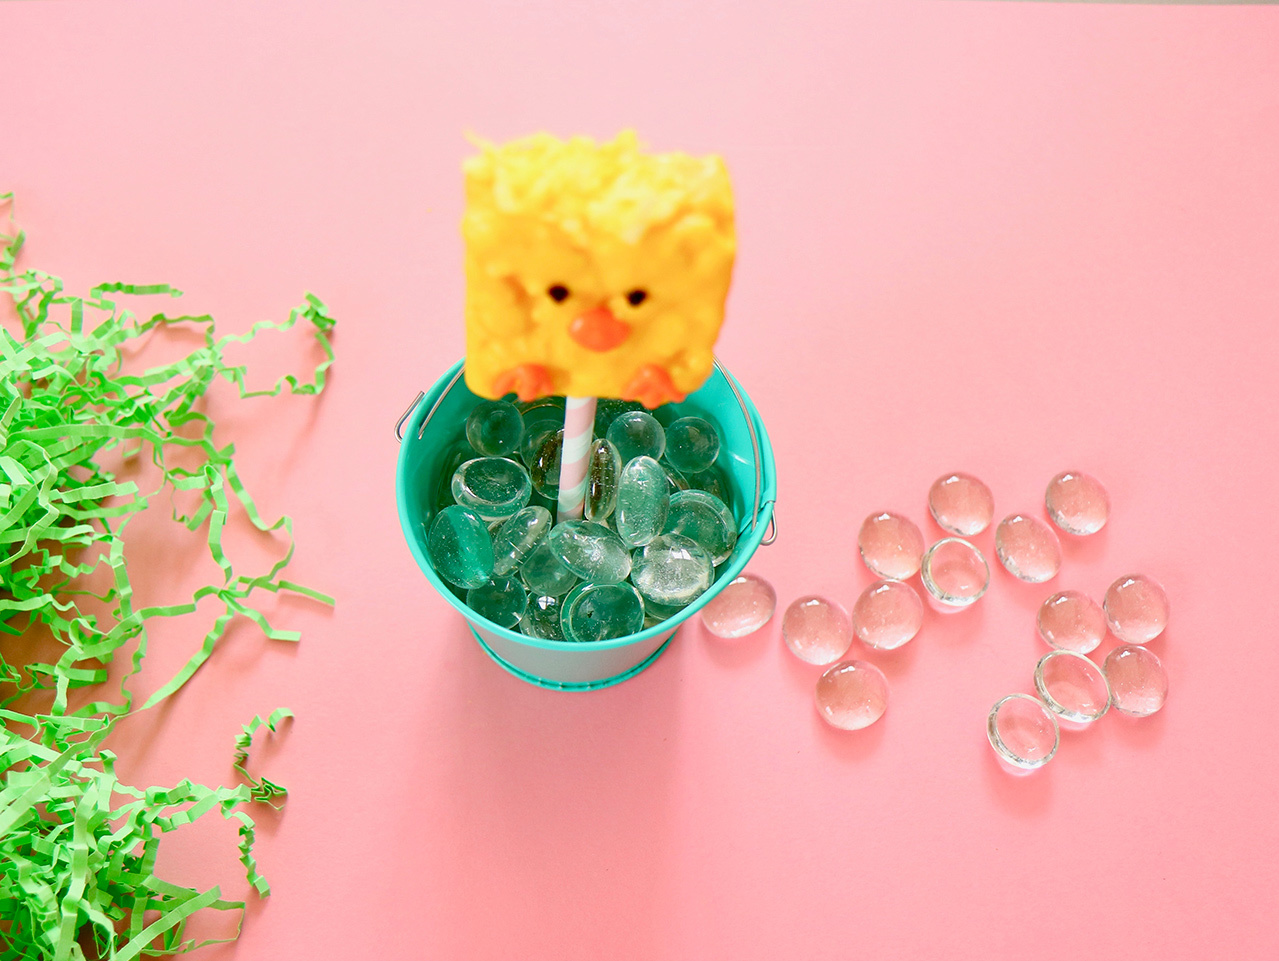
Place the chick in the middle of a mini favor pail, stick side down, then add a few rocks to the bottom of the pail to hold the chick in place.
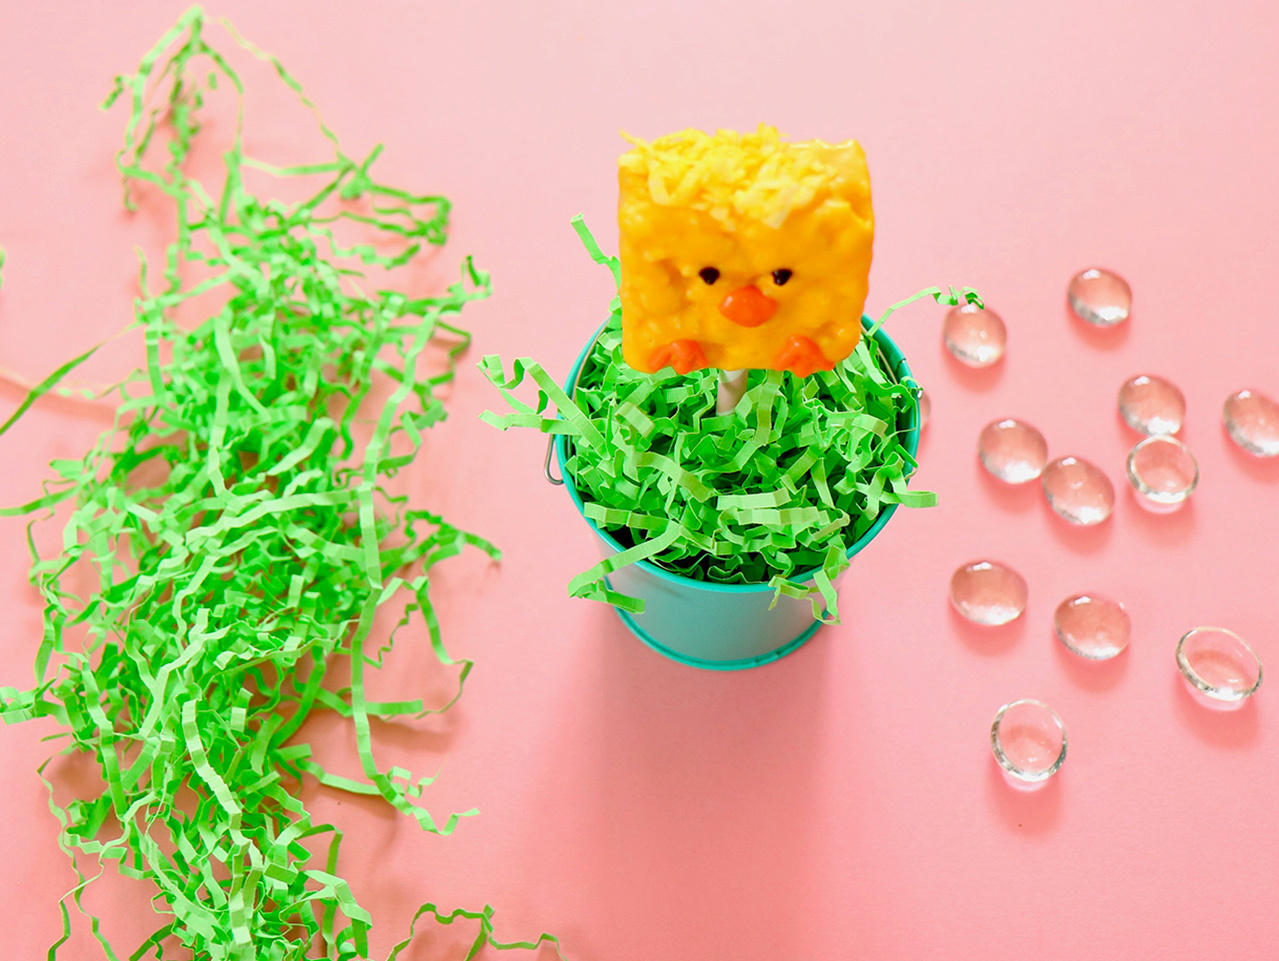
Now cover the rocks with a bit of green Easter grass to create the look of a nest.
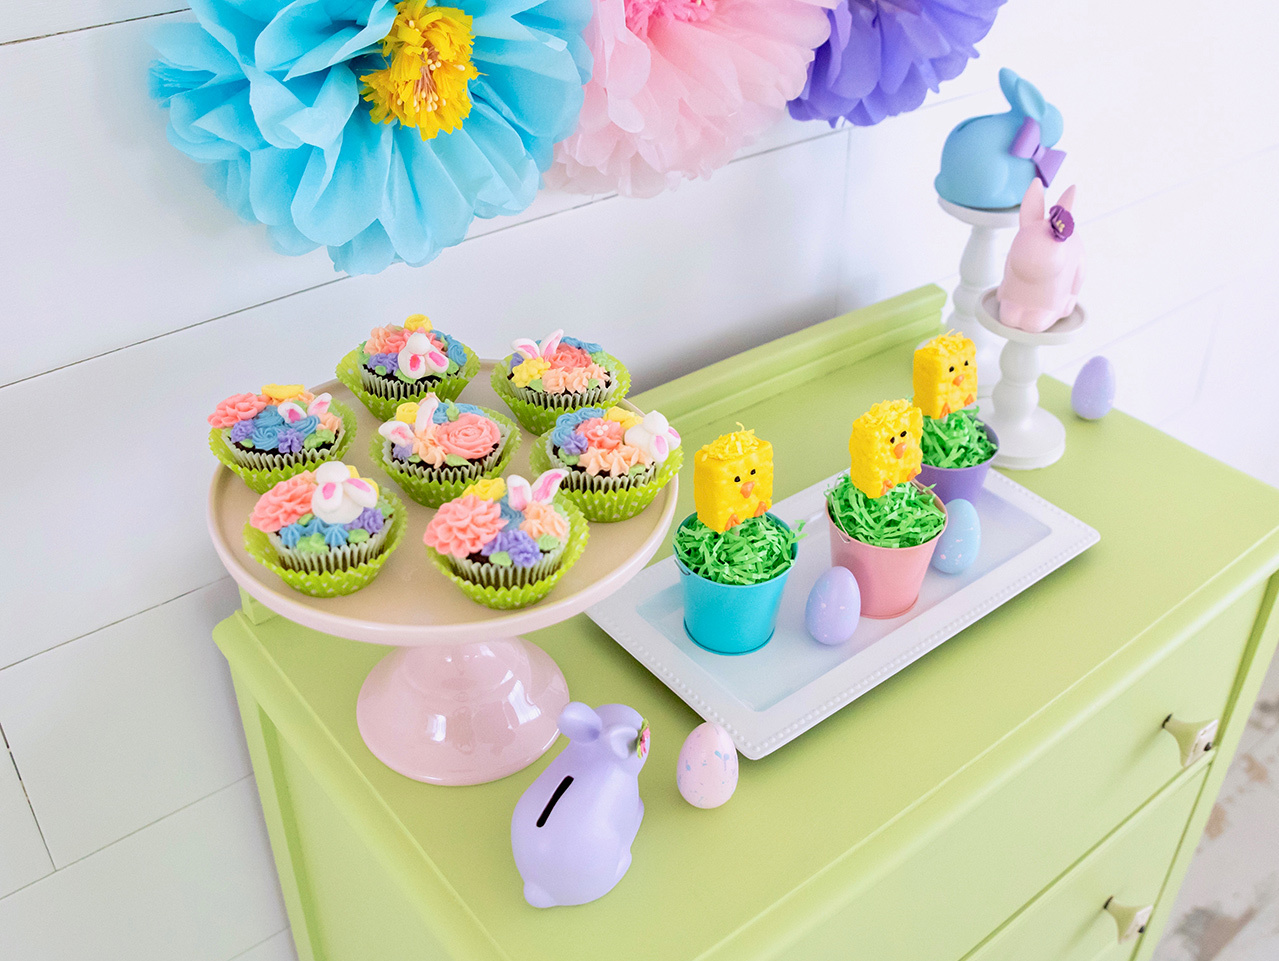
Finally, serve your Rice Krispies Treat Easter Chicks on a white plastic tray during your Easter Bunny Brunch and watch as your littles' faces light up! For more Easter ideas, be sure to hop over to the full Easter Bunny Brunch Party, along with the tutorial for the DIY Carrot Treat Pouches and steps to create the cutest DIY Bunny Ears Party Backdrop.

Begin creating your Easter chicks by taking the Kellogg's® Rice Krispies Treats® Original bars out of their packaging and cutting off about a 1" piece from the long end of each. Next, insert a bamboo skewer into the bottom of each one, trimming the ends of the sticks to your desired height.

Pour the yellow chocolate candy melts into a microwave safe bowl and heat them in 30-second intervals until fully melted. Scoop small amounts of the chocolate in a spoon and then drizzle it over the entire surface of the Rice Krispies Treats® to coat them fully. Allow any excess chocolate to drip into the bowl. Place the coated Rice Krispies Treats® on a piece of parchment paper to cool.

Once the yellow chocolate has set, melt the orange chocolate melts in a microwave-safe bowl and then add a few spoonfuls to a small plastic baggie. Snip off one corner of the baggie with scissors, then gently squeeze the orange chocolate onto the Rice Krispies Treats® to create a small triangle-shaped beak. Next, create the chick's feet by creating three straight lines; two on an angle that meet in the center, and the third coming straight down from the center of the first two as shown.

The final step in creating the chick's face is to add two small dots for its eyes. To do this, melt black candy melts in the microwave in 30-second intervals. I was able to find mini candy melts already in a squeezable package, but if you're unable to do so, follow the same steps as above with the orange melts, and spoon them into a small baggie.

Next add a little cuteness to the chicks by topping their heads with shredded coconut "feathers". To tint the coconut yellow, simply add a few drops of yellow food coloring to a bowl of shredded coconut. Stir to distribute the color evenly. Once it's all tinted, spoon a tiny amount of yellow melted chocolate onto the top of the chick's head and sprinkle a bit of the coconut over the top. Set aside to dry.

Now it's time to tuck your chicks into individual "nests". Cut a pink striped straw to the same length as the bottom part of the bamboo skewer and slide over the the bamboo skewer to hide the stick.

Place the chick in the middle of a mini favor pail, stick side down, then add a few rocks to the bottom of the pail to hold the chick in place.

Now cover the rocks with a bit of green Easter grass to create the look of a nest.

Finally, serve your Rice Krispies Treat Easter Chicks on a white plastic tray during your Easter Bunny Brunch and watch as your littles' faces light up! For more Easter ideas, be sure to hop over to the full Easter Bunny Brunch Party, along with the tutorial for the DIY Carrot Treat Pouches and steps to create the cutest DIY Bunny Ears Party Backdrop.

