- 5 Tbs. Meringue Powder
- 1/2 to 3/4 c. Water
- 1 tsp. Cream of Tartar
- 2 tsp. Clear Vanilla
- 1 Tbs. Light Corn Syrup
- Gel Food Coloring (your favorite colors)
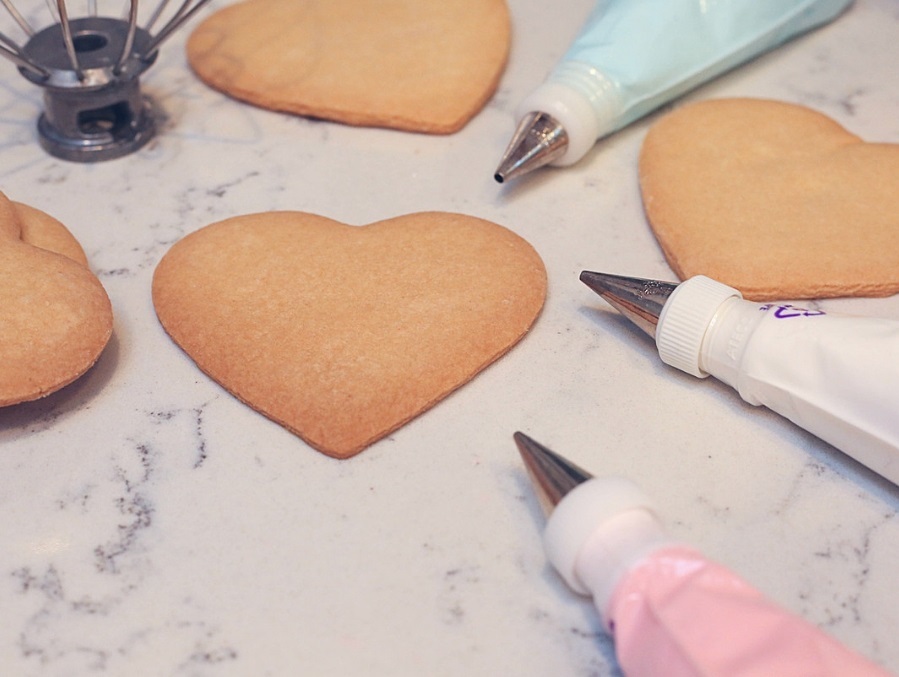
Add all ingredients to stand mixer in the order listed, beating at low speed until ingredients are just combined. Beat mixture for an additional two to three minutes on medium to high speed. The icing will resemble marshmallow fluff but should be matte colored and stiff peaked. Divide icing and tint to your preferred shades using gel food colorant.
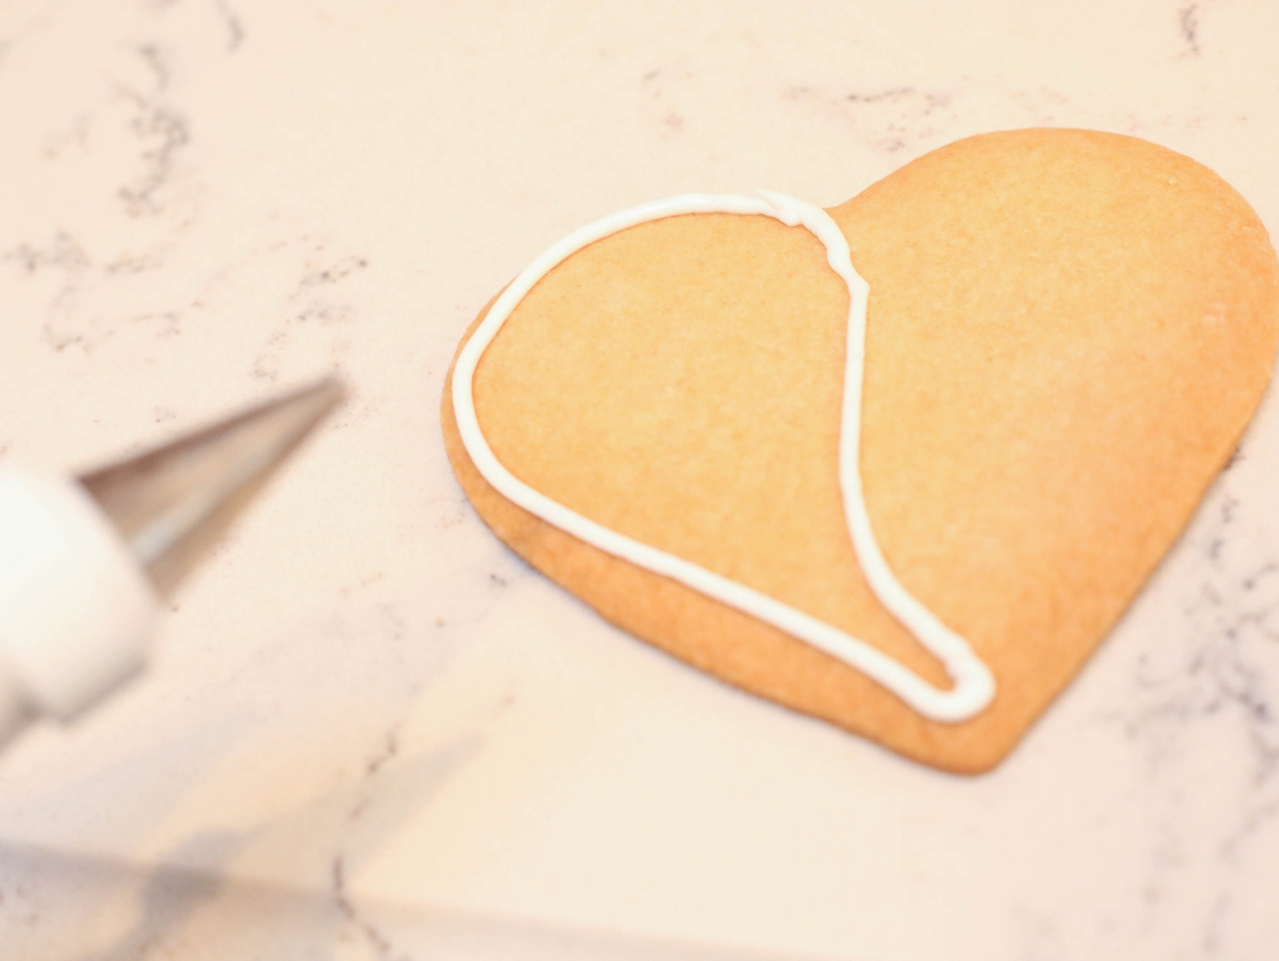
Ice one half of the cookie in a tear drop shape, outlining the form, as shown. Here we used white icing, which will represent the "Bride" bird.
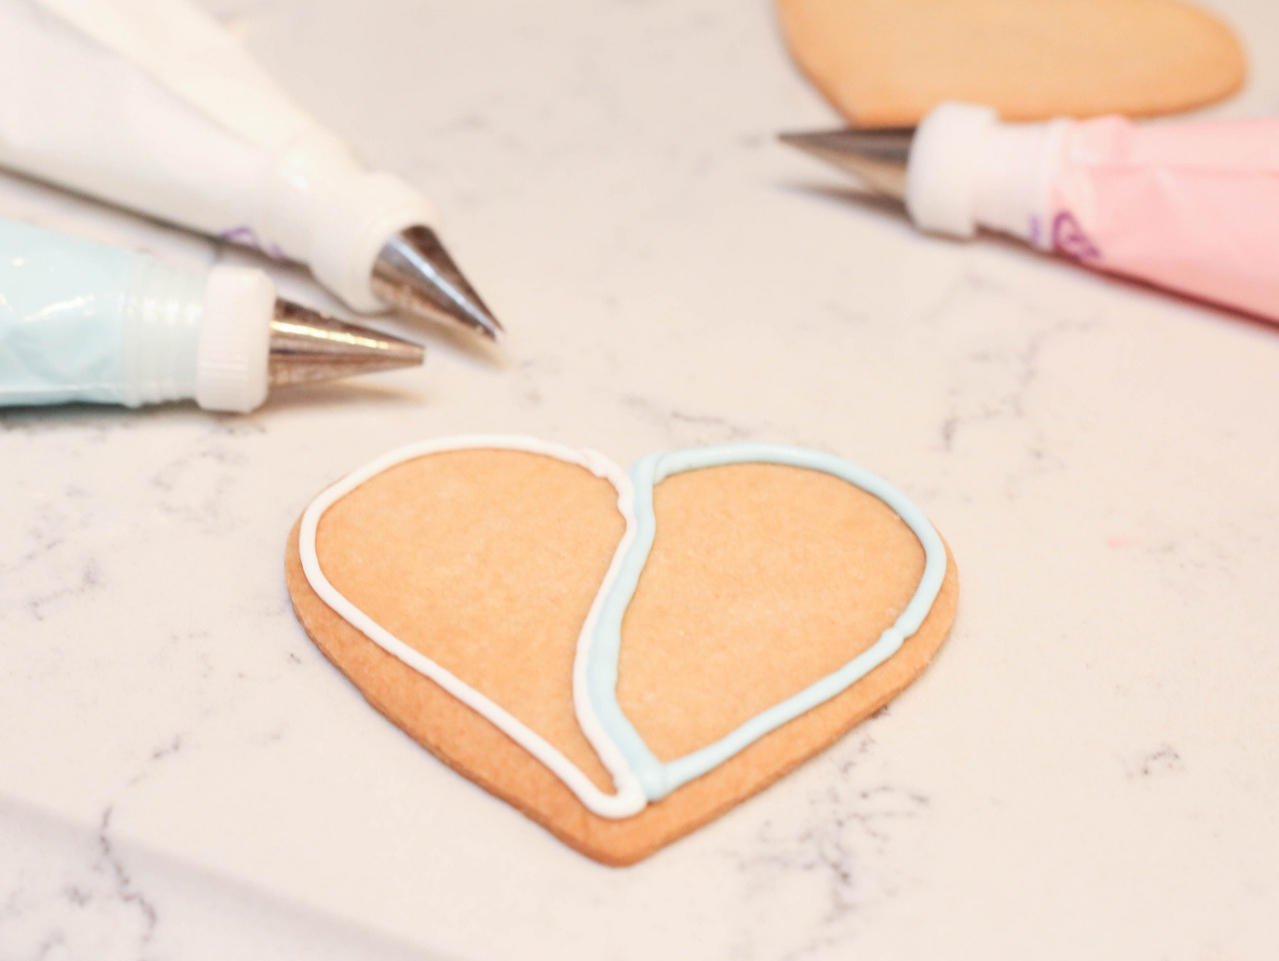
Repeat the outlining step on the other side of the cookie, using a contrasting color, like this pale blue. For this design, the blue will represent the "Groom" bird.
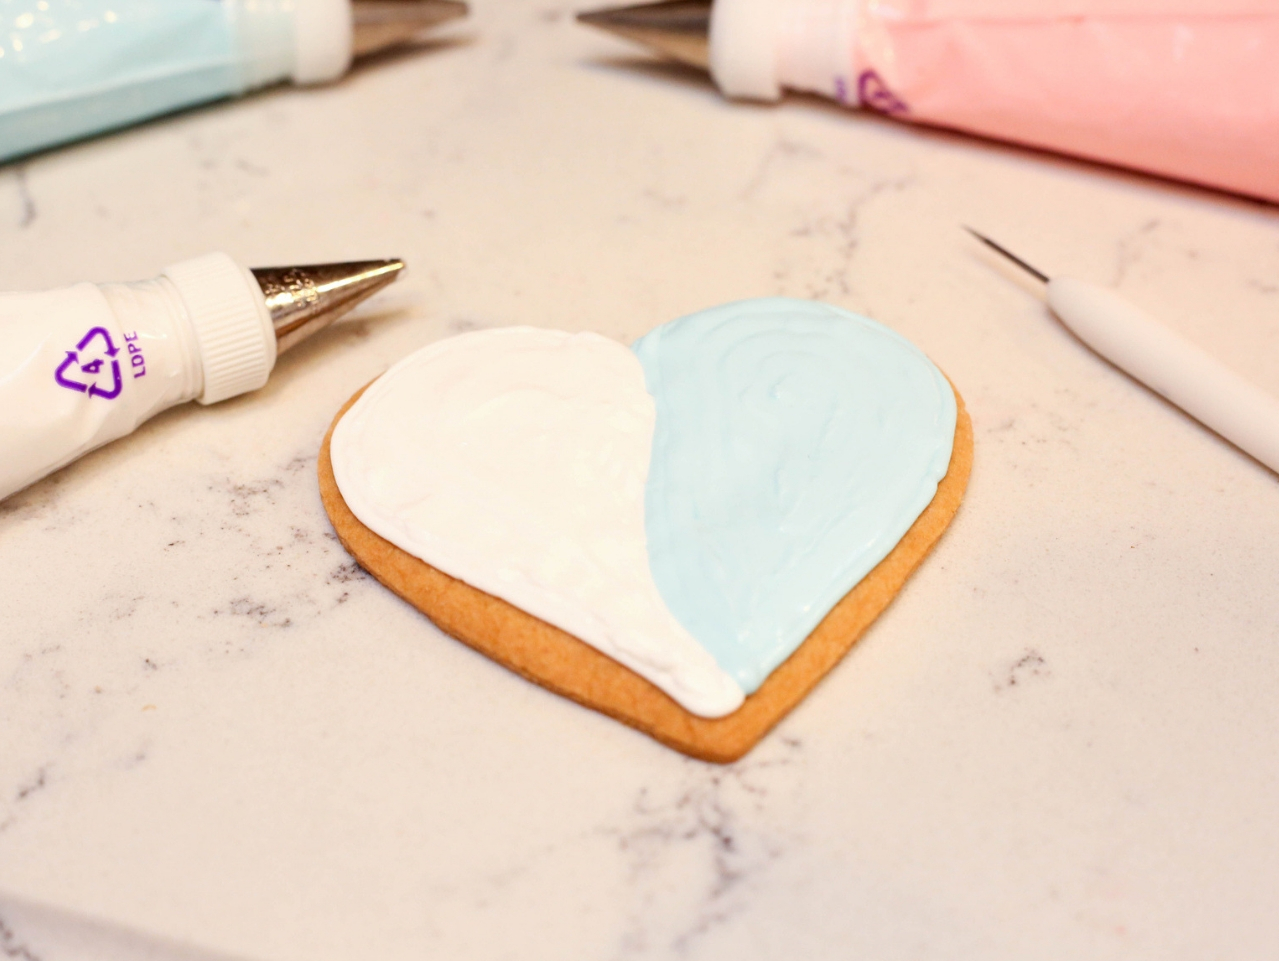
Fill in the sections with icing and use a scribe or a toothpick to remove any air bubbles that may occur.
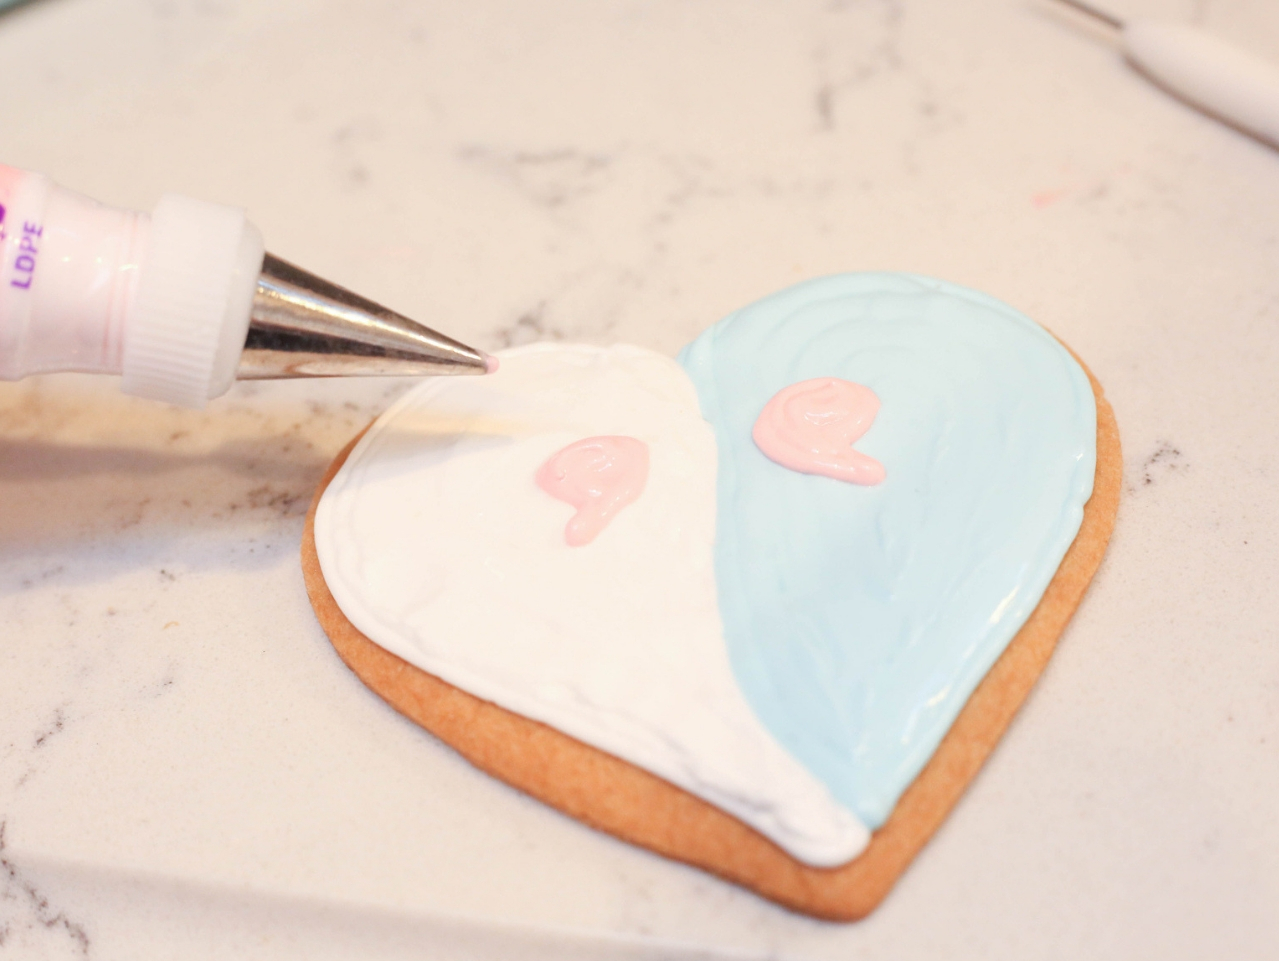
Add the birds' beaks using a pale pink shade, as seen here.
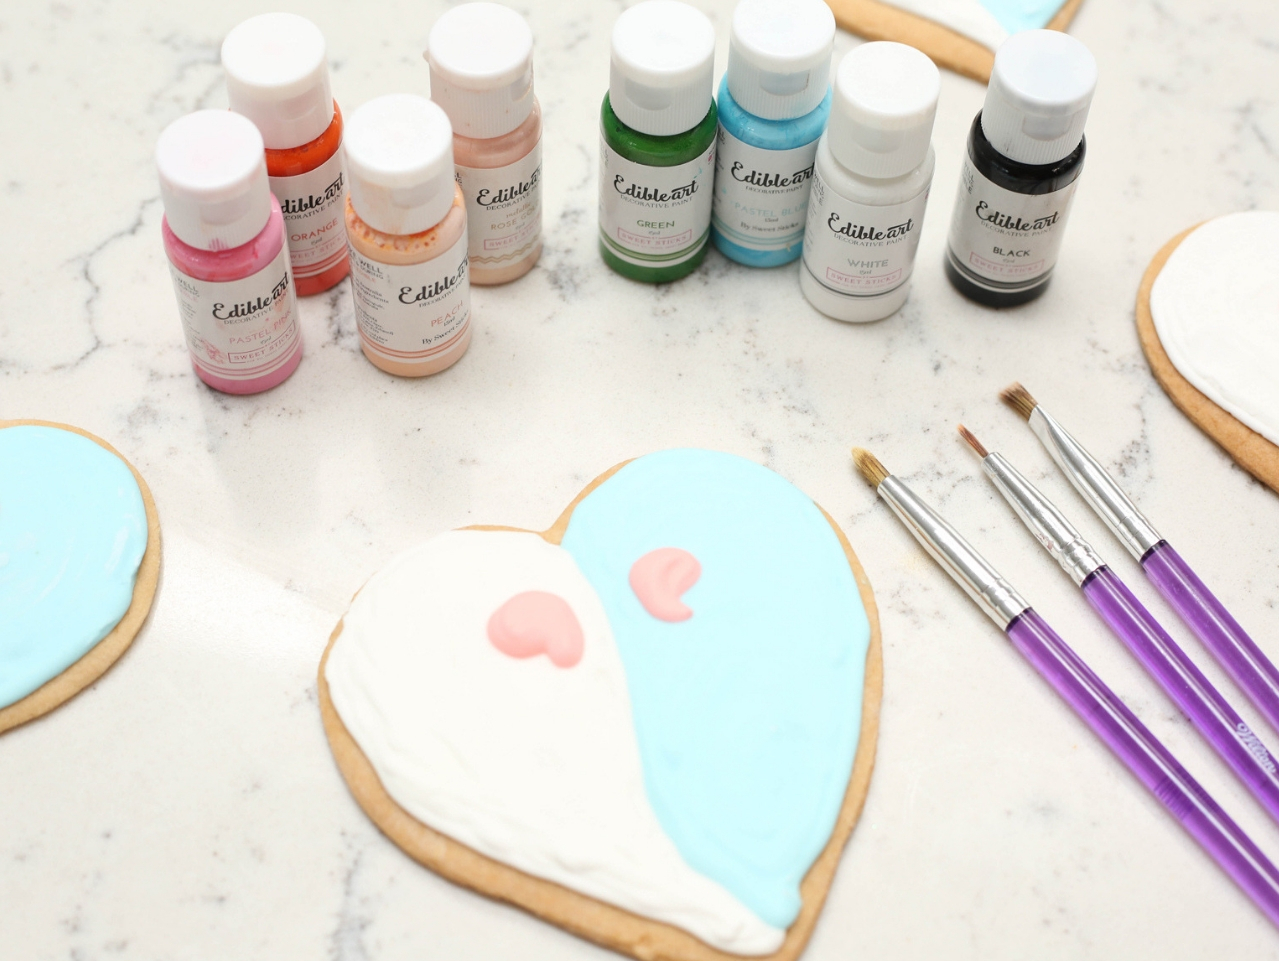
Allow the cookies to dry overnight, then gather together edible art paints and brushes.
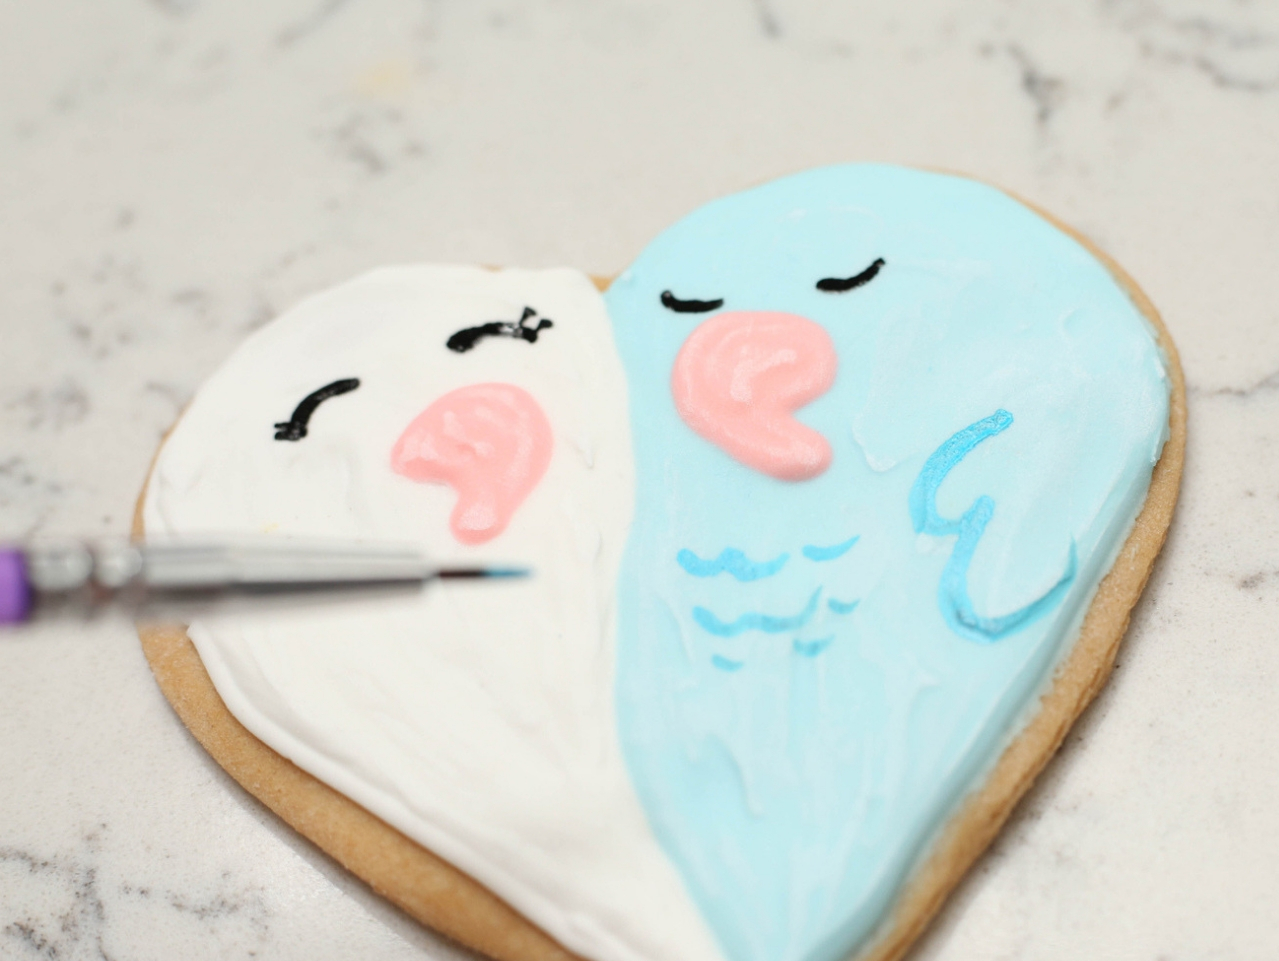
Add eyes using black paint, and details to the groom bird, using an aqua shade. A very thin brush that is food-safe is an excellent tool for achieving this look.
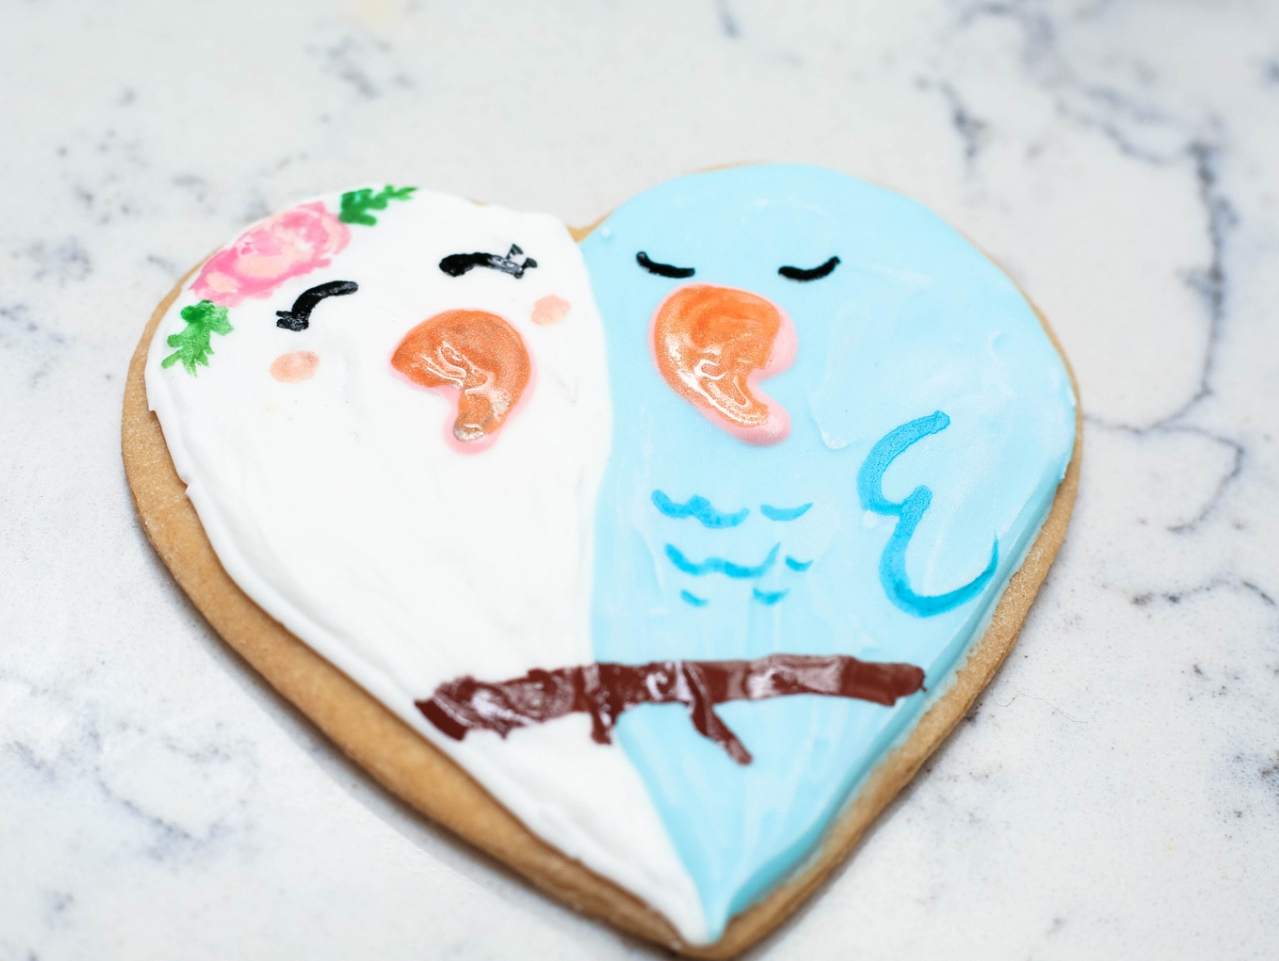
Add in details as desired, like a flower crown for the female bird, and a branch in a rich shade of brown for the love birds to perch upon. Metallic rose gold was used to accent the beaks and add cheeks to the female bird.
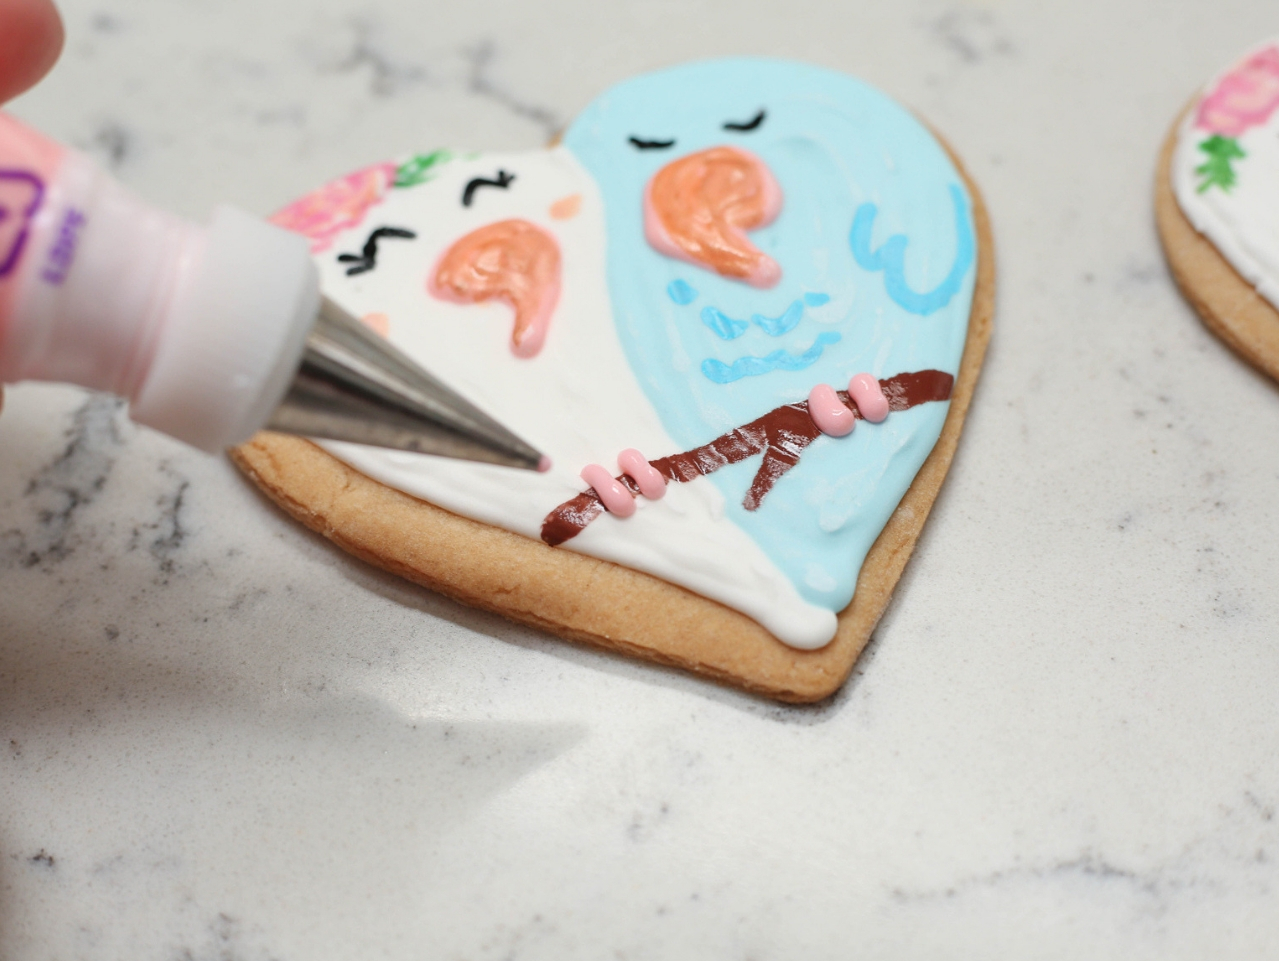
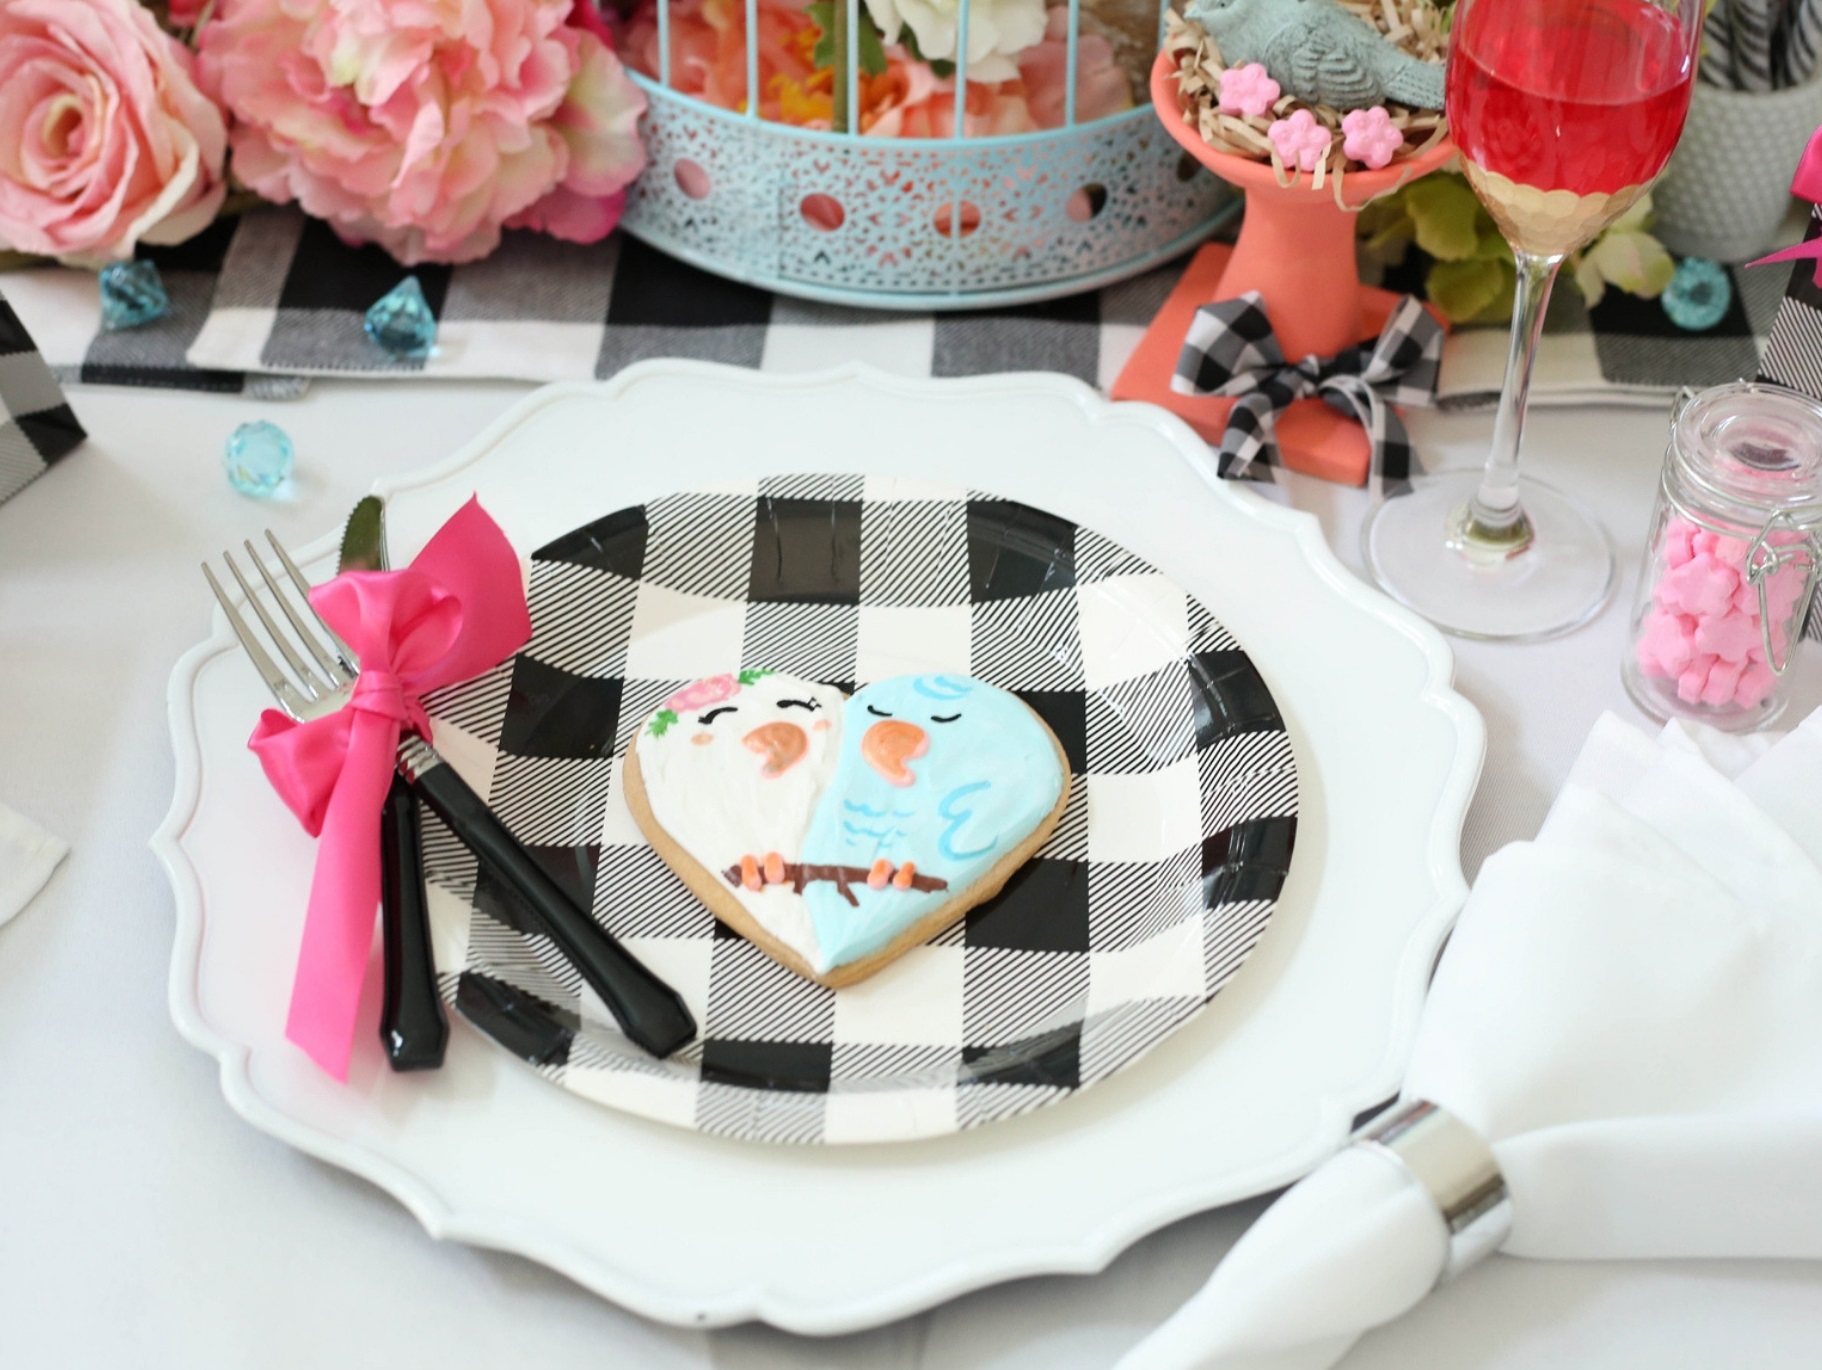
Once the cookie has dried, add feet to each bird by piping icing over the branch detail. Allow to dry and place atop buffalo plaid plates, or in white treat bags accented with pink ribbon.
Be sure to see the whole Love Nest Bridal Shower, Ceramic Bird Bath Place Card Holders and Chirps of Advice Bridal Shower Activity.

Add all ingredients to stand mixer in the order listed, beating at low speed until ingredients are just combined. Beat mixture for an additional two to three minutes on medium to high speed. The icing will resemble marshmallow fluff but should be matte colored and stiff peaked. Divide icing and tint to your preferred shades using gel food colorant.

Ice one half of the cookie in a tear drop shape, outlining the form, as shown. Here we used white icing, which will represent the "Bride" bird.

Repeat the outlining step on the other side of the cookie, using a contrasting color, like this pale blue. For this design, the blue will represent the "Groom" bird.

Fill in the sections with icing and use a scribe or a toothpick to remove any air bubbles that may occur.

Add the birds' beaks using a pale pink shade, as seen here.

Allow the cookies to dry overnight, then gather together edible art paints and brushes.

Add eyes using black paint, and details to the groom bird, using an aqua shade. A very thin brush that is food-safe is an excellent tool for achieving this look.

Add in details as desired, like a flower crown for the female bird, and a branch in a rich shade of brown for the love birds to perch upon. Metallic rose gold was used to accent the beaks and add cheeks to the female bird.

Once the cookie has dried, add feet to each bird by piping icing over the branch detail. Allow to dry and place atop buffalo plaid plates, or in white treat bags accented with pink ribbon.
Be sure to see the whole Love Nest Bridal Shower, Ceramic Bird Bath Place Card Holders and Chirps of Advice Bridal Shower Activity.

