- 4 Large Egg Whites (at room temperature and free of any trace of yolk)
- 1/2 t. Cream of Tartar
- 1/4 t. Kosher Salt or Sea Salt (fine)
- 1 c. Caster Sugar (or super fine sugar)
- 1/2 t. Coconut Extract
- Yellow Gel Food Coloring
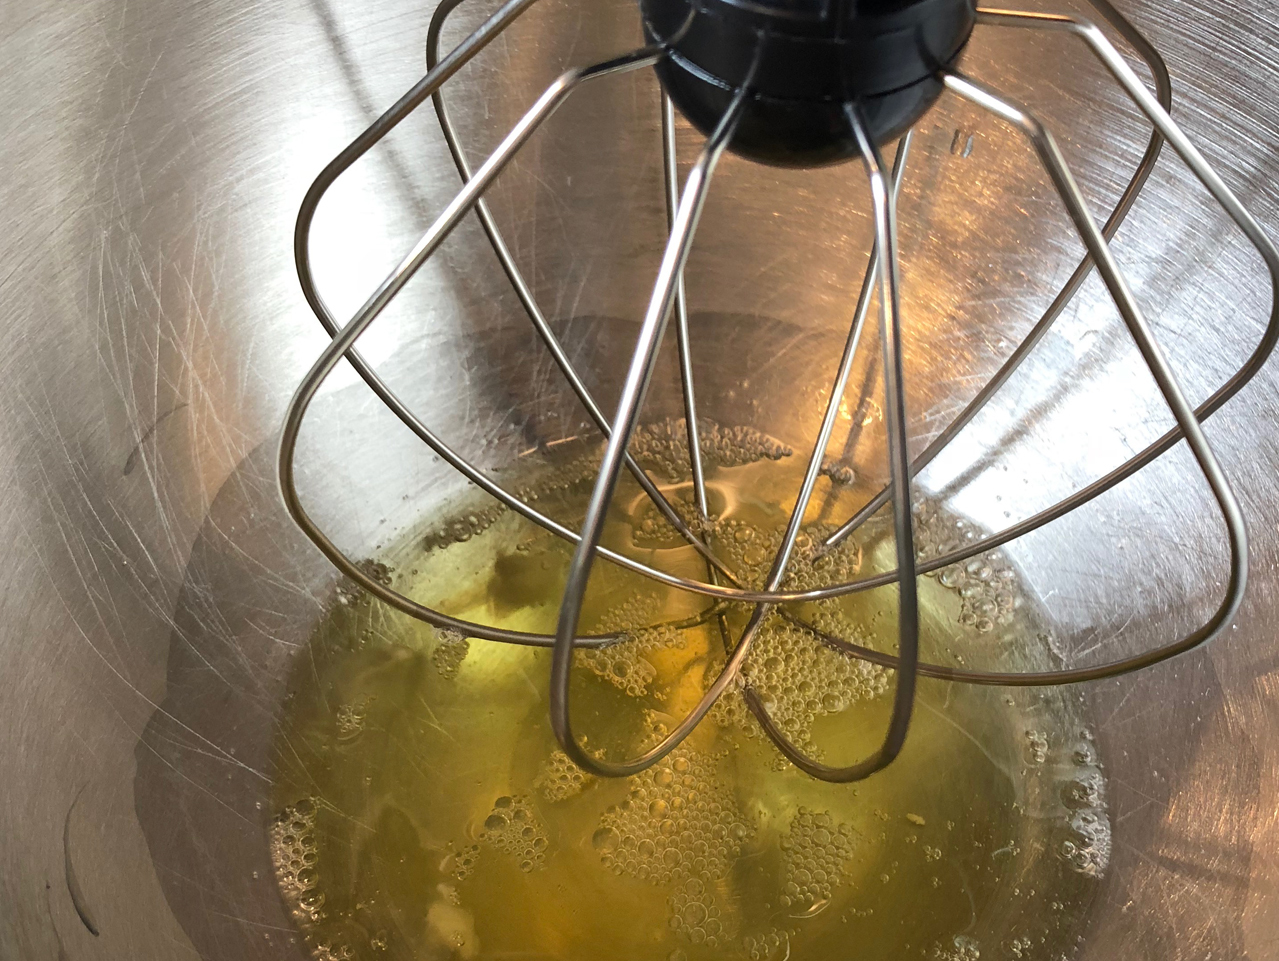
Preheat oven to 225 degrees. Thoroughly wash and dry a metal or glass mixing bowl, making sure it is free of any traces of grease or oil. Place the egg whites in the bowl and beat with an electric mixer or stand mixer using the whisk attachement until the egg whites are frothy (foamy and white with small bubbles).
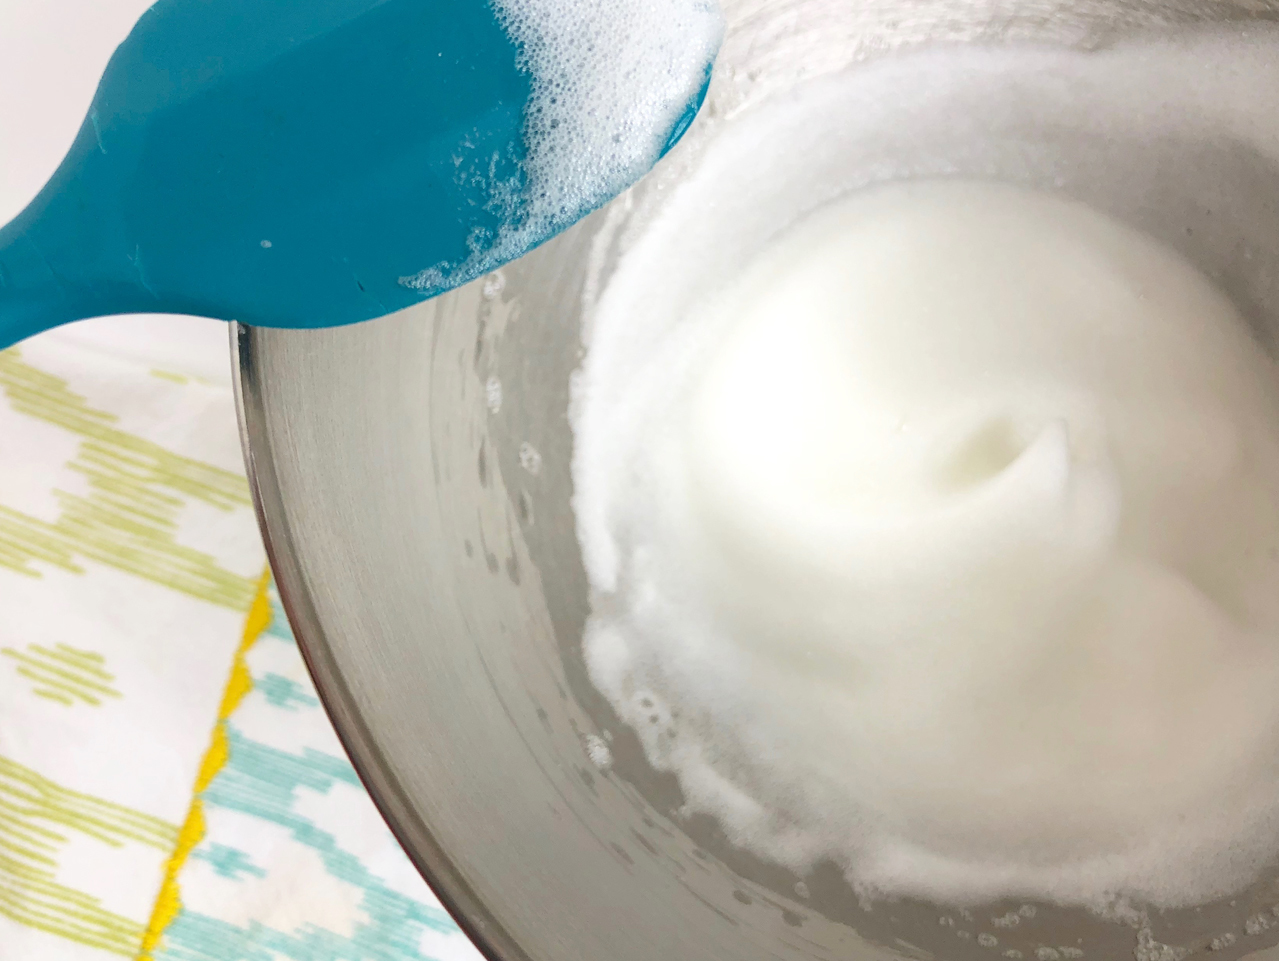
Add the cream of tartar and kosher salt to the bowl and continue to beat until the mixture forms soft peaks when you pull the whisk up. This will take a few minutes.
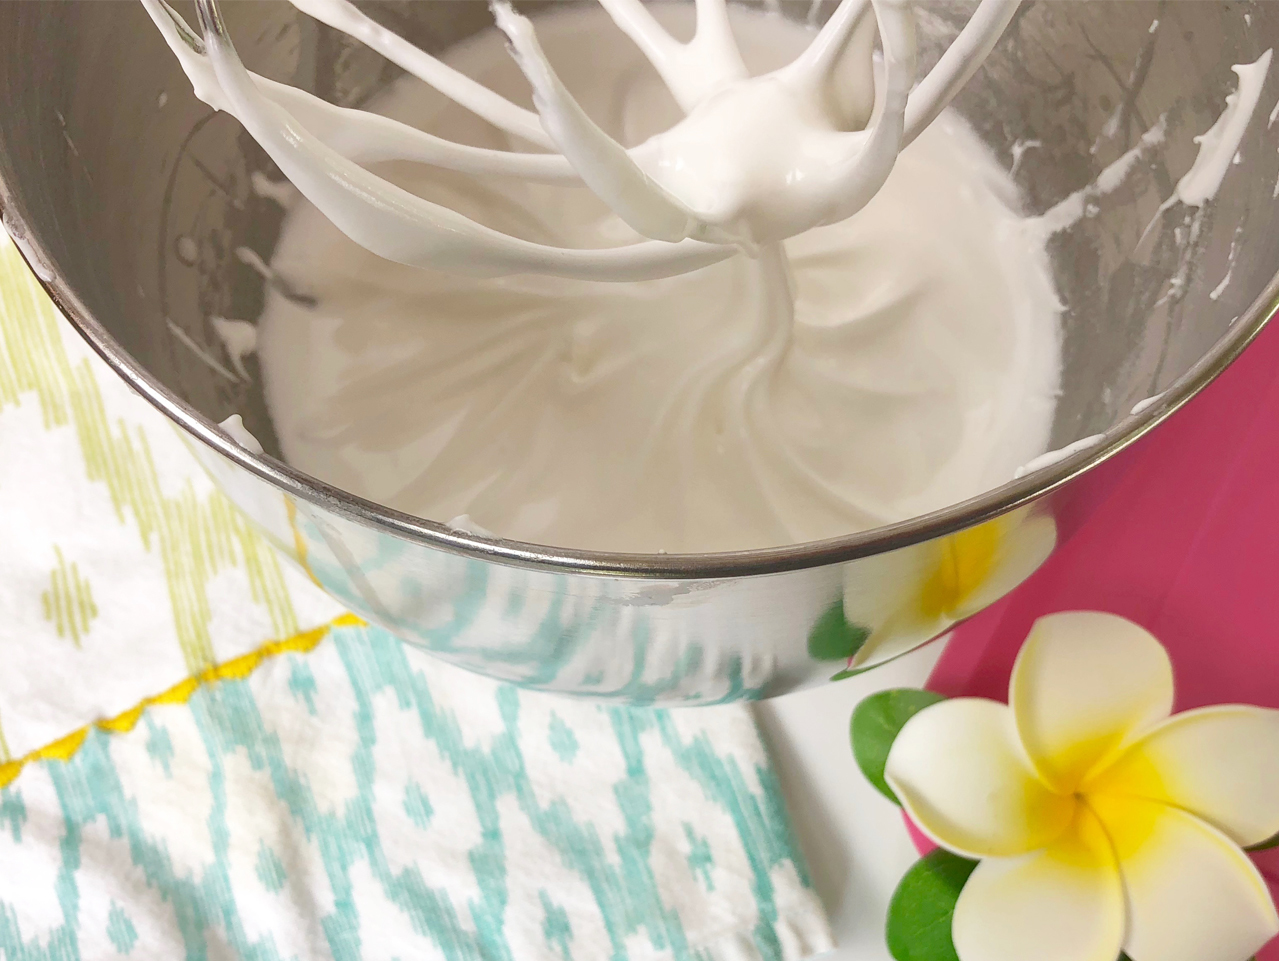
Begin slowly adding the sugar to the mixture a little bit at a time, giving the sugar time to dissolve after each addition. Continue to whisk until the mixture becomes glossy and stiffens a bit. When the meringue holds it's shape and forms a stiff peak when the whisk is lifted, it is ready. This could take up to 10 minutes, depending on the mixer you are using, so patience is a virtue. Gently fold in the coconut extract, being careful not to stir or over mix.
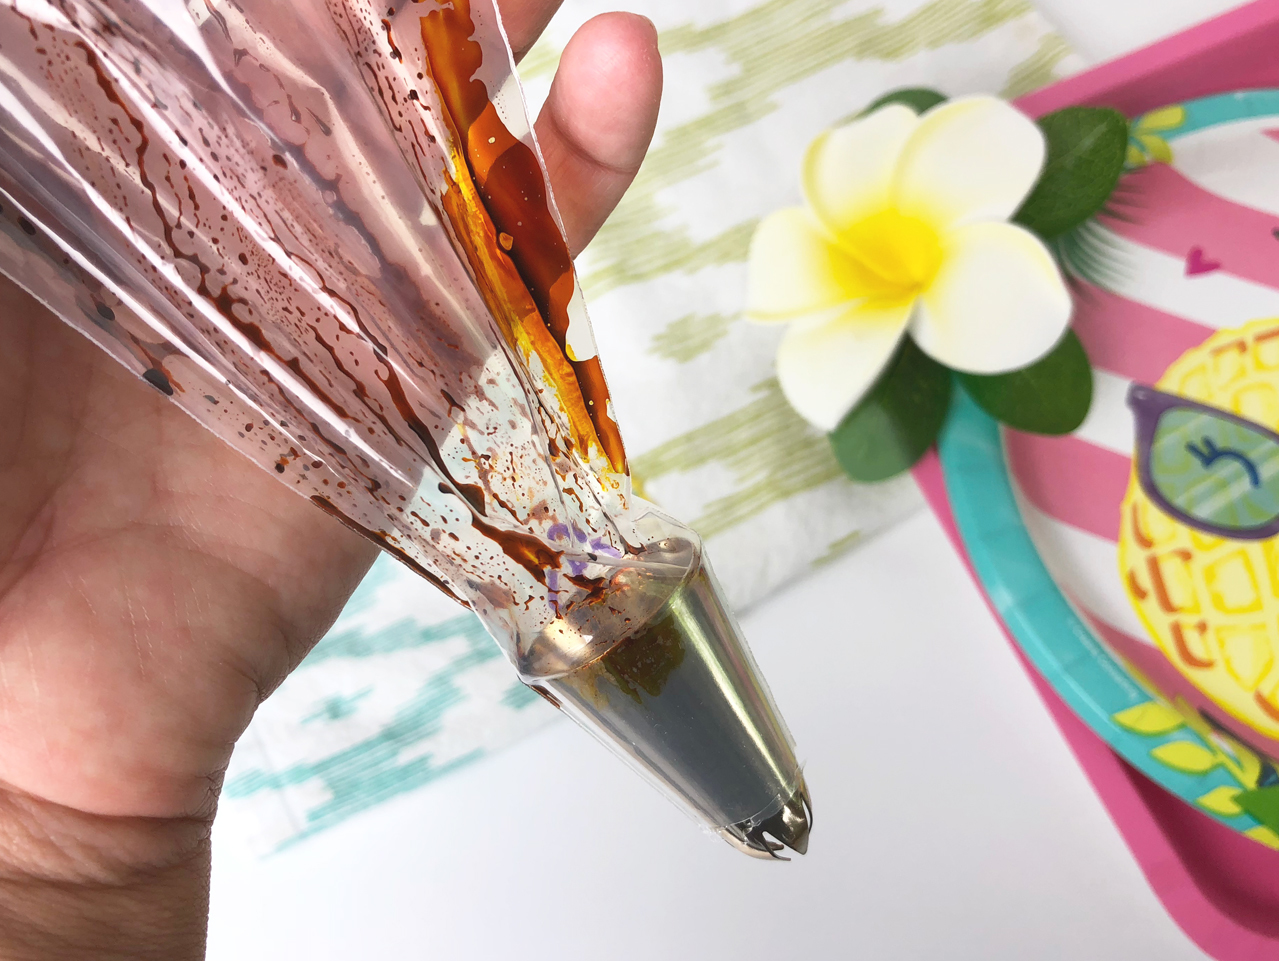
Slide a large star decorating tip to the bottom of a disposable cake decorating bag. Cut the tip of the bag with scissors, being careful to only cut enough to expose the holes in the tip. Use a paint brush to brush stripes of yellow food coloring gel down the sides of the bag, then add the meringue to the bag. Squeeze into a bowl until the color starts to flow. This plain meringue can be added to the bag again once the color has started to flow.
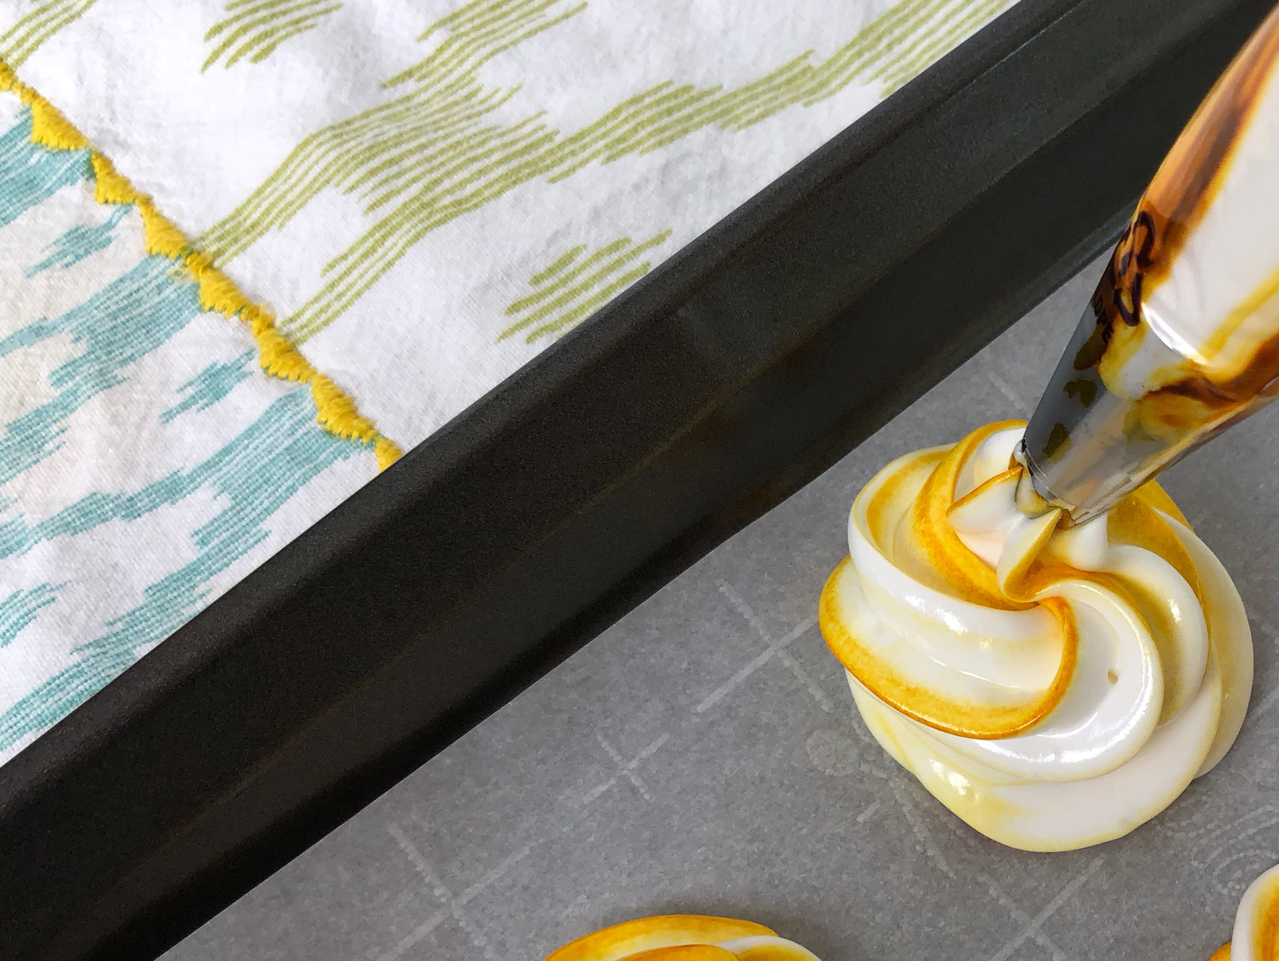
Line a baking sheet with parchment paper. Add a small dollop of meringue batter under each corner to help it stay in place. Pipe the meringue onto the parchment paper in rosette fashion, swirling from the base like you would a soft-serve ice cream. The base should be about two to two and a half inches wide. Insert a toothpick into the center of each meringue, then bake immediately for one hour. When they are done baking, turn the oven off and leave them in the oven to rest for one to two hours.
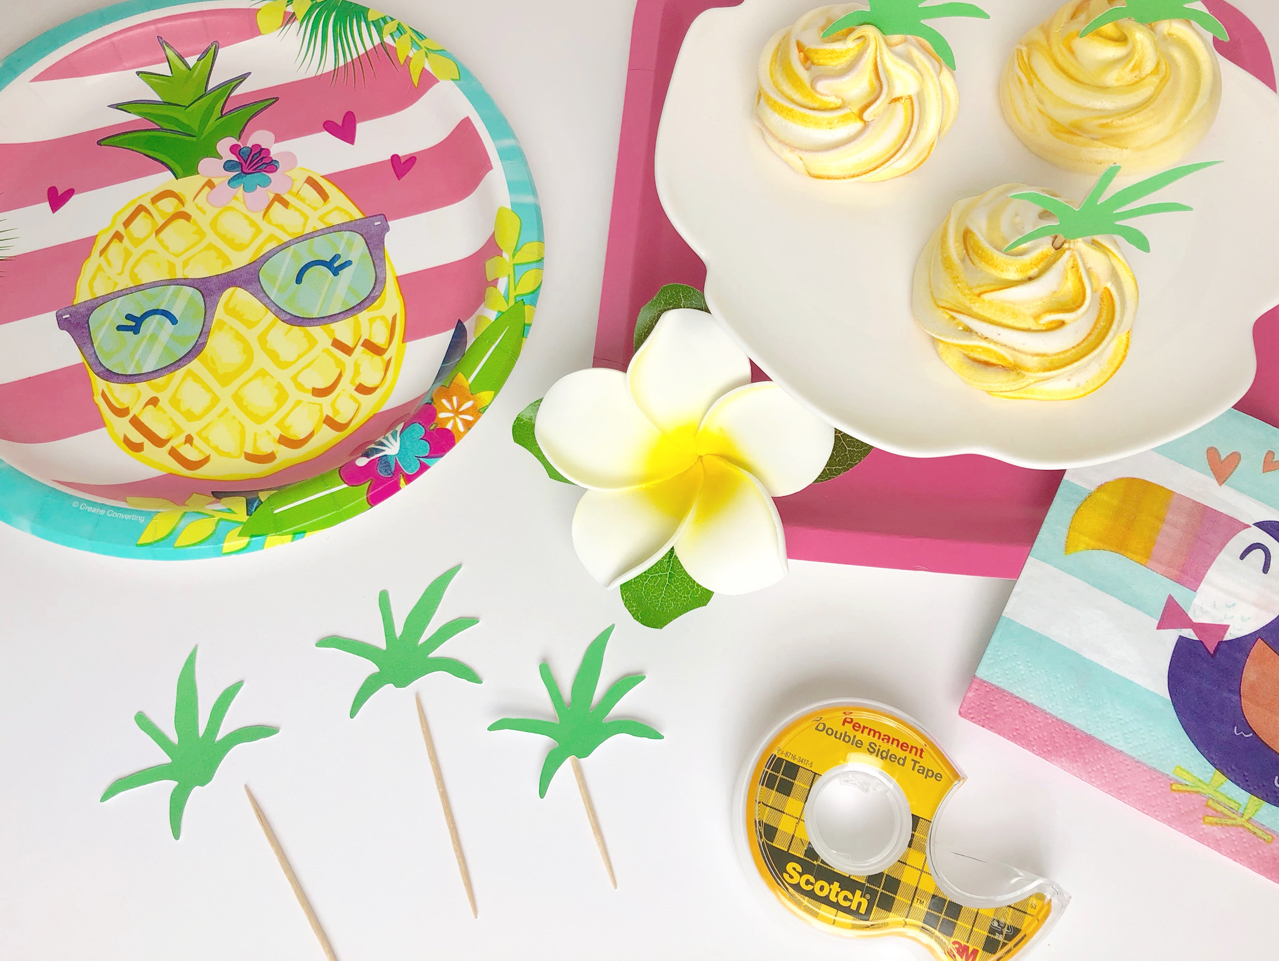
While the meringues are baking, download the free leaf topper printables. Print them and cut them out. Use double-sided tape or a dab of hot glue to secure them to toothpicks. Once the meringues have cooled, gently twist the toothpicks to release them. Insert the leaf toothpicks into the holes in the meringues to make them look like miniature pineapples.
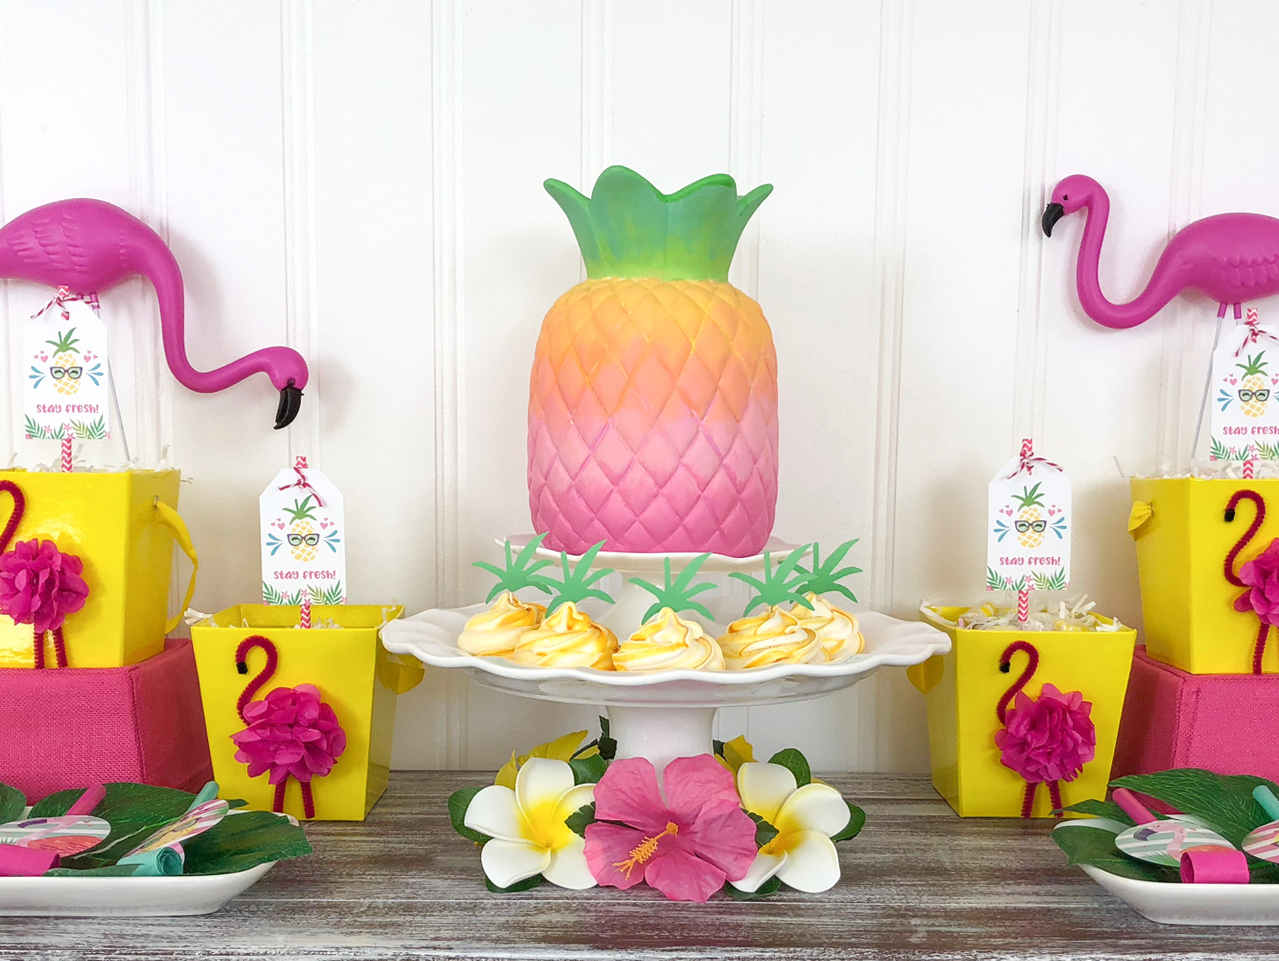
Now that you've got these adorable treats, you need a fun way to display them! Tropical treats call for tropical vibes, so why not create some? These meringues look amazing on a platter surrounding a painted ceramic pineapple. Adding a few plumeria and hibiscus blooms around the base of the platter ties it all together and looks adorable!
Be sure to see the entire Summer Pineapple Party complete with DIY Flamingo Favor Boxes and Free Pineapple Party Printables!

Preheat oven to 225 degrees. Thoroughly wash and dry a metal or glass mixing bowl, making sure it is free of any traces of grease or oil. Place the egg whites in the bowl and beat with an electric mixer or stand mixer using the whisk attachement until the egg whites are frothy (foamy and white with small bubbles).

Add the cream of tartar and kosher salt to the bowl and continue to beat until the mixture forms soft peaks when you pull the whisk up. This will take a few minutes.

Begin slowly adding the sugar to the mixture a little bit at a time, giving the sugar time to dissolve after each addition. Continue to whisk until the mixture becomes glossy and stiffens a bit. When the meringue holds it's shape and forms a stiff peak when the whisk is lifted, it is ready. This could take up to 10 minutes, depending on the mixer you are using, so patience is a virtue. Gently fold in the coconut extract, being careful not to stir or over mix.

Slide a large star decorating tip to the bottom of a disposable cake decorating bag. Cut the tip of the bag with scissors, being careful to only cut enough to expose the holes in the tip. Use a paint brush to brush stripes of yellow food coloring gel down the sides of the bag, then add the meringue to the bag. Squeeze into a bowl until the color starts to flow. This plain meringue can be added to the bag again once the color has started to flow.

Line a baking sheet with parchment paper. Add a small dollop of meringue batter under each corner to help it stay in place. Pipe the meringue onto the parchment paper in rosette fashion, swirling from the base like you would a soft-serve ice cream. The base should be about two to two and a half inches wide. Insert a toothpick into the center of each meringue, then bake immediately for one hour. When they are done baking, turn the oven off and leave them in the oven to rest for one to two hours.

While the meringues are baking, download the free leaf topper printables. Print them and cut them out. Use double-sided tape or a dab of hot glue to secure them to toothpicks. Once the meringues have cooled, gently twist the toothpicks to release them. Insert the leaf toothpicks into the holes in the meringues to make them look like miniature pineapples.

Now that you've got these adorable treats, you need a fun way to display them! Tropical treats call for tropical vibes, so why not create some? These meringues look amazing on a platter surrounding a painted ceramic pineapple. Adding a few plumeria and hibiscus blooms around the base of the platter ties it all together and looks adorable!
Be sure to see the entire Summer Pineapple Party complete with DIY Flamingo Favor Boxes and Free Pineapple Party Printables!


