- 6 ripe pears with stems
- 1 package (14 ounces) caramels, unwrapped
- 4-5 oz. chocolate salt
- 2 Tbs water
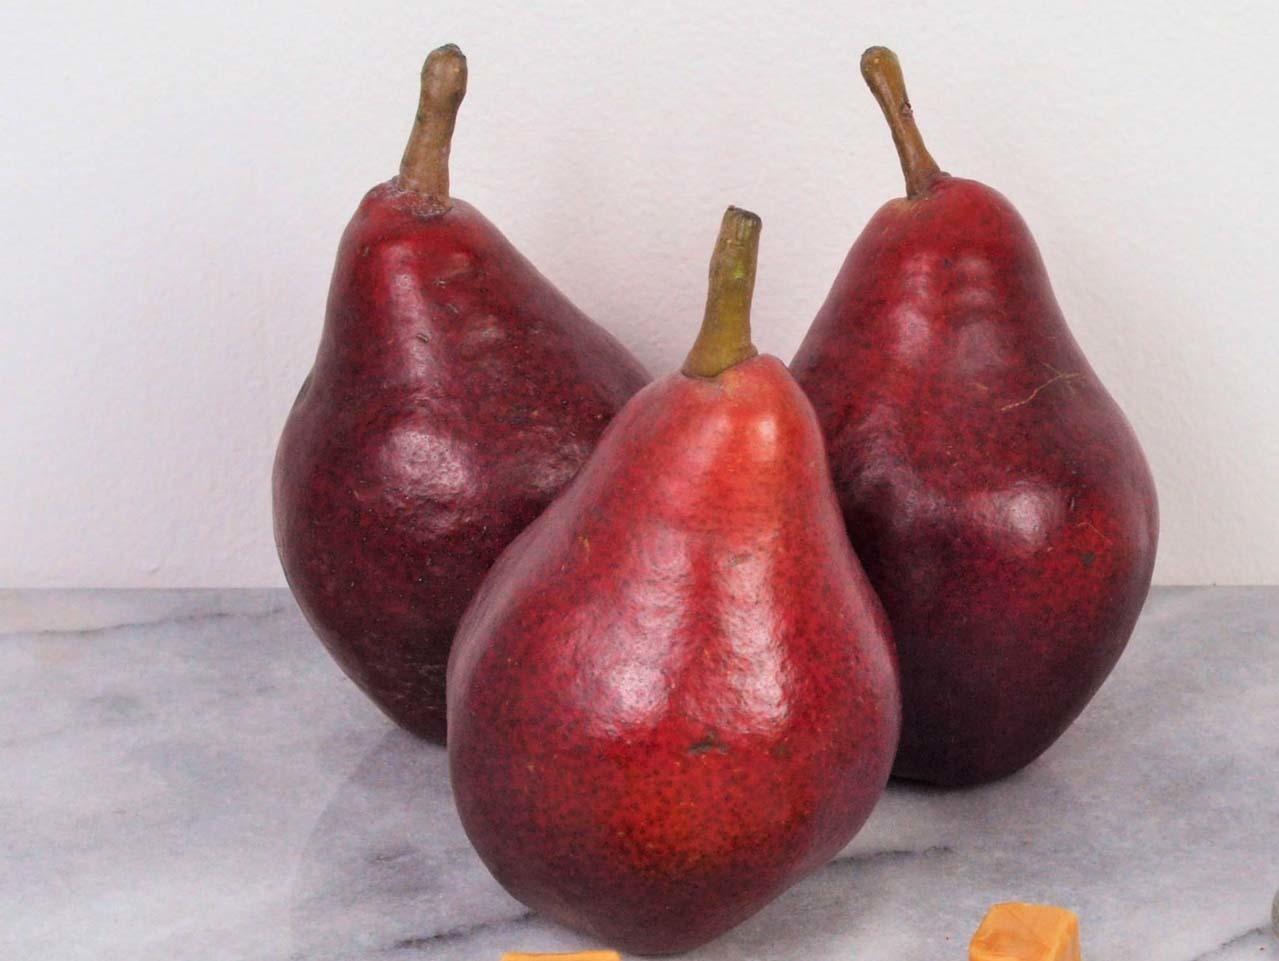
Wash and dry the pears. Retain the stems.
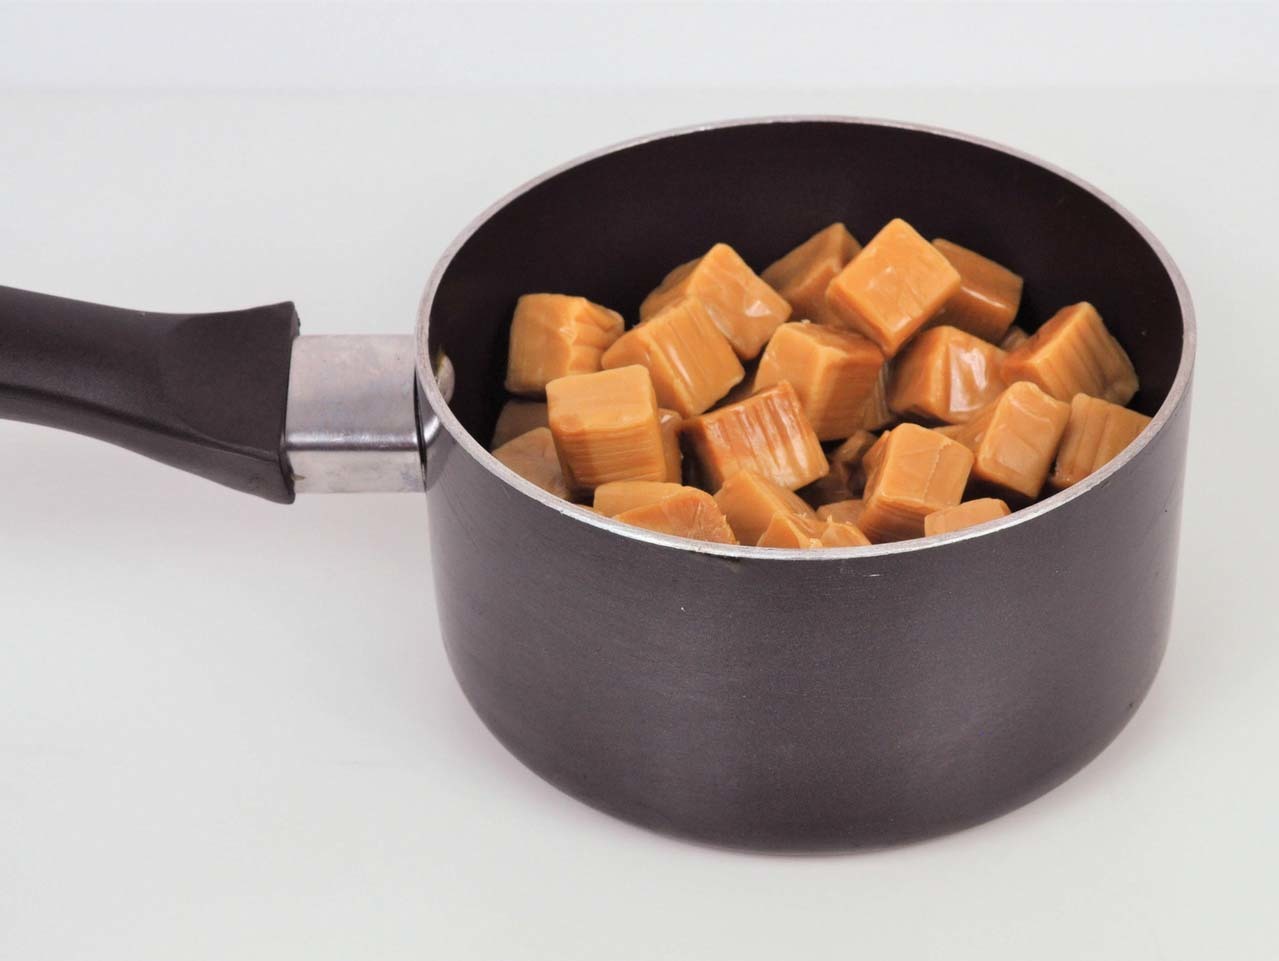
In a medium saucepan, combine the caramels and water over low heat until melted and smooth, stirring constantly. TIP: Do not use metal utensils. When the caramel turns amber remove from the heat. TIP: Do not overheat or let it boil.
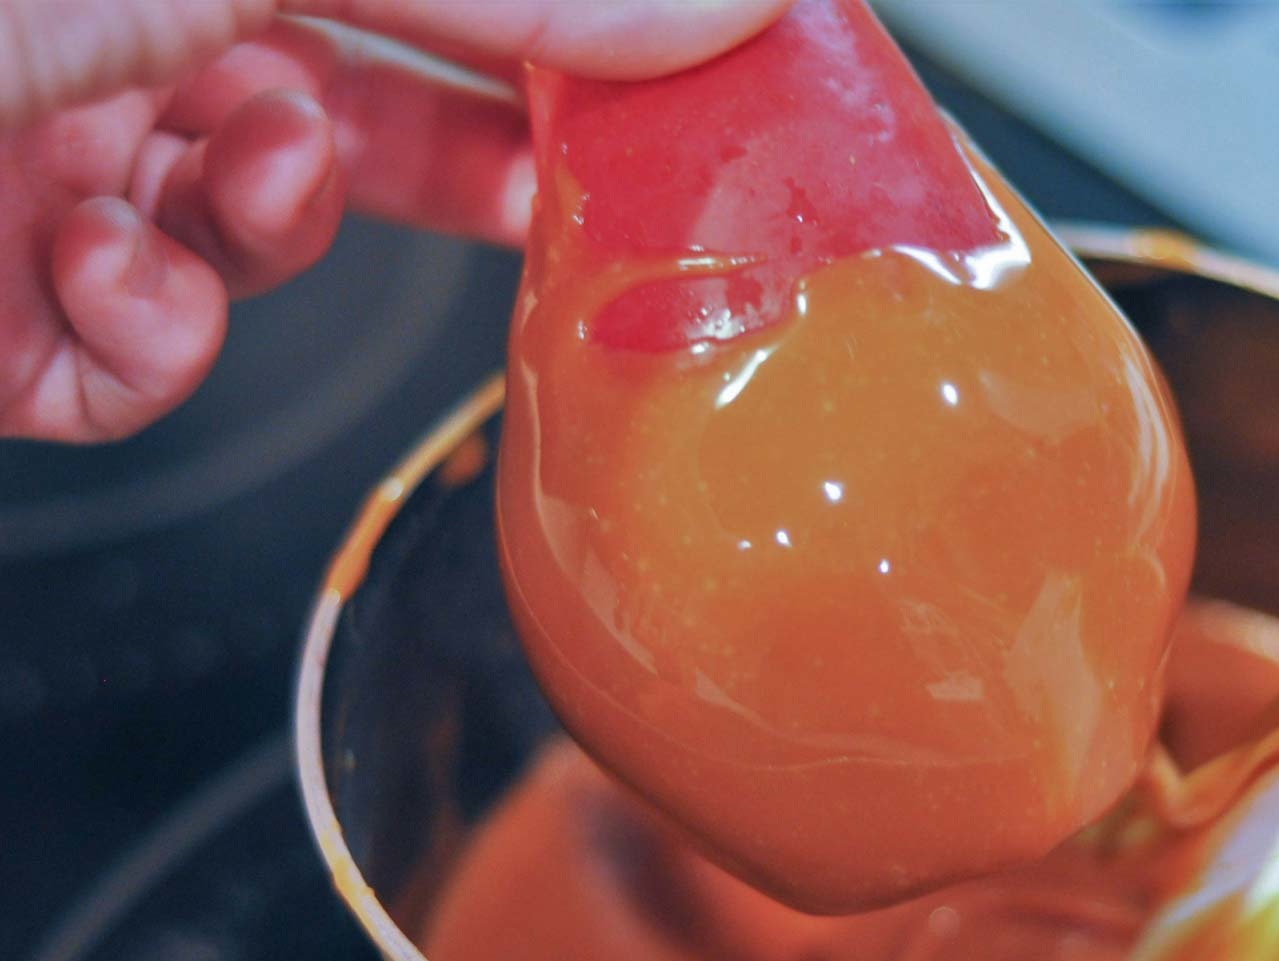
Holding each (room temperature) pear by its stem (or gently at the top of the pear) over the saucepan, dip it into the caramel and roll. Tip: Use a spoon to pour enough of the caramel mixture over it to coat it to approx. 2/3 of the pear.
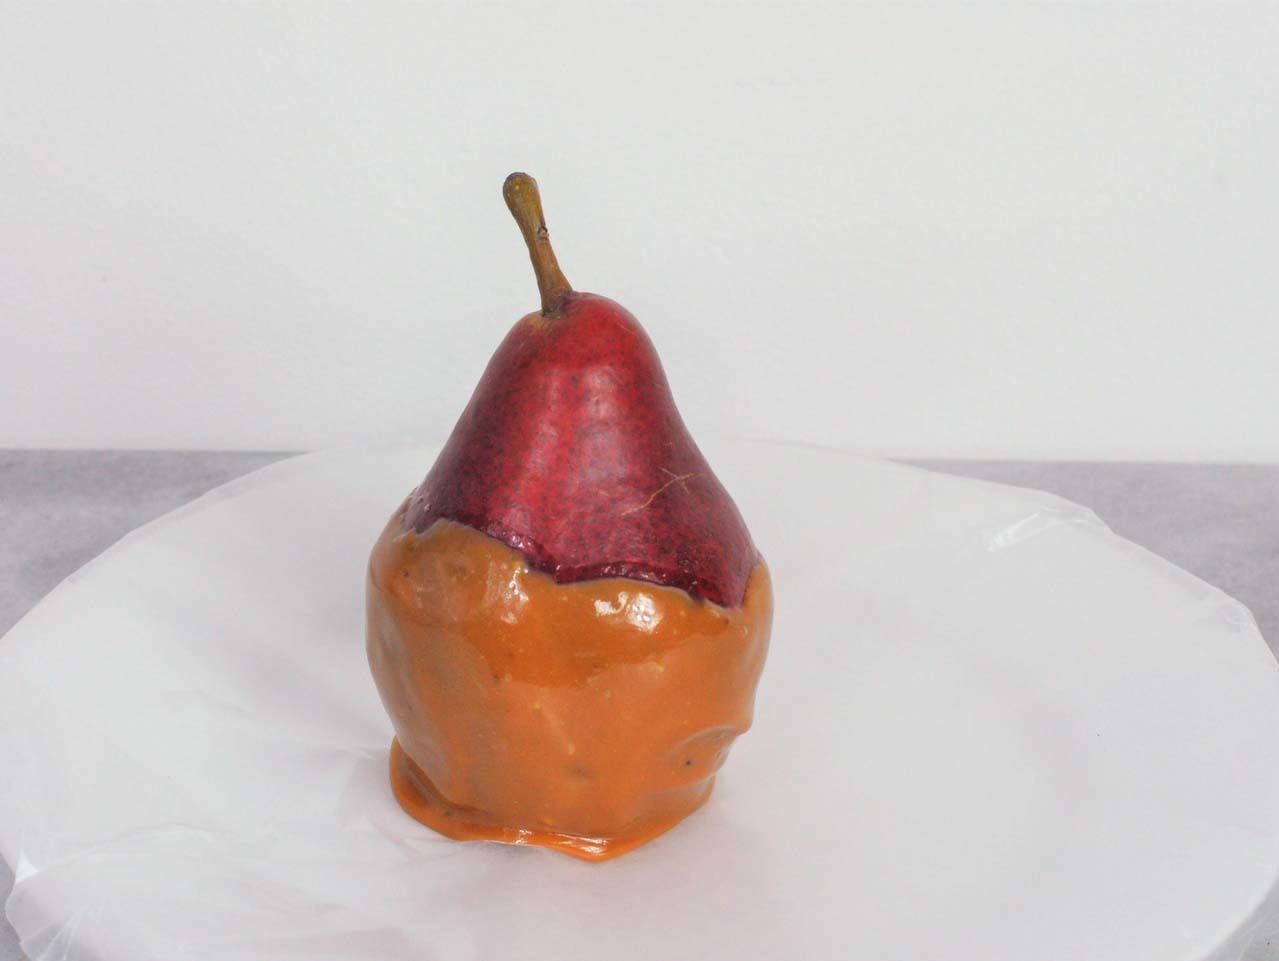
Scrape the excess caramel from the bottom of pear and place it on a prepared baking tray with wax paper. Repeat with the remaining pears. Place the tray in the refrigerator for 1 hour.
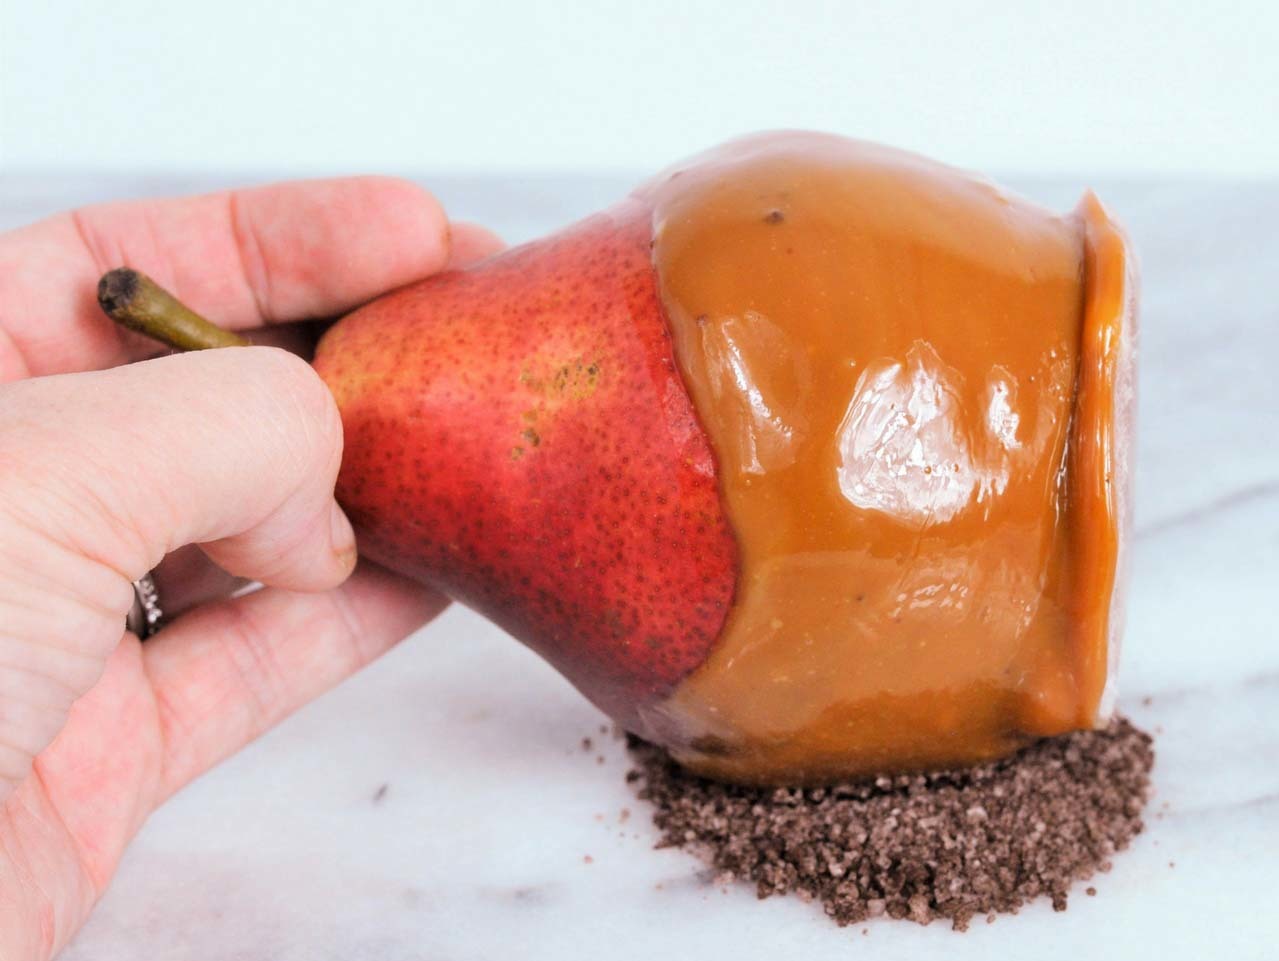
Remove pears from the refrigerator. This is where the fun starts, place the chocolate salt in a mound on a flat surface, such as a cutting board or baking sheet. Dip or roll the bottom third of the pears into the center of the chocolate salt and cover. Place the dipped pears on parchment to set. Repeat with the remaining pears. Then chill for about 30 minutes, or until set.
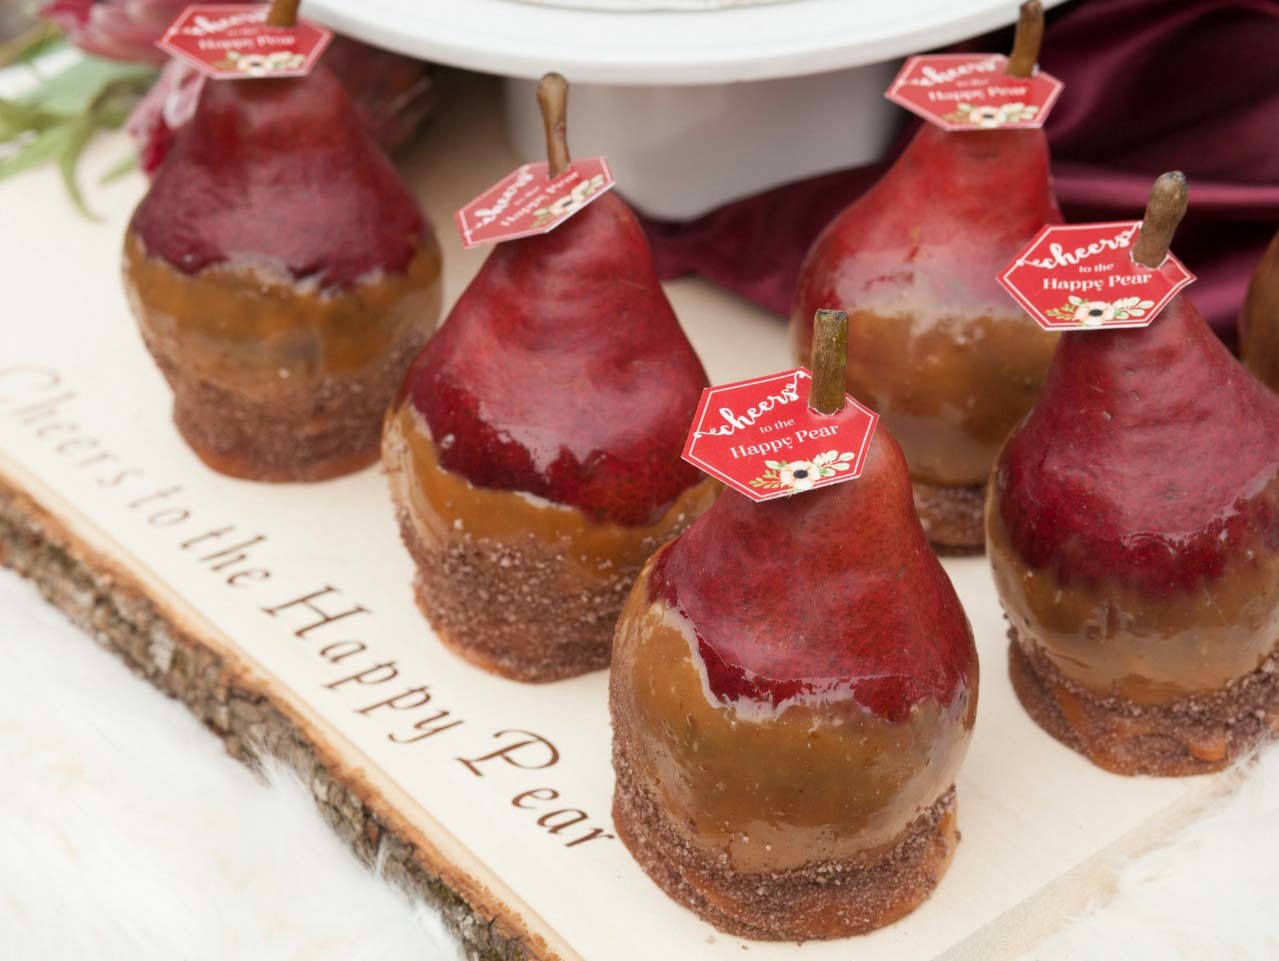
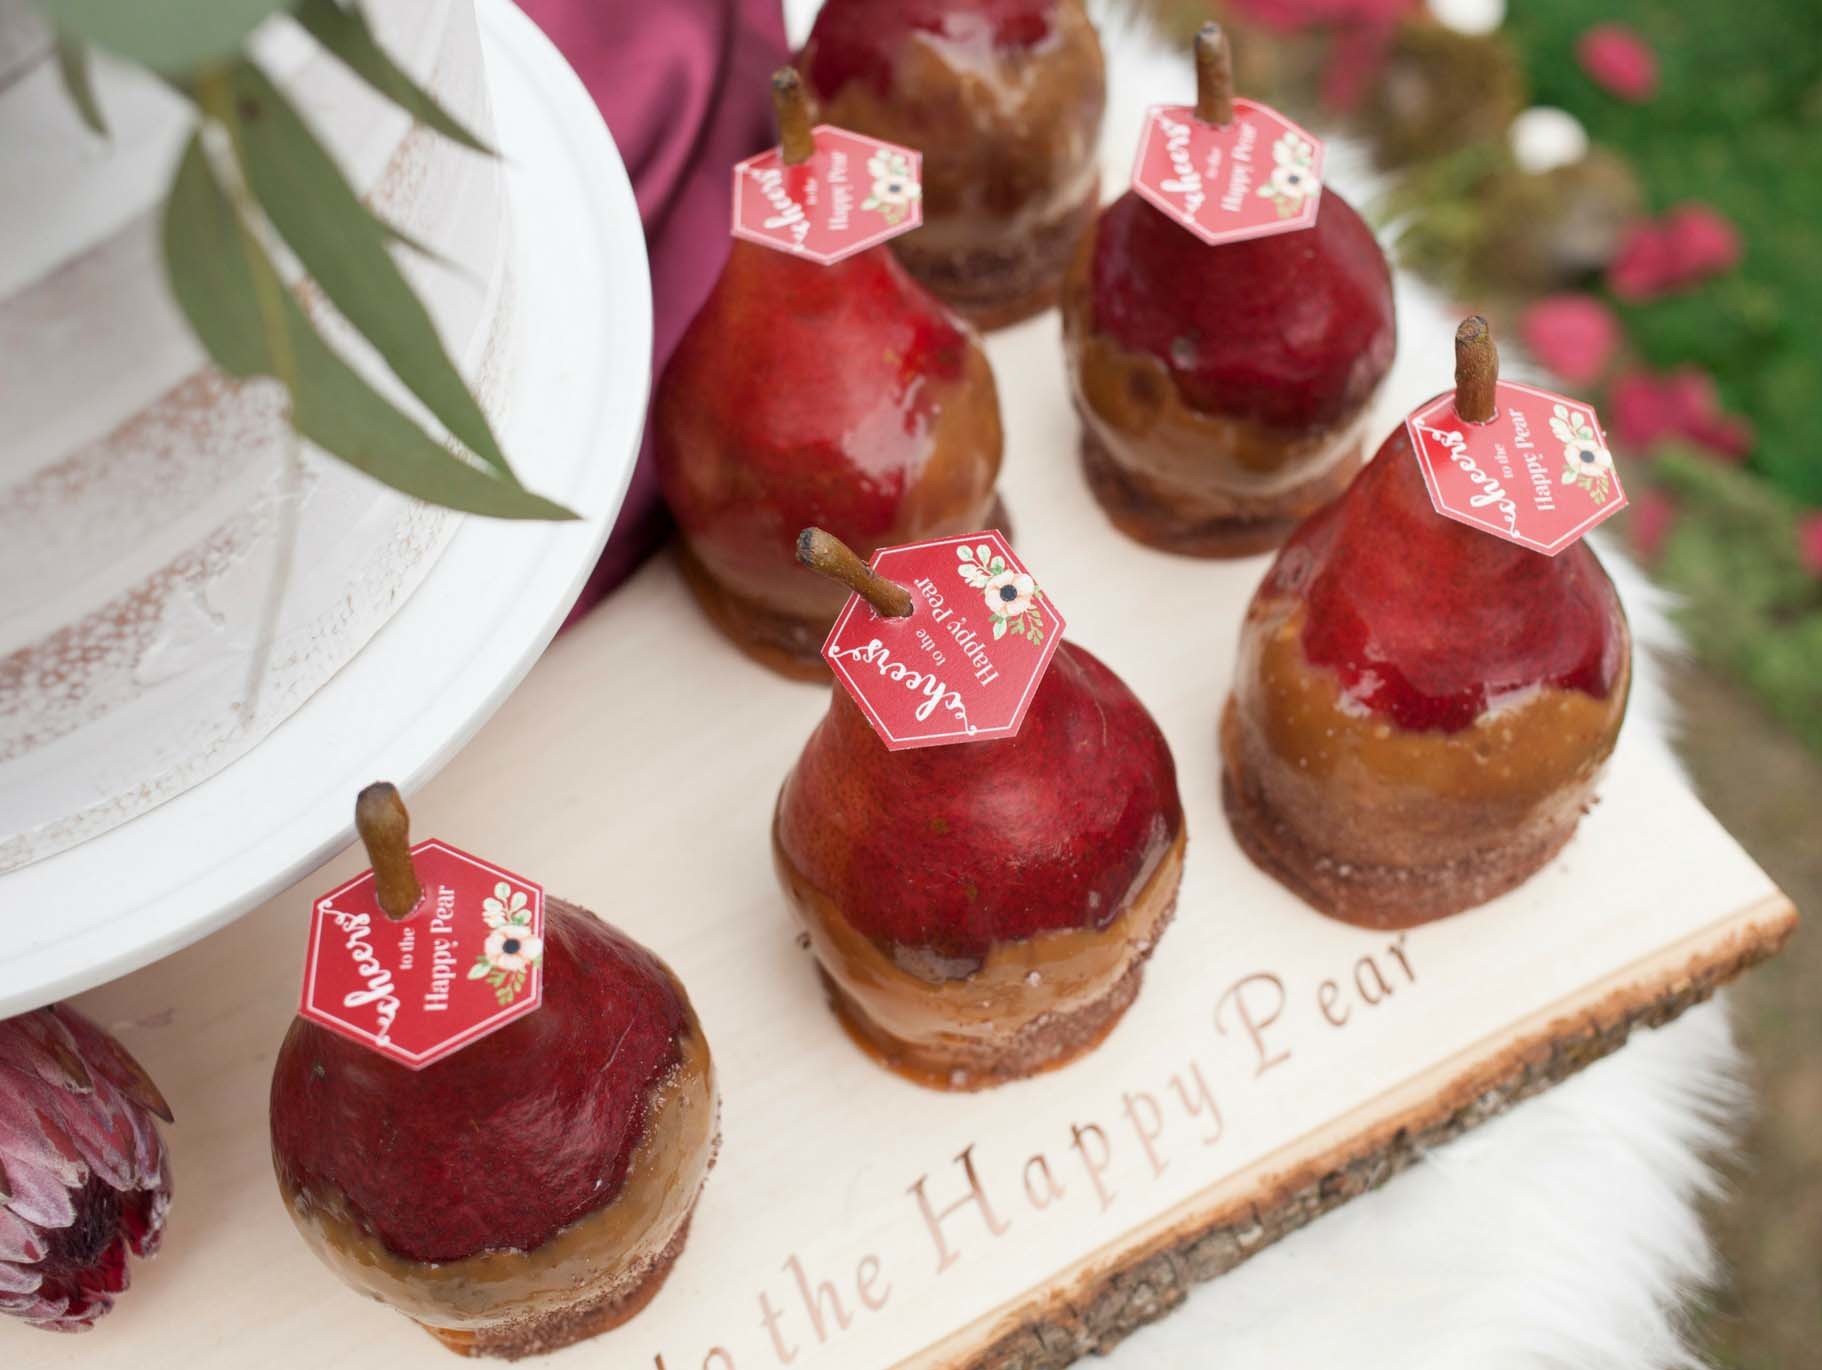
Next, add a fun tag. The tag I used with cheeky pear pun ("Cheers to the Happy Pear") was created by Elena of Worldwide Party and is available for free download. Then add a simple copper foil decal of the same pun to the DIY Large Basswood Plank. I made this one with my Cricut but you can also use a sticker. Download the Free "Cheers to the Happy Pear" Printable here!
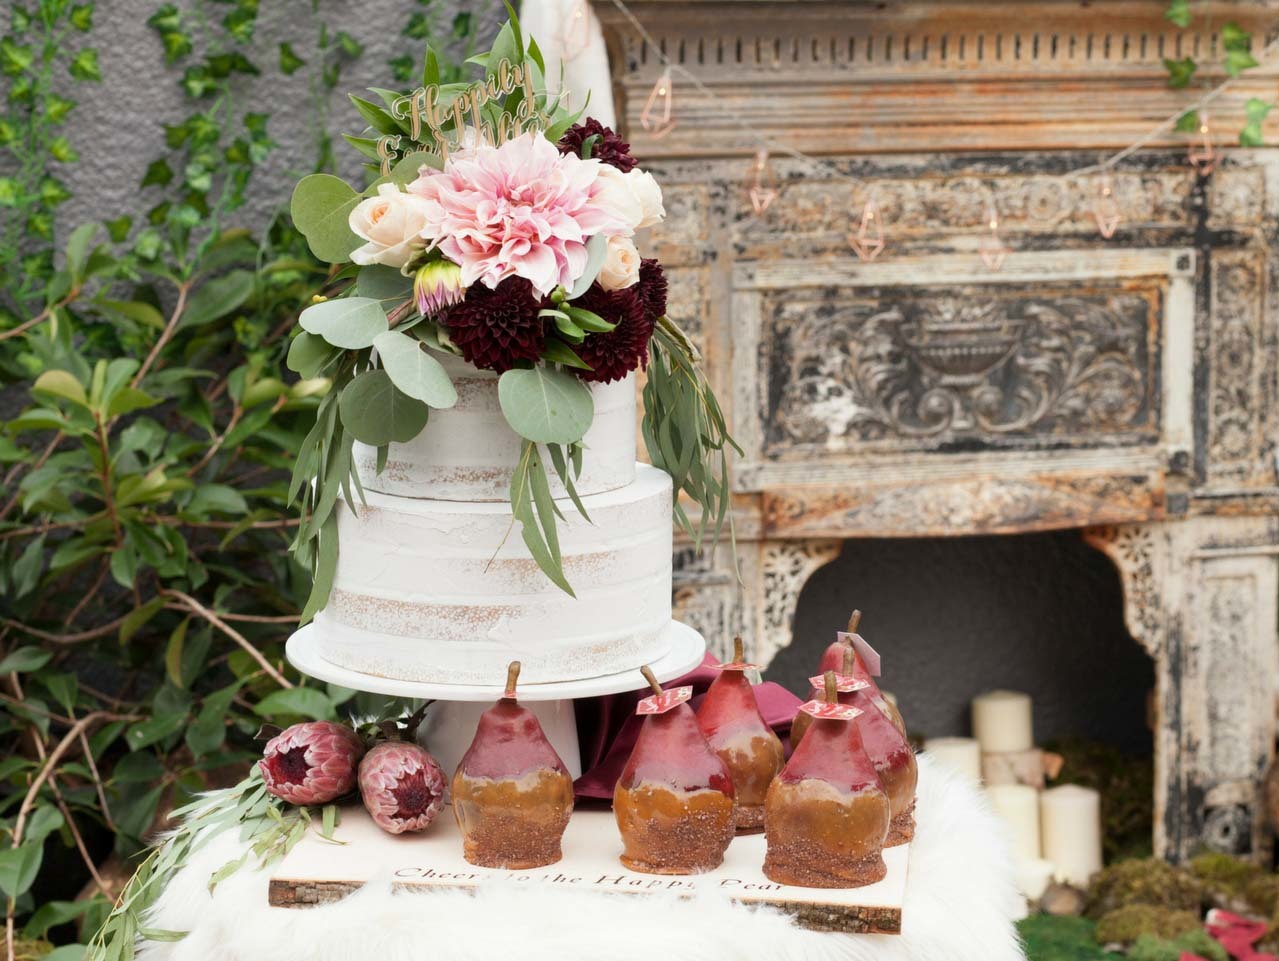
Finally, place the pears onto the finished platter. This gives a fabulous rustic fall look to contrast against the glam table setting. Tip: Keep chilled until ready to serve.
Not only did they look gorgeous, they were the perfect sweet treat for a fall wedding. Make sure to check out the full Burgundy, Blush, and Fur Fall Wedding and our DIY Mr. and Mrs. Fur & Copper Seat Backs and DIY Personalized Table Settings.

Wash and dry the pears. Retain the stems.

In a medium saucepan, combine the caramels and water over low heat until melted and smooth, stirring constantly. TIP: Do not use metal utensils. When the caramel turns amber remove from the heat. TIP: Do not overheat or let it boil.

Holding each (room temperature) pear by its stem (or gently at the top of the pear) over the saucepan, dip it into the caramel and roll. Tip: Use a spoon to pour enough of the caramel mixture over it to coat it to approx. 2/3 of the pear.

Scrape the excess caramel from the bottom of pear and place it on a prepared baking tray with wax paper. Repeat with the remaining pears. Place the tray in the refrigerator for 1 hour.

Remove pears from the refrigerator. This is where the fun starts, place the chocolate salt in a mound on a flat surface, such as a cutting board or baking sheet. Dip or roll the bottom third of the pears into the center of the chocolate salt and cover. Place the dipped pears on parchment to set. Repeat with the remaining pears. Then chill for about 30 minutes, or until set.

Next, add a fun tag. The tag I used with cheeky pear pun ("Cheers to the Happy Pear") was created by Elena of Worldwide Party and is available for free download. Then add a simple copper foil decal of the same pun to the DIY Large Basswood Plank. I made this one with my Cricut but you can also use a sticker. Download the Free "Cheers to the Happy Pear" Printable here!

Finally, place the pears onto the finished platter. This gives a fabulous rustic fall look to contrast against the glam table setting. Tip: Keep chilled until ready to serve.
Not only did they look gorgeous, they were the perfect sweet treat for a fall wedding. Make sure to check out the full Burgundy, Blush, and Fur Fall Wedding and our DIY Mr. and Mrs. Fur & Copper Seat Backs and DIY Personalized Table Settings.

