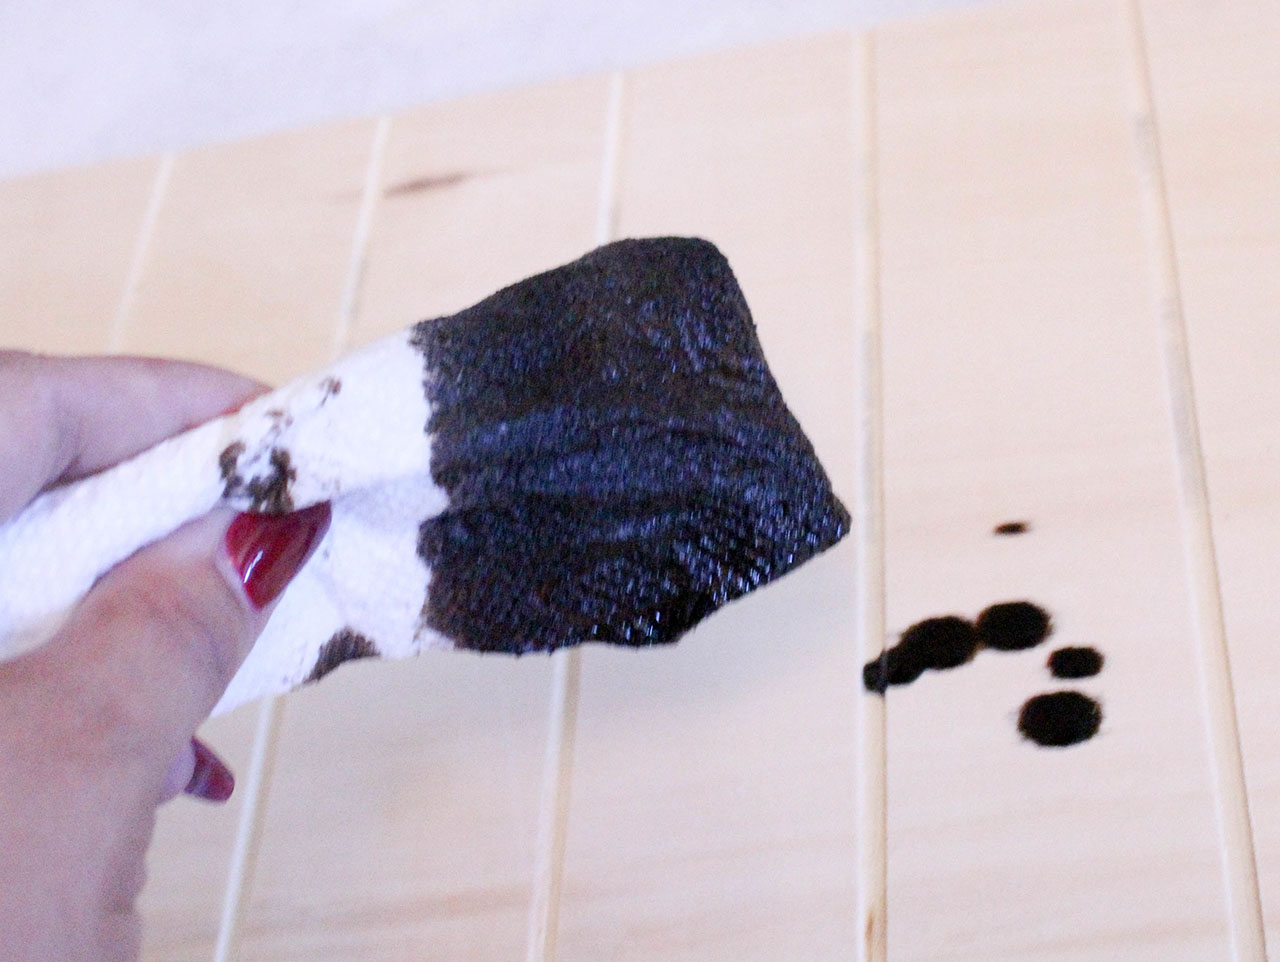

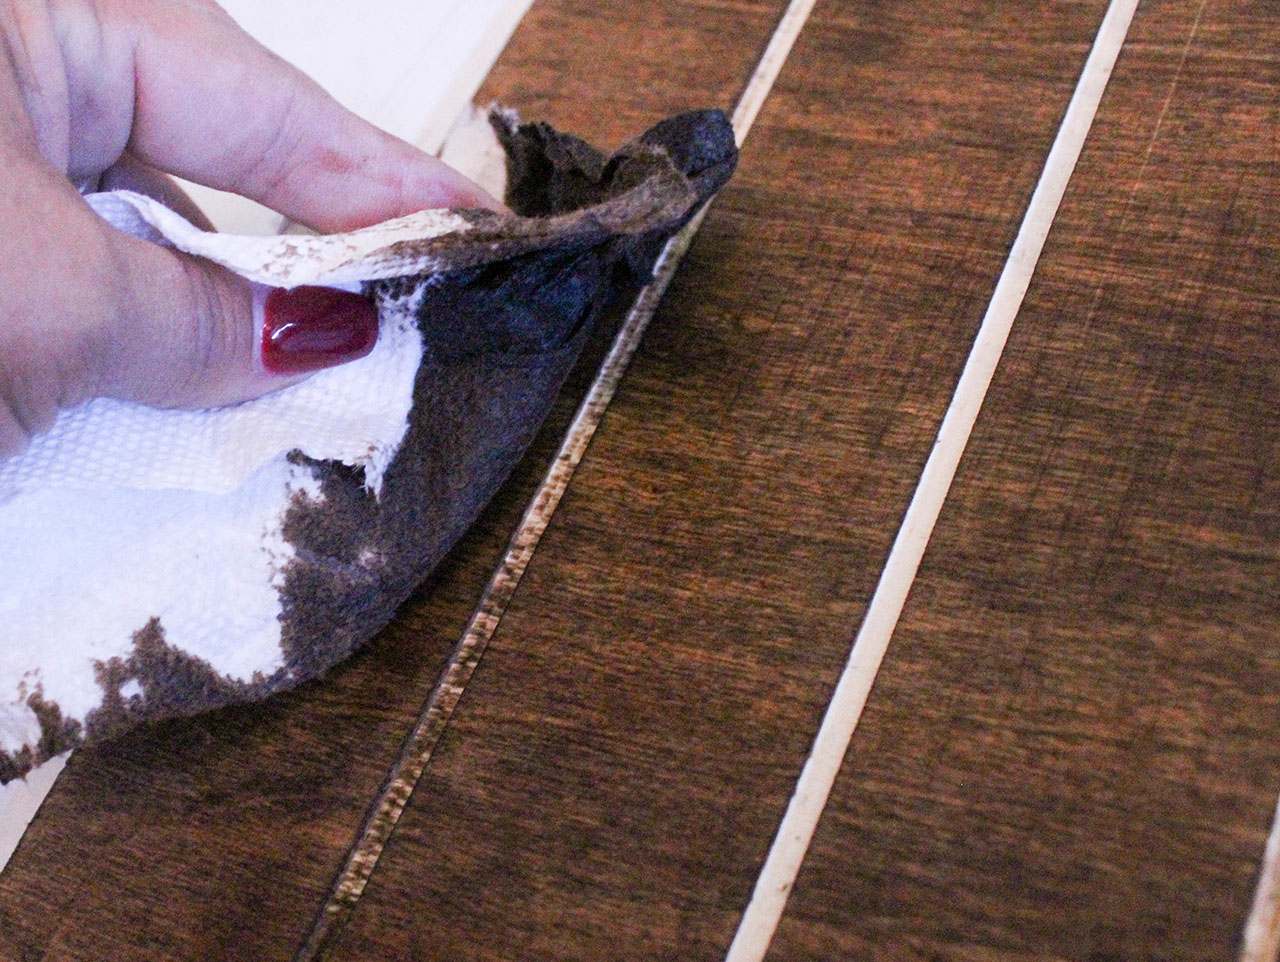
Cover and protect your work surface; you may wish to wear gloves. Working in a well ventilated area, apply wood stain to the surface of the sign, and rub in evenly. Make sure you get into the grooves between each slat.
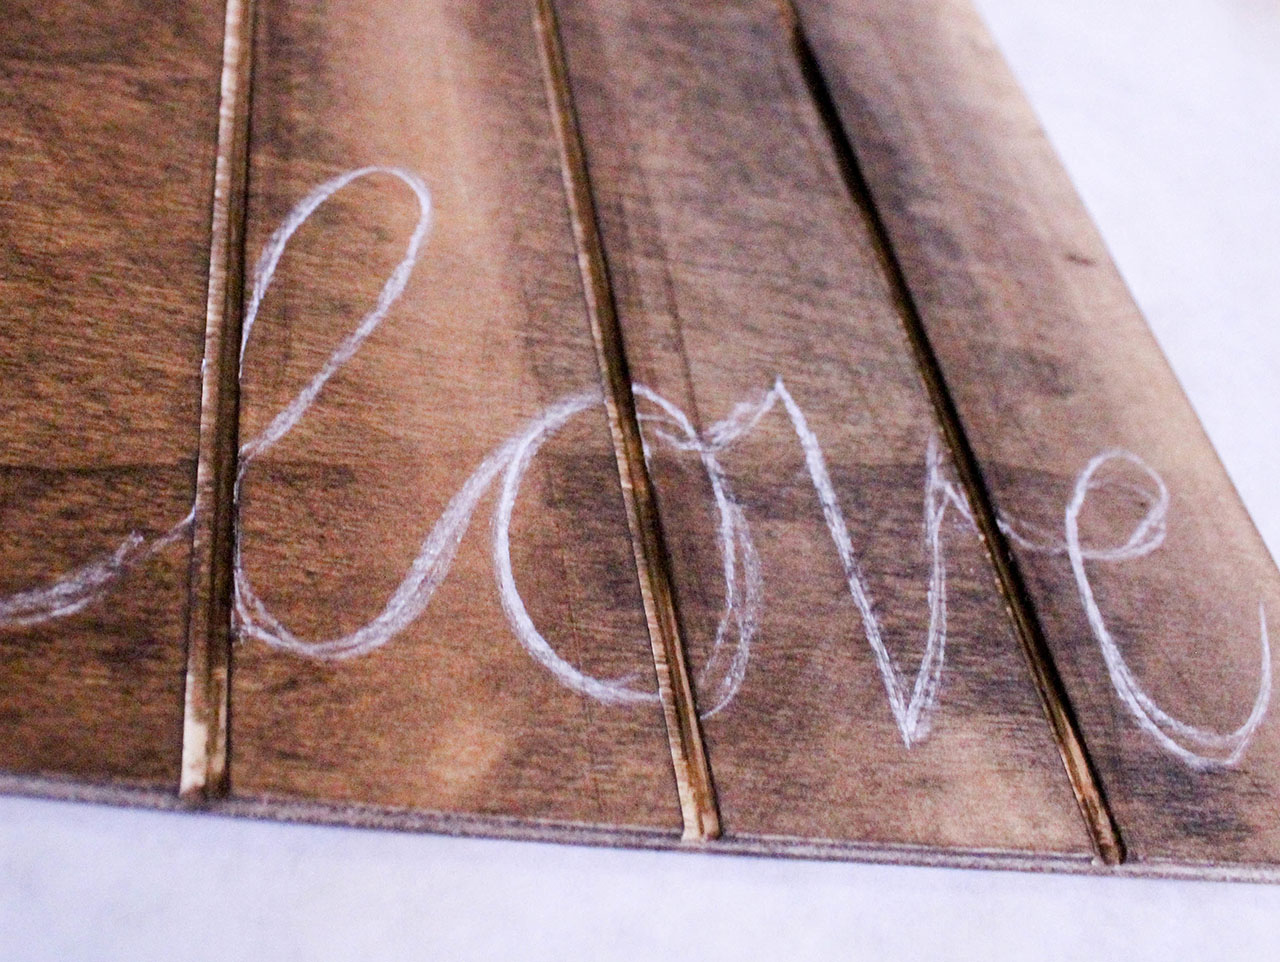
Once the stain has dried, buff any excess off, then use the chalk to sketch the word you would like to write on the sign. If you mess up on this step, it’s alright; the chalk will wipe right off and you can start again.
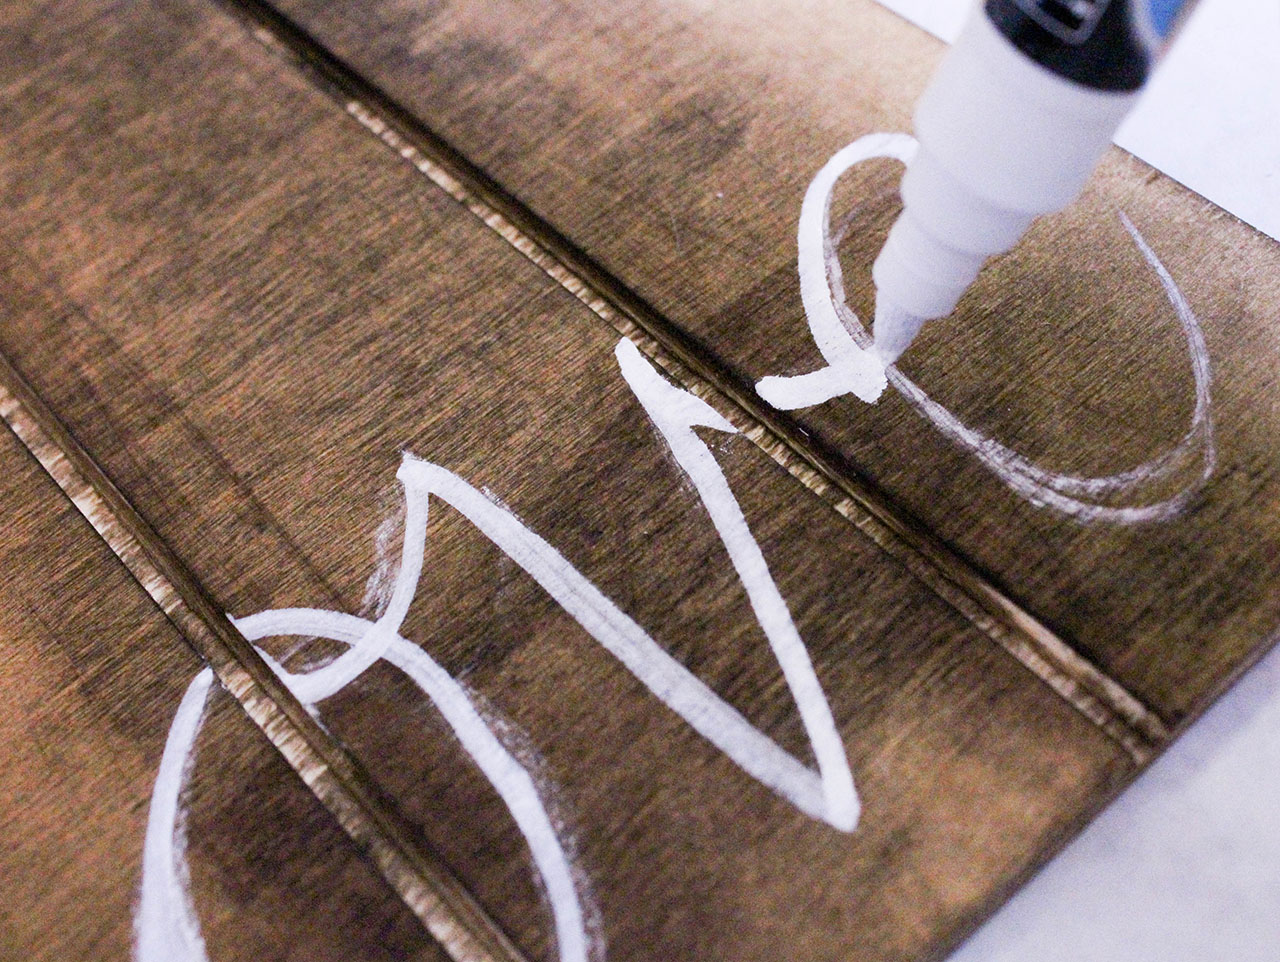

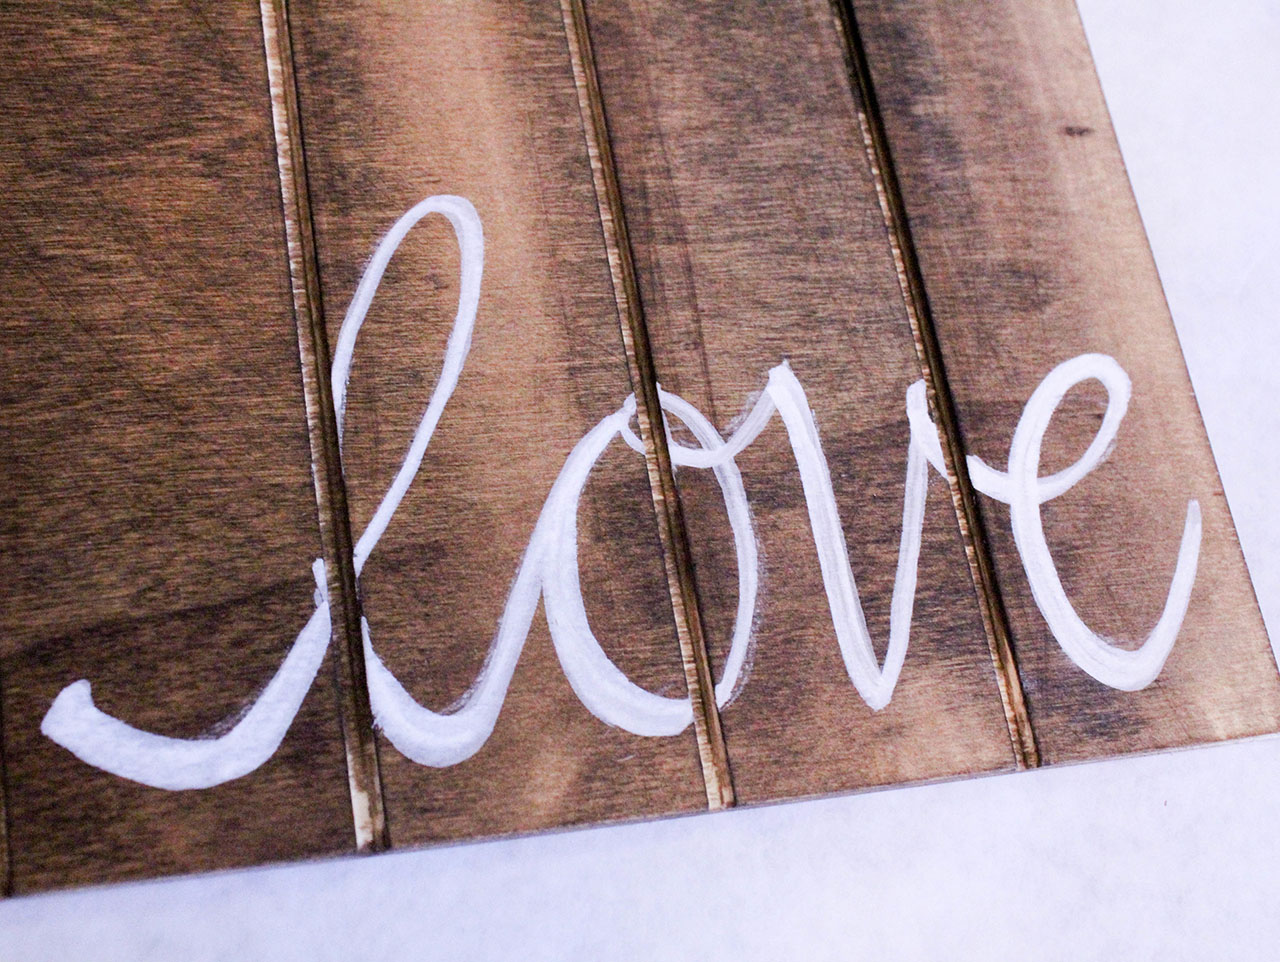
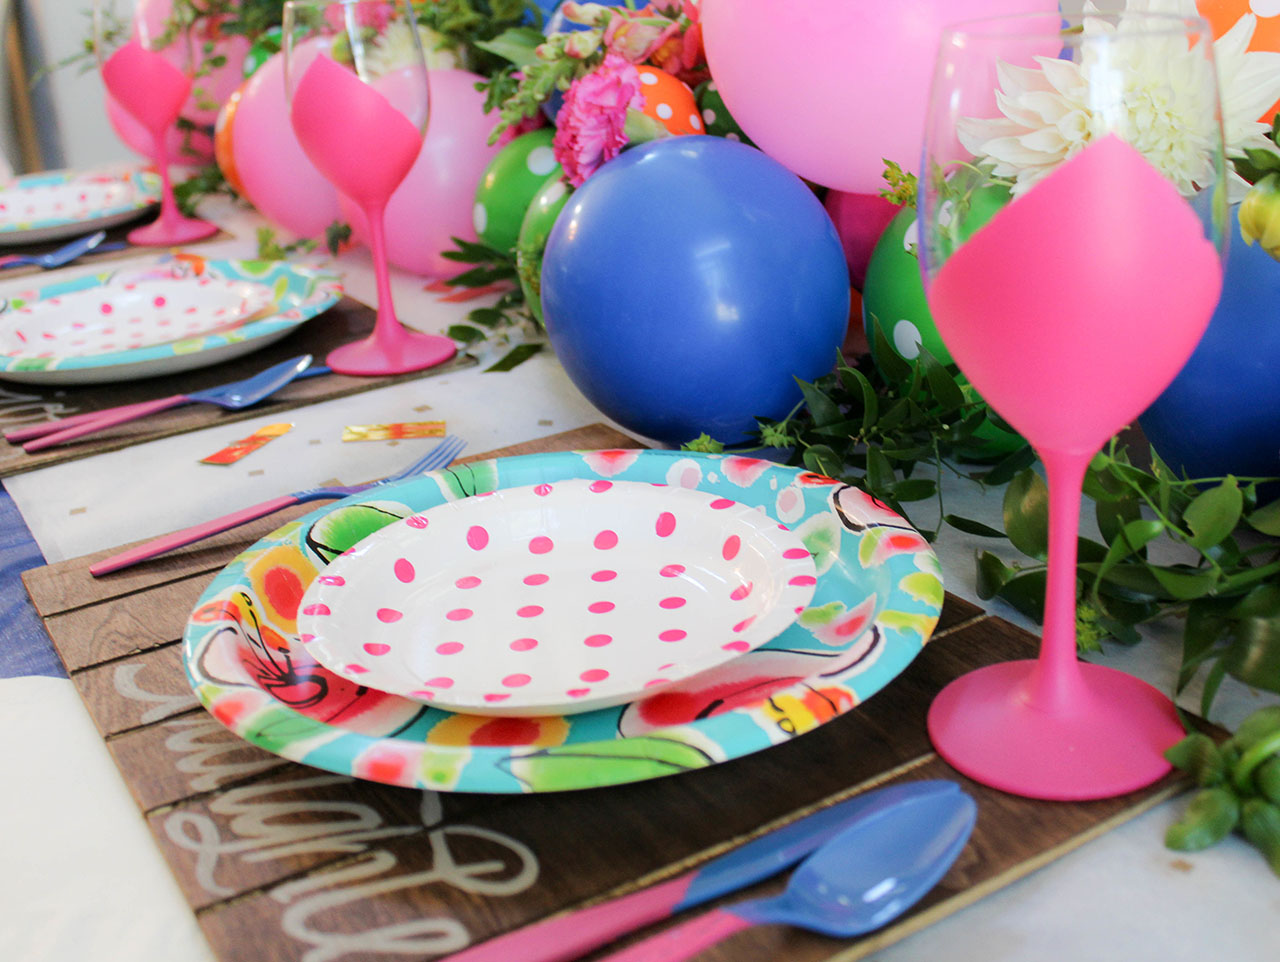
Shake the chalk marker well, then use it to trace carefully over the chalk sketch you made. Do this step twice, to ensure a clean, crisp line.
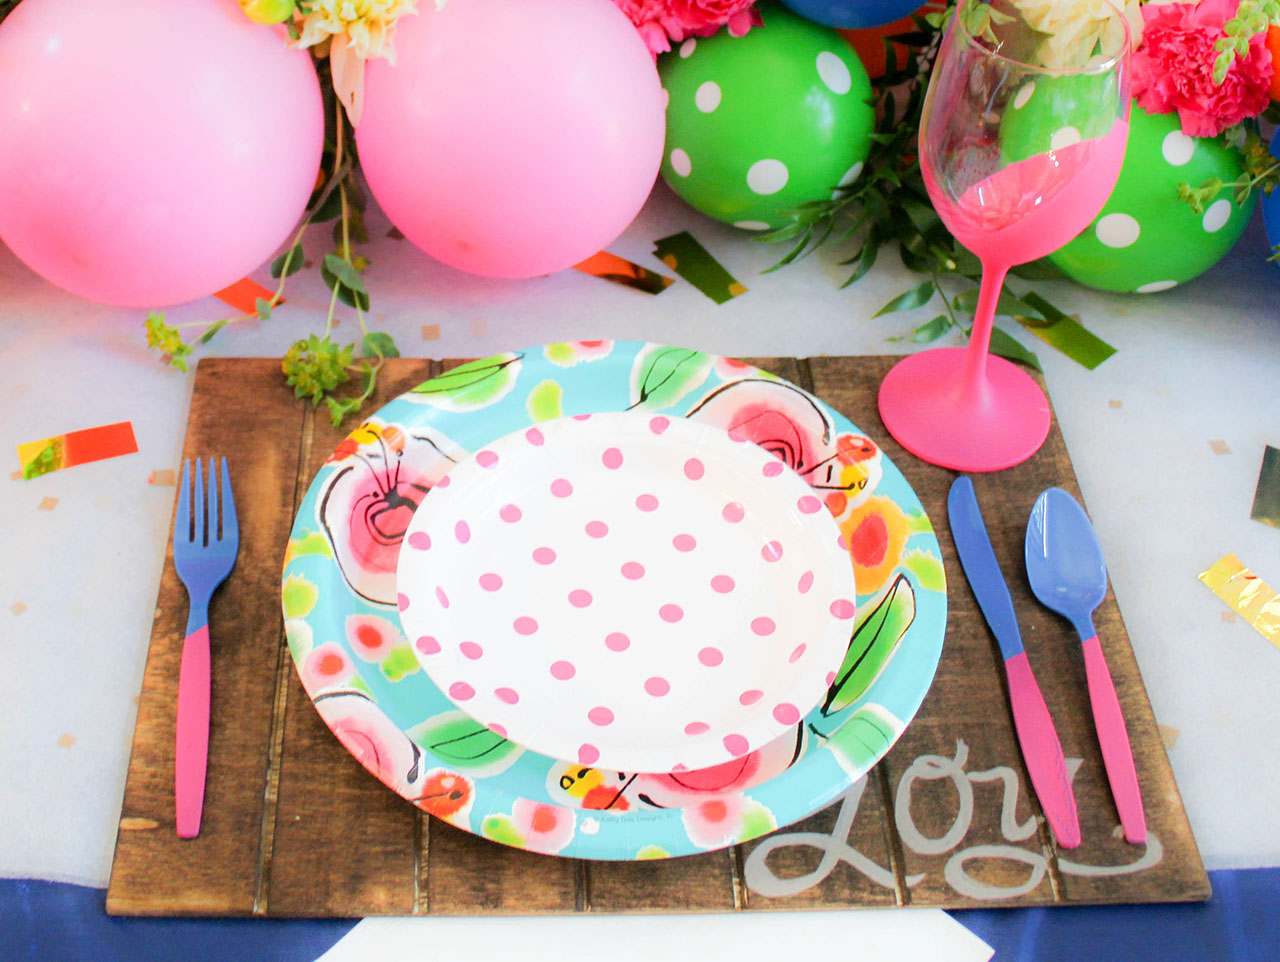
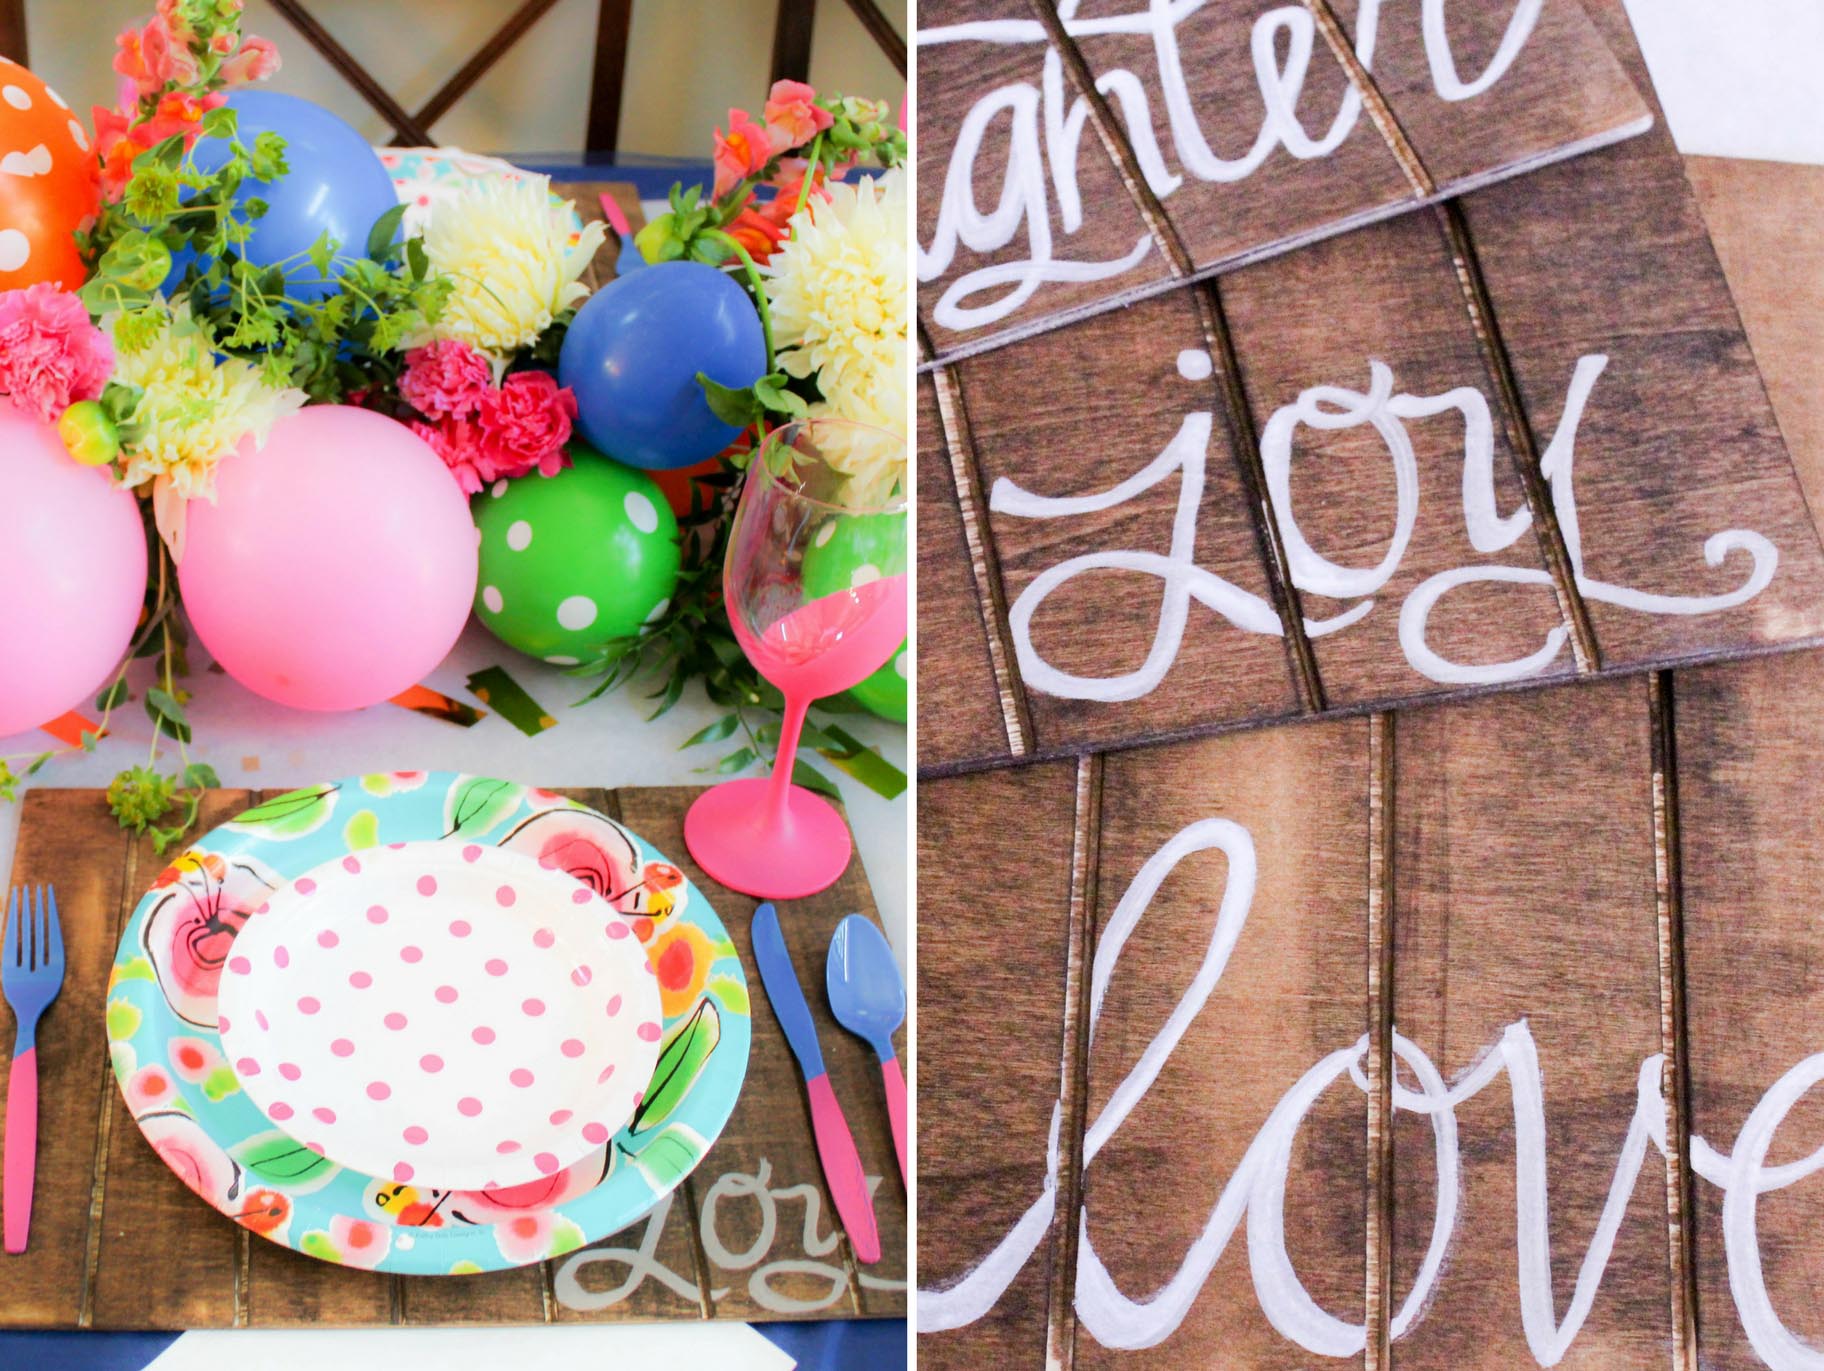
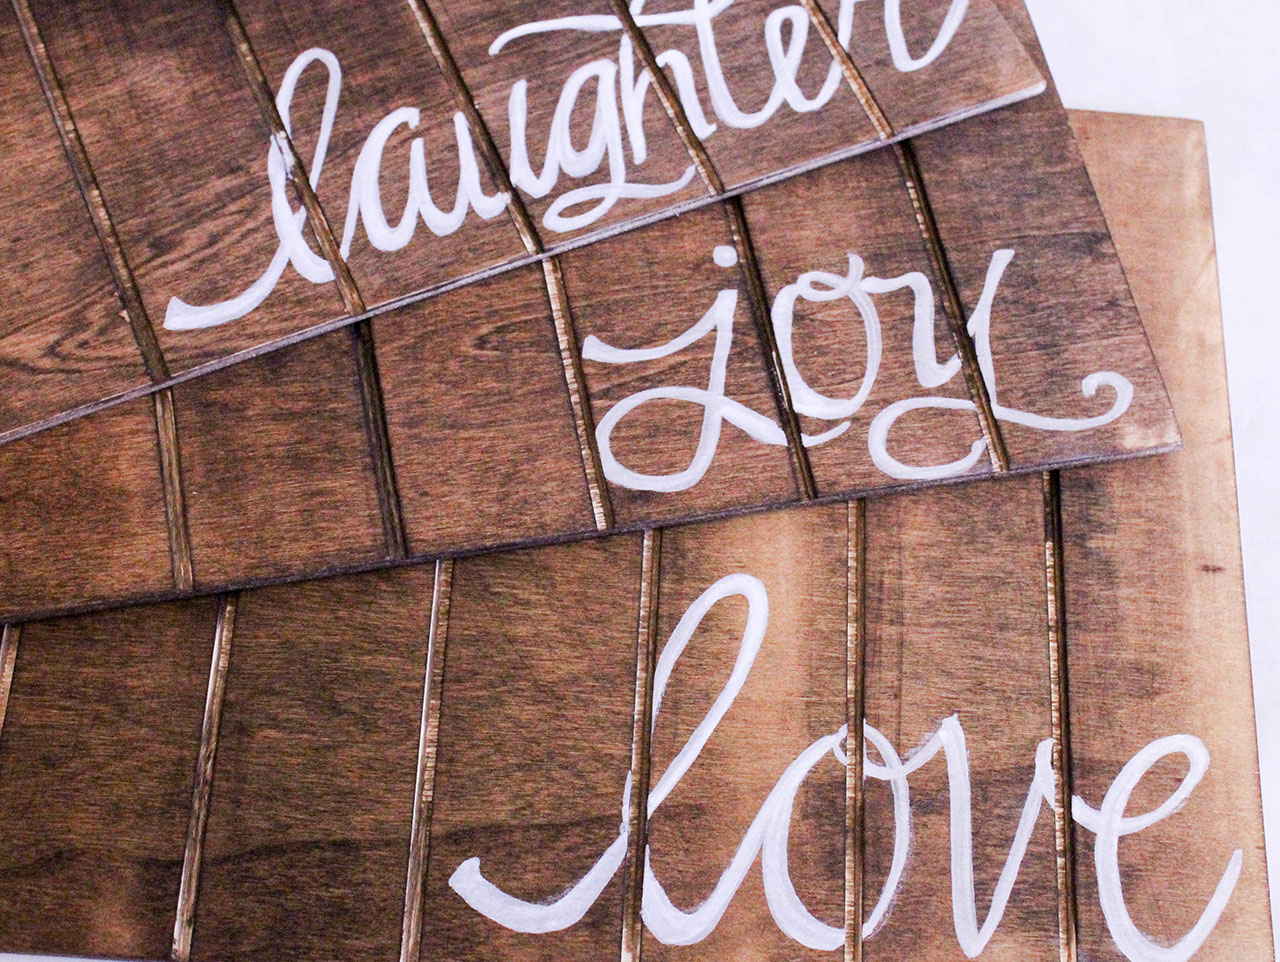
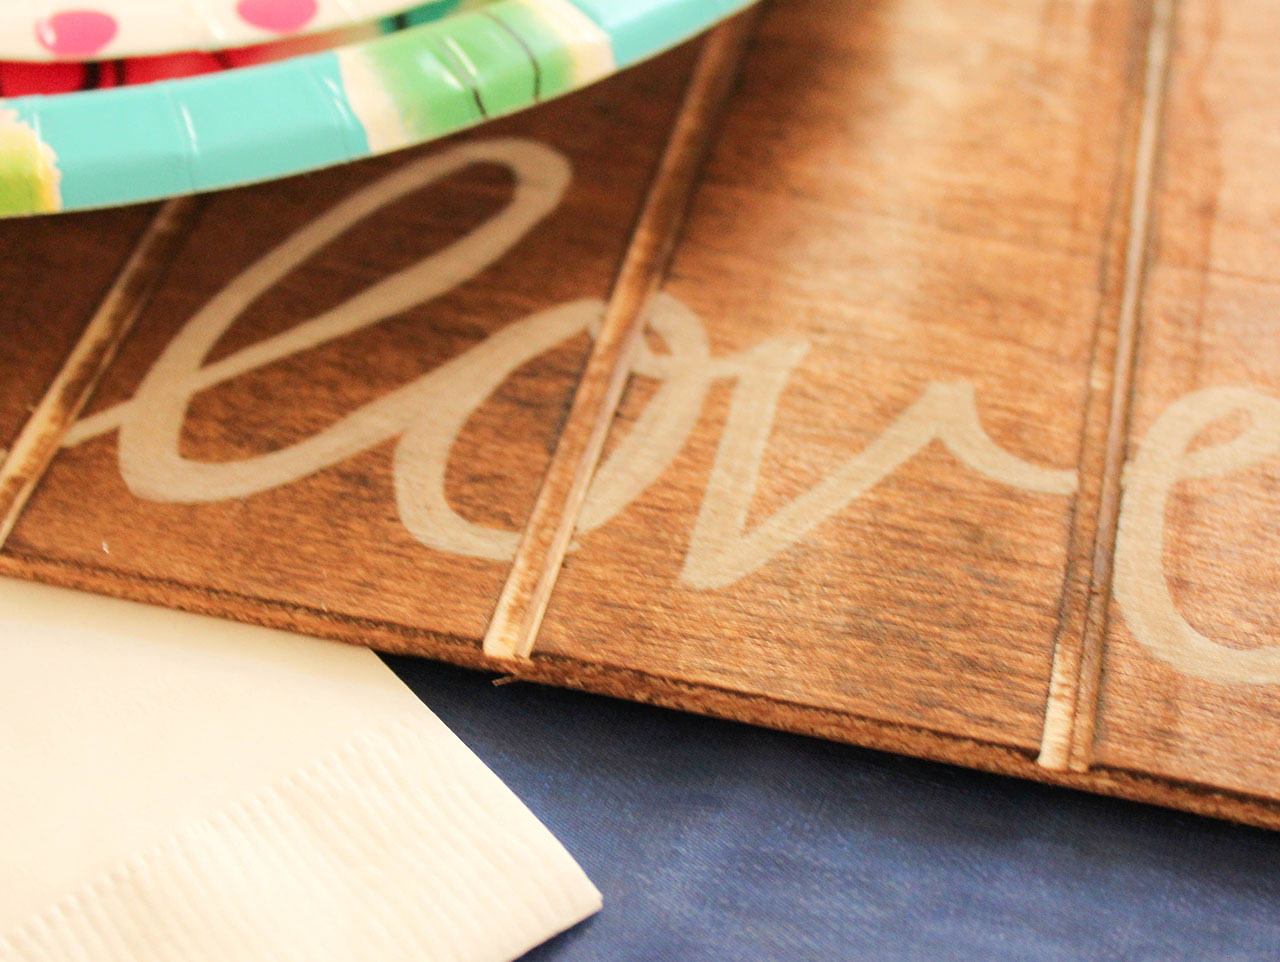
It’s hard to believe that making a wood sign is this simple! We used the words “Love”, “Joy” and “Laughter”, for our table, but you can use your imagination to create any phrases that you like. Be sure to take a look at this whole wedding tablescape, DIY Balloon Garland with Fresh Floral, Painted Wine Glass DIY.


Cover and protect your work surface; you may wish to wear gloves. Working in a well ventilated area, apply wood stain to the surface of the sign, and rub in evenly. Make sure you get into the grooves between each slat.

Once the stain has dried, buff any excess off, then use the chalk to sketch the word you would like to write on the sign. If you mess up on this step, it’s alright; the chalk will wipe right off and you can start again.


Shake the chalk marker well, then use it to trace carefully over the chalk sketch you made. Do this step twice, to ensure a clean, crisp line.

It’s hard to believe that making a wood sign is this simple! We used the words “Love”, “Joy” and “Laughter”, for our table, but you can use your imagination to create any phrases that you like. Be sure to take a look at this whole wedding tablescape, DIY Balloon Garland with Fresh Floral, Painted Wine Glass DIY.

