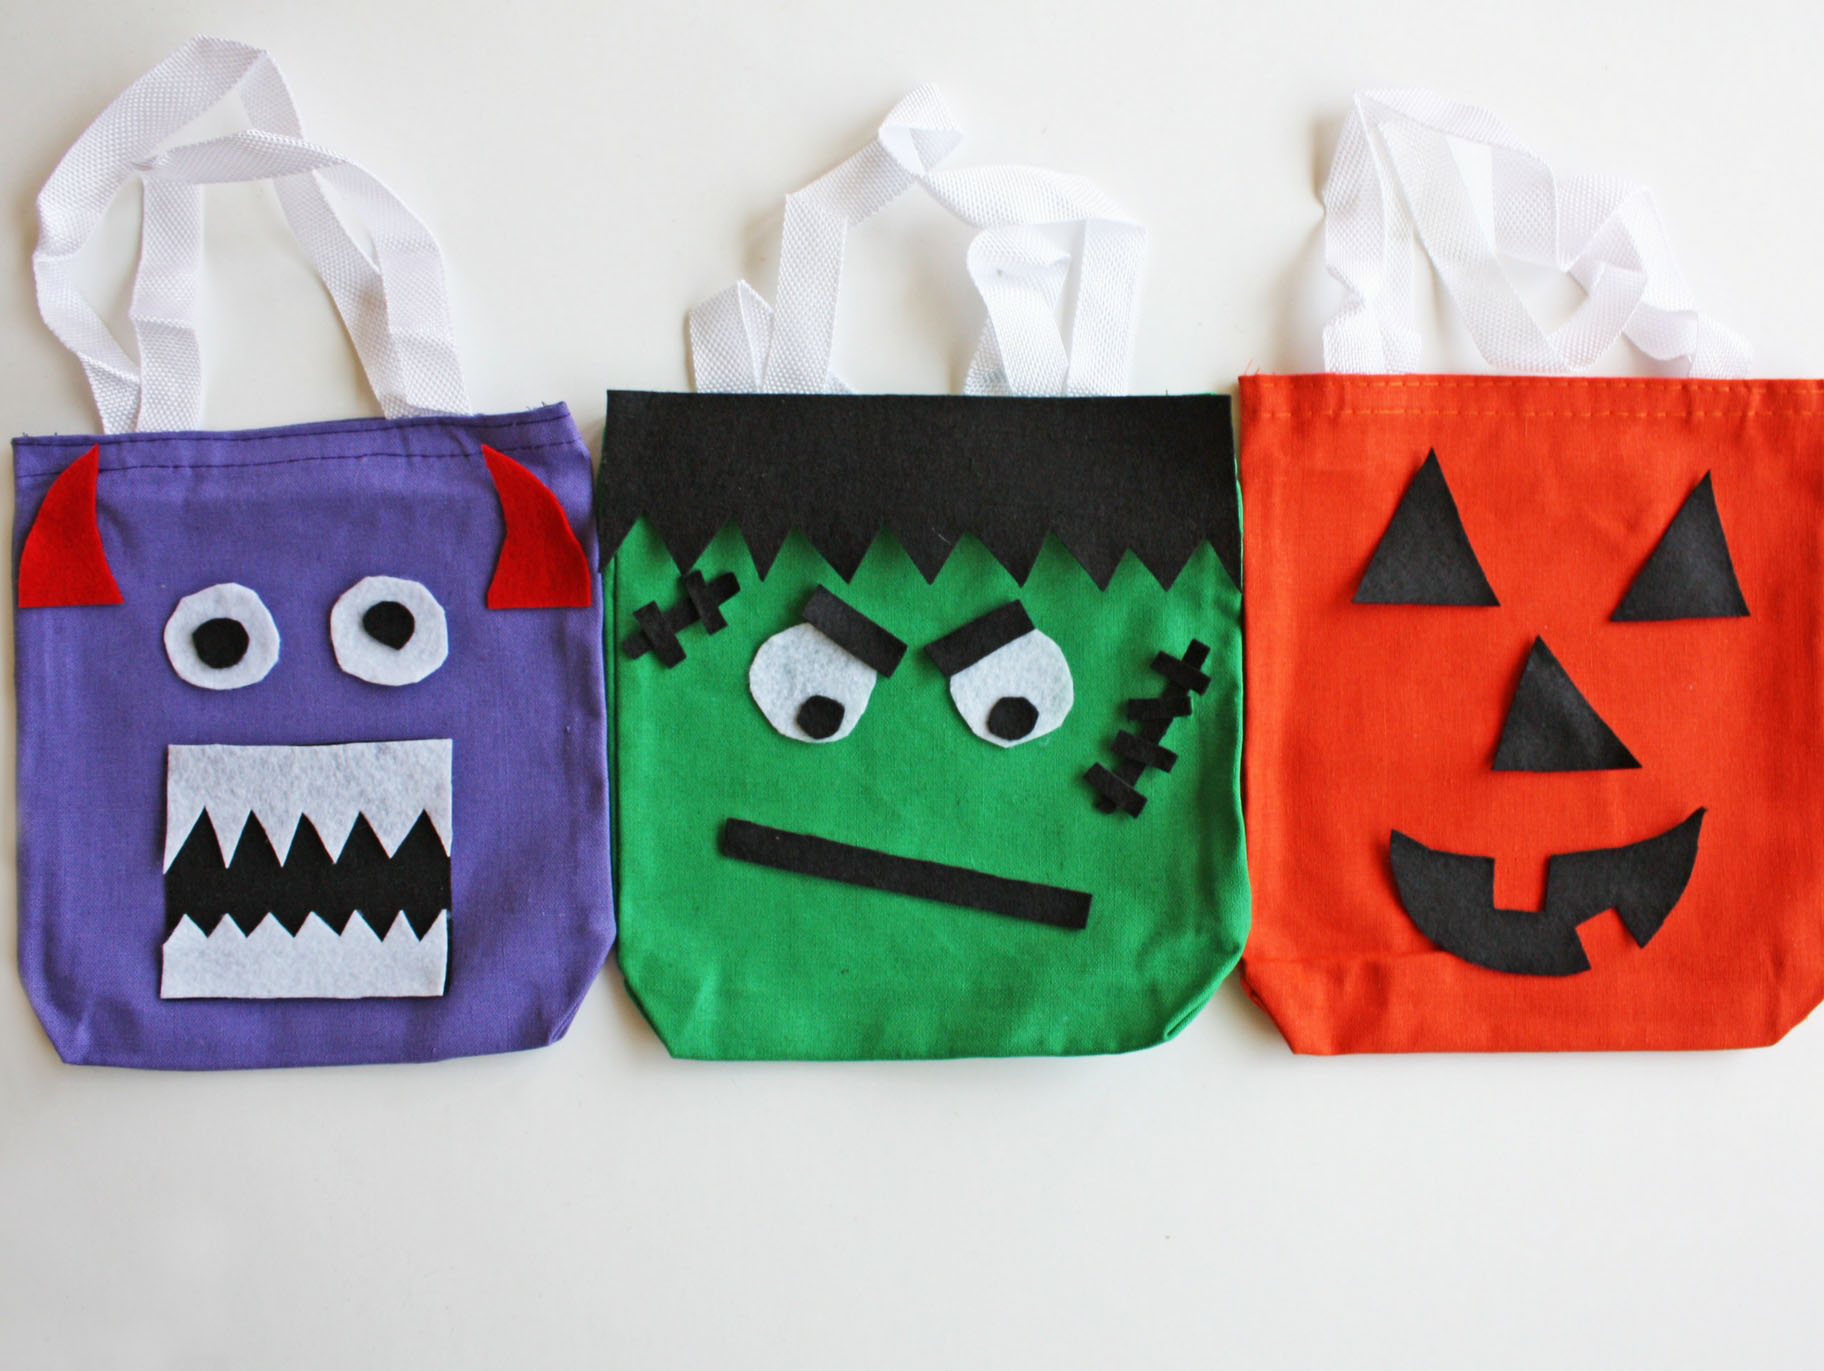
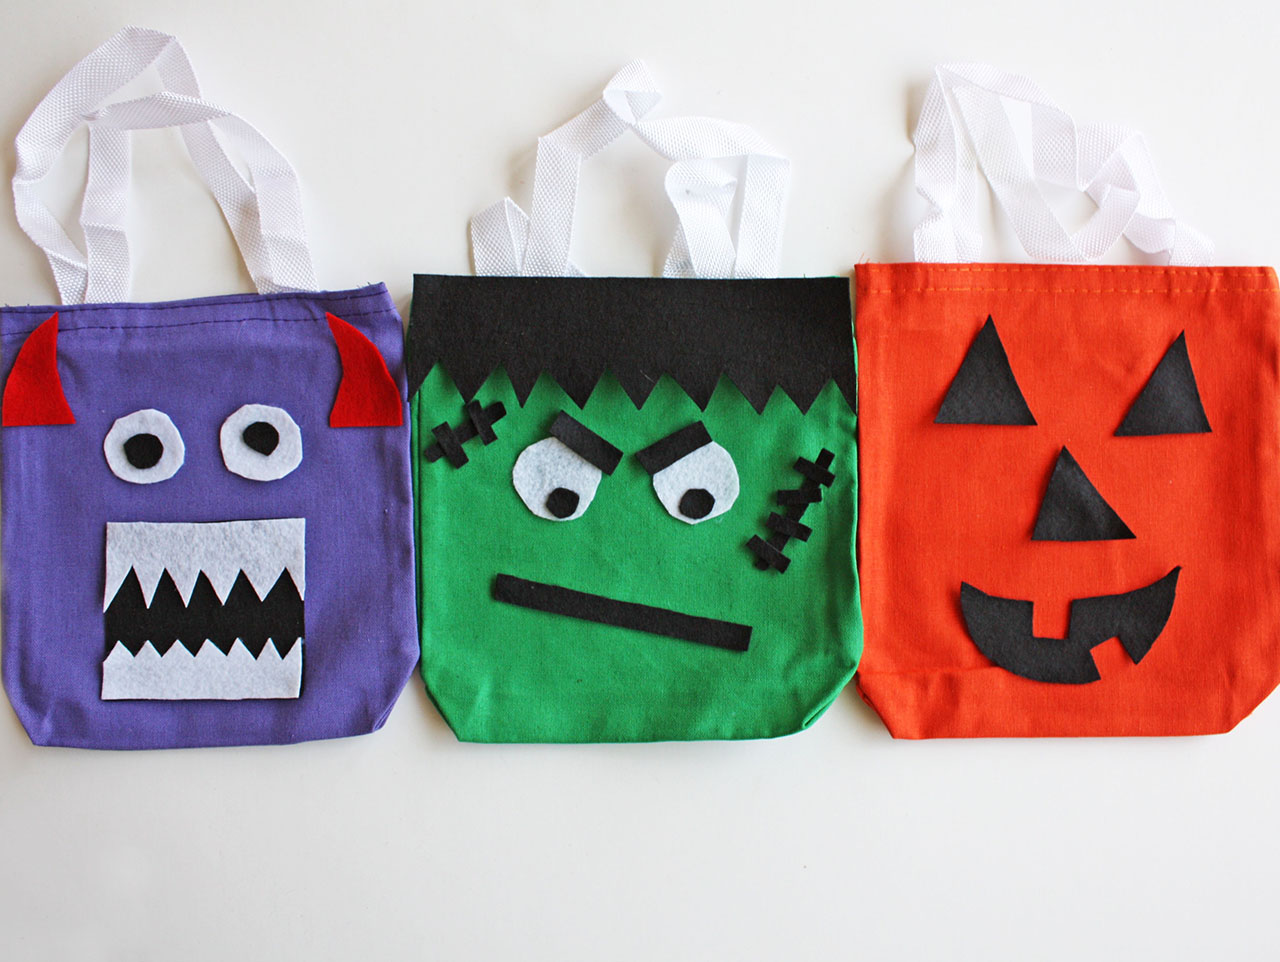
Jack O’ Lantern Trick or Treat Bag
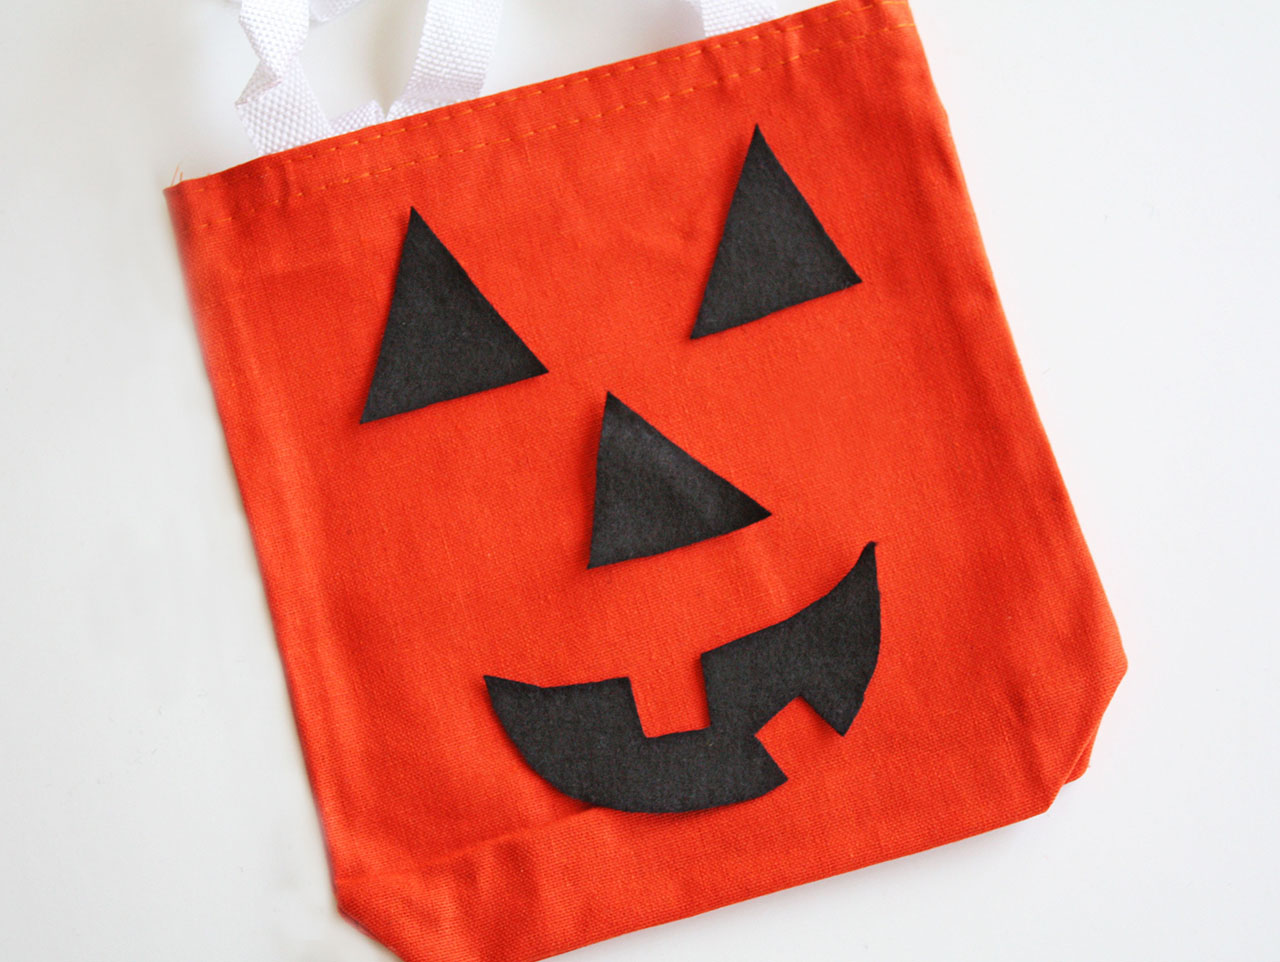
Grab the orange canvas tote. Set aside. Using a sharpie marker trace three triangles onto the black felt sheet. It will be hard to see but you will get a light outline you can follow when cutting. Cut out the three triangles.
Cut out the template for the jack o’ lantern mouth.
Position the felt triangles on the bag where you want the eyes and nose to be. Repeat with the mouth.
Use the E6000 adhesive glue to glue the felt shapes into place (adult supervision is recommended for this step).
Monster Trick or Treat Bag
Grab and color canvas tote. We chose purple! Set aside.
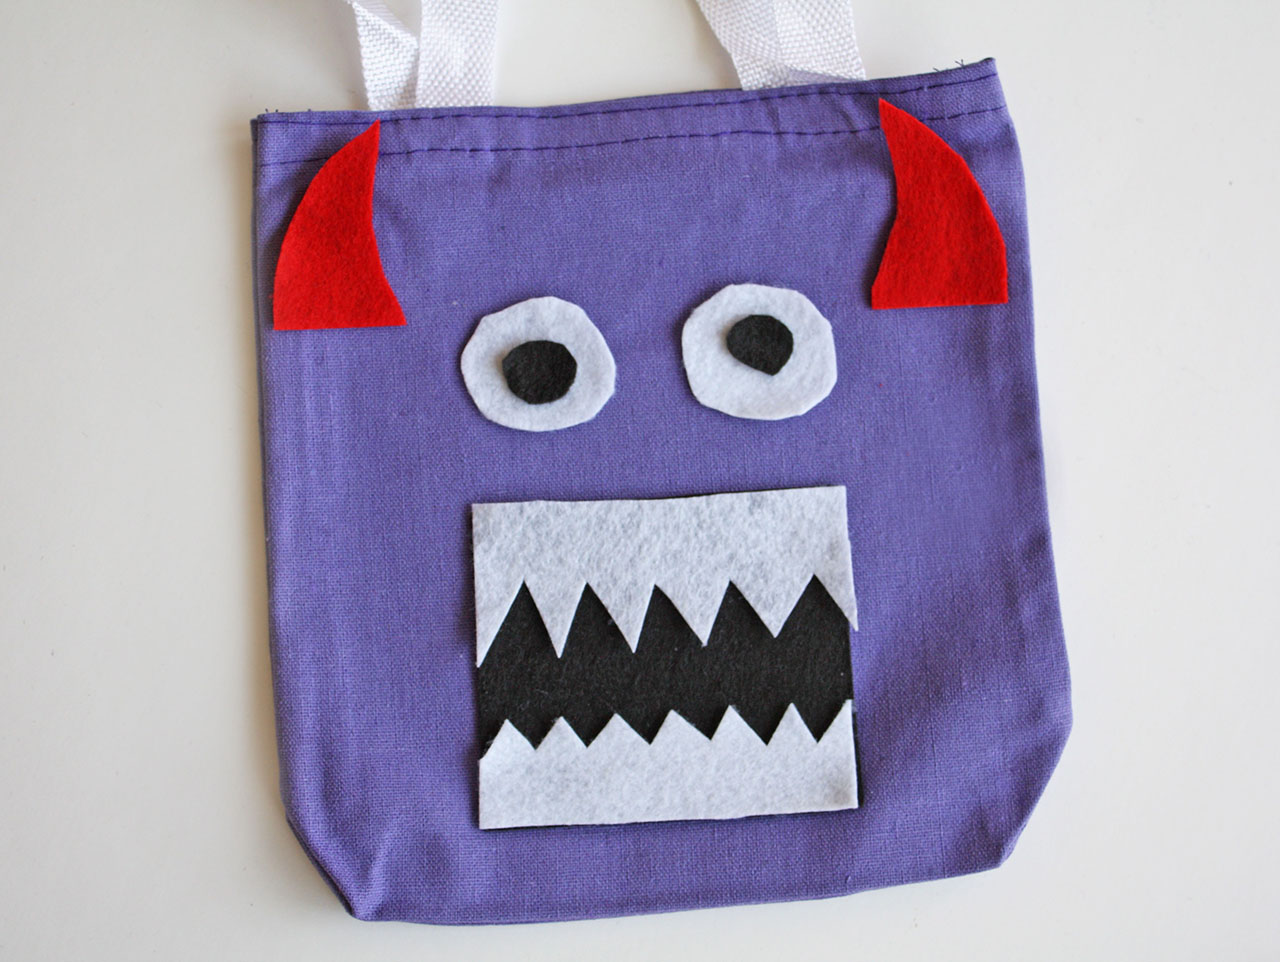
Using the template for the monster cut out the horns, eyes and mouth. To make the horns you will need the red felt. Using a light colored Sharpie marker draw two curved horns on the red felt sheet and cut out. Cut two large circles out of the white felt sheets for the eyes. Cut two smaller black circles from the black felt.
Cut a medium sized rectangle or square from the black felt for the mouth. For the sharp teeth cut the same sized rectangle from white felt. Cut it in half. On one side of the each of the white felt pieces, cut triangle pieces along the entire edge.
Arrange the red horns at the top of your purple tote. Glue into place. Next, position the white circles and place them where you want the eyes to be. Glue them into place. Glue the smaller black circles onto the side of each white circle to complete the eyes.
Glue the black rectangle into place towards the bottom of the bag for the mouth. Glue the white teeth into place on top of the black rectangle.
Frankenstein Trick or Treat Bag
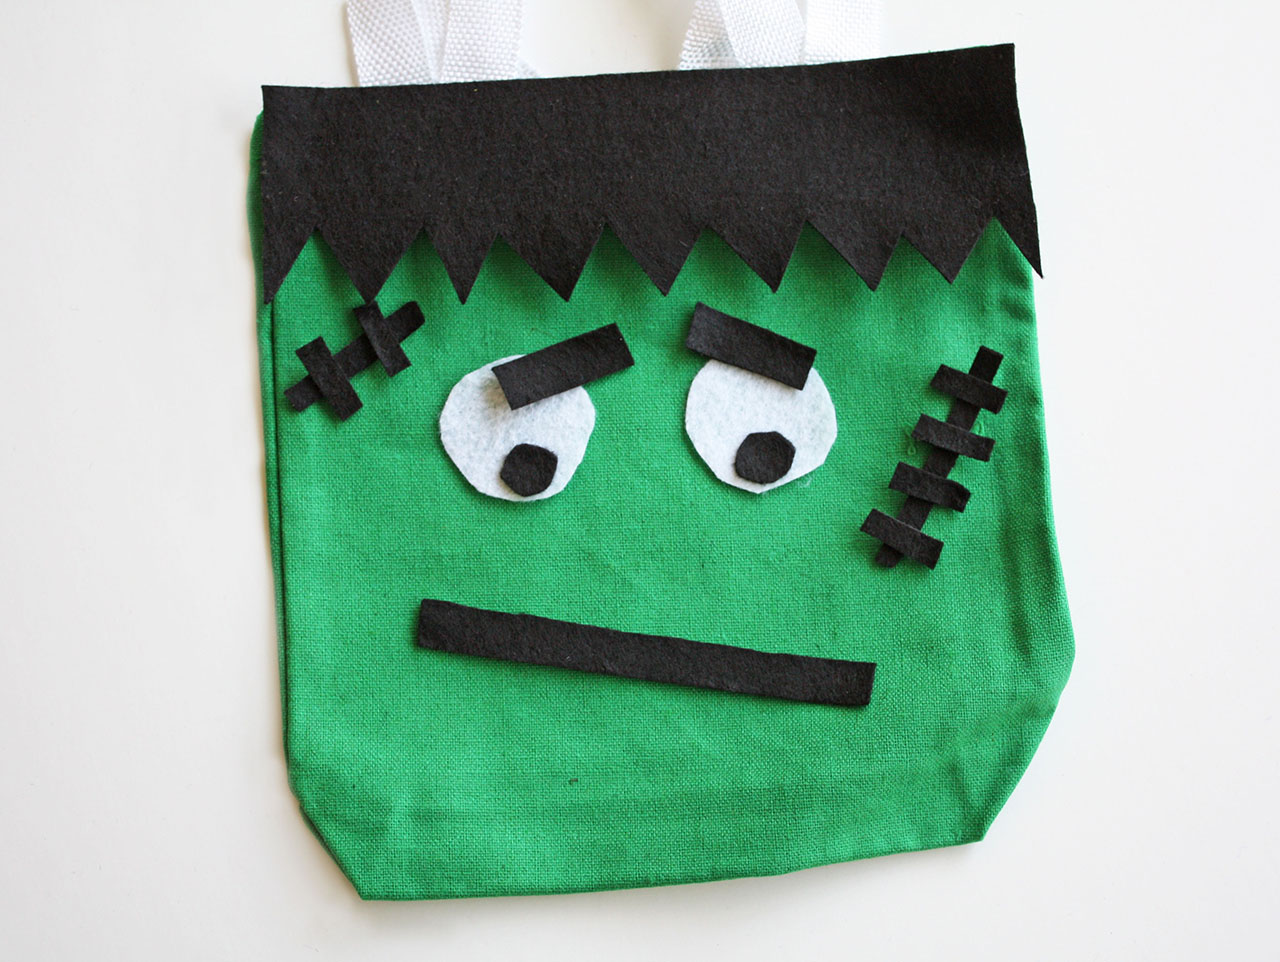
Grab the green canvas tote. Set Aside. Using the template for the Frankenstein cut out the rectangle for the hair.
Cut two small black rectangles for the eyebrows. Cut two large white circles and two smaller black circles for the eyes.
Cut one long rectangle for the mouth. About ¼” wide. Cut two smaller rectangles for the stitch pieces from the black felt sheet. Cut multiple mini rectangles to go across the stitch pieces.
Glue the felt pieces into place using the E6000 glue. Don’t you just LOVE how you can change Frankenstein’s expression just by adjusting his eyebrows!
For more fun Halloween crafts check out our monster masks, boo bunch play date and mummy pizza recipe!
Want more Halloween toddler craft ideas? Be sure to check out all of our Halloween Toddler Crafts here!

Jack O’ Lantern Trick or Treat Bag
Grab the orange canvas tote. Set aside. Using a sharpie marker trace three triangles onto the black felt sheet. It will be hard to see but you will get a light outline you can follow when cutting. Cut out the three triangles.
Cut out the template for the jack o’ lantern mouth.
Position the felt triangles on the bag where you want the eyes and nose to be. Repeat with the mouth.
Use the E6000 adhesive glue to glue the felt shapes into place (adult supervision is recommended for this step).

Monster Trick or Treat Bag
Grab and color canvas tote. We chose purple! Set aside.
Using the template for the monster cut out the horns, eyes and mouth. To make the horns you will need the red felt. Using a light colored Sharpie marker draw two curved horns on the red felt sheet and cut out. Cut two large circles out of the white felt sheets for the eyes. Cut two smaller black circles from the black felt.
Cut a medium sized rectangle or square from the black felt for the mouth. For the sharp teeth cut the same sized rectangle from white felt. Cut it in half. On one side of the each of the white felt pieces, cut triangle pieces along the entire edge.
Arrange the red horns at the top of your purple tote. Glue into place. Next, position the white circles and place them where you want the eyes to be. Glue them into place. Glue the smaller black circles onto the side of each white circle to complete the eyes.
Glue the black rectangle into place towards the bottom of the bag for the mouth. Glue the white teeth into place on top of the black rectangle.

Frankenstein Trick or Treat Bag
Grab the green canvas tote. Set Aside. Using the template for the Frankenstein cut out the rectangle for the hair.
Cut two small black rectangles for the eyebrows. Cut two large white circles and two smaller black circles for the eyes.
Cut one long rectangle for the mouth. About ¼” wide. Cut two smaller rectangles for the stitch pieces from the black felt sheet. Cut multiple mini rectangles to go across the stitch pieces.
Glue the felt pieces into place using the E6000 glue. Don’t you just LOVE how you can change Frankenstein’s expression just by adjusting his eyebrows!

For more fun Halloween crafts check out our monster masks, boo bunch play date and mummy pizza recipe!
Want more Halloween toddler craft ideas? Be sure to check out all of our Halloween Toddler Crafts here!

