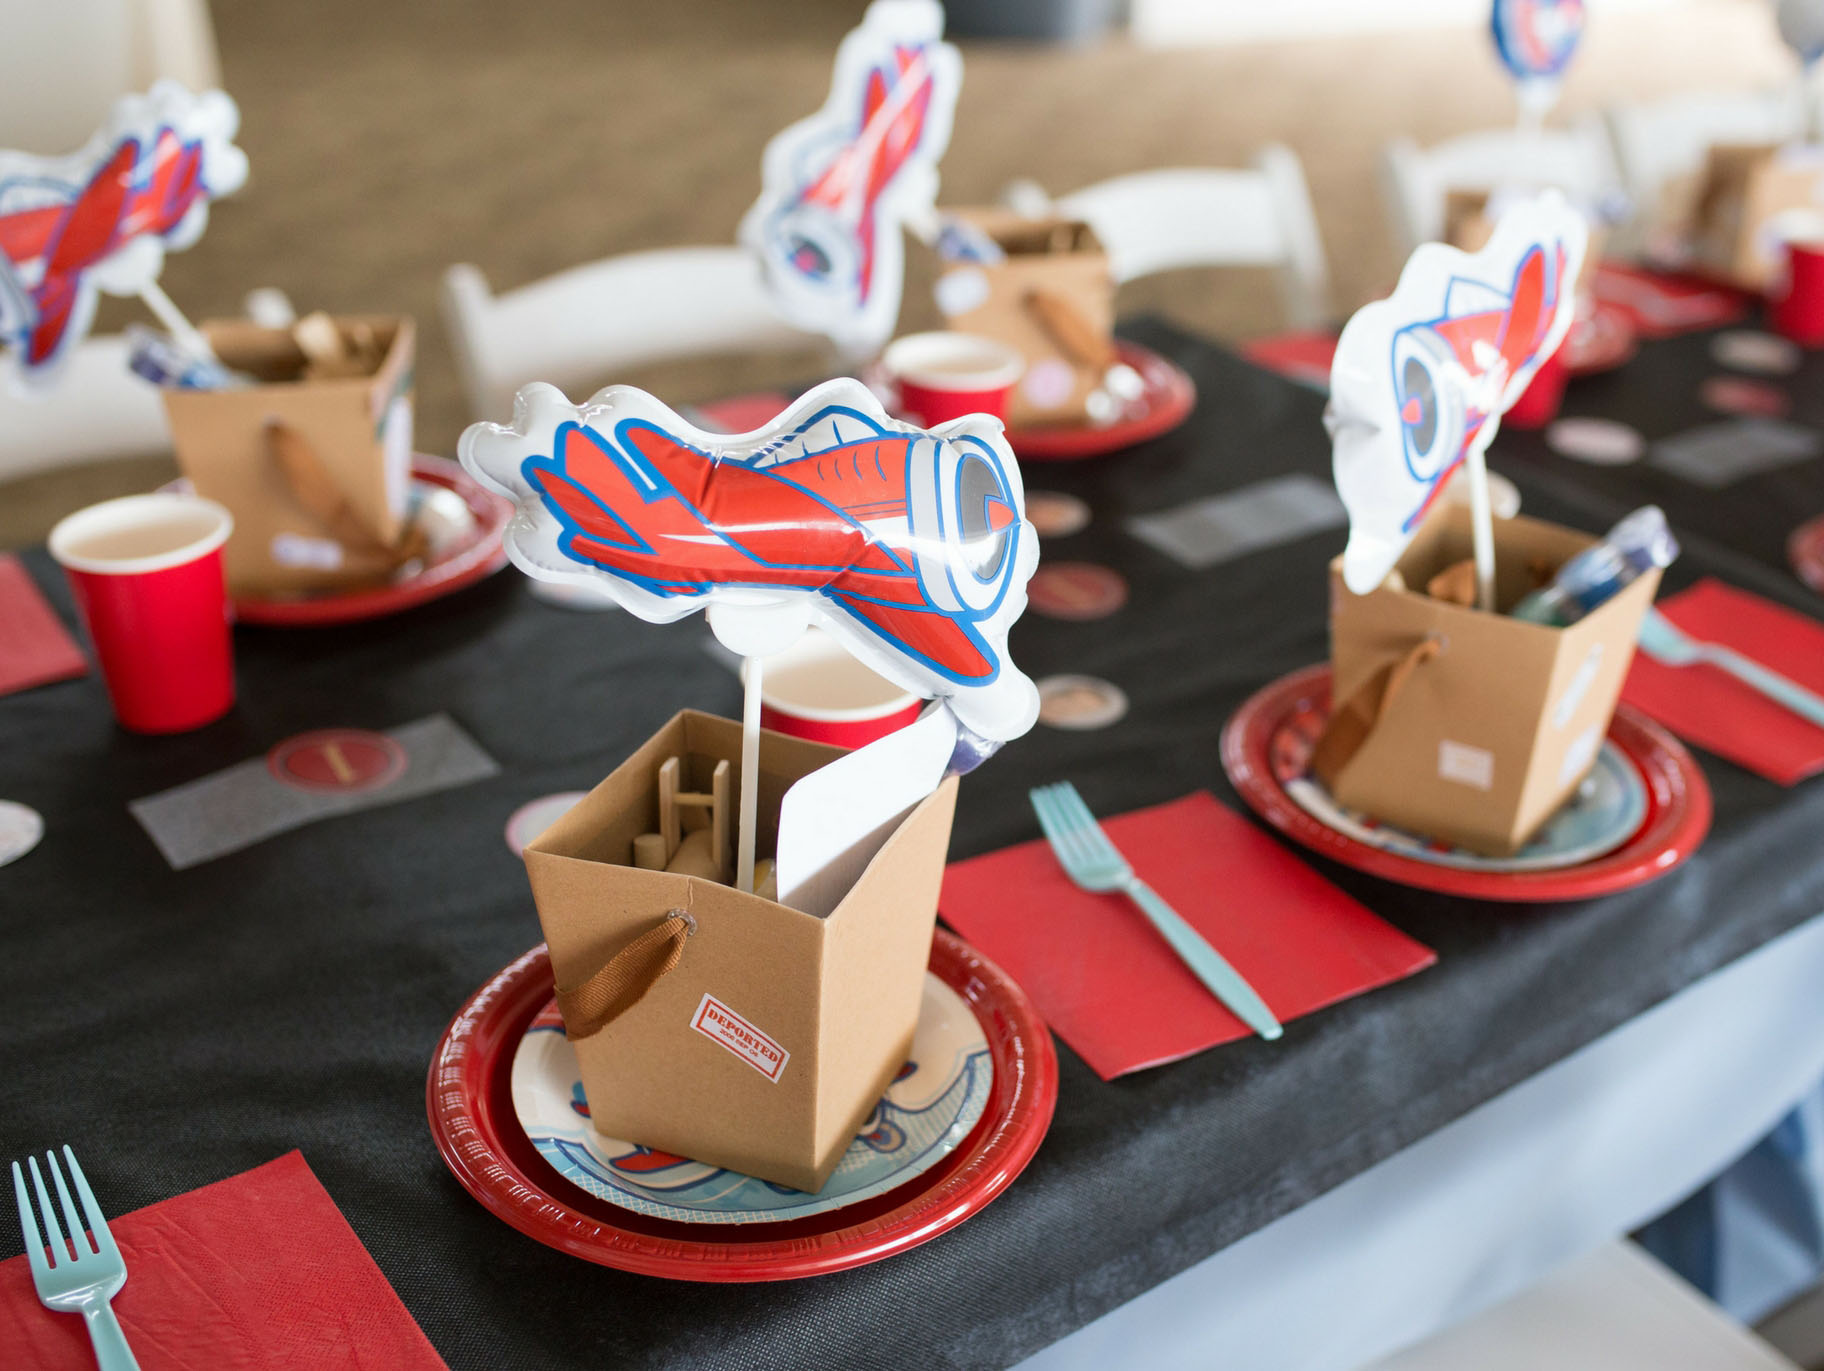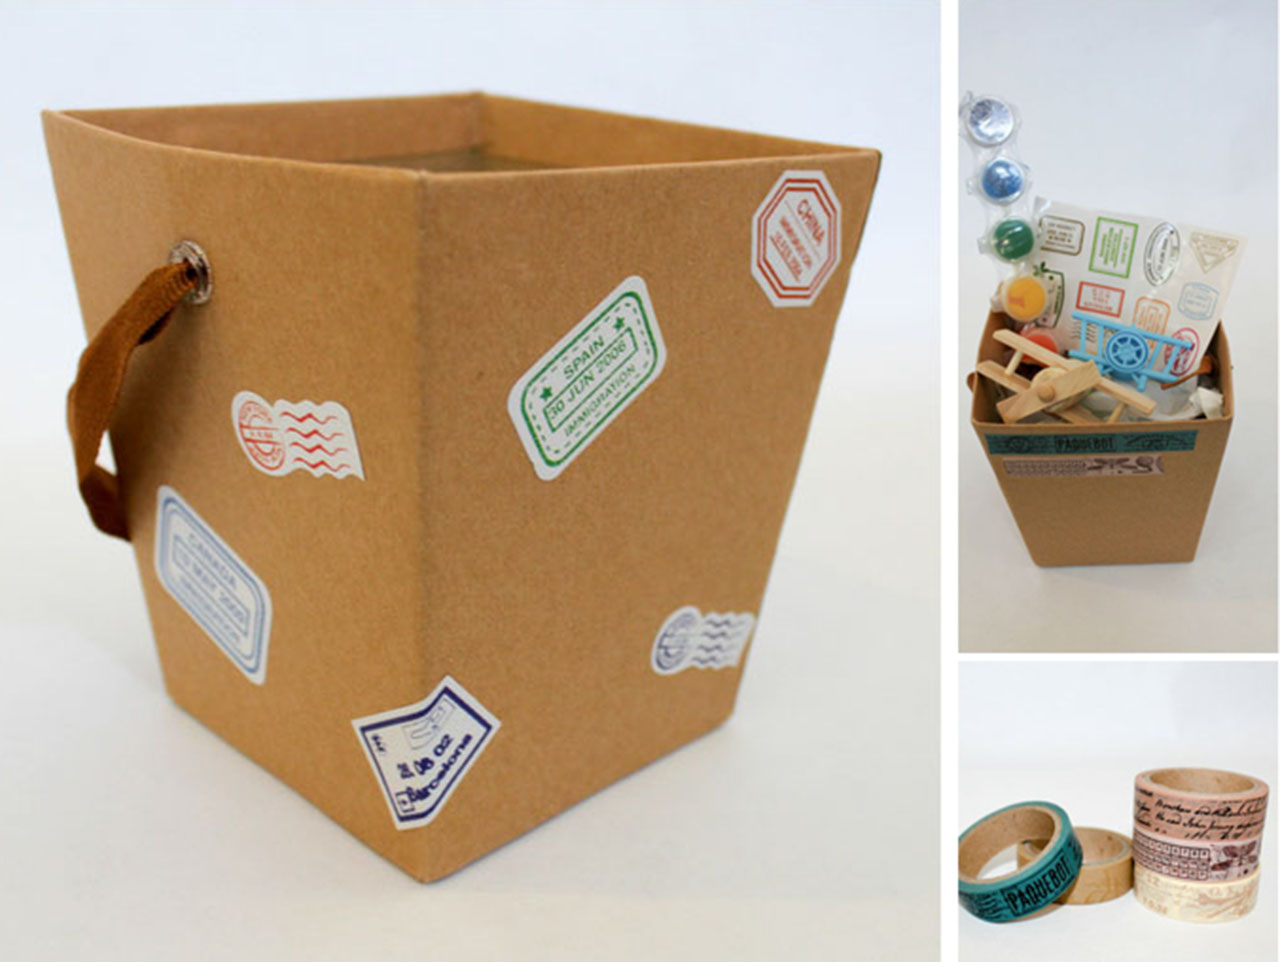
Begin by adding various passport stamps to the kraft bucket. Add a couple strips of washi tape to the front as well. I love the patterns on the Travel Washi Tape Set! Add a layer of colored paper shred or other filler to give support to the items that you’ll be placing in the bucket.
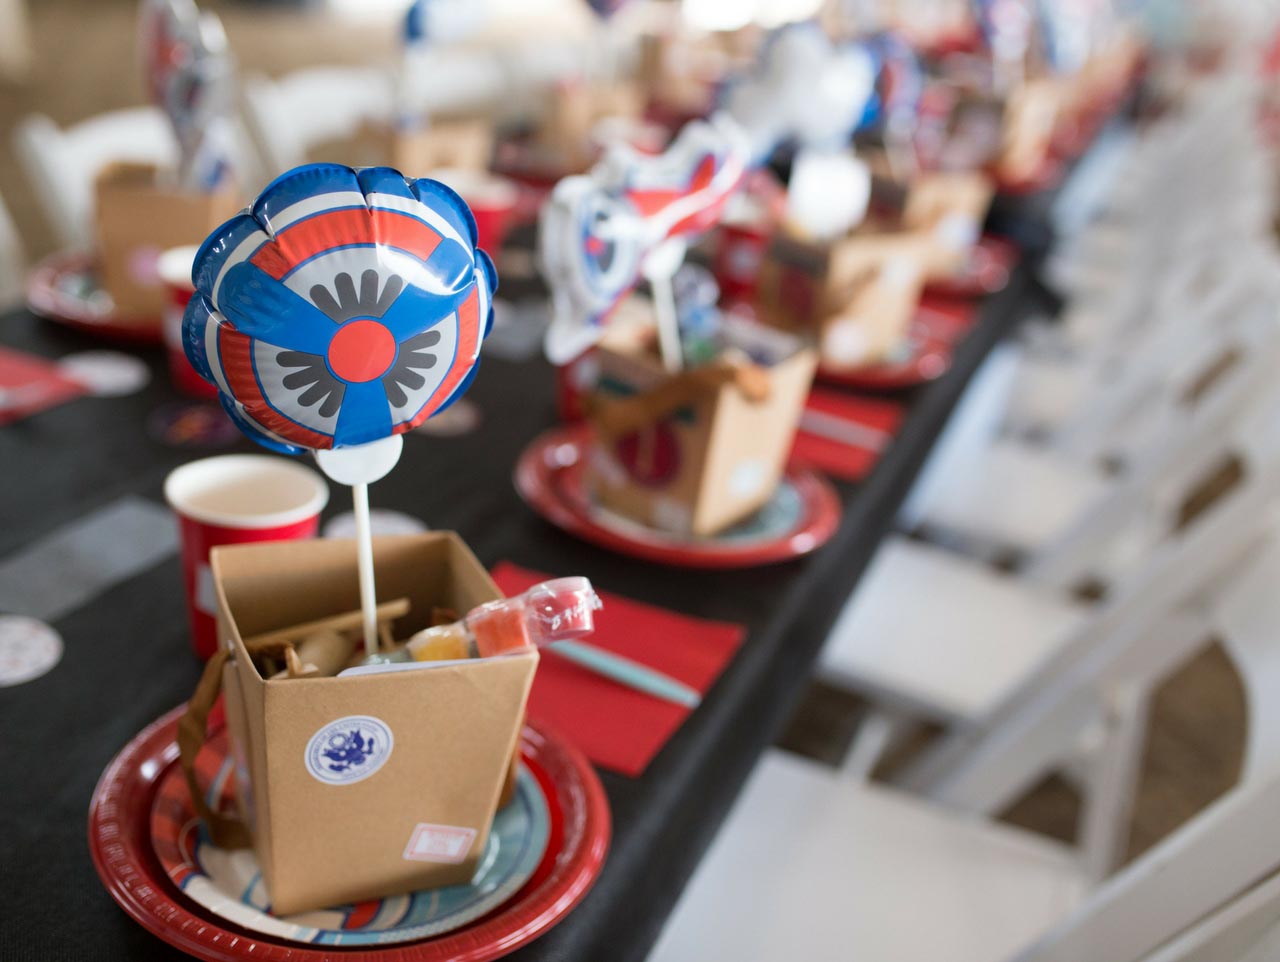
Begin adding in your favor items. I like to place the stickers at the back, standing up, to give the items in the bucket something to lean against. Next I add in the wood plane, paint strip and airplane whizzer. These self-inflating mini mylar balloons, in the theme of the party, are the perfect finishing touch.
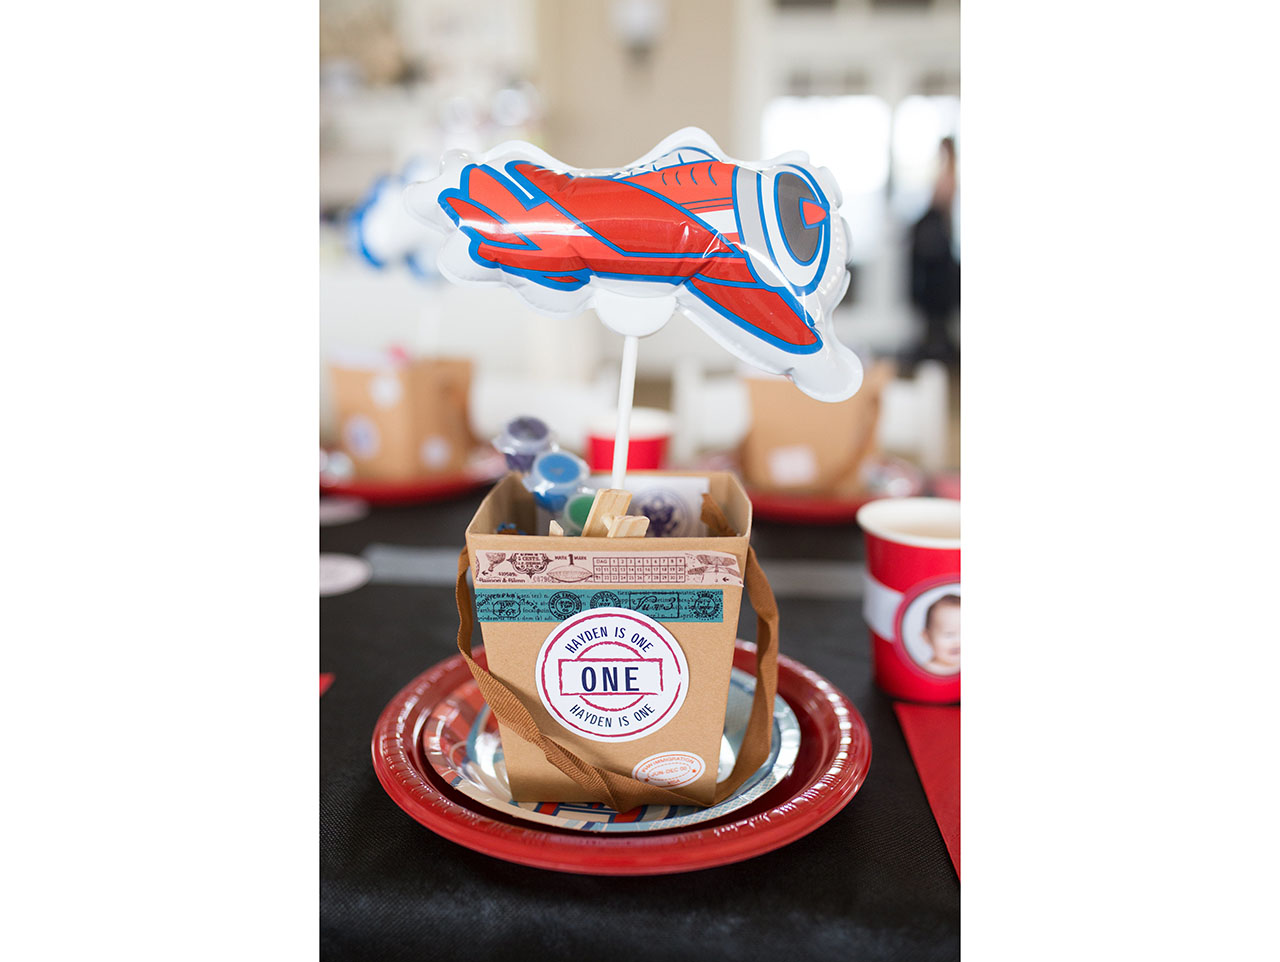
I added a little personalization to the favors at the first birthday party by adhering a custom-printed name label to the front of the buckets. It adds a lovely touch of customization to the party favor. Be sure to check out the rest of the sweet treats created for this party, like my Cloud on a Stick recipe, adorable Propeller Pops, and an elaborate Photo Backdrop!

Begin by adding various passport stamps to the kraft bucket. Add a couple strips of washi tape to the front as well. I love the patterns on the Travel Washi Tape Set! Add a layer of colored paper shred or other filler to give support to the items that you’ll be placing in the bucket.

Begin adding in your favor items. I like to place the stickers at the back, standing up, to give the items in the bucket something to lean against. Next I add in the wood plane, paint strip and airplane whizzer. These self-inflating mini mylar balloons, in the theme of the party, are the perfect finishing touch.

I added a little personalization to the favors at the first birthday party by adhering a custom-printed name label to the front of the buckets. It adds a lovely touch of customization to the party favor. Be sure to check out the rest of the sweet treats created for this party, like my Cloud on a Stick recipe, adorable Propeller Pops, and an elaborate Photo Backdrop!

