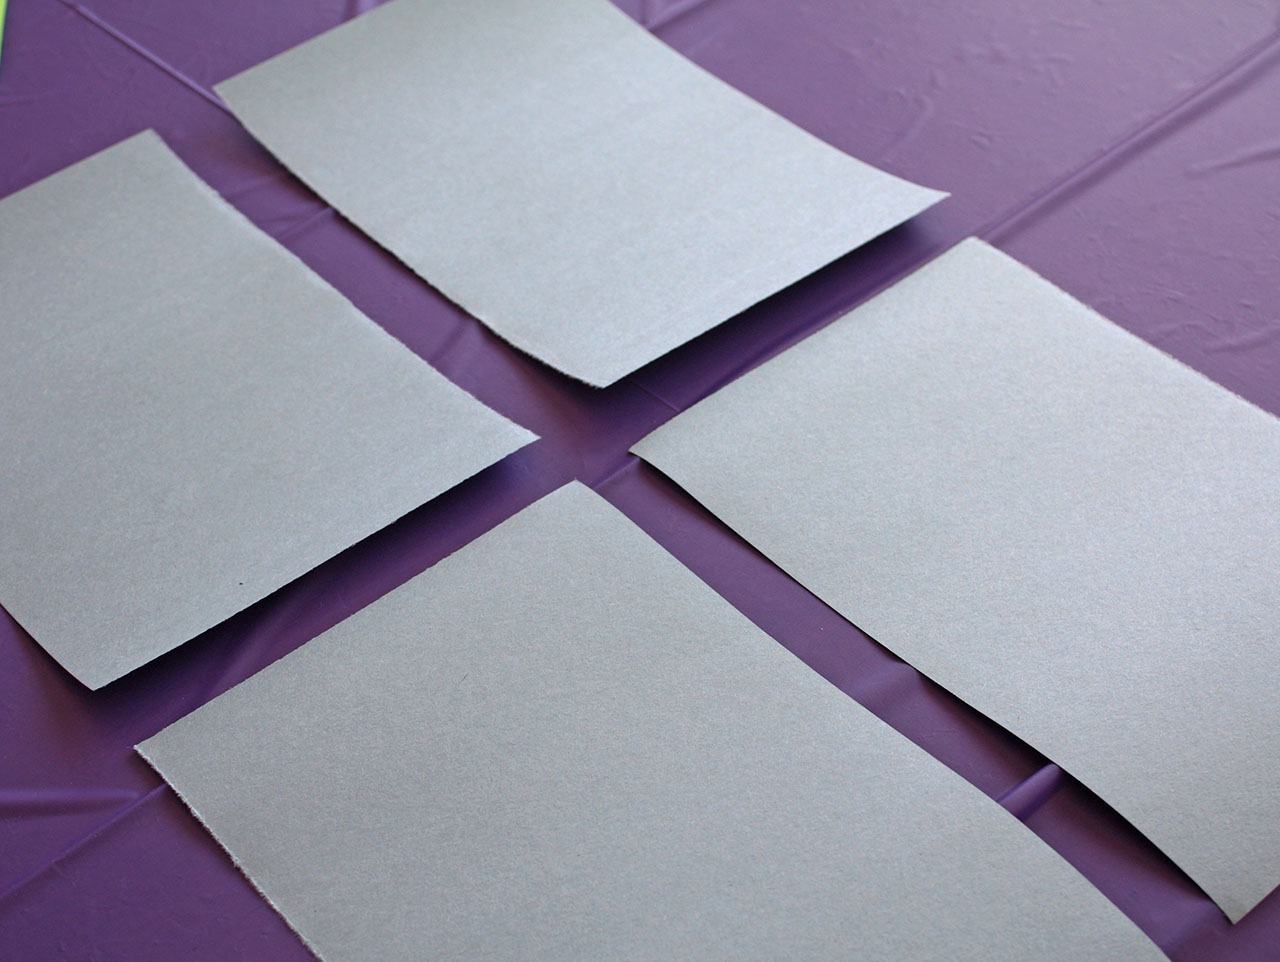
Start by distributing 4 light blue sheets of construction paper. I took one 8.5 x 11″ sheet of light blue construction paper and cut it in half to make two sheets.
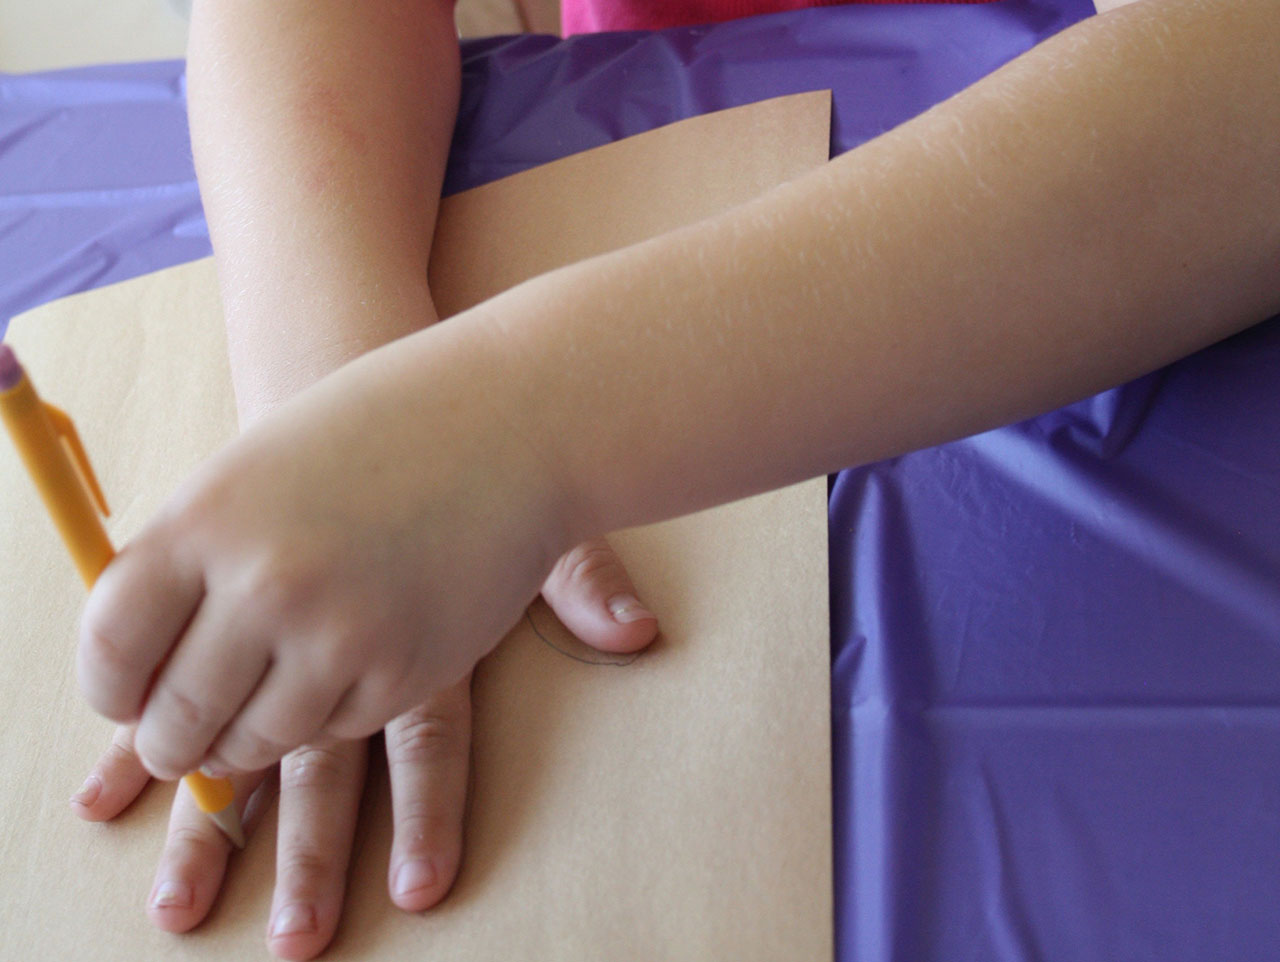

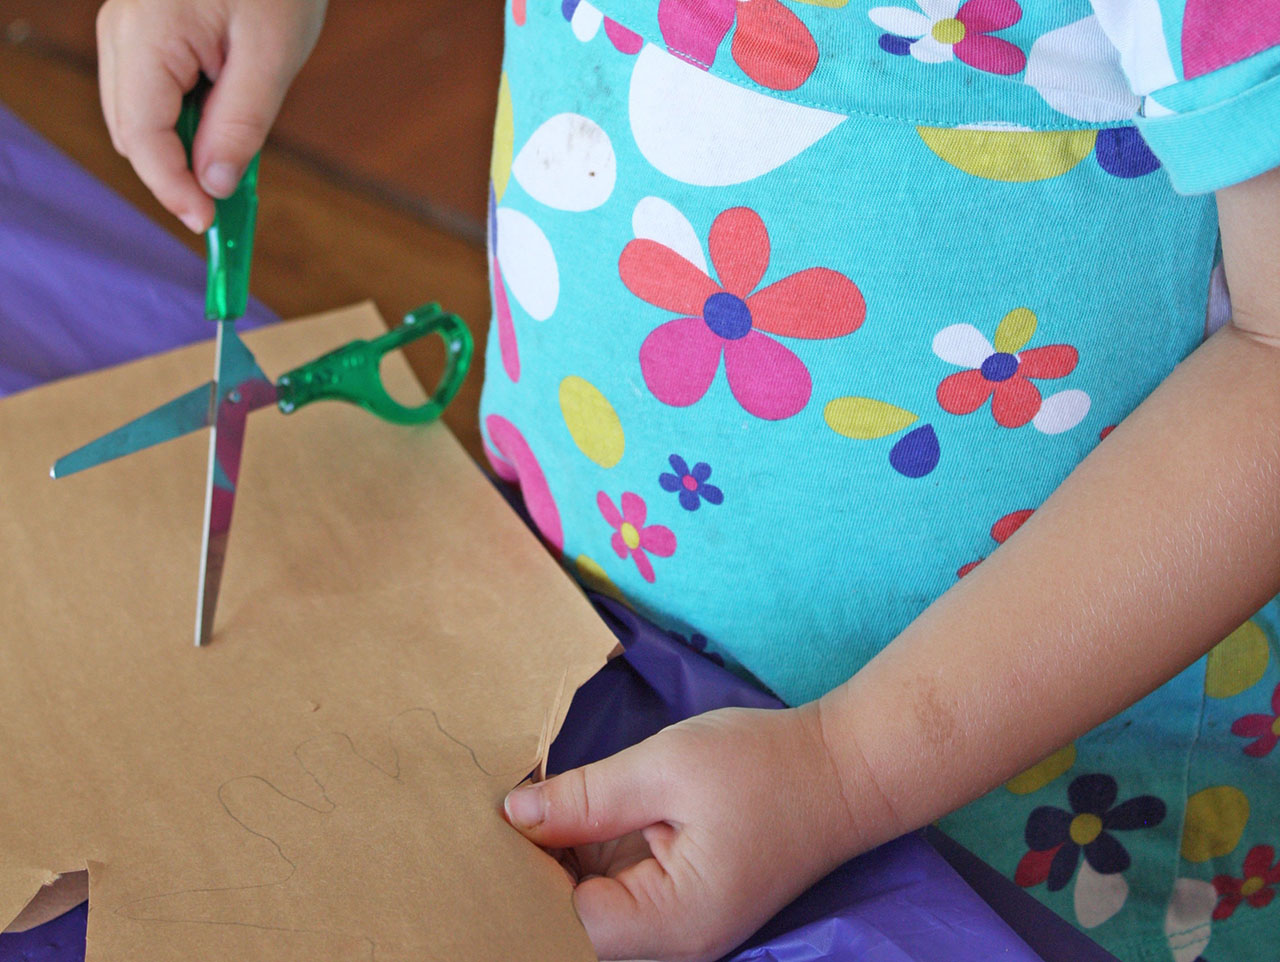
Have each student trace four hand prints, two hand prints on each sheet of 8.5 x 11″ tan/brown paper. They will need four hand prints, one for each blue paper. This exercise is great for fine motor skills and allows kids to practice their tracing and cutting skills.
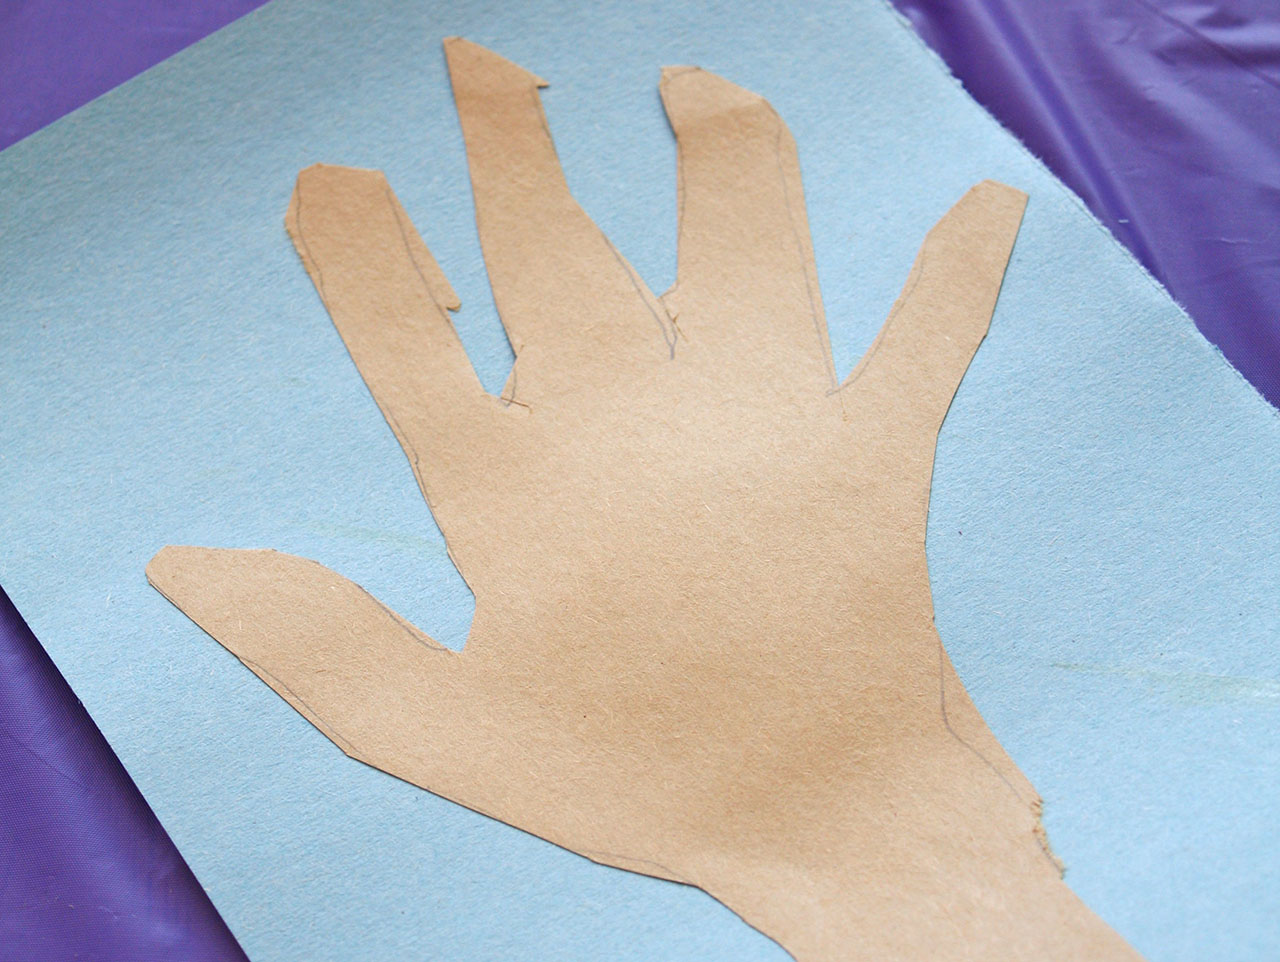
Using a glue stick, glue each hand to each piece of light blue paper.
Determine what your students already know about the seasons. Do they know the names of the seasons? How they would describe each season? Talk about what months each season occurs in and what the temperature changes are like; hot or cold.
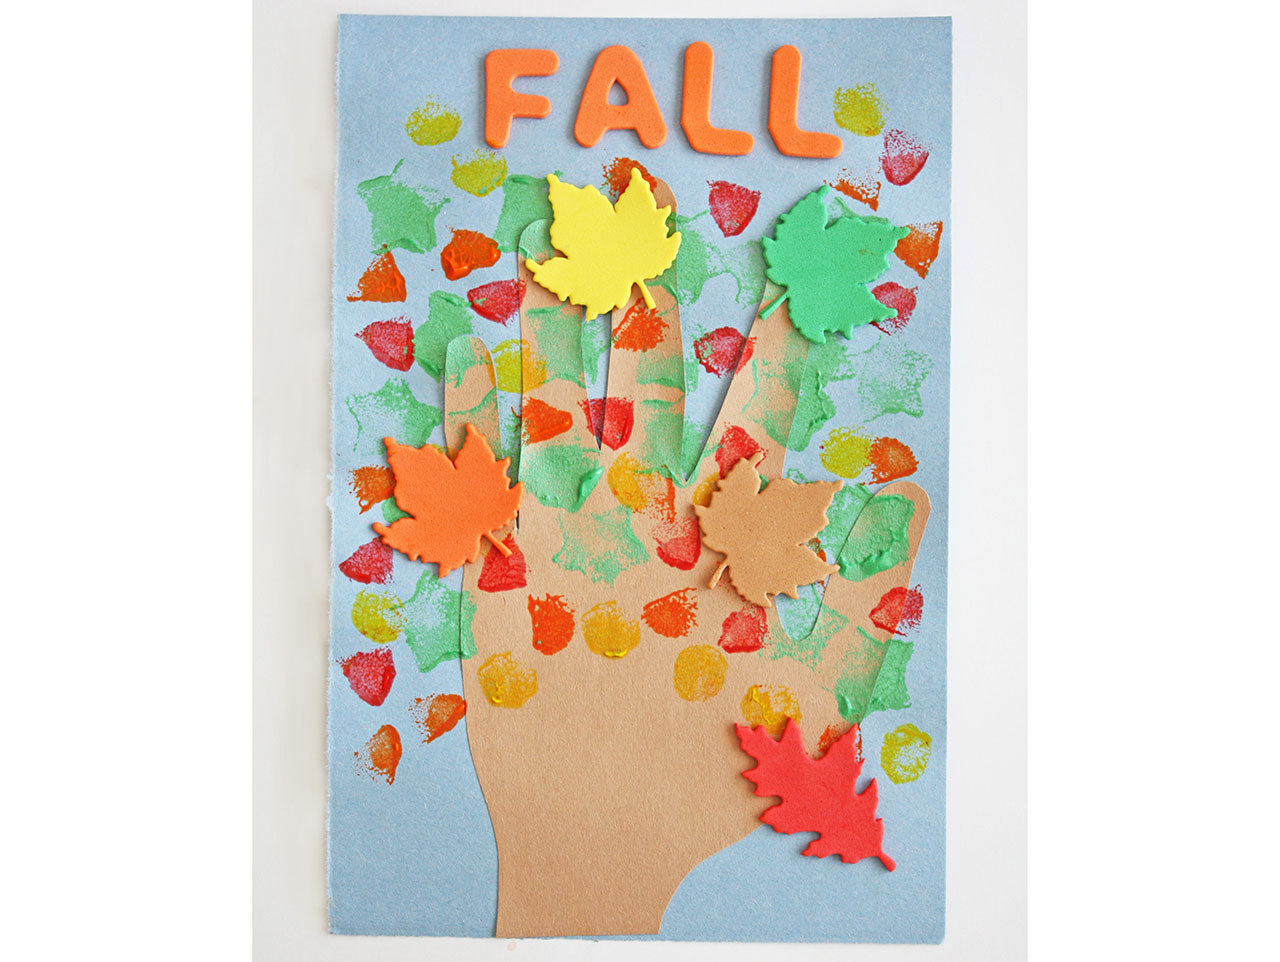
We used Fall colors (red, green, yellow and orange). The dip and dotter paint sponges are perfect for creating colorful Fall foliage. We also added the Fall leaves stickers to add some dimensions. Once the tree is completed, use the foam letters to spell out the season, Fall.
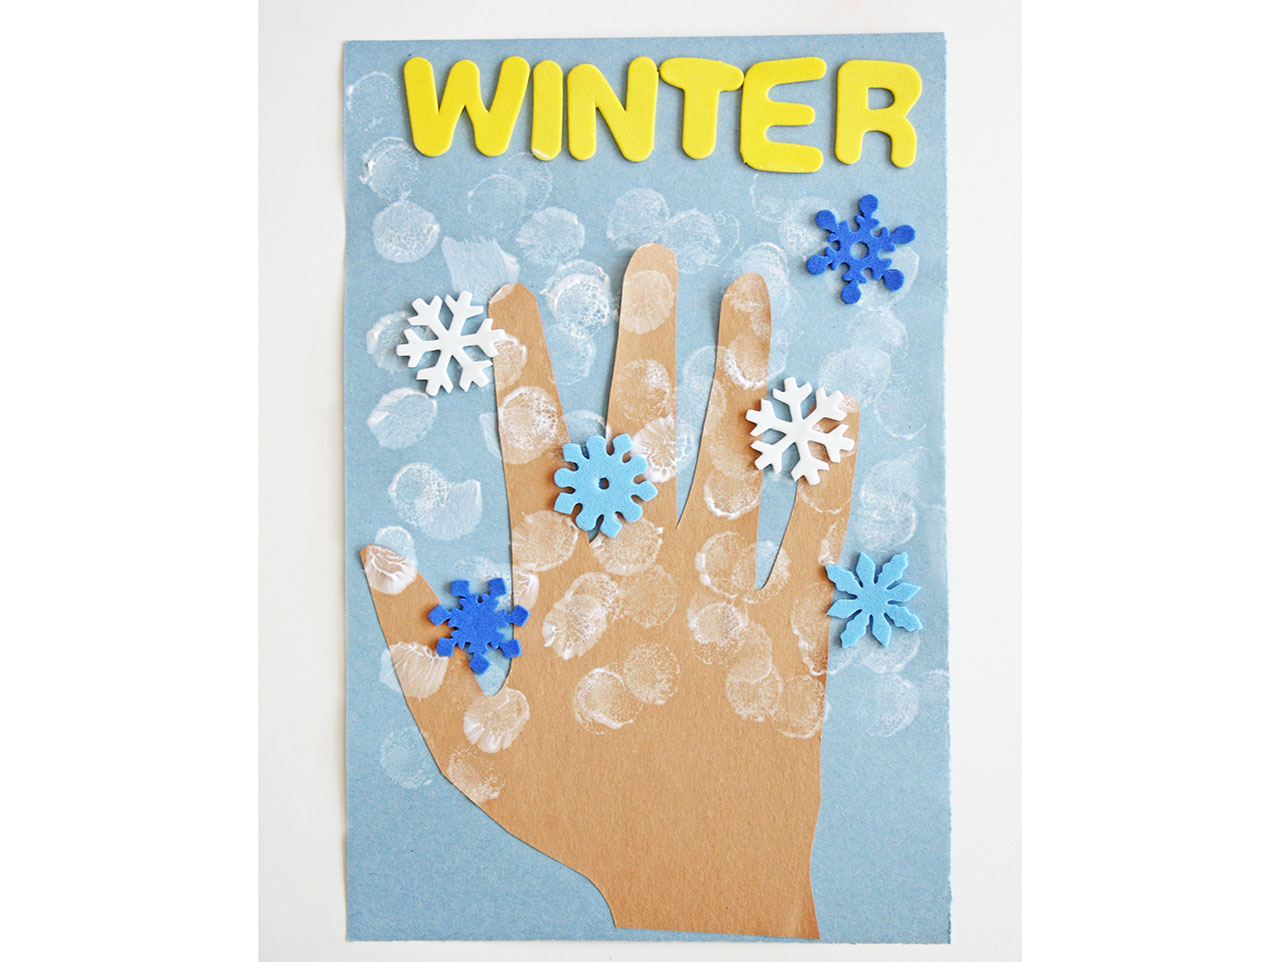
On your second hand print sheet, use white paint to represent snow and ice. Glue on the foam snowflakes for added dimension and design! Use the foam letters to spell out the season, Winter.
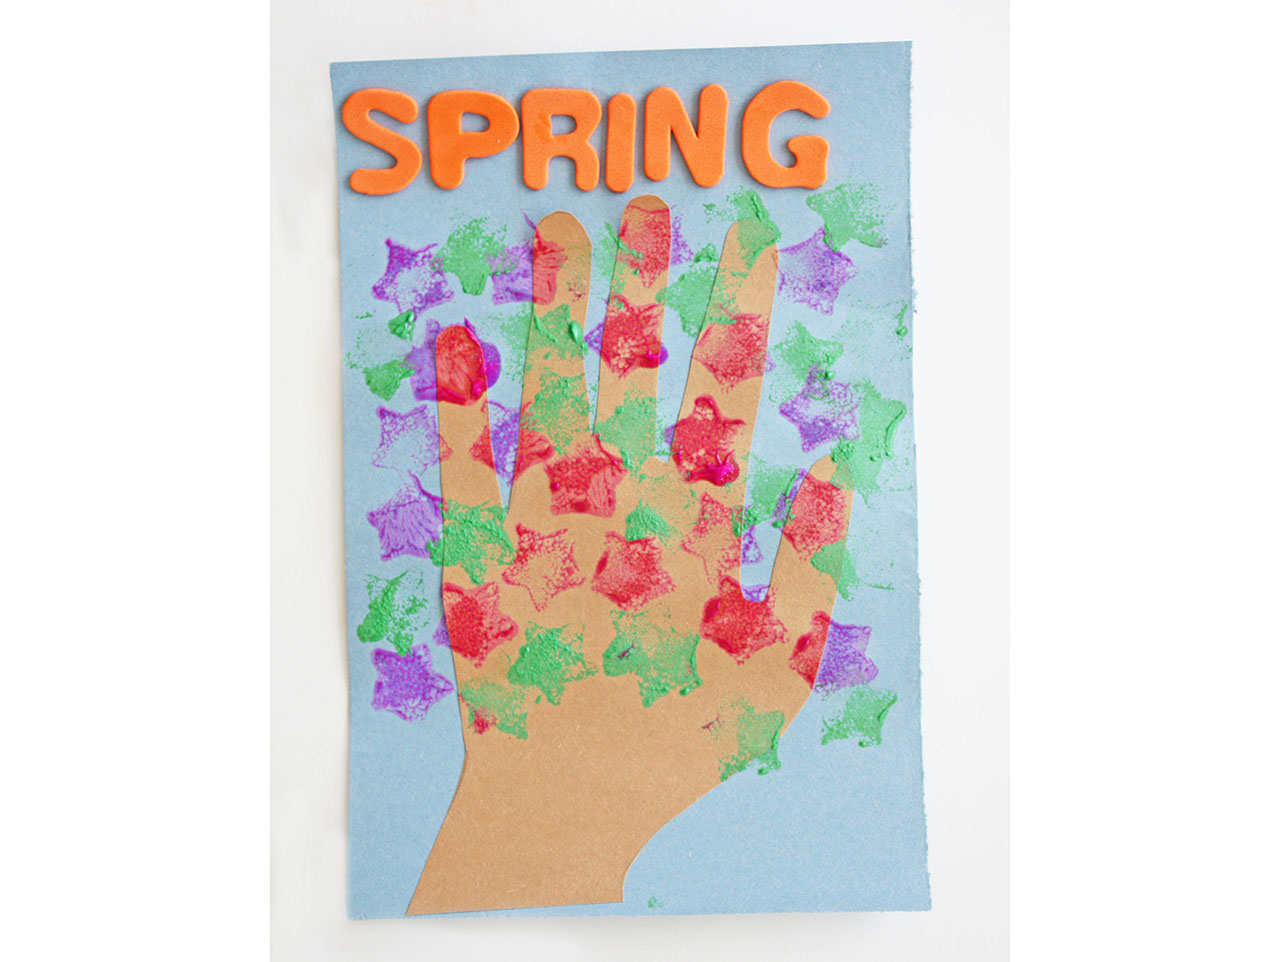
Spring is the season of rain and growth! Spring is the season when plants begin to bloom and bees are buzzing. The weather becomes slightly warmer and much more colorful when plants begin to grow. We used pink and green paint to represent spring. Yellow is another colorful example of Spring!
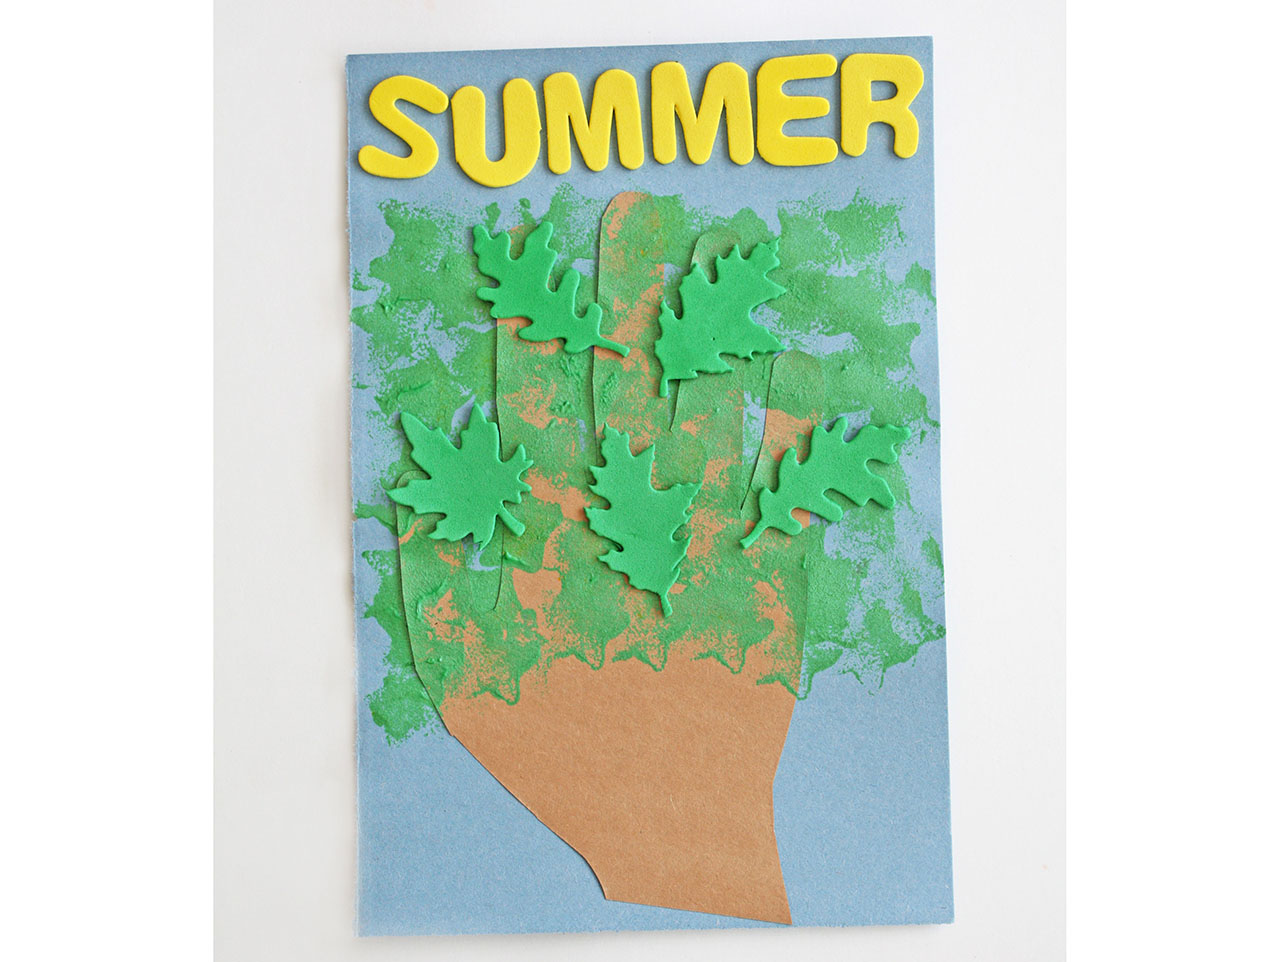
Summer has the longest days and shortest nights in comparison with Winter. Summer is the hottest season of them all! The plants still have beautiful green foliage. We added colorful green paint with the dip and dotters as well as green leaves from the 13.
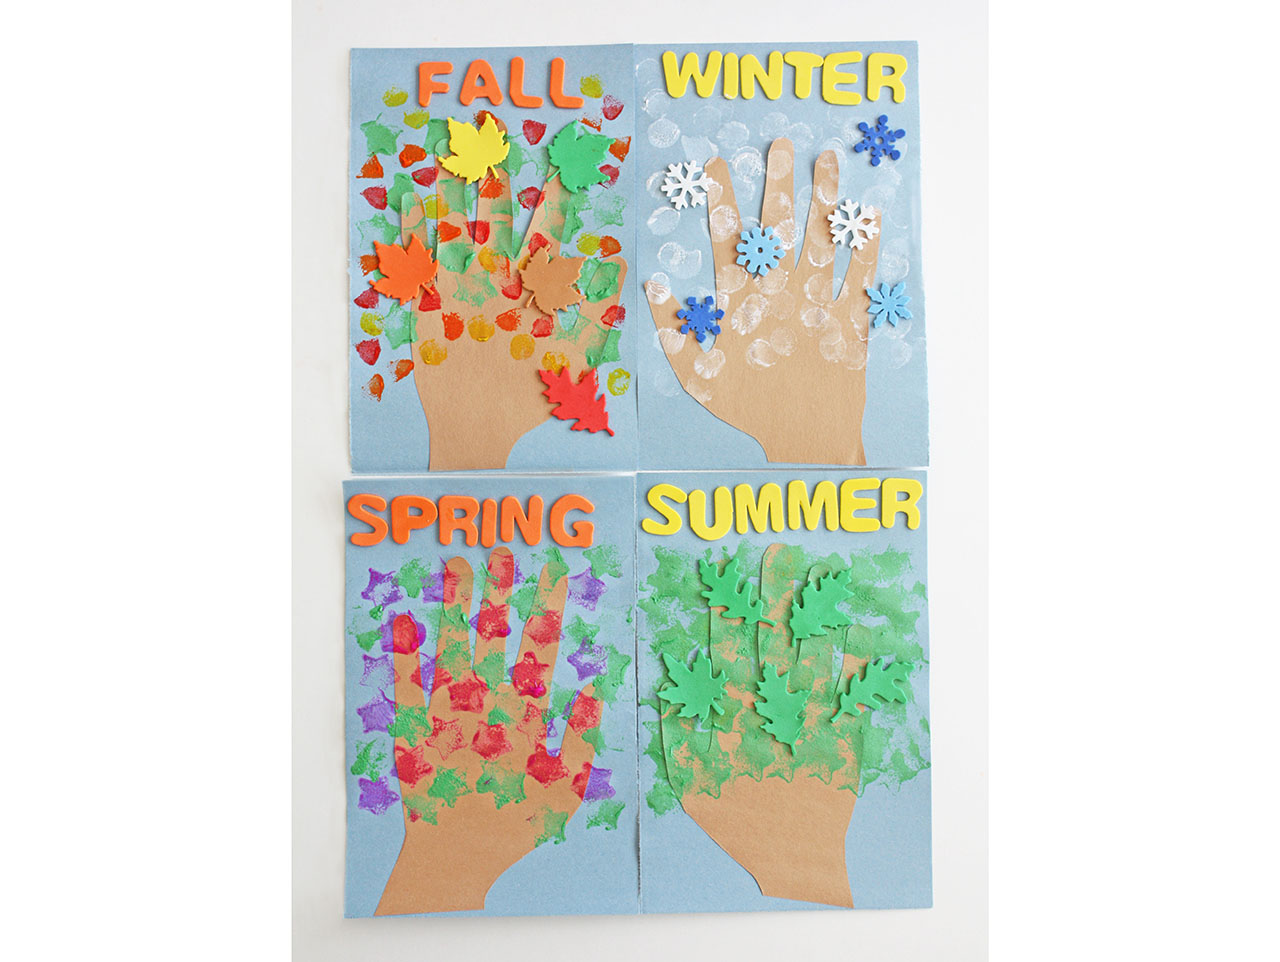
Now hang your trees for all to see! Your student’s will enjoy learning about the seasons with art! Don’t forget to tag #orientaltrading and #ellaandannie when sharing your hand print seasonal trees; we’d love to see how you used our products!

Start by distributing 4 light blue sheets of construction paper. I took one 8.5 x 11″ sheet of light blue construction paper and cut it in half to make two sheets.


Have each student trace four hand prints, two hand prints on each sheet of 8.5 x 11″ tan/brown paper. They will need four hand prints, one for each blue paper. This exercise is great for fine motor skills and allows kids to practice their tracing and cutting skills.

Using a glue stick, glue each hand to each piece of light blue paper.
Determine what your students already know about the seasons. Do they know the names of the seasons? How they would describe each season? Talk about what months each season occurs in and what the temperature changes are like; hot or cold.

We used Fall colors (red, green, yellow and orange). The dip and dotter paint sponges are perfect for creating colorful Fall foliage. We also added the Fall leaves stickers to add some dimensions. Once the tree is completed, use the foam letters to spell out the season, Fall.

On your second hand print sheet, use white paint to represent snow and ice. Glue on the foam snowflakes for added dimension and design! Use the foam letters to spell out the season, Winter.

Spring is the season of rain and growth! Spring is the season when plants begin to bloom and bees are buzzing. The weather becomes slightly warmer and much more colorful when plants begin to grow. We used pink and green paint to represent spring. Yellow is another colorful example of Spring!

Summer has the longest days and shortest nights in comparison with Winter. Summer is the hottest season of them all! The plants still have beautiful green foliage. We added colorful green paint with the dip and dotters as well as green leaves from the 13.

Now hang your trees for all to see! Your student’s will enjoy learning about the seasons with art! Don’t forget to tag #orientaltrading and #ellaandannie when sharing your hand print seasonal trees; we’d love to see how you used our products!


