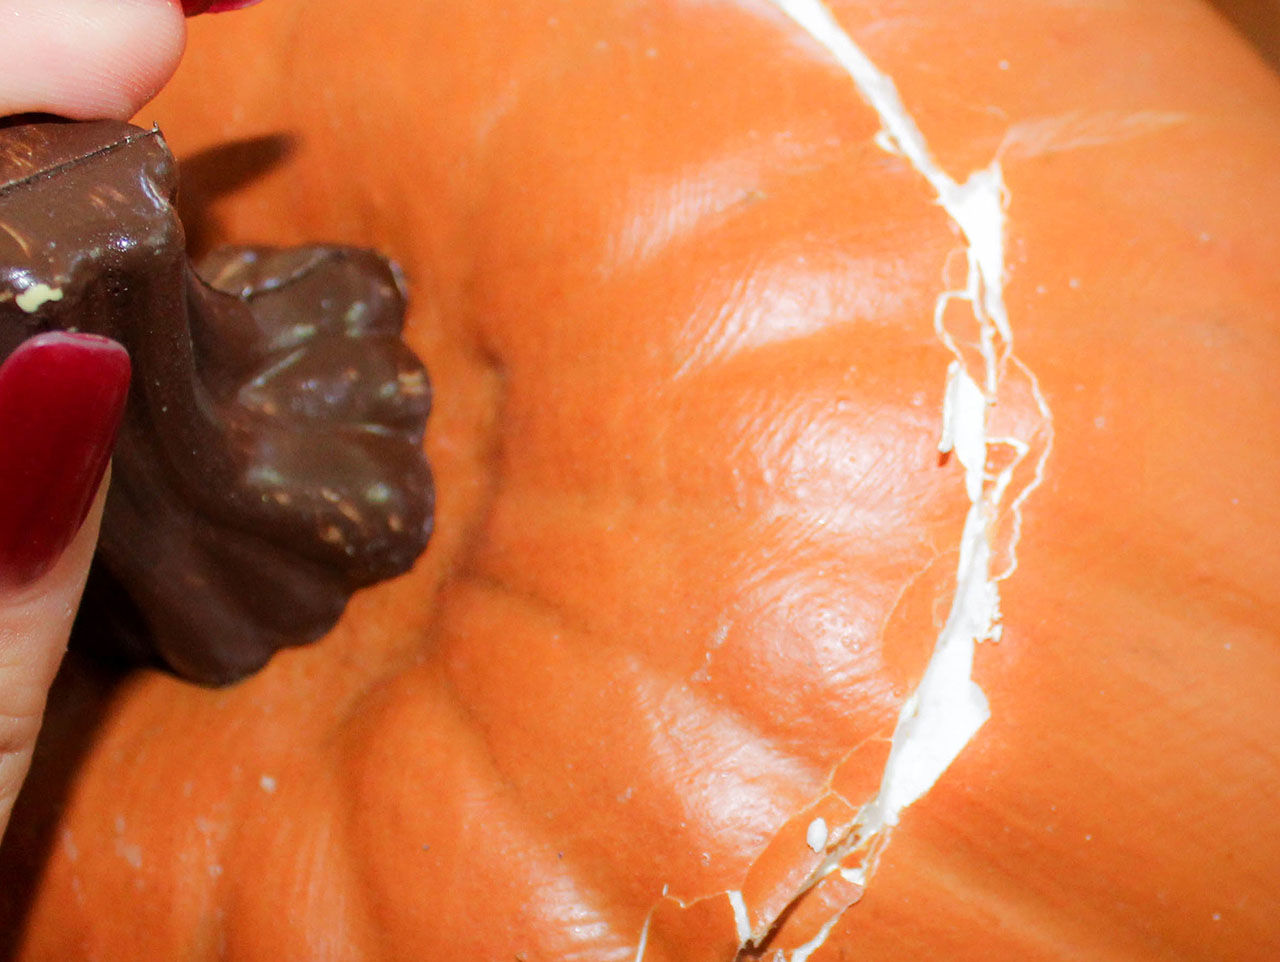
Using a sharp carving knife, carefully cut a circle around the top center of the foam pumpkin. Remove the top, and discard.
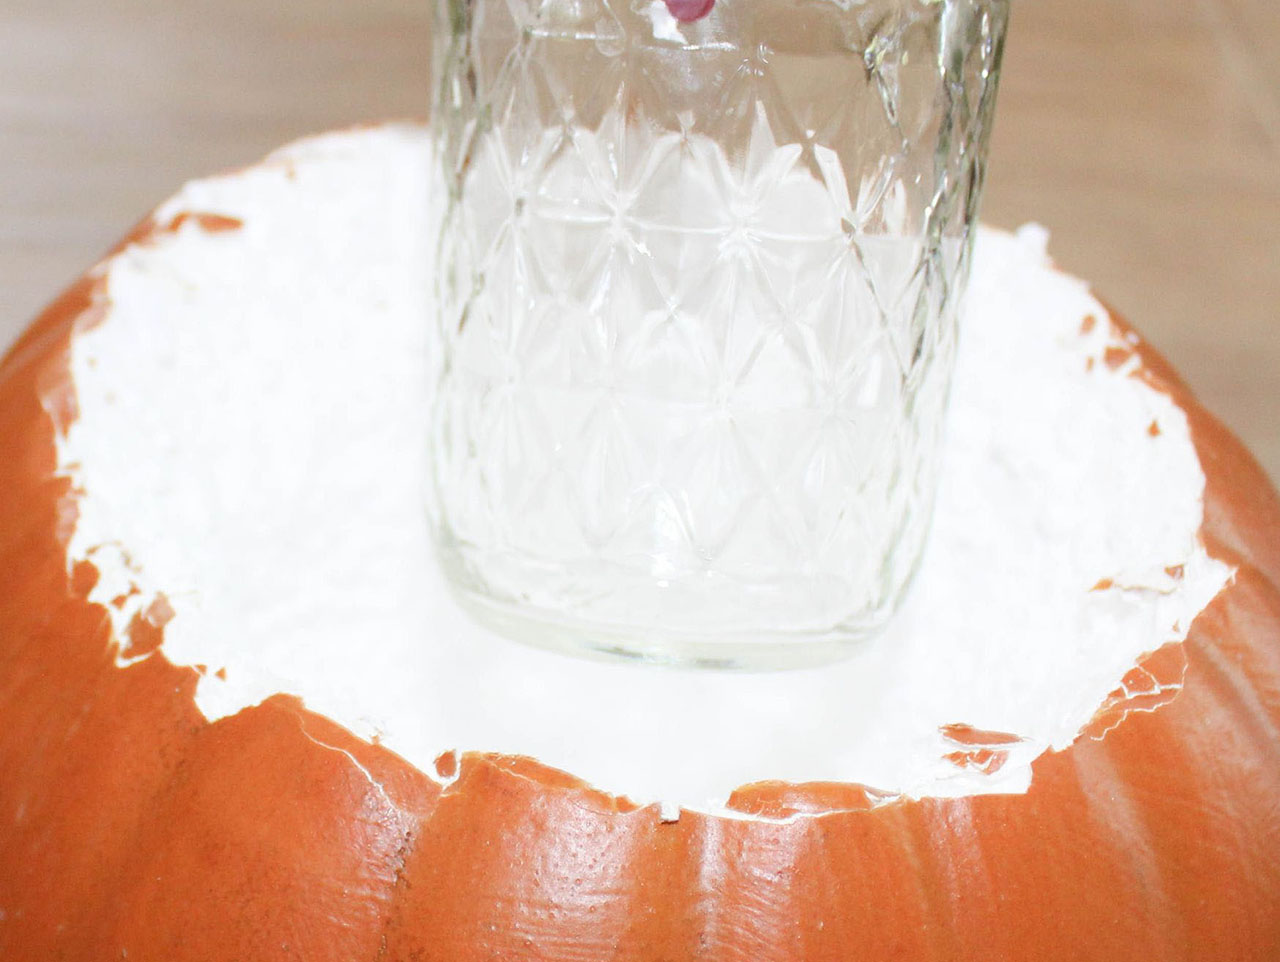
Remove the center foam beads from the pumpkin; you can use a spoon to assist you in this step. Empty the center until you can fully insert a pint sized mason jar. It should be level with, or slightly below the surface of the pumpkin.
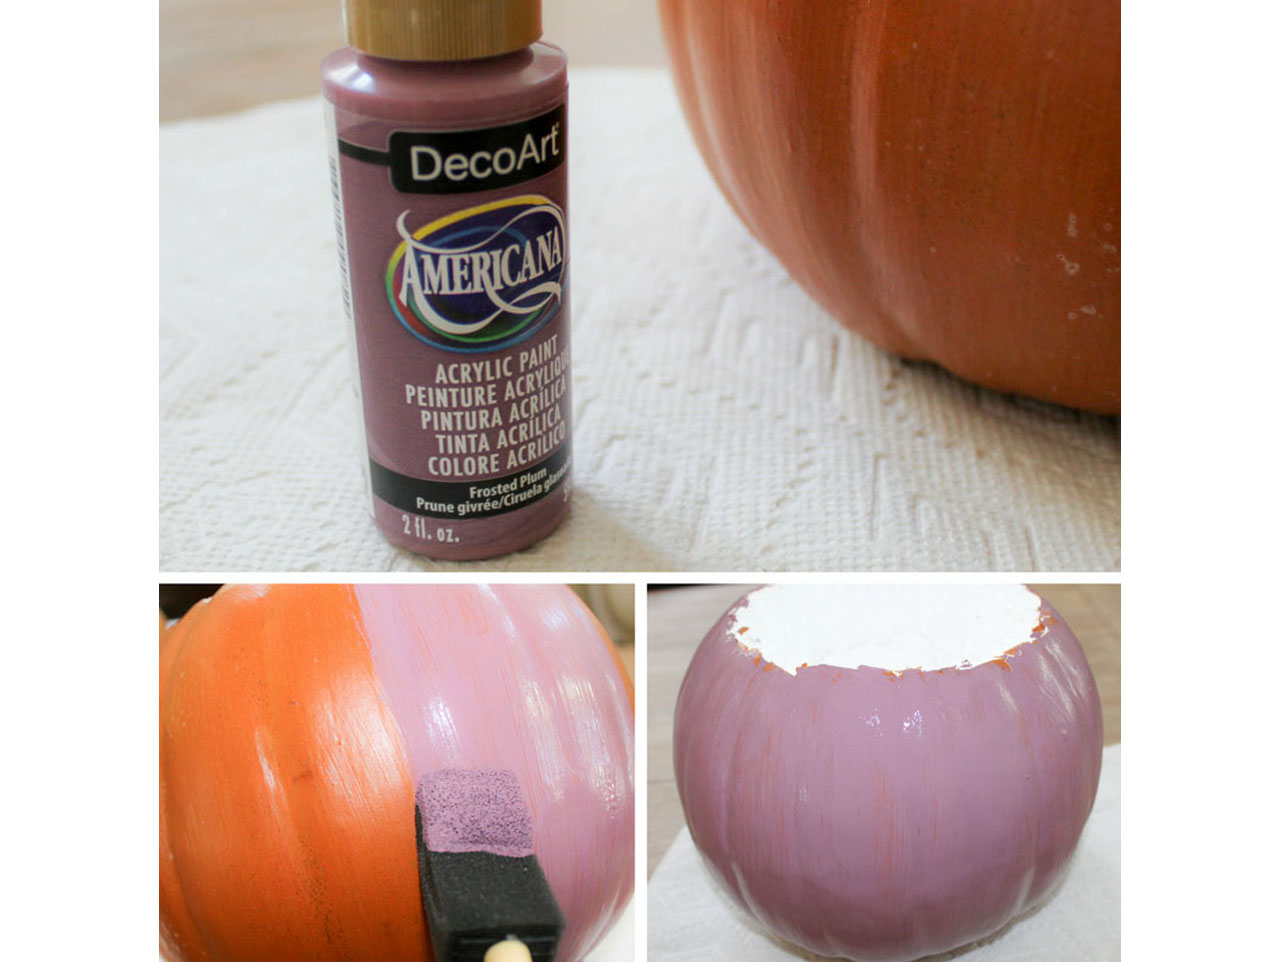
Using a foam brush, paint the surface of the pumpkin with acrylic paint, and allow to dry. You may wish to apply a second coat for a more opaque finish. We used DecoArt Frosted Plum for this look.
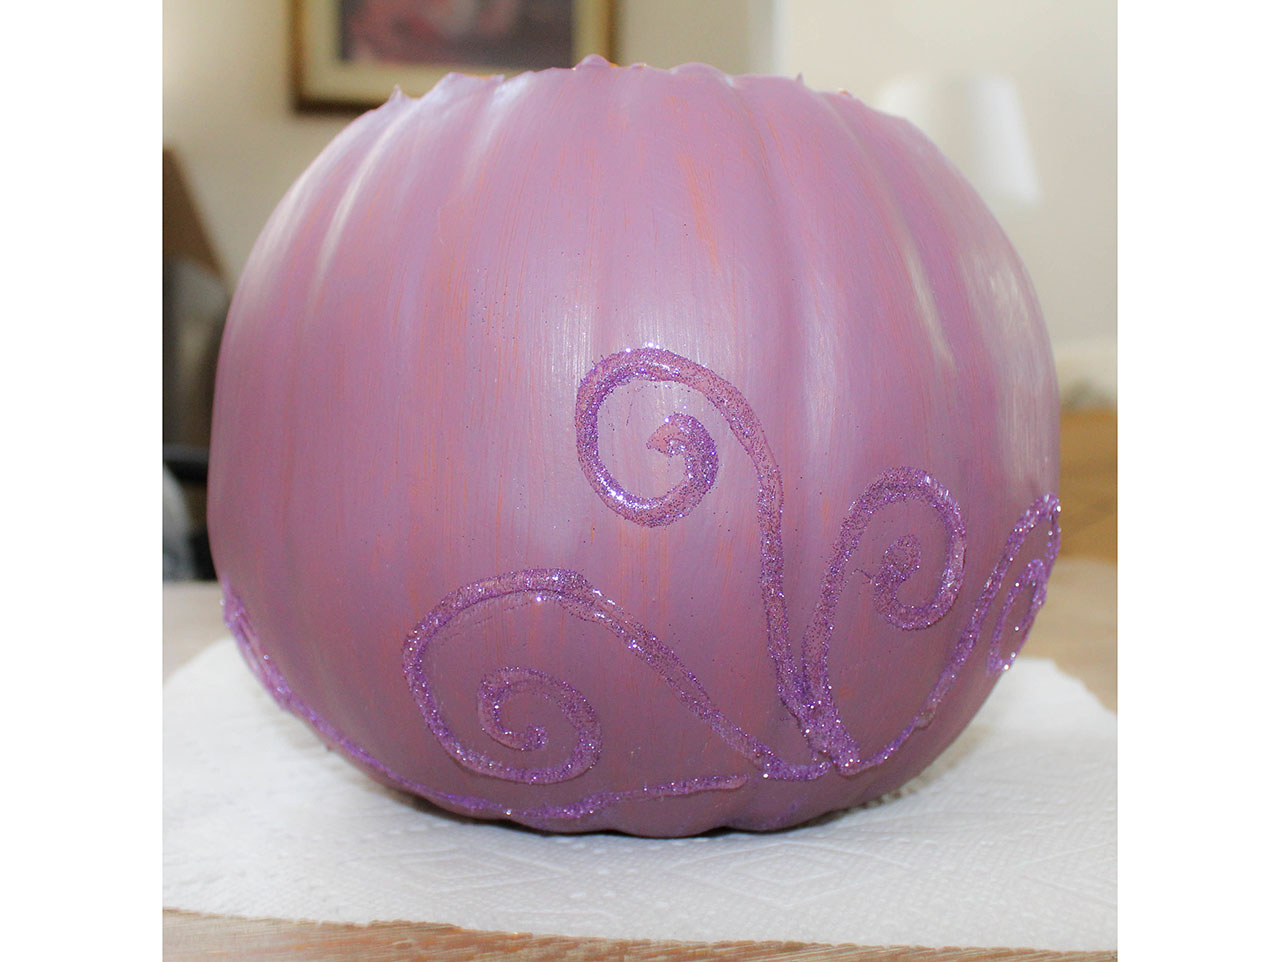
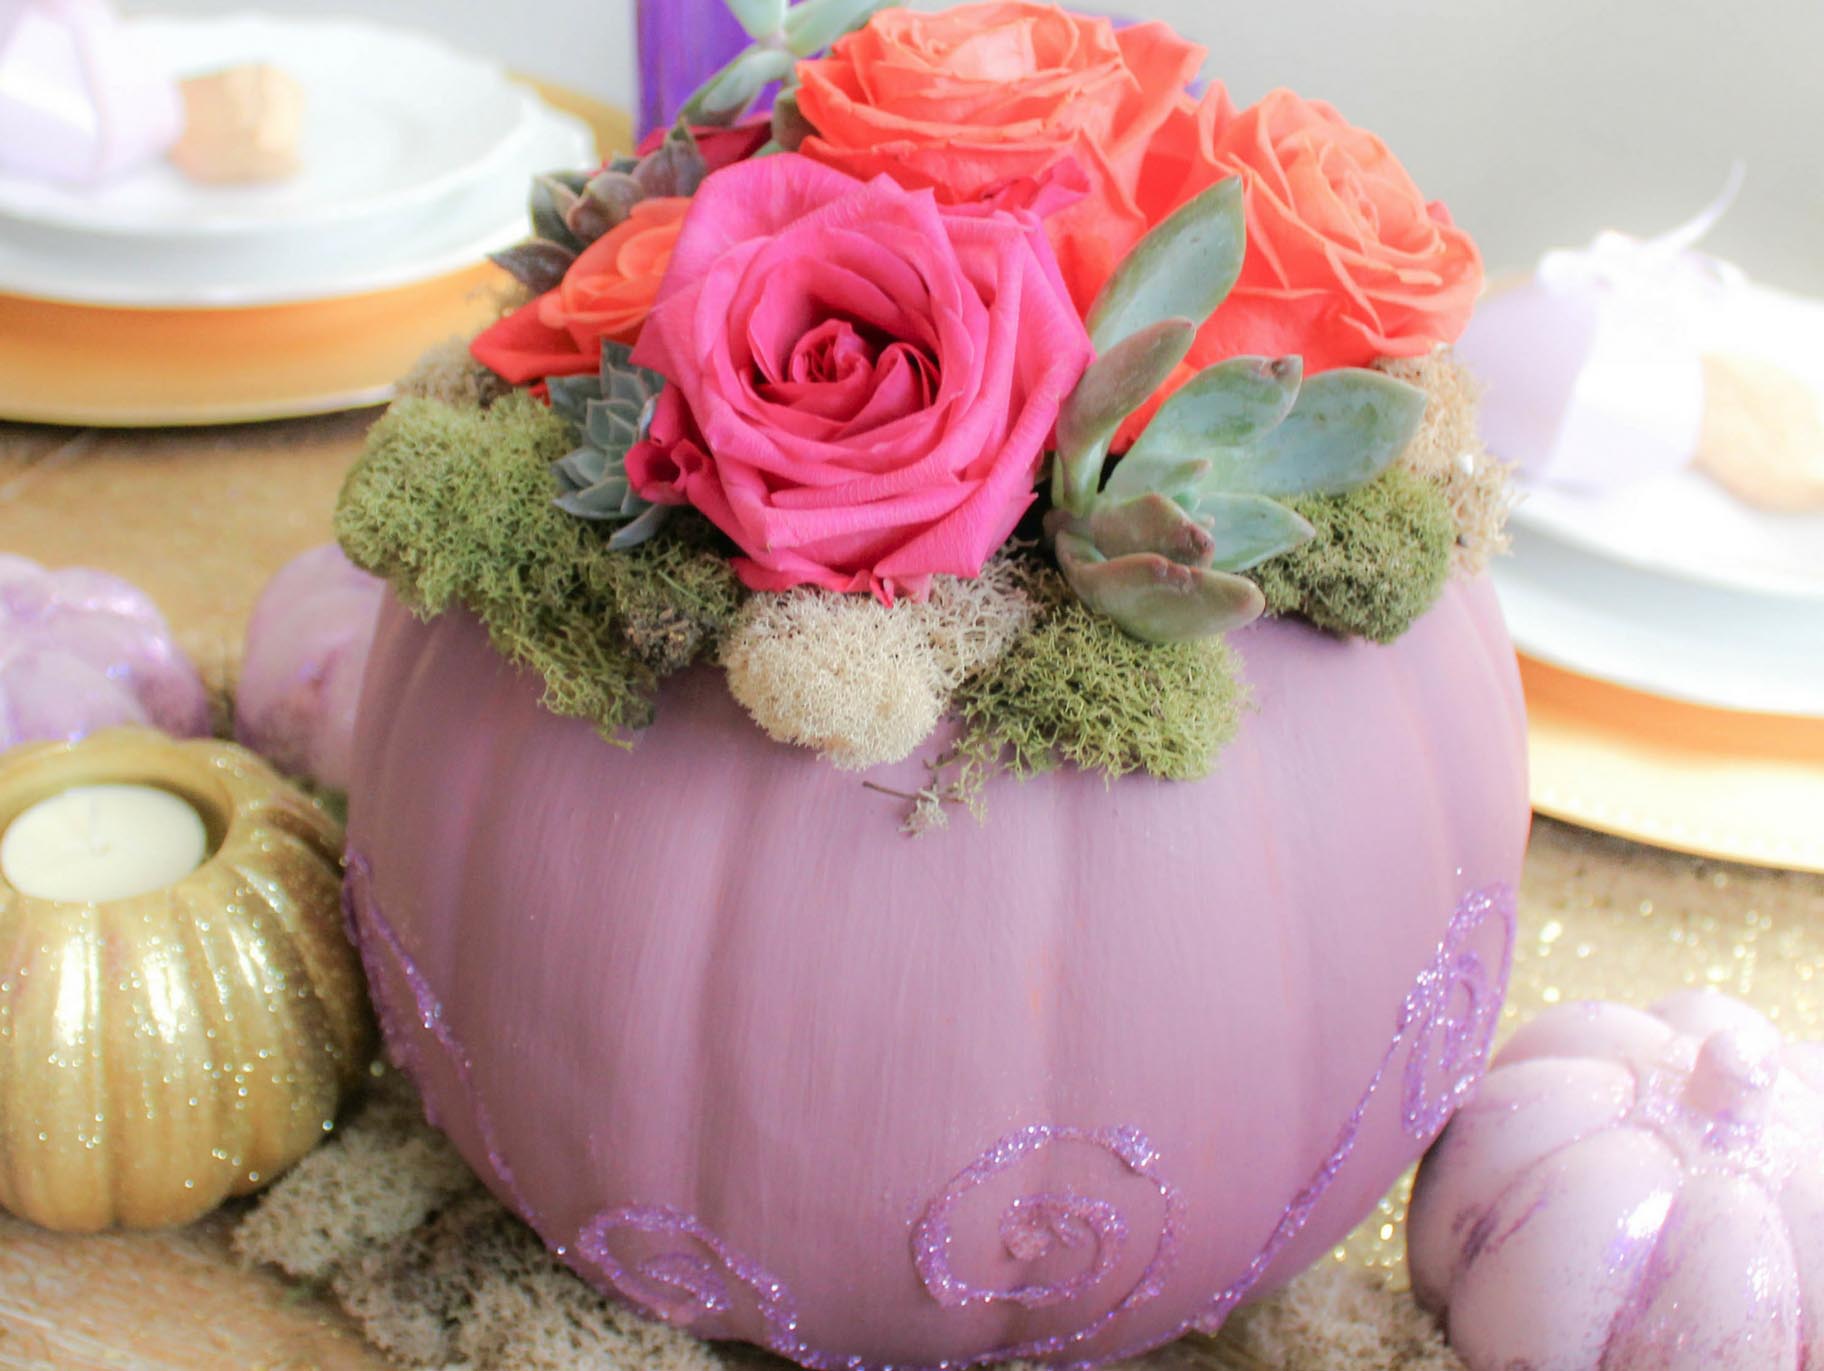
Apply 3-in-1 glue to the surface of the pumpkin in a swirl pattern. This does not have to be perfect to achieve an elegant finished look. Apply glitter to the glue swirl, and then create a second and third swirl. Keep adding these embellishments until you have reached the look you like best. Allow to dry before moving on to the next step.
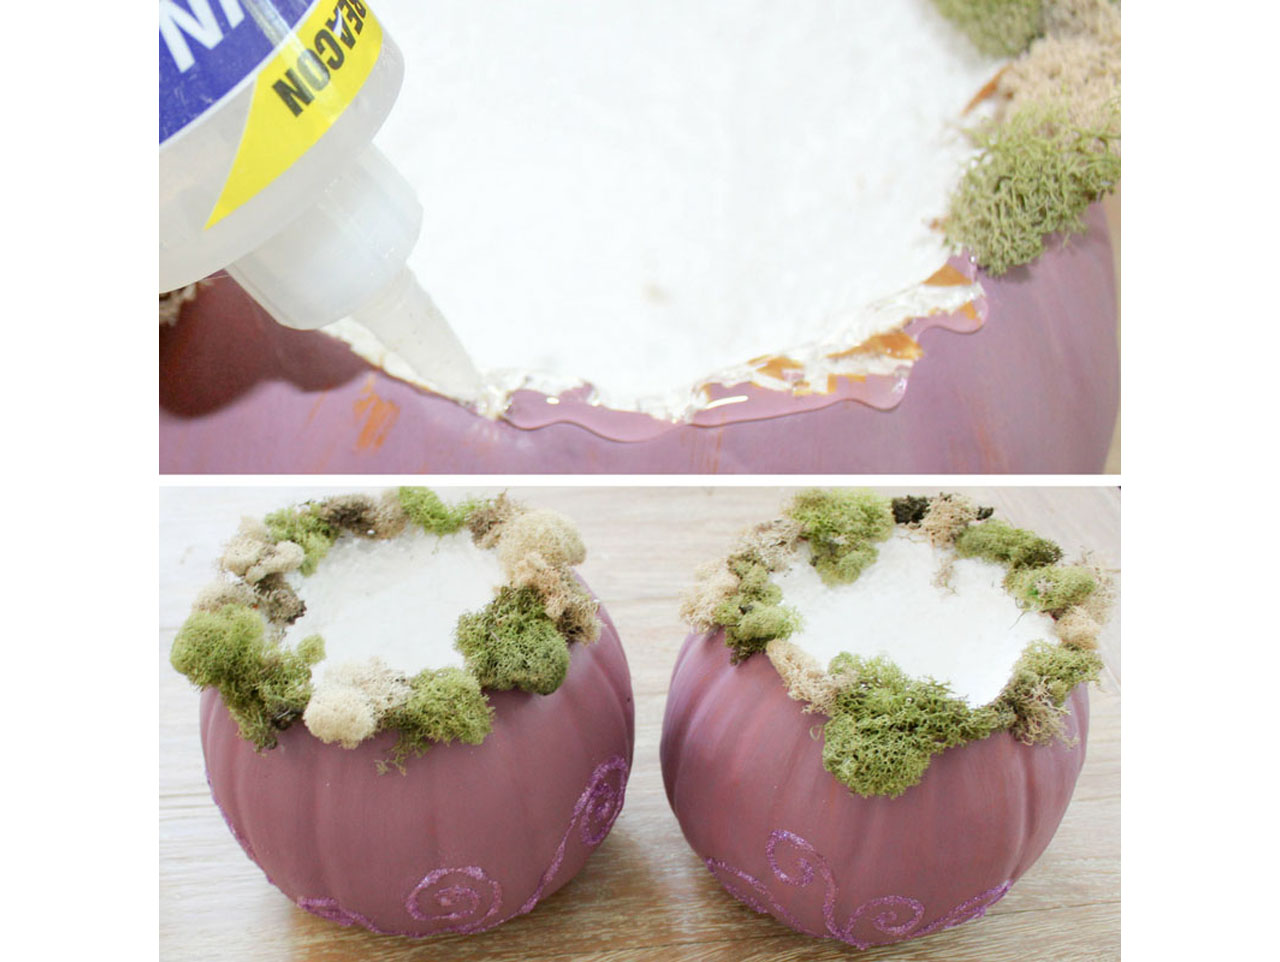
Apply a bead of 3-in-1 Glue to the perimeter of the opening of the pumpkin, and apply reindeer moss so that it covers the rough cut edge. Love this look? It’s even more beautiful when paired with our Glittered Ceramic Pumpkin Table Accents!
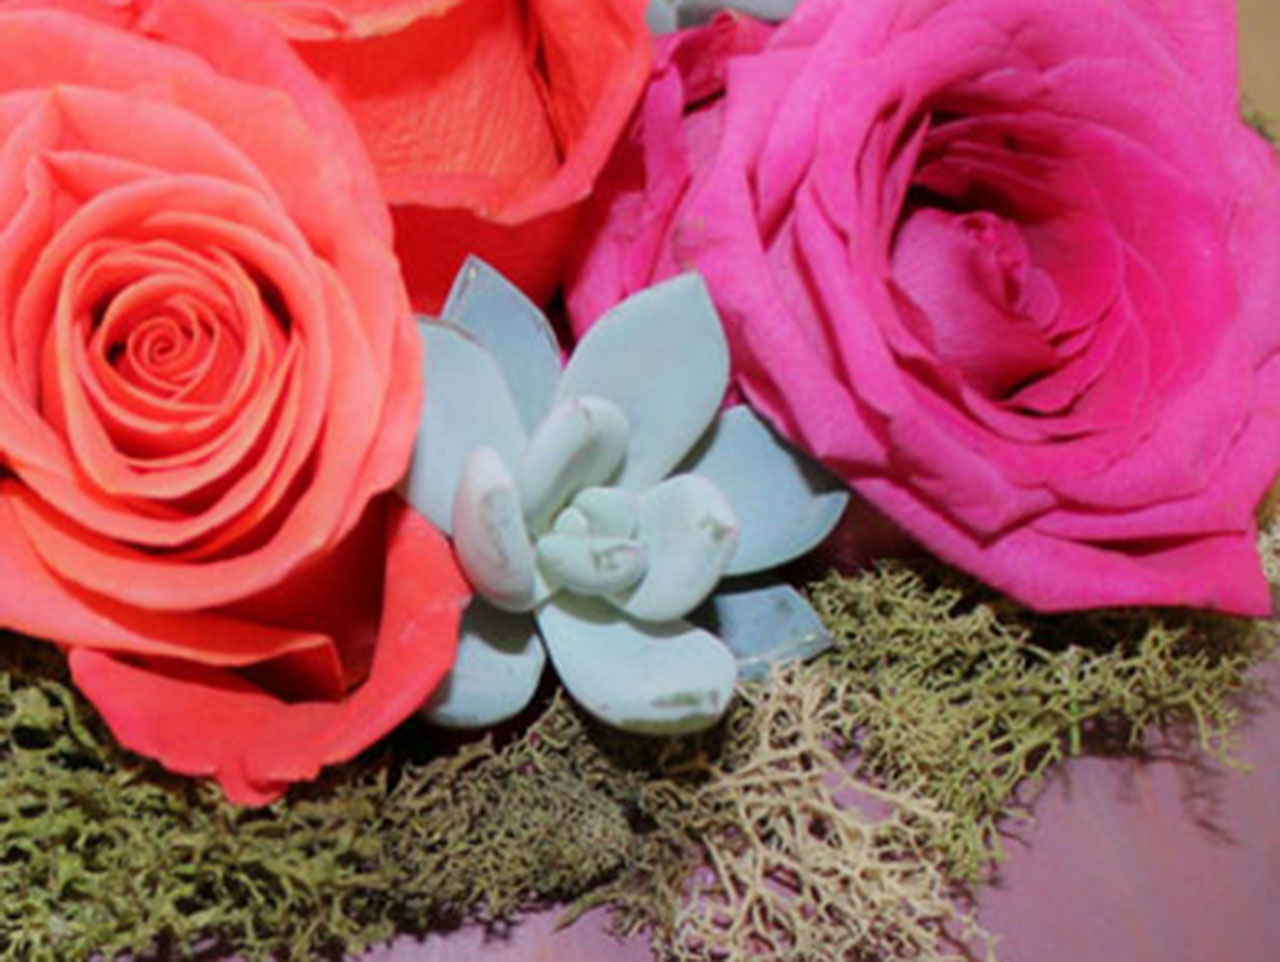

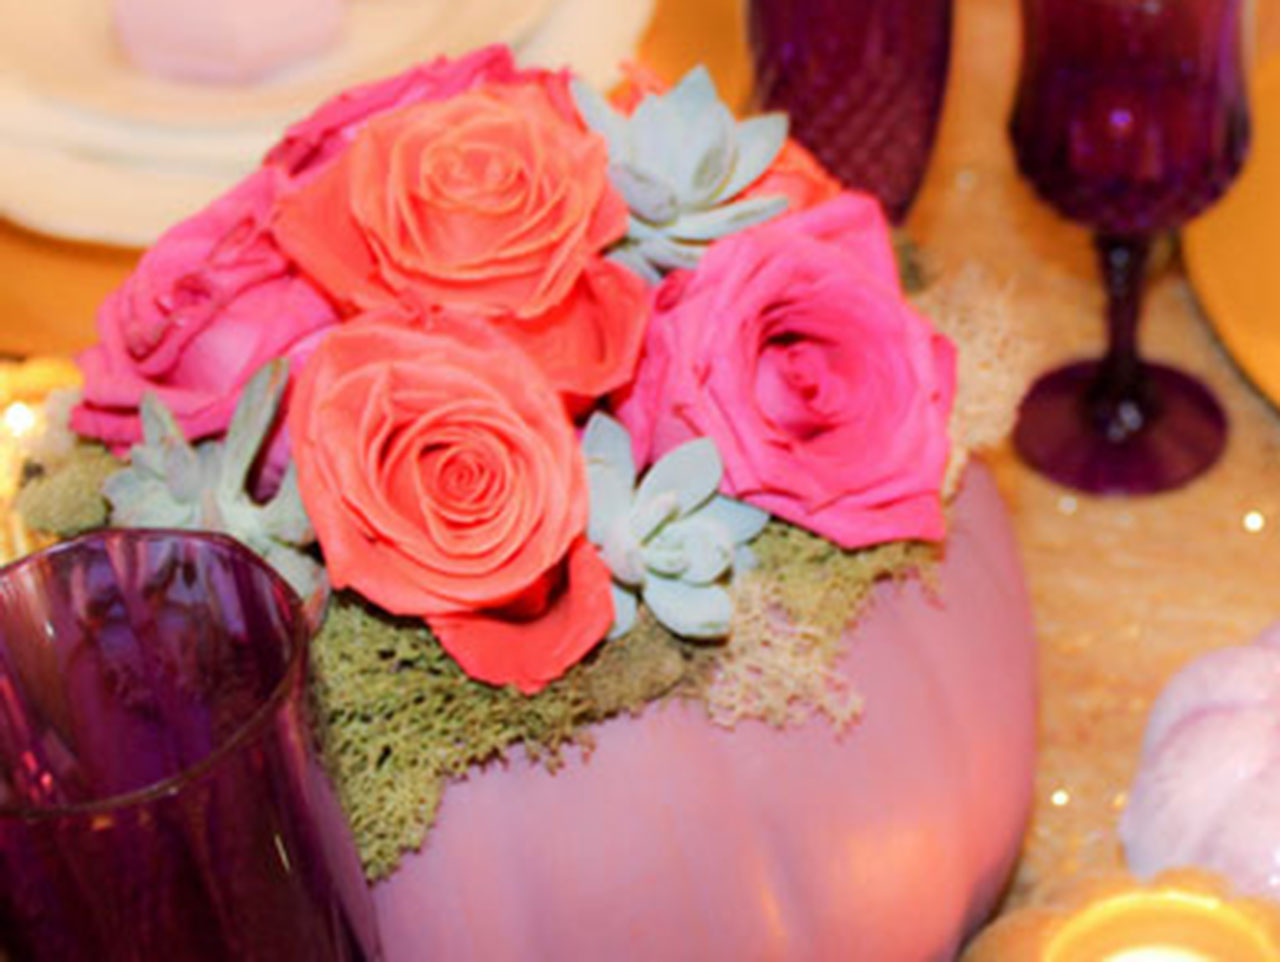
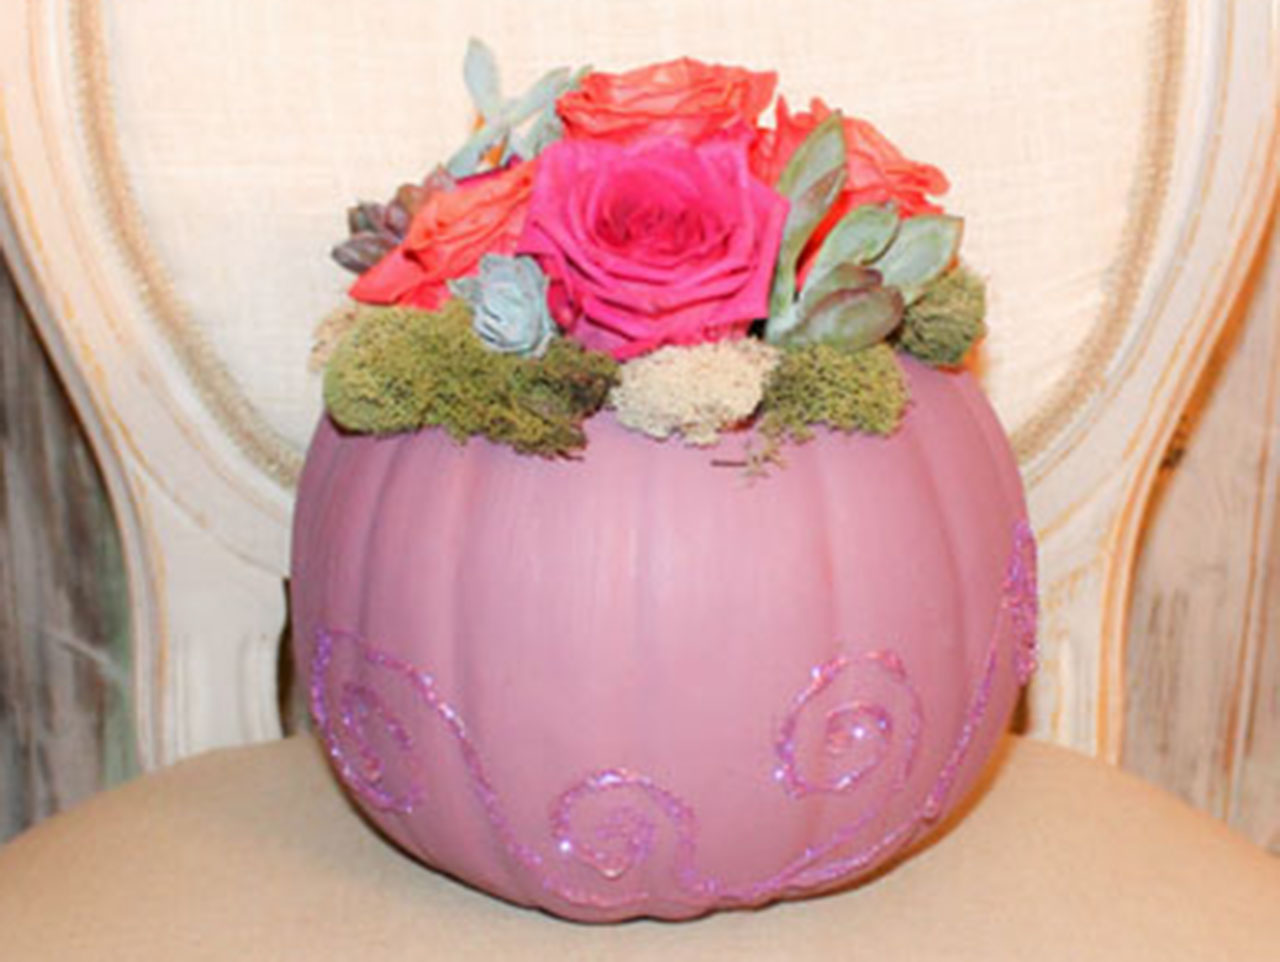
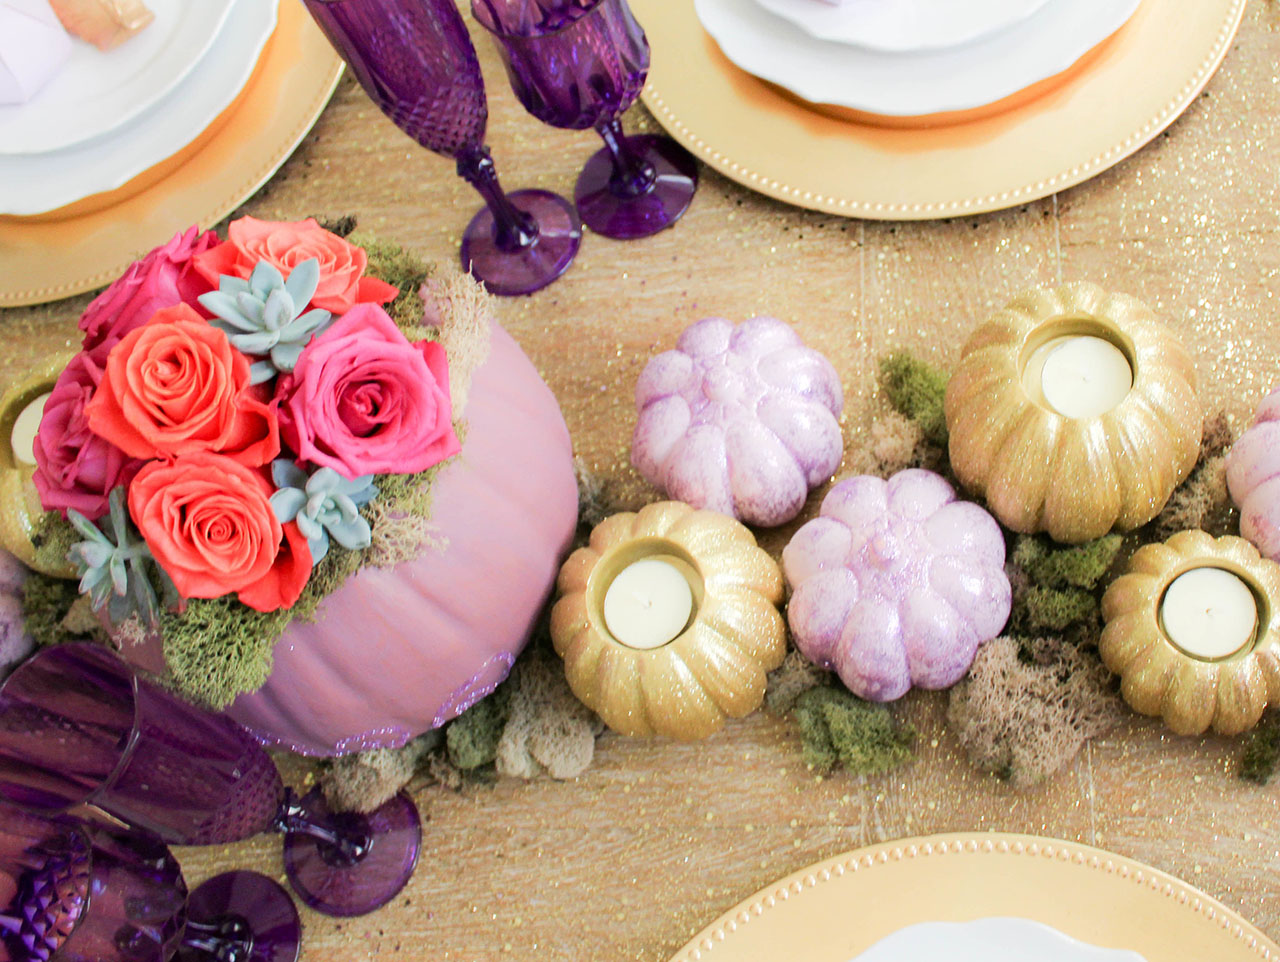
Fill the mason jars 2/3 full with water, and add fresh flowers. Succulents can be trimmed and carefully attached to sharp wood skewers to create a stem that will allow you to insert it into your arrangement.
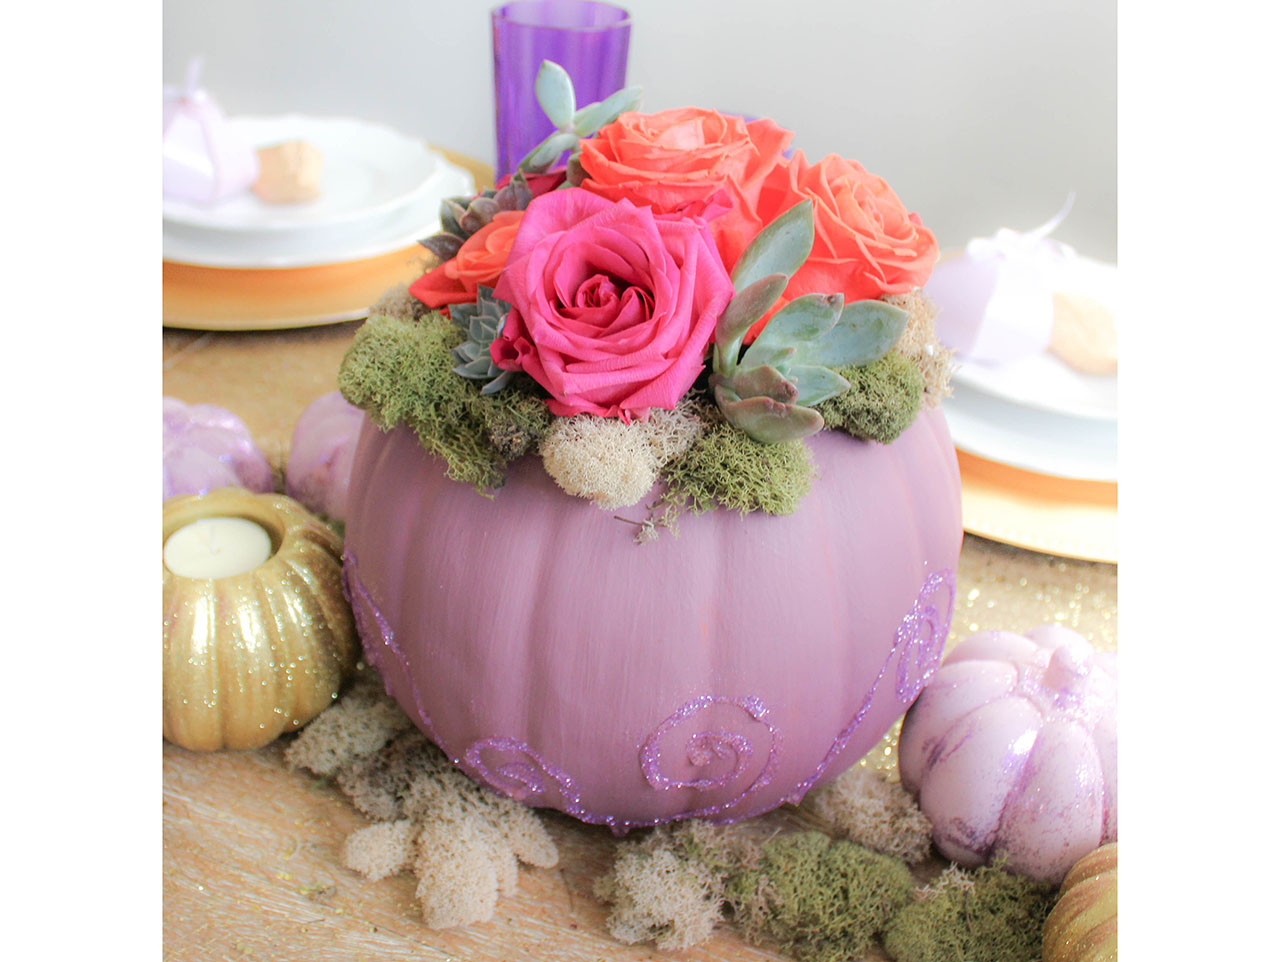
This centerpiece sets the stage for our incredible Fall Wedding Tablescape. The unexpected color scheme is a modern take on fall wedding ideas. Fall weddings are the perfect time of year to say, “I Do”. Hopefully you’ve gained some creative fall wedding inspiration from this design. To see more of this wedding be sure to take a look at my Purple and Gold Fall Fantasy Wedding, Glittered Pumpkin Centerpieces, and DIY Pumpkin Cheesecake Truffles. Happy wedding planning!

Using a sharp carving knife, carefully cut a circle around the top center of the foam pumpkin. Remove the top, and discard.

Remove the center foam beads from the pumpkin; you can use a spoon to assist you in this step. Empty the center until you can fully insert a pint sized mason jar. It should be level with, or slightly below the surface of the pumpkin.

Using a foam brush, paint the surface of the pumpkin with acrylic paint, and allow to dry. You may wish to apply a second coat for a more opaque finish. We used DecoArt Frosted Plum for this look.

Apply 3-in-1 glue to the surface of the pumpkin in a swirl pattern. This does not have to be perfect to achieve an elegant finished look. Apply glitter to the glue swirl, and then create a second and third swirl. Keep adding these embellishments until you have reached the look you like best. Allow to dry before moving on to the next step.

Apply a bead of 3-in-1 Glue to the perimeter of the opening of the pumpkin, and apply reindeer moss so that it covers the rough cut edge. Love this look? It’s even more beautiful when paired with our Glittered Ceramic Pumpkin Table Accents!


Fill the mason jars 2/3 full with water, and add fresh flowers. Succulents can be trimmed and carefully attached to sharp wood skewers to create a stem that will allow you to insert it into your arrangement.

This centerpiece sets the stage for our incredible Fall Wedding Tablescape. The unexpected color scheme is a modern take on fall wedding ideas. Fall weddings are the perfect time of year to say, “I Do”. Hopefully you’ve gained some creative fall wedding inspiration from this design. To see more of this wedding be sure to take a look at my Purple and Gold Fall Fantasy Wedding, Glittered Pumpkin Centerpieces, and DIY Pumpkin Cheesecake Truffles. Happy wedding planning!

