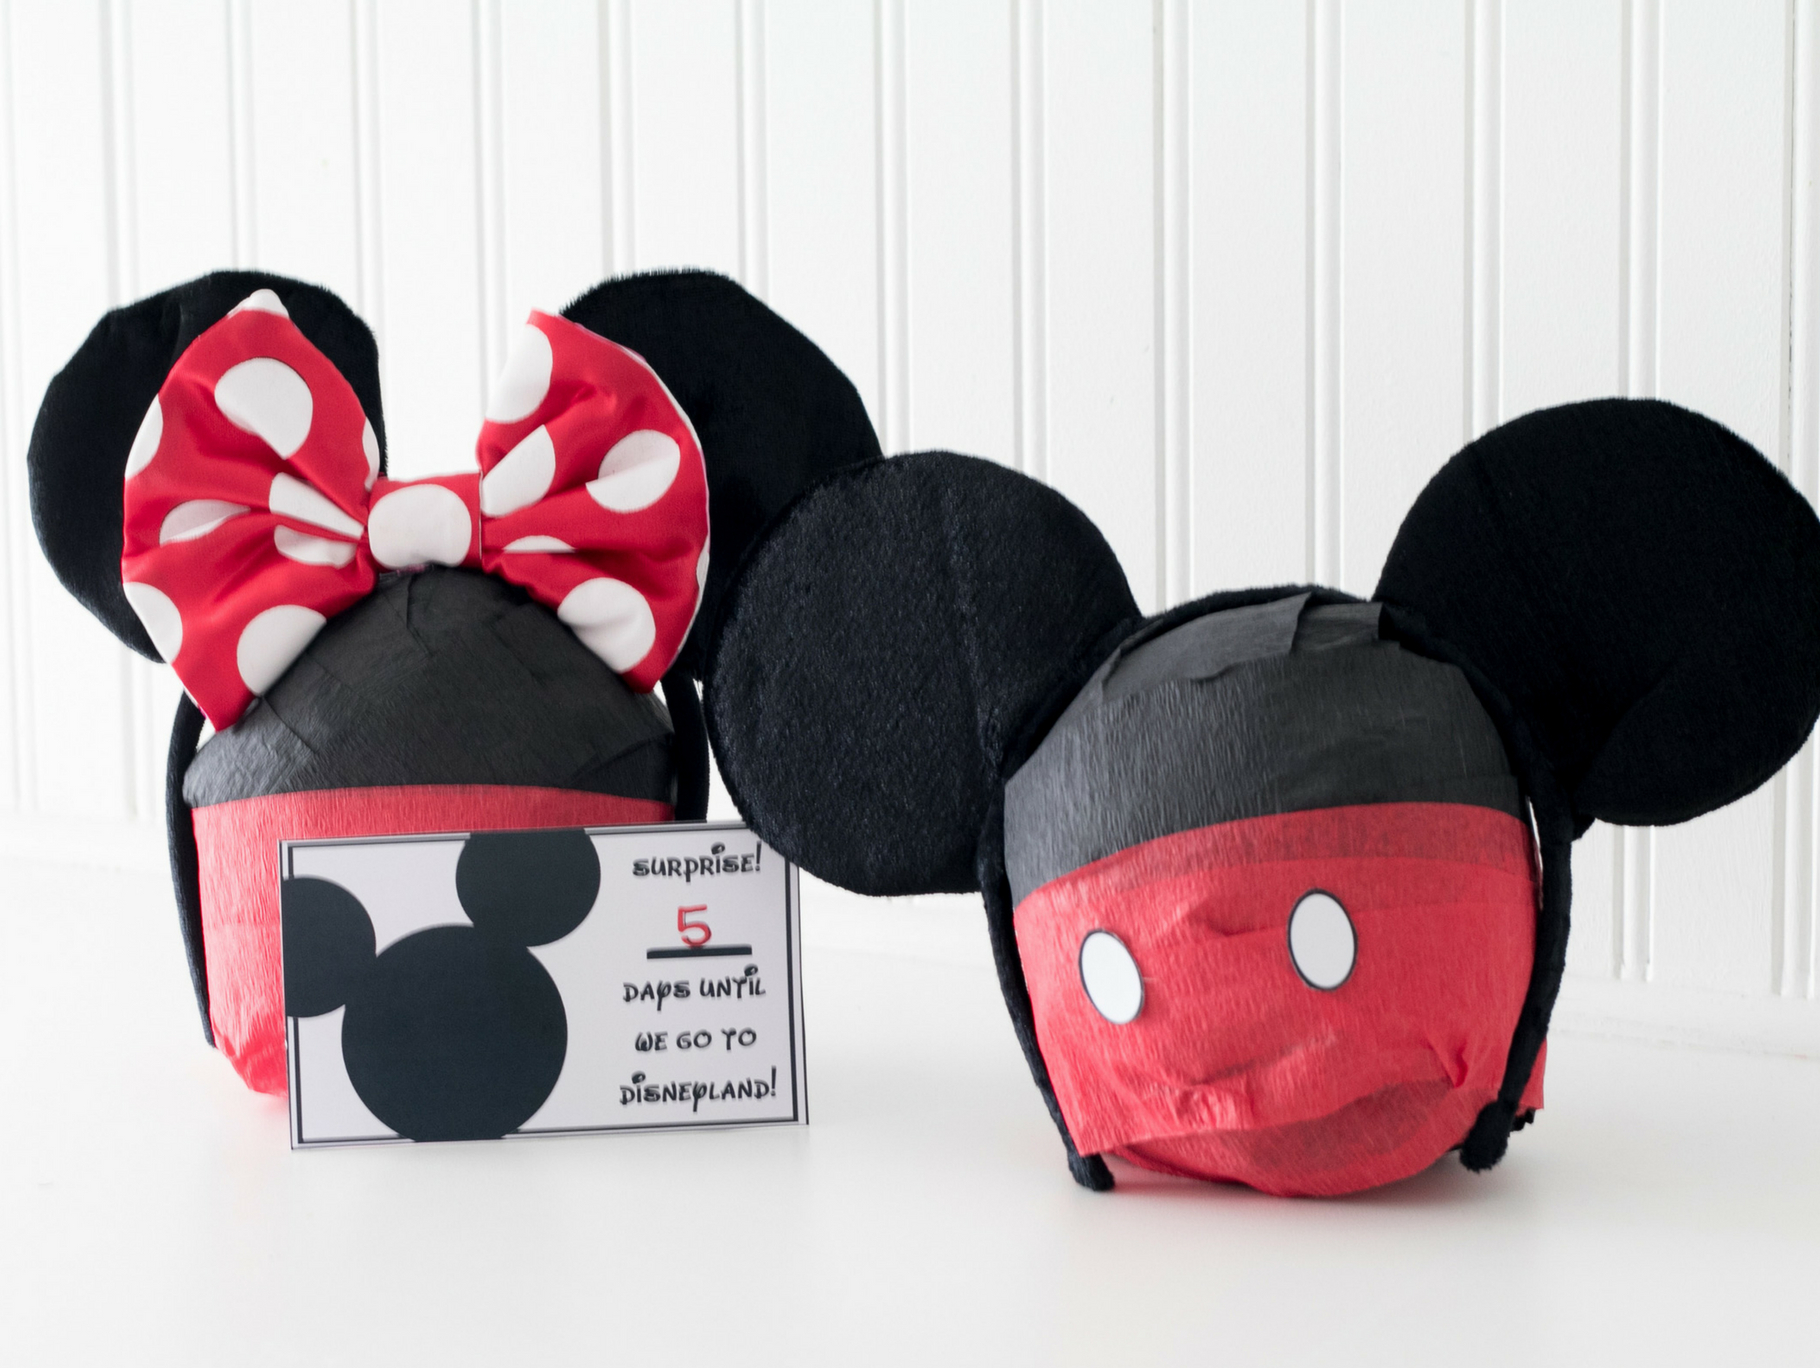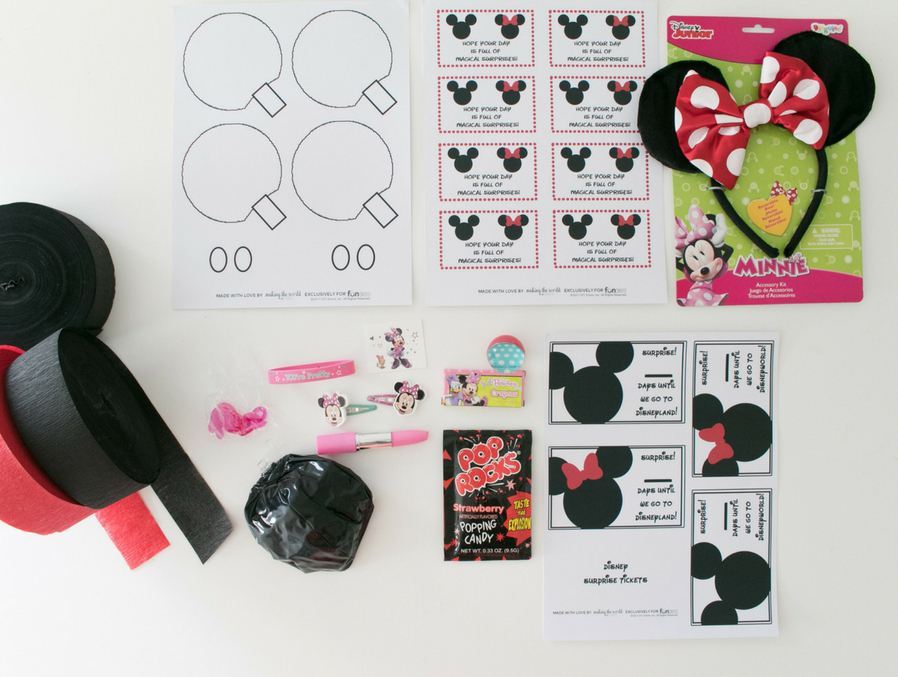
Gather your supplies for either the Mickey or the Minnie surprise ball. There are some elements that are the same in each ball and some that are a little different.
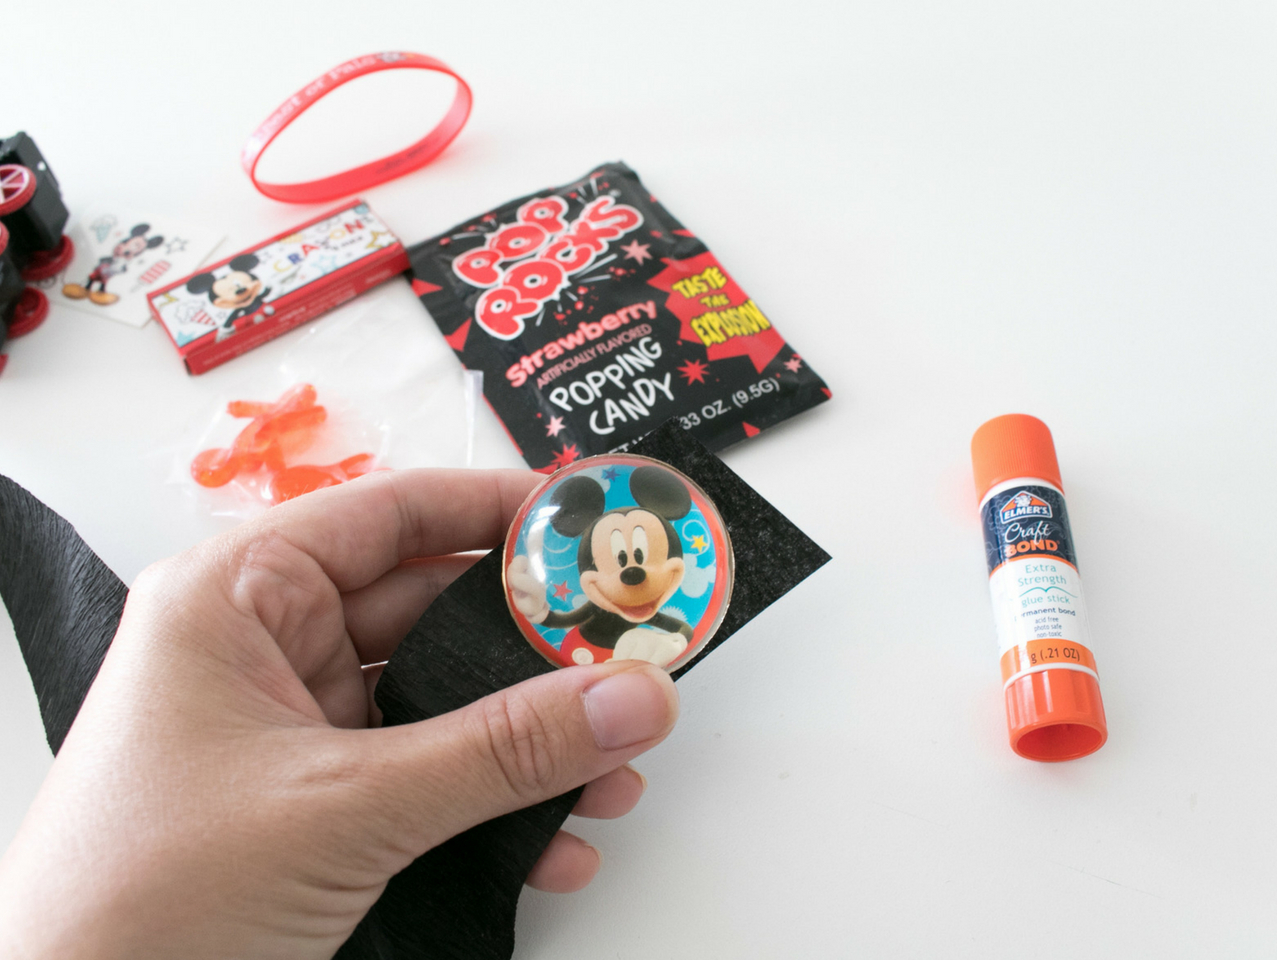
If you are making a Mickey shaped ball, start with a Mickey Bouncy Ball, if you are making a Minnie shaped ball, start with the Dots and Stripes Bouncy Ball. Wrap ball with black streamer paper until covered and secure with glue.
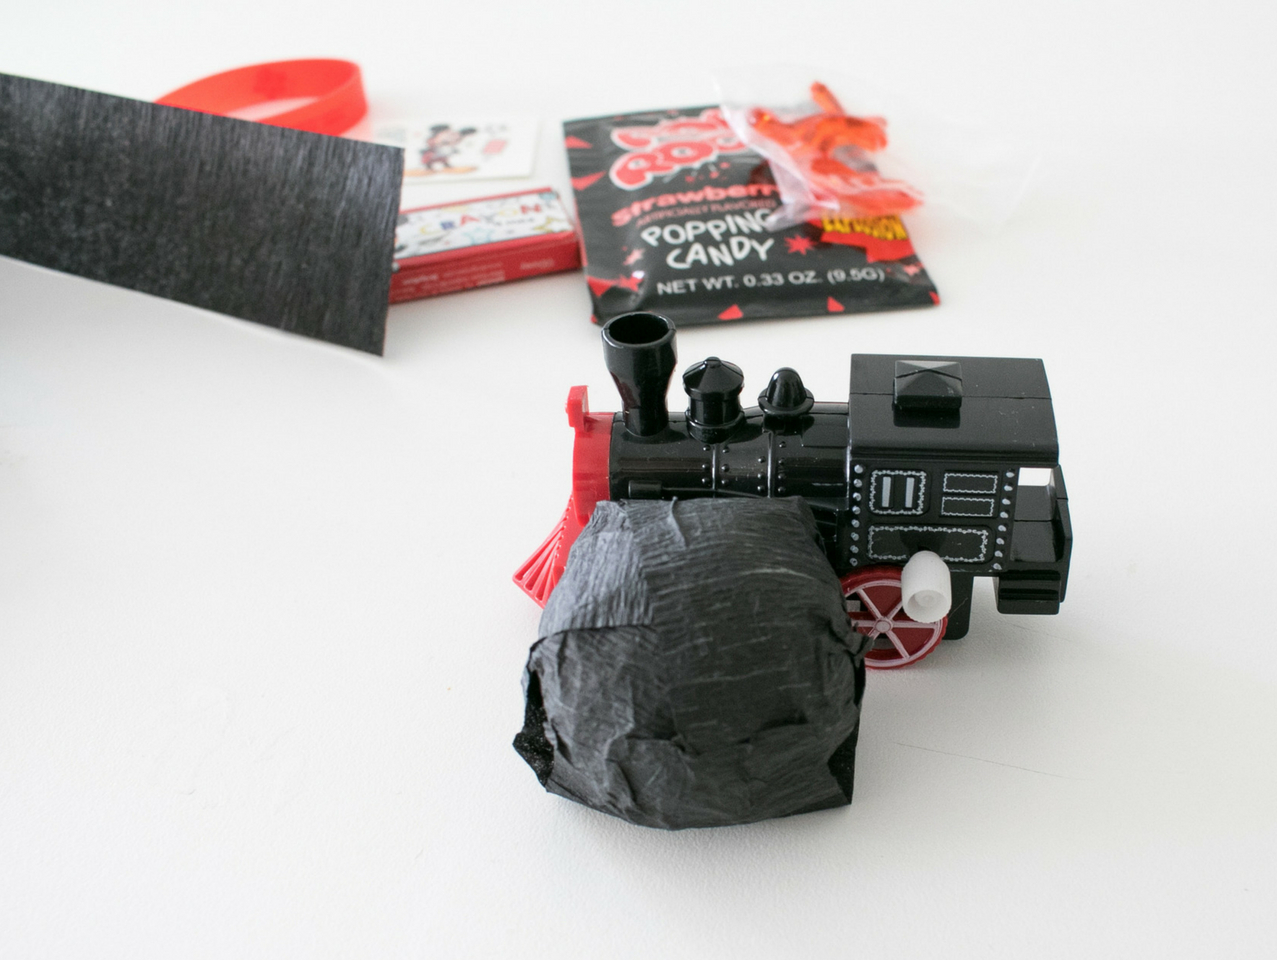
Next take the wind up train for Mickey (my little boy's favorite Mickey shows were when he had his train) or the lipstick pen for Minnie and set that next to the wrapped up ball. Wrap black paper around the next item to secure it to the ball and then until it is completely covered and secure with glue.
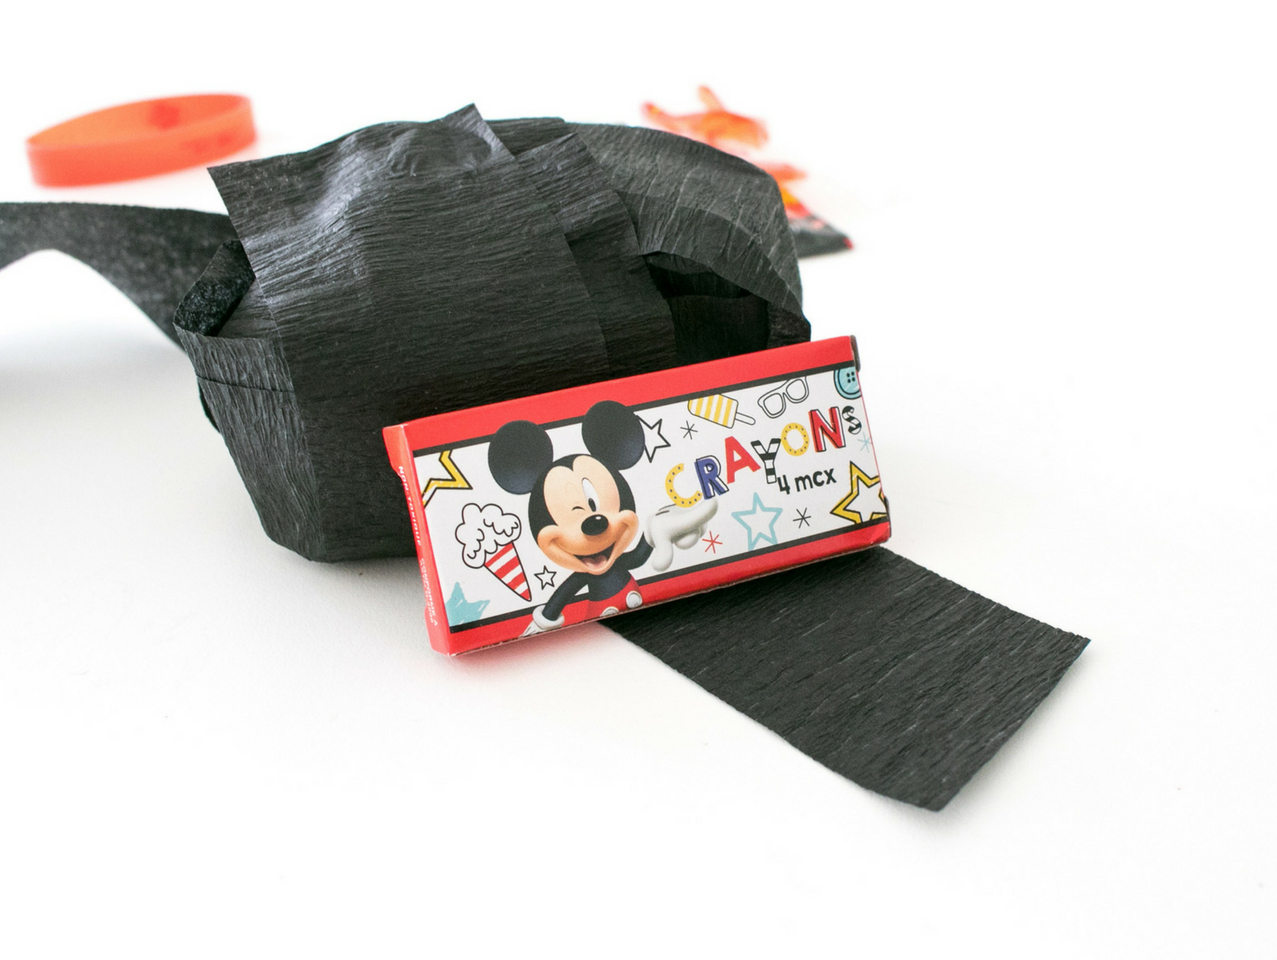
On the opposite side place your box of crayons, there are Mickey crayons and Minnie crayons, depending on what ball you are making at the moment and once those are wrapped on the side you will see the ball starting to get a little bigger and see where it still needs to take shape.
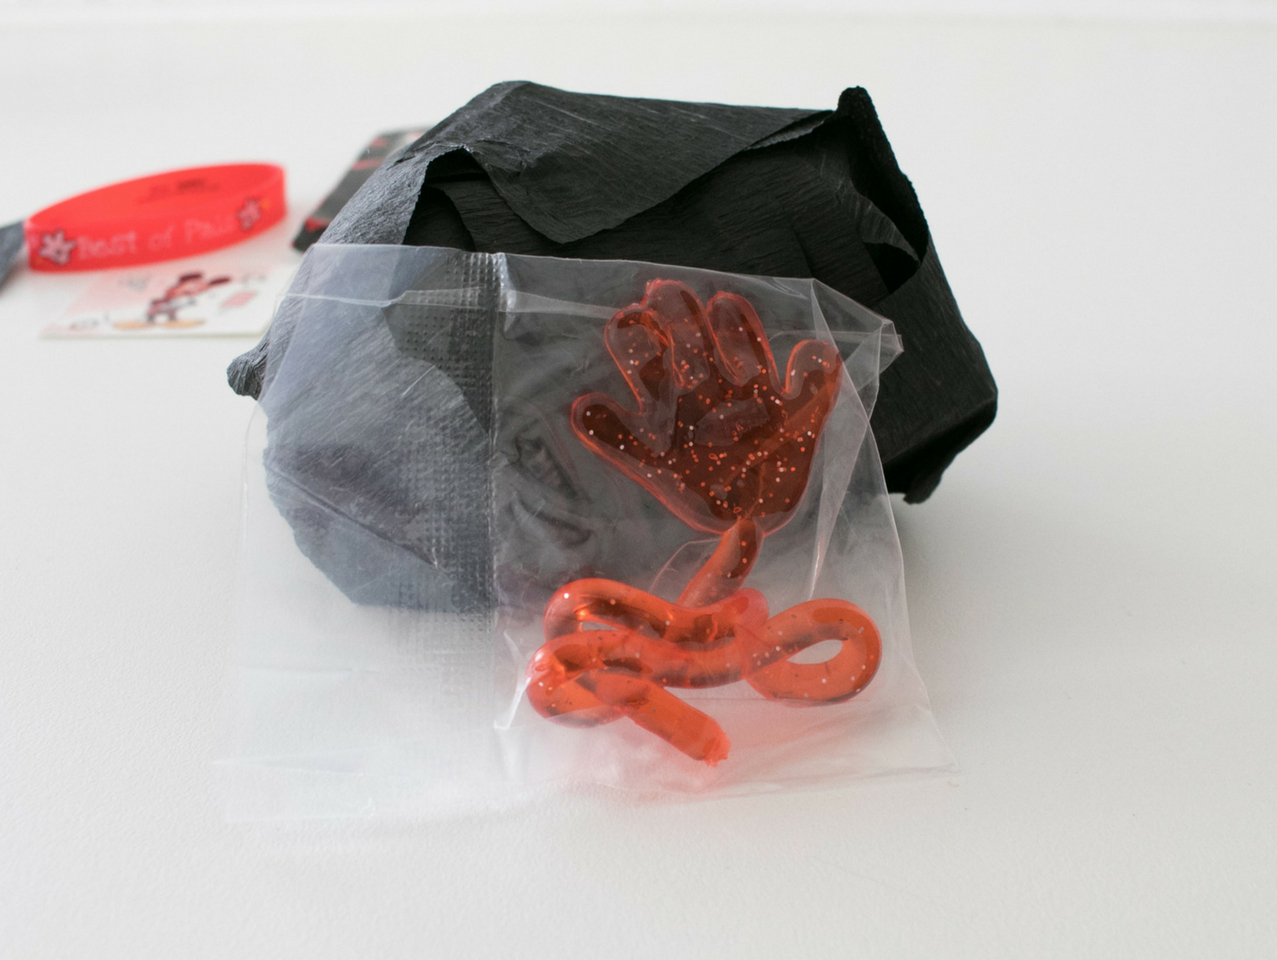
What would a Mickey or Minnie surprise ball be without some kind of hand toy? I've learned that these sticky hands are always a kid favorite. Pop one or two on one of the sides that need to be rounded out a little bit and wrap with the streamer paper and secure with glue.
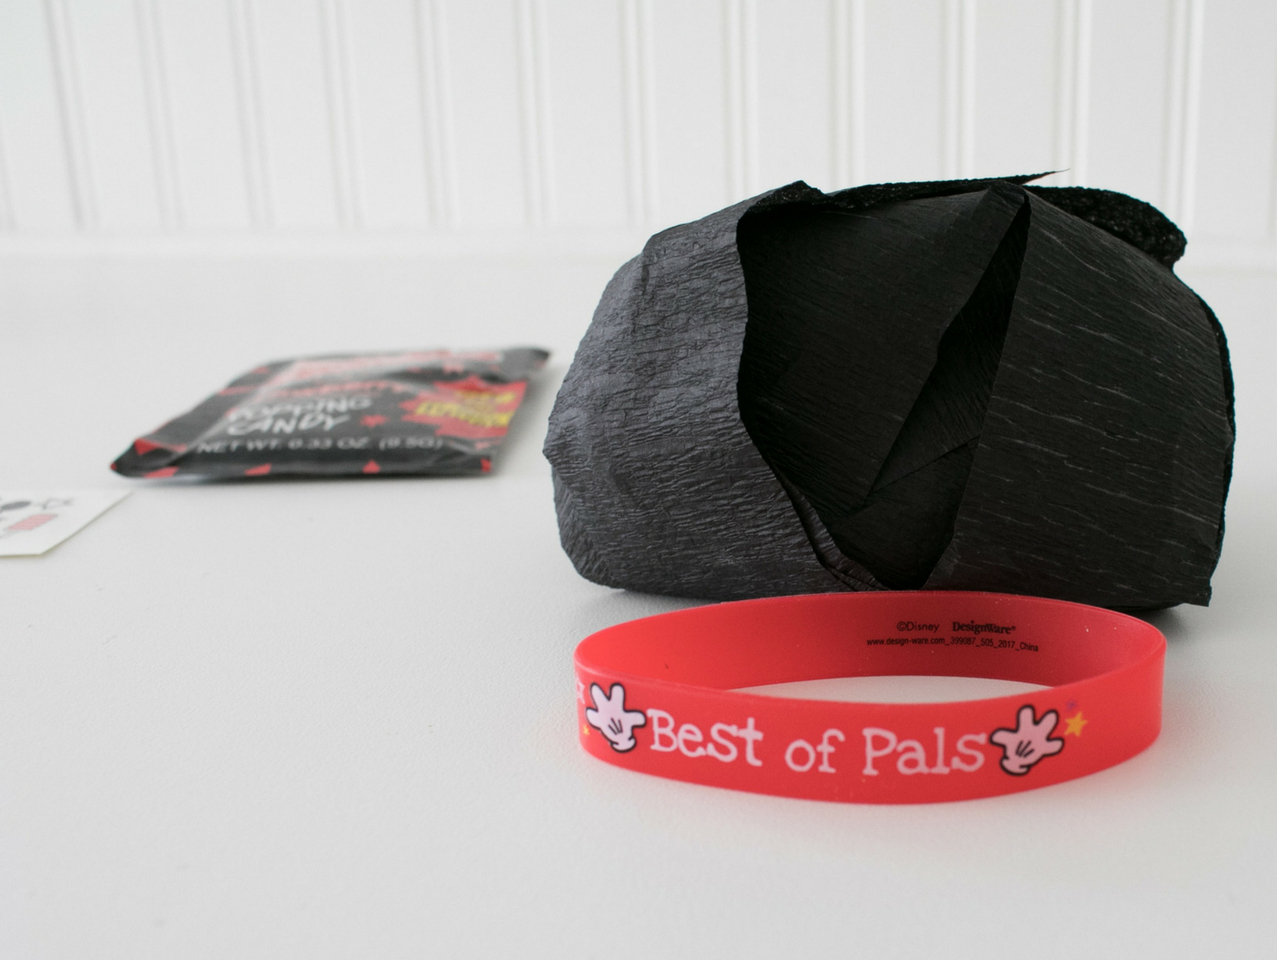
On the other side you'll want to put one of the rubber bracelets either the Mickey Roadster or the Minnie Happy Helper. You're getting the gist...wrap and glue! After that, if you are making the Minnie ball, add a couple of the Minnie Hair Clips, because they are just too cute!
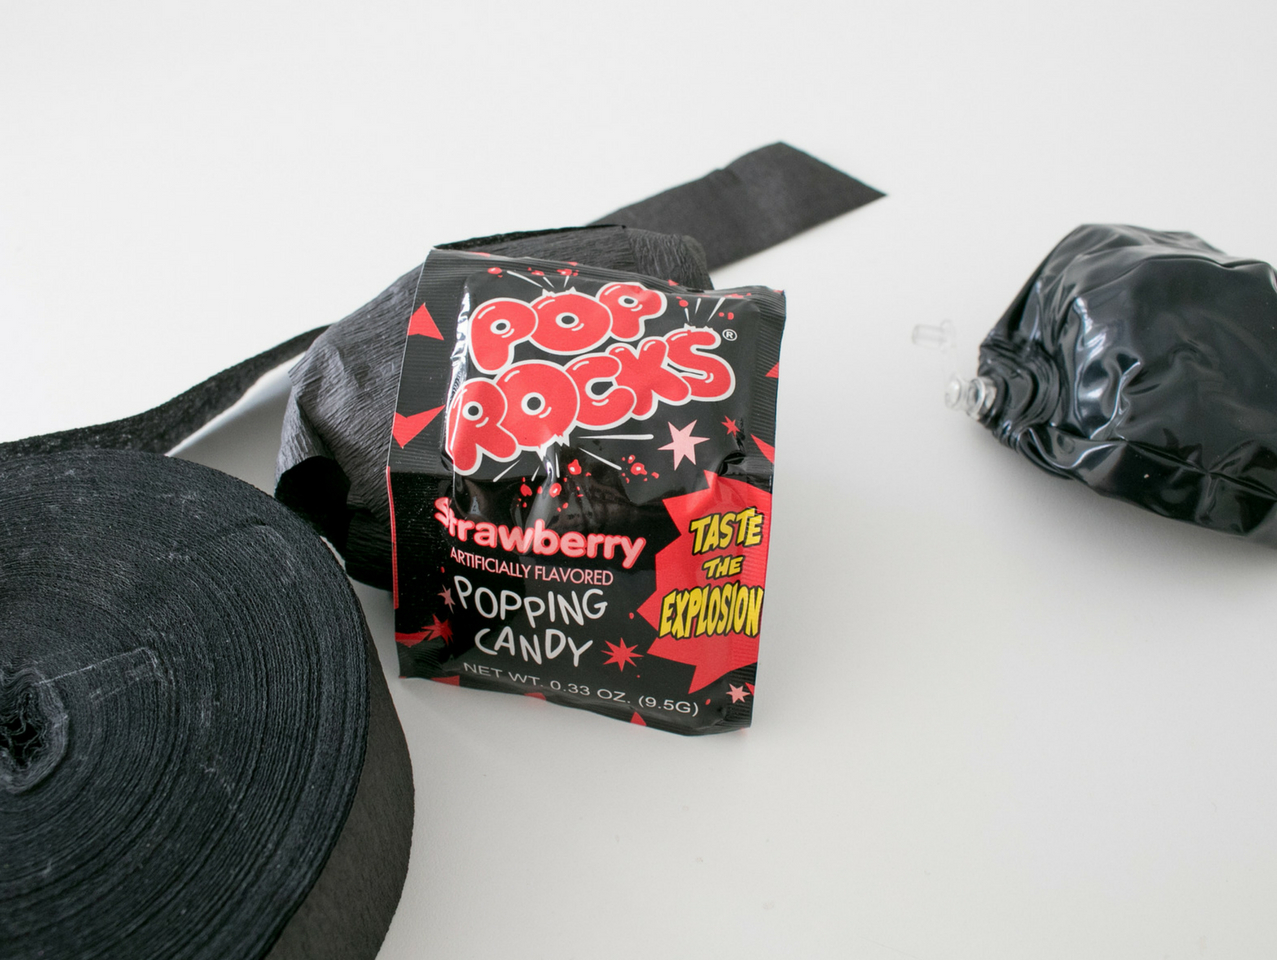
Pop Rocks are about as exciting as candy can get and these strawberry ones are the perfect colors to go with these surprise balls! Wrap one or two on the ball, shaping into more of a sphere as you go.
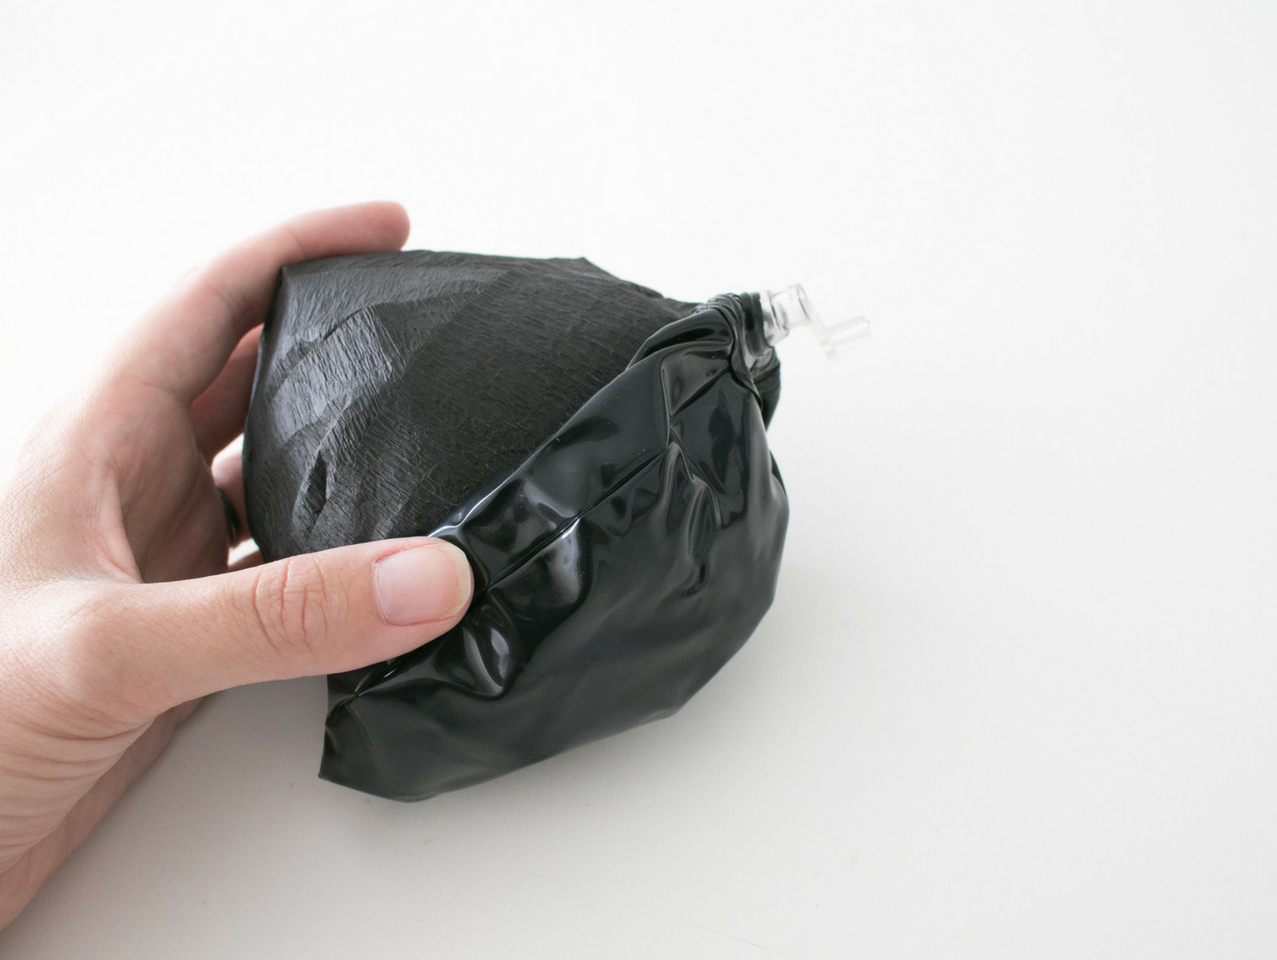
Finally take one of the mini black beach balls and shape the ball even more before wrapping and securing with glue. You can fold it a bit if needed to make it more round.
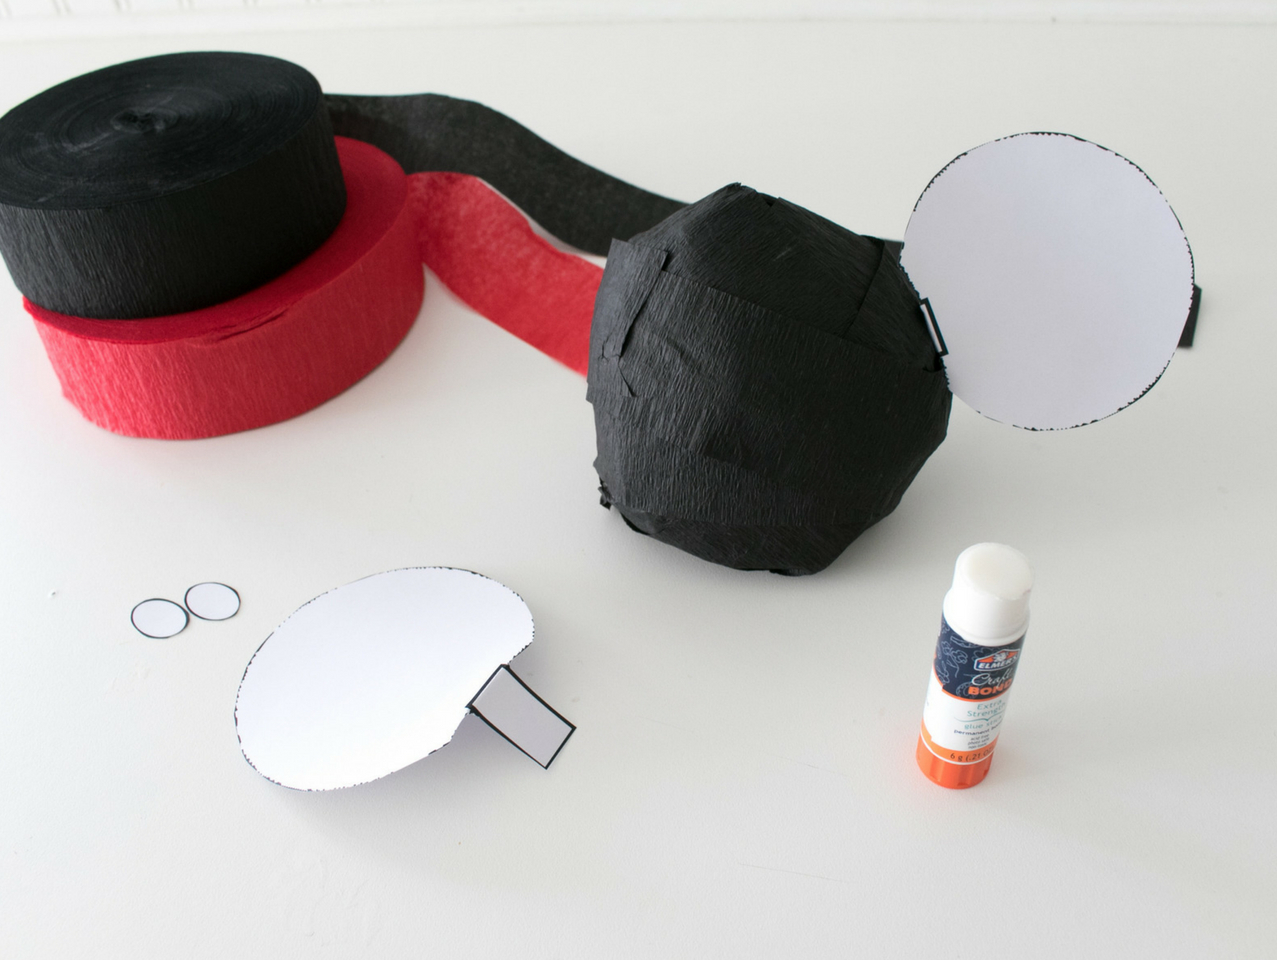
If you are not using the Ear Headbands, then you will need to cut out the Printable Ear and Buttons Template on White Cardstock. Cut out and fold down flaps on the ears. Cover ears in black streamer paper and glue to your ball. Wrap with more black paper and secure them to the ball. Download the Free Printable Tags here!
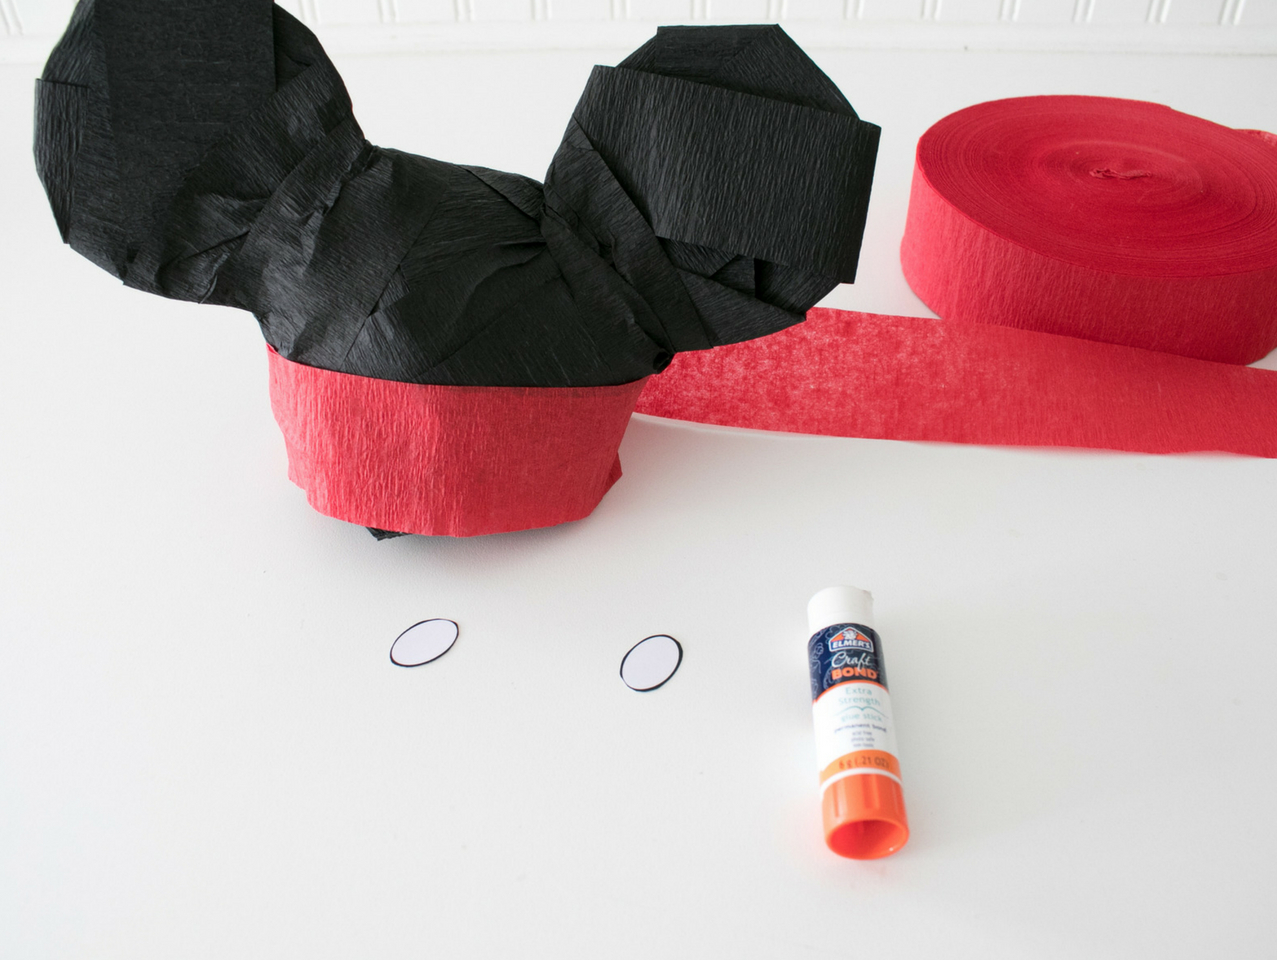
Wrap the bottom half of the surprise ball with red streamer paper and secure with glue. If you are making Mickey, then cut out the button shapes and glue to the front of the red. If you are making Minnie, skip to next step.
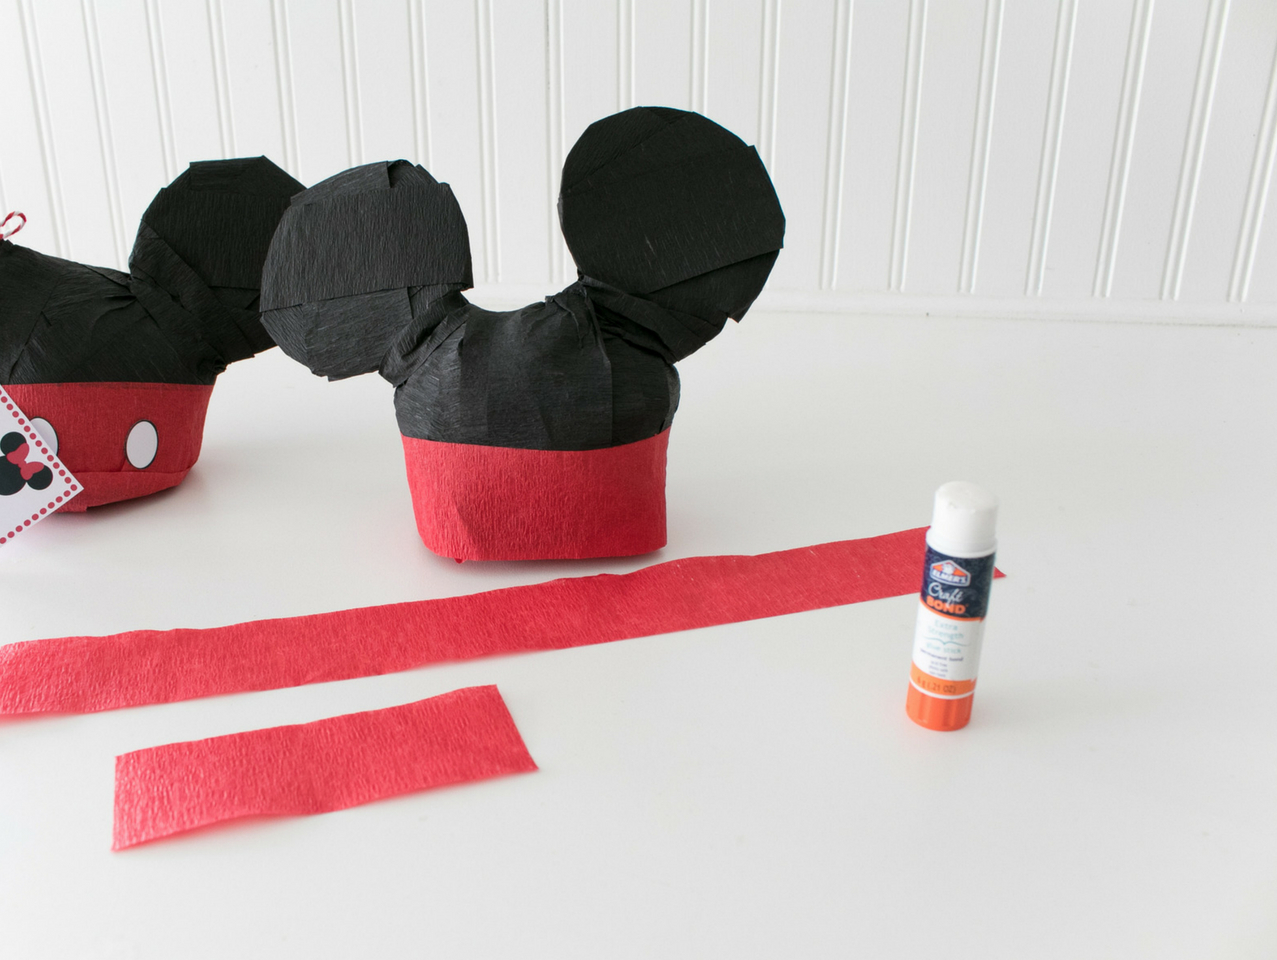
For Minnies bow you will want to cut about a six inch strip of red streamer paper and a one inch strip.
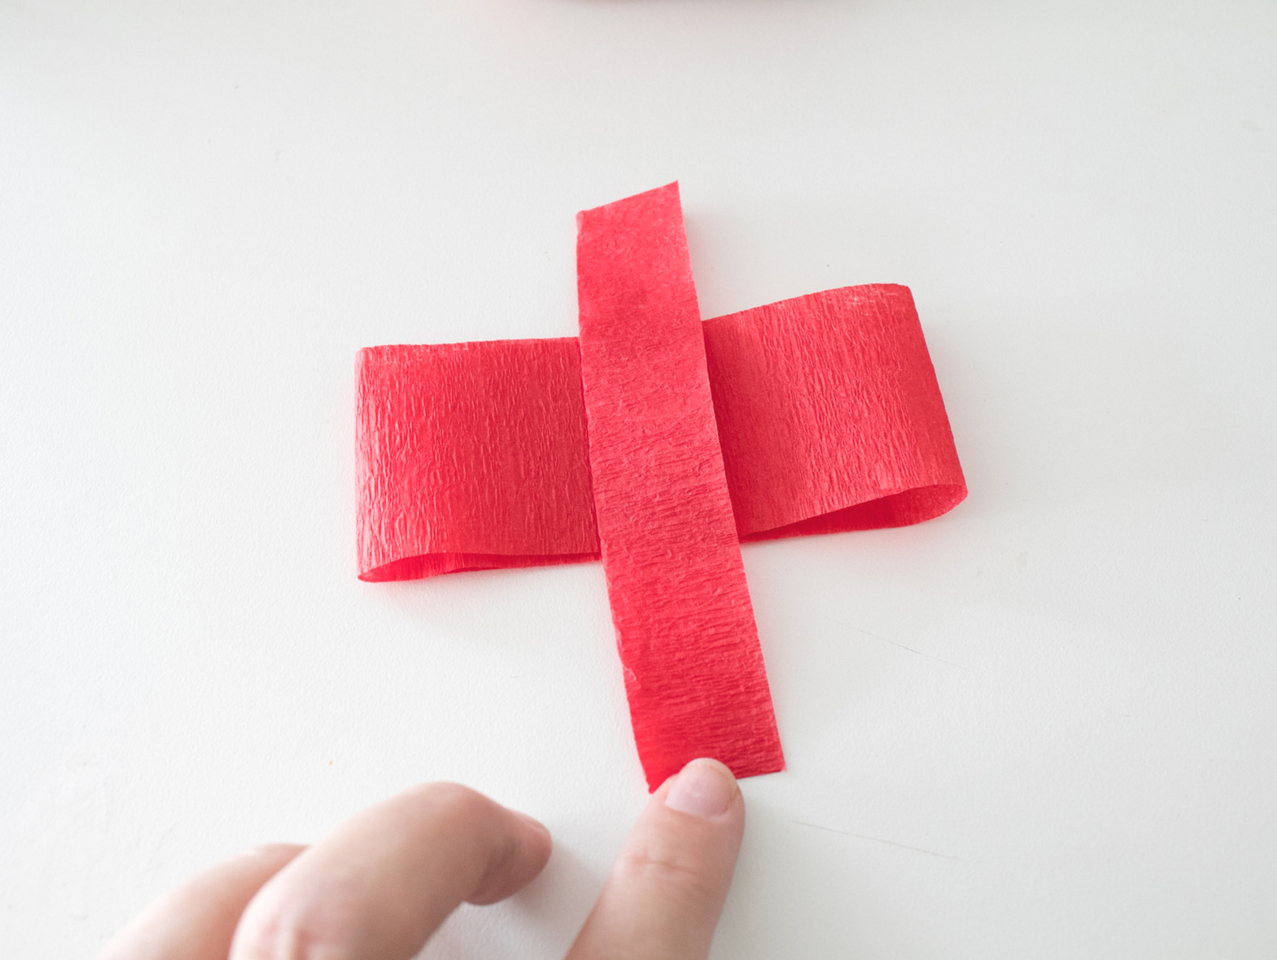
Fold the longer piece into a loop that will fit in between the two ears. Glue closed. For the smaller piece fold in half length wise and wrap around the middle of the bigger loop to make a bow shape. Glue to the top of the surprise ball between the ears.

Finally using some string, add the printable gift tag to one of the ears and give as a gift to your favorite little Disney fan or give as an amazing party favor! I love to keep some of these on hands for last minute birthday gift ideas. Kids LOVE getting these! Download the Free Printable here!
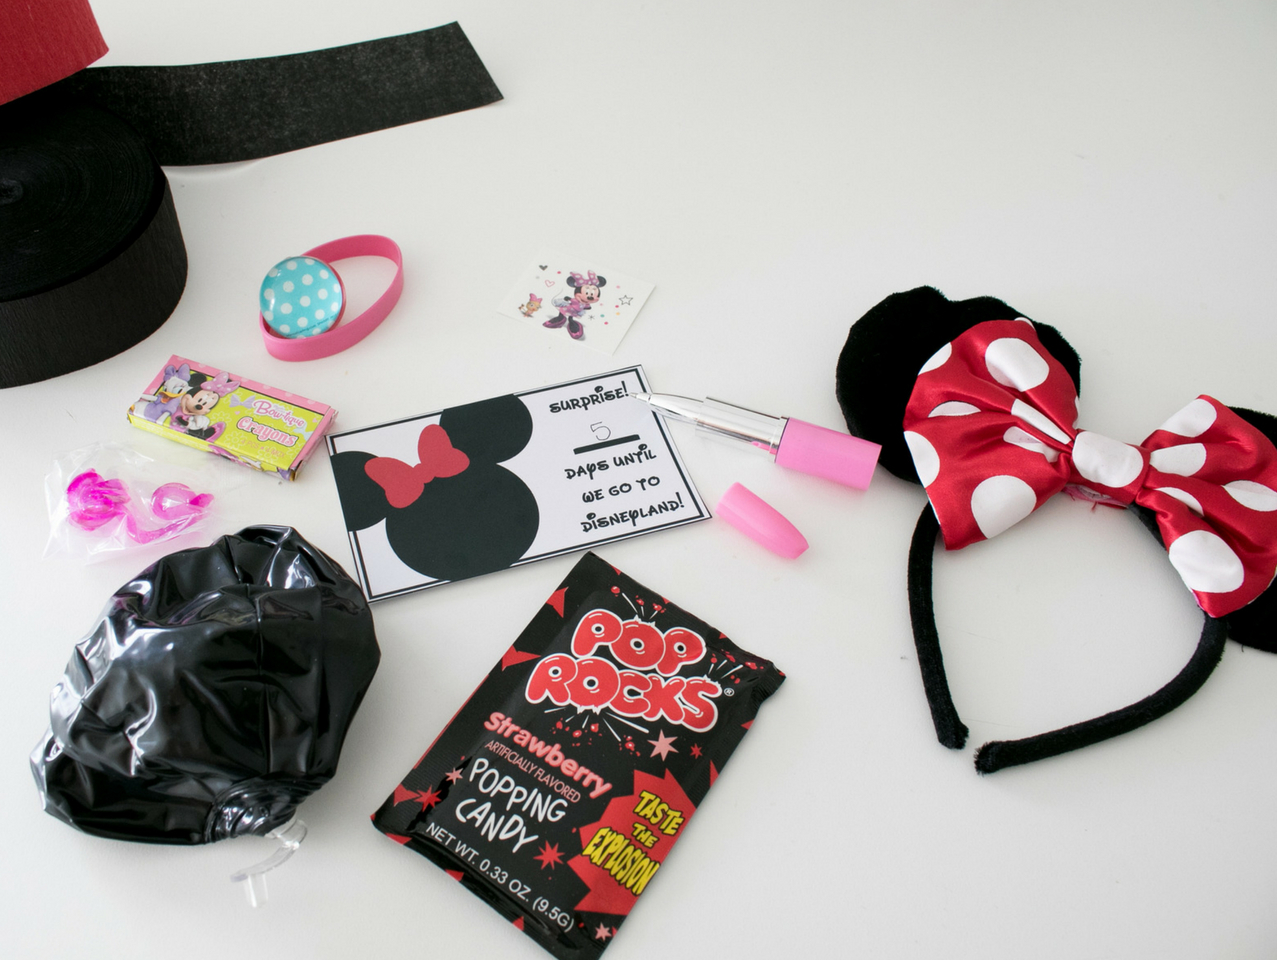
If you are doing a Disney Trip Surprise, I think it's fun to add some wearable ears to your surprise ball! Choose either Mickey Mouse Ears or Minnie Mouse Ears with the Reversable Bow.
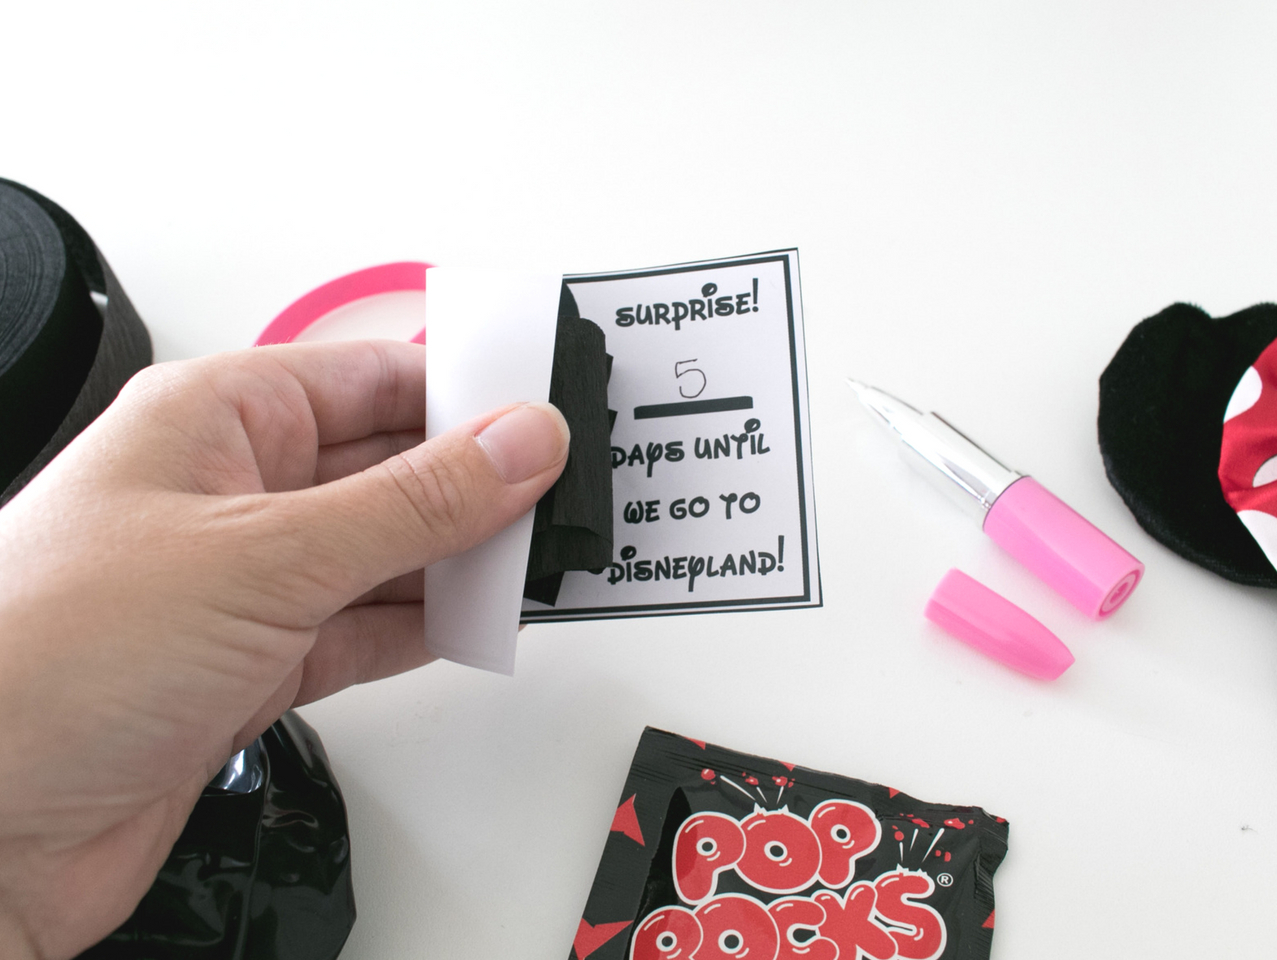
If you are surprising your kids, print the Disney Trip Surprise Printable and follow the steps above, except after you wrap the ball, add your printable over the ball (after you write how many days until Disneyland or Disneyworld, there is a printable for both) and wrap with paper and secure with glue. Follow all other steps except the ear part. Just add the wearable ears on top when you're done. The ball might need to be a little bigger, so add more paper and or more Pop Rocks to make it the right size. Download the Free Printable here!
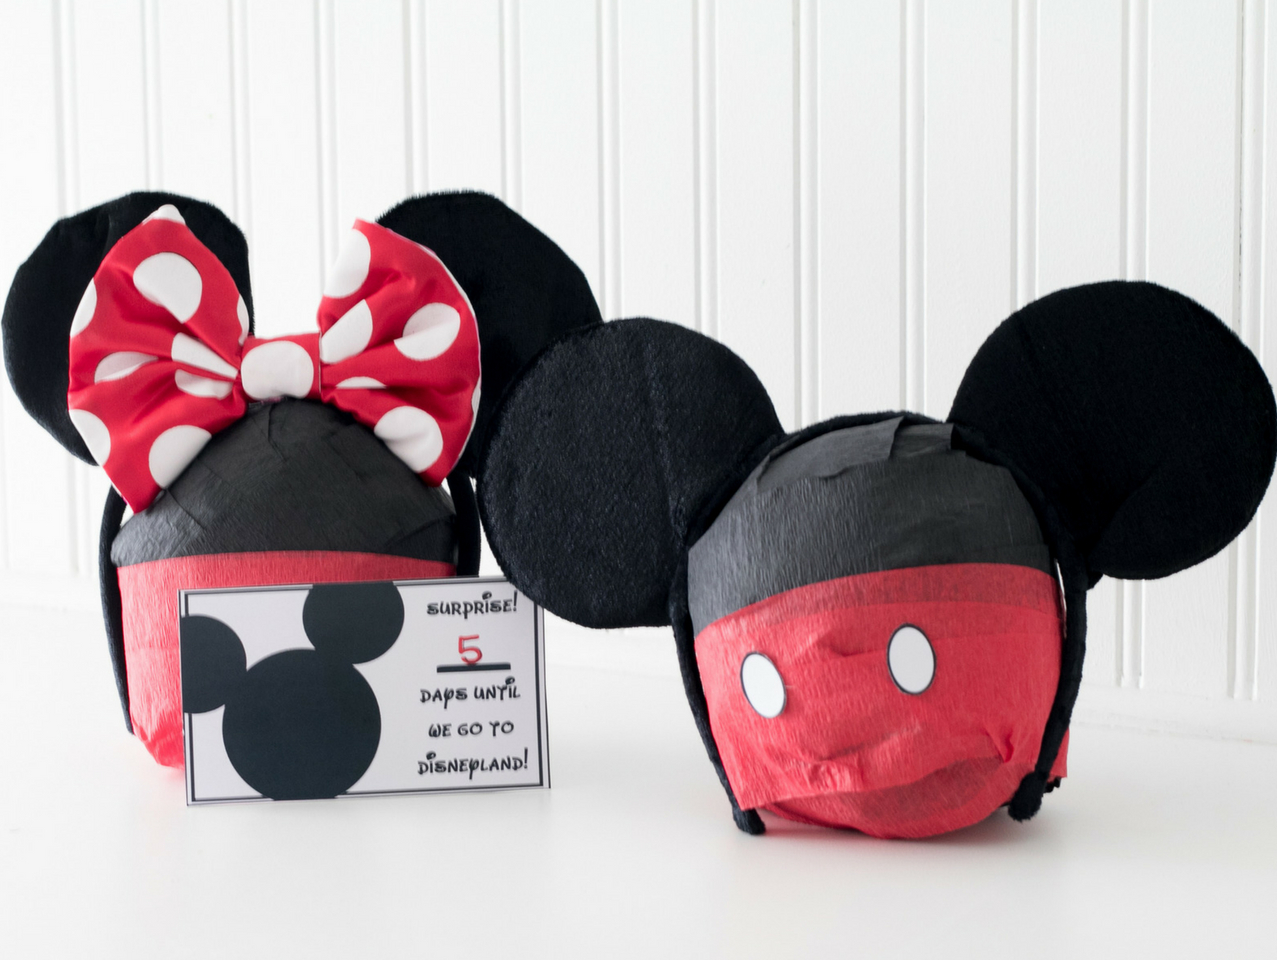
Get ready to hear squeals of delight when they get to the printable and realize that they are going to the happiest place on Earth!
Want more surprise ball ideas? Be sure to check out all of our Surprise Ball Ideas that make a great DIY gift or party favor.

Gather your supplies for either the Mickey or the Minnie surprise ball. There are some elements that are the same in each ball and some that are a little different.

If you are making a Mickey shaped ball, start with a Mickey Bouncy Ball, if you are making a Minnie shaped ball, start with the Dots and Stripes Bouncy Ball. Wrap ball with black streamer paper until covered and secure with glue.

Next take the wind up train for Mickey (my little boy's favorite Mickey shows were when he had his train) or the lipstick pen for Minnie and set that next to the wrapped up ball. Wrap black paper around the next item to secure it to the ball and then until it is completely covered and secure with glue.

On the opposite side place your box of crayons, there are Mickey crayons and Minnie crayons, depending on what ball you are making at the moment and once those are wrapped on the side you will see the ball starting to get a little bigger and see where it still needs to take shape.

What would a Mickey or Minnie surprise ball be without some kind of hand toy? I've learned that these sticky hands are always a kid favorite. Pop one or two on one of the sides that need to be rounded out a little bit and wrap with the streamer paper and secure with glue.

On the other side you'll want to put one of the rubber bracelets either the Mickey Roadster or the Minnie Happy Helper. You're getting the gist...wrap and glue! After that, if you are making the Minnie ball, add a couple of the Minnie Hair Clips, because they are just too cute!

Pop Rocks are about as exciting as candy can get and these strawberry ones are the perfect colors to go with these surprise balls! Wrap one or two on the ball, shaping into more of a sphere as you go.

Finally take one of the mini black beach balls and shape the ball even more before wrapping and securing with glue. You can fold it a bit if needed to make it more round.

If you are not using the Ear Headbands, then you will need to cut out the Printable Ear and Buttons Template on White Cardstock. Cut out and fold down flaps on the ears. Cover ears in black streamer paper and glue to your ball. Wrap with more black paper and secure them to the ball. Download the Free Printable Tags here!

Wrap the bottom half of the surprise ball with red streamer paper and secure with glue. If you are making Mickey, then cut out the button shapes and glue to the front of the red. If you are making Minnie, skip to next step.

For Minnies bow you will want to cut about a six inch strip of red streamer paper and a one inch strip.

Fold the longer piece into a loop that will fit in between the two ears. Glue closed. For the smaller piece fold in half length wise and wrap around the middle of the bigger loop to make a bow shape. Glue to the top of the surprise ball between the ears.

Finally using some string, add the printable gift tag to one of the ears and give as a gift to your favorite little Disney fan or give as an amazing party favor! I love to keep some of these on hands for last minute birthday gift ideas. Kids LOVE getting these! Download the Free Printable here!

If you are doing a Disney Trip Surprise, I think it's fun to add some wearable ears to your surprise ball! Choose either Mickey Mouse Ears or Minnie Mouse Ears with the Reversable Bow.

If you are surprising your kids, print the Disney Trip Surprise Printable and follow the steps above, except after you wrap the ball, add your printable over the ball (after you write how many days until Disneyland or Disneyworld, there is a printable for both) and wrap with paper and secure with glue. Follow all other steps except the ear part. Just add the wearable ears on top when you're done. The ball might need to be a little bigger, so add more paper and or more Pop Rocks to make it the right size. Download the Free Printable here!

Get ready to hear squeals of delight when they get to the printable and realize that they are going to the happiest place on Earth!
Want more surprise ball ideas? Be sure to check out all of our Surprise Ball Ideas that make a great DIY gift or party favor.

