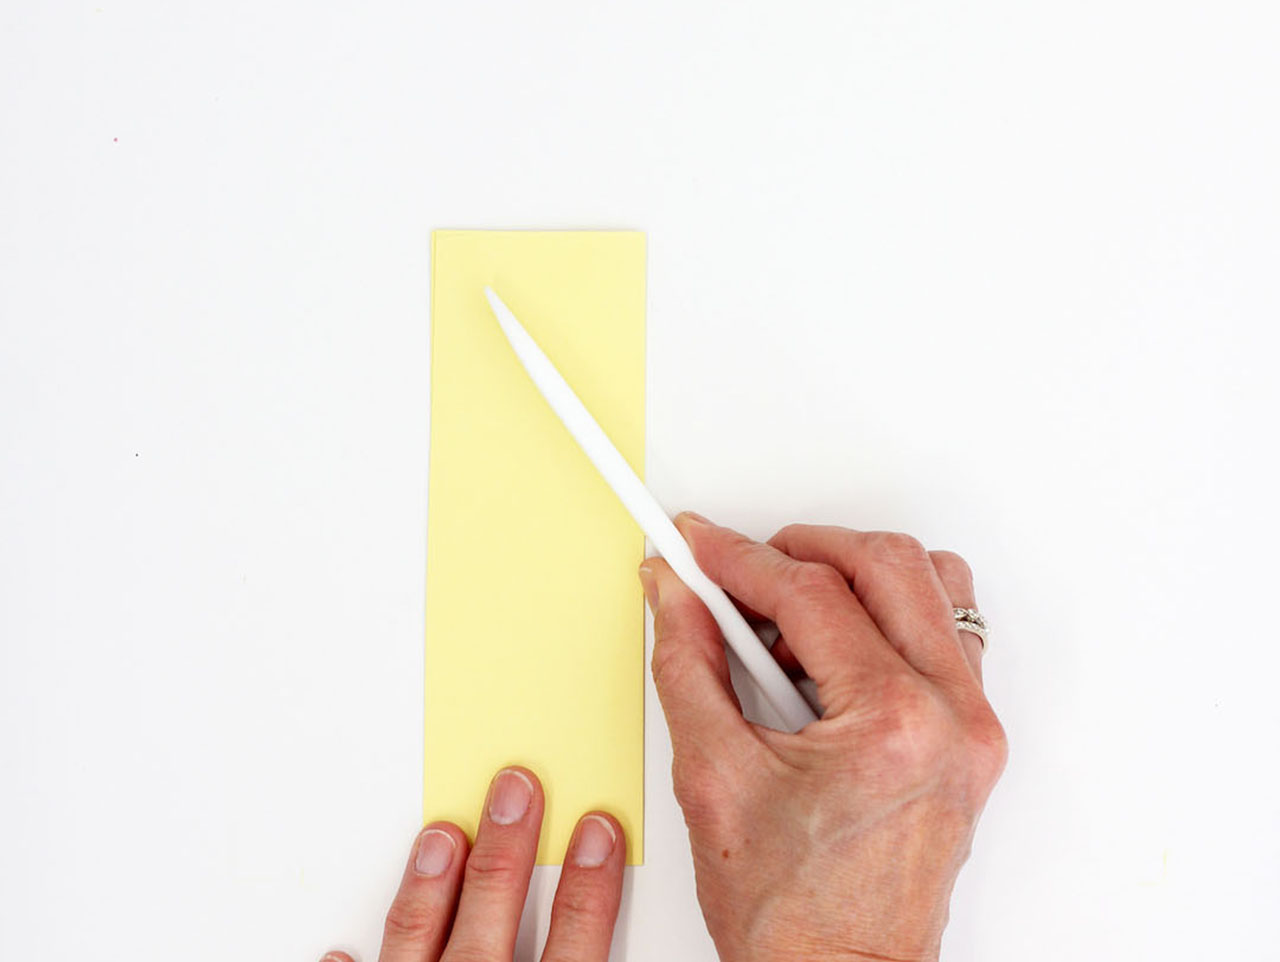
Start with rectangle sized paper. Fold paper in half, long wise.
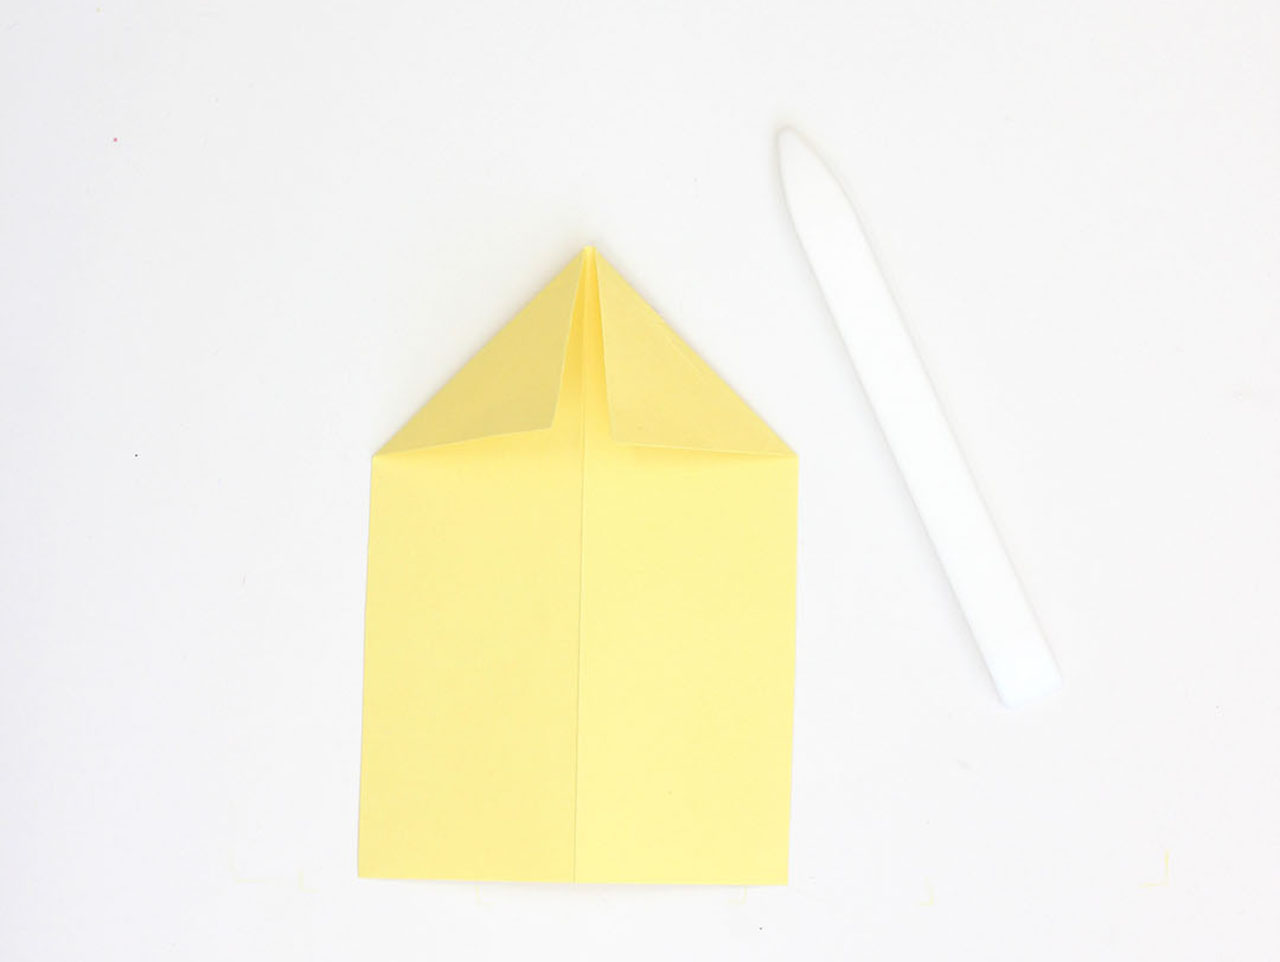
Fold the top corners into the center fold.
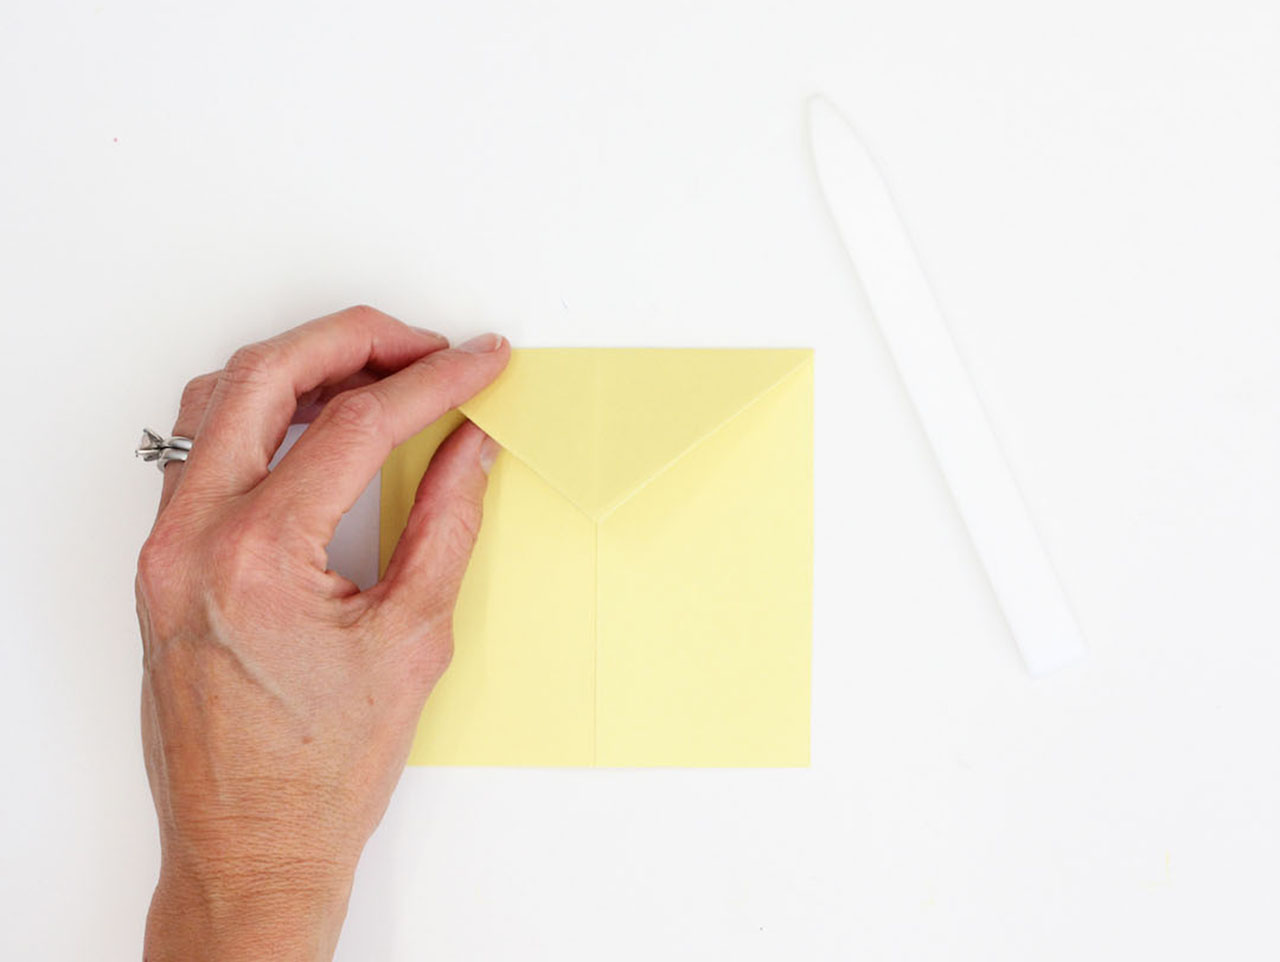
Next fold that angled piece down towards bottom of paper.
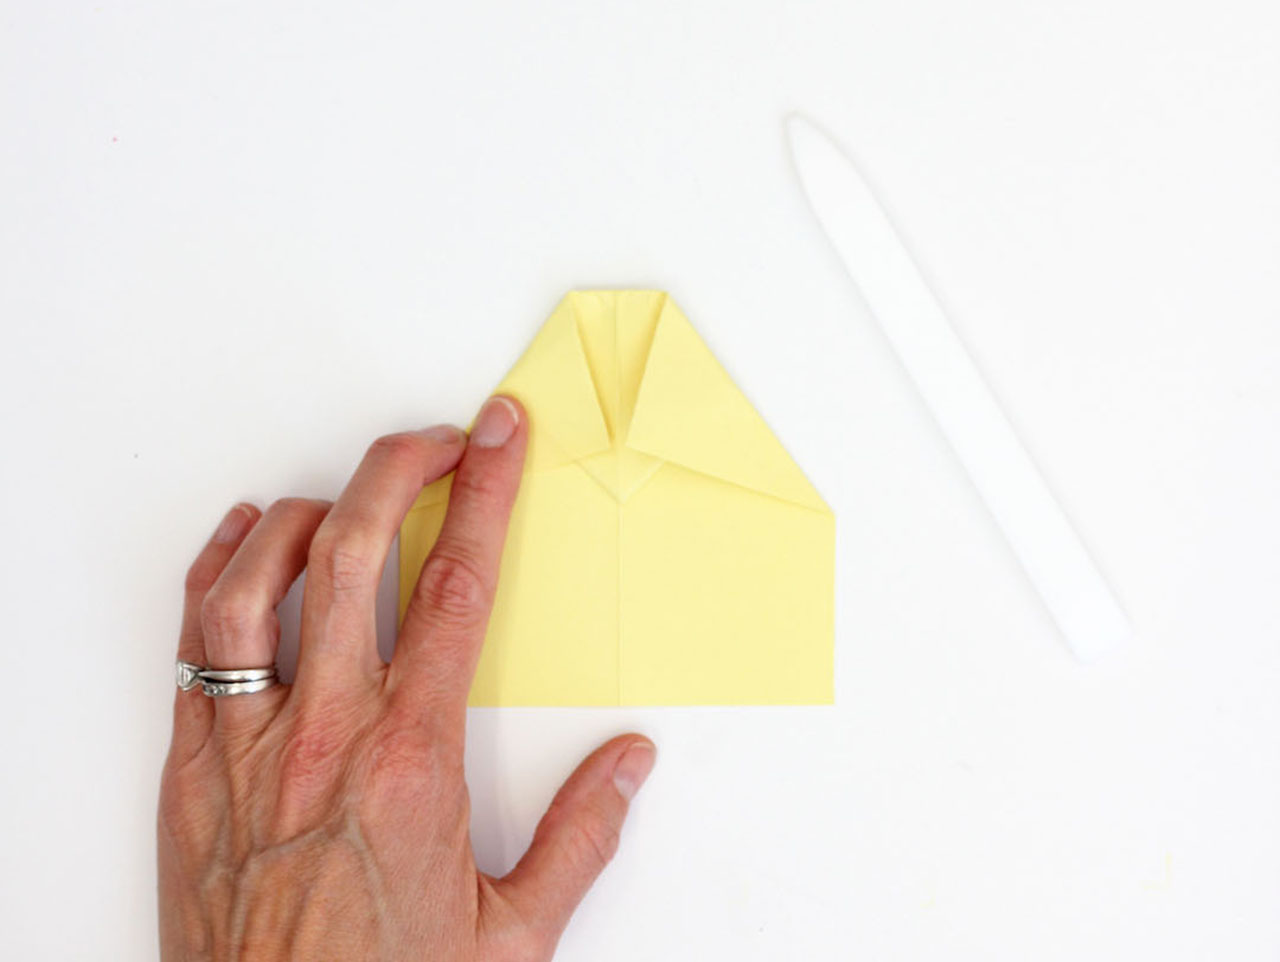
Fold the top corners in the center. You will have the tip of the triangle fold showing.
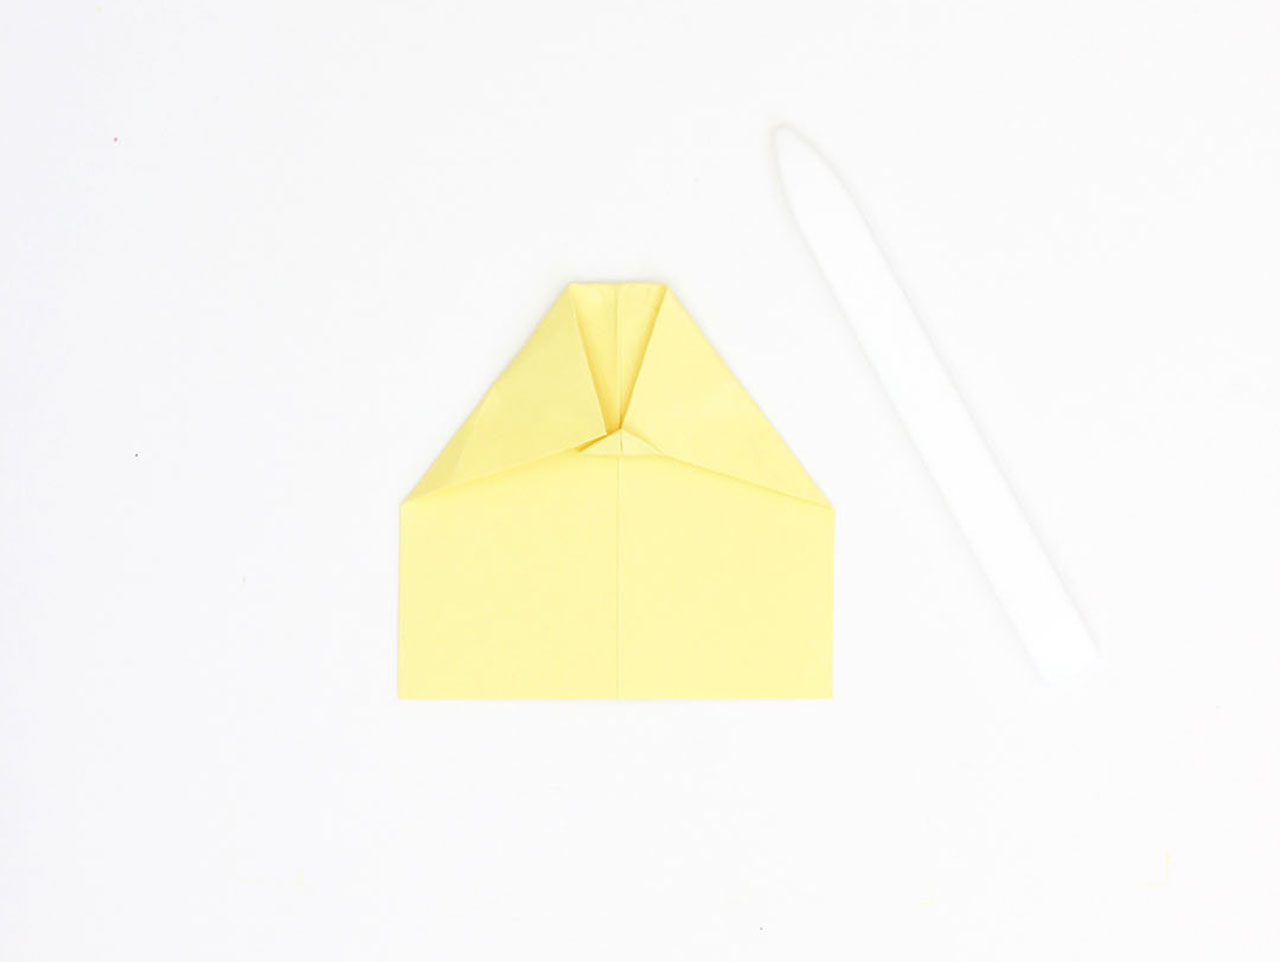
Fold that triangle piece up and over the corners.
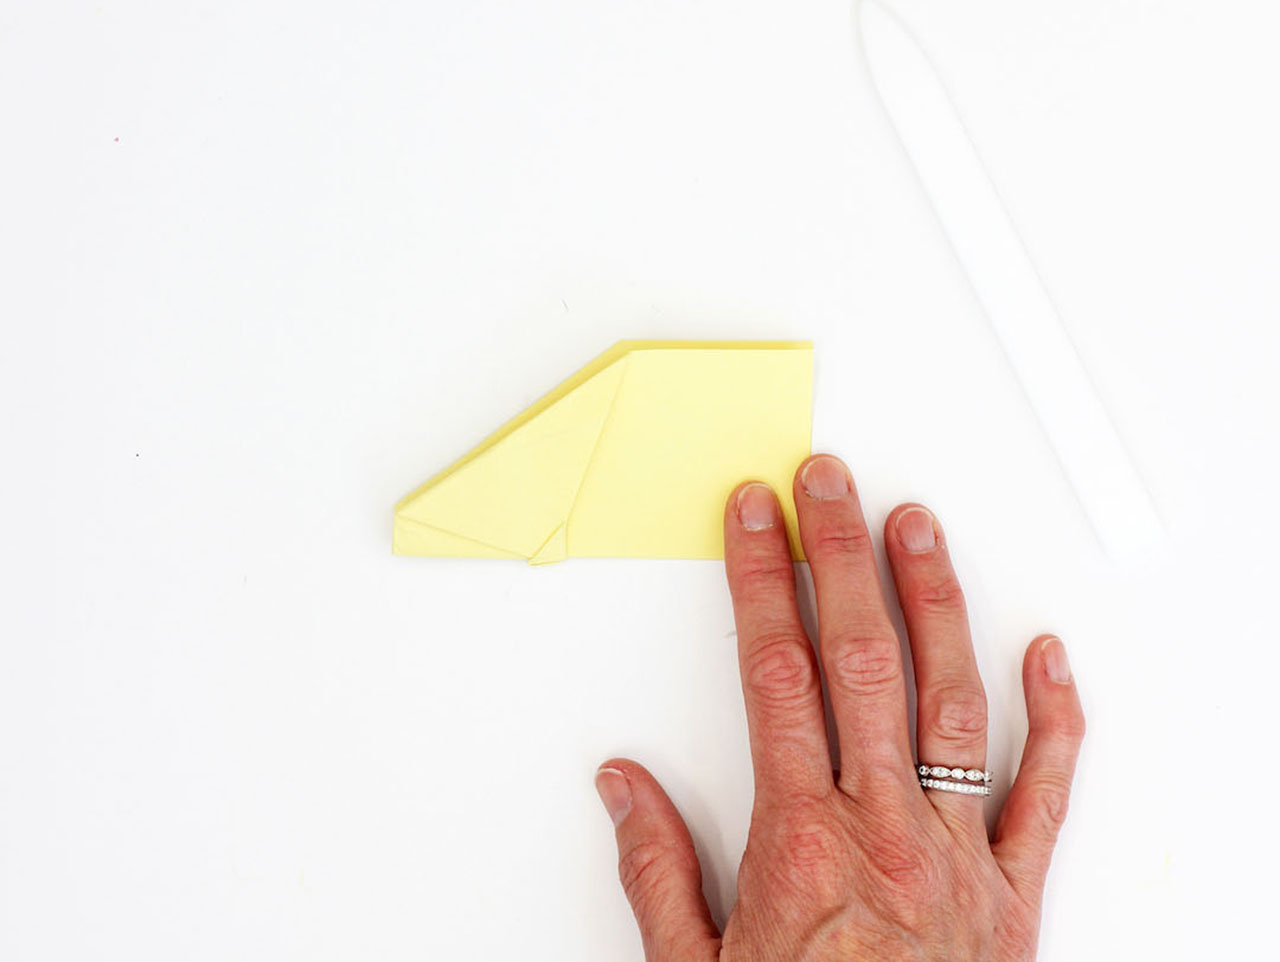
Next, fold the paper in half (on original fold).
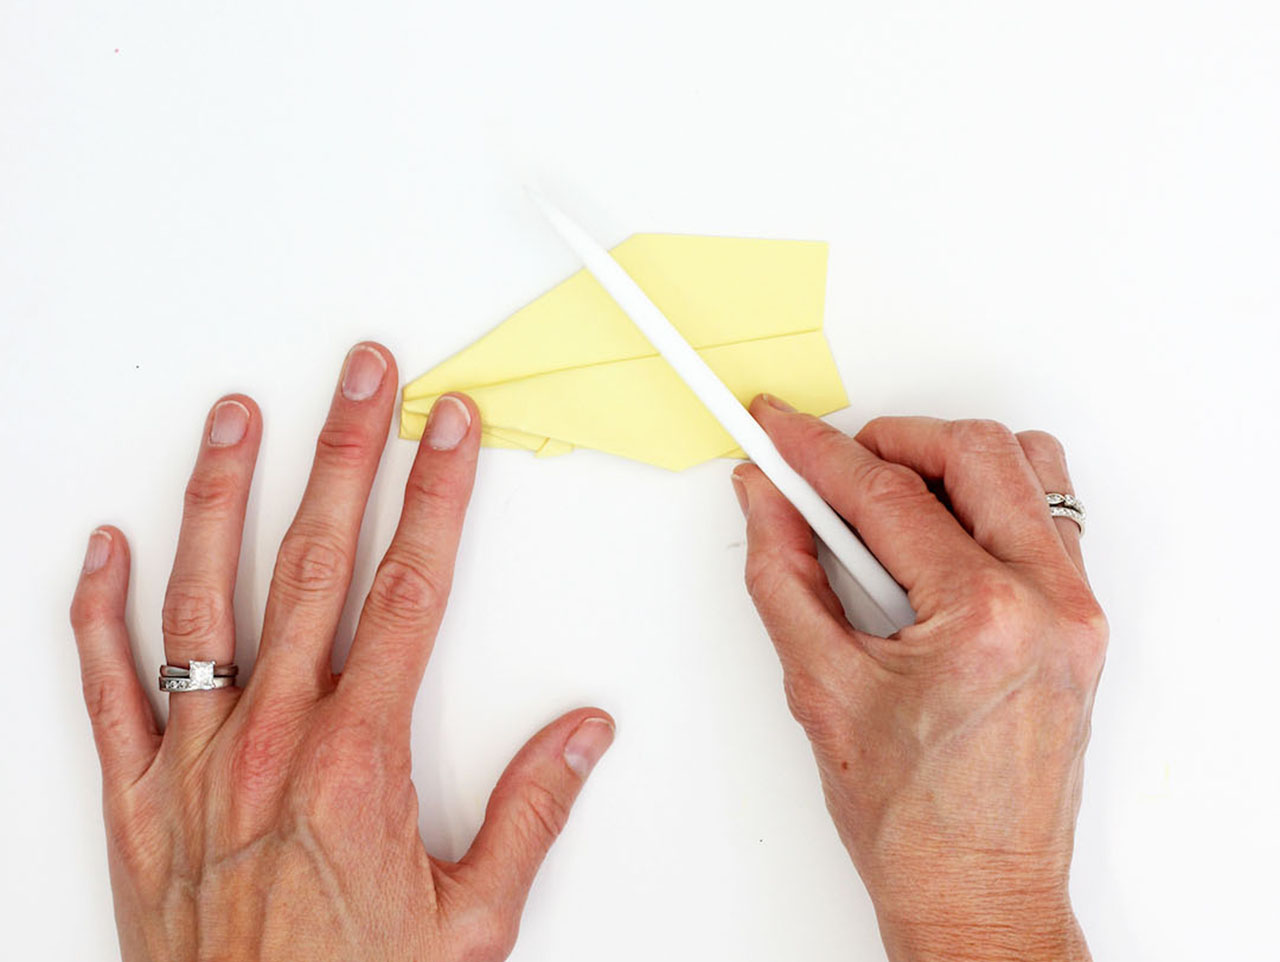
Fold the sides down to make the wings of the airplane. Do on both sides.
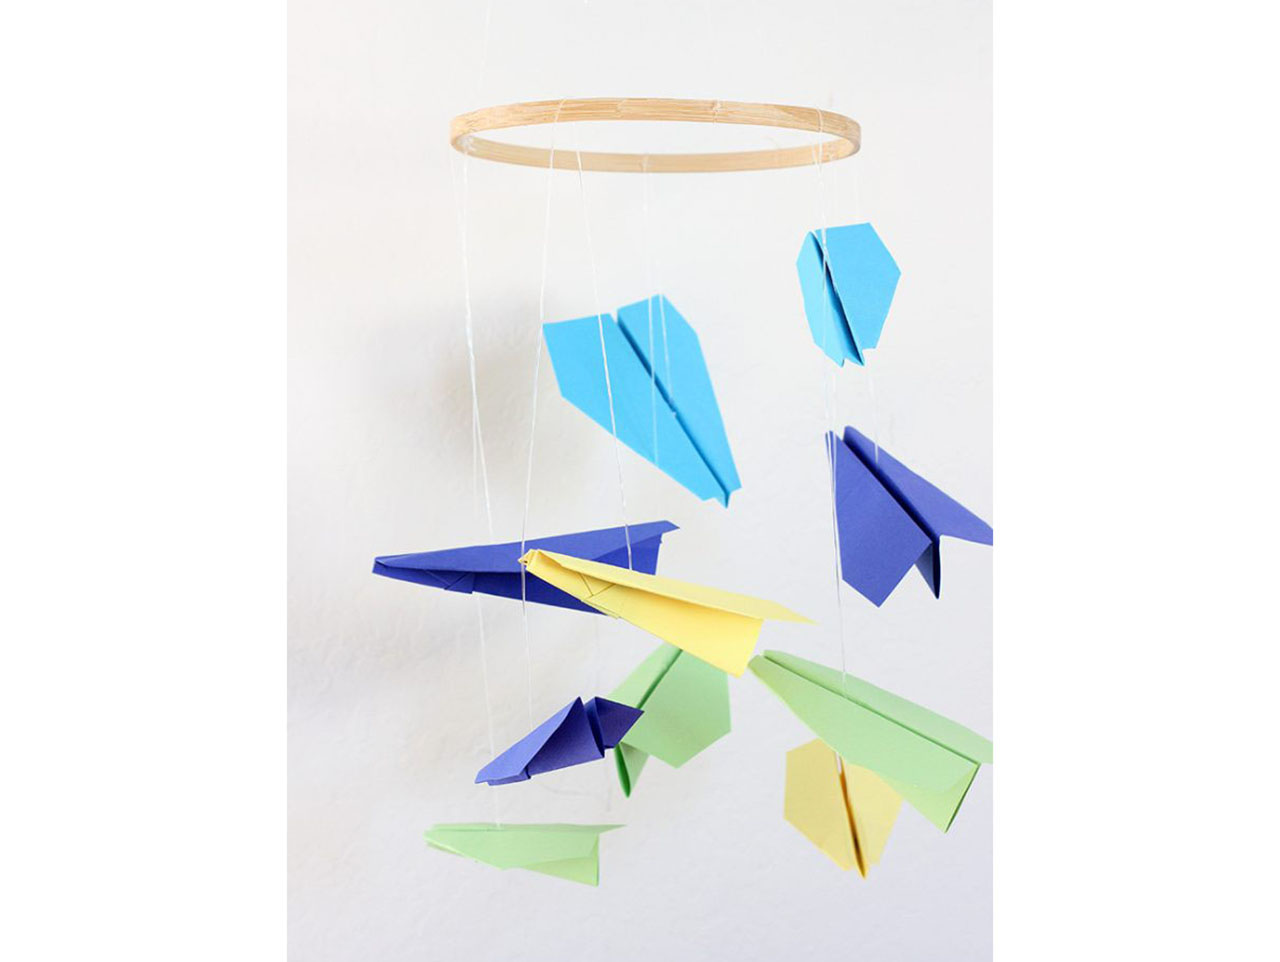
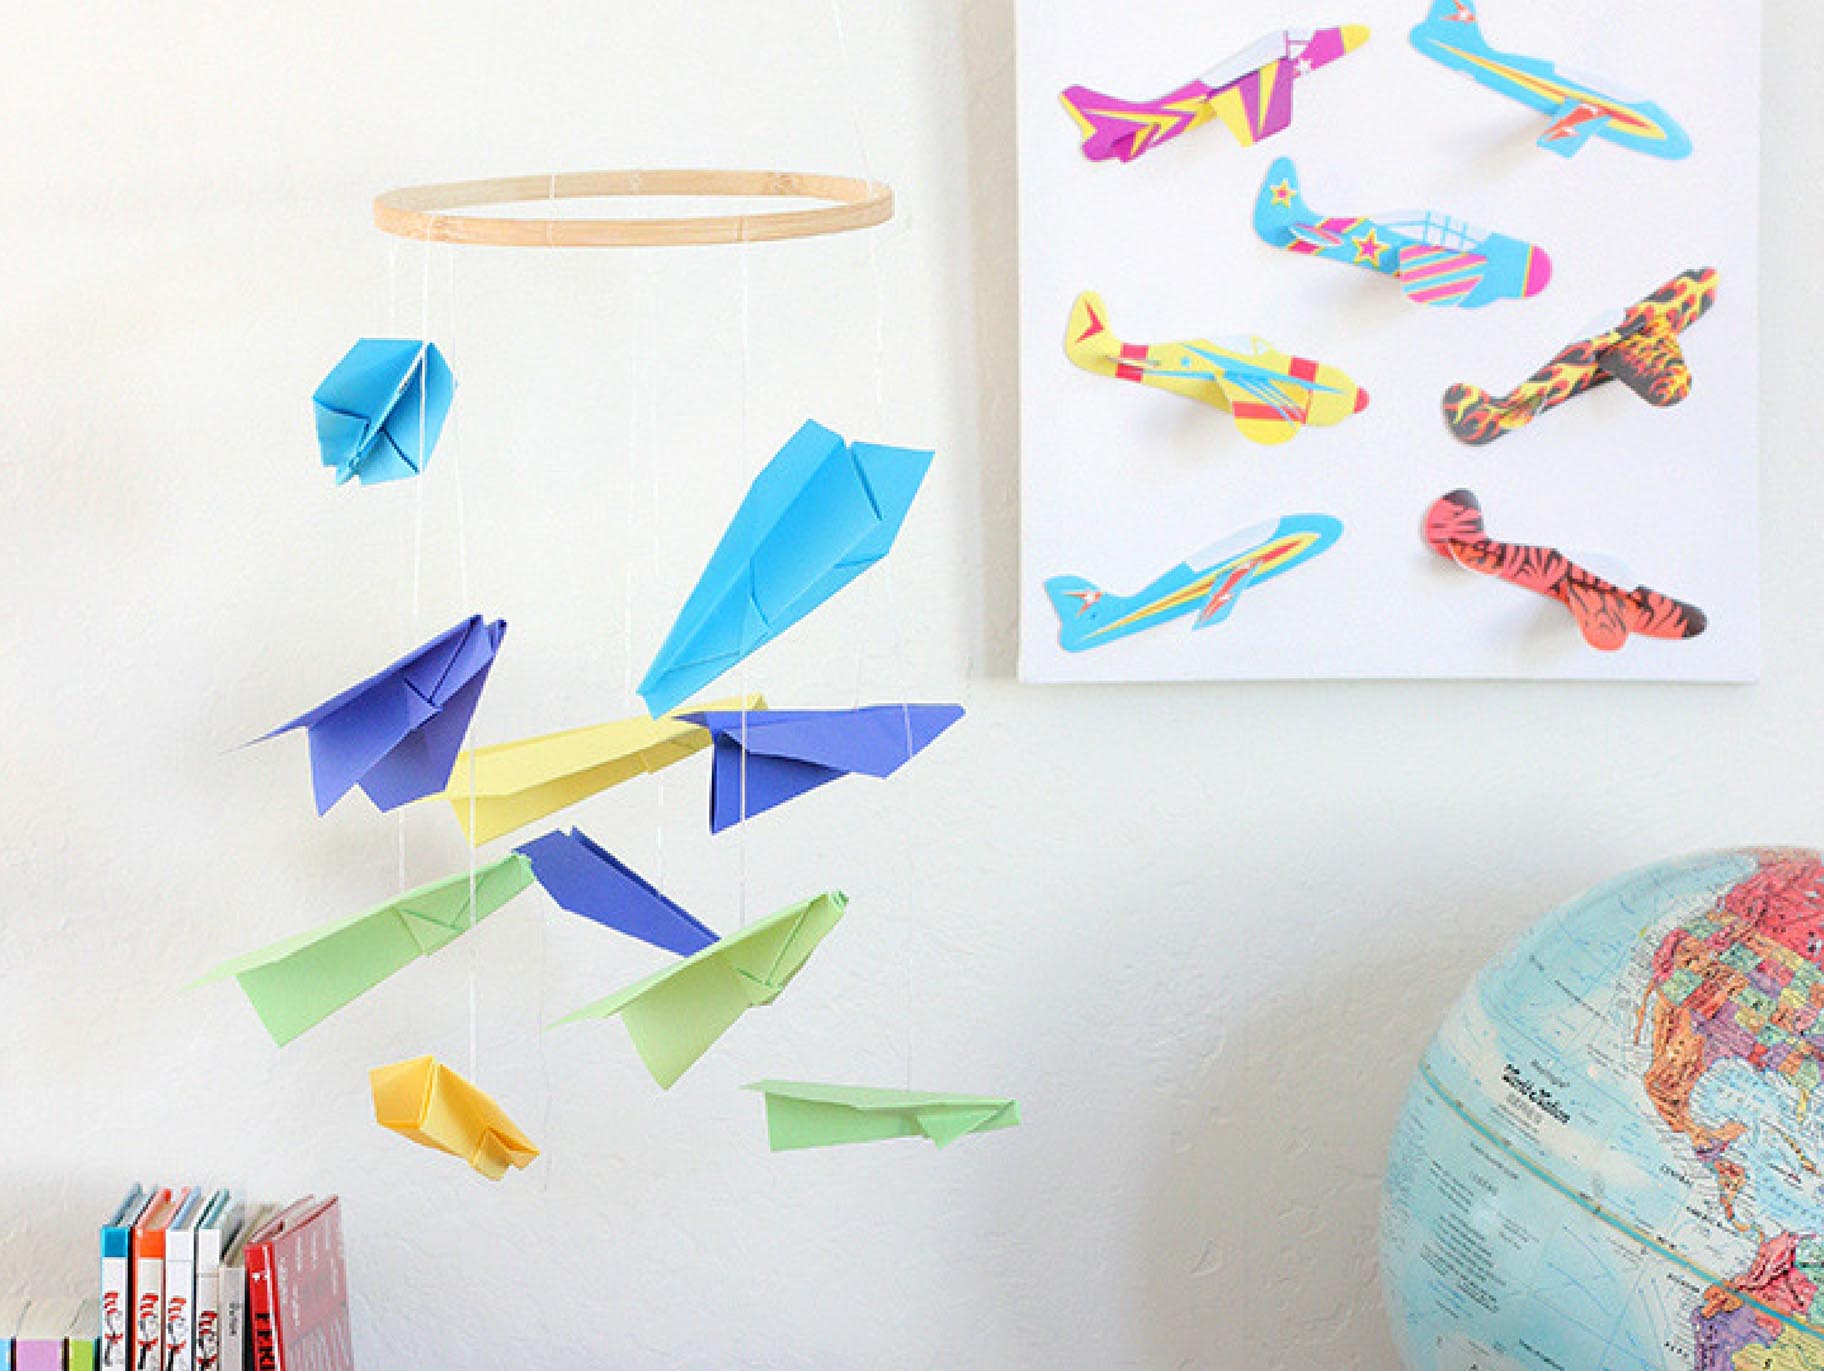
I used the inside of an 8″ embroidery hoop to make my paper airplane décor piece. Use a glue gun to attach the cord to the inside fold of the paper airplane. Because the plane is a bit top heavy, glue the cord a little off center (towards front) to balance. Tie the cord around the embroidery hoop. Hang as many planes as you want and hang from the ceiling by attaching three pieces of cording to hoop.

All you need are some foam gliders, canvas and a hot glue gun. Slide the wings into plane and cut the back side of wings. Glue onto the canvas and voila – you have handmade art!
Be sure to check out our other Supply of the Month projects including these projects using the full color spectrum paper pack. DIY Magnetic Alphabet Pieces; by Carrie Waller, DIY Ombre Paper Loop Wreath; by Haeley Giambalvo, Modern 3-D Paper Cactus; by Amy Weir
Photos by Sara Albers.

Start with rectangle sized paper. Fold paper in half, long wise.

Fold the top corners into the center fold.

Next fold that angled piece down towards bottom of paper.

Fold the top corners in the center. You will have the tip of the triangle fold showing.

Fold that triangle piece up and over the corners.

Next, fold the paper in half (on original fold).

Fold the sides down to make the wings of the airplane. Do on both sides.

I used the inside of an 8″ embroidery hoop to make my paper airplane décor piece. Use a glue gun to attach the cord to the inside fold of the paper airplane. Because the plane is a bit top heavy, glue the cord a little off center (towards front) to balance. Tie the cord around the embroidery hoop. Hang as many planes as you want and hang from the ceiling by attaching three pieces of cording to hoop.

All you need are some foam gliders, canvas and a hot glue gun. Slide the wings into plane and cut the back side of wings. Glue onto the canvas and voila – you have handmade art!
Be sure to check out our other Supply of the Month projects including these projects using the full color spectrum paper pack. DIY Magnetic Alphabet Pieces; by Carrie Waller, DIY Ombre Paper Loop Wreath; by Haeley Giambalvo, Modern 3-D Paper Cactus; by Amy Weir
Photos by Sara Albers.

