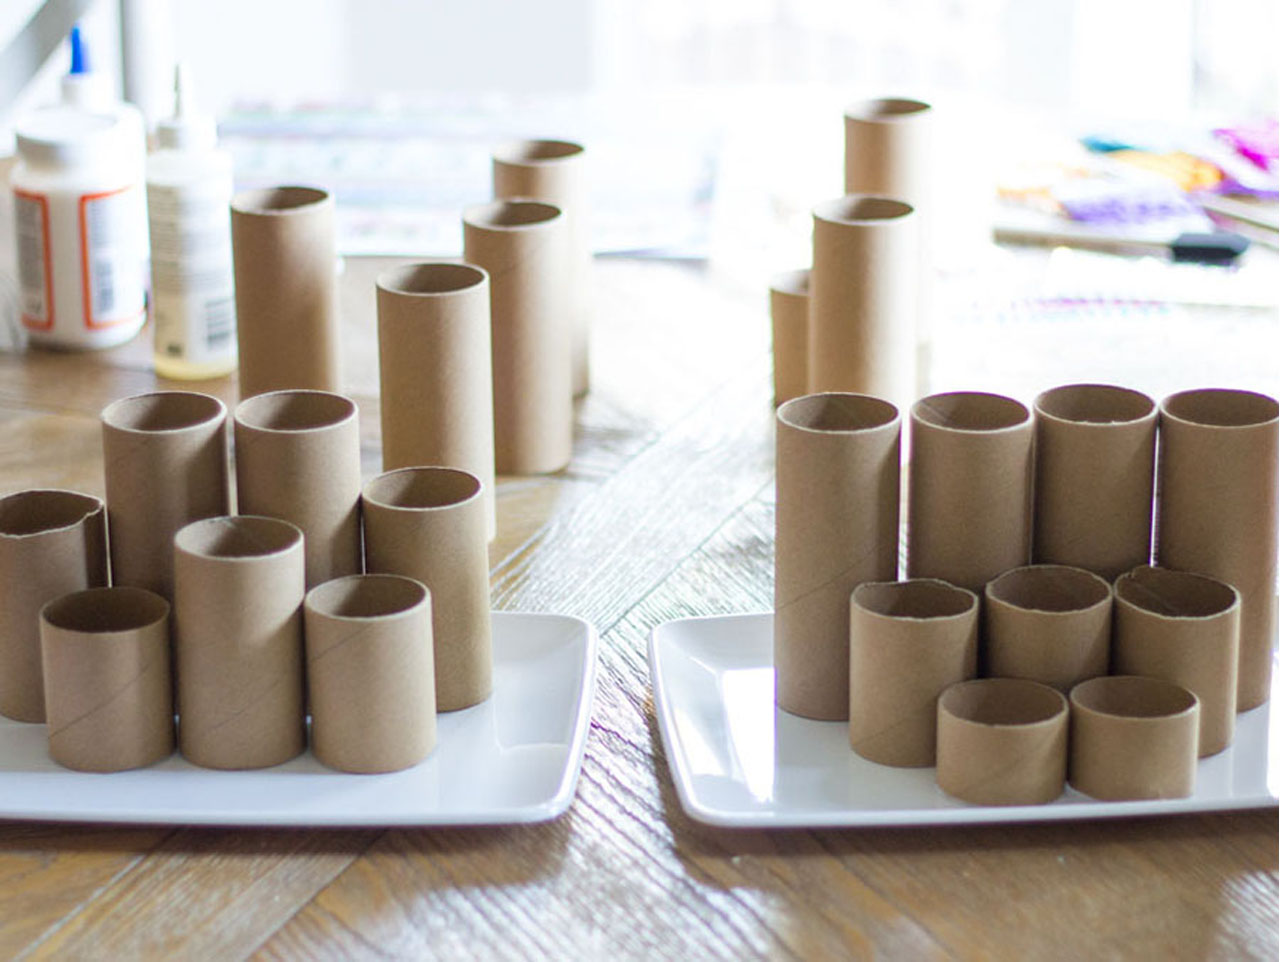
You can cut the craft rolls to different sizes using a craft knife (an adult should do this step). Kids can then arrange the craft rolls on a small tray to determine the design they want to create for their DIY desk organizer and the number of craft rolls they’ll need to decorate.
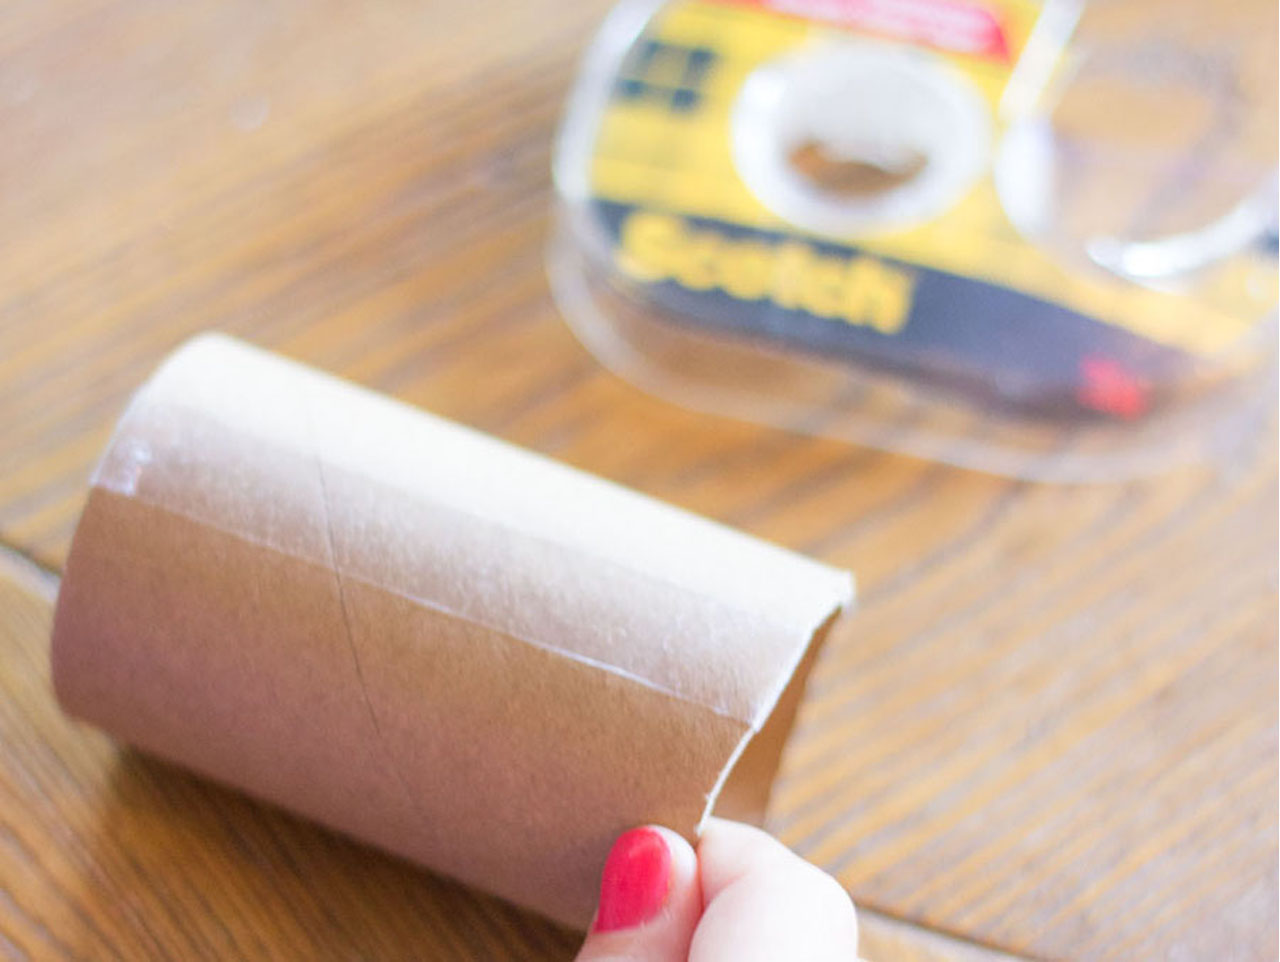
To cover the craft rolls with paper, first run a strip of double-sided tape down the length of the roll.
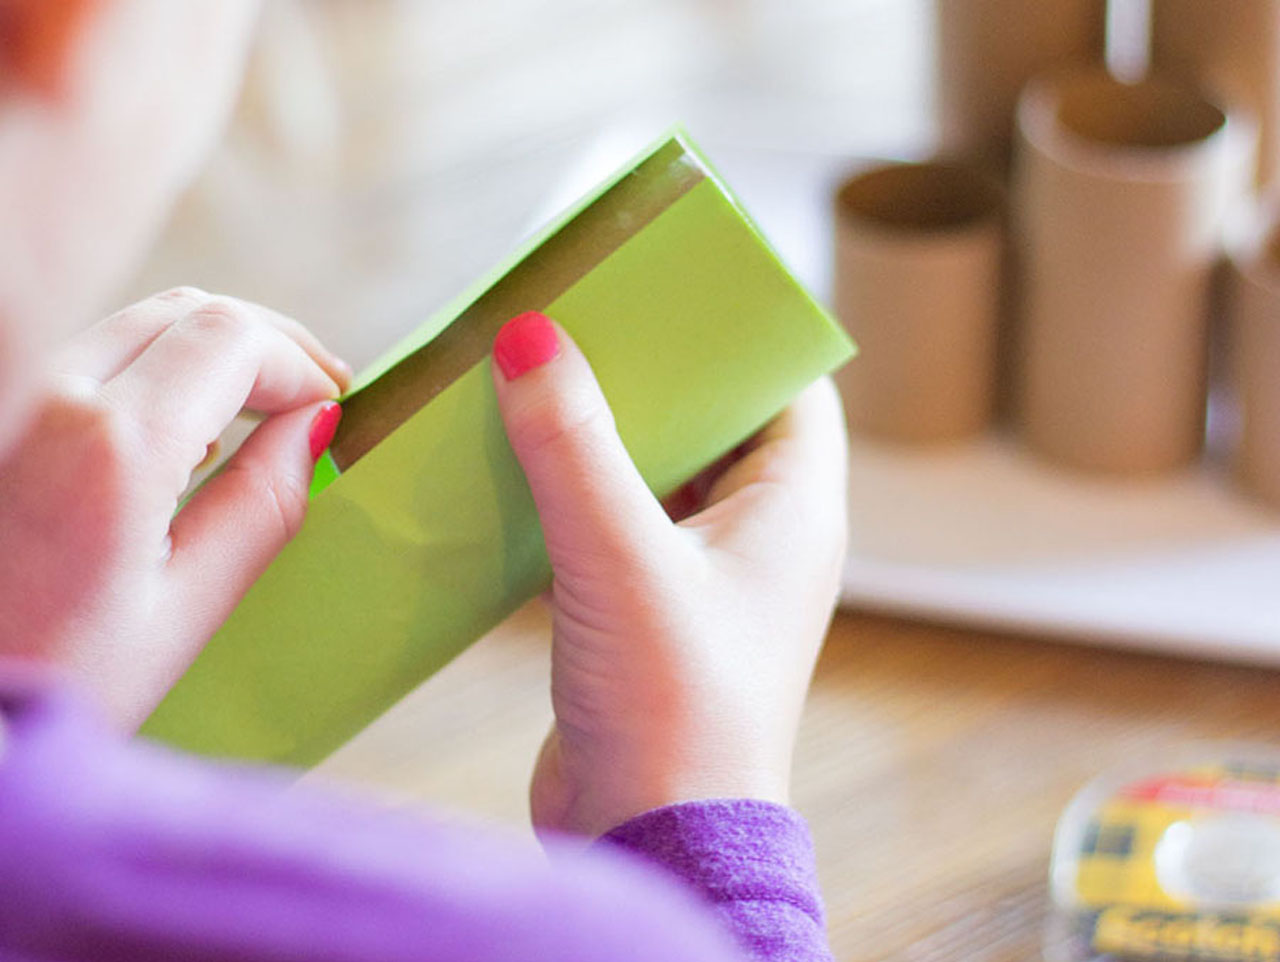
Then wrap a piece of origami paper around the roll by starting and ending at the double-sided tape. The 6″ x 6″ origami paper is the perfect size to wrap around the craft roll. You can also cut any other colorful or patterned paper into 6″ x 6″ squares.
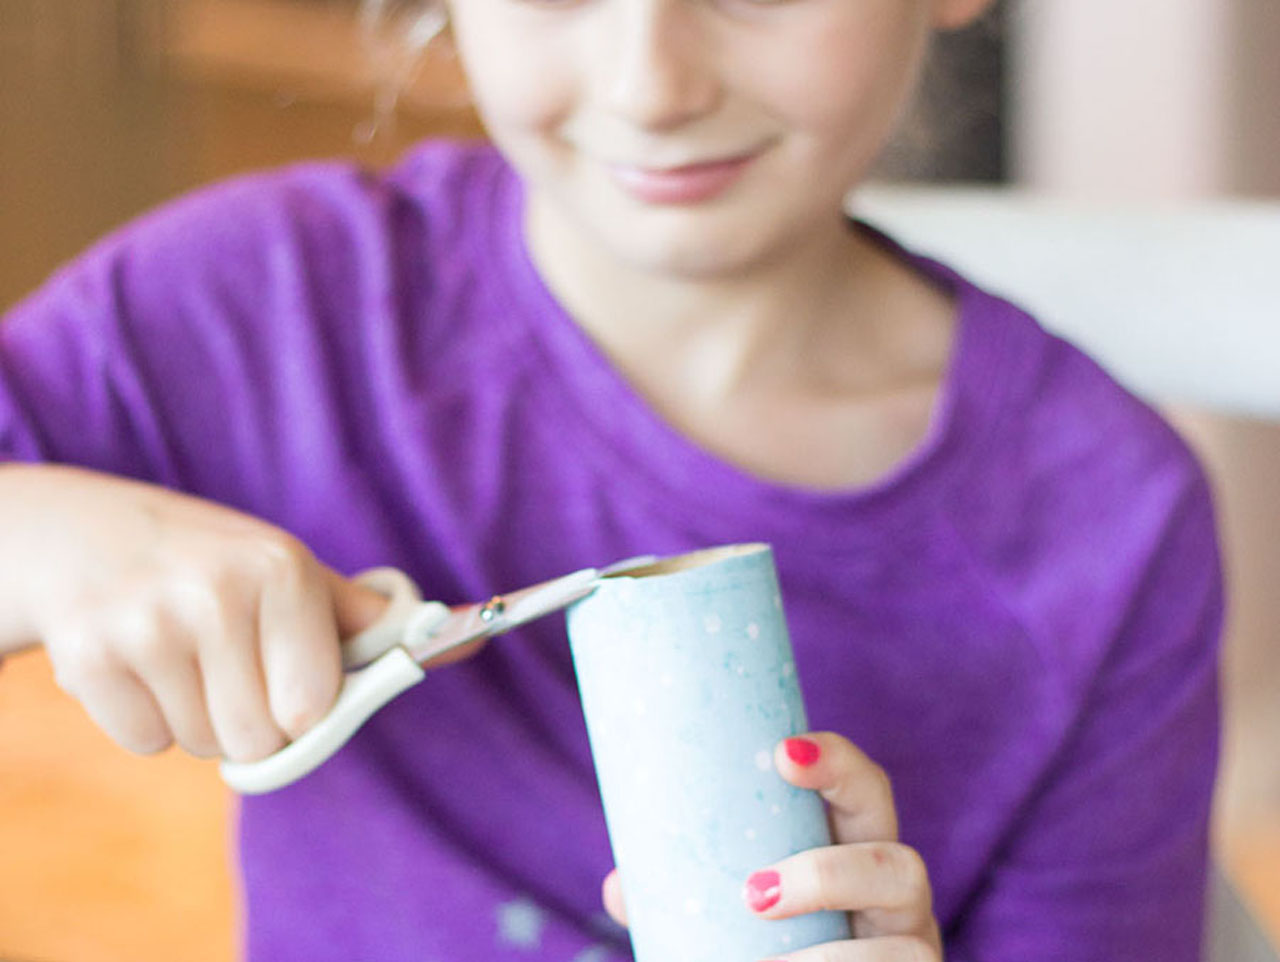
Use a small pair of detailing scissors to trim any excess paper at the top of the craft paper roll. Don’t worry if the paper is trimmed perfectly – you can always put that side facing down on the tray!
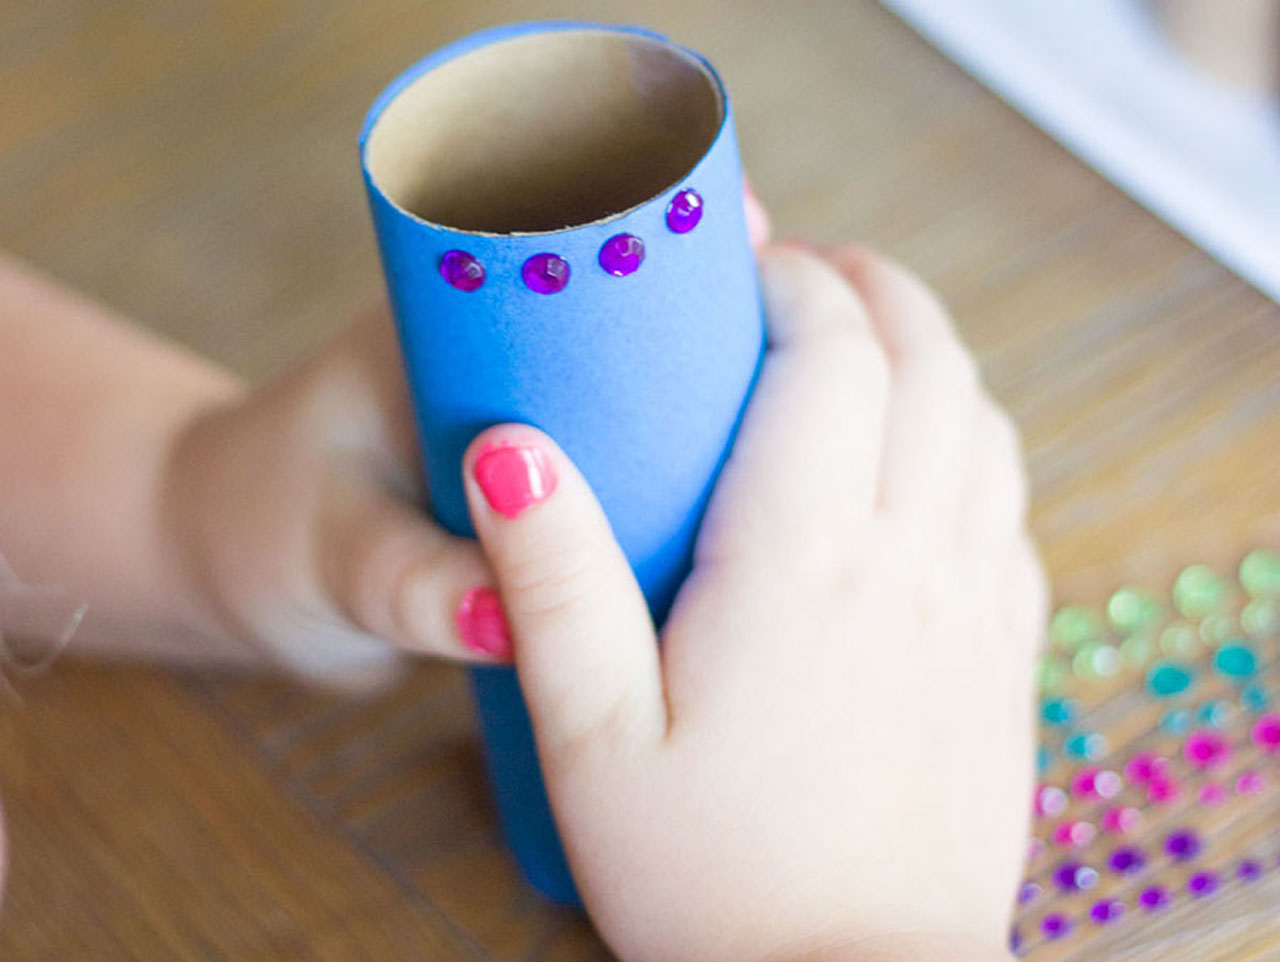

Once the craft paper rolls are covered with paper you can decorate them however you like such as with these fun self-adhesive jewels.
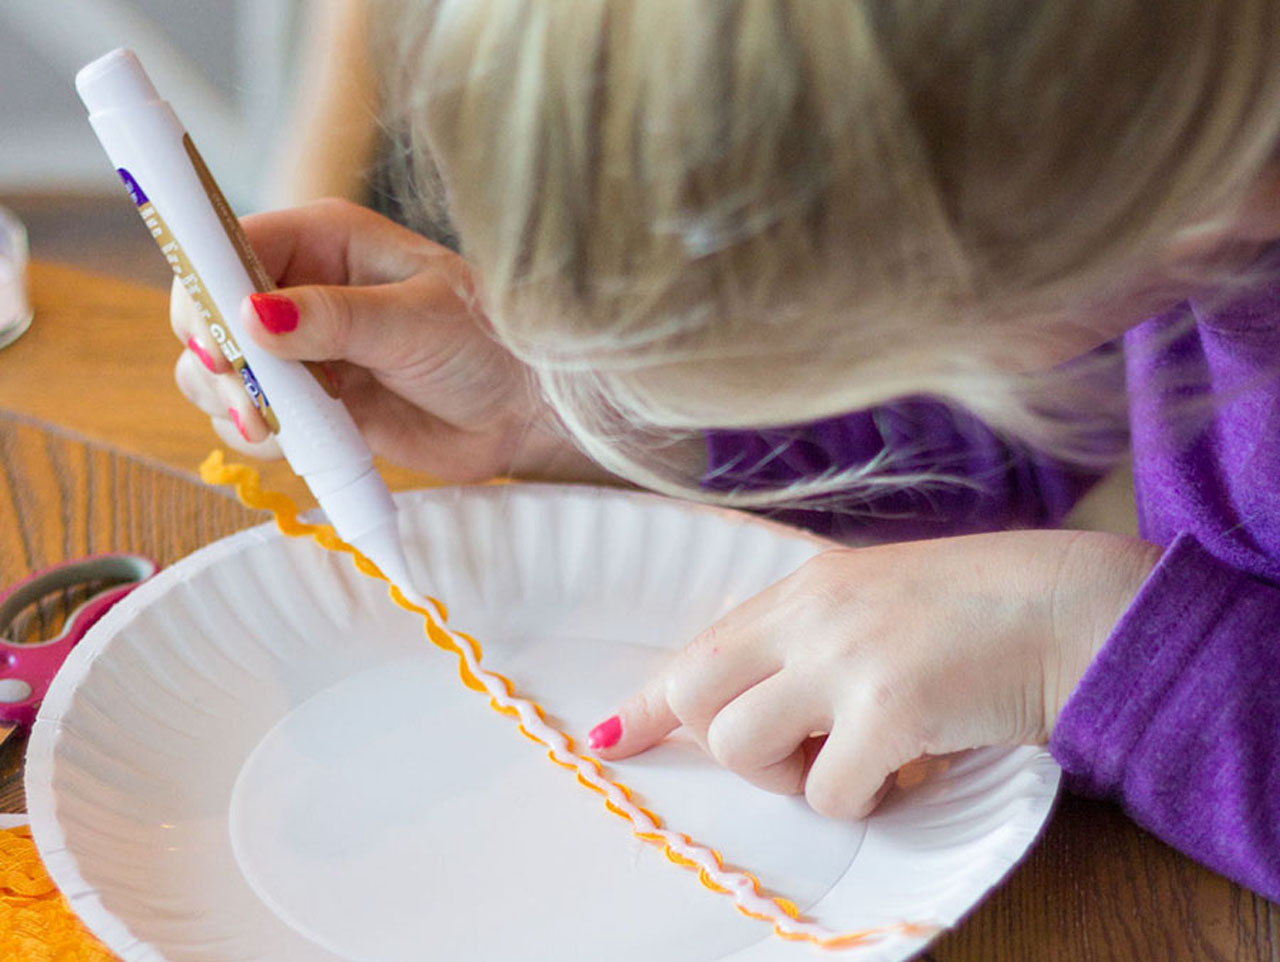
You can also wrap strips of colorful rickrack around the rolls by applying a thin bead of craft glue with tacky glue.
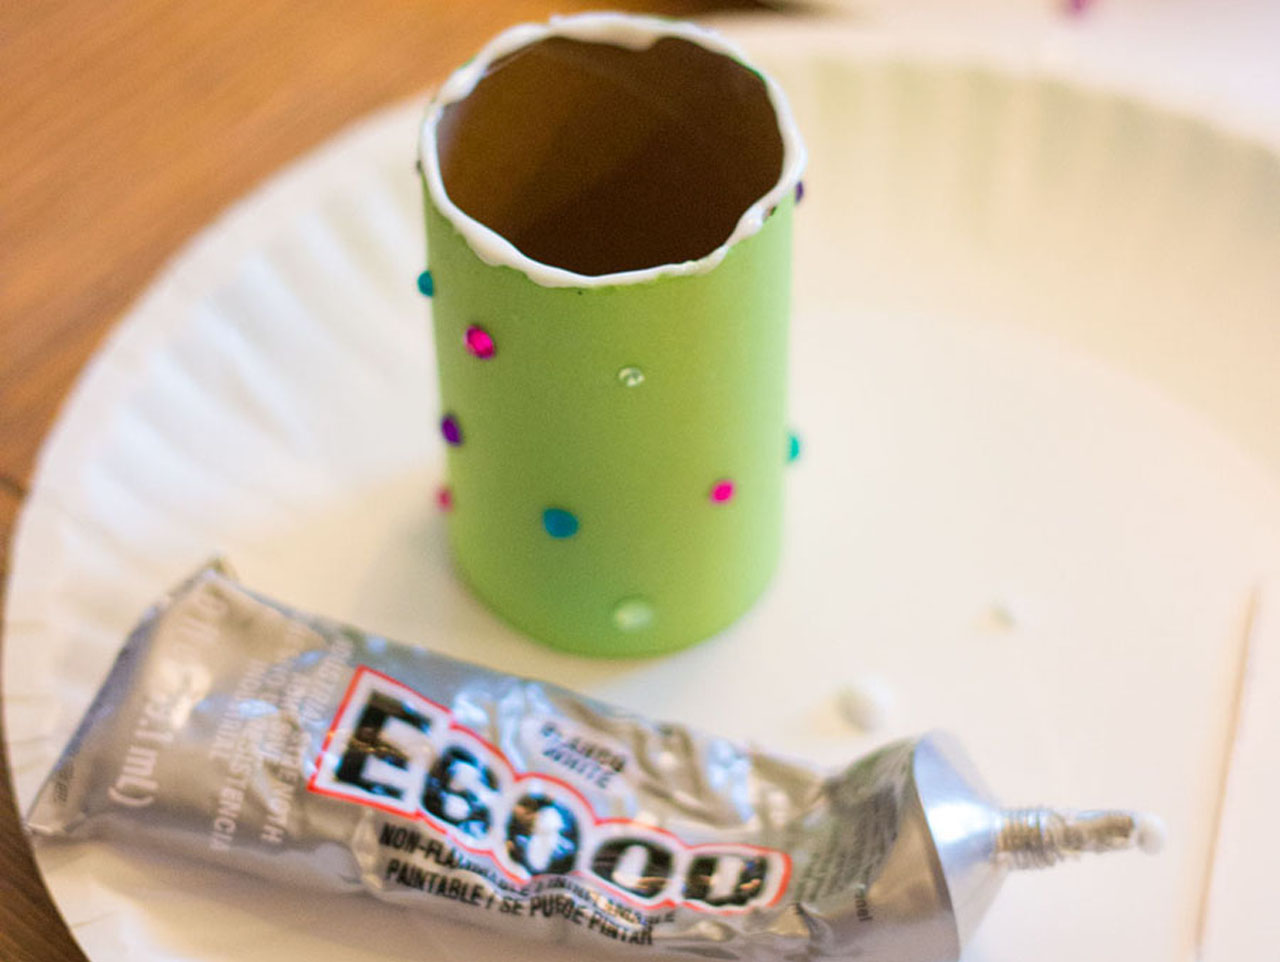
Have an adult glue the craft rolls to the tray by applying a generous bead of e6000 craft glue along the base of the craft paper roll and pressing the roll into the tray. Once you have glued all the craft rolls, let the glue dry overnight.
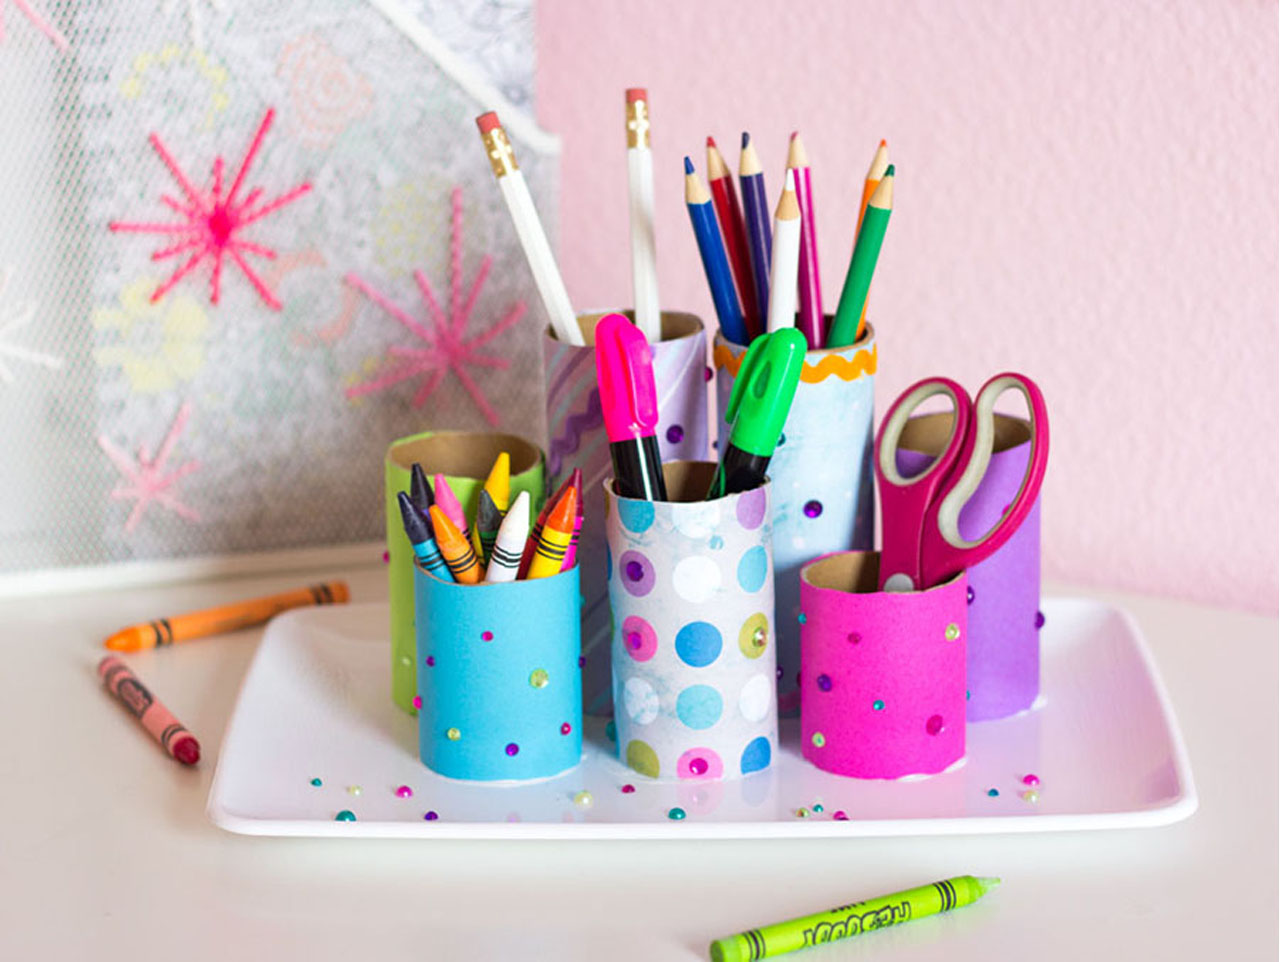
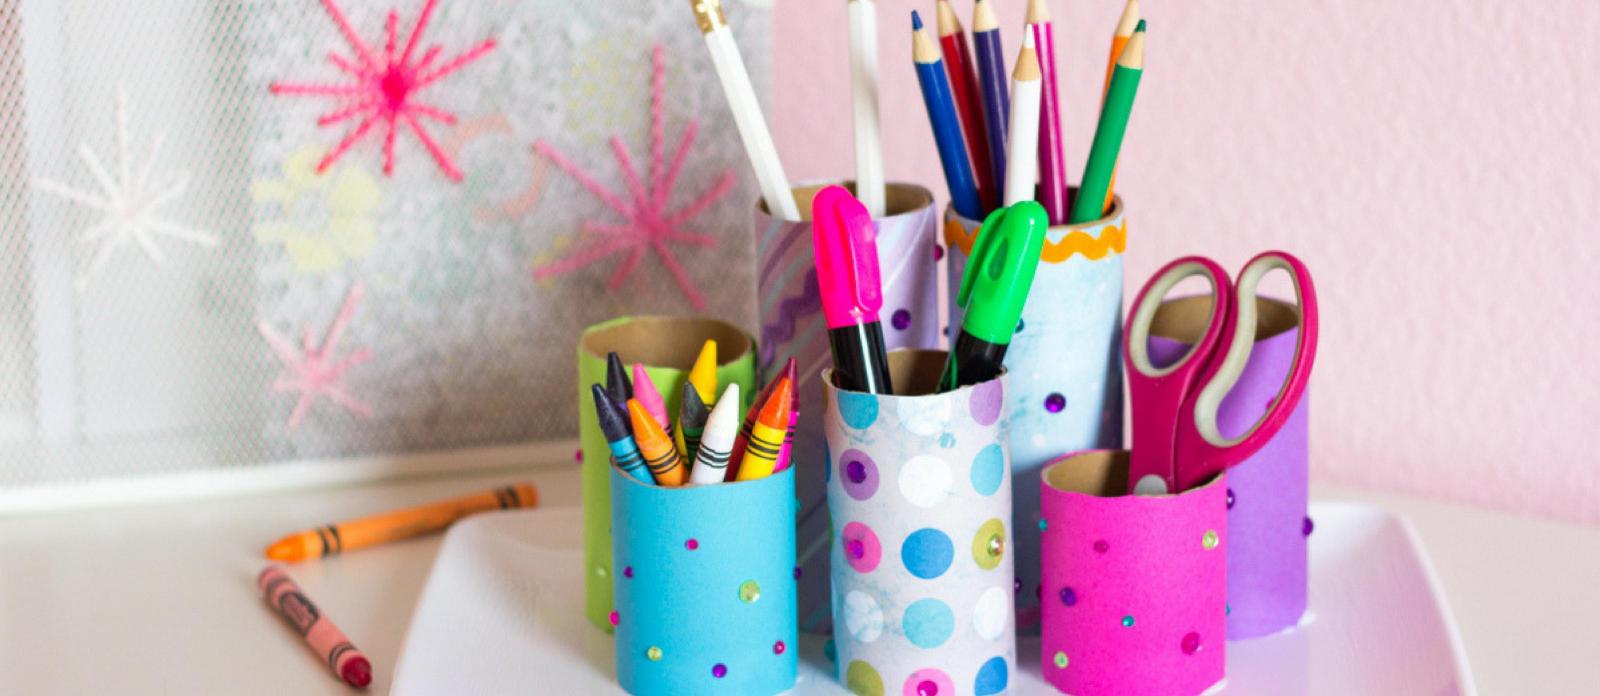
Now your desk organizer is ready to be filled with all your favorite things!

You can cut the craft rolls to different sizes using a craft knife (an adult should do this step). Kids can then arrange the craft rolls on a small tray to determine the design they want to create for their DIY desk organizer and the number of craft rolls they’ll need to decorate.

To cover the craft rolls with paper, first run a strip of double-sided tape down the length of the roll.

Then wrap a piece of origami paper around the roll by starting and ending at the double-sided tape. The 6″ x 6″ origami paper is the perfect size to wrap around the craft roll. You can also cut any other colorful or patterned paper into 6″ x 6″ squares.

Use a small pair of detailing scissors to trim any excess paper at the top of the craft paper roll. Don’t worry if the paper is trimmed perfectly – you can always put that side facing down on the tray!


Once the craft paper rolls are covered with paper you can decorate them however you like such as with these fun self-adhesive jewels.
You can also wrap strips of colorful rickrack around the rolls by applying a thin bead of craft glue with tacky glue.

Have an adult glue the craft rolls to the tray by applying a generous bead of e6000 craft glue along the base of the craft paper roll and pressing the roll into the tray. Once you have glued all the craft rolls, let the glue dry overnight.

Now your desk organizer is ready to be filled with all your favorite things!

