Based on the size of our tree and squares, I recommend 30″ in length for your kraft paper. You can make a smaller tree and create a smaller version of the advent calendar if you like.
Cut a piece of kraft paper approximately 30″ in length. Use washi tape to secure the paper to your table.
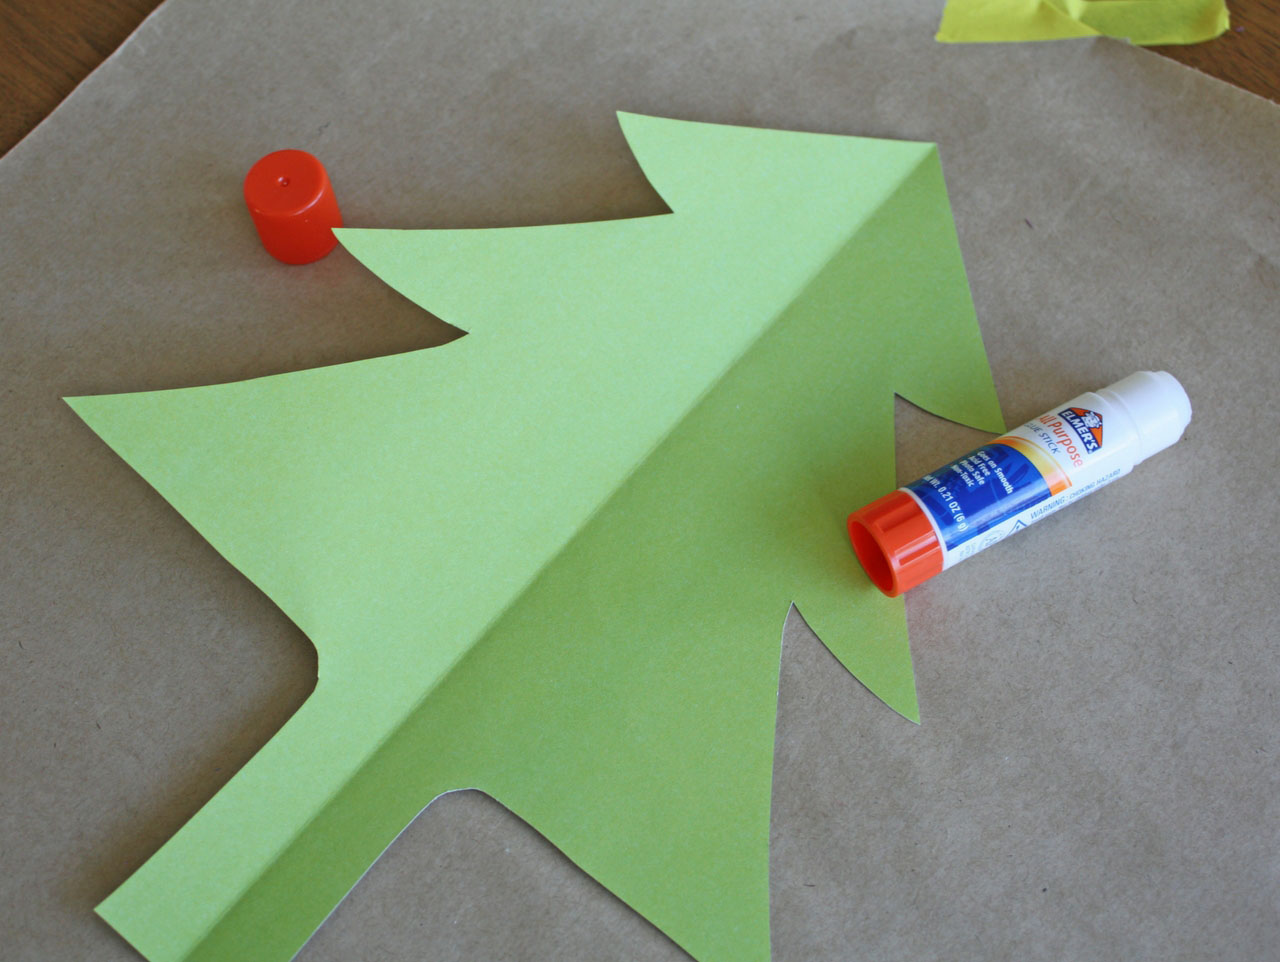
Trace out your tree on the green paper and cut out your tree with scissors. Use a glue stick to adhere your tree to the top of your kraft paper.
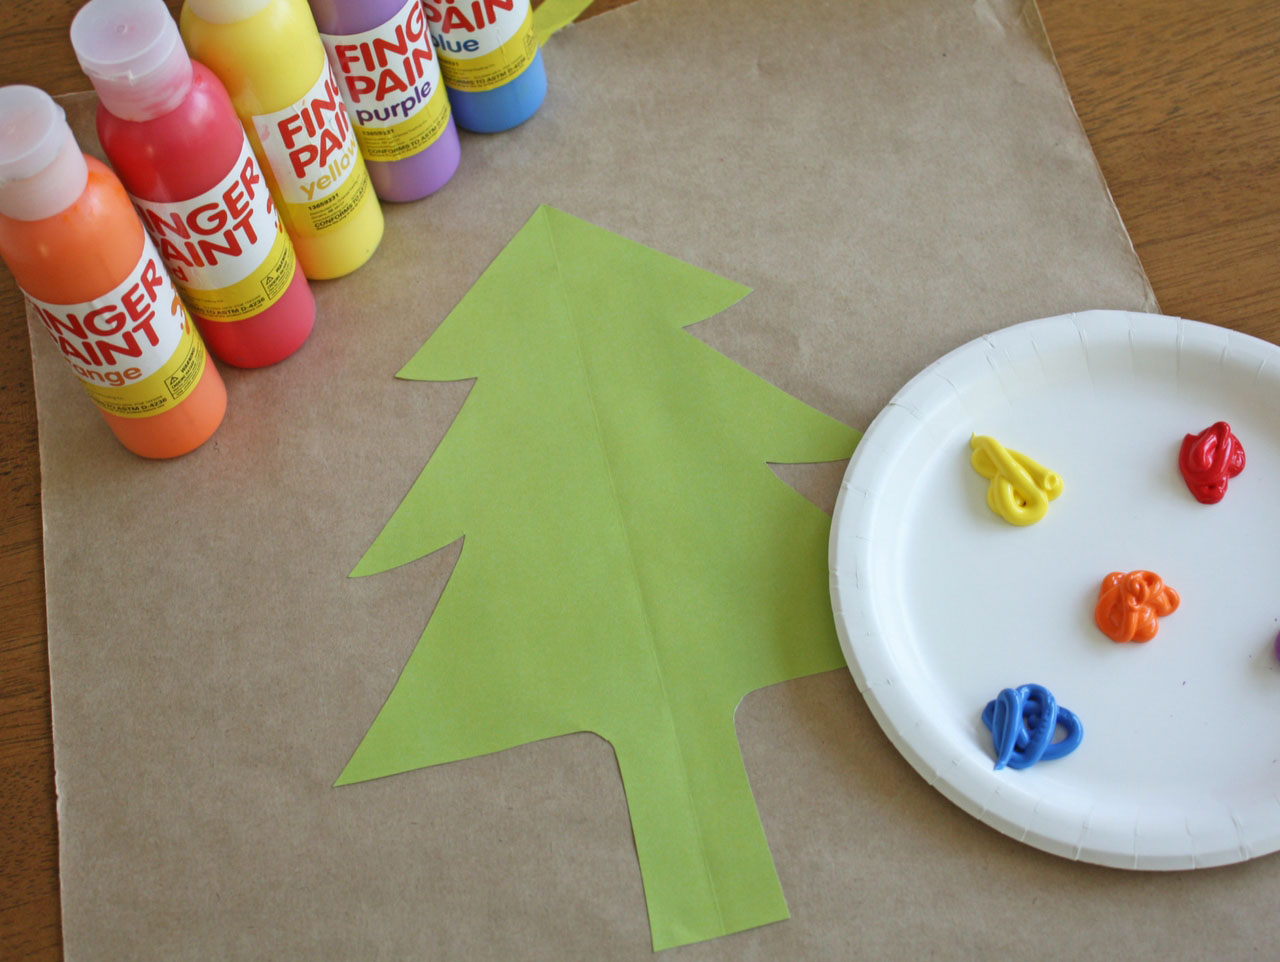

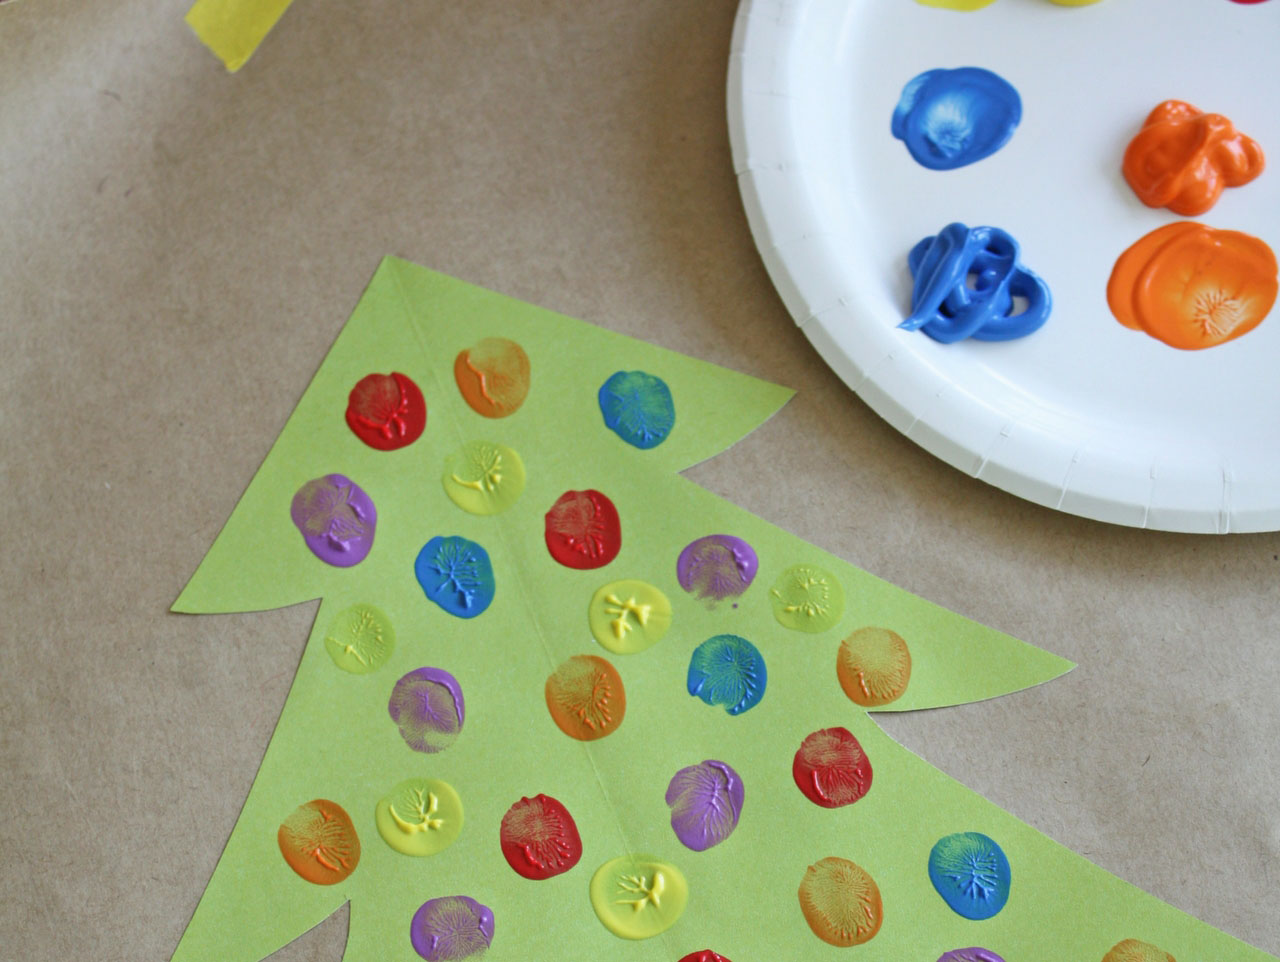
Finger paints make the best Christmas tree lights! Use the finger paints to add colorful lights to your Christmas tree.
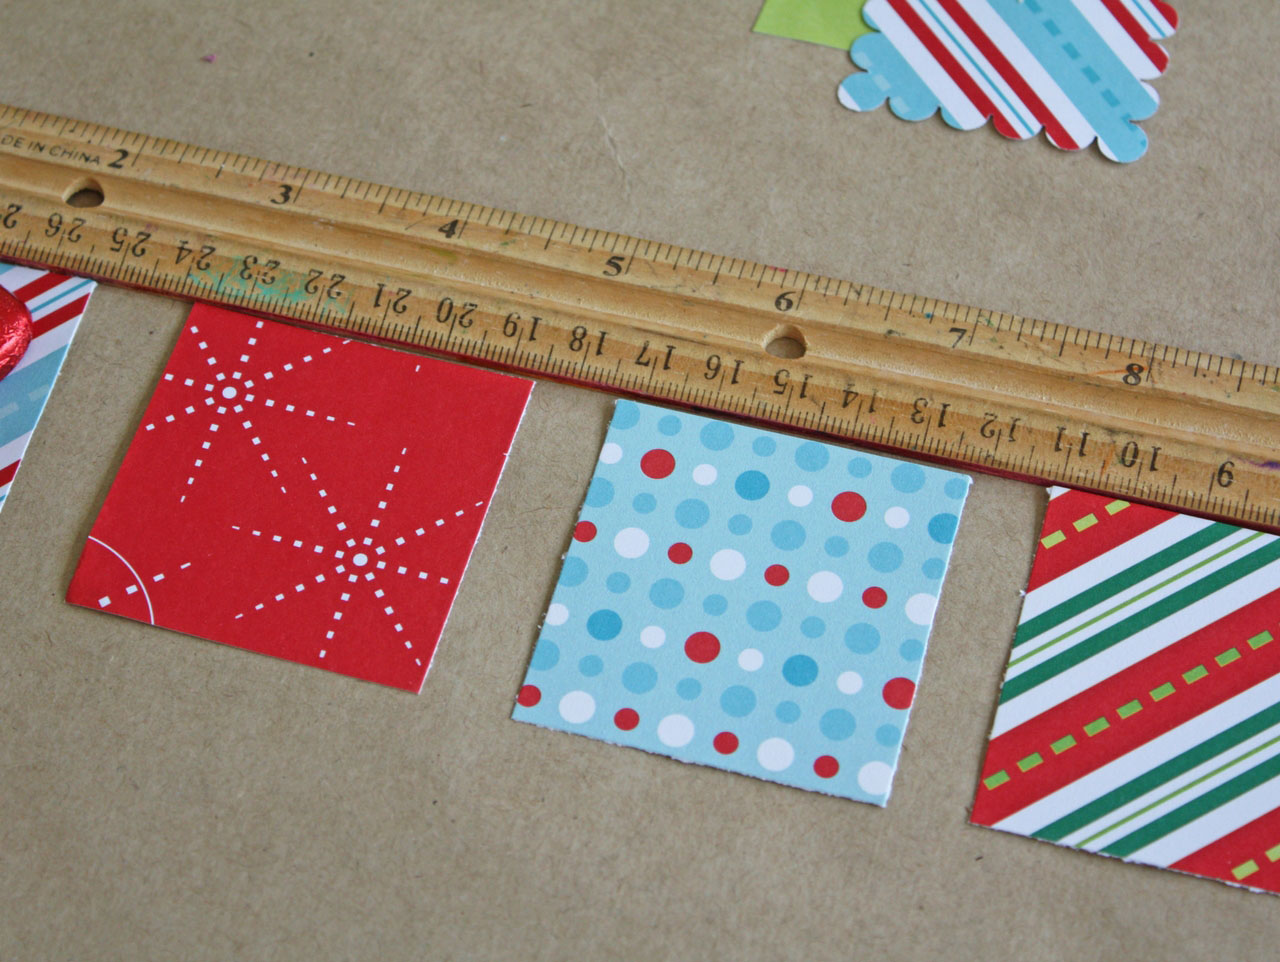

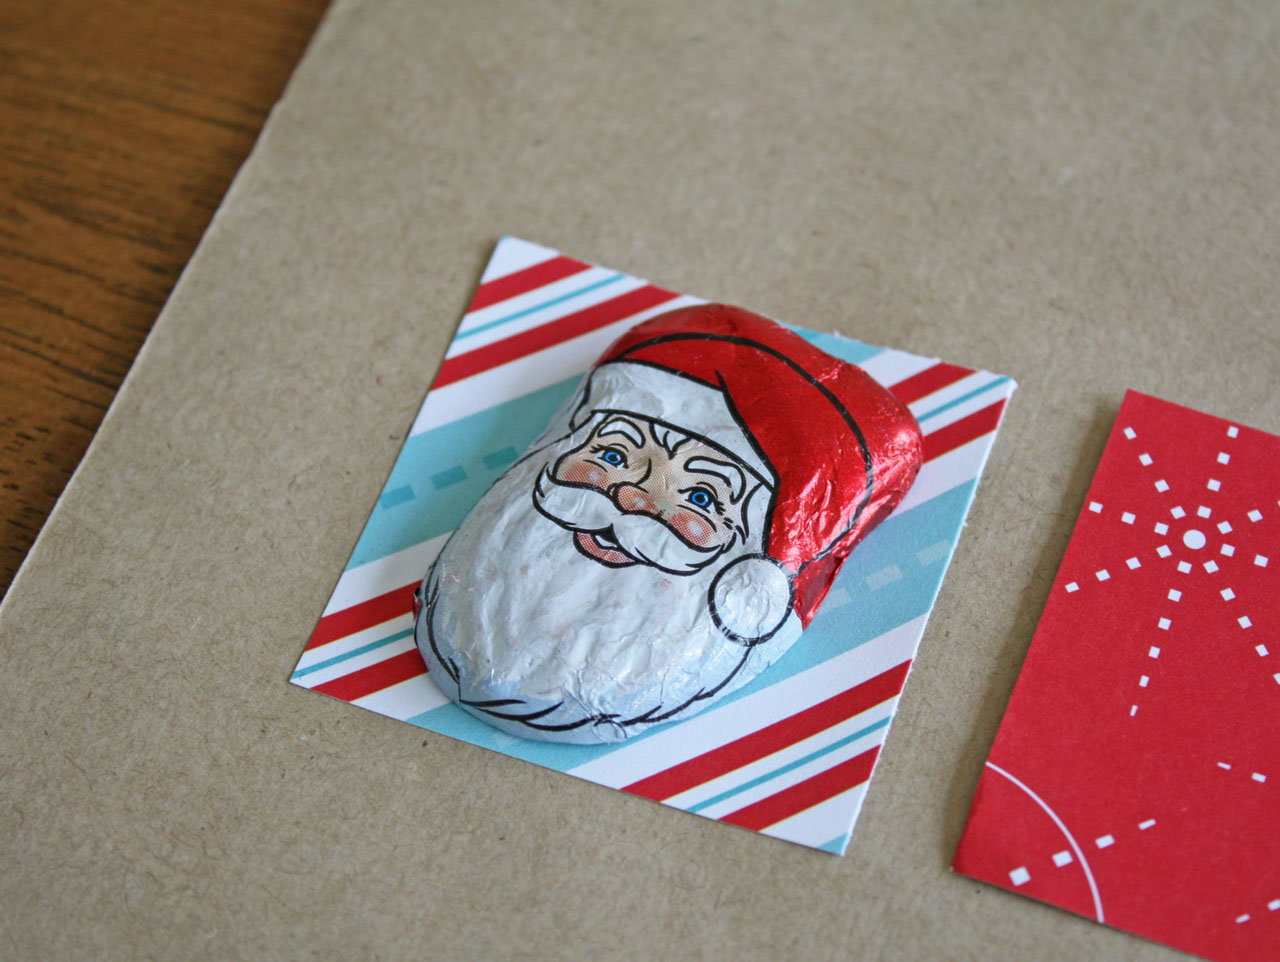
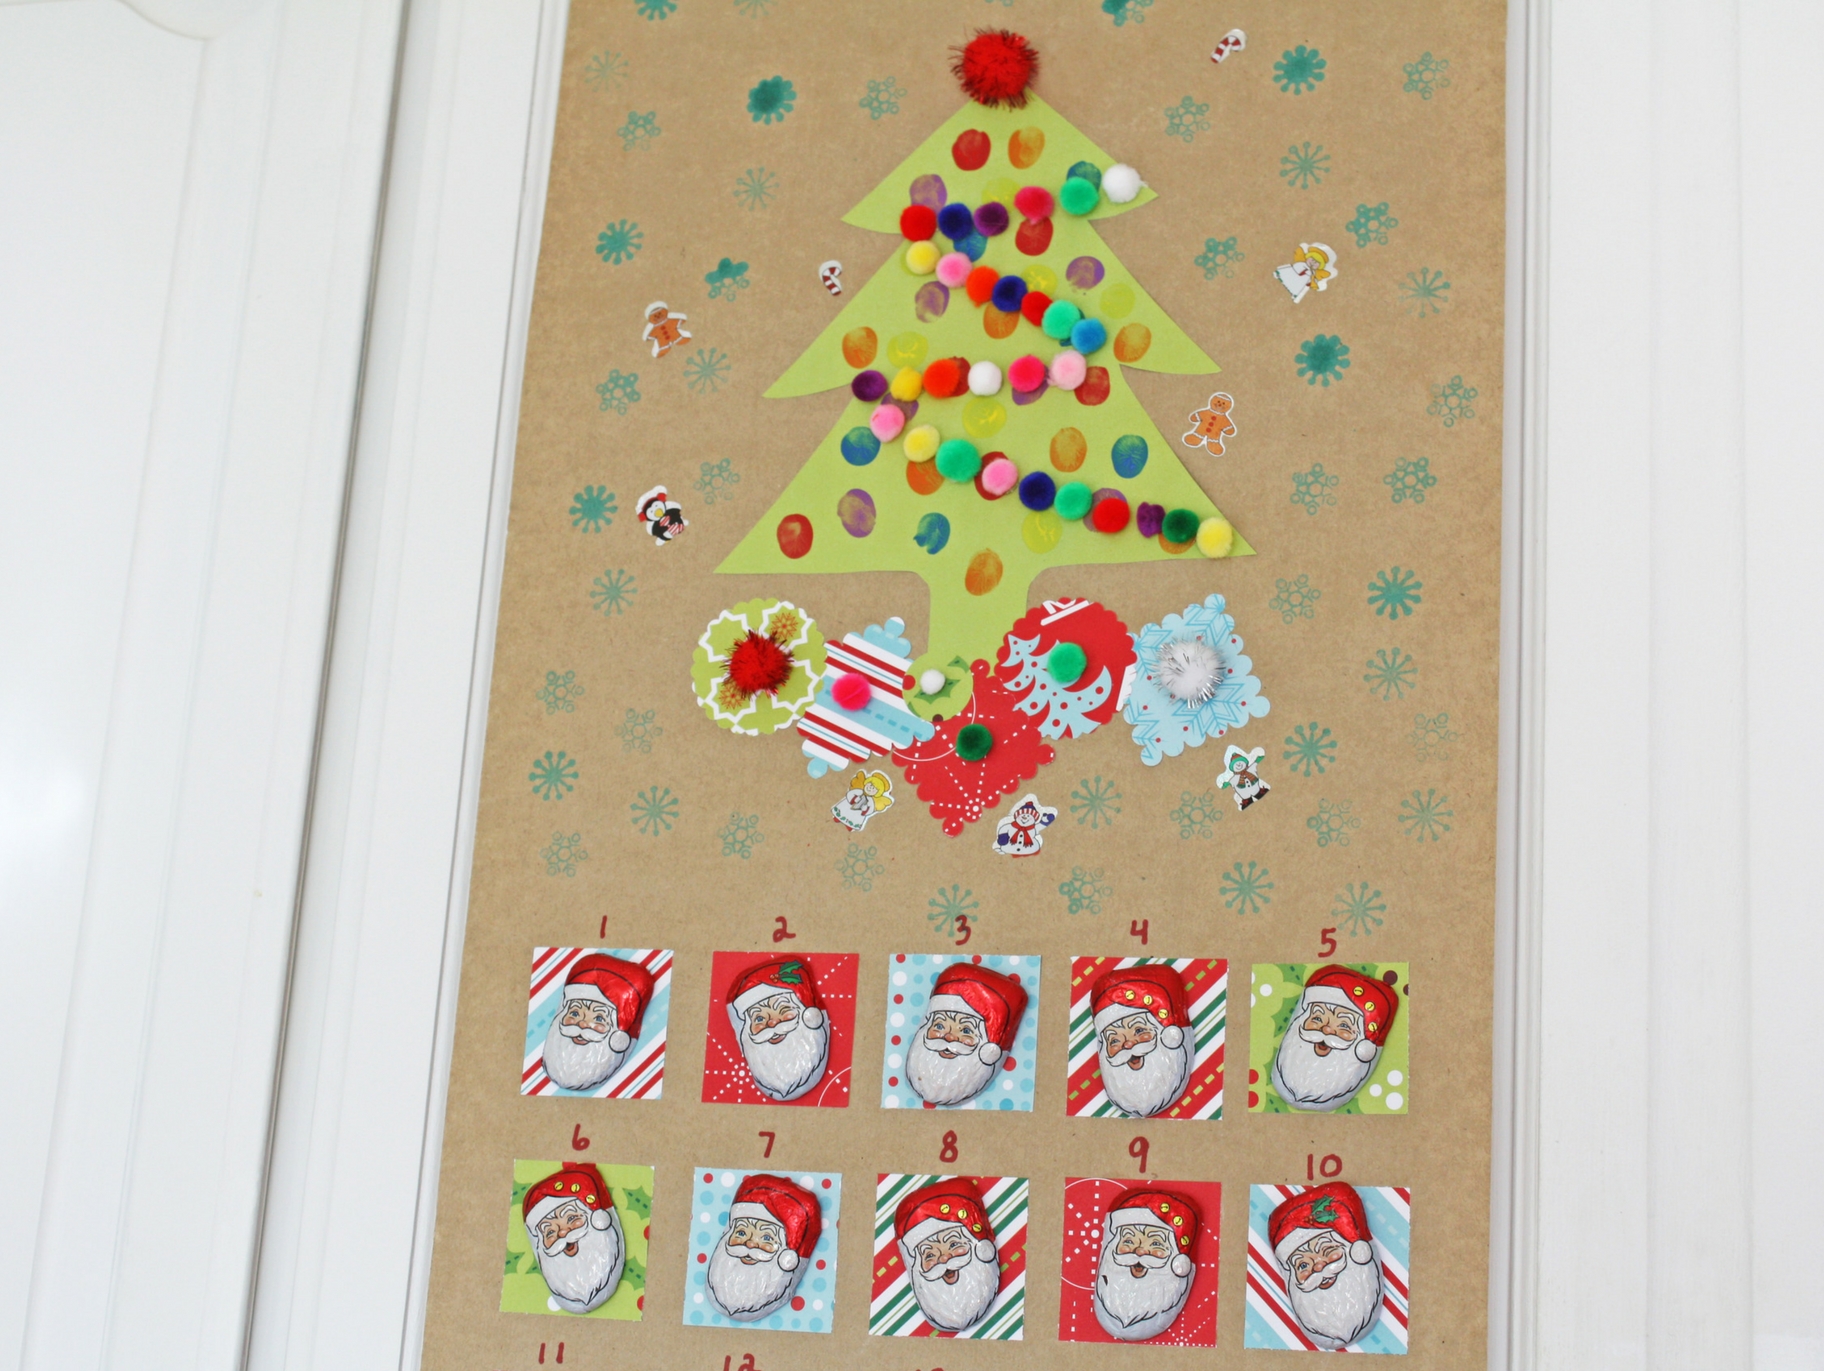
Cut 25, 2″ squares from the Christmas card stock. Use a ruler to space out your squares evenly and then glue them on.
Add a glue dot to each piece of holiday candy and stick the candy on each square. The smaller and lighter the candy, the better.
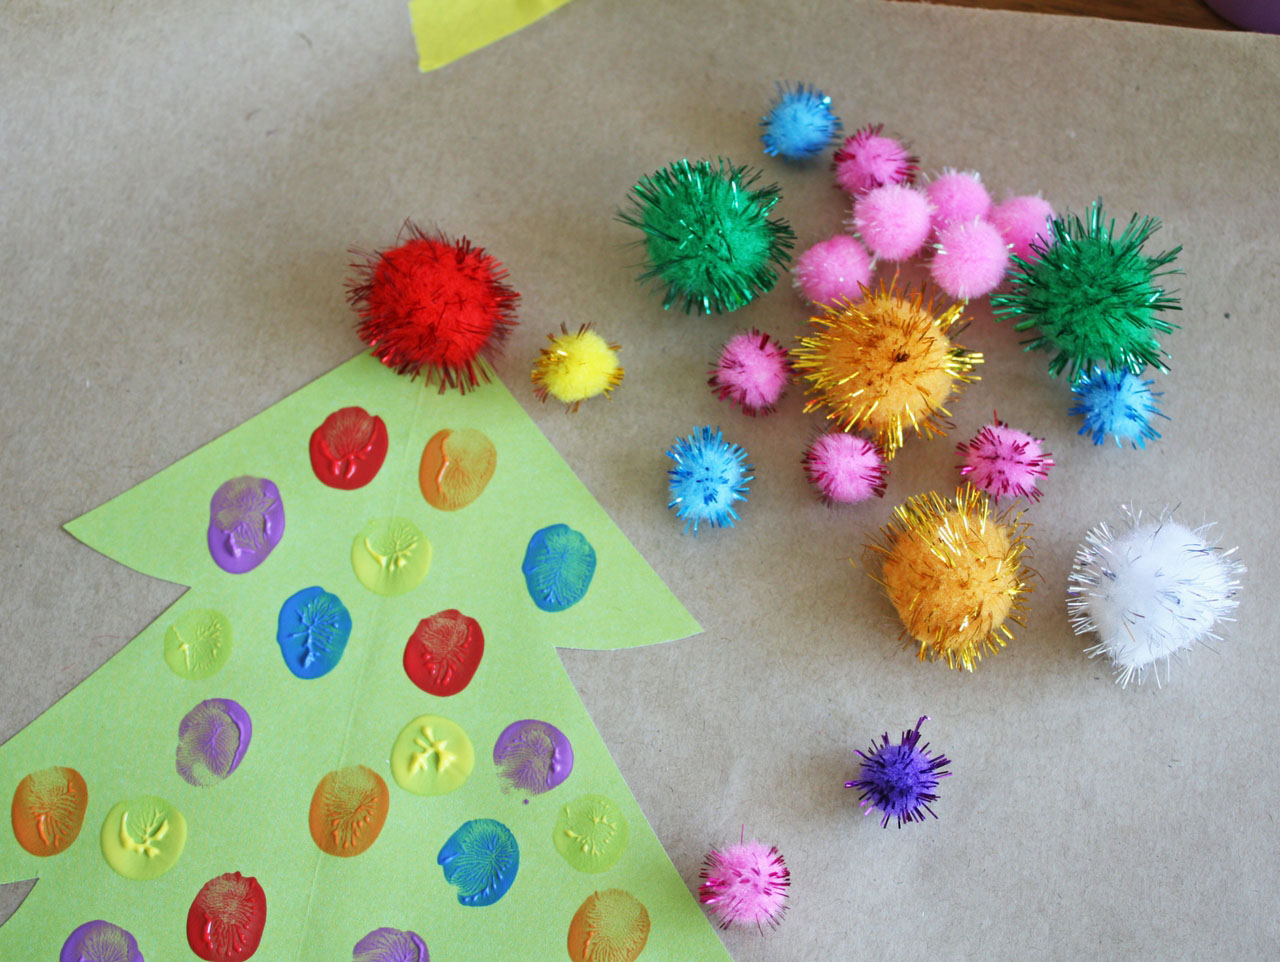
Hot glue a glitter pom pom to the top of your tree. You can also add a colorful garland to the tree using the itty bitty pom poms.
I added some presents under the tree. Use a scalloped square and/or circle punch to cut out presents. Arrange presents under the tree and glue a pom pom on the tree for decoration!
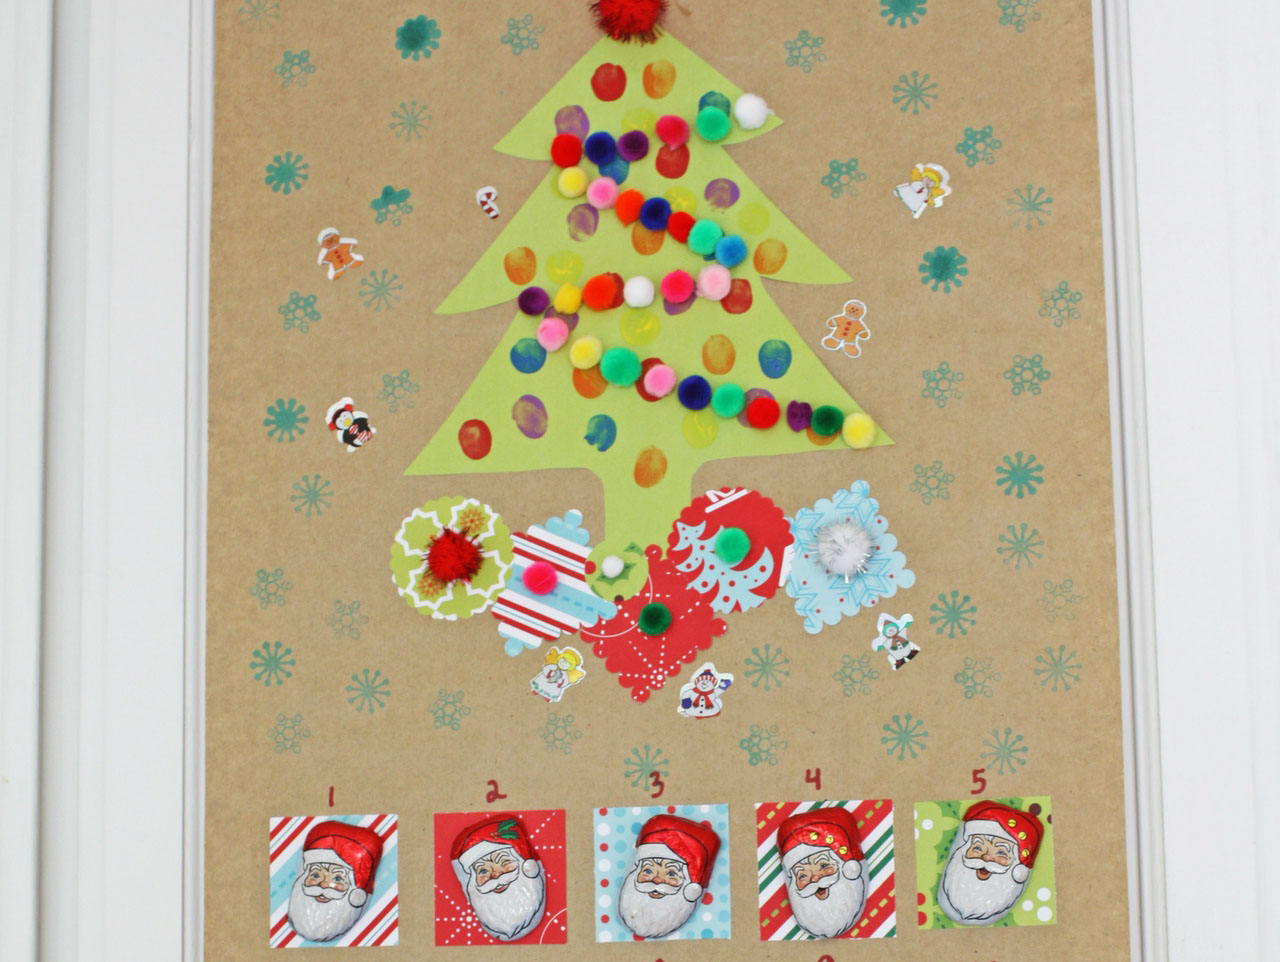
The kids went crazy with the holiday stampers and Christmas stickers to decorate the remaining space on their advent calendars.
These DIY advent calendars are easy to make and can be customized for each child! You can also use a foam board to make the calendar more sturdy for hanging. I’d love to see what you and your kids come up with when creating your own DIY advent calendars this holiday season! Tag #ellaandannie to share your festive creations.

Based on the size of our tree and squares, I recommend 30″ in length for your kraft paper. You can make a smaller tree and create a smaller version of the advent calendar if you like.
Cut a piece of kraft paper approximately 30″ in length. Use washi tape to secure the paper to your table.
Trace out your tree on the green paper and cut out your tree with scissors. Use a glue stick to adhere your tree to the top of your kraft paper.


Finger paints make the best Christmas tree lights! Use the finger paints to add colorful lights to your Christmas tree.


Cut 25, 2″ squares from the Christmas card stock. Use a ruler to space out your squares evenly and then glue them on.
Add a glue dot to each piece of holiday candy and stick the candy on each square. The smaller and lighter the candy, the better.

Hot glue a glitter pom pom to the top of your tree. You can also add a colorful garland to the tree using the itty bitty pom poms.
I added some presents under the tree. Use a scalloped square and/or circle punch to cut out presents. Arrange presents under the tree and glue a pom pom on the tree for decoration!

The kids went crazy with the holiday stampers and Christmas stickers to decorate the remaining space on their advent calendars.
These DIY advent calendars are easy to make and can be customized for each child! You can also use a foam board to make the calendar more sturdy for hanging. I’d love to see what you and your kids come up with when creating your own DIY advent calendars this holiday season! Tag #ellaandannie to share your festive creations.

