Using the 3 1/2″ scalloped circle punch cut out the scalloped circle from the glittered paper you want for the outer ring of the medallion. I used the yellow glitter paper so the rhinestones will pop!


Next, using the smaller 3″ circle punch, punch out the circle from a different color glittered paper. Using a piece of foam double-sided tape, attach the top circle to the center of the scalloped circle.


Using the self-adhesive foam glitter letters place the letter of your guest’s first name to the middle of the medallion.

Add one self-adhesive rhinestone jewel to each scalloped edge of the outer ring of the medallion alternating colors as you go.


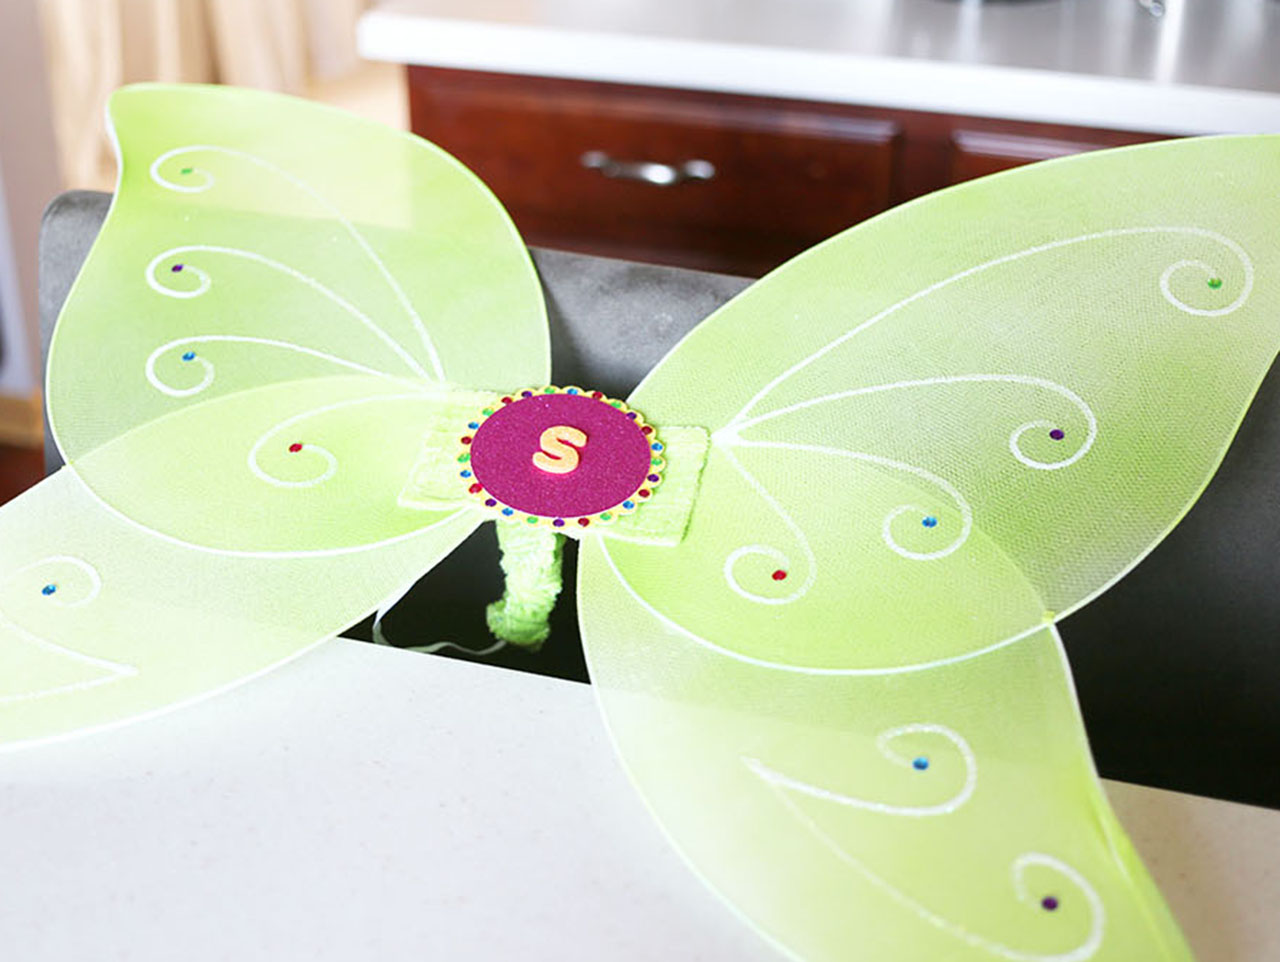
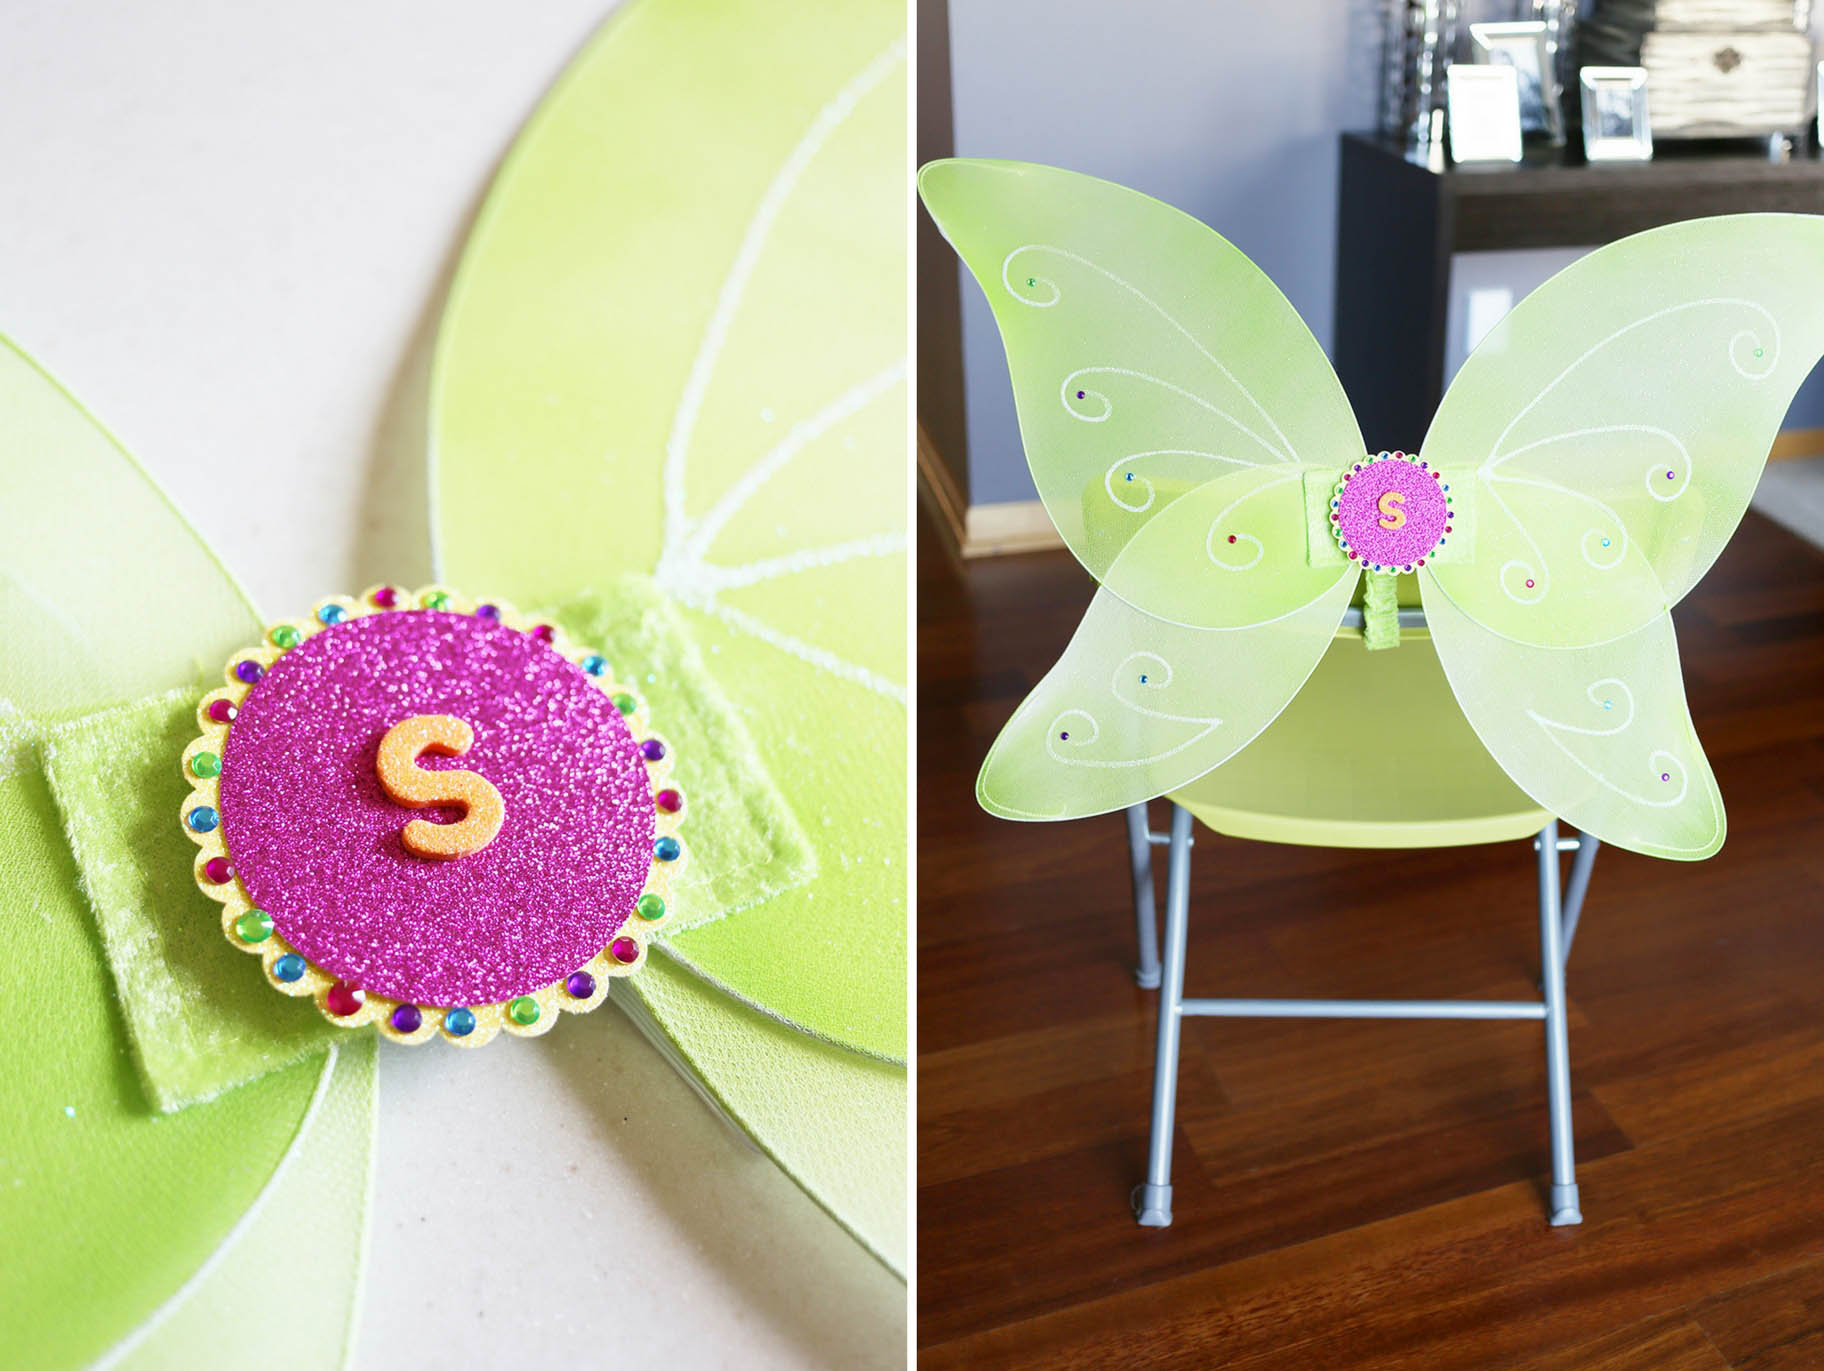
Lay your fairy wings out flat facing up and attach the monogrammed medallion the center of the wings as shown with lots of foam double-sided tape. Repeat Step 1-9 for each pair of wings for each guest.

With the fairy wings laying flat and fully extended, add a few of the larger rhinestones to the tips of the painted swirls on each wing.


The back of the wings have two elastic cords and a fabric covered strap with Velcro tabs. With the fairy wings fully open, wrap each elastic cord around the top of each chair as shown. Then wrap the fabric covered strap around the middle of the chair and secure with the Velcro tabs. Once the fairy wings are secured to the chair, you may adjust them so that they sit fully extended and upright.

Check out my recent Rainbow Fairy Party to see what a wow factor they added to the Rainbow Fairy dining table. I’m sure each of your little fairy guests will be overjoyed to find a special pair of fairy wings monogrammed just for her! Be sure to check out these chairs in action at this adorable Rainbow Fairy Party , DIY Personalized Fairy Wings Chairbackers this DIY Pixie Dust Fairy Bottle craft and yummy recipe for Fairy Wand Pretzel Sticks!

Using the 3 1/2″ scalloped circle punch cut out the scalloped circle from the glittered paper you want for the outer ring of the medallion. I used the yellow glitter paper so the rhinestones will pop!


Next, using the smaller 3″ circle punch, punch out the circle from a different color glittered paper. Using a piece of foam double-sided tape, attach the top circle to the center of the scalloped circle.


Using the self-adhesive foam glitter letters place the letter of your guest’s first name to the middle of the medallion.

Add one self-adhesive rhinestone jewel to each scalloped edge of the outer ring of the medallion alternating colors as you go.


Lay your fairy wings out flat facing up and attach the monogrammed medallion the center of the wings as shown with lots of foam double-sided tape. Repeat Step 1-9 for each pair of wings for each guest.

With the fairy wings laying flat and fully extended, add a few of the larger rhinestones to the tips of the painted swirls on each wing.


The back of the wings have two elastic cords and a fabric covered strap with Velcro tabs. With the fairy wings fully open, wrap each elastic cord around the top of each chair as shown. Then wrap the fabric covered strap around the middle of the chair and secure with the Velcro tabs. Once the fairy wings are secured to the chair, you may adjust them so that they sit fully extended and upright.

Check out my recent Rainbow Fairy Party to see what a wow factor they added to the Rainbow Fairy dining table. I’m sure each of your little fairy guests will be overjoyed to find a special pair of fairy wings monogrammed just for her! Be sure to check out these chairs in action at this adorable Rainbow Fairy Party , DIY Personalized Fairy Wings Chairbackers this DIY Pixie Dust Fairy Bottle craft and yummy recipe for Fairy Wand Pretzel Sticks!


