Using acrylic craft paint in flesh tones, paint a large wood bead to create a round nose for your Easter gnome. Set aside to dry.

Add hot glue to the base of the plastic jar, then press the excess felt down in a clockwise motion, pressing and turning to lay the felt flat.

Use wool roving in the color of your choice to create a realistic beard for your Easter gnome. Use a chenille stem to hold the roving together in the center. You can also use white faux fur, which comes on a larger reel, if you are making multiple favor jars. Attach the roving "mustache" to just above the seam on the felt. Don't glue to the threaded lip of the jar! Once the glue has set, it's haircut time! Use scissors to trim your Easter gnome's beard to get the look you like. For these, a pointed shape was created by cutting at an angle on each side.

Using hot glue, adhere the nose onto the lower portion of the jar. Ensure that it will not interfere with the removal and replacement of the jar lid.

Using a white fine point chalk marker, draw horizontal lines on the front and back side of carrot treat bags to create the look of a realistic carrot. There's no right or wrong way to draw the lines, just keep them horizontal and you can't go wrong!

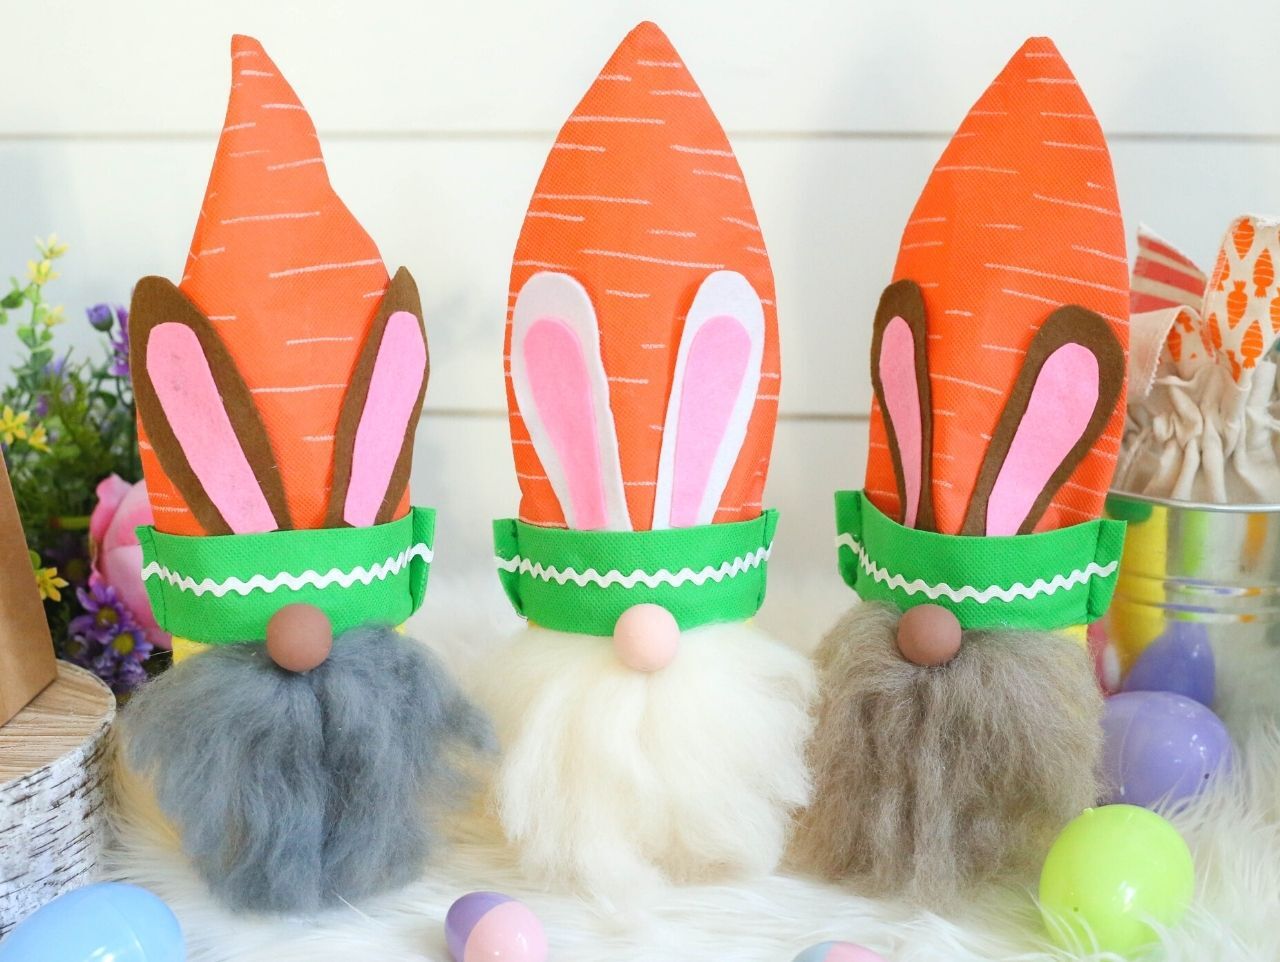
Add a bit of white rickrack to the brim of the carrot "hat". Next, use the free printable template to trace bunny ears onto cardstock. You can then use your cardstock ears to trace the pattern onto felt sheets in the color shades of your choosing. Use hot glue to attach the ears to the center of the hat.

Fill your Easter gnome jar with candy and fun Easter novelties like cute mini bunny and chick erasers and chocolate eggs. The jar is also the perfect size for holding gift cards or cash, for "somebunny" a little older.

Top your gnome jar with a lid, and carefully place the carrot hat on each one. The carrot treat bags fit the short jars perfectly! See the entire Gnome Inspired Easter Party for more fun ideas and don't miss out on the tutorial for Felt Carrot Easter Napkin Rings.

Using acrylic craft paint in flesh tones, paint a large wood bead to create a round nose for your Easter gnome. Set aside to dry.

Add hot glue to the base of the plastic jar, then press the excess felt down in a clockwise motion, pressing and turning to lay the felt flat.

Use wool roving in the color of your choice to create a realistic beard for your Easter gnome. Use a chenille stem to hold the roving together in the center. You can also use white faux fur, which comes on a larger reel, if you are making multiple favor jars. Attach the roving "mustache" to just above the seam on the felt. Don't glue to the threaded lip of the jar! Once the glue has set, it's haircut time! Use scissors to trim your Easter gnome's beard to get the look you like. For these, a pointed shape was created by cutting at an angle on each side.

Using hot glue, adhere the nose onto the lower portion of the jar. Ensure that it will not interfere with the removal and replacement of the jar lid.

Using a white fine point chalk marker, draw horizontal lines on the front and back side of carrot treat bags to create the look of a realistic carrot. There's no right or wrong way to draw the lines, just keep them horizontal and you can't go wrong!

Add a bit of white rickrack to the brim of the carrot "hat". Next, use the free printable template to trace bunny ears onto cardstock. You can then use your cardstock ears to trace the pattern onto felt sheets in the color shades of your choosing. Use hot glue to attach the ears to the center of the hat.

Fill your Easter gnome jar with candy and fun Easter novelties like cute mini bunny and chick erasers and chocolate eggs. The jar is also the perfect size for holding gift cards or cash, for "somebunny" a little older.

Top your gnome jar with a lid, and carefully place the carrot hat on each one. The carrot treat bags fit the short jars perfectly! See the entire Gnome Inspired Easter Party for more fun ideas and don't miss out on the tutorial for Felt Carrot Easter Napkin Rings.


