


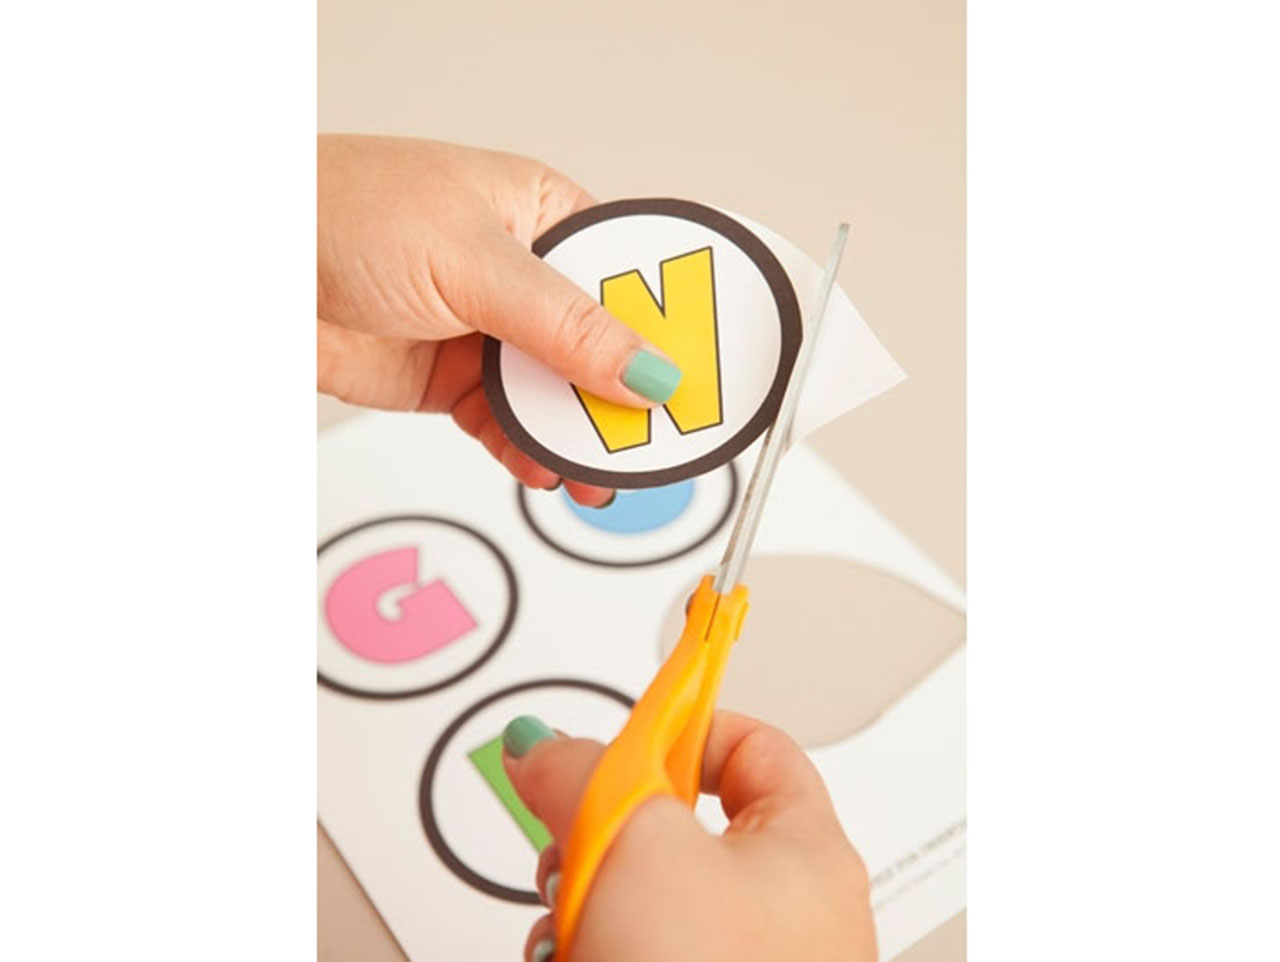
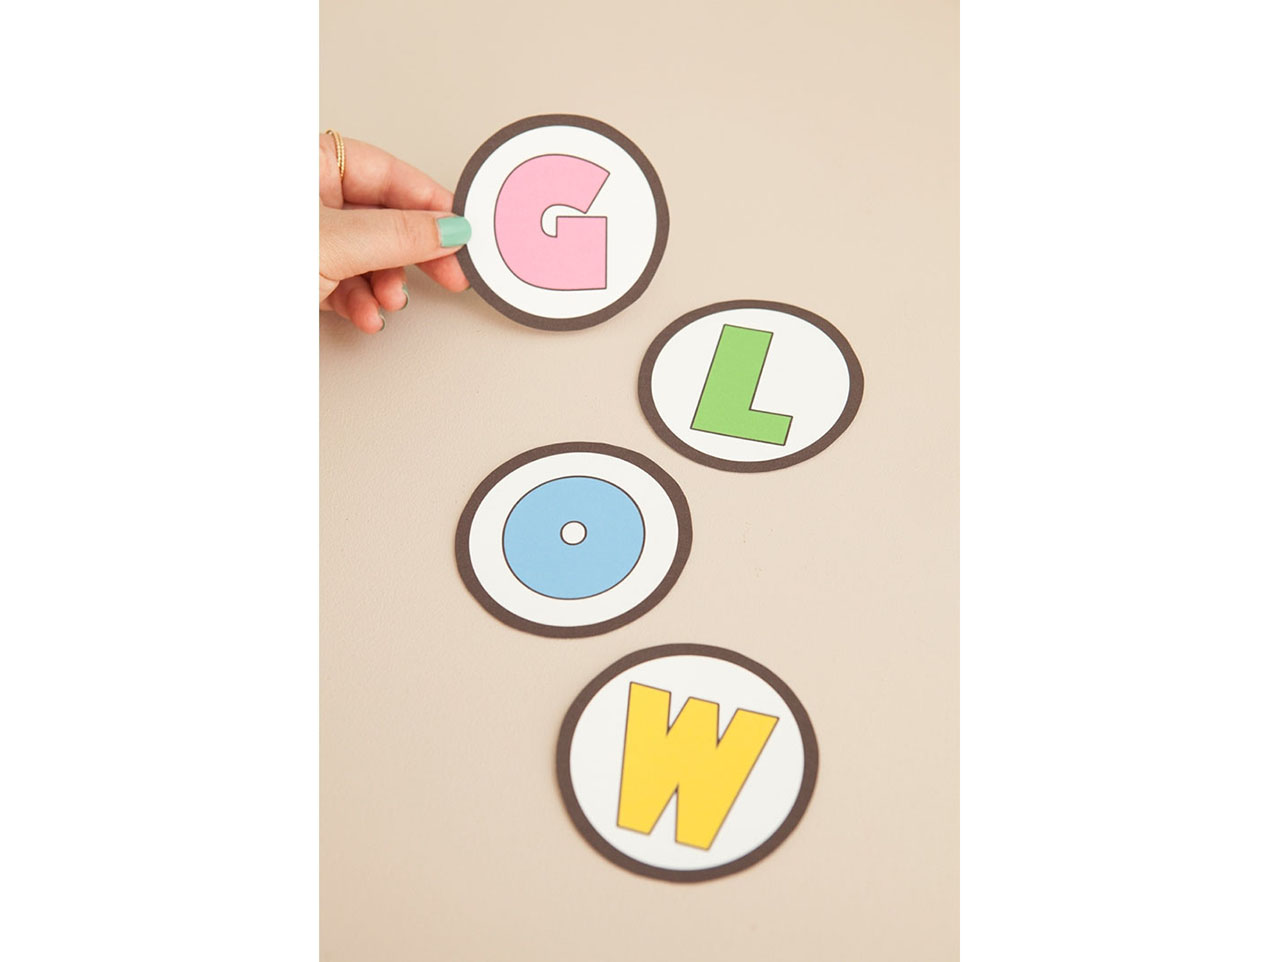
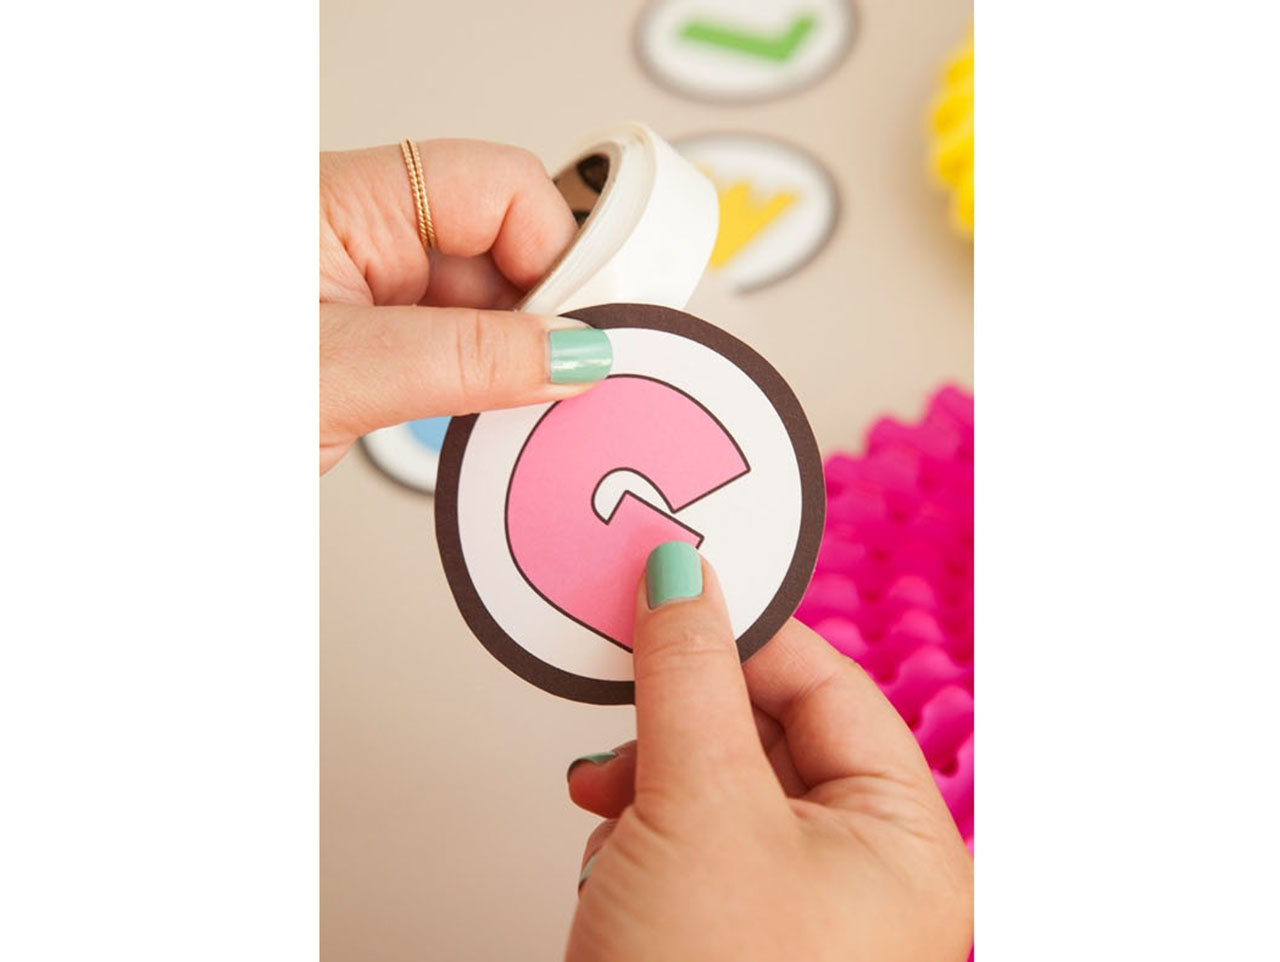
Using 8.5″ x 11″ white cardstock, print my free GLOW letters and trim around the lines provided.
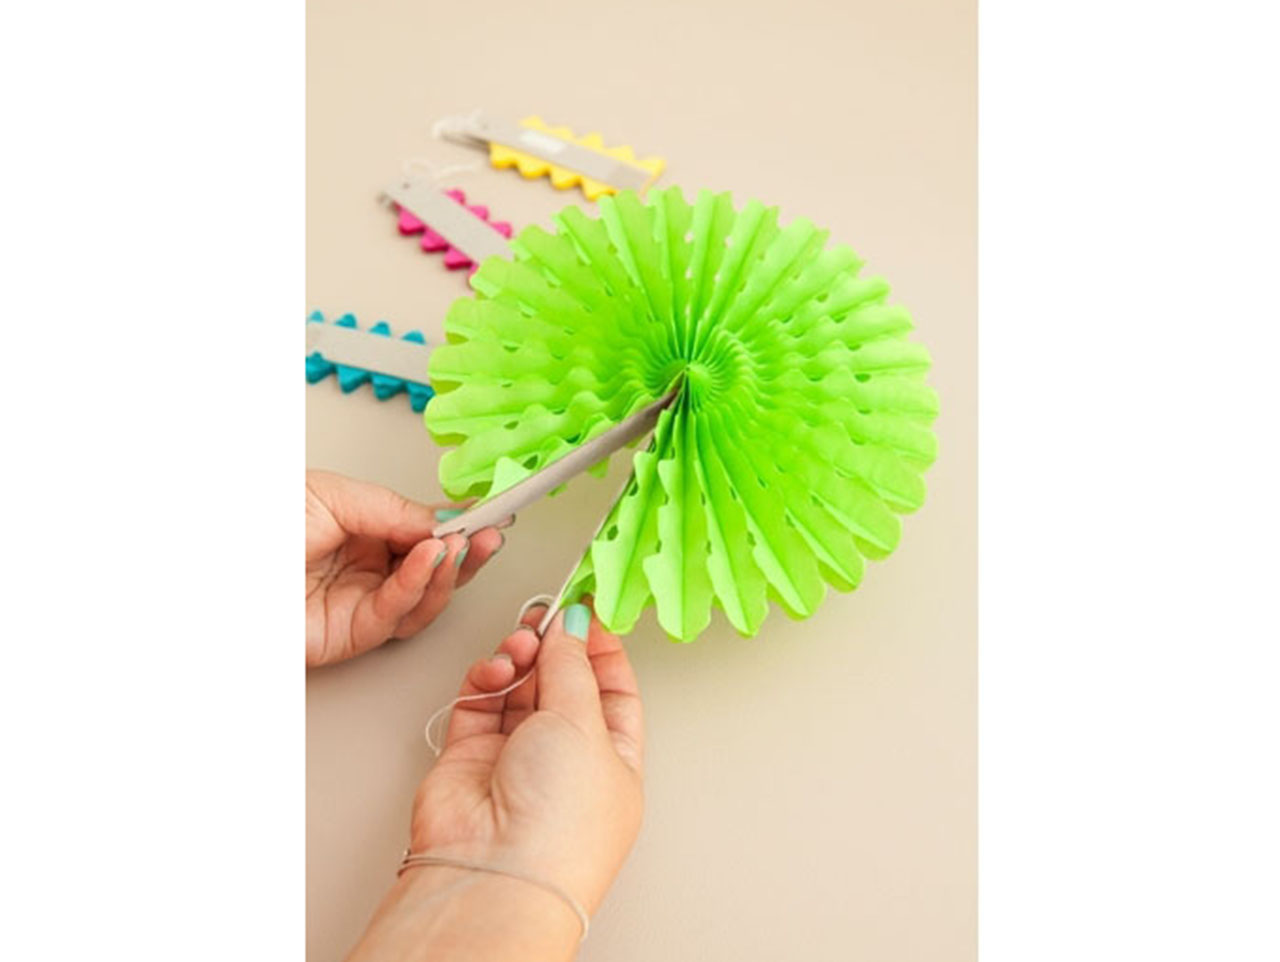

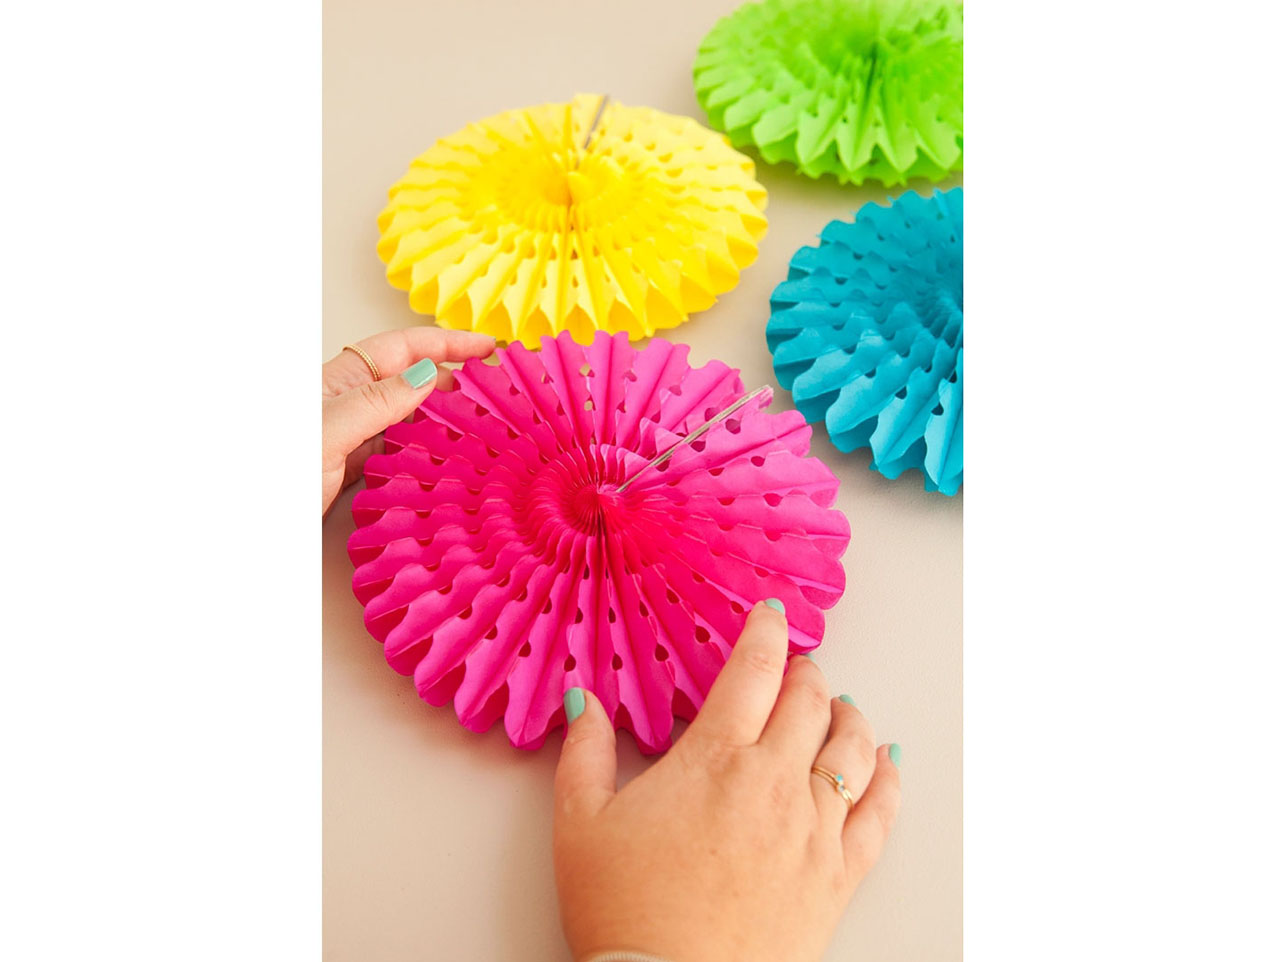
Fold out your tissue fans and carefully cut off the excess cardboard edge.
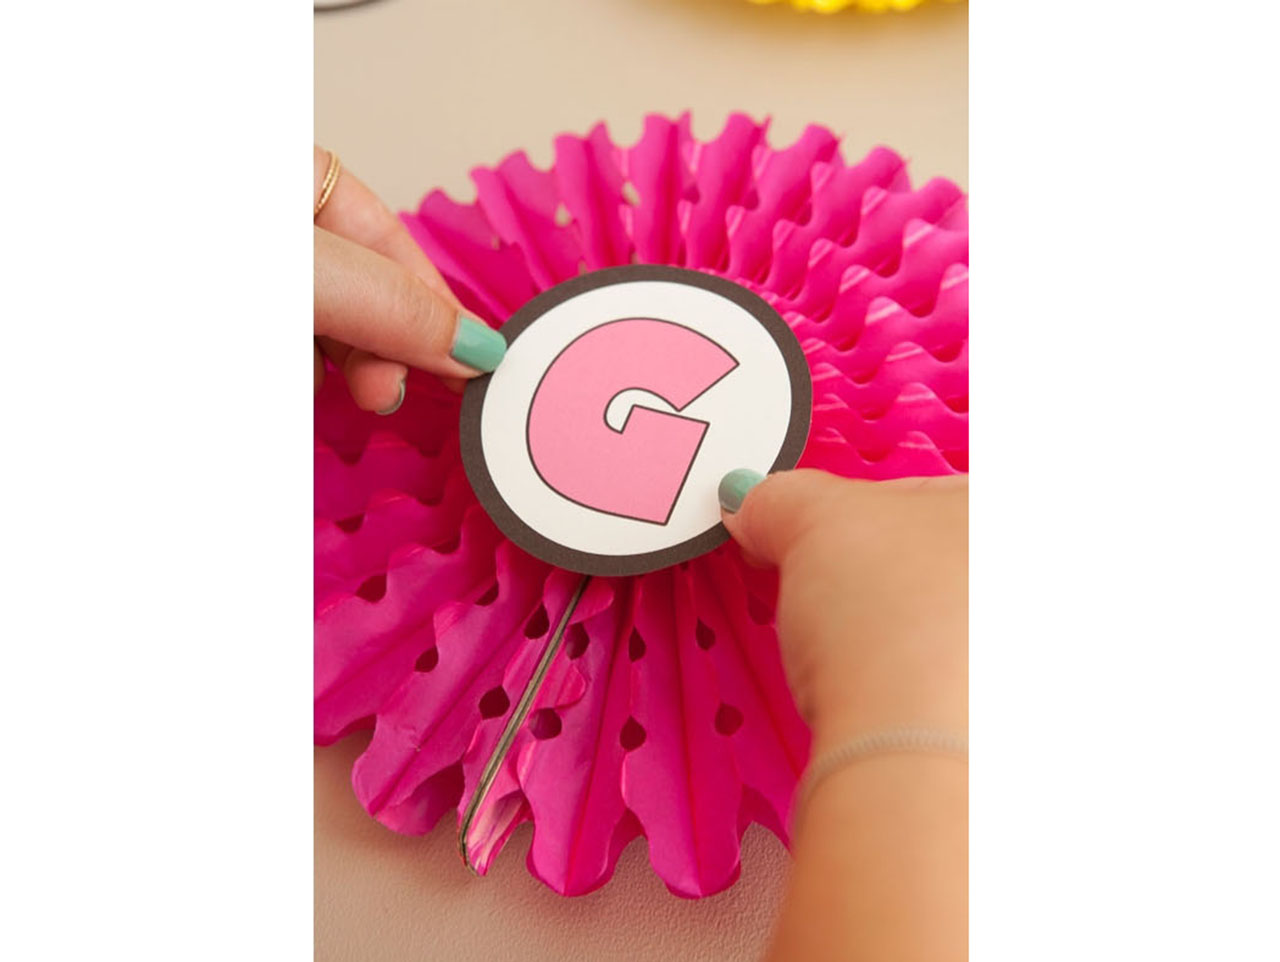
Using Glue Dots, adhere each letter to a tissue fan right in the center.
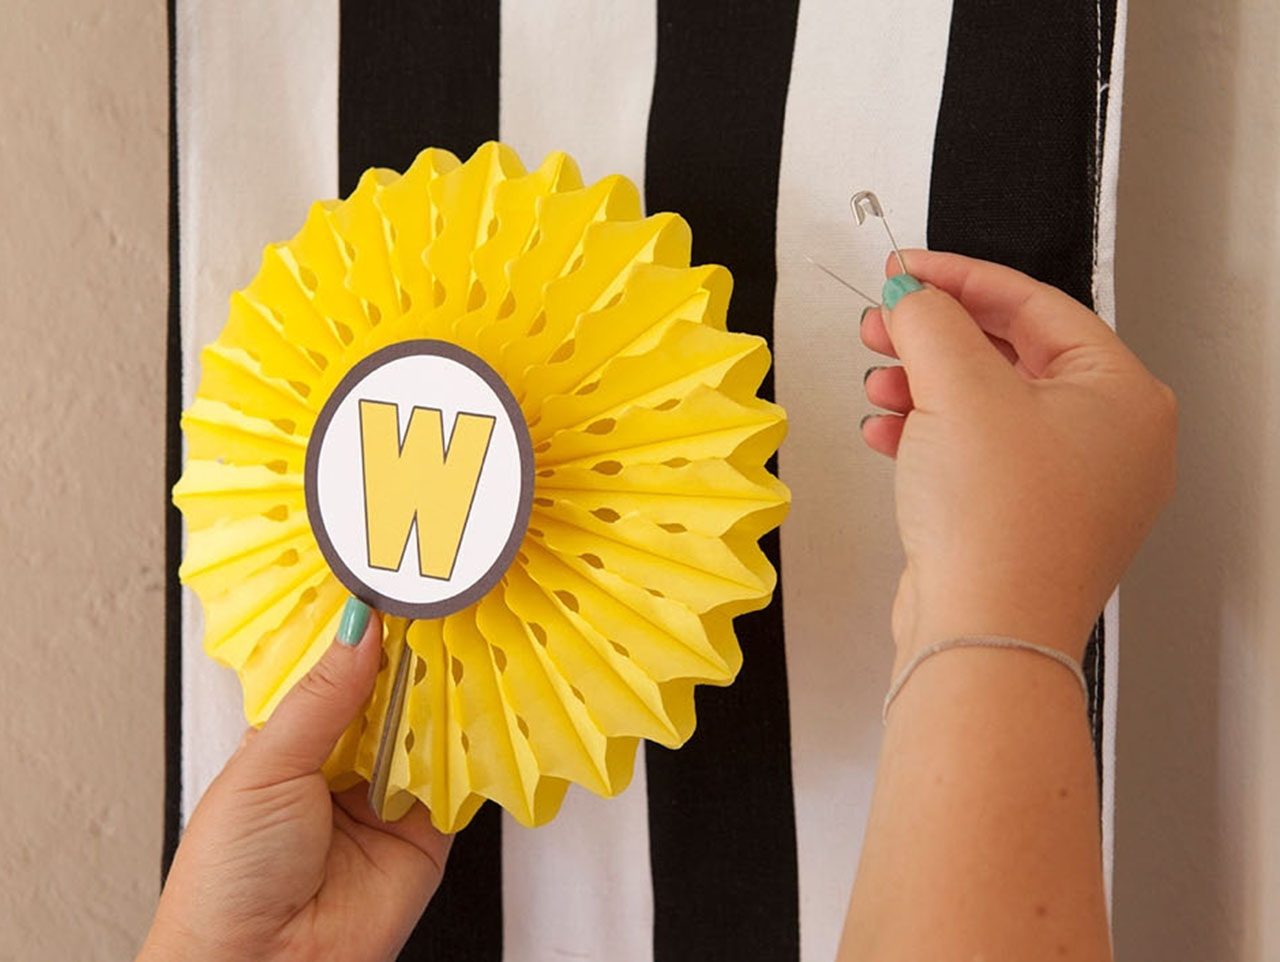
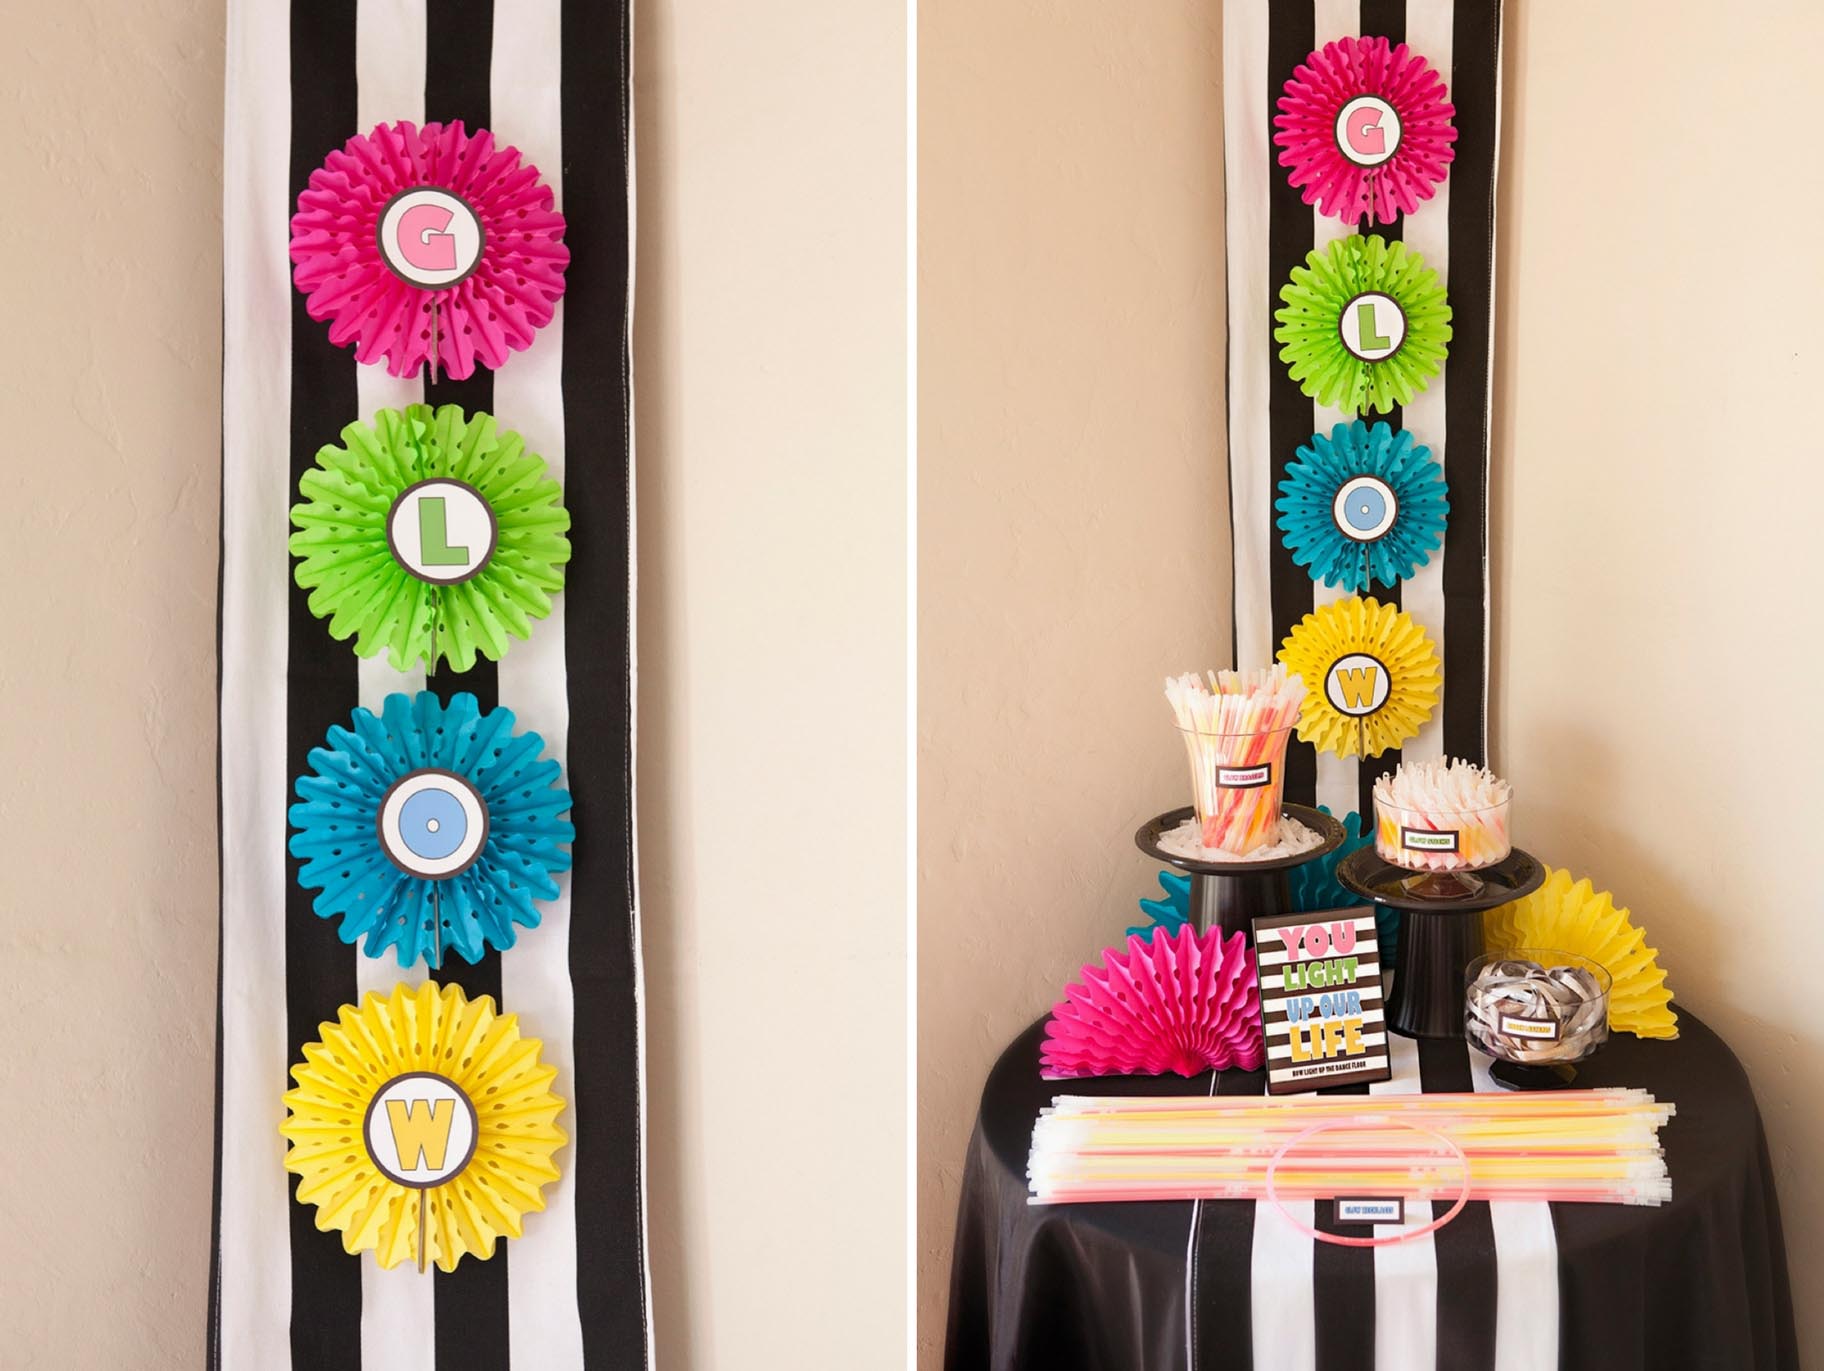
After you’ve hung the table runner on the wall (I did this by nailing it up with tiny nails) use a large safety pin to pin through the runner and the tissue fan. Secure on the backside. This worked so well and it was so easy to do, I even impressed myself with the idea. The tissue isn’t as delicate as you might think and you can even pin right through the holes in the fan design.

To find all the DIY projects for this glow stick bar, make sure to check out: DIY Wedding Glow Stick Bar, DIY Wedding Glow Stick Bar Centerpiece Stands, and DIY Glow Stick Bar Sign & Tags.
Using 8.5″ x 11″ white cardstock, print my free GLOW letters and trim around the lines provided.
Fold out your tissue fans and carefully cut off the excess cardboard edge.
Using Glue Dots, adhere each letter to a tissue fan right in the center.
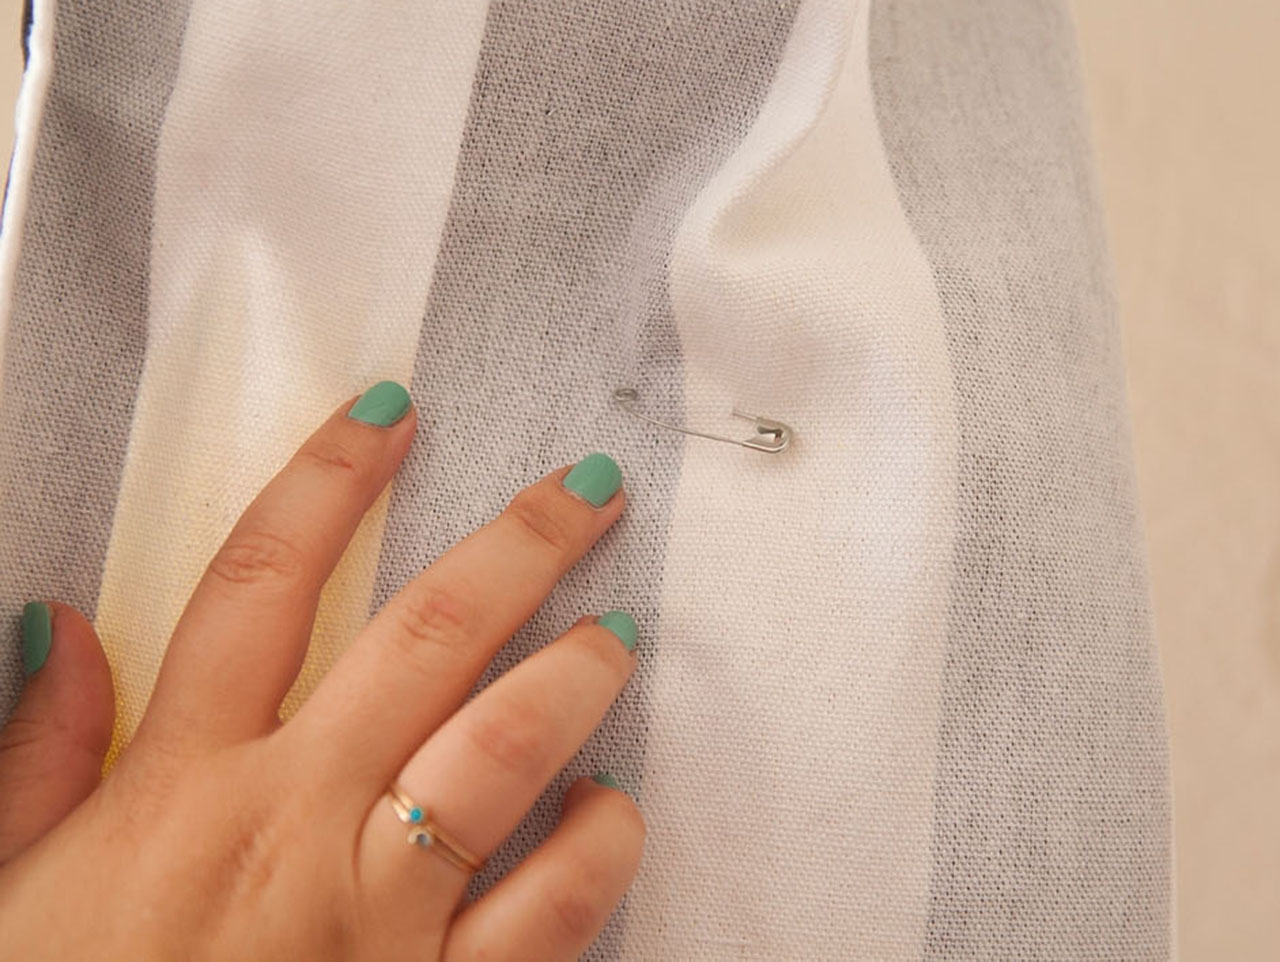
After you’ve hung the table runner on the wall (I did this by nailing it up with tiny nails) use a large safety pin to pin through the runner and the tissue fan. Secure on the backside. This worked so well and it was so easy to do, I even impressed myself with the idea. The tissue isn’t as delicate as you might think and you can even pin right through the holes in the fan design.
To find all the DIY projects for this glow stick bar, make sure to check out: DIY Wedding Glow Stick Bar, DIY Wedding Glow Stick Bar Centerpiece Stands, and DIY Glow Stick Bar Sign & Tags.


