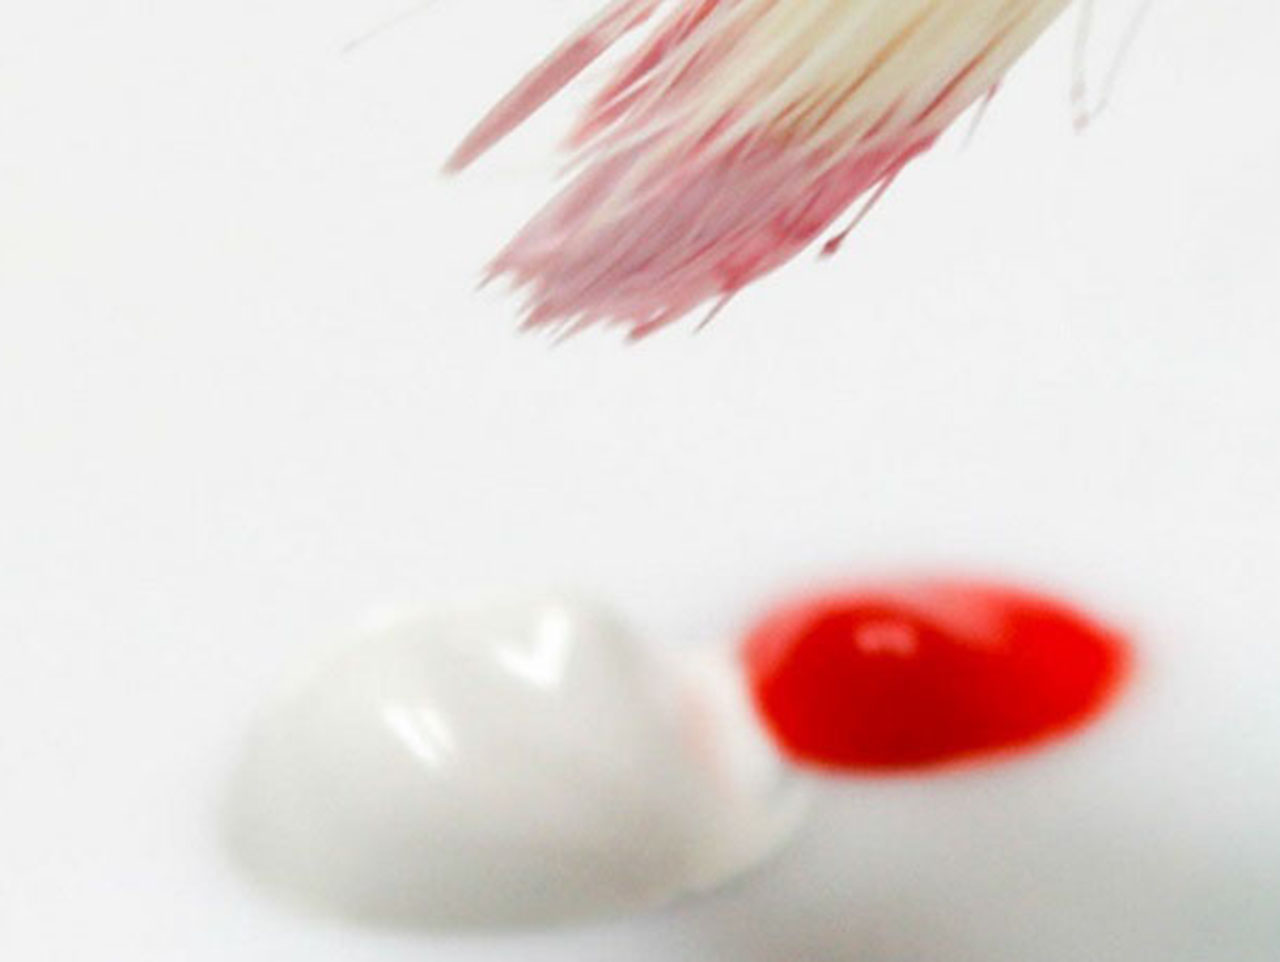

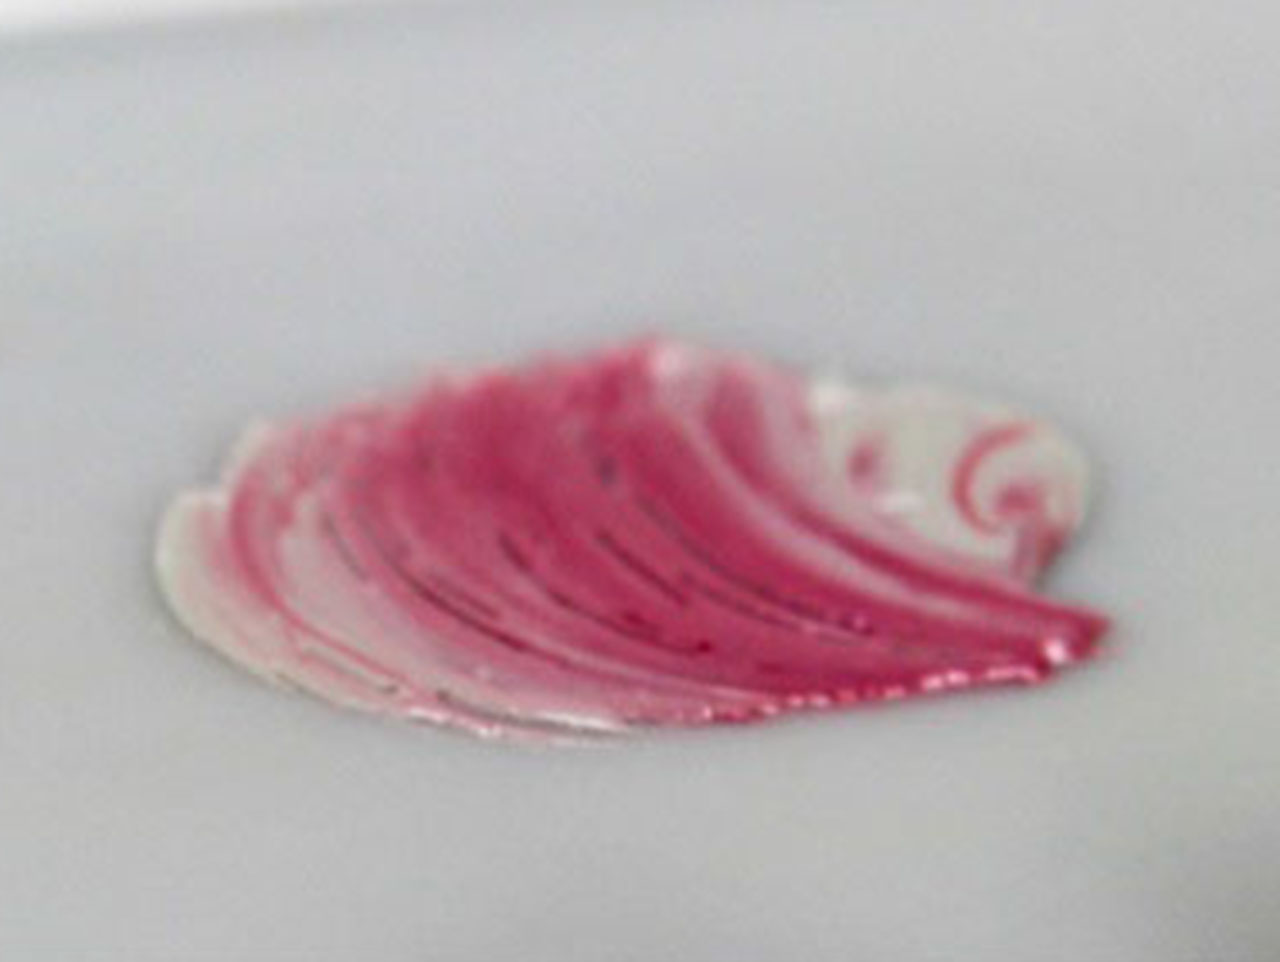
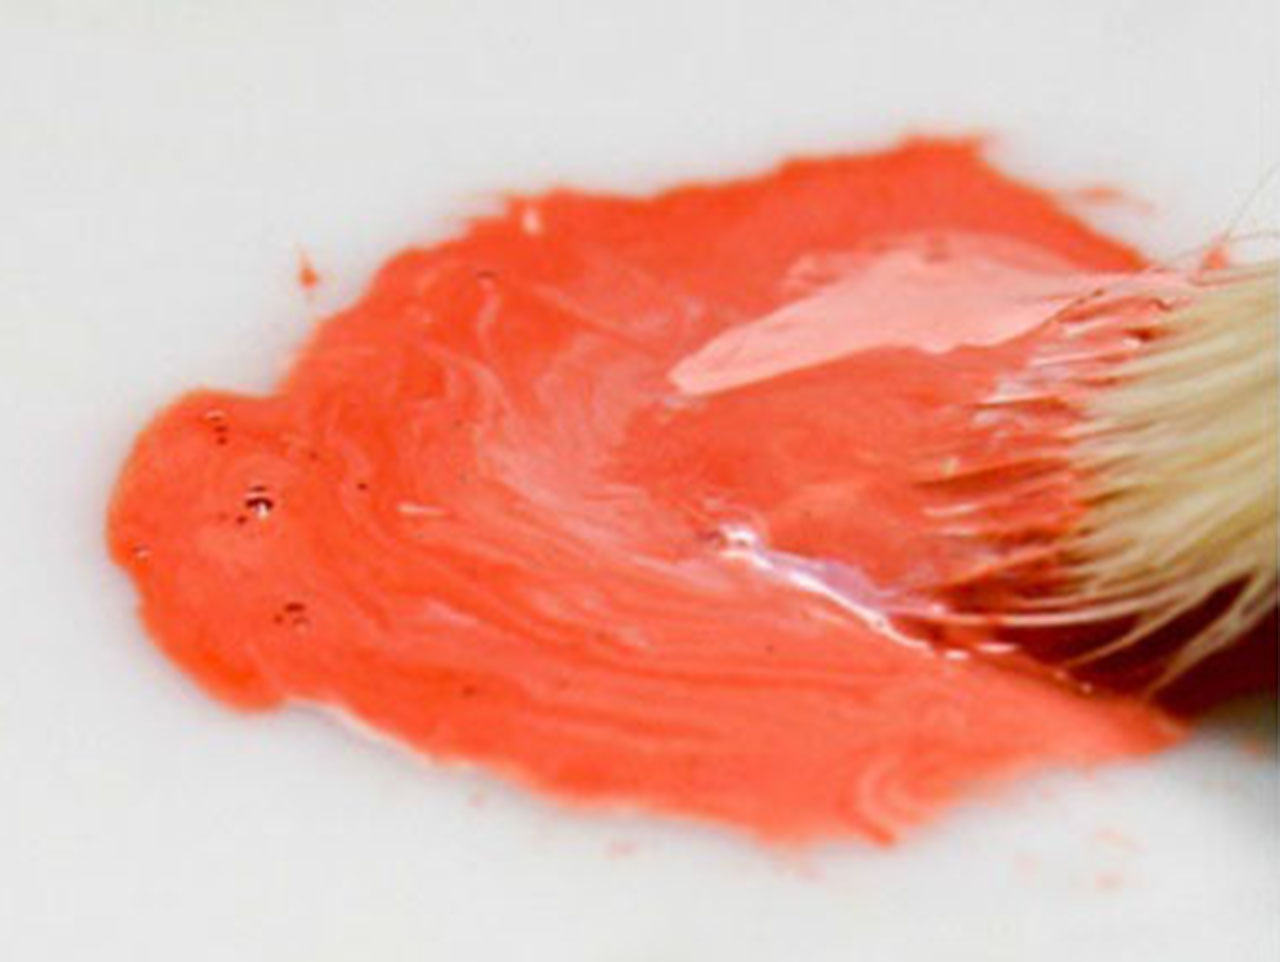
Start by mixing your paint colors. We used shades of red and orange, mixed with white, to get the color palette we wanted, which was soft shades of peach and pink. Adding a little water to the paint will help the colors to blend together well.
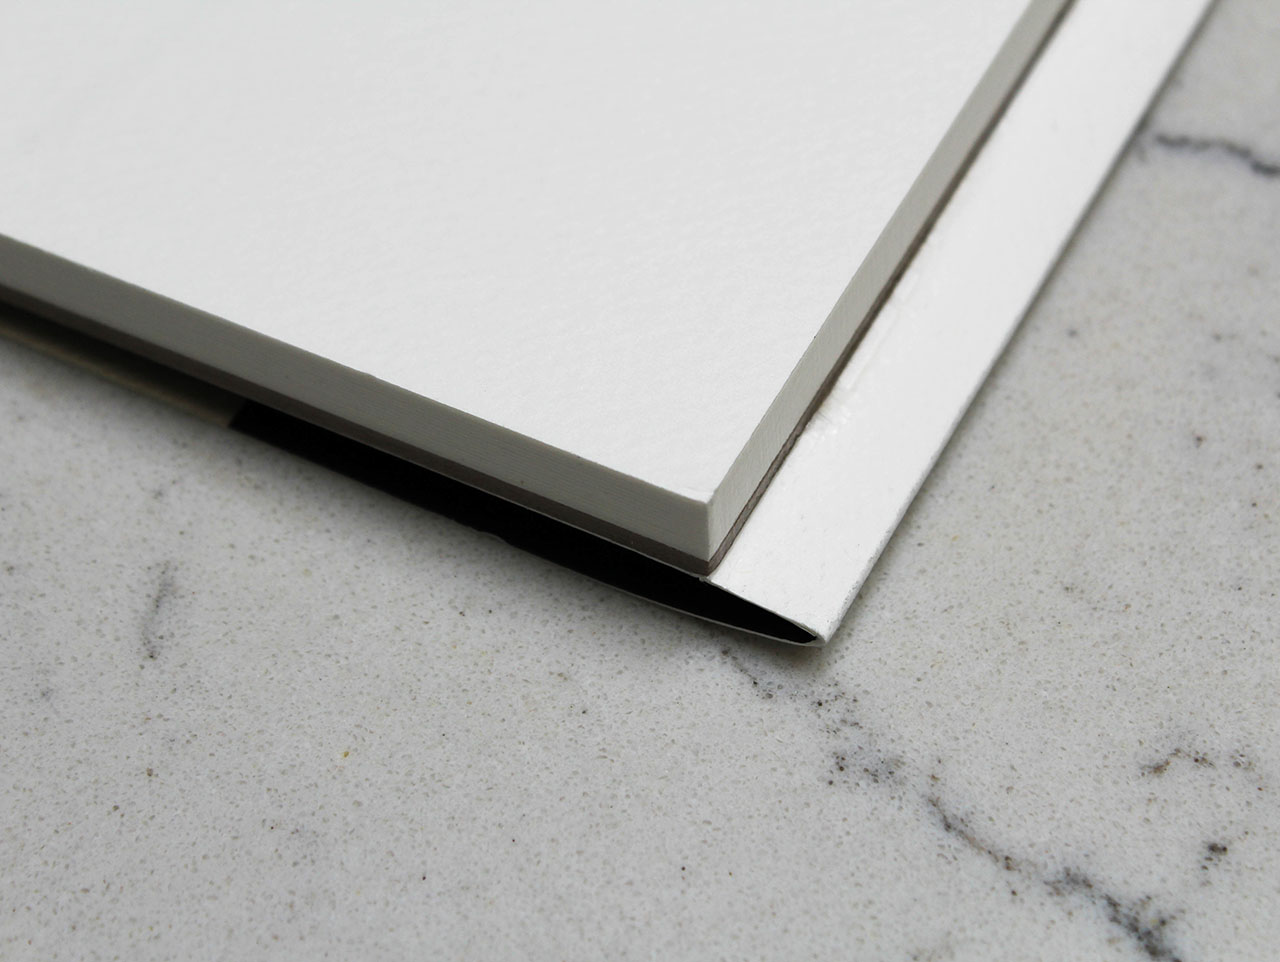

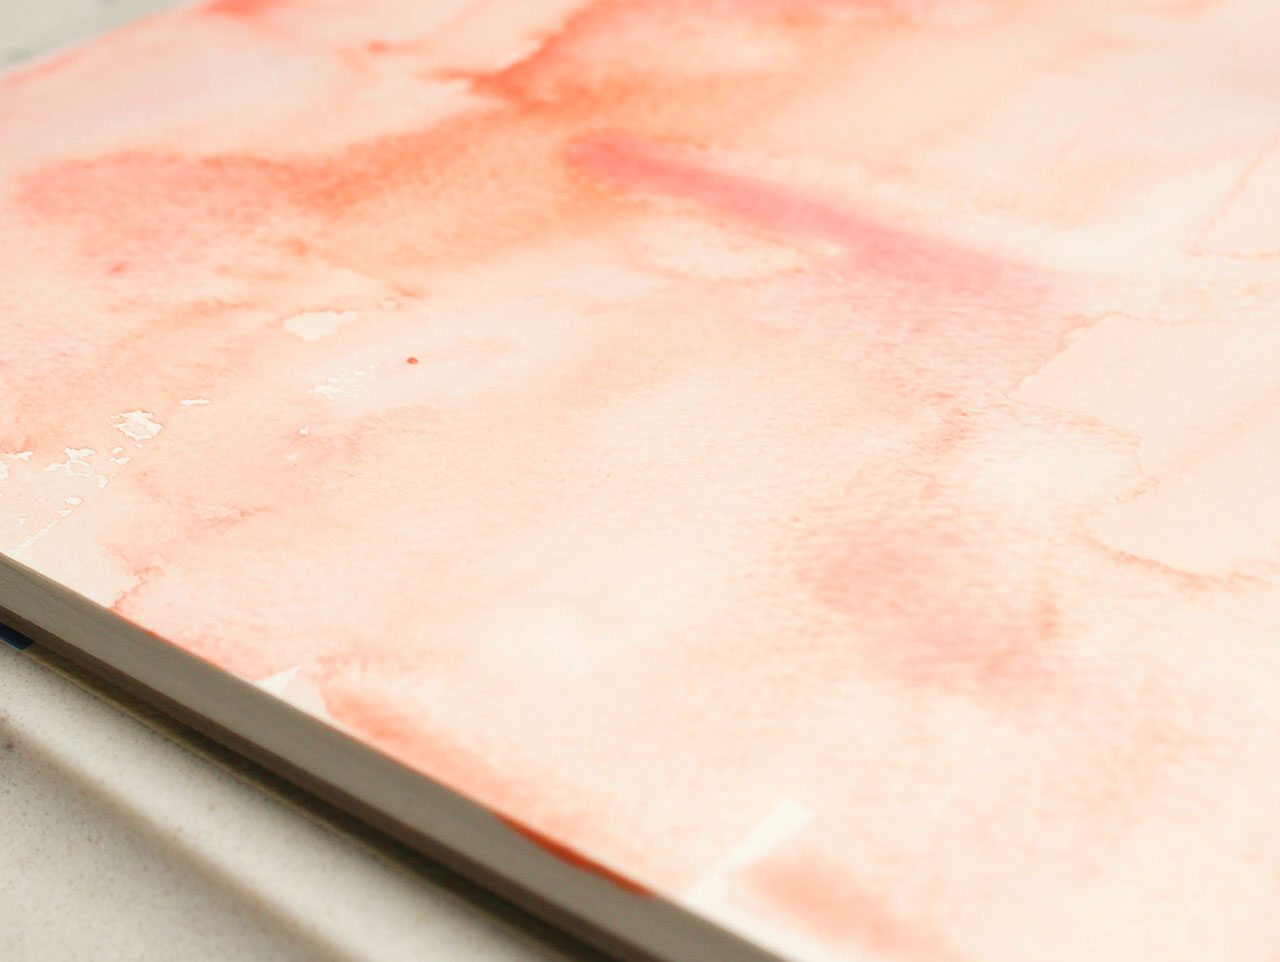
You’ll notice that the watercolor block has a layer of glue all the way around the pages. This is to keep the paper from curling while you paint. Leave the top sheet attached and begin painting directly onto it by brushing lines onto the paper with your paintbrush. The more water you use, the lighter the paint will go on, and will spread easier.
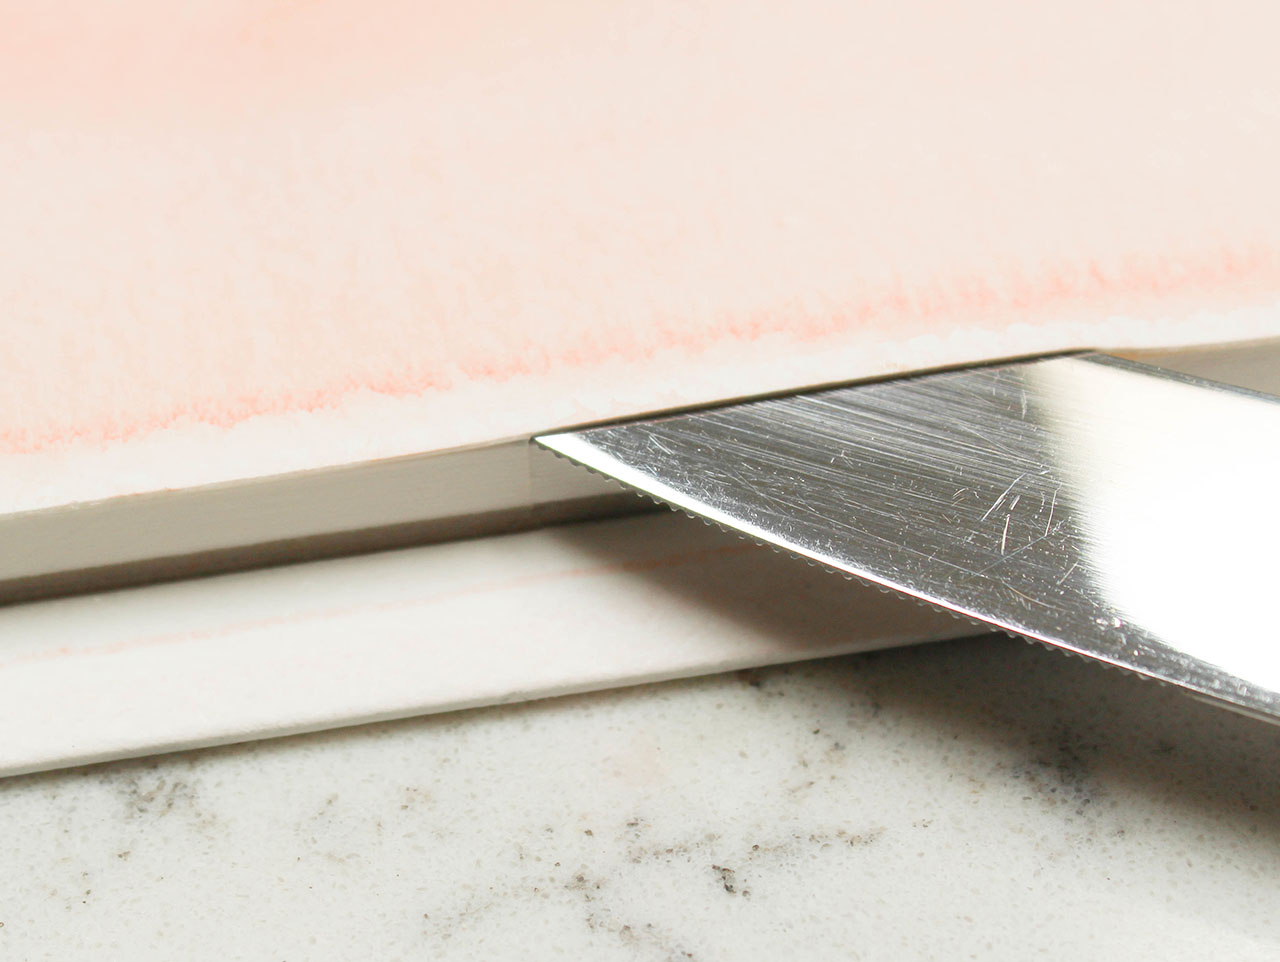

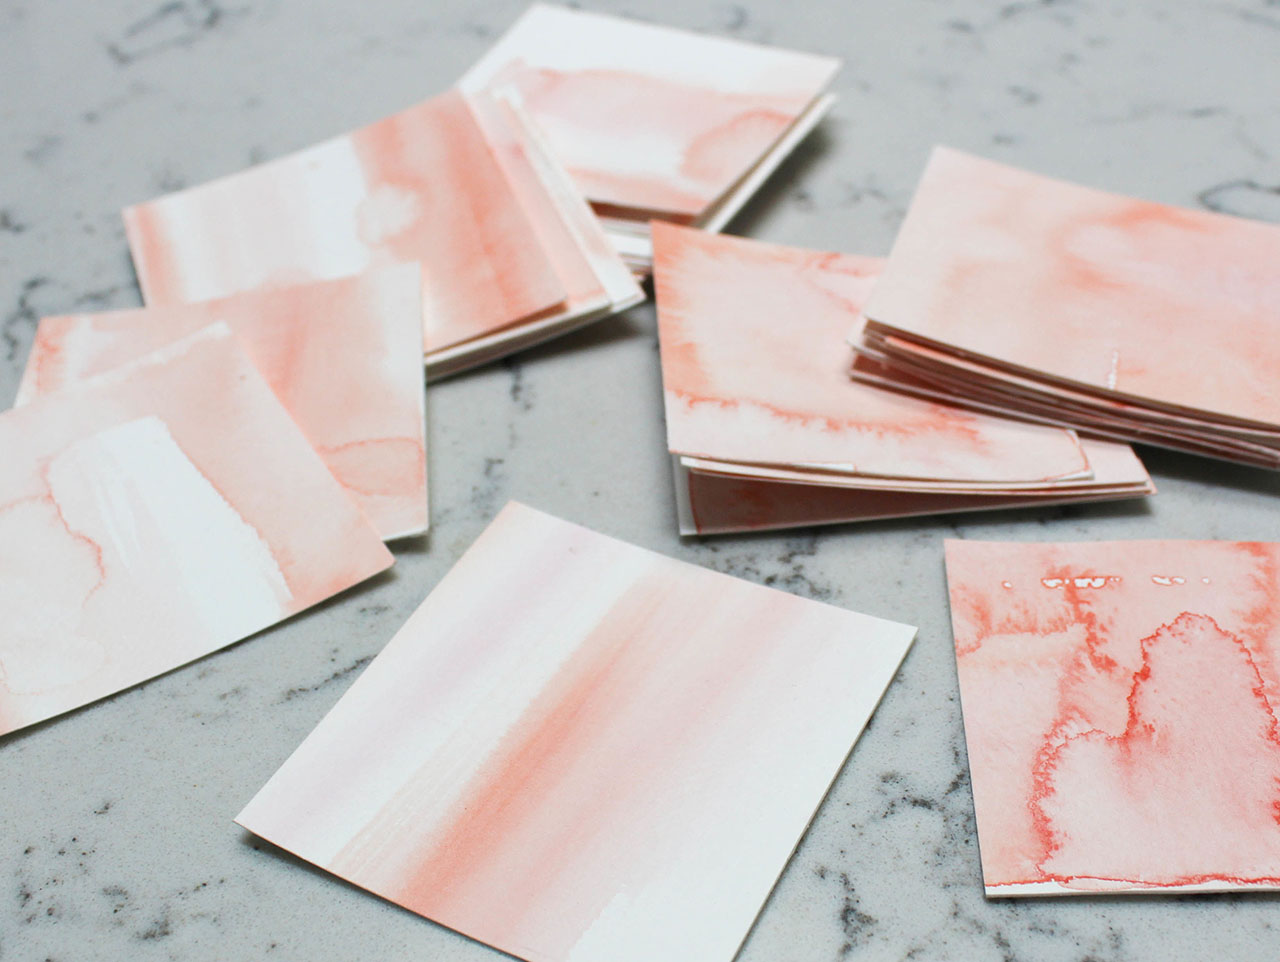
Allow your painting to dry, then use a butter knife at the top center of the watercolor paper block to carefully separate the sheet from the block. Waiting for the paper to dry is key, since the glue on the block prevents it from curling. Use a paper trimmer to cut the paper into twelve 3 in. x 3 in. squares. Using this size, you will yield twelve squares per sheet of watercolor paper. In this image, we have completed three sheets. Mix up the papers so that the patterns vary.
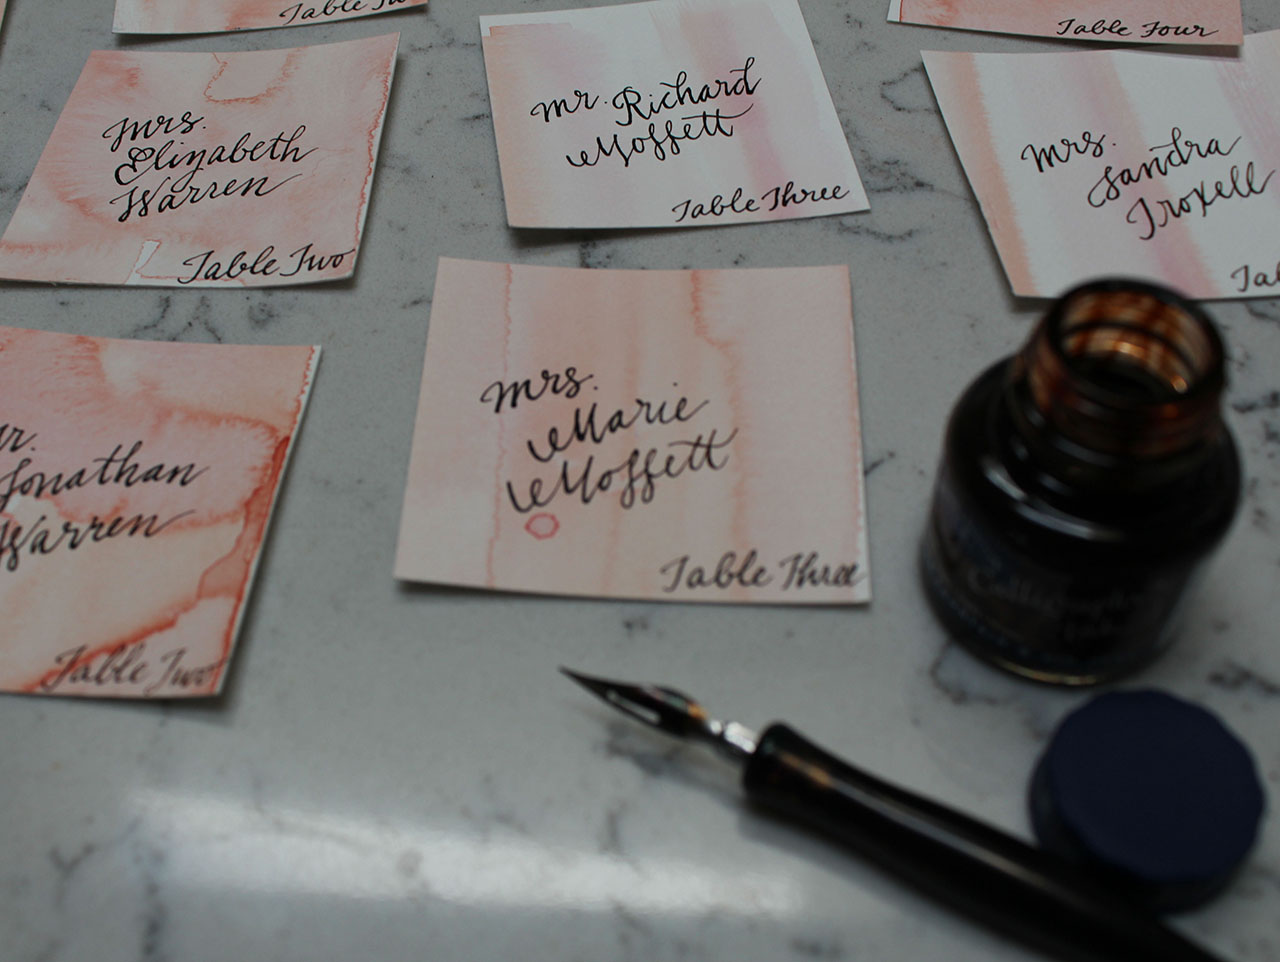
Using the Speedball Calligraphy Pen with pointed nib, dip into the Sepia (brown) ink, and write the names of each guest in the center of the card. The table number can go at the bottom right. Be sure the watercolor paint has dried before applying the ink, as any moisture in the paper may cause the ink to bleed. To achieve a true calligraphy look, remember to draw lightly on upstrokes, and more heavily on the downstroke. Practicing on a separate sheet of paper will be useful if this is your first time using this type of pen.
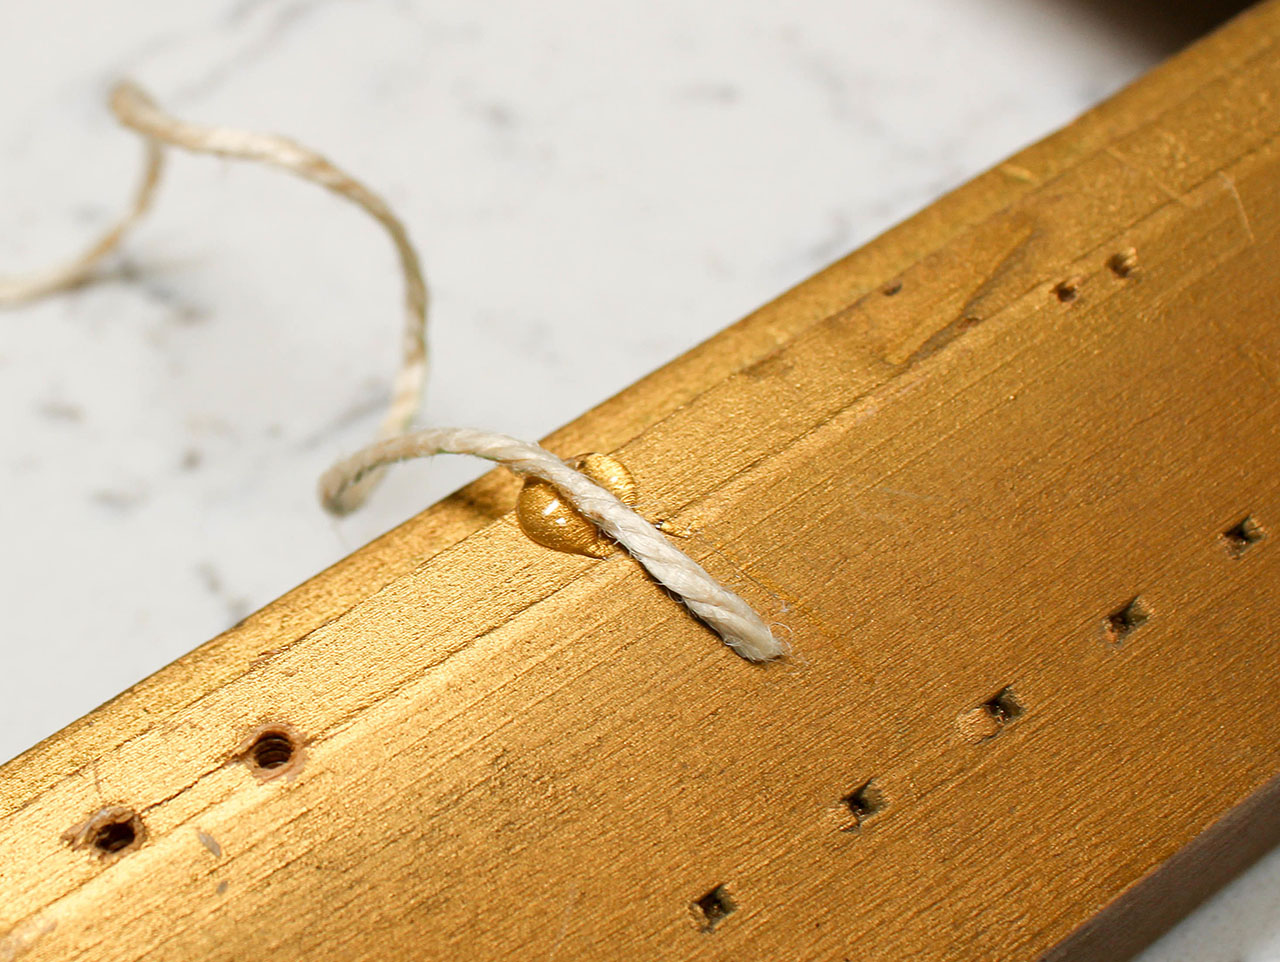

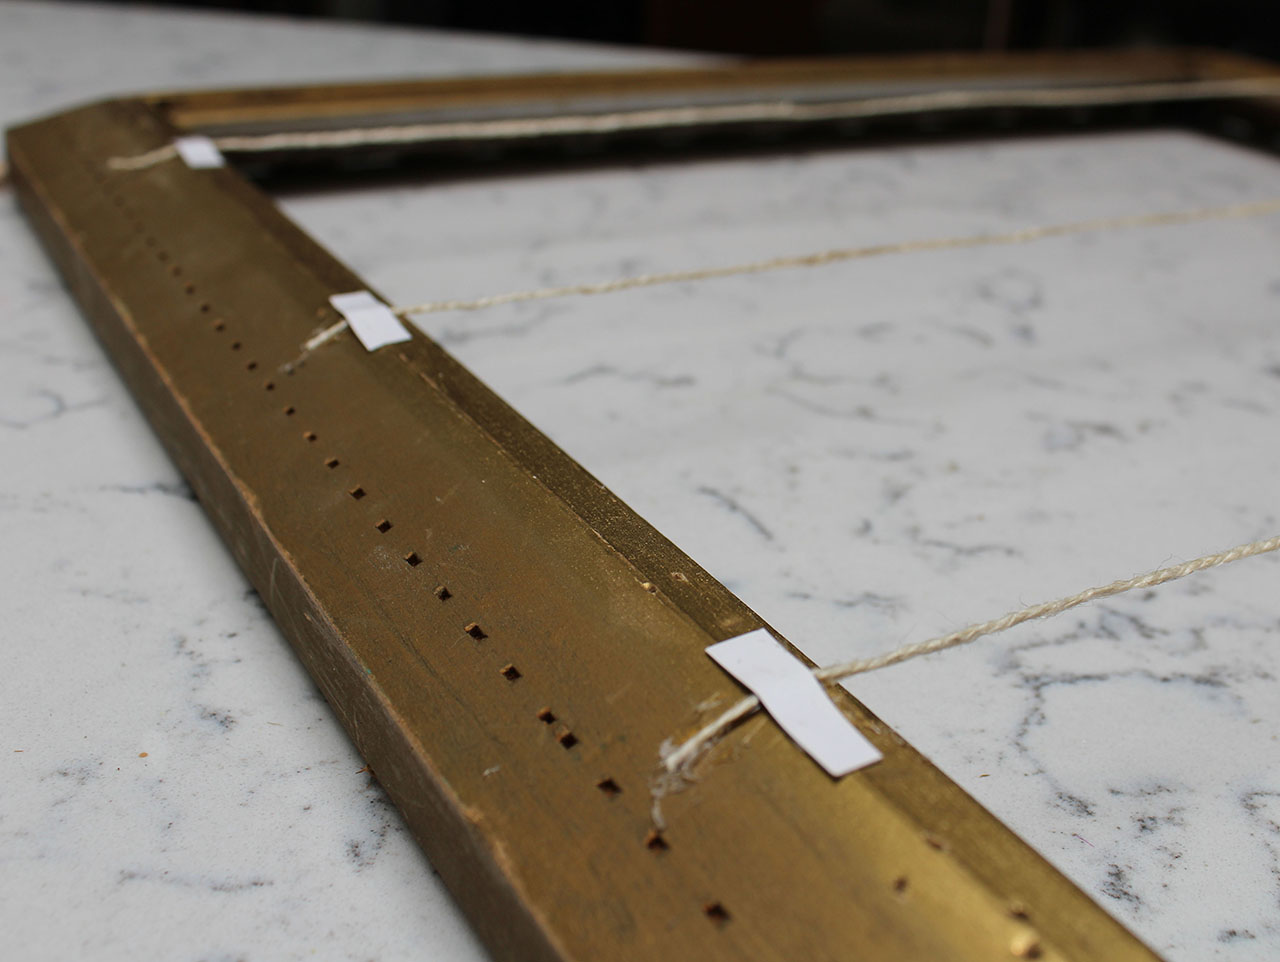
Measure the width of your thrift store frame and add two inches. Cut five lengths of twine to be adhered to the back of the frame horizontally. Glue the ends of the twine to the frame as shown, pulling taught. We added cardboard stripes over the glued down twine to reinforce the strength.
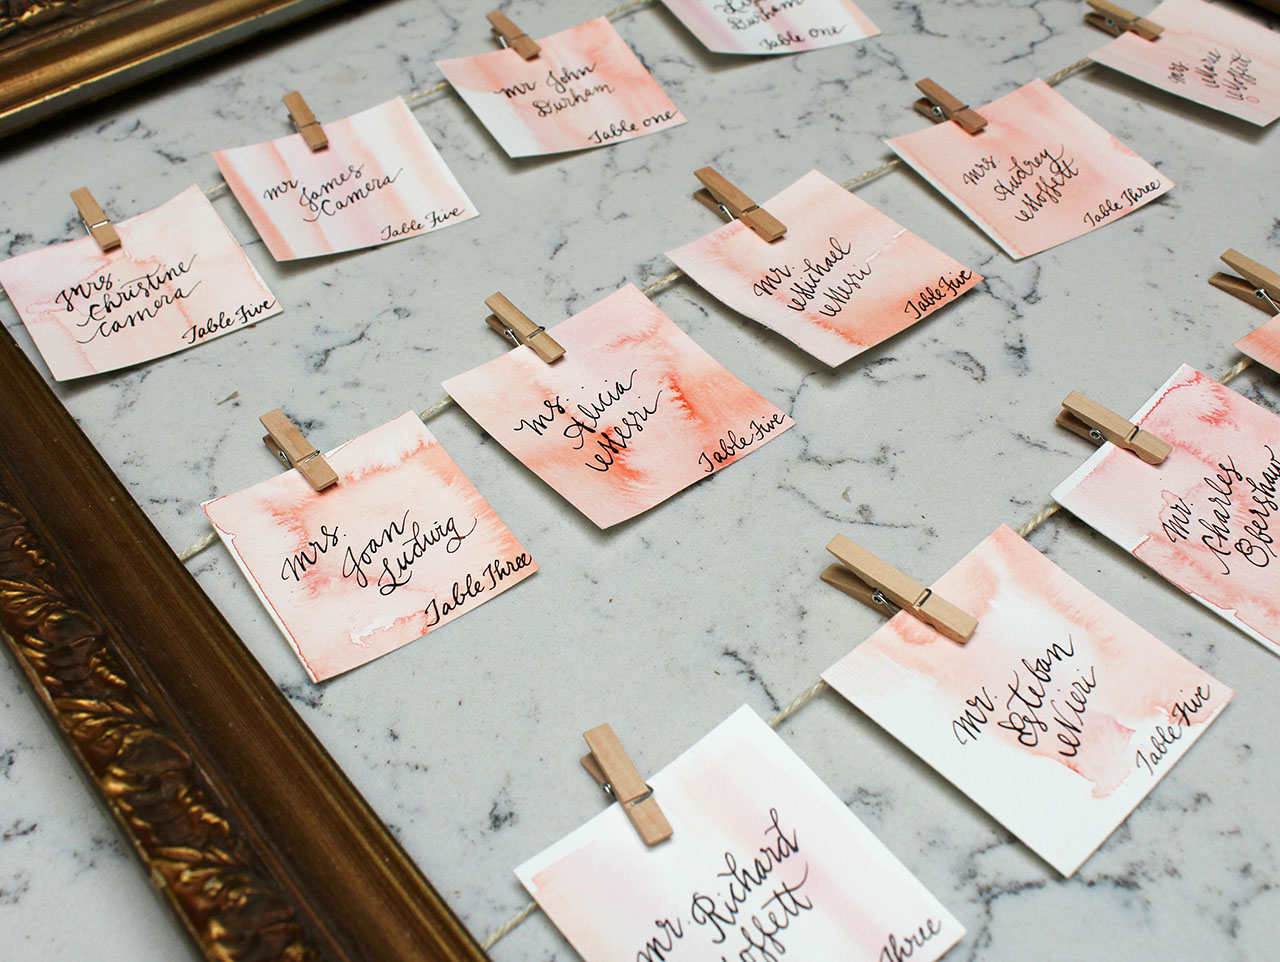
Attach the watercolor cards in alphabetical order using the miniature clothespins.
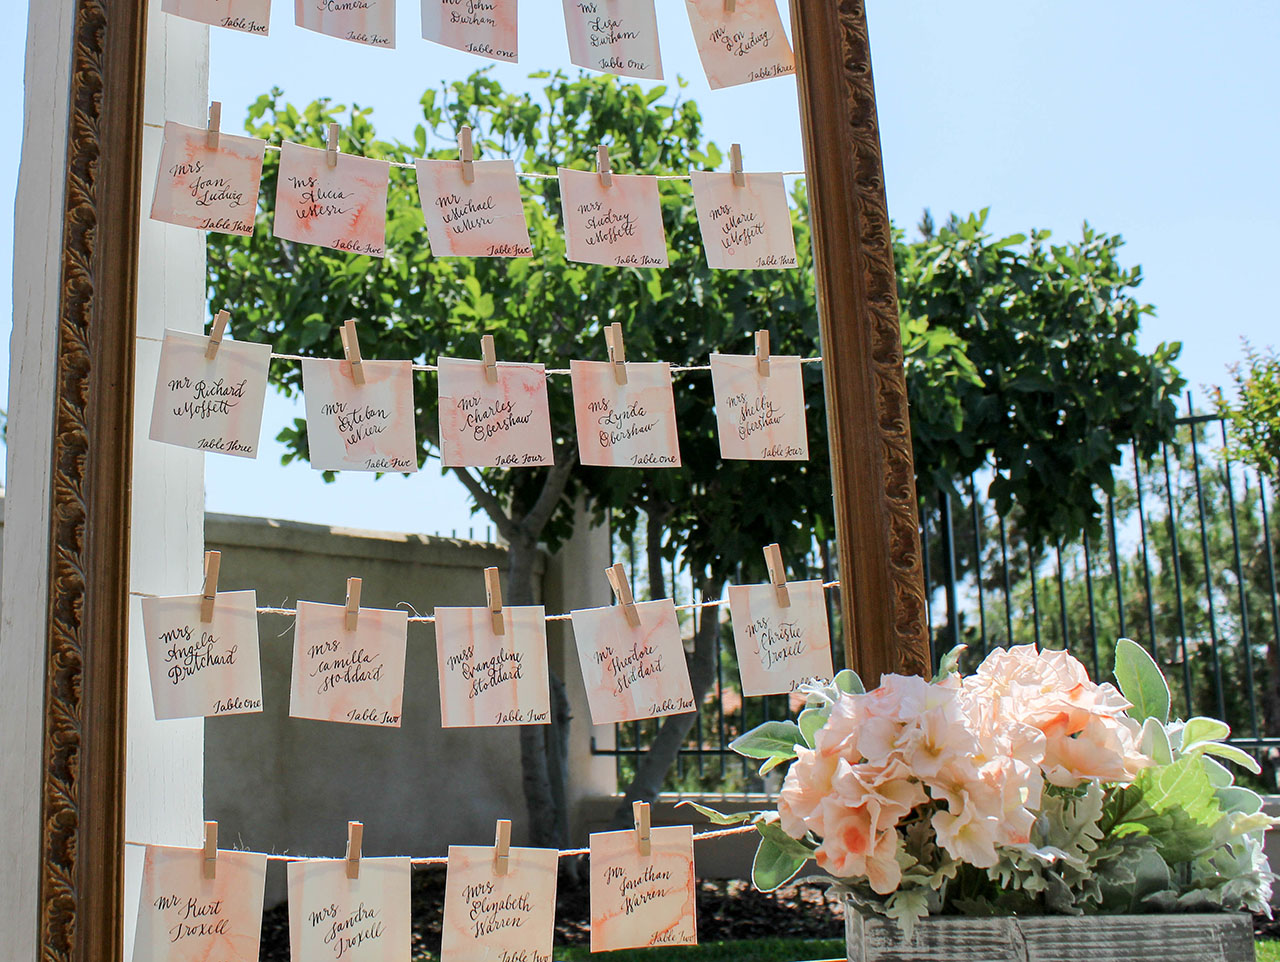
Your completed seating chart is ready to be displayed!


Start by mixing your paint colors. We used shades of red and orange, mixed with white, to get the color palette we wanted, which was soft shades of peach and pink. Adding a little water to the paint will help the colors to blend together well.


You’ll notice that the watercolor block has a layer of glue all the way around the pages. This is to keep the paper from curling while you paint. Leave the top sheet attached and begin painting directly onto it by brushing lines onto the paper with your paintbrush. The more water you use, the lighter the paint will go on, and will spread easier.


Allow your painting to dry, then use a butter knife at the top center of the watercolor paper block to carefully separate the sheet from the block. Waiting for the paper to dry is key, since the glue on the block prevents it from curling. Use a paper trimmer to cut the paper into twelve 3 in. x 3 in. squares. Using this size, you will yield twelve squares per sheet of watercolor paper. In this image, we have completed three sheets. Mix up the papers so that the patterns vary.

Using the Speedball Calligraphy Pen with pointed nib, dip into the Sepia (brown) ink, and write the names of each guest in the center of the card. The table number can go at the bottom right. Be sure the watercolor paint has dried before applying the ink, as any moisture in the paper may cause the ink to bleed. To achieve a true calligraphy look, remember to draw lightly on upstrokes, and more heavily on the downstroke. Practicing on a separate sheet of paper will be useful if this is your first time using this type of pen.


Measure the width of your thrift store frame and add two inches. Cut five lengths of twine to be adhered to the back of the frame horizontally. Glue the ends of the twine to the frame as shown, pulling taught. We added cardboard stripes over the glued down twine to reinforce the strength.

Attach the watercolor cards in alphabetical order using the miniature clothespins.

Your completed seating chart is ready to be displayed!


