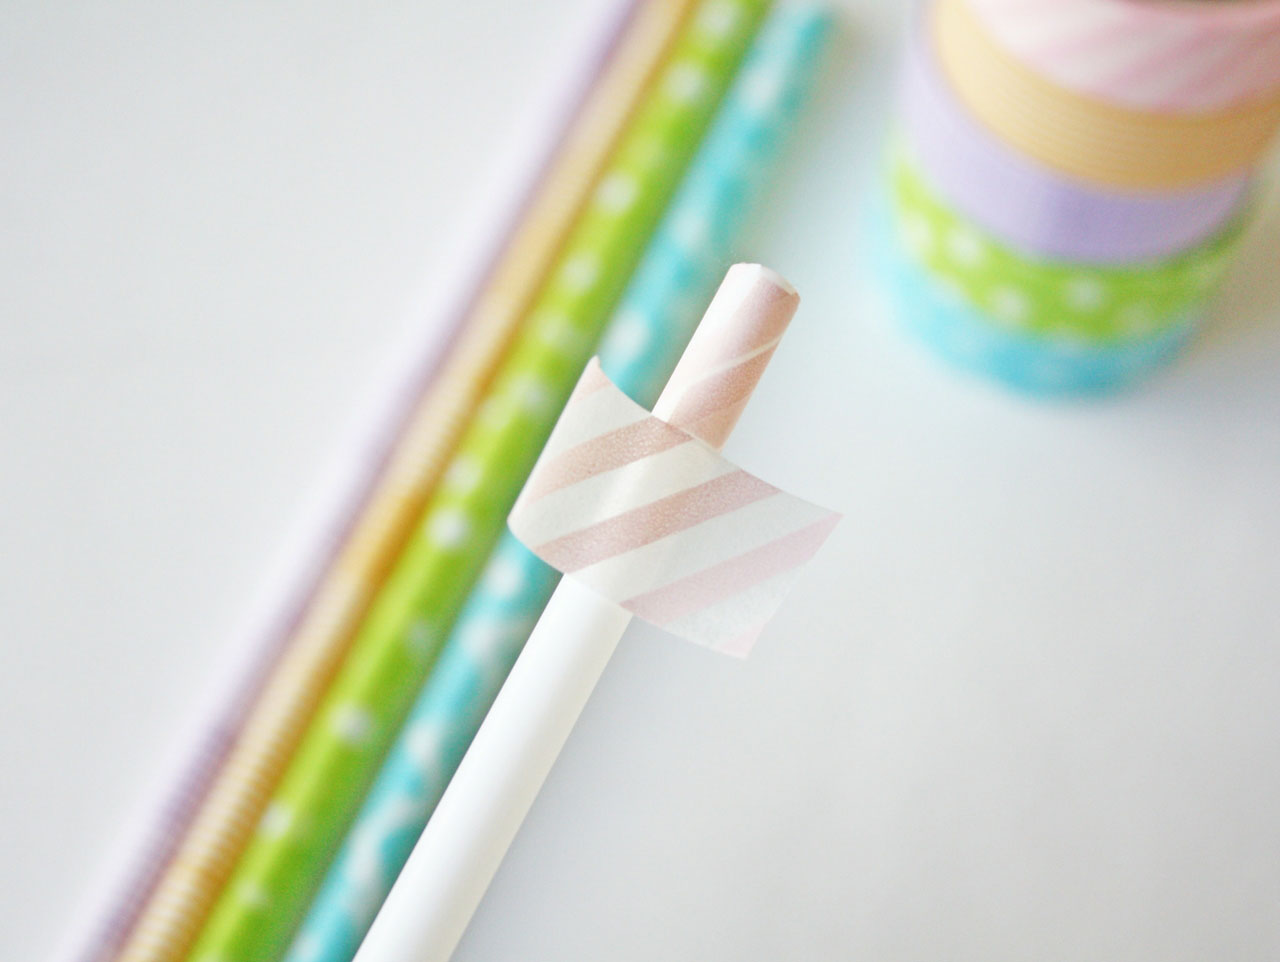

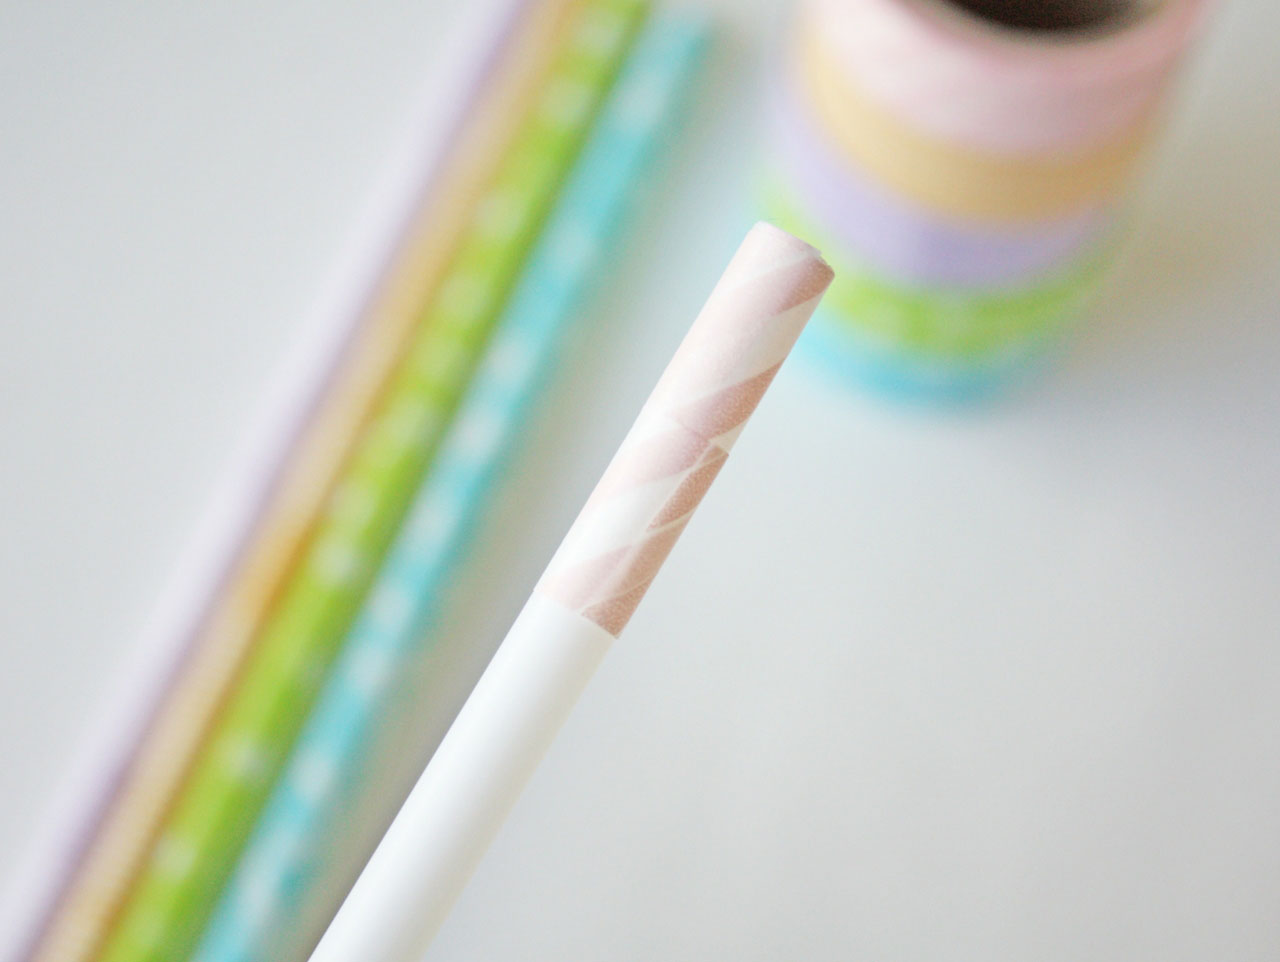
Cut small strips of washi tape to cover the straw. It took me 14 small strips to cover the length of the white craft straw. Start at the top of the straw and work your way to the bottom. It goes quickly after a couple straws. Kids may need help with this step.
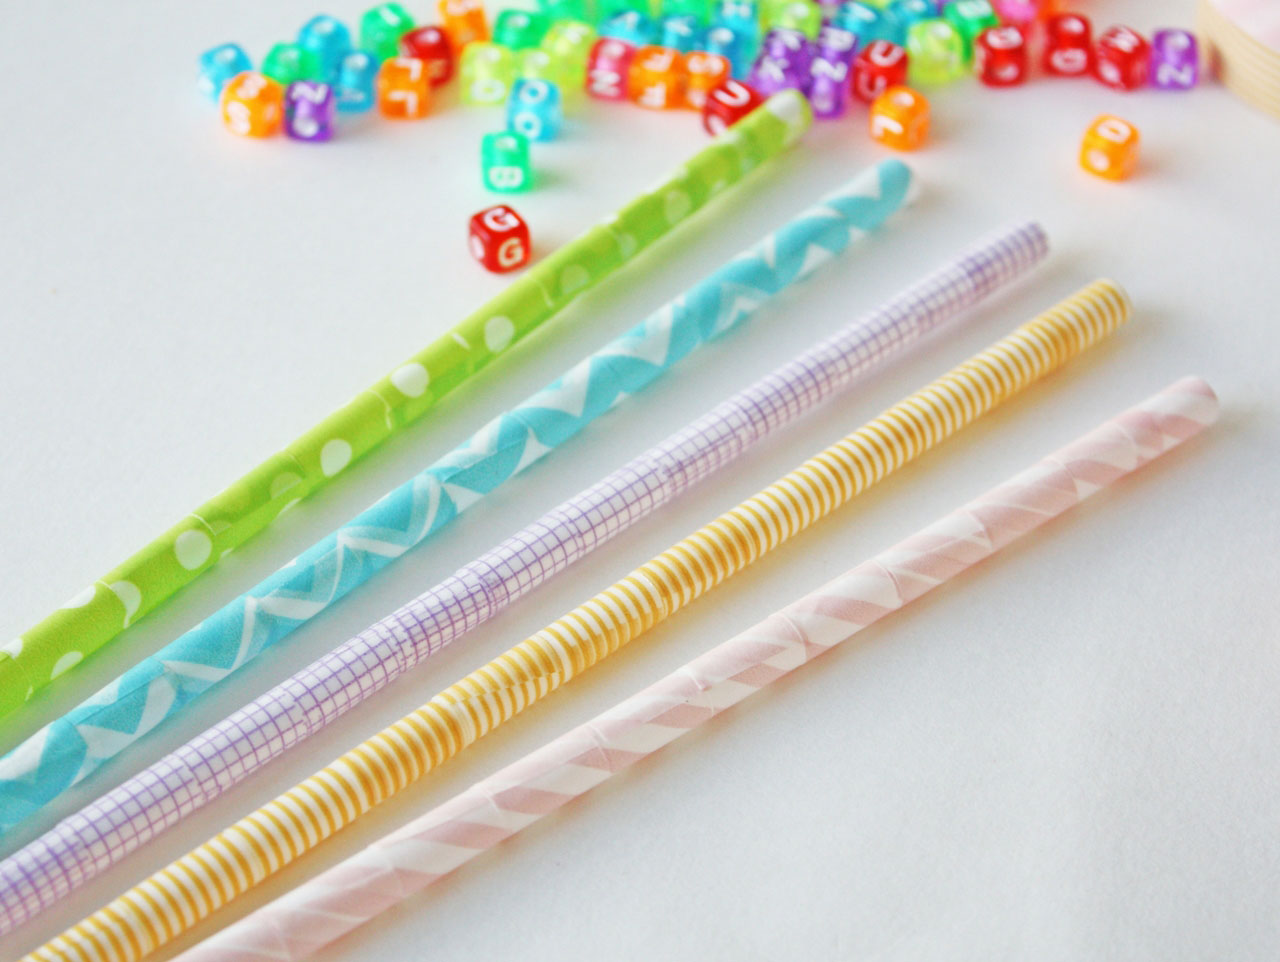
Repeat step one with each pattern/color of washi tape you would like to use.
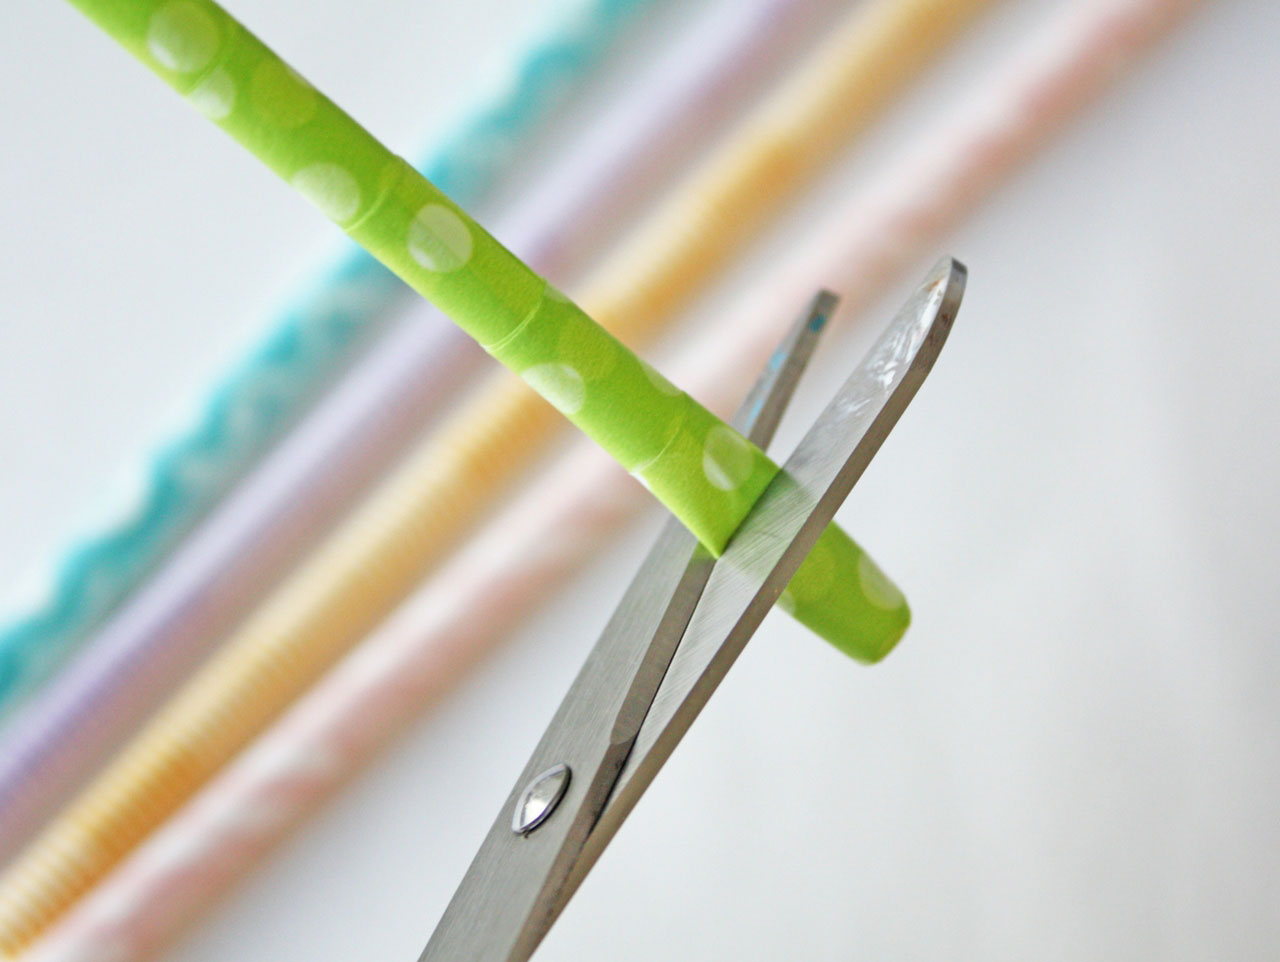

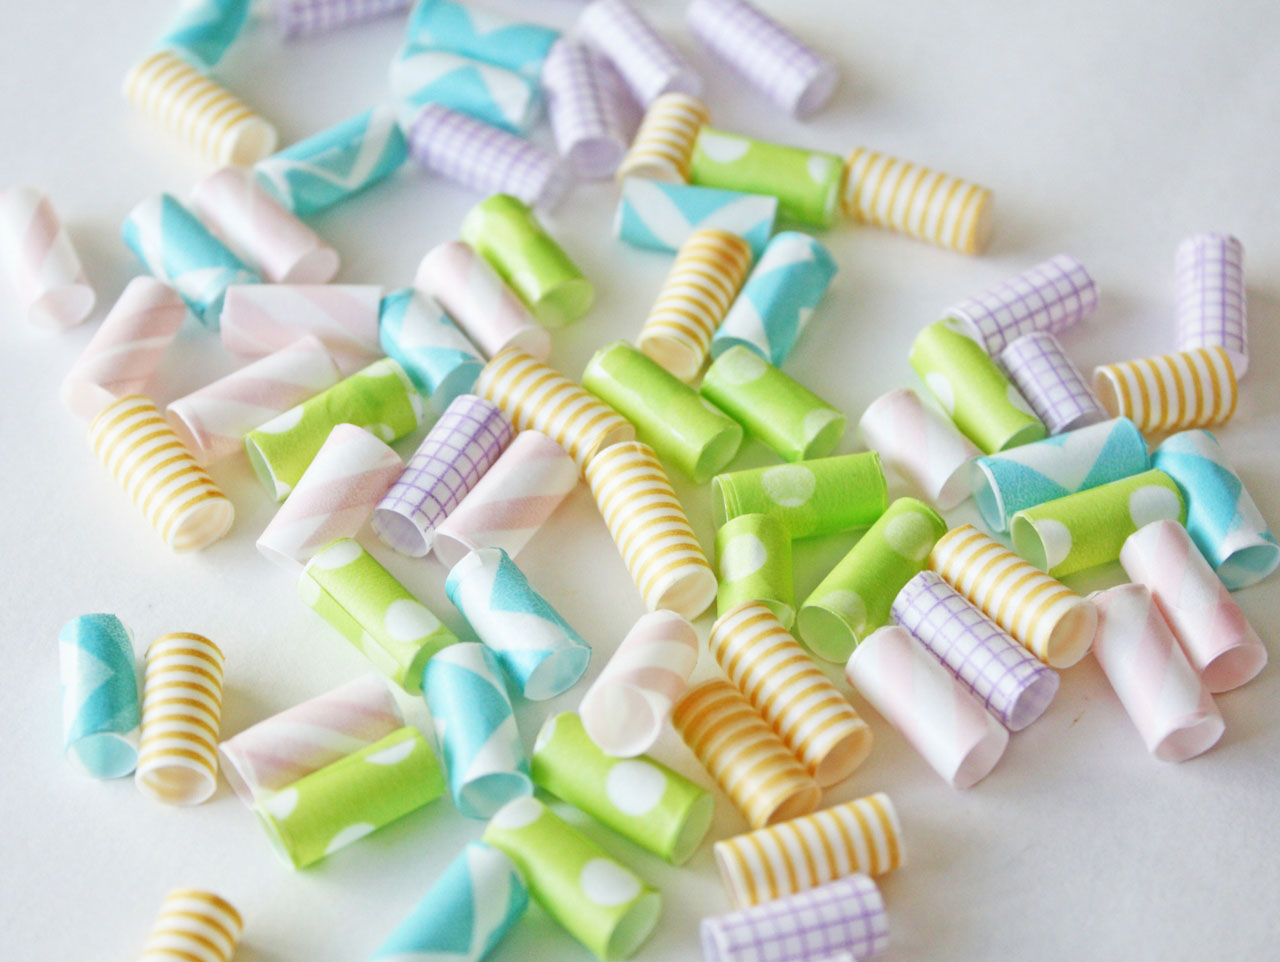
Now it’s time to cut your washi tape straw beads! Using the tape seams as your guide, cut the straws.
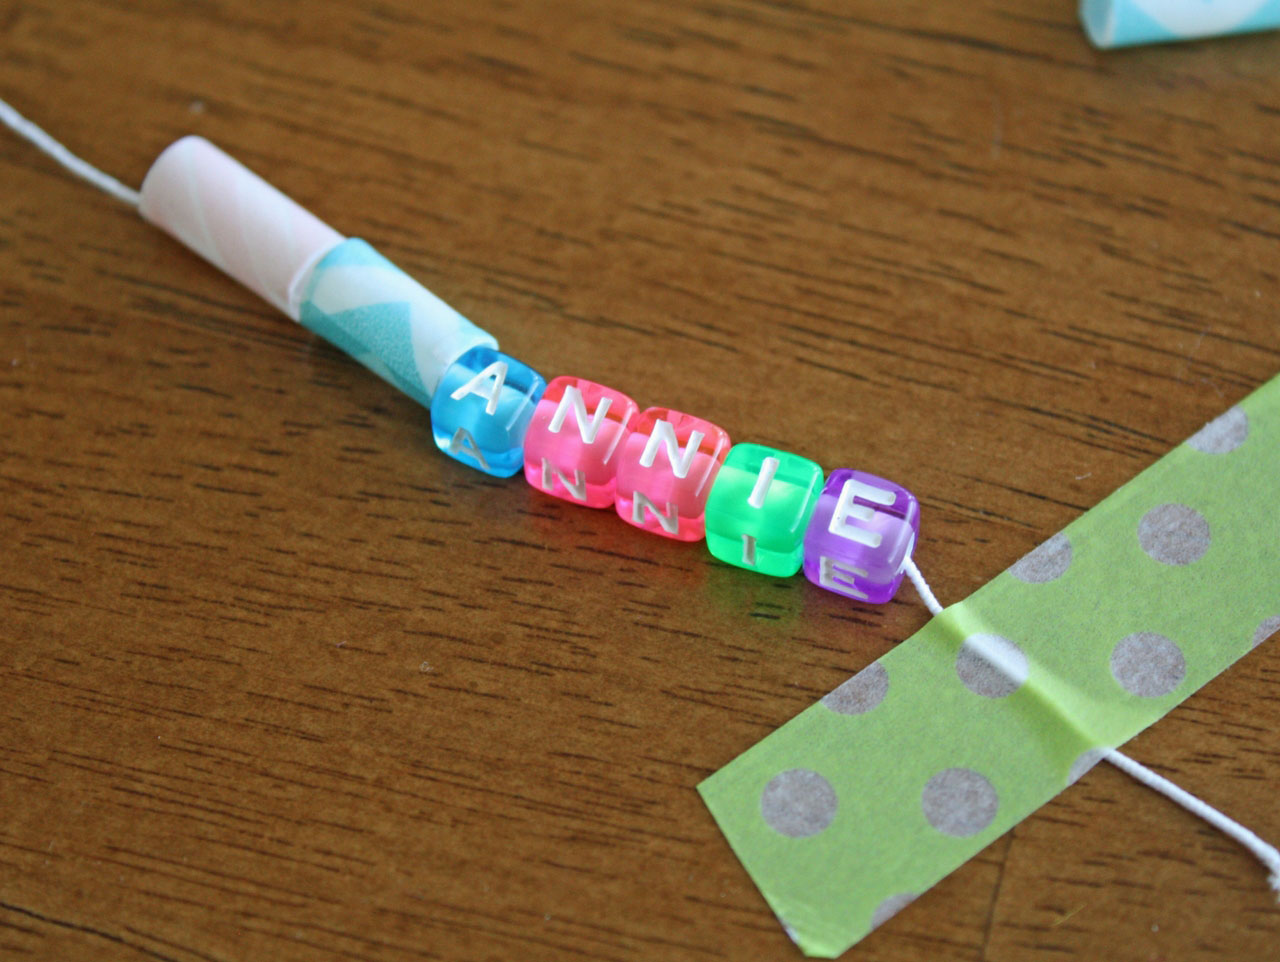
Cut some of the elastic cording to size; measure how long your child wants the necklace to be. Tape one end of the elastic cording to the table so that the beads do not slide off. Have your child thread their alphabet beads on first. Starting with the last letter of their name and work backwards. Next, add an even amount of washi tape straw beads to both sides of the alphabet beads so that the name falls in the center. This is awesome for developing your kids fine motor skills.
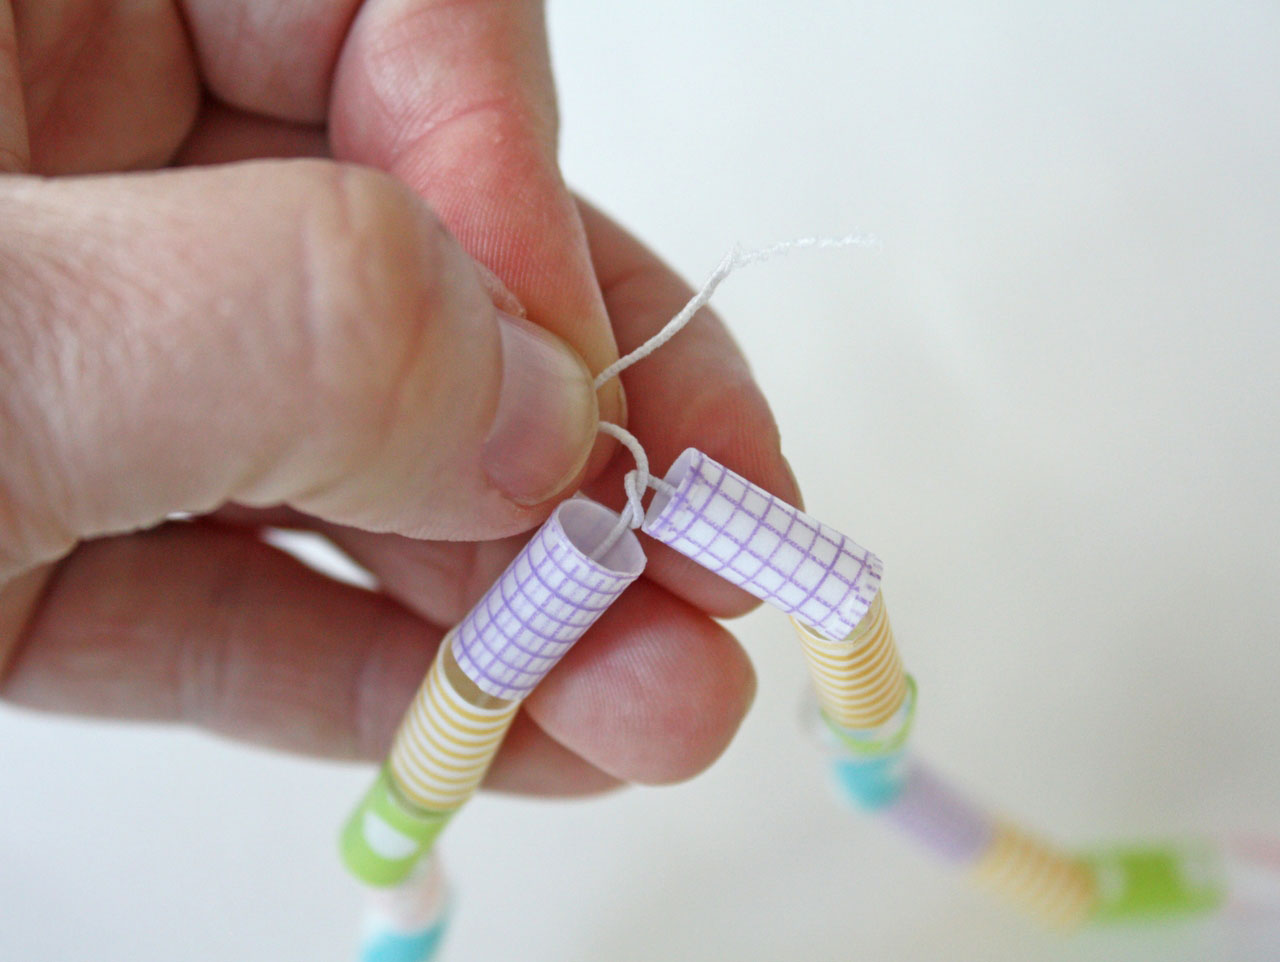
Once all beads are on the necklace, tie a knot at the ends.

Let your child wear their washi tape jewelry with pride! I love that the necklaces stretch so the kids won’t break them when pulling over their heads. It was super fun to customize our colors and patterns for Spring. Choose from a variety of washi tape to create your own look. Make sure to tag #orientaltrading and share your washi tape projects with us!


Cut small strips of washi tape to cover the straw. It took me 14 small strips to cover the length of the white craft straw. Start at the top of the straw and work your way to the bottom. It goes quickly after a couple straws. Kids may need help with this step.

Repeat step one with each pattern/color of washi tape you would like to use.


Now it’s time to cut your washi tape straw beads! Using the tape seams as your guide, cut the straws.

Cut some of the elastic cording to size; measure how long your child wants the necklace to be. Tape one end of the elastic cording to the table so that the beads do not slide off. Have your child thread their alphabet beads on first. Starting with the last letter of their name and work backwards. Next, add an even amount of washi tape straw beads to both sides of the alphabet beads so that the name falls in the center. This is awesome for developing your kids fine motor skills.

Once all beads are on the necklace, tie a knot at the ends.

Let your child wear their washi tape jewelry with pride! I love that the necklaces stretch so the kids won’t break them when pulling over their heads. It was super fun to customize our colors and patterns for Spring. Choose from a variety of washi tape to create your own look. Make sure to tag #orientaltrading and share your washi tape projects with us!


