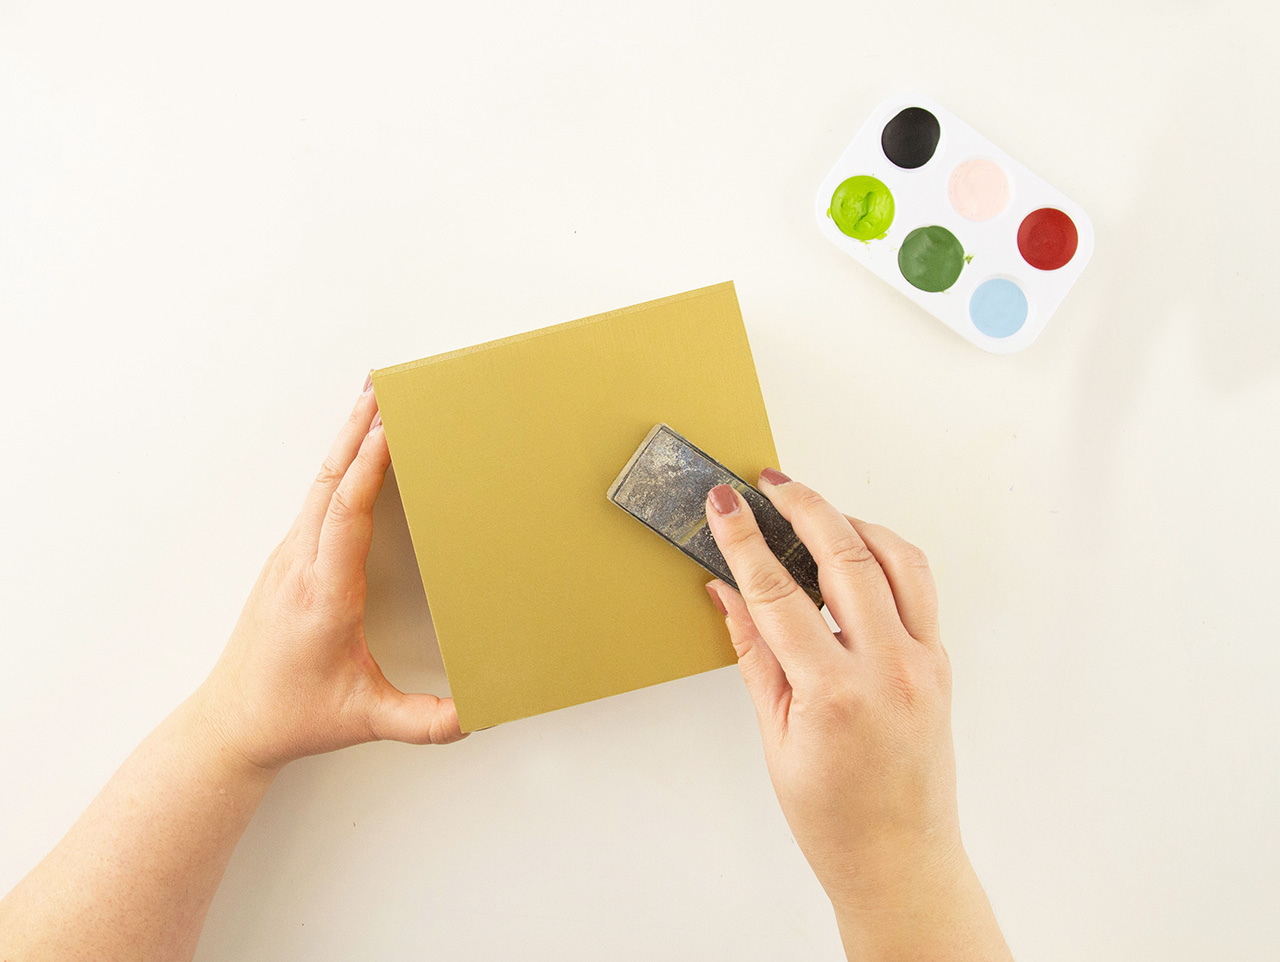
Using fine grain sandpaper, sand the surfaces of the wood blocks you will be painting. Since these blocks can be made to be reversible, we painted the fronts and backs of each block and left the sides the gold color. If you only want to make the non-reversible version, you can just sand and paint one side.

Paint each of the stacking blocks with acrylic paint and a flat-bristled paint brush. Paint the small block a pretty light blue, the large block an olive green, and the middle block white. You may need to paint a couple of coats but it’ll be worth it, I promise!


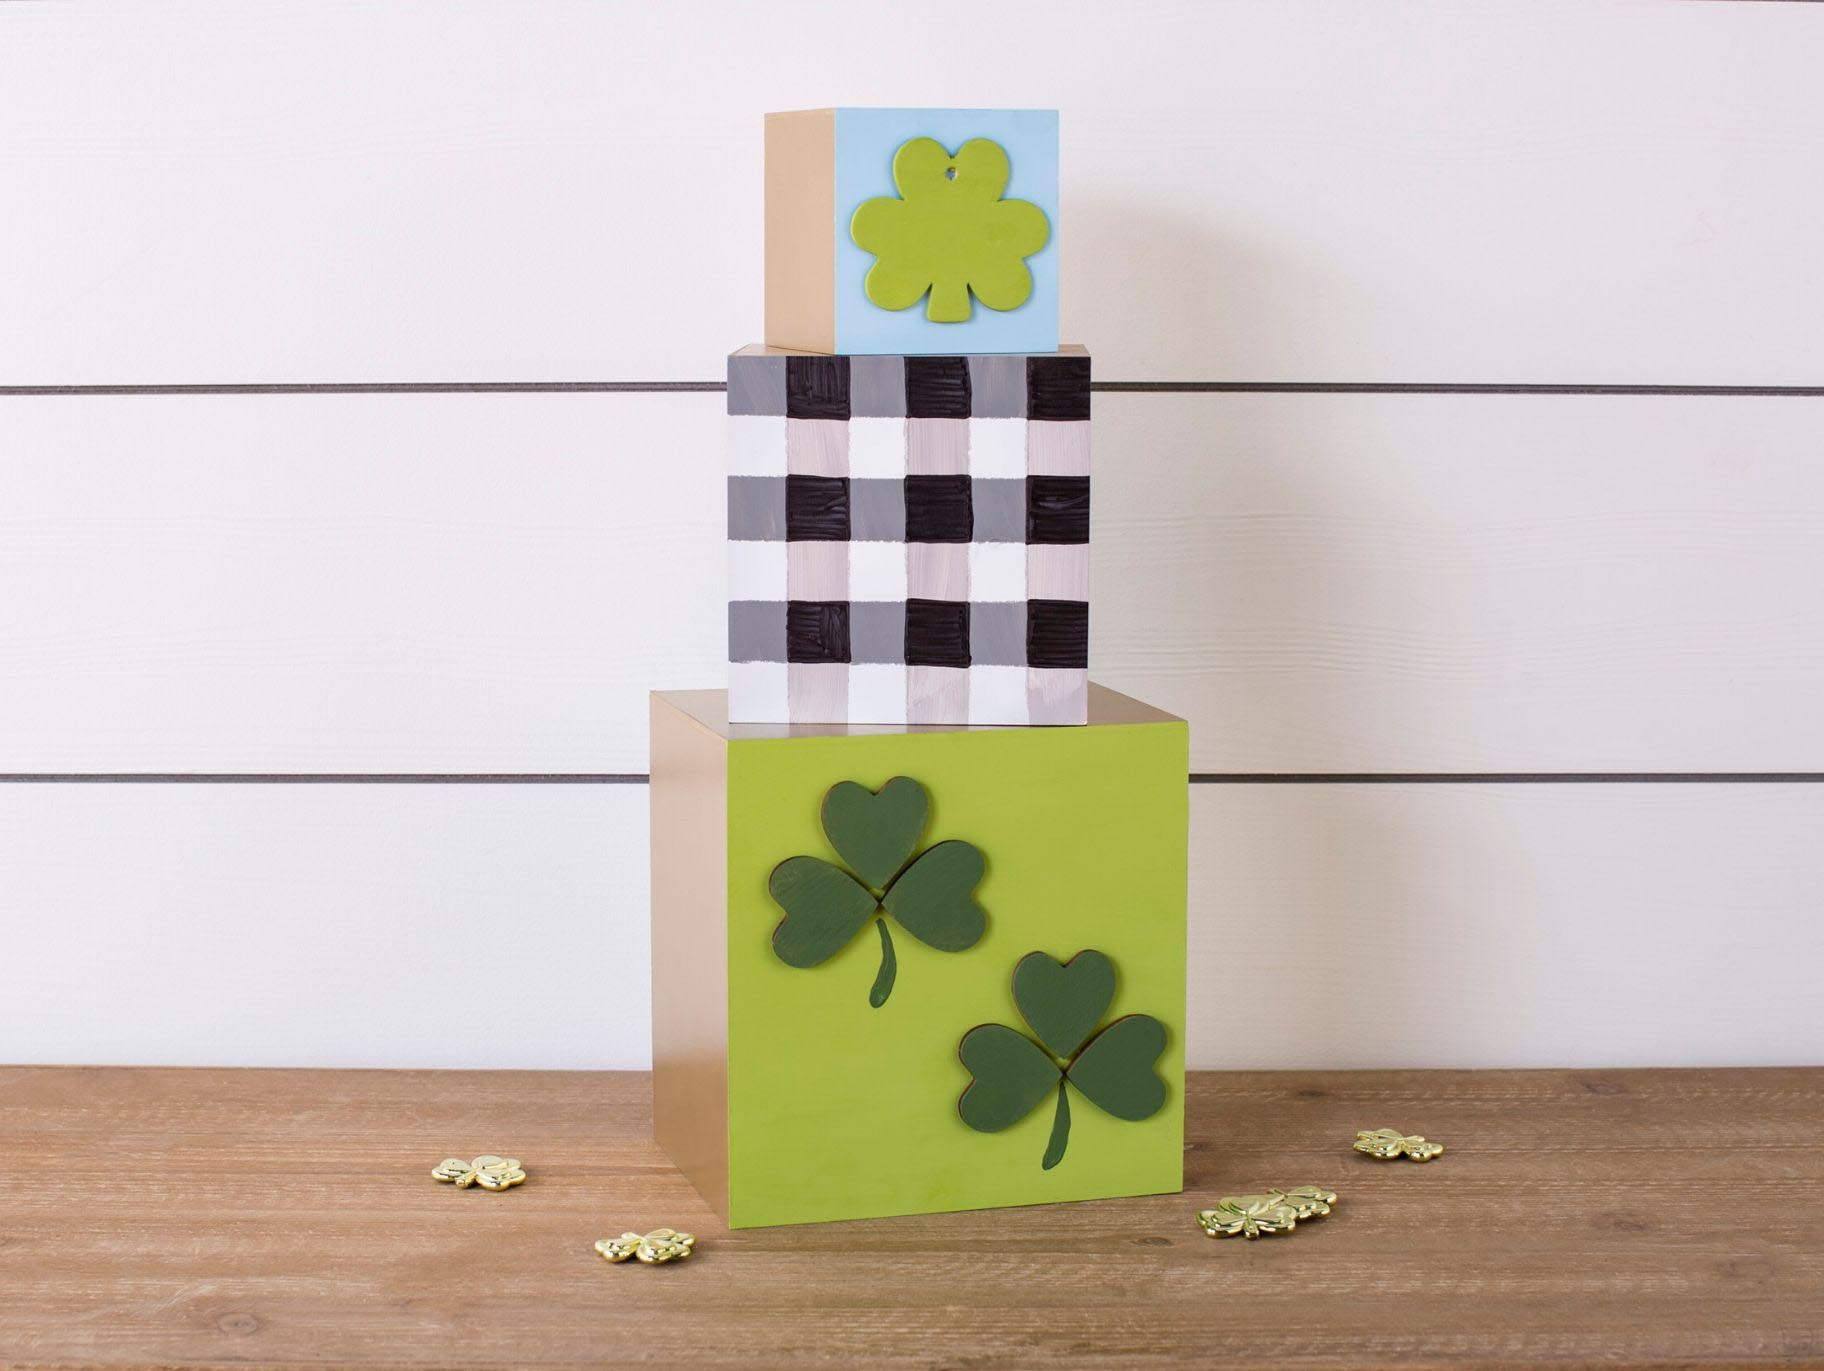
Paint 6 Unfinished Wooden Mini Hearts a dark green. Use hot glue to adhere them onto the largest stacking block in two shamrock shapes. Paint a dark green stem onto each of the shamrocks. Paint a DIY Unfinished Wood Shamrock Ornament and hot glue it to the smallest wood block.

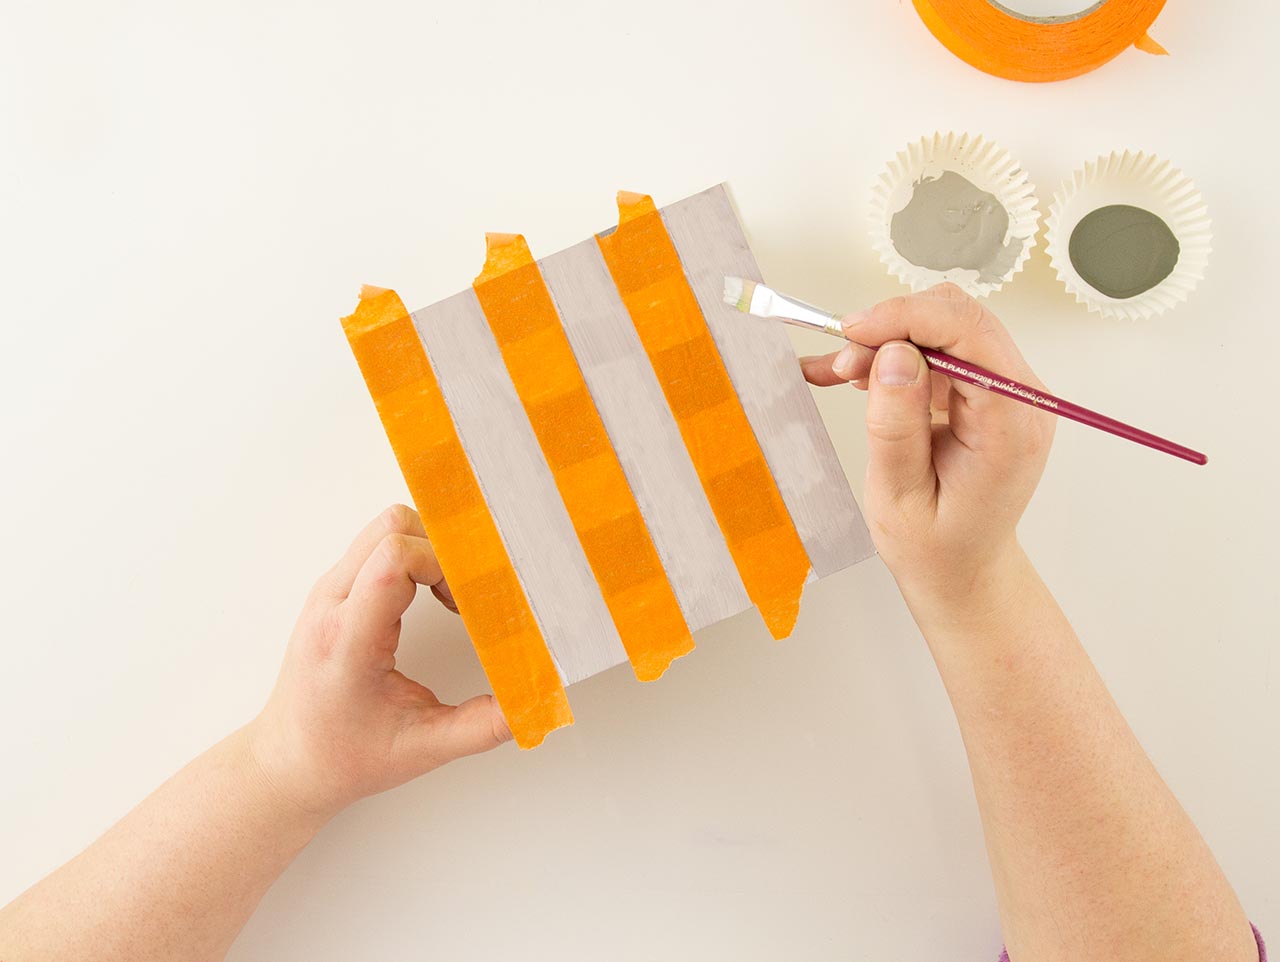
Next, we will create the fun buffalo plaid pattern onto the middle block using good ol’ masking tape. First, take some, not all, of the sticky off of the tape. To do that simply place the tape on your shirt or pants and remove it. This will make the tape a little less sticky. Next, apply the tape to the white painted wood block. Apply another piece of tape directly beside the first one. This piece will serve as a guide for spacing the tape exactly the same width all the way across the block. Place another piece of tape next to the second one and then remove the second piece of tape. Continue this across the entire block, reusing the second piece of tape to use as a spacing guide. Mix two different colors of gray paint by adding 1 and 2 drops of black acrylic paint to white paint. Use a flat-bristled paintbrush to paint the lightest color gray paint in between the tape. Allow time for the paint to dry and remove the tape.


Repeat steps 3 & 4, but with the tape going in the opposite direction.

To make the black squares easier to fill in, simply use a black permanent marker to trace and fill-in all of the overlapping squares.

What’s great about these block is they nest inside of each other for easy storage. Stack the blocks on top of each other while being displayed to add height and dimension to your St. Patrick’s Day display.

Want your décor to do double duty? Be sure out the step by step tutorial on how to make the reverse Valentine’s Day side of these blocks here.

Feeling lucky? Want your St. Patrick’s day décor to ‘SHAM-rock’? Be sure to check out our other Easy St. Patrick’s Day Decoration Ideas here.

Using fine grain sandpaper, sand the surfaces of the wood blocks you will be painting. Since these blocks can be made to be reversible, we painted the fronts and backs of each block and left the sides the gold color. If you only want to make the non-reversible version, you can just sand and paint one side.

Paint each of the stacking blocks with acrylic paint and a flat-bristled paint brush. Paint the small block a pretty light blue, the large block an olive green, and the middle block white. You may need to paint a couple of coats but it’ll be worth it, I promise!


Paint 6 Unfinished Wooden Mini Hearts a dark green. Use hot glue to adhere them onto the largest stacking block in two shamrock shapes. Paint a dark green stem onto each of the shamrocks. Paint a DIY Unfinished Wood Shamrock Ornament and hot glue it to the smallest wood block.

Next, we will create the fun buffalo plaid pattern onto the middle block using good ol’ masking tape. First, take some, not all, of the sticky off of the tape. To do that simply place the tape on your shirt or pants and remove it. This will make the tape a little less sticky. Next, apply the tape to the white painted wood block. Apply another piece of tape directly beside the first one. This piece will serve as a guide for spacing the tape exactly the same width all the way across the block. Place another piece of tape next to the second one and then remove the second piece of tape. Continue this across the entire block, reusing the second piece of tape to use as a spacing guide. Mix two different colors of gray paint by adding 1 and 2 drops of black acrylic paint to white paint. Use a flat-bristled paintbrush to paint the lightest color gray paint in between the tape. Allow time for the paint to dry and remove the tape.


Repeat steps 3 & 4, but with the tape going in the opposite direction.

To make the black squares easier to fill in, simply use a black permanent marker to trace and fill-in all of the overlapping squares.

What’s great about these block is they nest inside of each other for easy storage. Stack the blocks on top of each other while being displayed to add height and dimension to your St. Patrick’s Day display.

Want your décor to do double duty? Be sure out the step by step tutorial on how to make the reverse Valentine’s Day side of these blocks here.

Feeling lucky? Want your St. Patrick’s day décor to ‘SHAM-rock’? Be sure to check out our other Easy St. Patrick’s Day Decoration Ideas here.


