
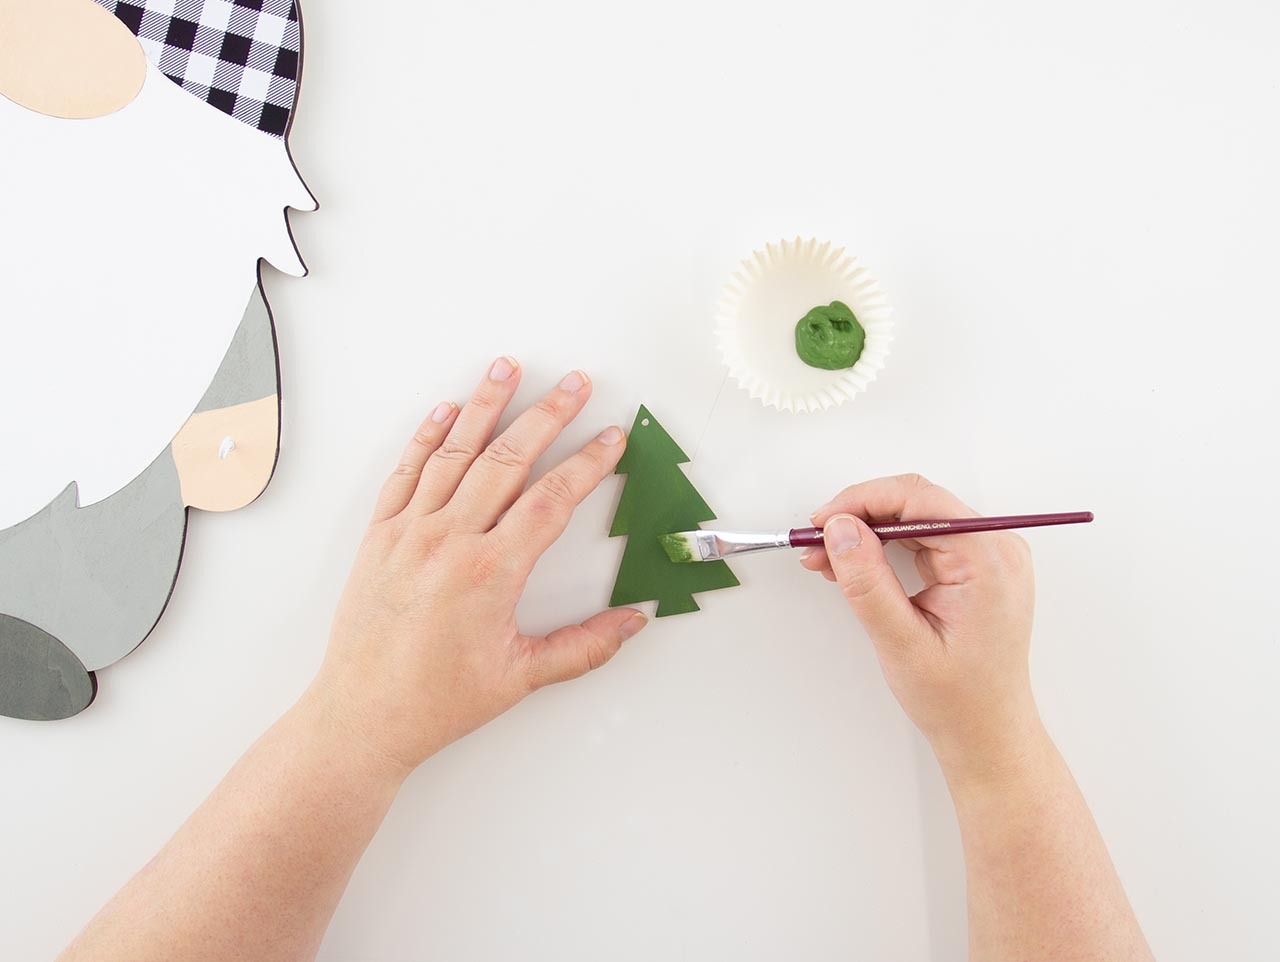
Paint the DIY Unfinished Wood Gnome Cutout, DIY Wood Snowflake Ornaments, DIY Unfinished Wood Mini Hearts, DIY Unfinished Wood Hearts, DIY Unfinished Wood Egg Cutouts, DIY Wood Pumpkin Shapes, DIY Unfinished Wood Fall Leaves, and DIY Unfinished Wood Tree Ornaments with acrylic paint and a flat-bristled paintbrush. Allow time for the paint to dry.
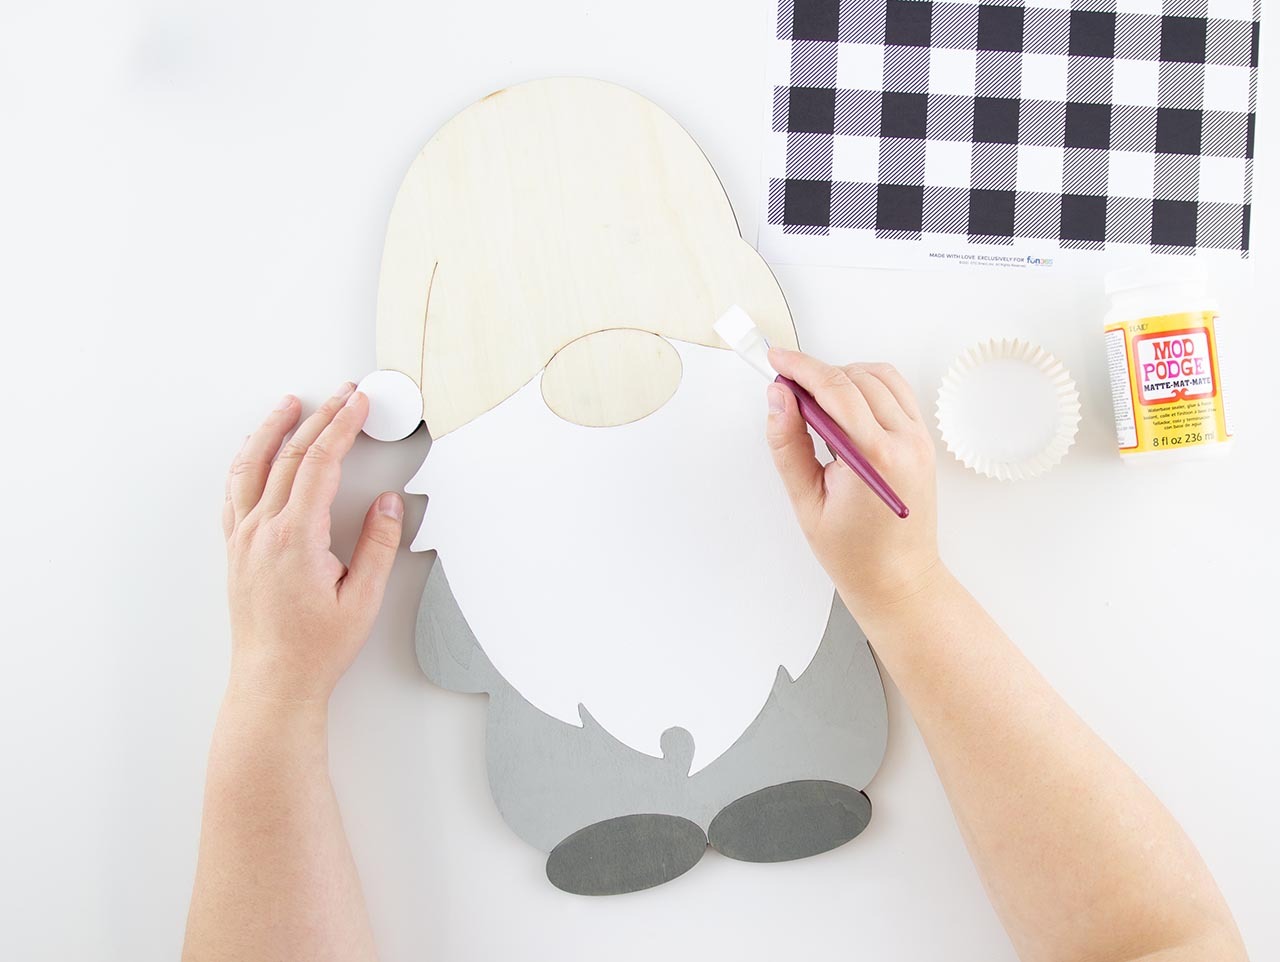

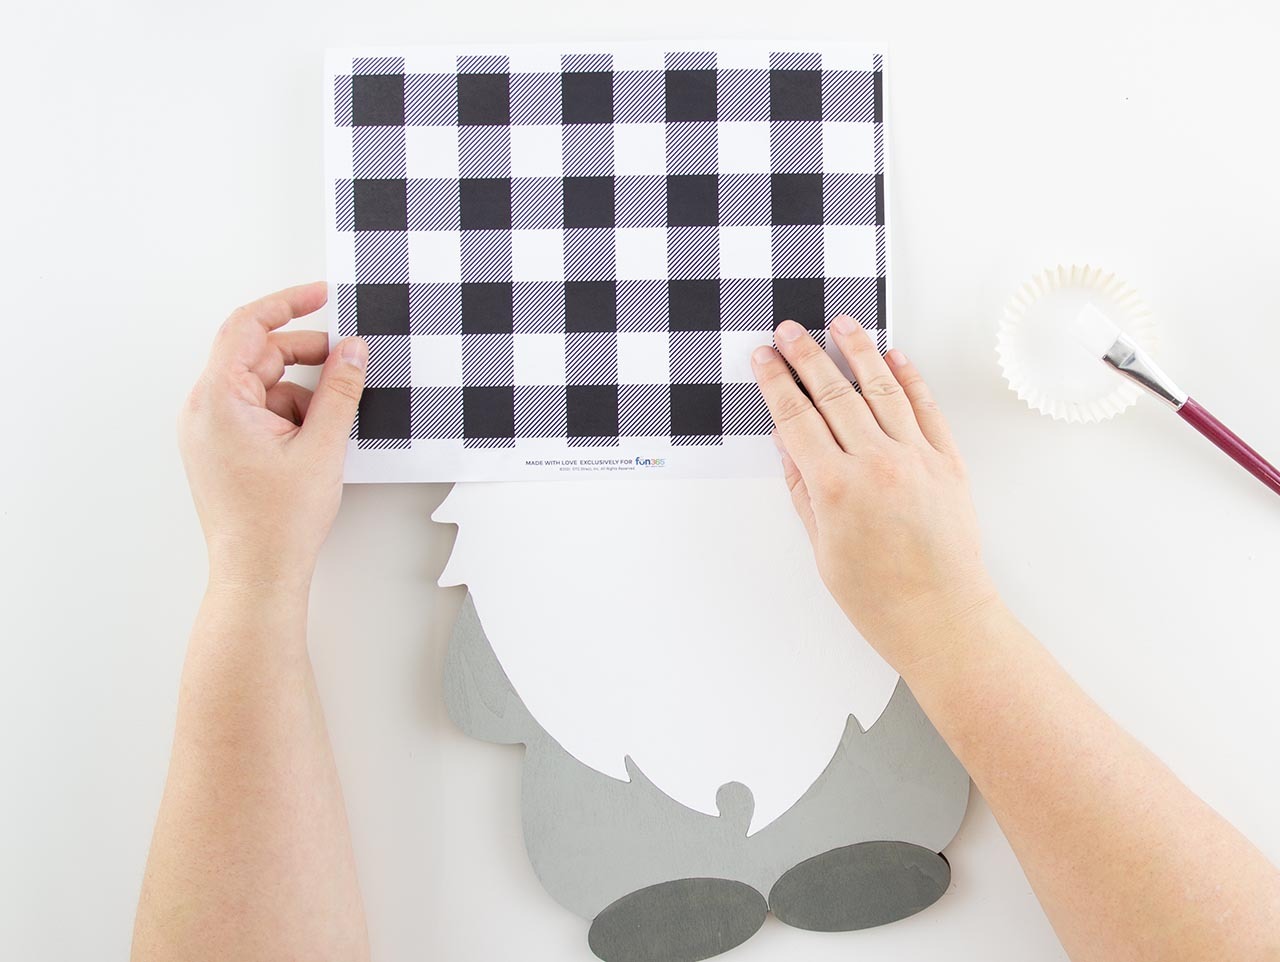
Download, print, and cut out the Buffalo Plaid Pattern Hat Template. Apply a thin layer of Mod Podge® onto the hat area of the wooden gnome. While the Mod Podge® is still wet, place the printed hat template on top. Allow time for the acrylic sealer to dry and then cut off the excess paper.
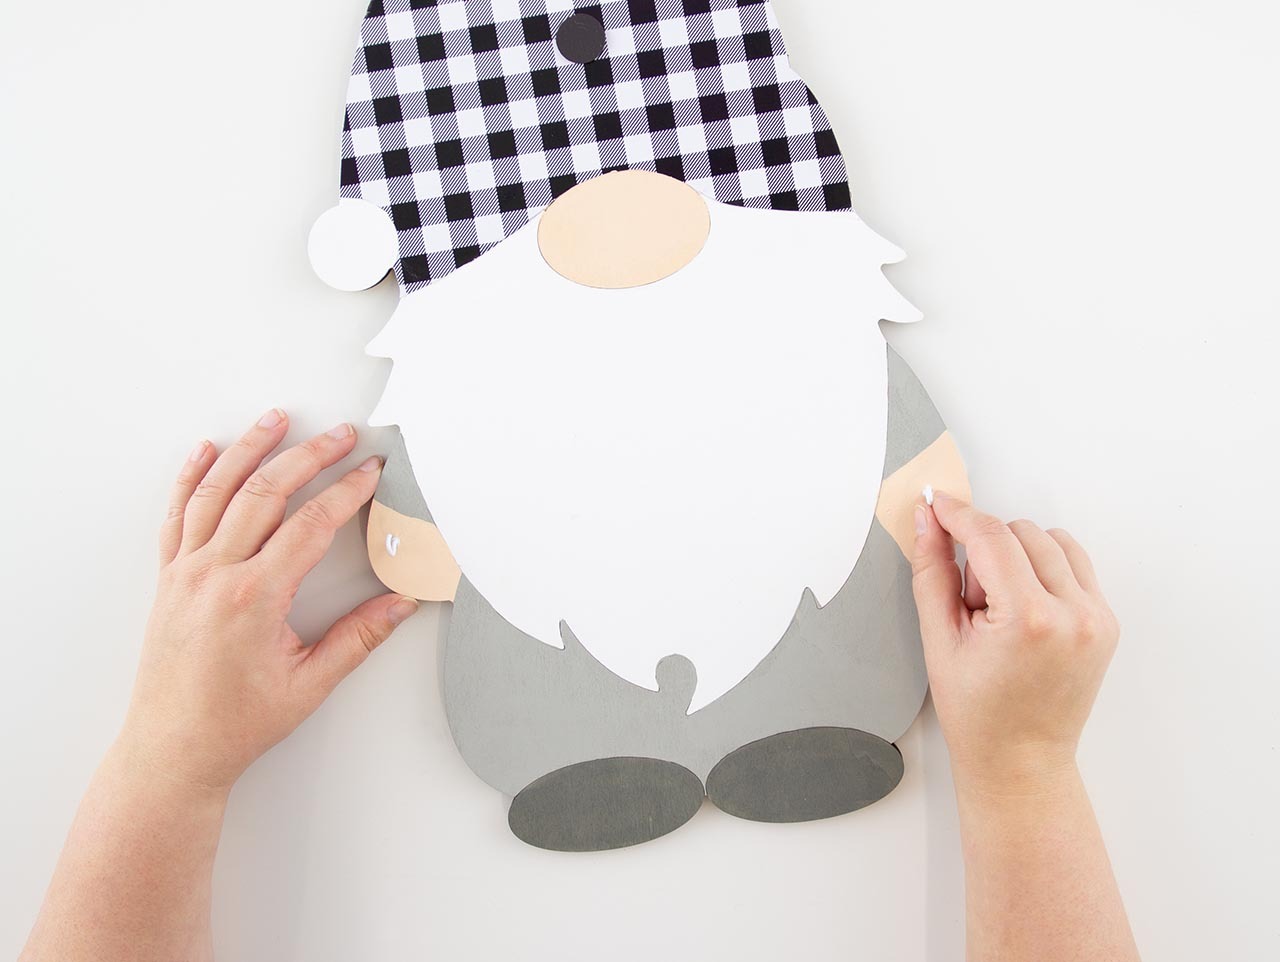
Screw a ½" hook into each of the gnome's hands. These will be used to hold – and easily change out – the garland.
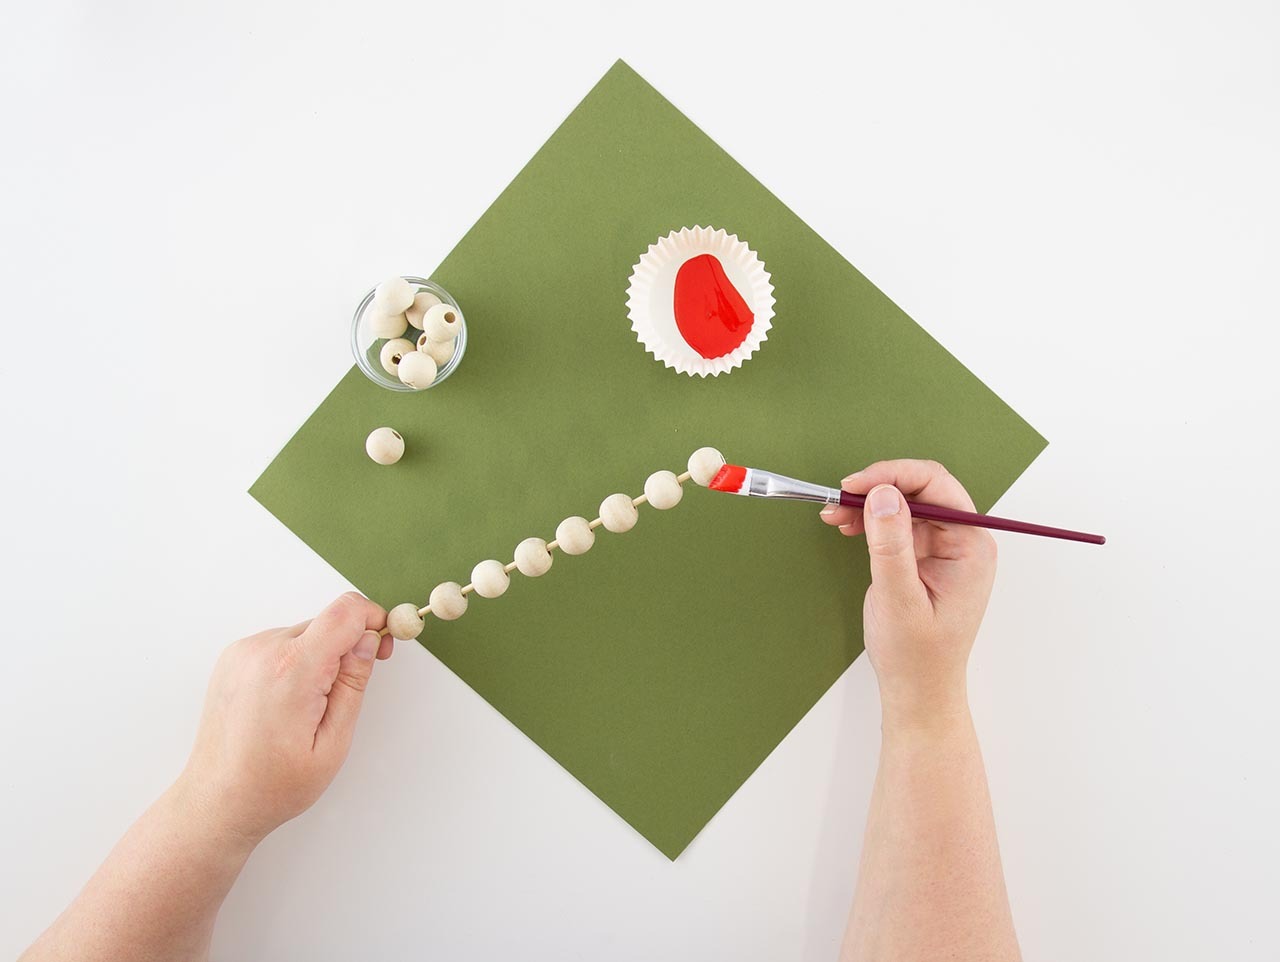
To make it easier to paint the wood beads, simply use a tiny drop of hot glue to lightly secure each bead to a bamboo skewer. Paint the beads with a flat-bristled paintbrush and acrylic paint. Stand them up in a tall vase or cup to dry.
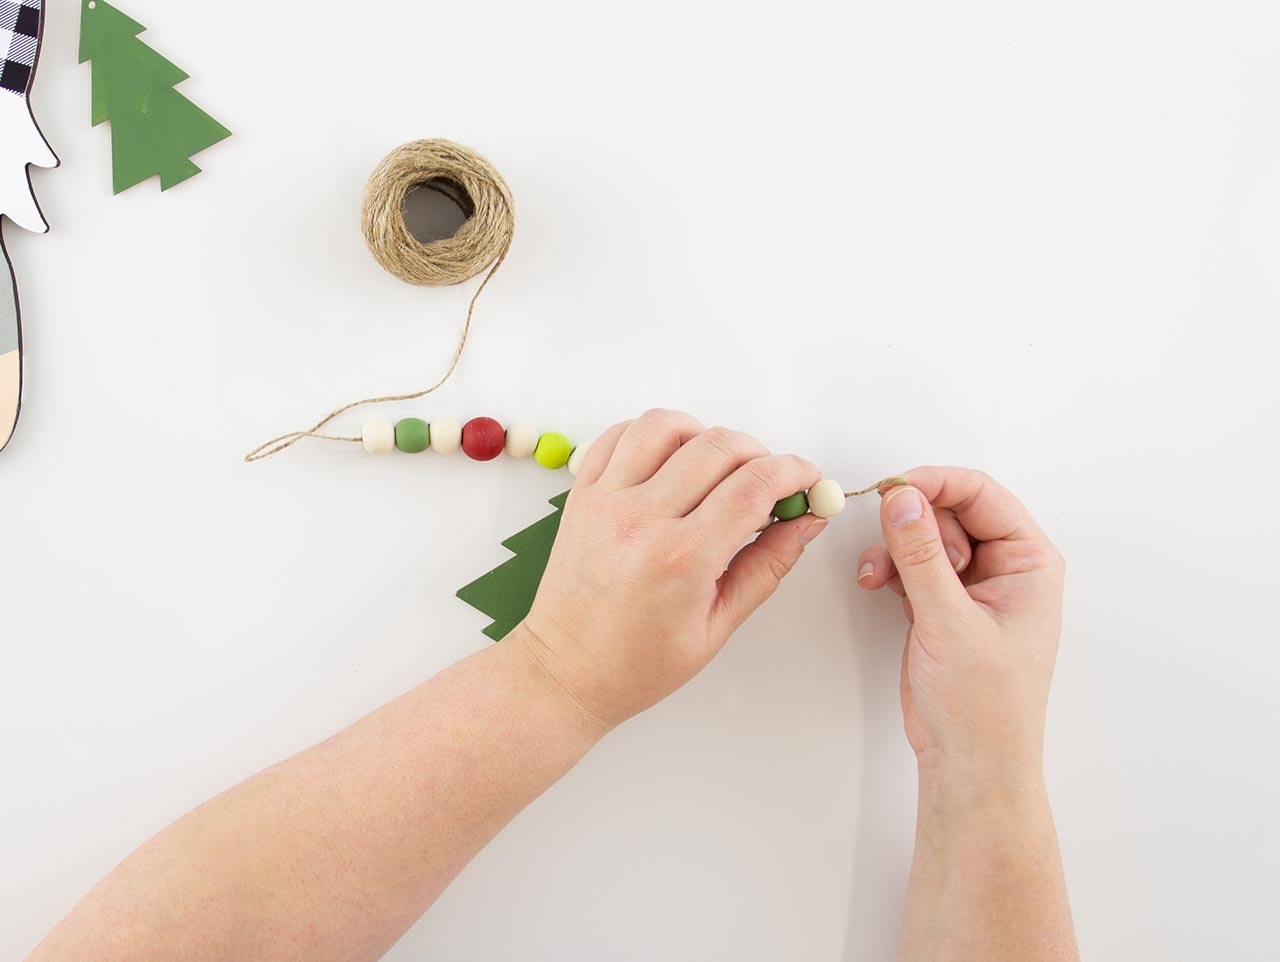

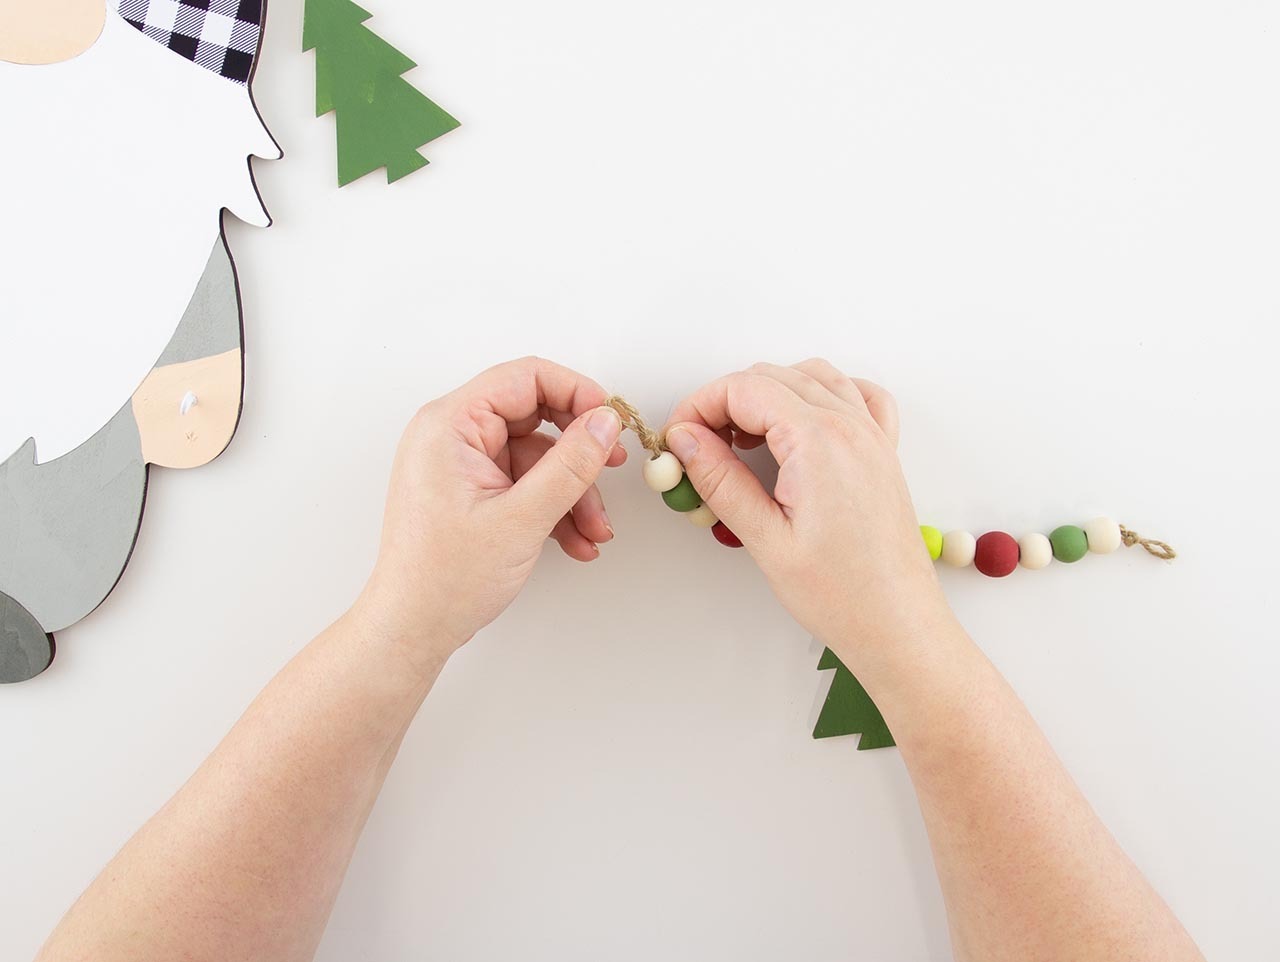
Glue a painted wood shape (or shapes) onto a length of jute cording. Thread painted and raw wood beads onto the length of jute cording. Tie the ends of the cording into loops.
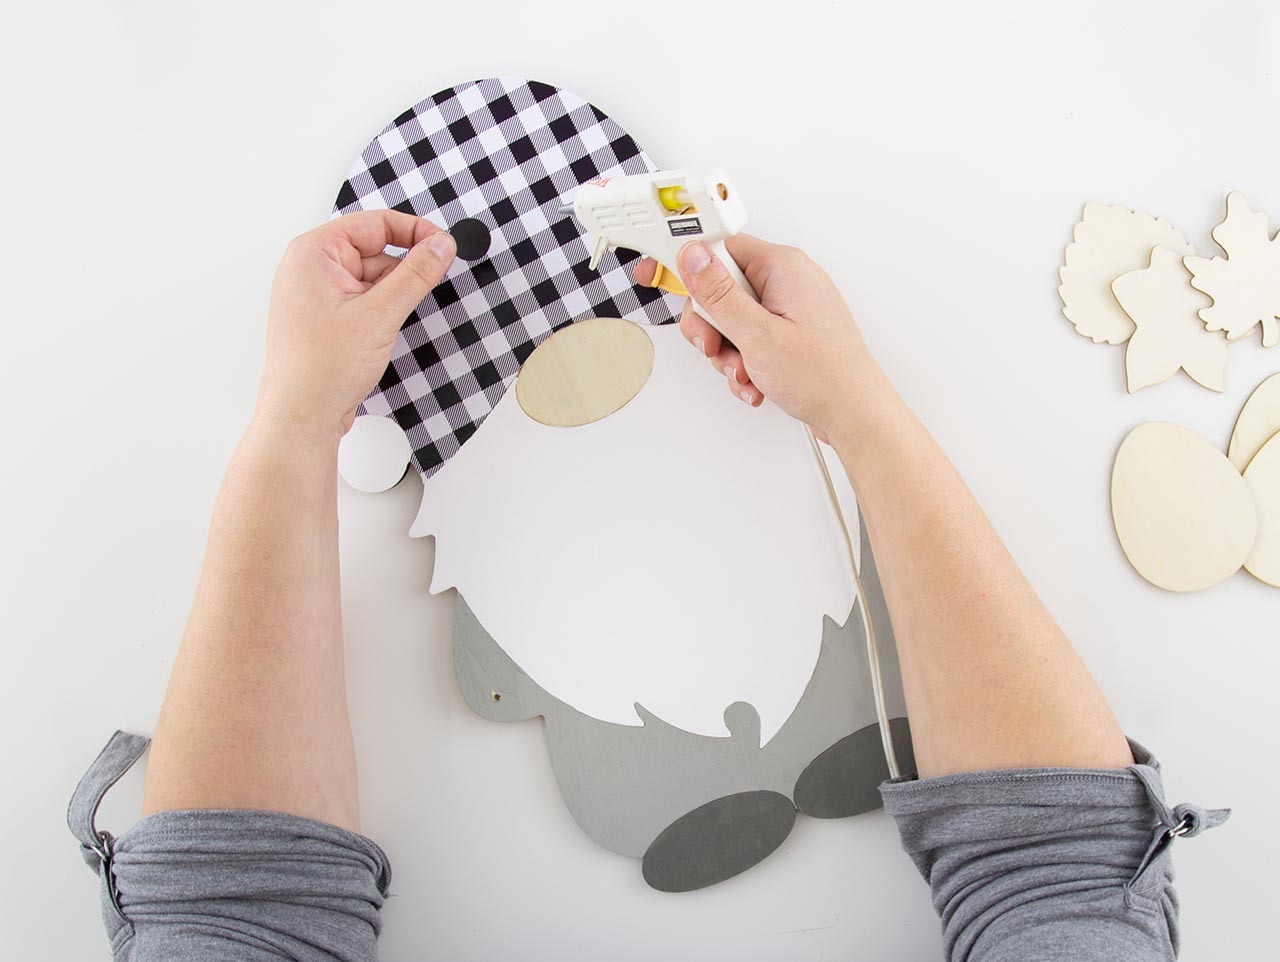
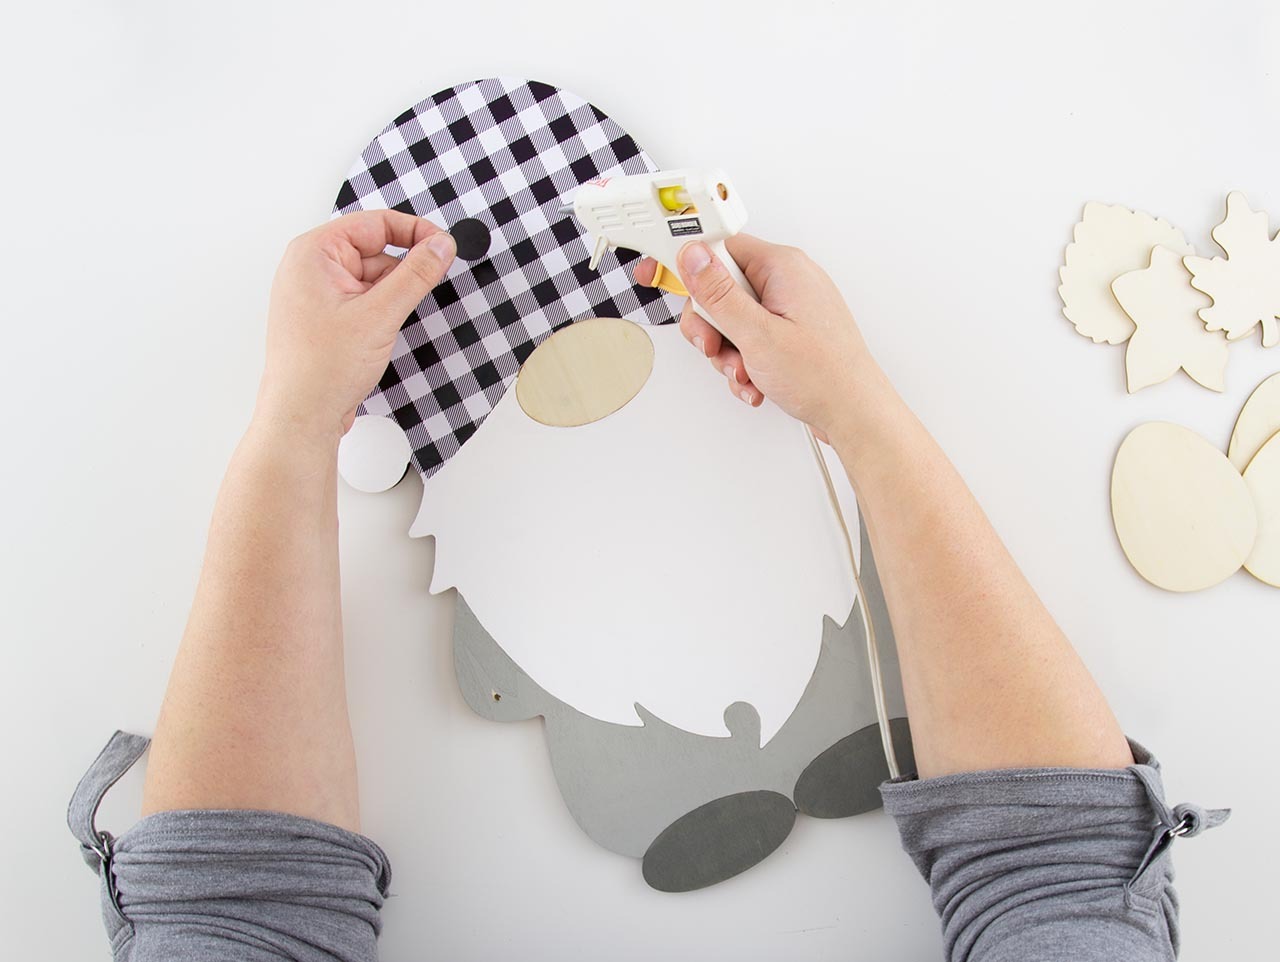
Apply a dot of hot glue to the back of a Self-Adhesive Magnet and adhere it to the middle of the wood gnome hat and to the back of each remaining painted wood shapes.
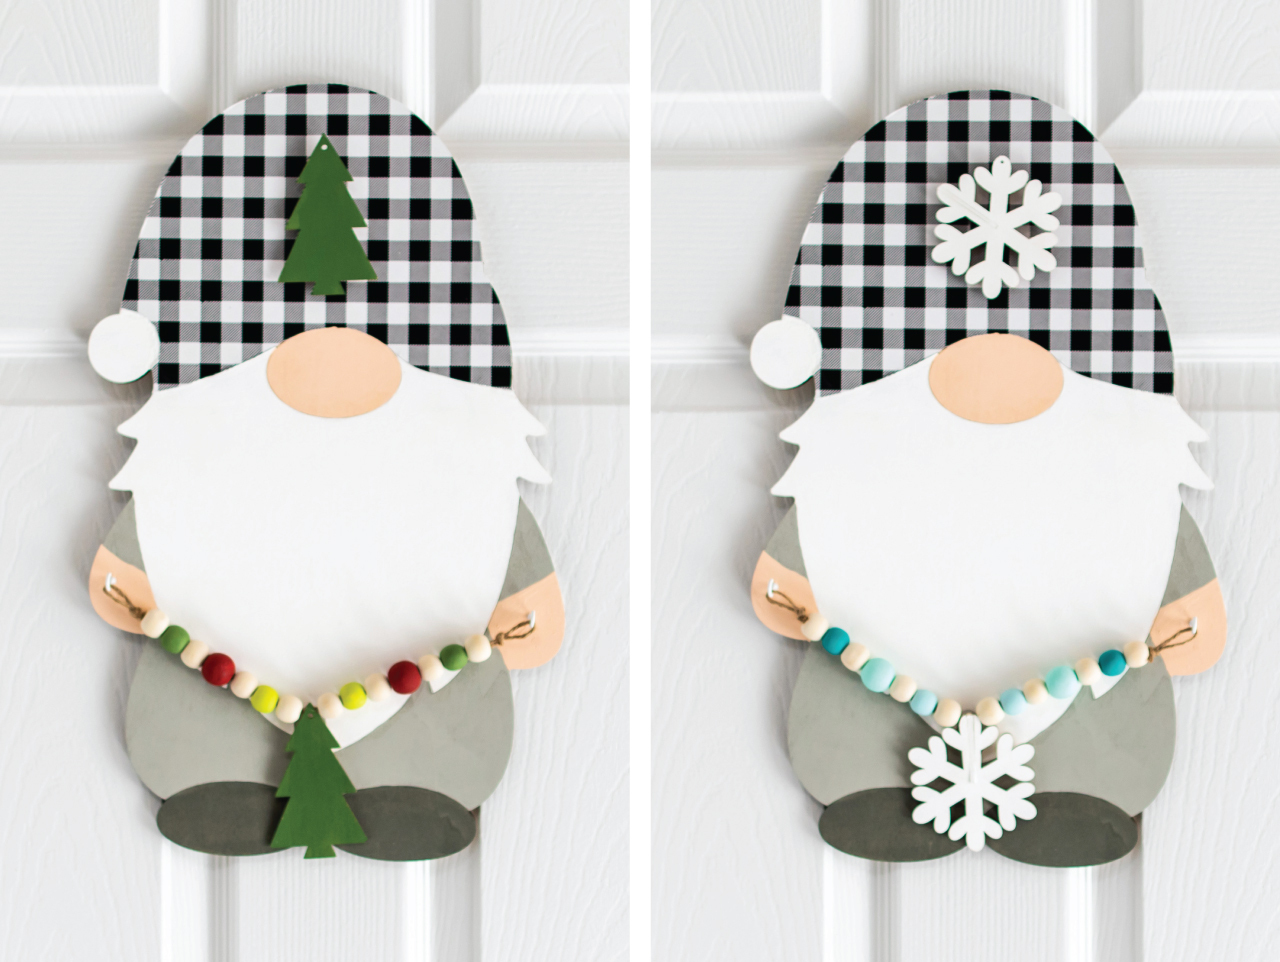
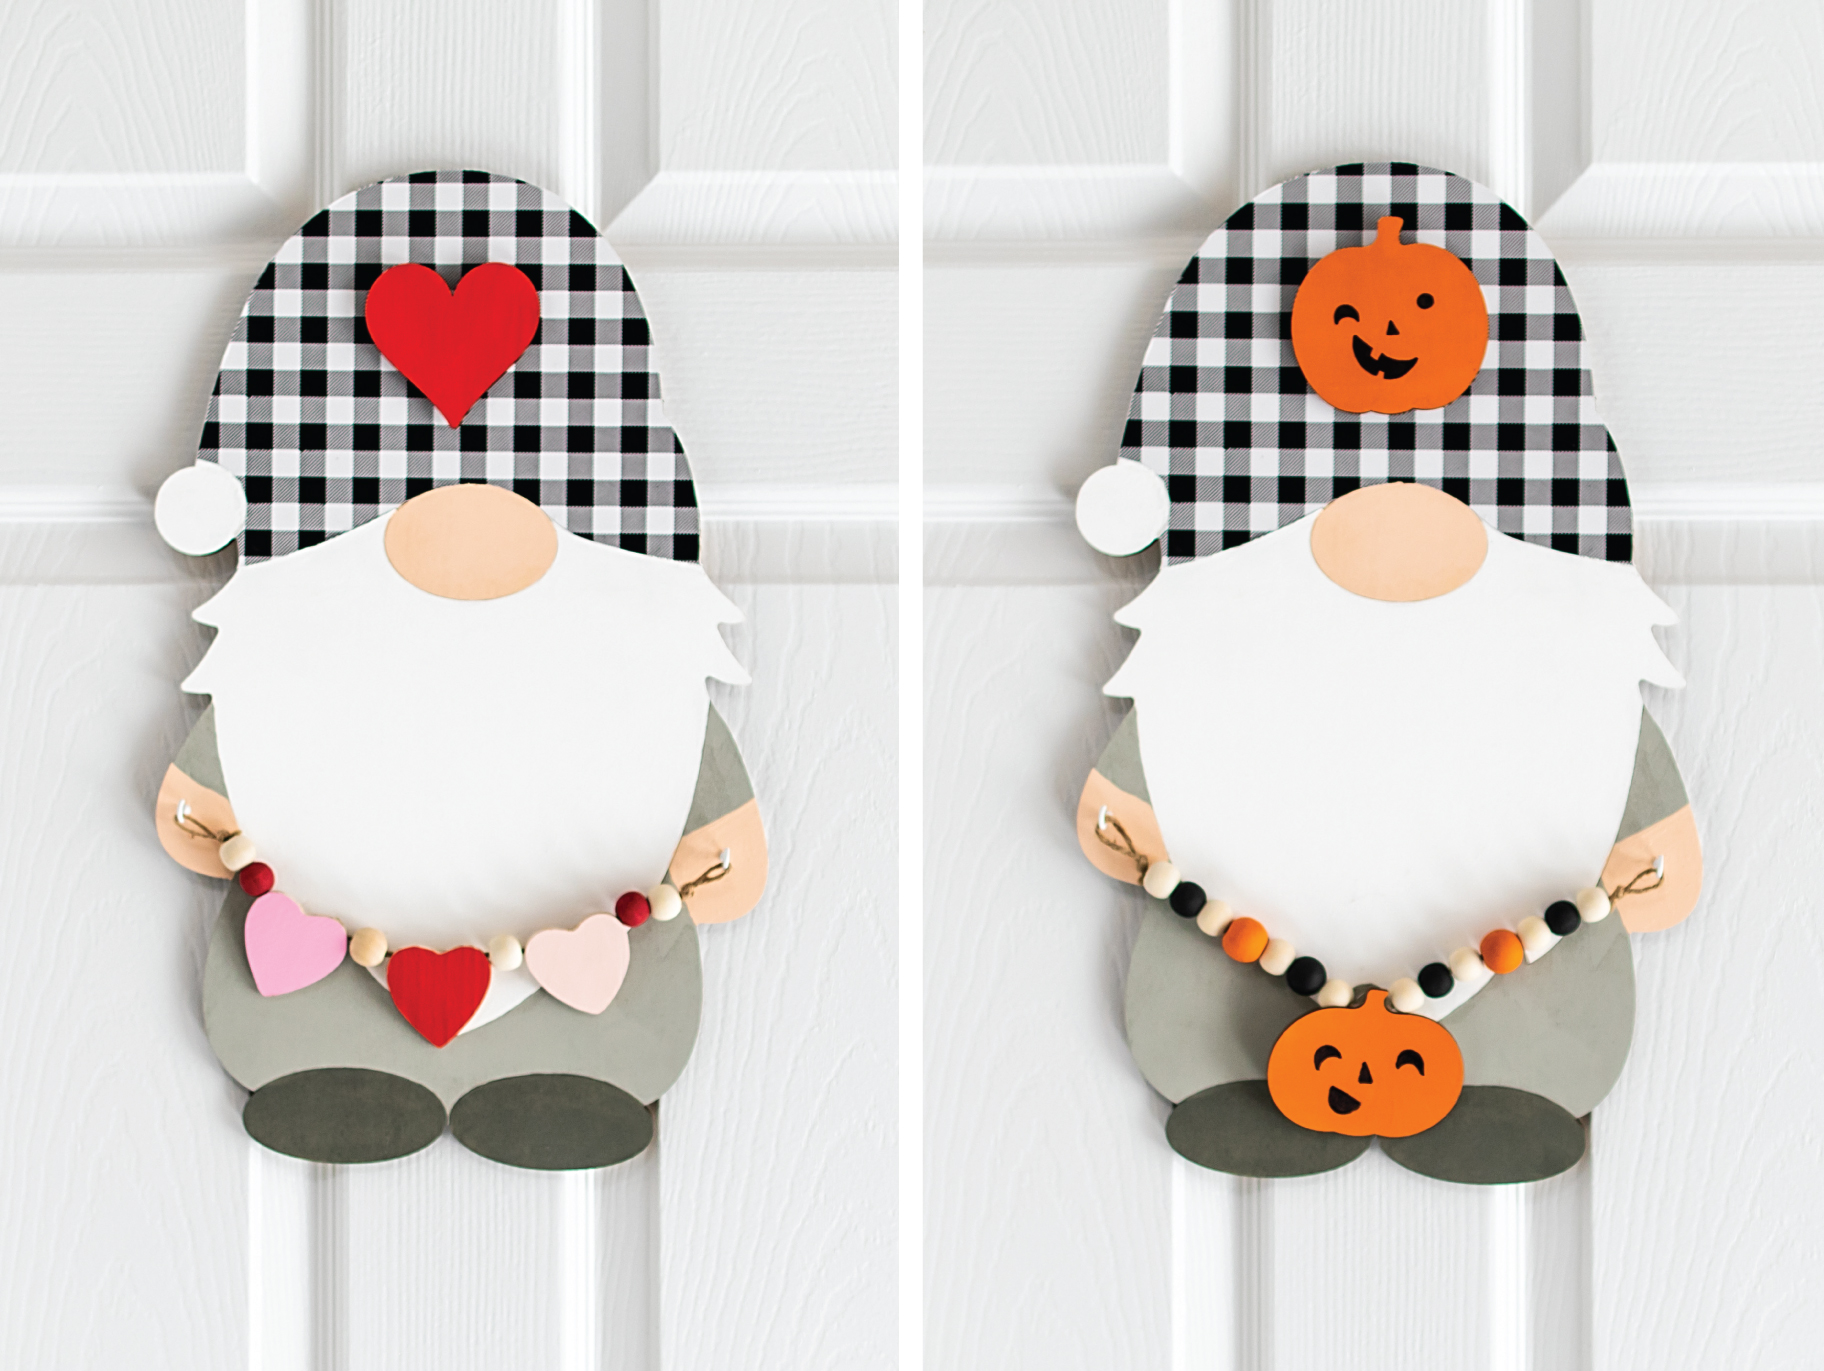
Now you can change out the wood garland and hat decoration with the season or holiday, starting with Christmas, of course!
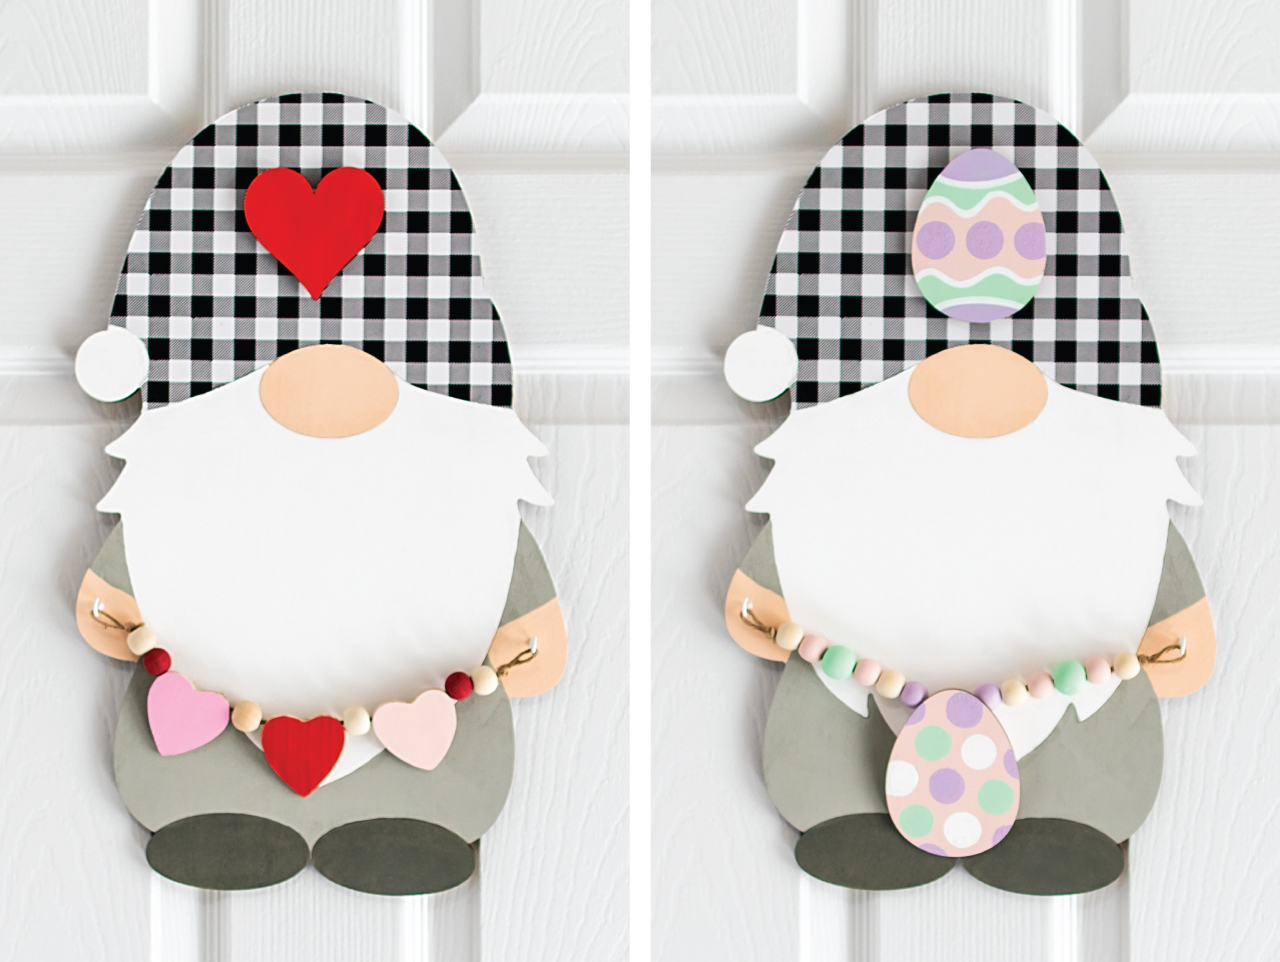
Here are ideas for Valentines and Easter.
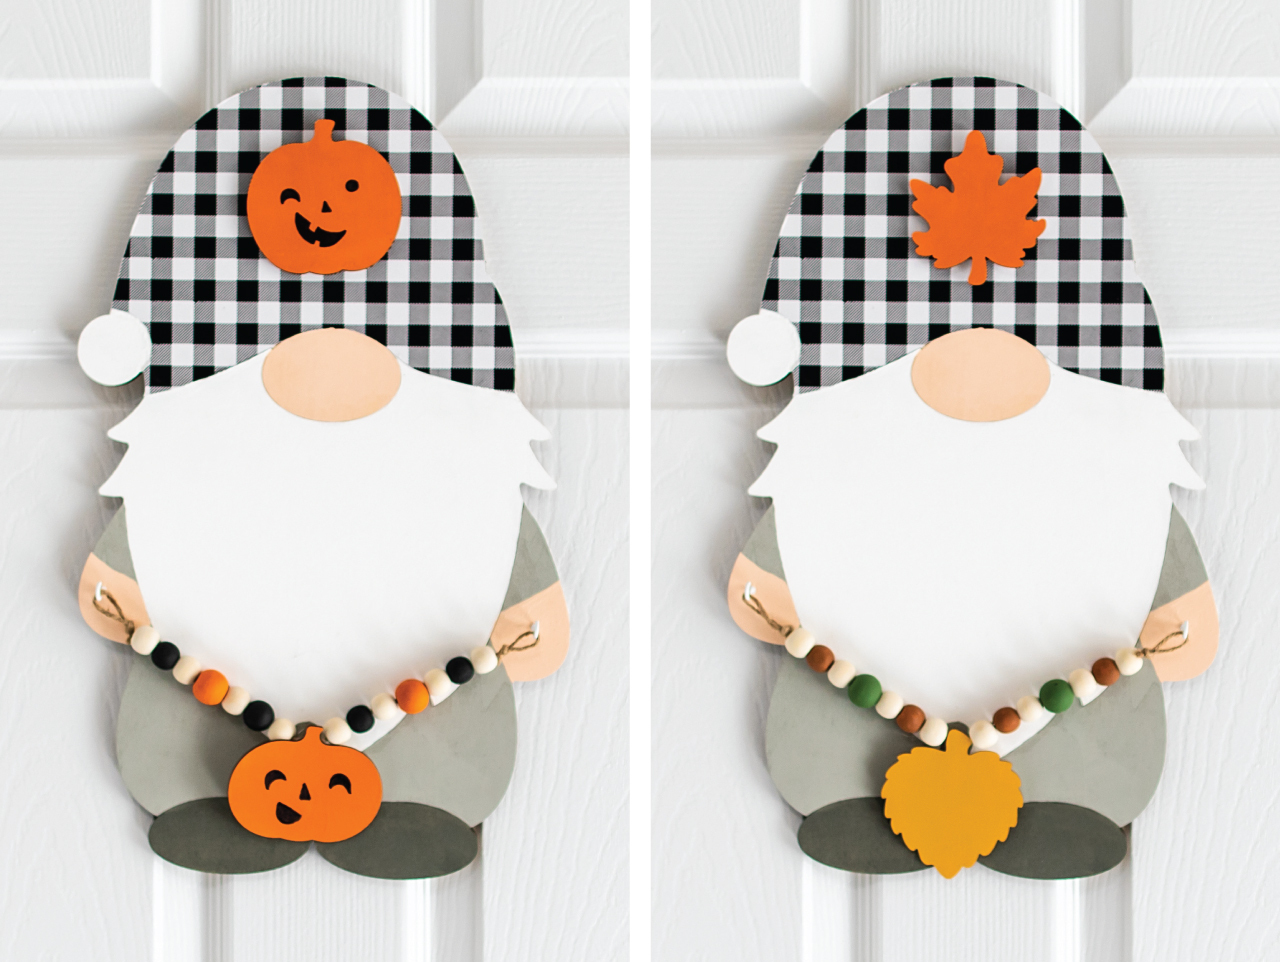
Once you make this gnome cutie you'll see – there's no place like gnome for the holidays, no matter what holiday that might be!


Paint the DIY Unfinished Wood Gnome Cutout, DIY Wood Snowflake Ornaments, DIY Unfinished Wood Mini Hearts, DIY Unfinished Wood Hearts, DIY Unfinished Wood Egg Cutouts, DIY Wood Pumpkin Shapes, DIY Unfinished Wood Fall Leaves, and DIY Unfinished Wood Tree Ornaments with acrylic paint and a flat-bristled paintbrush. Allow time for the paint to dry.


Download, print, and cut out the Buffalo Plaid Pattern Hat Template. Apply a thin layer of Mod Podge® onto the hat area of the wooden gnome. While the Mod Podge® is still wet, place the printed hat template on top. Allow time for the acrylic sealer to dry and then cut off the excess paper.

Screw a ½" hook into each of the gnome's hands. These will be used to hold – and easily change out – the garland.

To make it easier to paint the wood beads, simply use a tiny drop of hot glue to lightly secure each bead to a bamboo skewer. Paint the beads with a flat-bristled paintbrush and acrylic paint. Stand them up in a tall vase or cup to dry.


Glue a painted wood shape (or shapes) onto a length of jute cording. Thread painted and raw wood beads onto the length of jute cording. Tie the ends of the cording into loops.

Apply a dot of hot glue to the back of a Self-Adhesive Magnet and adhere it to the middle of the wood gnome hat and to the back of each remaining painted wood shapes.

Now you can change out the wood garland and hat decoration with the season or holiday, starting with Christmas, of course!

Here are ideas for Valentines and Easter.

Once you make this gnome cutie you'll see – there's no place like gnome for the holidays, no matter what holiday that might be!

