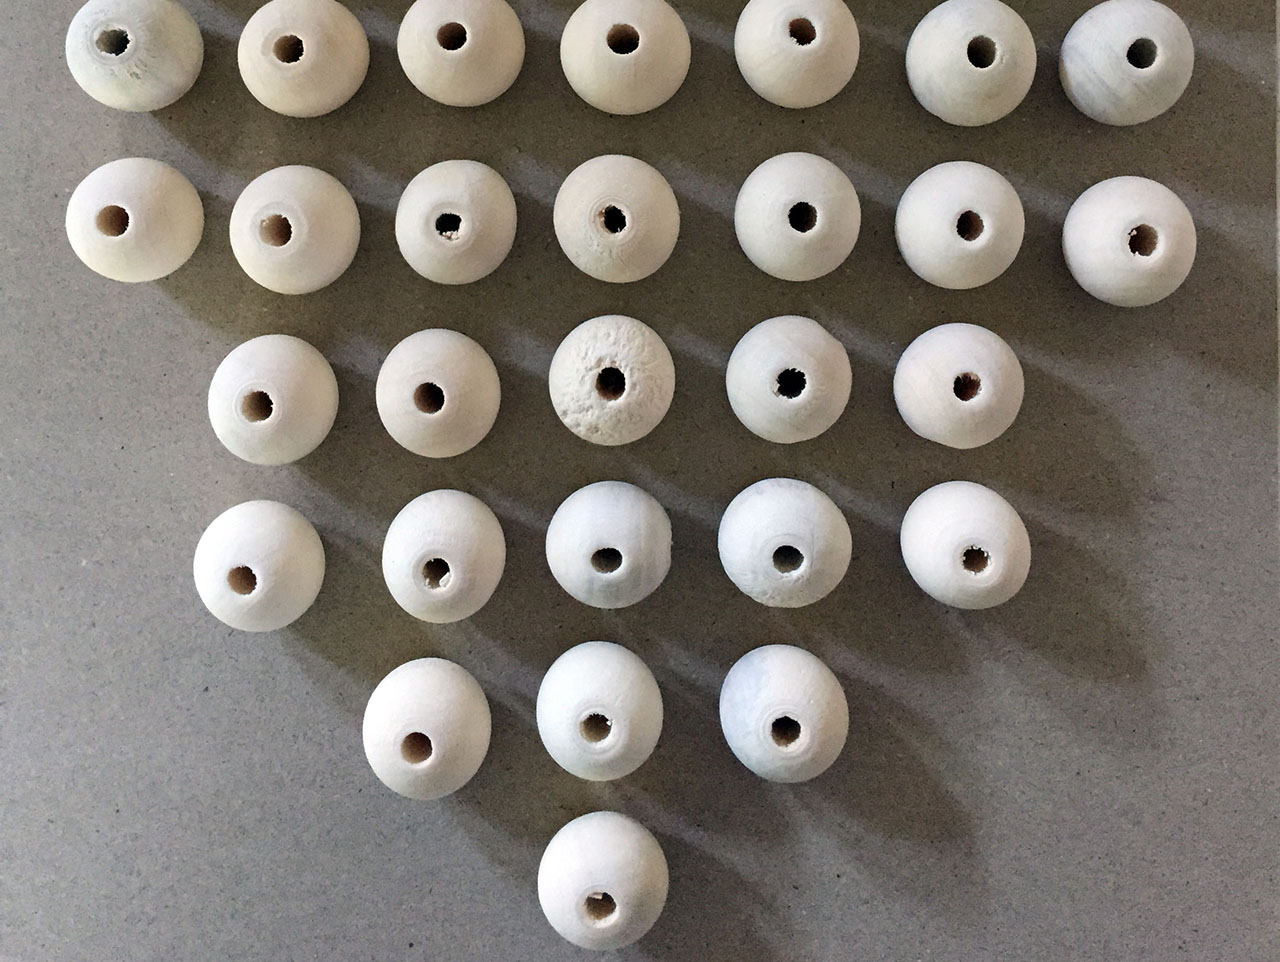
Lay out your unfinished wood beads to get a sense of the size, shape and pattern you’d like to achieve. Pop out a watercolor pod (I actually used one that had broken out of the palette that my kiddo had deemed unusable) and submerge it in about an 1/4 cup of water. You can add more water if the color becomes too saturated for you. You’ll have to experiment a bit to get your desired results.

Once your color is well-mixed, submerge the beads into the container. Keep in mind, the longer you leave the beads in the water, the more saturated the color. Some of these beads I left in over night to get the super rich blues.
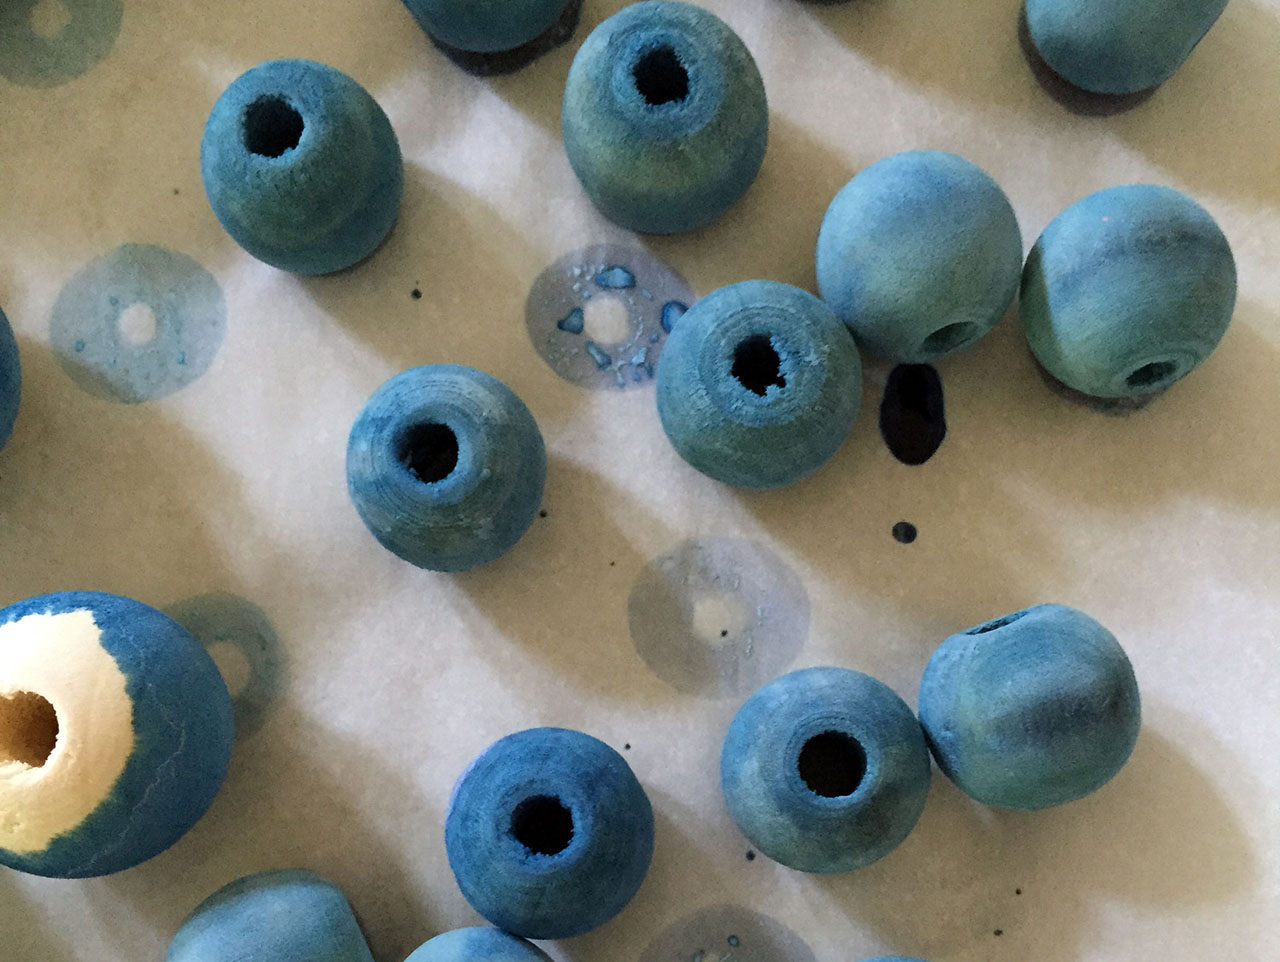
Remove them from the watercolor “dye” and allow the beads to dry for at least an hour. Place them on waxed paper and a cookie sheet to protect your surface.
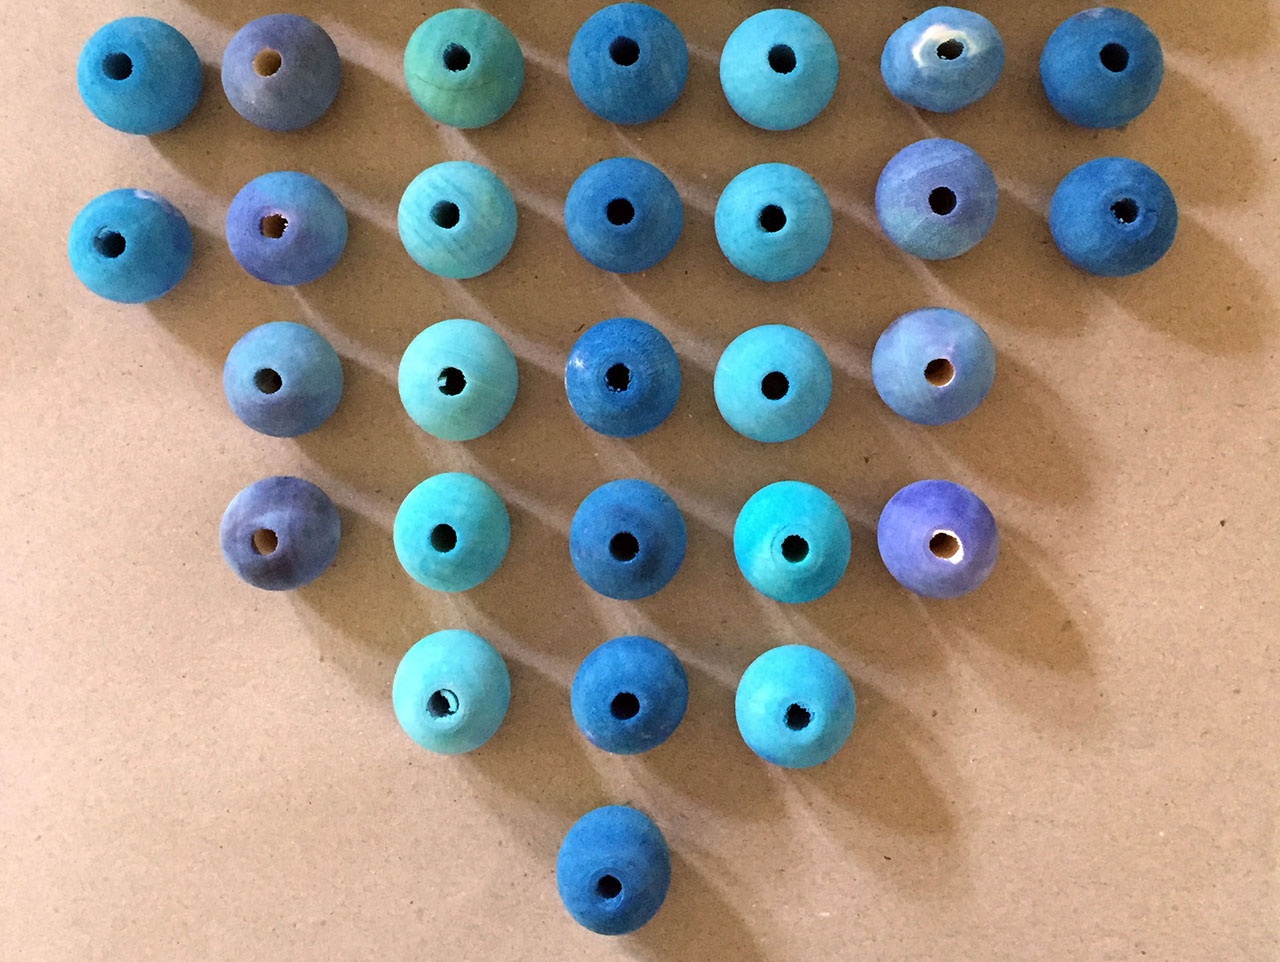
Once everything is dry, re-create your shape, with the colored beads to test out and be sure you have the correct number of beads for each color to achieve your desired pattern.
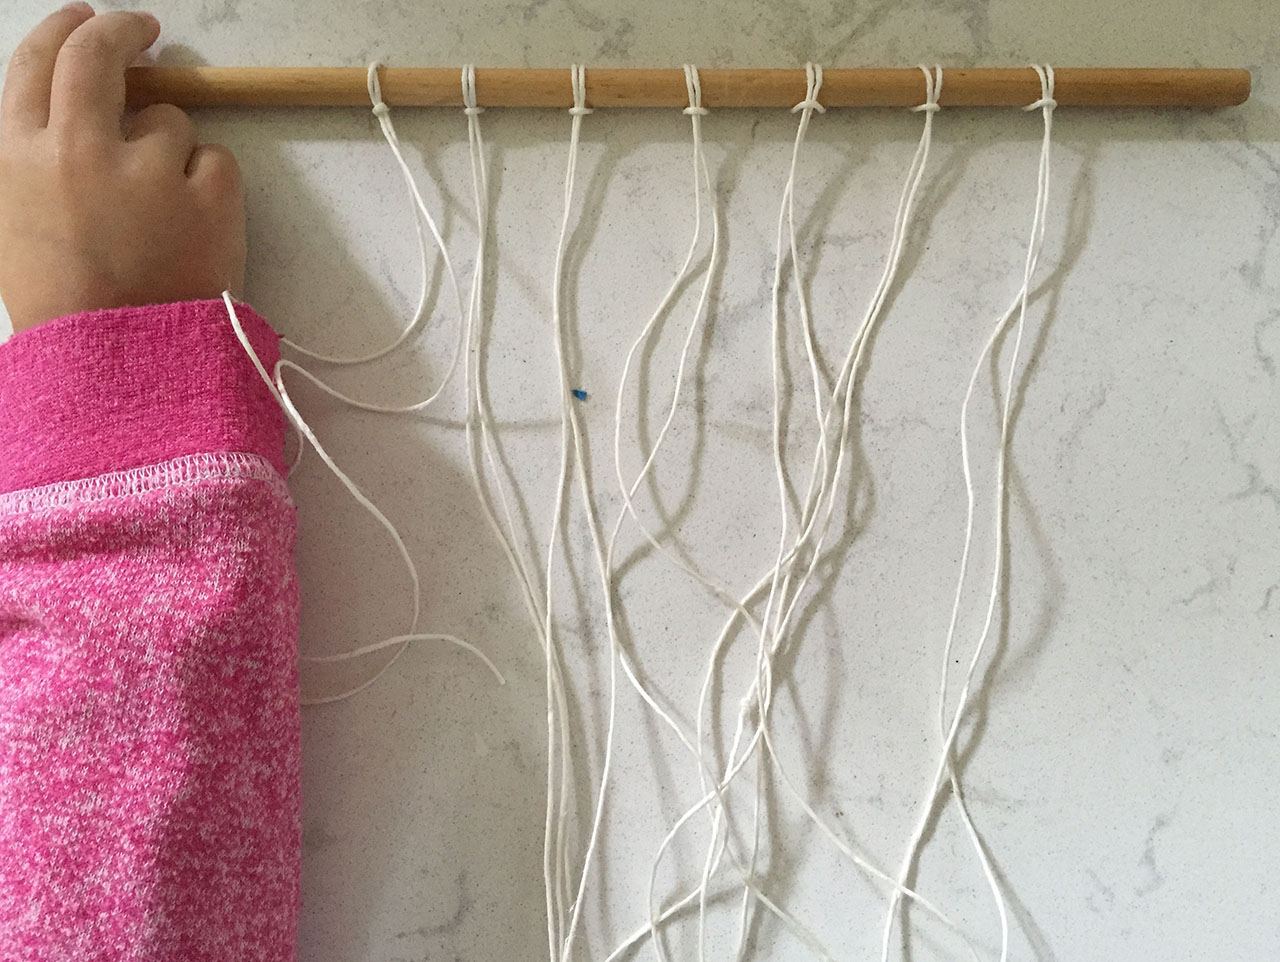
Cut 7 – 18″ lengths of cord and begin slipping securely around the dowel rod.
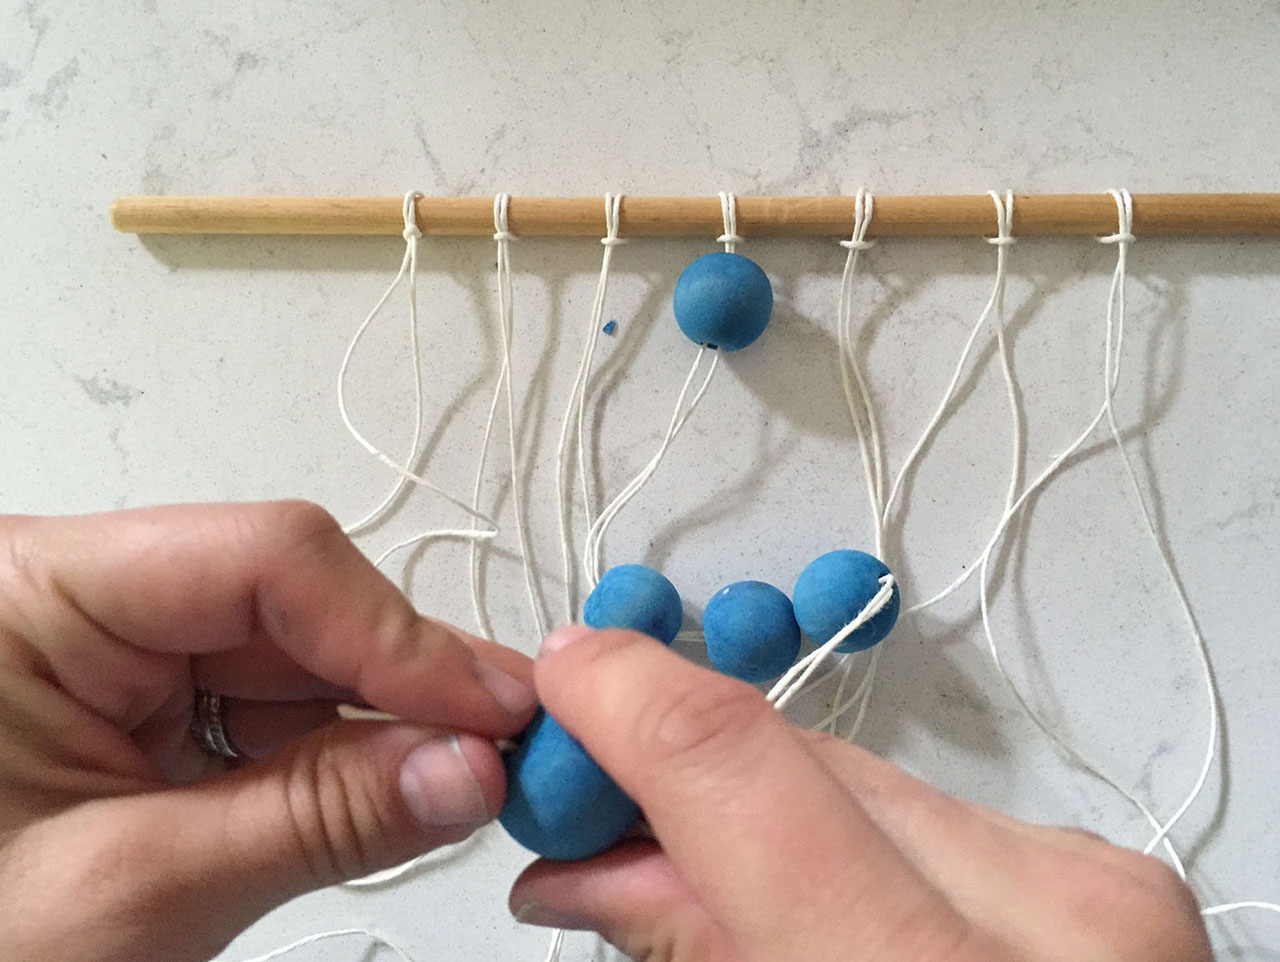
Once you have all 7 cords looped and secured, begin threading the beads on the string. This part of the process is really quick due to the pattern you had pre-determined. You could also do a more random stringing of the beads for an interesting mix.
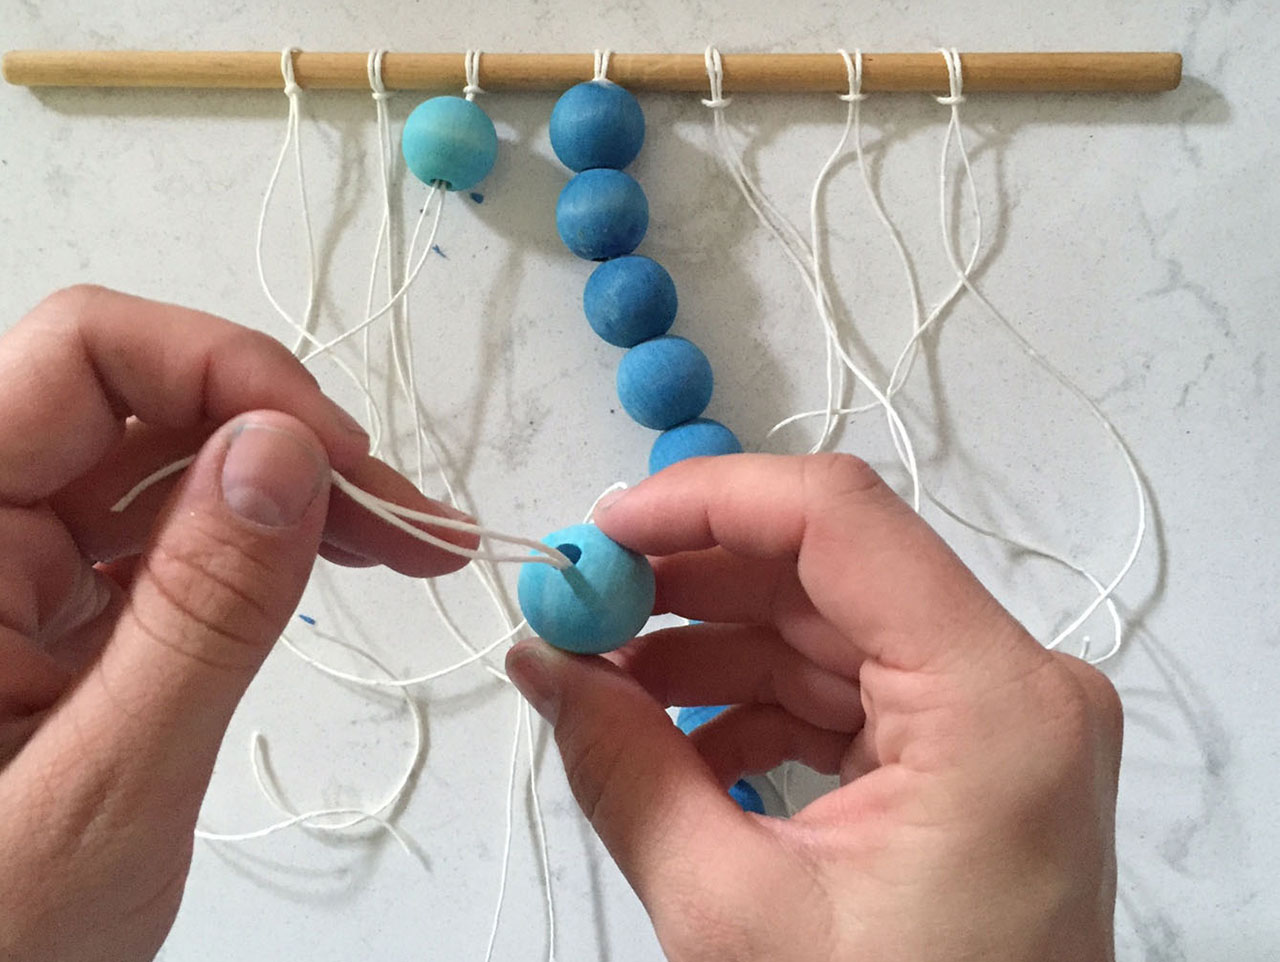
Continue threading all beads until you’ve completed all 7 rows. Secure each with a simple double knot at the end of each string and trim the excess to your desired length. I cut all of them to about 1.5″ length after the knot.
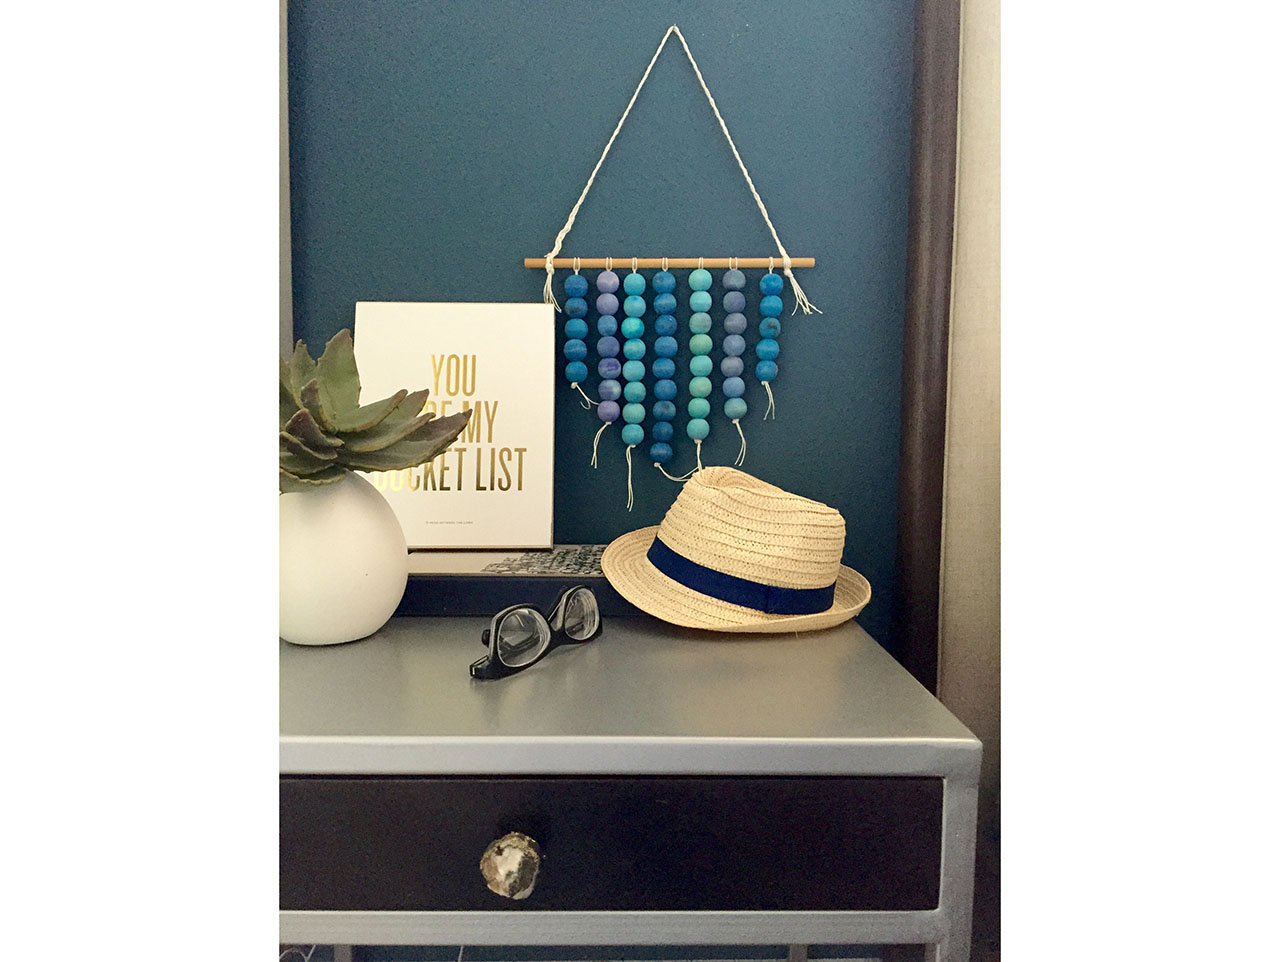
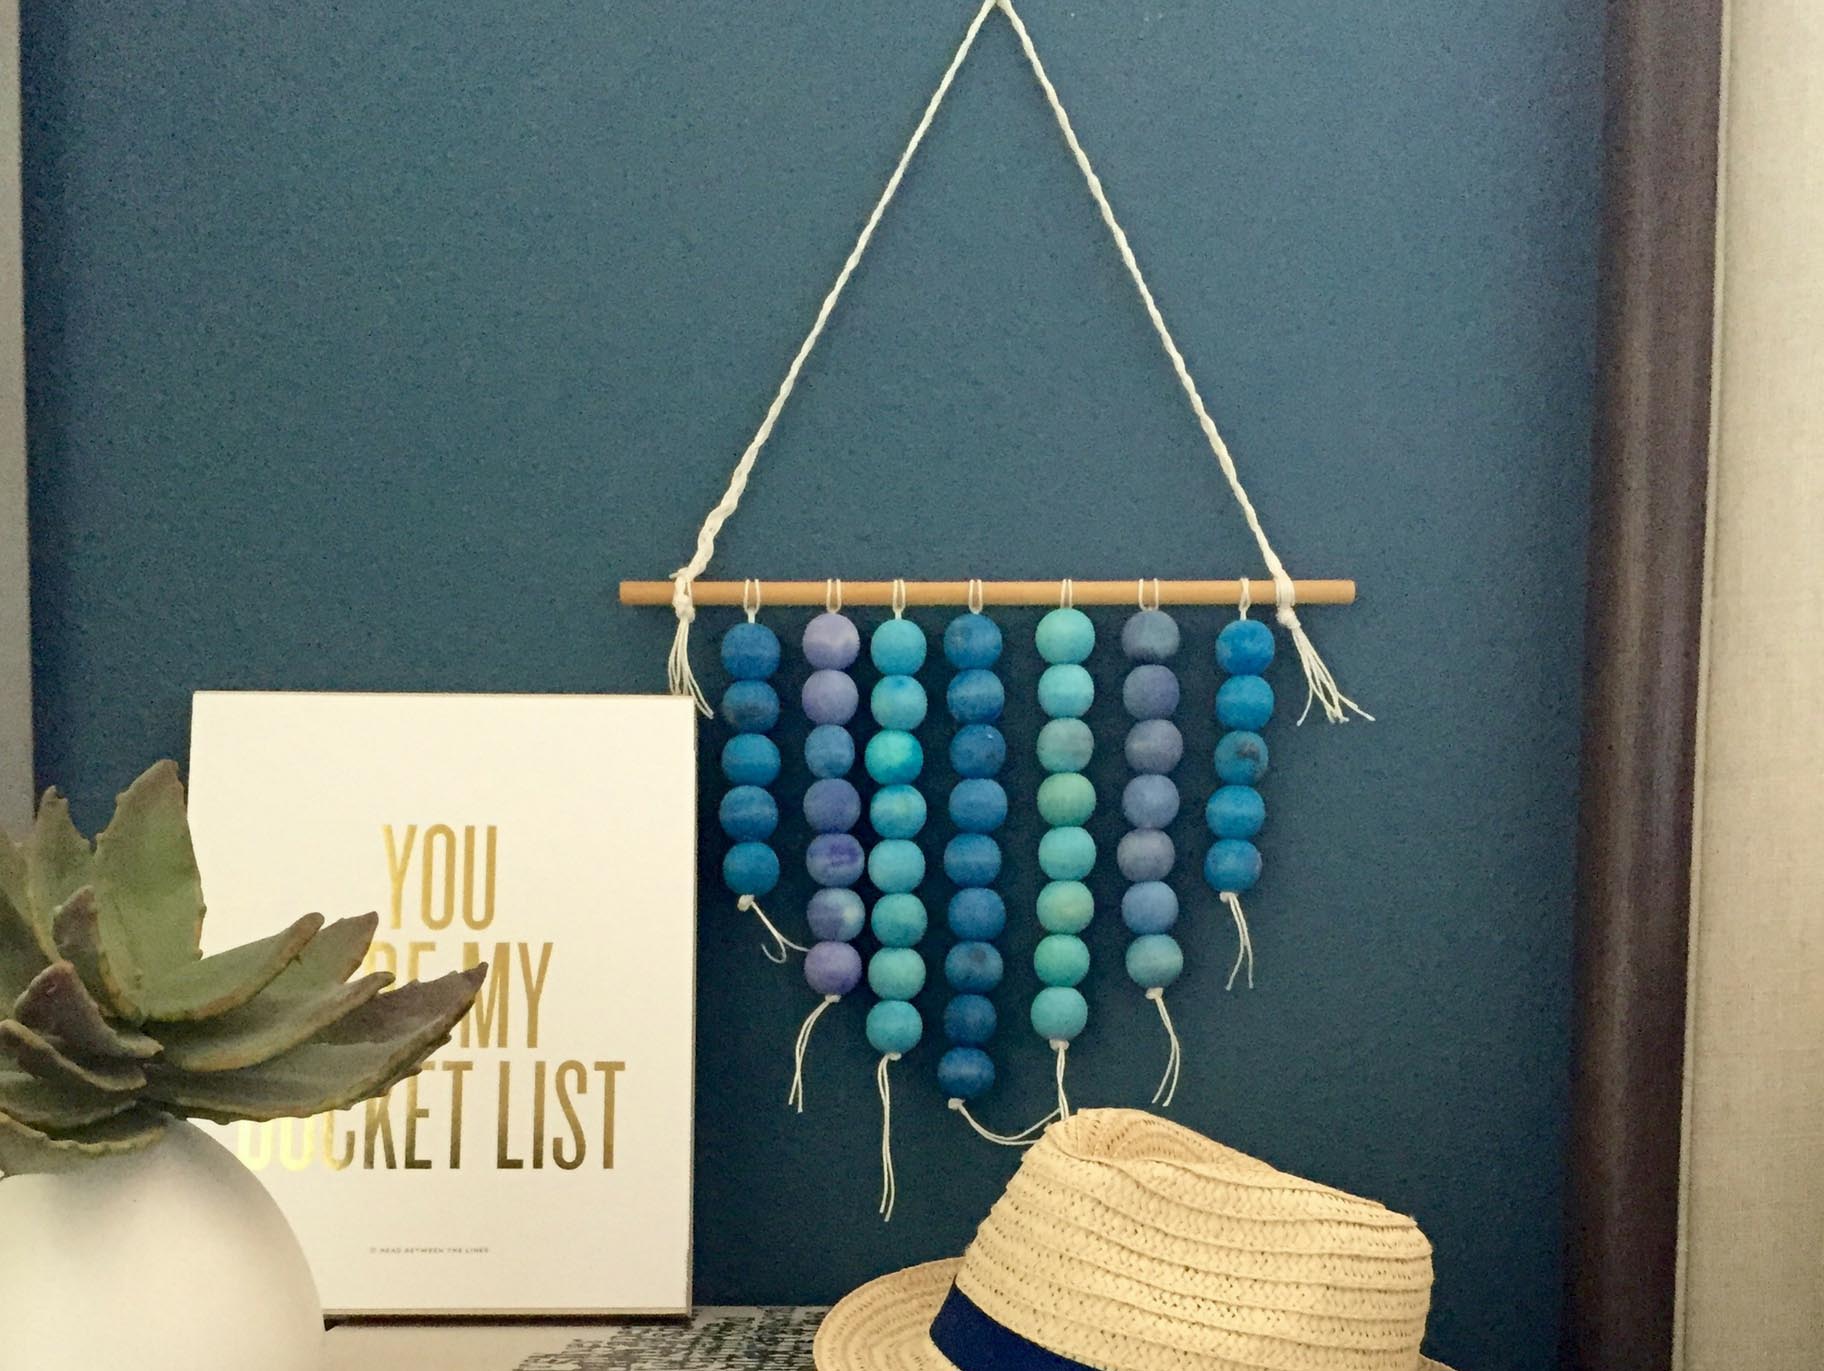
Secure another 2 feet length of cord for hanging the finished piece. I was looking for a bit more bulk than the simple cord could offer, so I used 6 – 2 f.t lengths and braided them for a bit more weight.

Lay out your unfinished wood beads to get a sense of the size, shape and pattern you’d like to achieve. Pop out a watercolor pod (I actually used one that had broken out of the palette that my kiddo had deemed unusable) and submerge it in about an 1/4 cup of water. You can add more water if the color becomes too saturated for you. You’ll have to experiment a bit to get your desired results.

Once your color is well-mixed, submerge the beads into the container. Keep in mind, the longer you leave the beads in the water, the more saturated the color. Some of these beads I left in over night to get the super rich blues.

Remove them from the watercolor “dye” and allow the beads to dry for at least an hour. Place them on waxed paper and a cookie sheet to protect your surface.

Once everything is dry, re-create your shape, with the colored beads to test out and be sure you have the correct number of beads for each color to achieve your desired pattern.

Cut 7 – 18″ lengths of cord and begin slipping securely around the dowel rod.

Once you have all 7 cords looped and secured, begin threading the beads on the string. This part of the process is really quick due to the pattern you had pre-determined. You could also do a more random stringing of the beads for an interesting mix.

Continue threading all beads until you’ve completed all 7 rows. Secure each with a simple double knot at the end of each string and trim the excess to your desired length. I cut all of them to about 1.5″ length after the knot.

Secure another 2 feet length of cord for hanging the finished piece. I was looking for a bit more bulk than the simple cord could offer, so I used 6 – 2 f.t lengths and braided them for a bit more weight.

