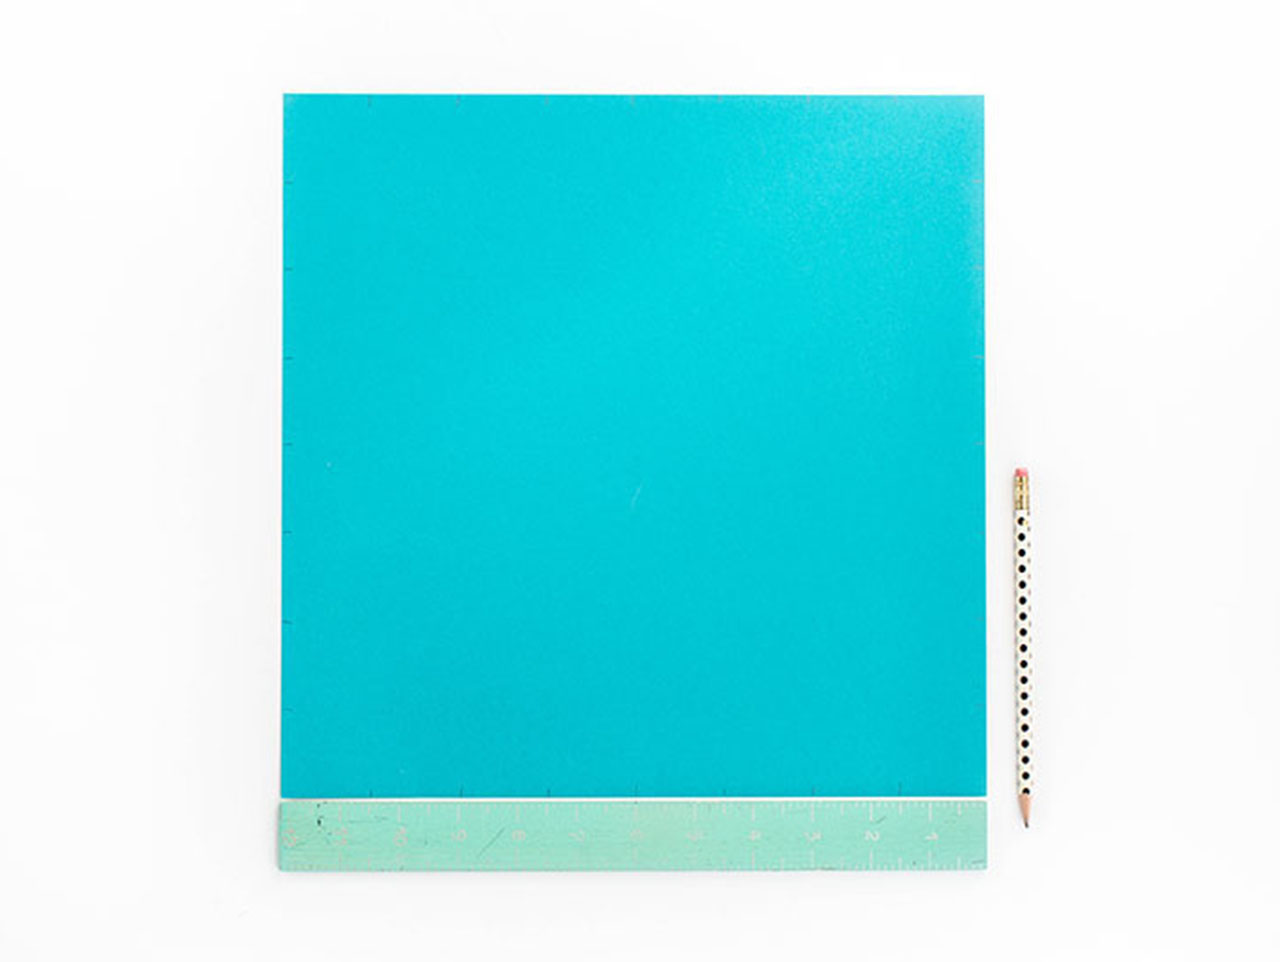
Grab your first sheet of Full Color Spectrum Paper and lay it on a flat work surface. Use a ruler and pencil to make marks every 1 1/2 ” all the way around the four sides of the paper.

Use the ruler and pencil to lightly connect the marks, making straight lines across the paper. This will create a grid pattern.

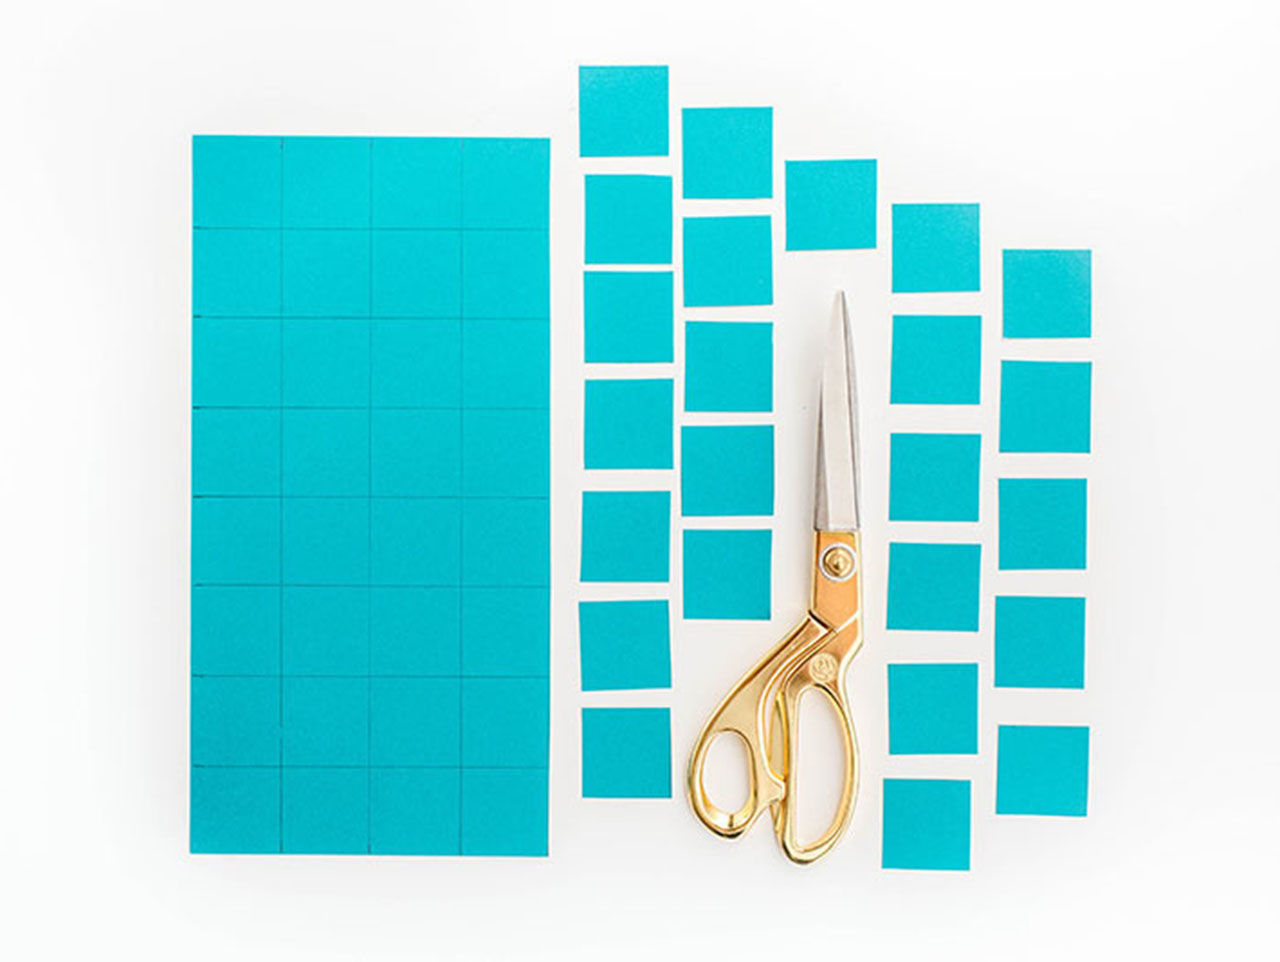
Cut the paper into individual squares. Repeat steps 1-3 on a variety of sheets of different colored paper.

Lay the cut paper squares out on your work surface with the pencil-marked sides down. Stick individual Bright Alphabet Stickers to the front of the squares, making sure to choose colors that complement one another. In other words, don’t put a blue alphabet sticker on top of a blue paper square since it will be hard to read.

Use scissors to cut the Awesome Adhesive Magnetic Sheets into rough squares. Since you will rarely see the backs of the alphabet pieces, the magnetic strips don’t need to be cut neatly or evenly.

Remove the paper backing on the cut magnetic pieces, and stick them to the backs of the alphabet paper squares.


Flip the finished DIY magnetic alphabet pieces over and stick them to the front of your fridge for fun message-creating right away!


Be sure to check out our other Supply of the Month projects including these projects using the full color spectrum paper pack.
DIY Ombre Paper Loop Wreath; by Haeley Giambalvo
Paper Airplane Mobile; by Sara Albers
Modern 3-D Paper Cactus; by Amy Weir
(Project and photos by Carrie Waller)

Grab your first sheet of Full Color Spectrum Paper and lay it on a flat work surface. Use a ruler and pencil to make marks every 1 1/2 ” all the way around the four sides of the paper.

Use the ruler and pencil to lightly connect the marks, making straight lines across the paper. This will create a grid pattern.

Cut the paper into individual squares. Repeat steps 1-3 on a variety of sheets of different colored paper.

Lay the cut paper squares out on your work surface with the pencil-marked sides down. Stick individual Bright Alphabet Stickers to the front of the squares, making sure to choose colors that complement one another. In other words, don’t put a blue alphabet sticker on top of a blue paper square since it will be hard to read.

Use scissors to cut the Awesome Adhesive Magnetic Sheets into rough squares. Since you will rarely see the backs of the alphabet pieces, the magnetic strips don’t need to be cut neatly or evenly.

Remove the paper backing on the cut magnetic pieces, and stick them to the backs of the alphabet paper squares.


Flip the finished DIY magnetic alphabet pieces over and stick them to the front of your fridge for fun message-creating right away!


Be sure to check out our other Supply of the Month projects including these projects using the full color spectrum paper pack.
DIY Ombre Paper Loop Wreath; by Haeley Giambalvo
Paper Airplane Mobile; by Sara Albers
Modern 3-D Paper Cactus; by Amy Weir
(Project and photos by Carrie Waller)


