Lay your plain Grey Tote Bag on a flat work surface. Place a single sheet of white Felt in between the black stripes already sown onto the front of the bag, and make a subtle pen mark along the inner edge where the white felt meets the black stripe. Use scissors to cut along the pen line.

Squeeze a large amount of Aleene's Original Tacky Glue onto a non-porous plate or bowl (we used a Plastic Dessert Plate that we already had on hand!). Mix water into the glue, about 1 tablespoon at a time, until the glue softens up into an evenly liquid texture.
Note that you'll need a lot of glue for this project, so you may want to unscrew the top of the glue container to be able to get more out at a time. Be prepared to mix up a couple of plate's worth of the glue-to-water mixture for each step.

Brush an even layer of the glue mixture over the tote bag where the white felt will lay. The amount you see pictured here is roughly half the total amount of glue you'll want to use. The more glue you use, the better your felt will adhere, so try getting to the point where you don't see any felt through the glue and it looks solid white on the tote bag.

Press the sheet of cut white felt on top of the glue layer, and press firmly into place with your palms. Lay a heavy book or other large object over the felt to press it evenly into place, and leave it for 1 hour before moving on to the next step.

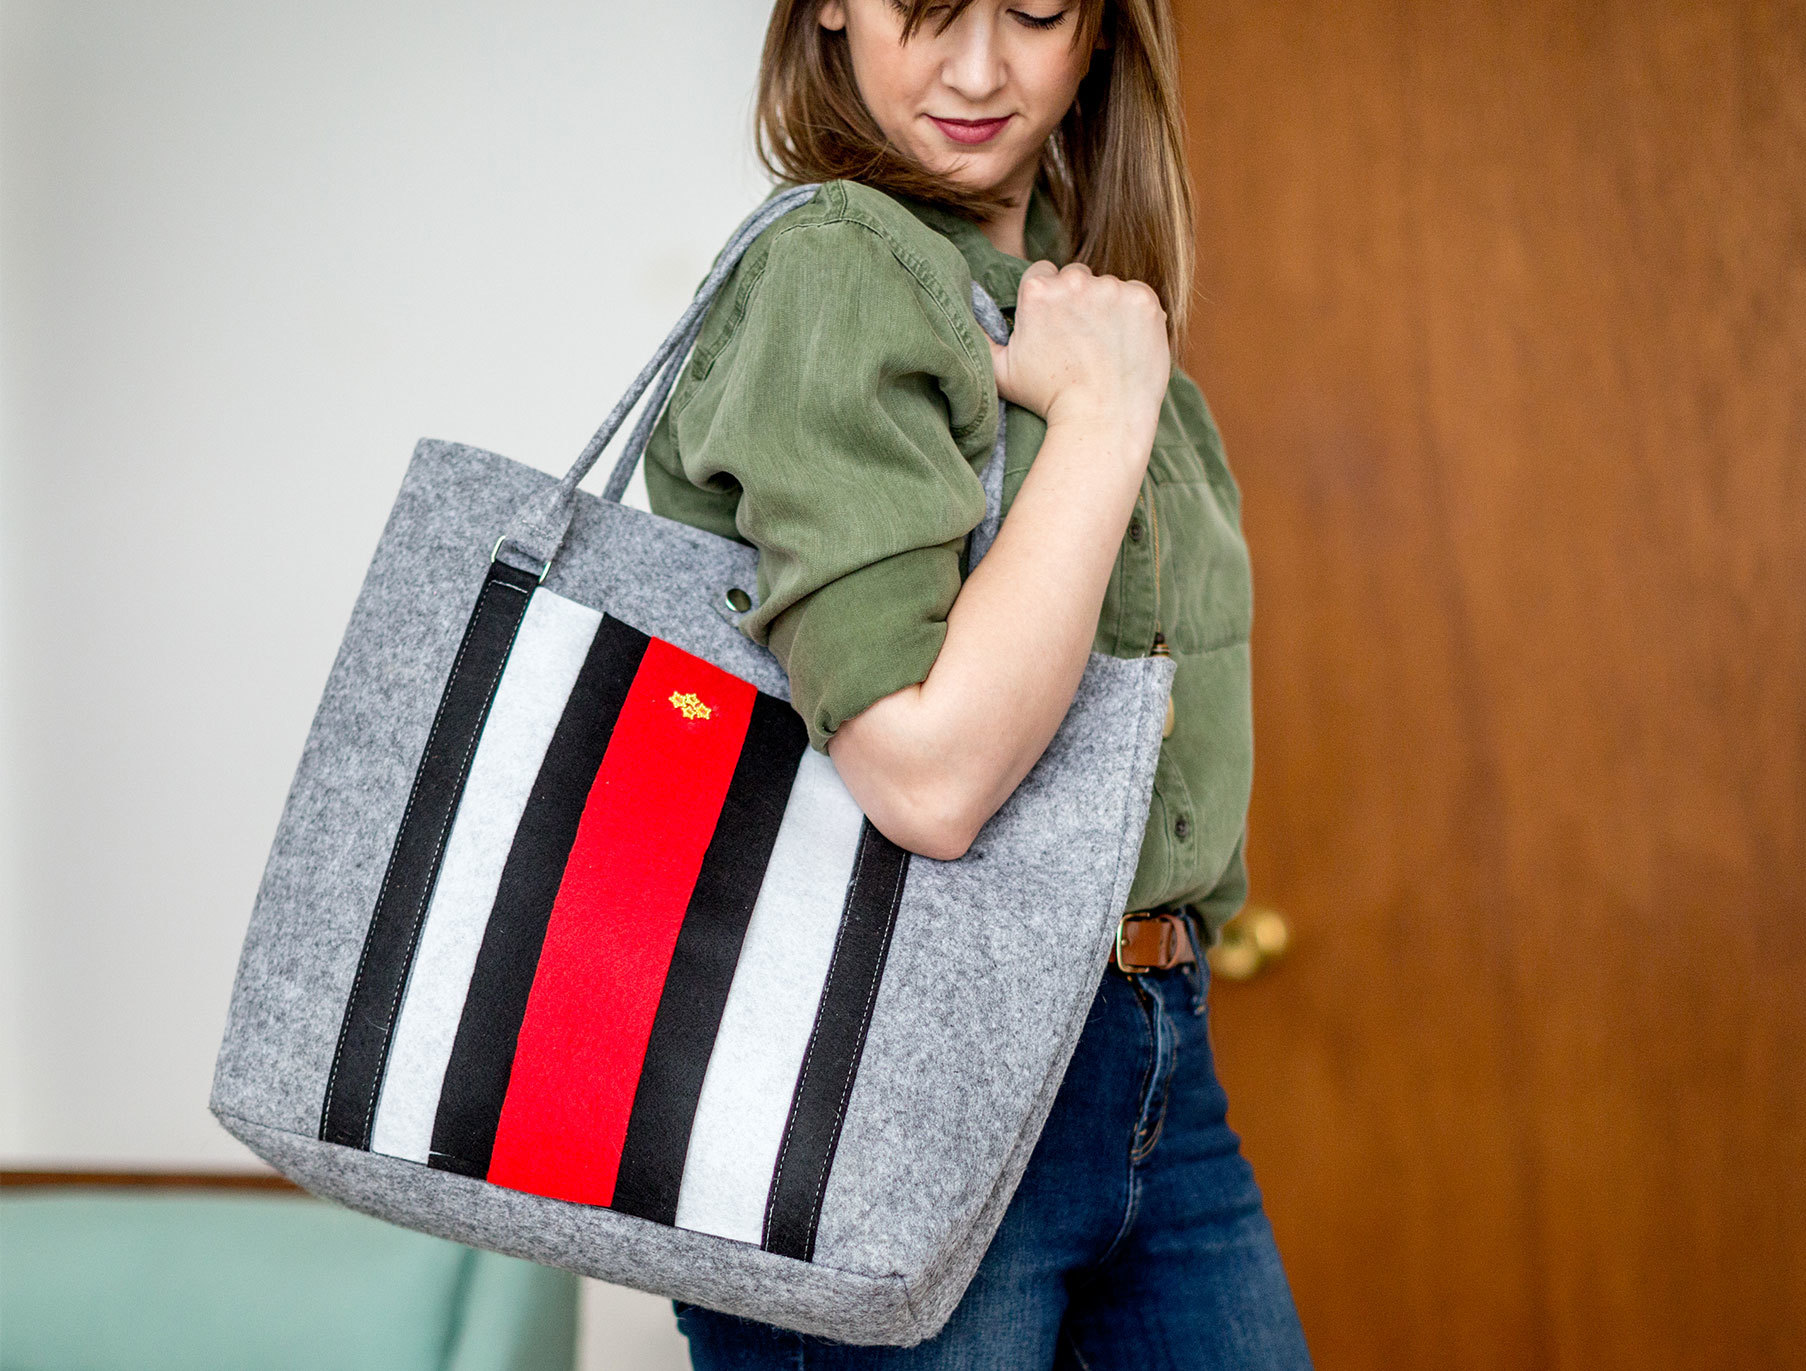
Repeat steps 1-4 using progressively smaller-cut pieces of felt. To mimic the look of the designer bag we had in mind, we used a medium-sized black sheet of felt on top of the white, and a small stripe of red felt for the final top layer, but feel free to choose your own stripe colors!

Squeeze glue on the backs of each bead, and place them into place on the bag in your desired design. Allow them to dry in place for 1 hour, and then you're ready to hit the town with your DIY look-a-like designer tote bag!

Lay your plain Grey Tote Bag on a flat work surface. Place a single sheet of white Felt in between the black stripes already sown onto the front of the bag, and make a subtle pen mark along the inner edge where the white felt meets the black stripe. Use scissors to cut along the pen line.

Squeeze a large amount of Aleene's Original Tacky Glue onto a non-porous plate or bowl (we used a Plastic Dessert Plate that we already had on hand!). Mix water into the glue, about 1 tablespoon at a time, until the glue softens up into an evenly liquid texture.
Note that you'll need a lot of glue for this project, so you may want to unscrew the top of the glue container to be able to get more out at a time. Be prepared to mix up a couple of plate's worth of the glue-to-water mixture for each step.

Brush an even layer of the glue mixture over the tote bag where the white felt will lay. The amount you see pictured here is roughly half the total amount of glue you'll want to use. The more glue you use, the better your felt will adhere, so try getting to the point where you don't see any felt through the glue and it looks solid white on the tote bag.

Press the sheet of cut white felt on top of the glue layer, and press firmly into place with your palms. Lay a heavy book or other large object over the felt to press it evenly into place, and leave it for 1 hour before moving on to the next step.

Repeat steps 1-4 using progressively smaller-cut pieces of felt. To mimic the look of the designer bag we had in mind, we used a medium-sized black sheet of felt on top of the white, and a small stripe of red felt for the final top layer, but feel free to choose your own stripe colors!

Squeeze glue on the backs of each bead, and place them into place on the bag in your desired design. Allow them to dry in place for 1 hour, and then you're ready to hit the town with your DIY look-a-like designer tote bag!


