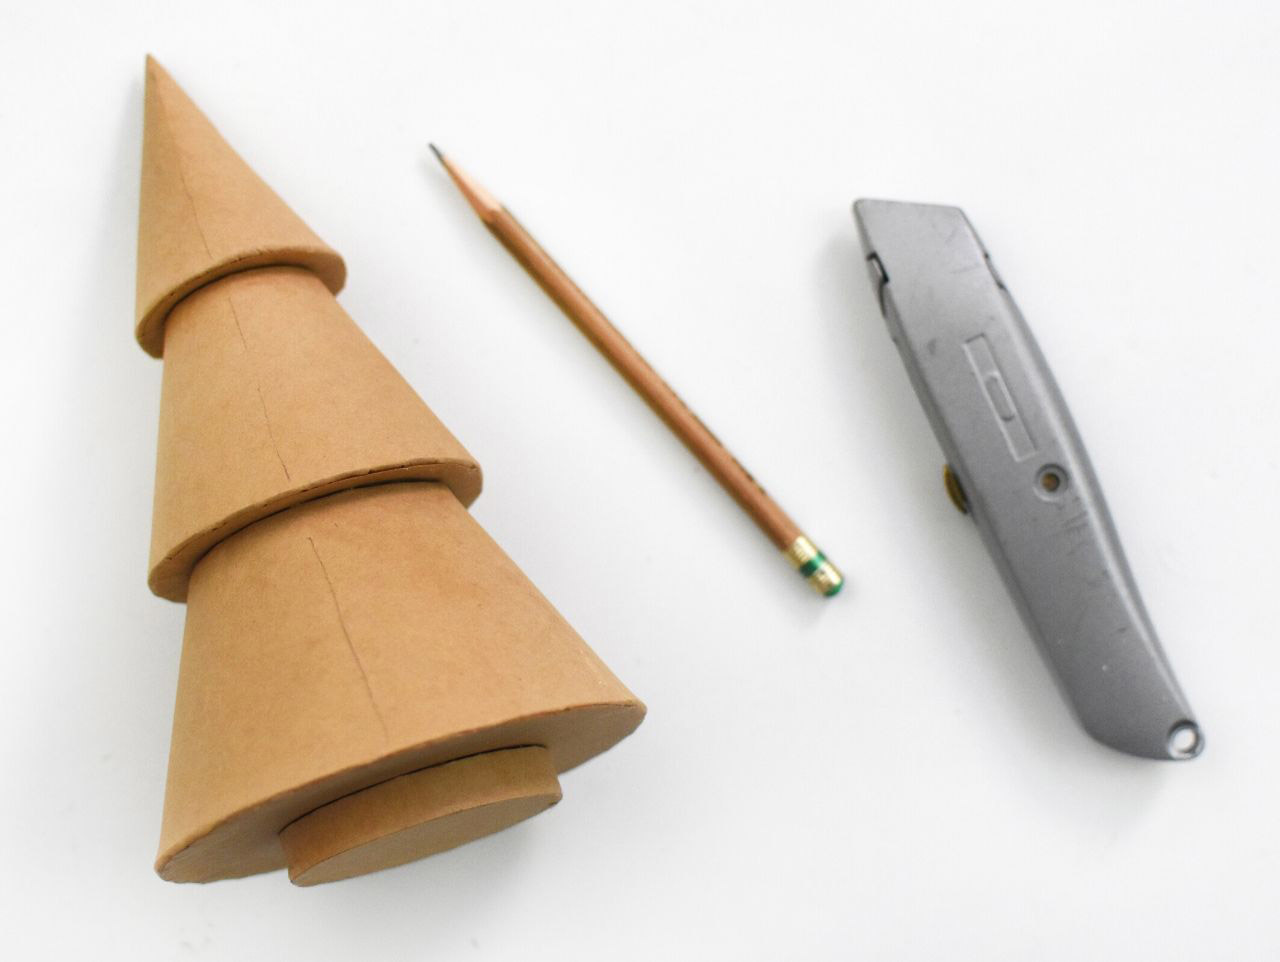
Start this project by cutting your Paper Maché Christmas Tree in half. I found it helpful to use a pencil and draw a line around the entire tree at the halfway point. Then, using a utility knife or a small saw, follow along that line to cut the tree. NOTE : Go slowly.
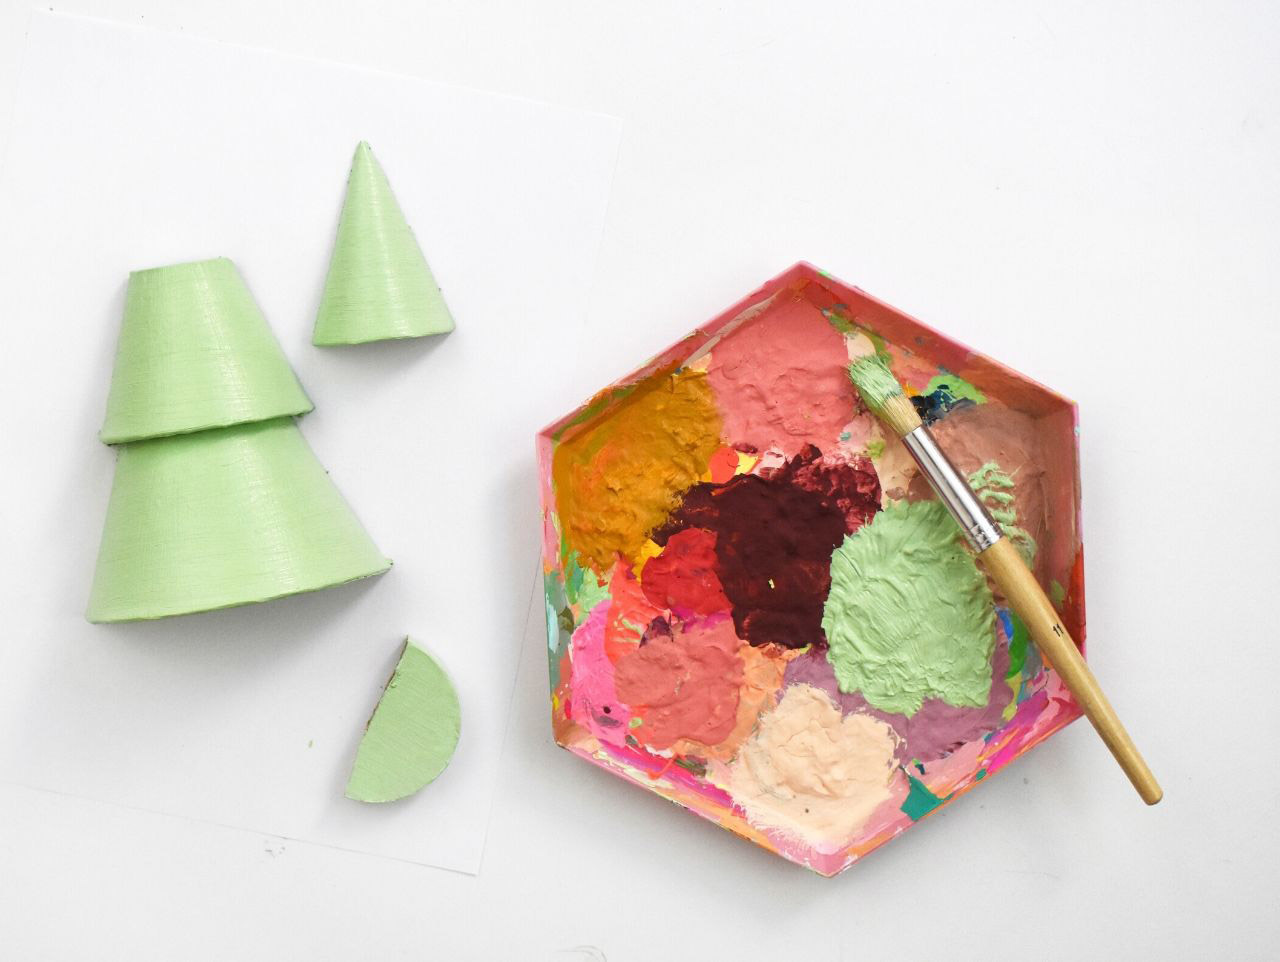
Once your tree is cut, you can add color. I used a lovely shade of mint green to paint my tree. I mixed some green acrylic paint with white to achieve this color.
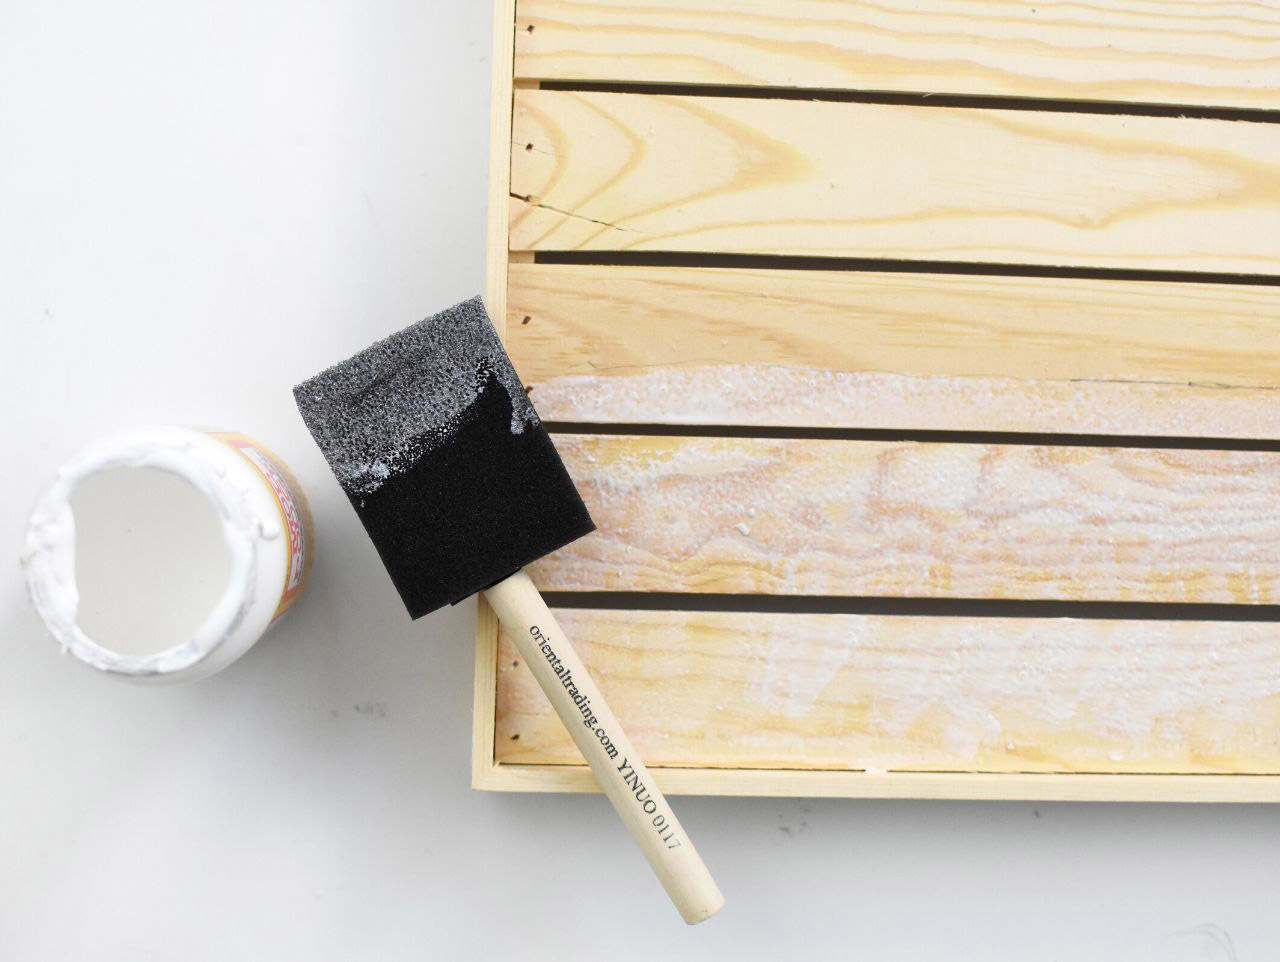

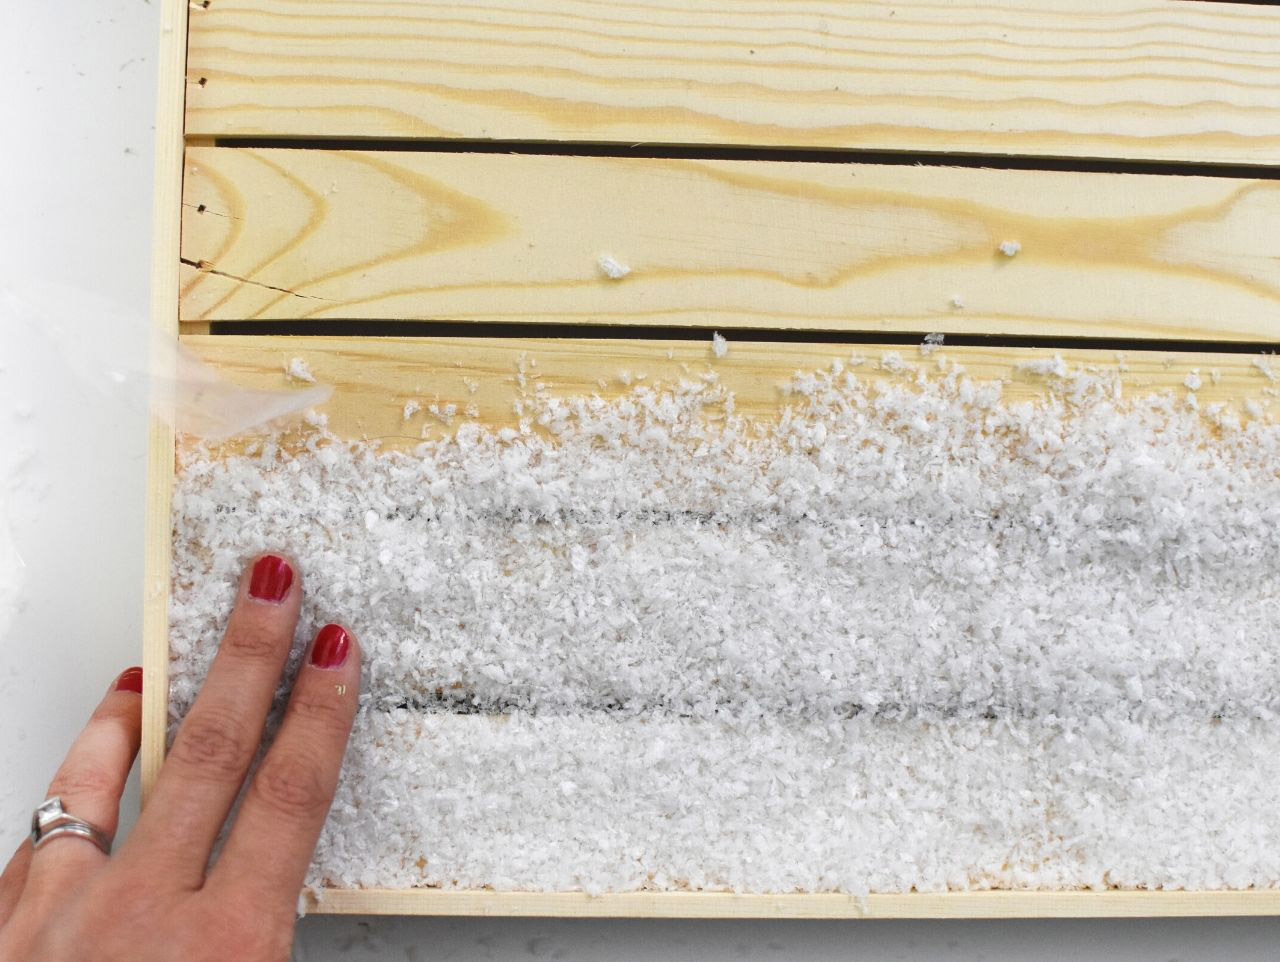
Next, add some winter snow to your wood plank sign. Start by painting Mod Podge® onto the planks. Then, heavily sprinkle craft snow over top, lightly press down and allow to fully dry. You can always repeat this process to create a denser snowy look.
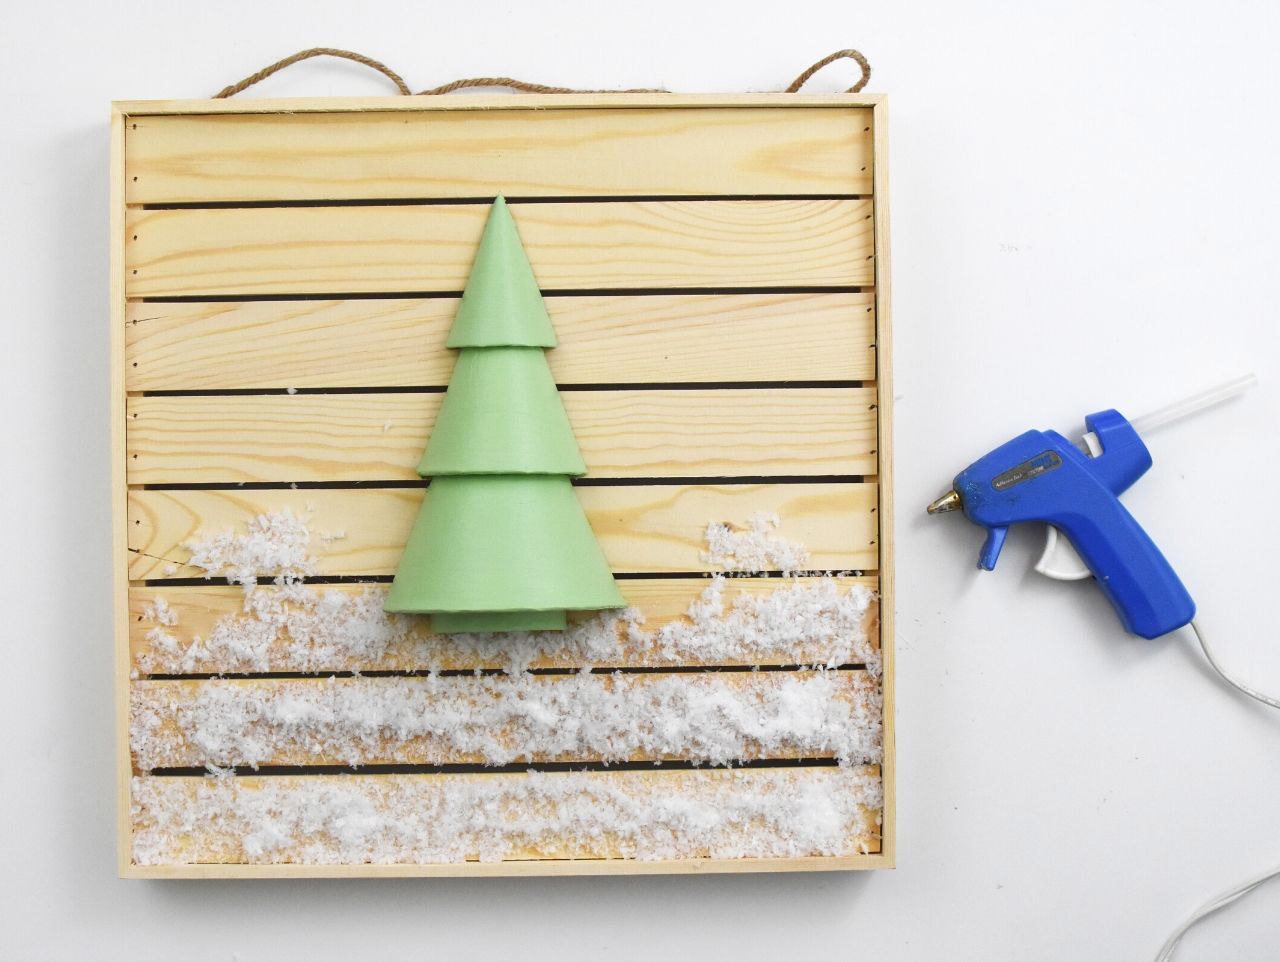
Once both your tree and the snow is dry, you can adhere the tree to the wood slat sign. Decide upon the best height and use a hot glue to glue the tree to the sign.
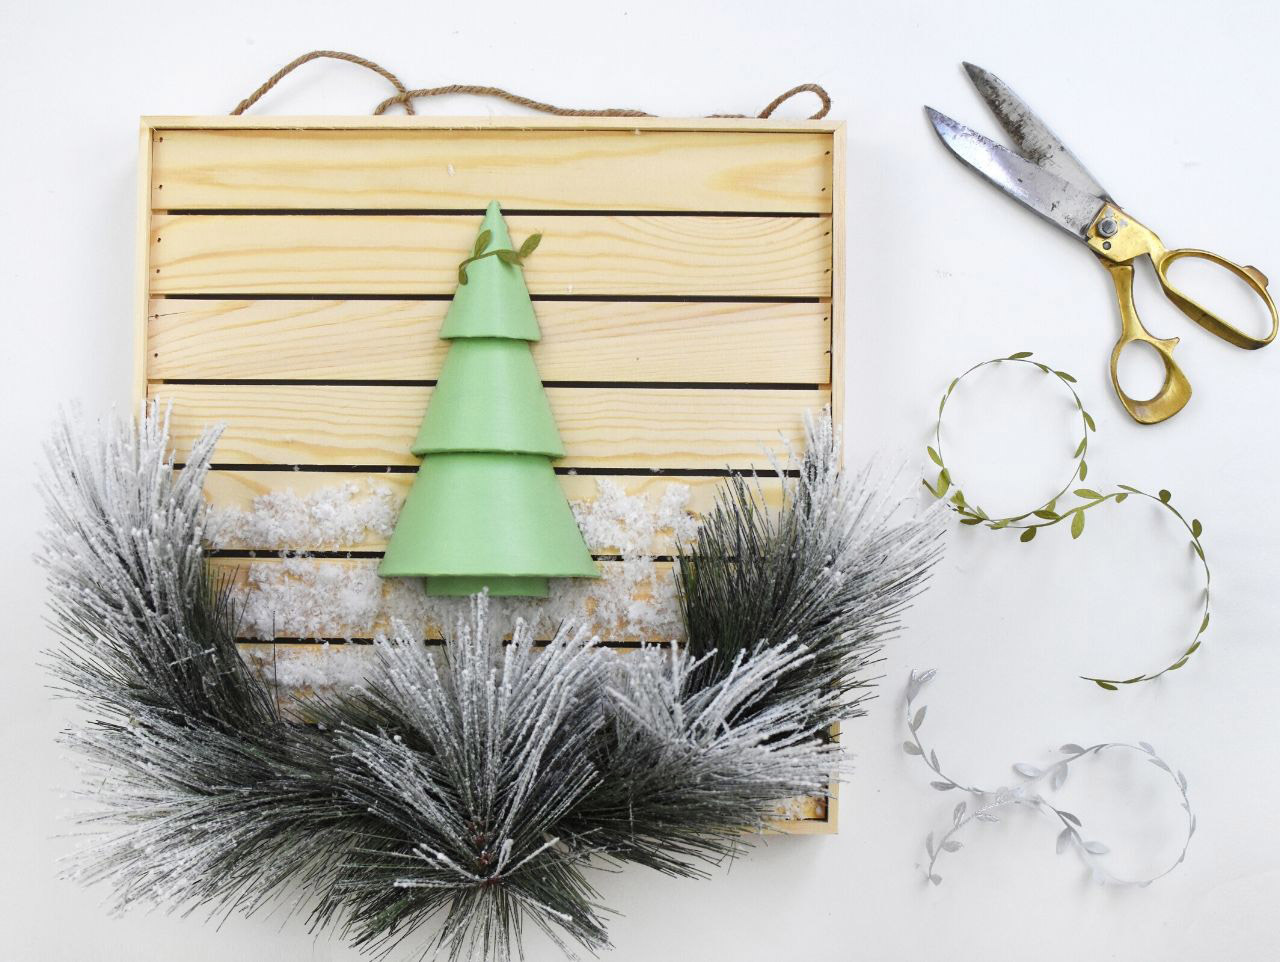
Use four Snowy Pine Picks and hot glue them to the edge of your wood plank sign to create an "evergreen frame" around the bottom portion of your sign. Then, fold one more snow pine pick in half and glue that to the center to finish the look.

Using small sections of green leaf ribbon, "decorate" your tree and use hot glue to adhere it.
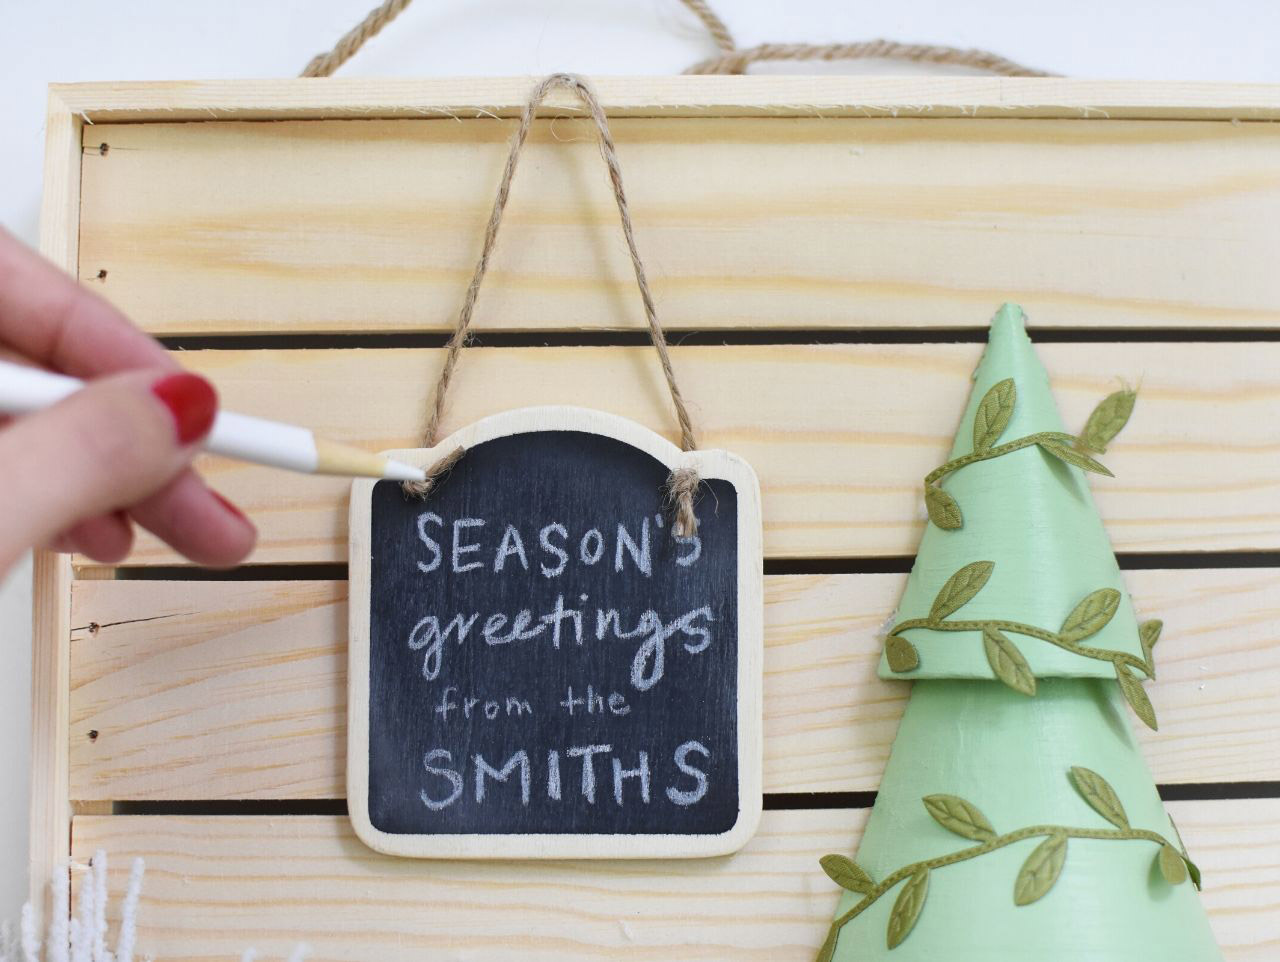
For the final detail, use a piece of chalk or a white colored pencil and write out your family name or any message you would like! Hot glue your mini chalkboard to the wood slat sign.
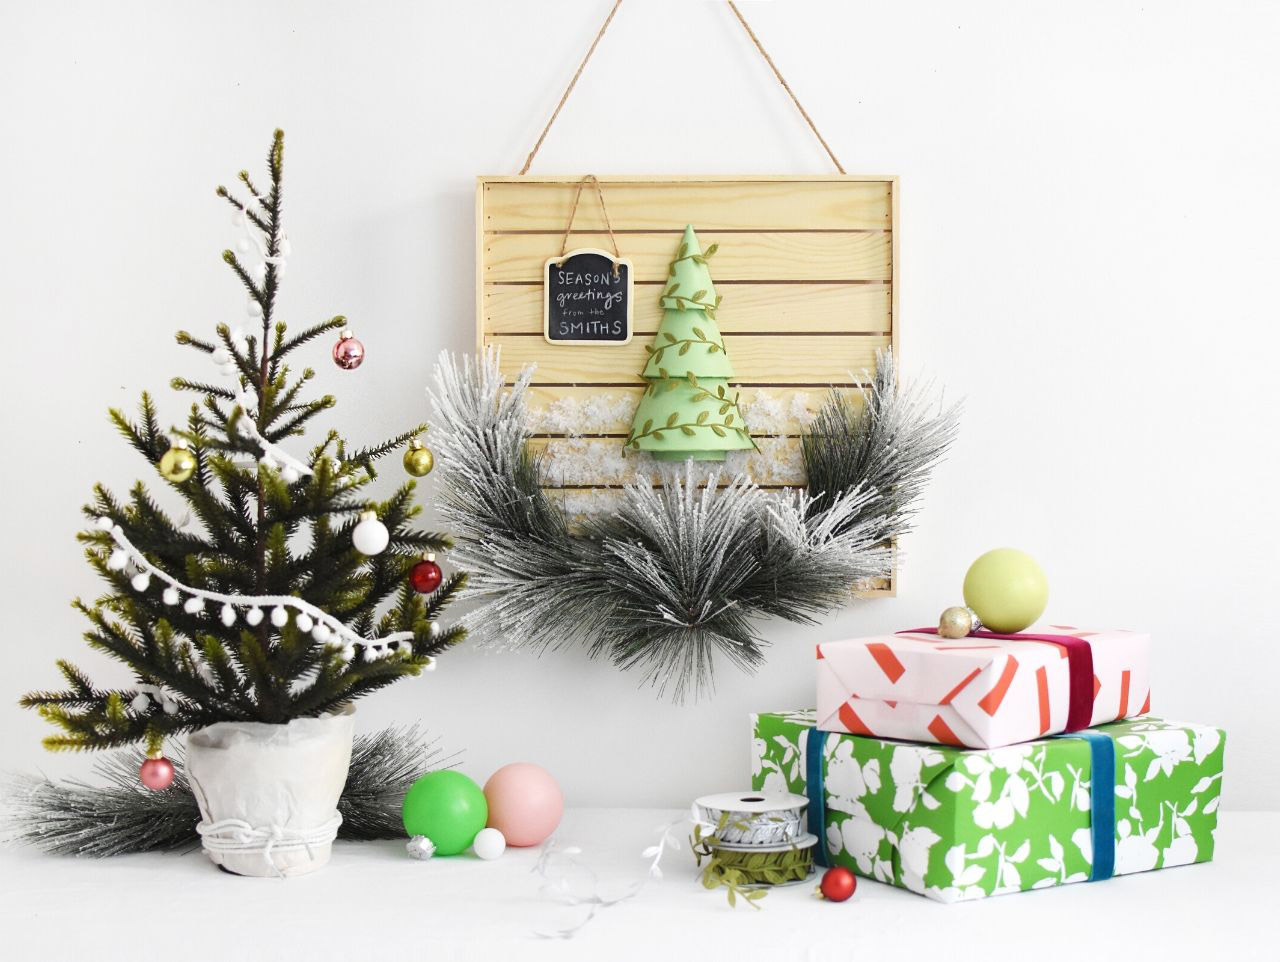

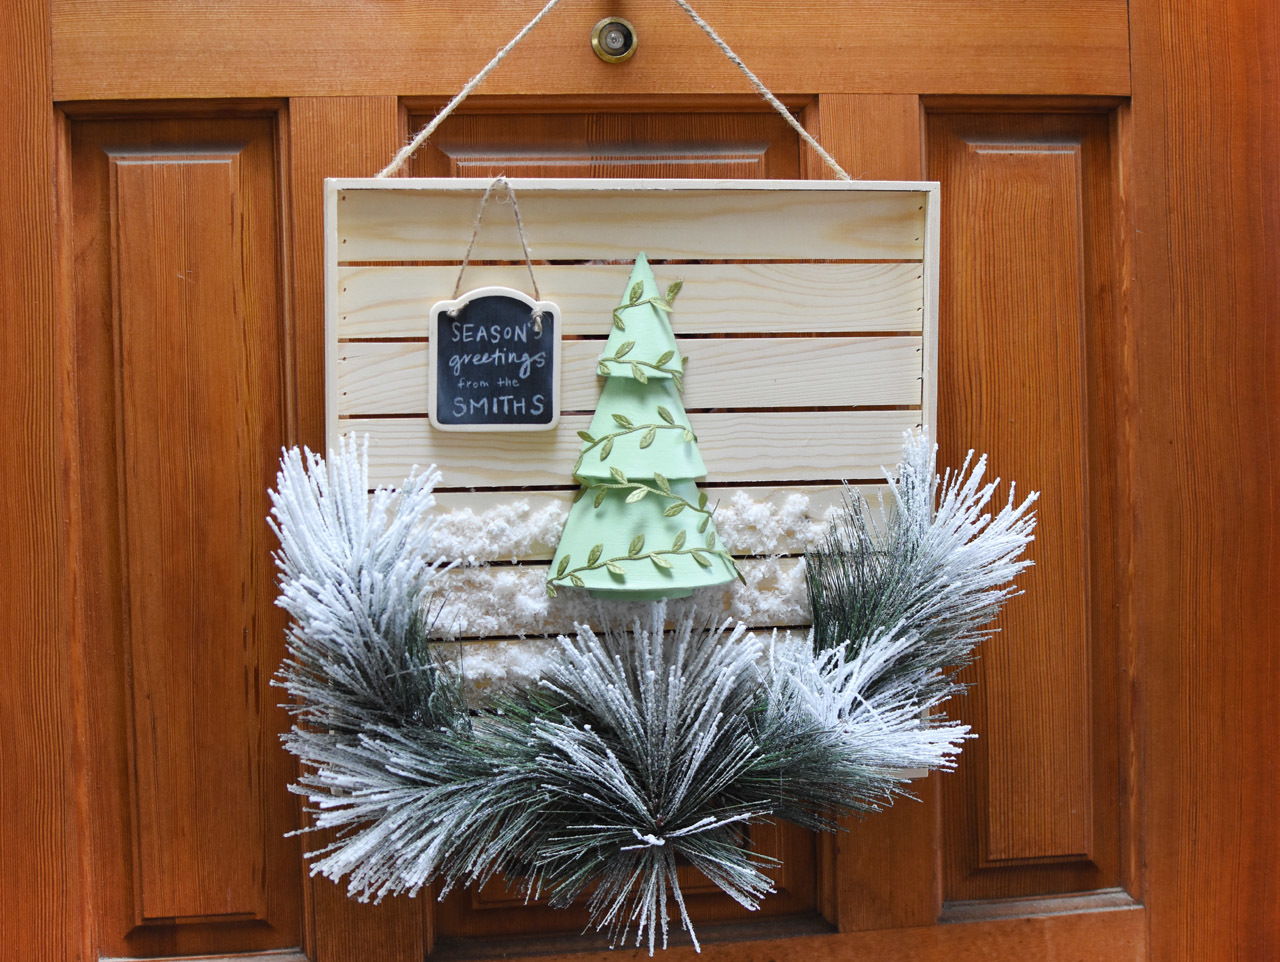
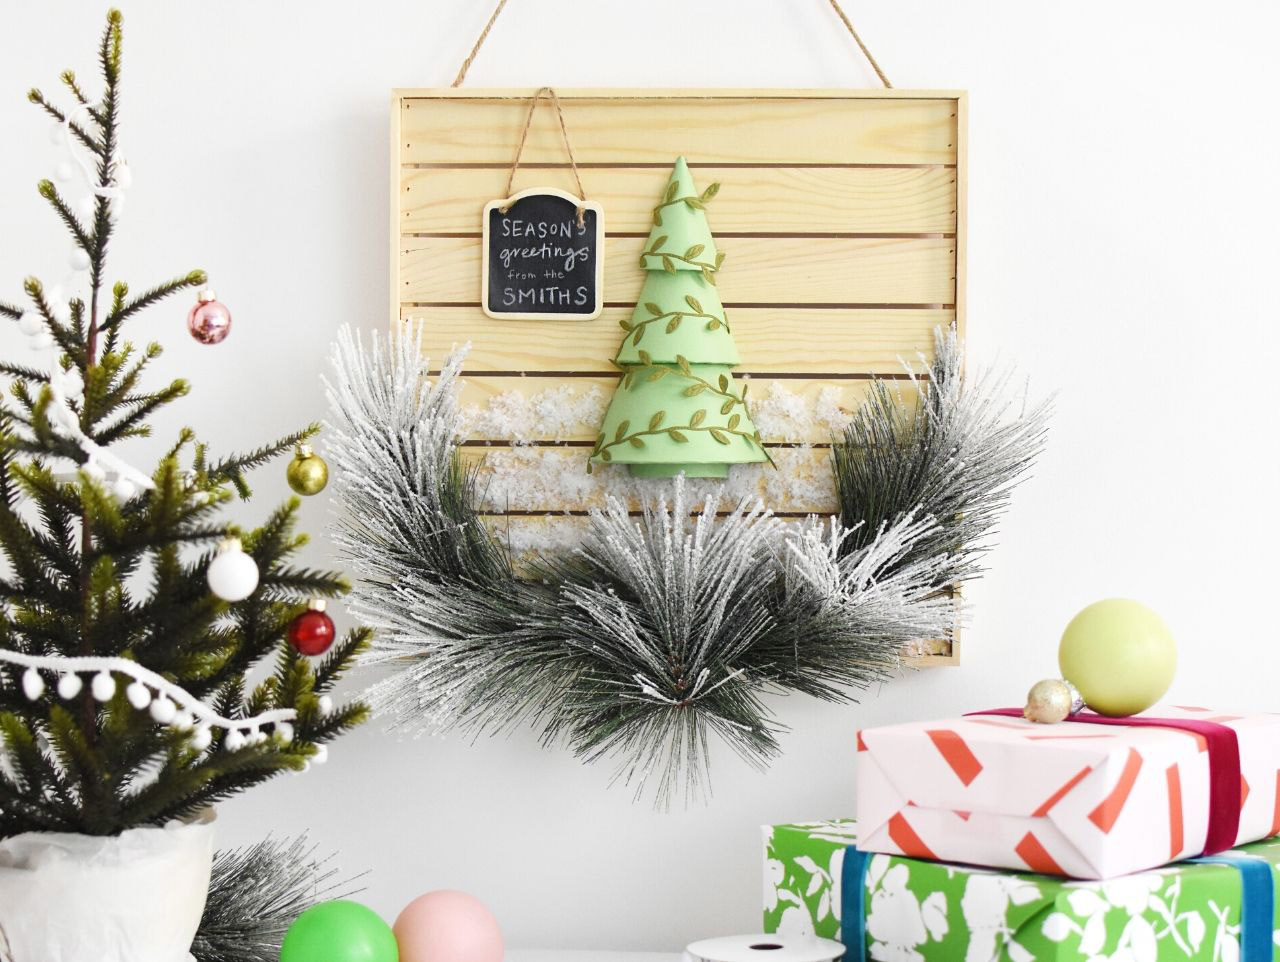
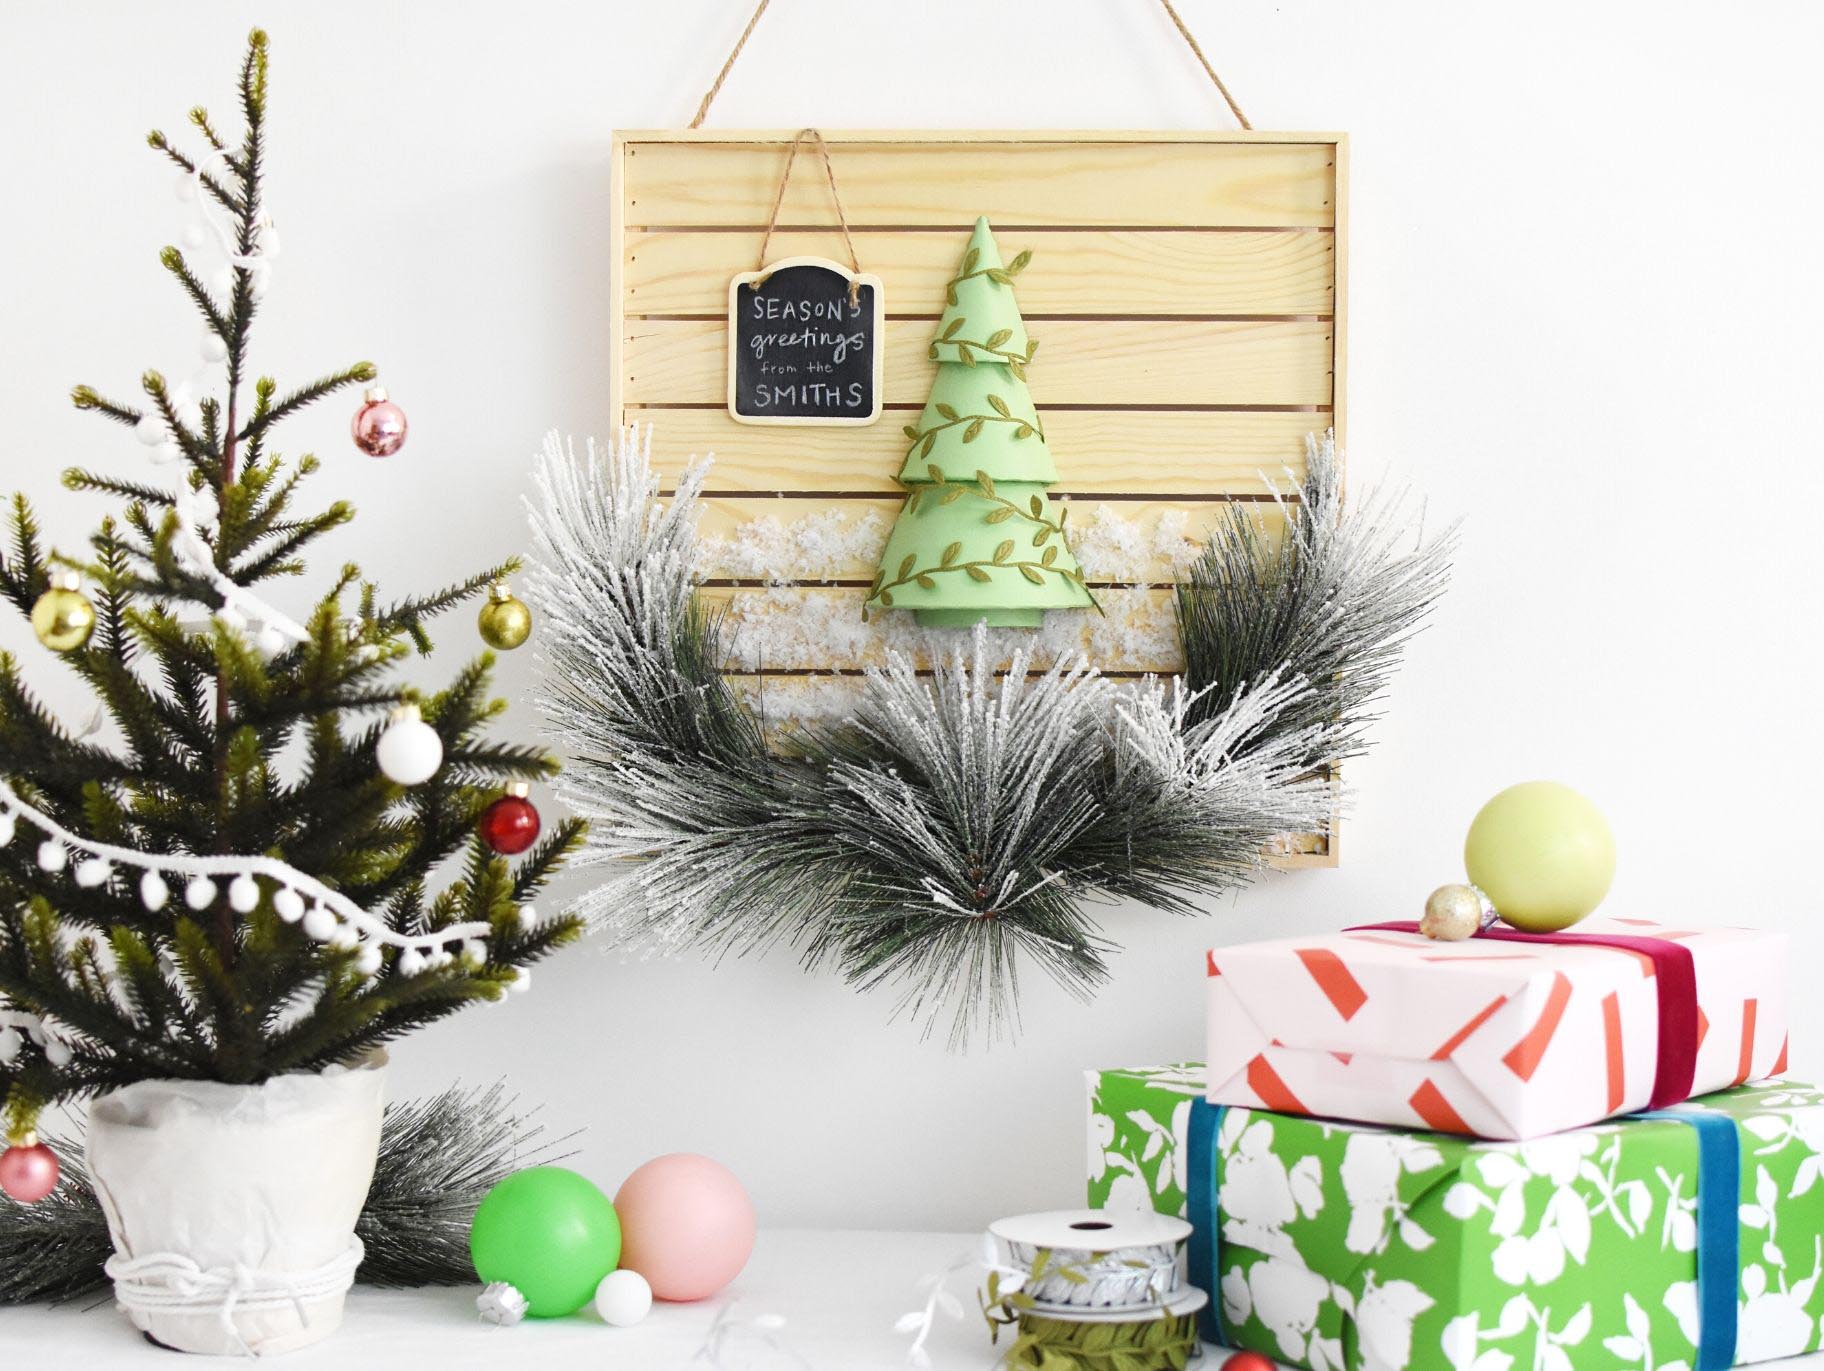
The completed look is a simple but fun Holiday decoration to enjoy all season long!

Start this project by cutting your Paper Maché Christmas Tree in half. I found it helpful to use a pencil and draw a line around the entire tree at the halfway point. Then, using a utility knife or a small saw, follow along that line to cut the tree. NOTE : Go slowly.

Once your tree is cut, you can add color. I used a lovely shade of mint green to paint my tree. I mixed some green acrylic paint with white to achieve this color.


Next, add some winter snow to your wood plank sign. Start by painting Mod Podge® onto the planks. Then, heavily sprinkle craft snow over top, lightly press down and allow to fully dry. You can always repeat this process to create a denser snowy look.

Once both your tree and the snow is dry, you can adhere the tree to the wood slat sign. Decide upon the best height and use a hot glue to glue the tree to the sign.

Use four Snowy Pine Picks and hot glue them to the edge of your wood plank sign to create an "evergreen frame" around the bottom portion of your sign. Then, fold one more snow pine pick in half and glue that to the center to finish the look.

Using small sections of green leaf ribbon, "decorate" your tree and use hot glue to adhere it.

For the final detail, use a piece of chalk or a white colored pencil and write out your family name or any message you would like! Hot glue your mini chalkboard to the wood slat sign.


The completed look is a simple but fun Holiday decoration to enjoy all season long!

