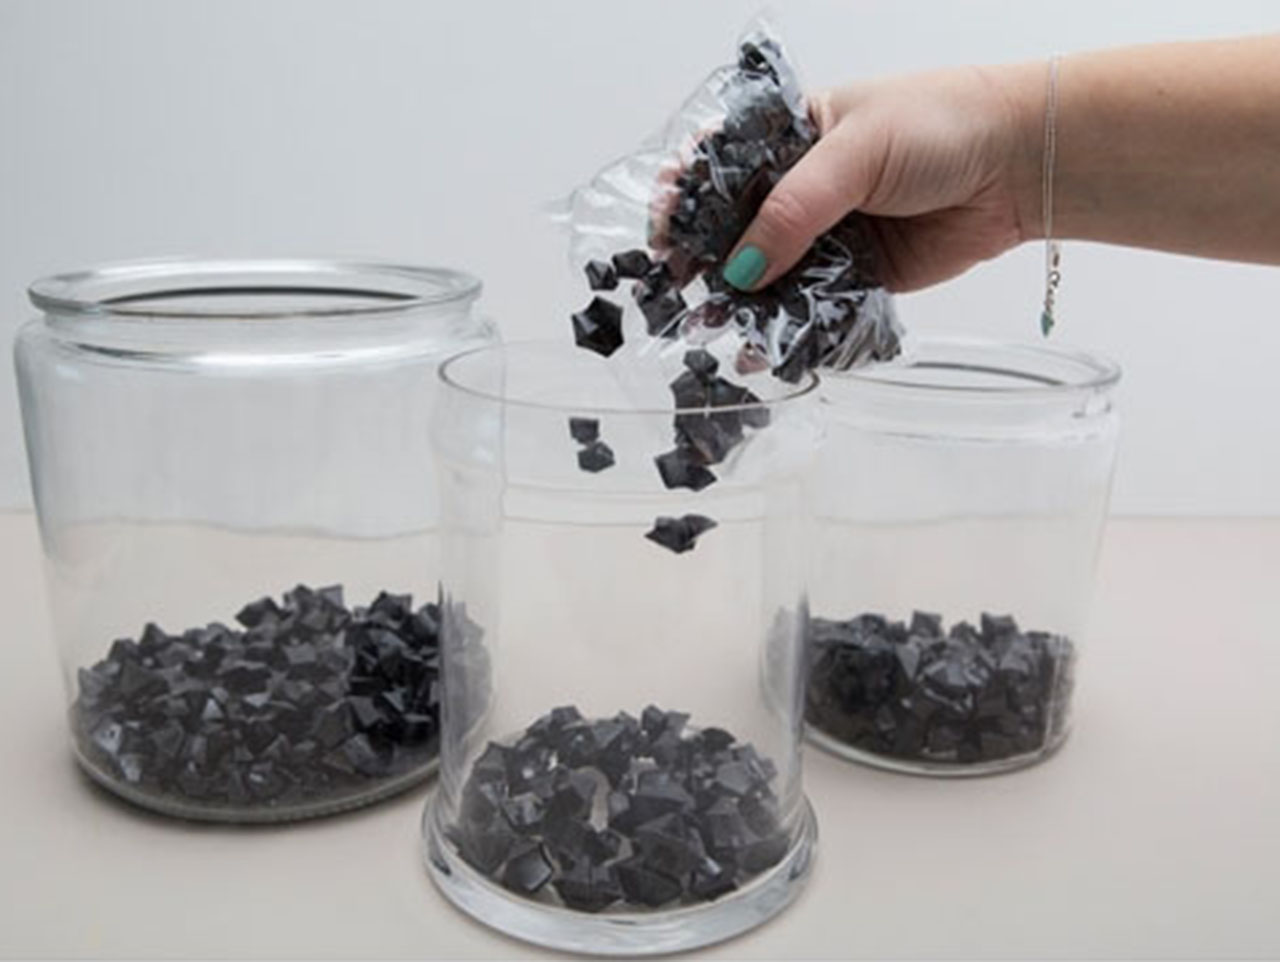
This first idea is the most classic of all. Using your choice of acrylic ice and floating candles, you can easily (and inexpensively) add a lot of sparkle and shine to any event table. Choose black and gold for a first-class wedding look or maybe go with something bold and bright like turquoise acrylic ice and teal floating candles! Divide the three bags of acrylic ice between the jars.
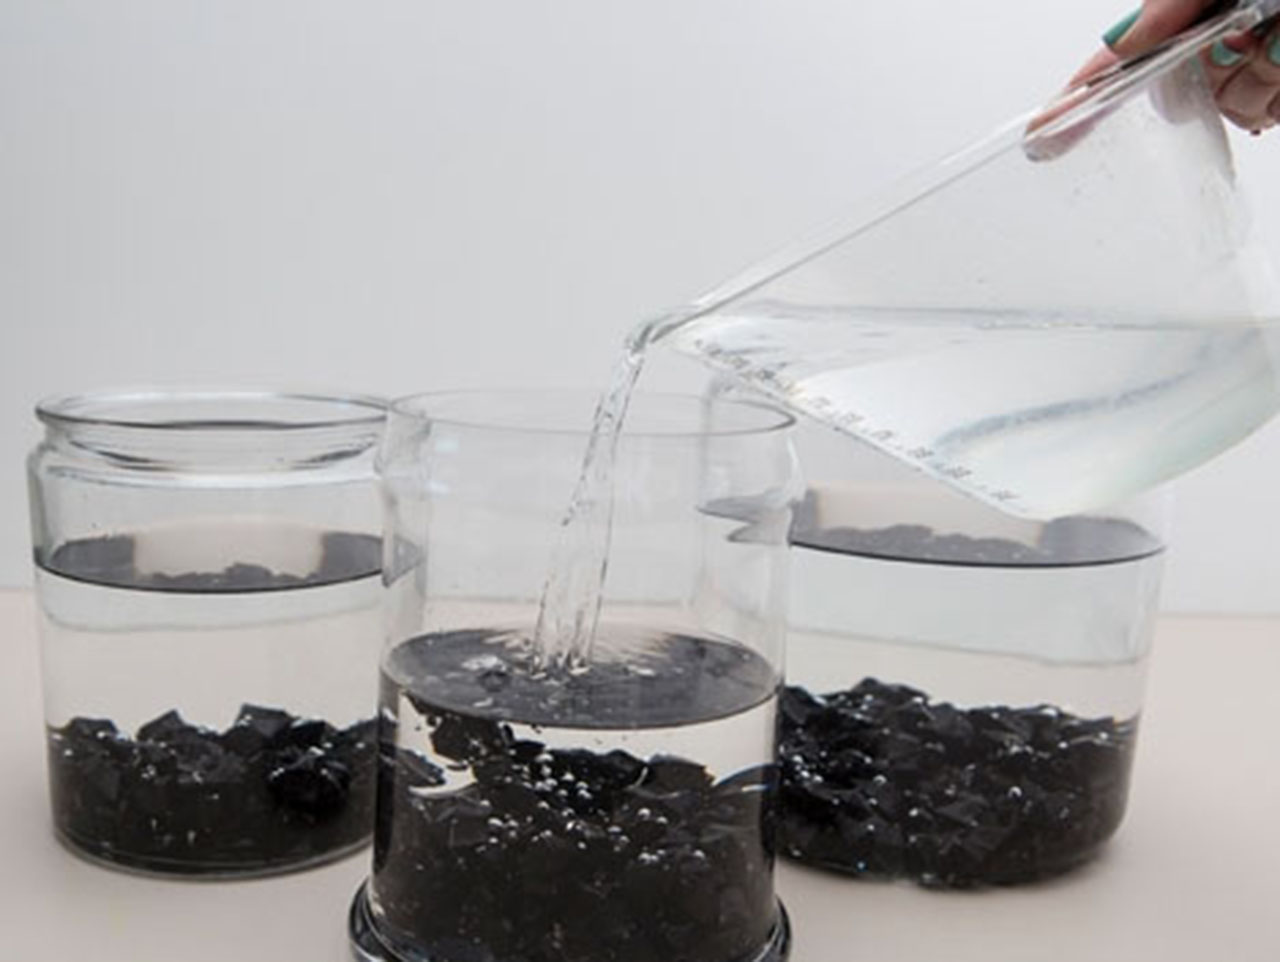
Add water to cover, at differing heights to give the centerpiece more dimension.
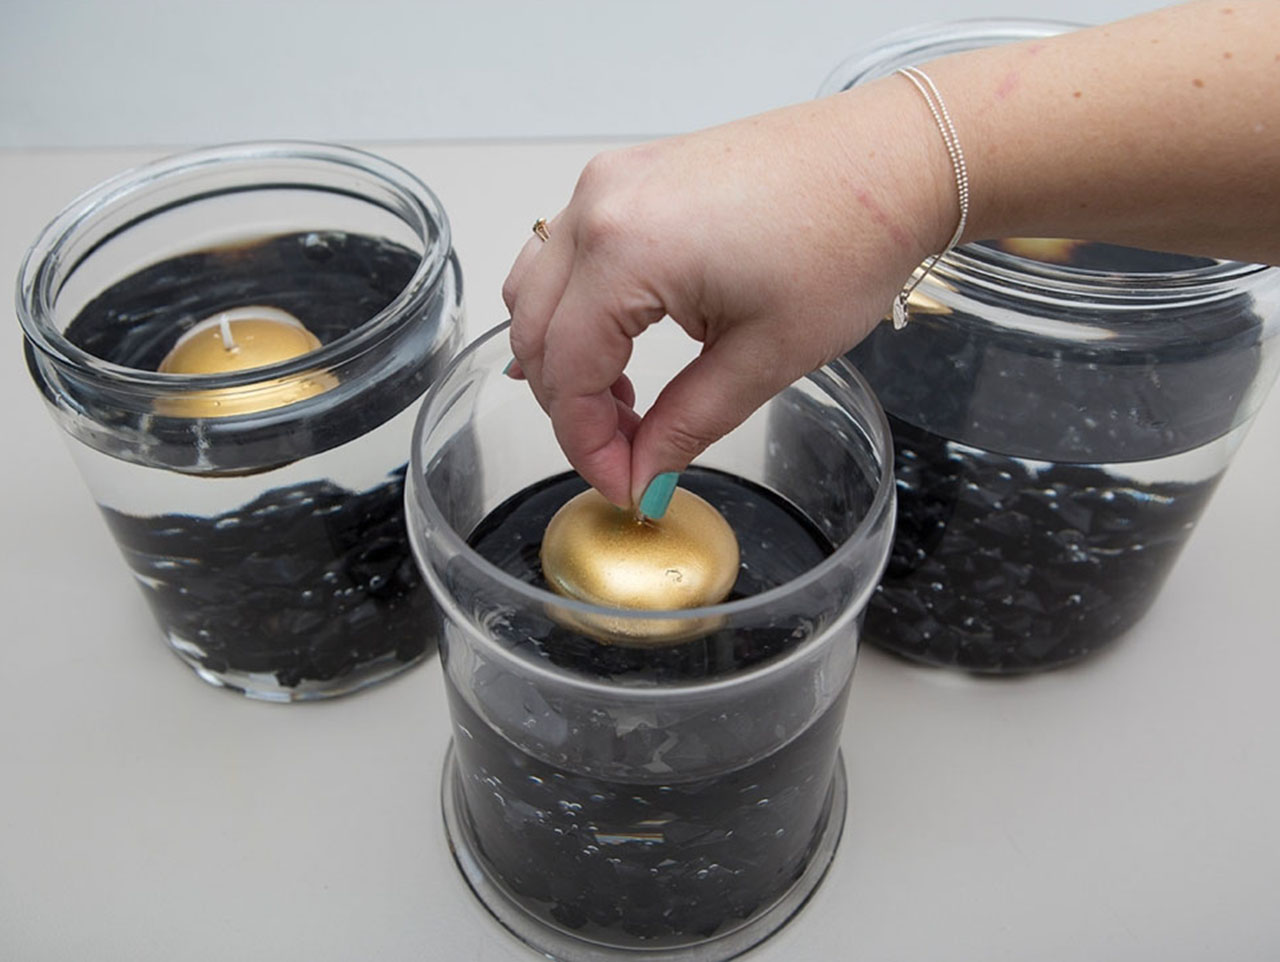
Then add a candle to each jar. The largest jar can easily hold three candles.
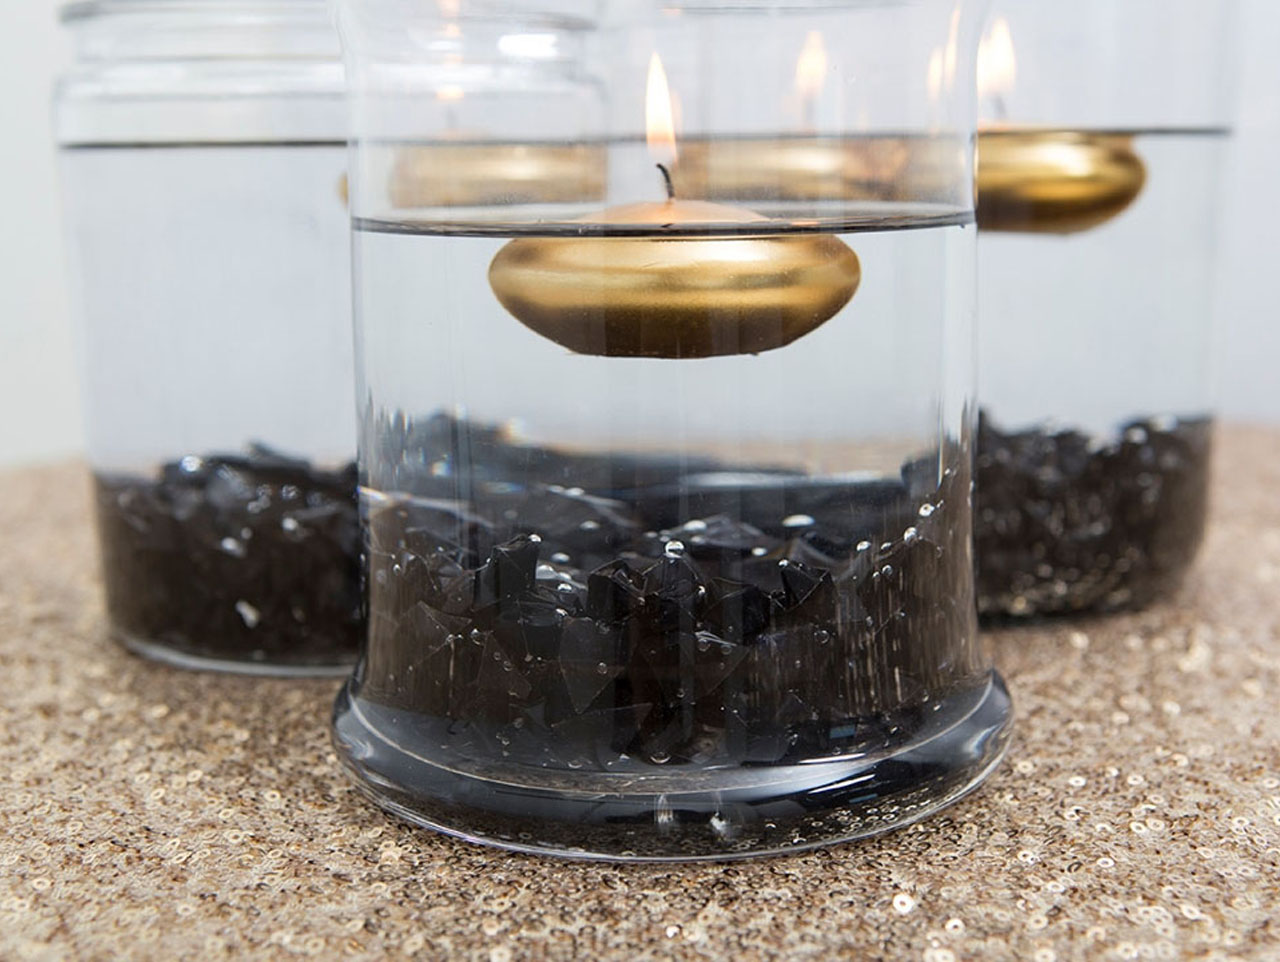
Light your candles and add a Gold Calligraphy Table Number to finish off your centerpiece.
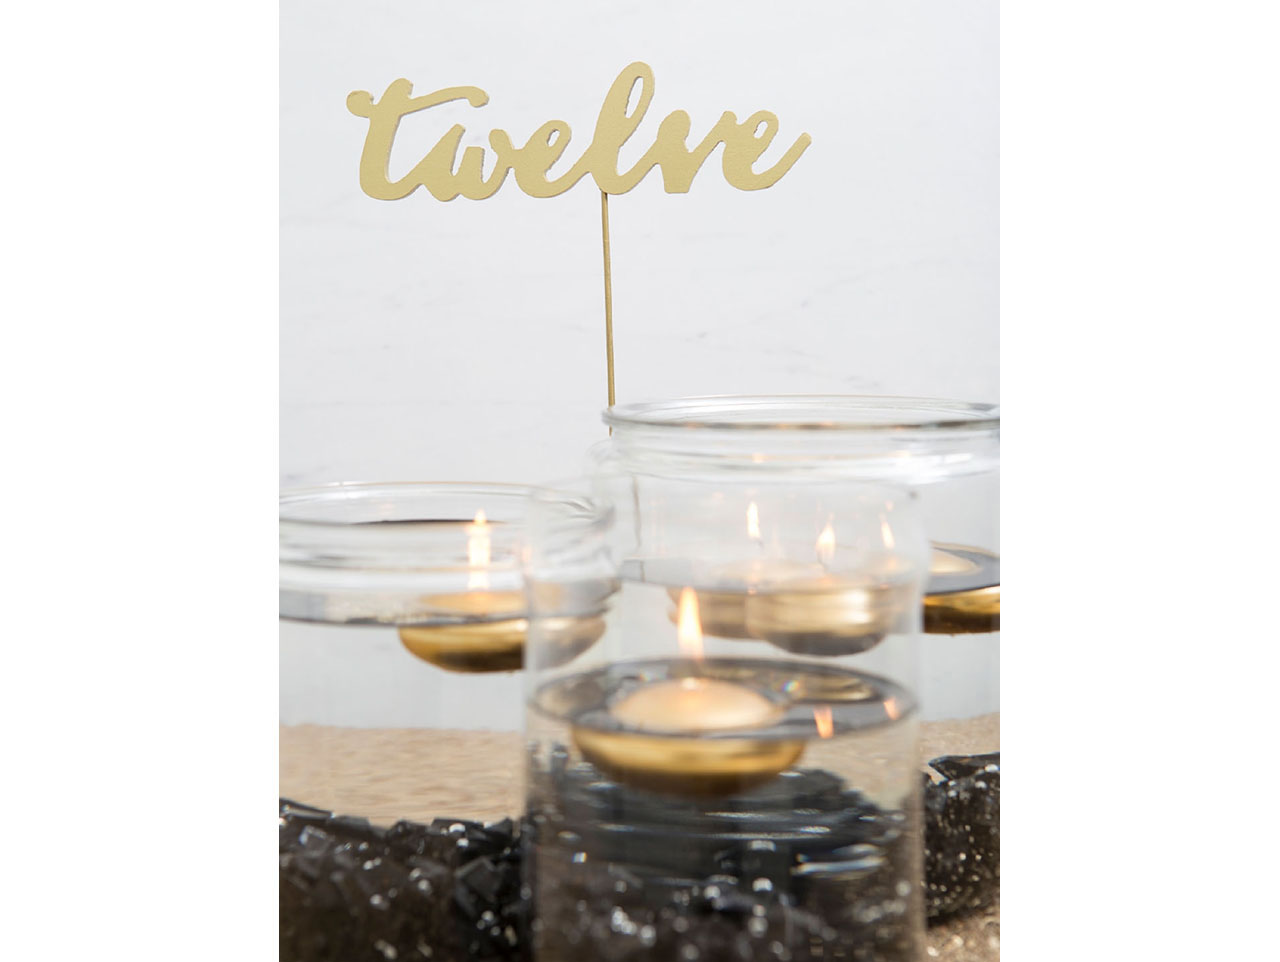
This classic black and gold centerpiece was perfectly paired with a Gold Sequin Table Runner! Again, don't hesitate to switch up the colors of this centerpiece to the color palette of your wedding.
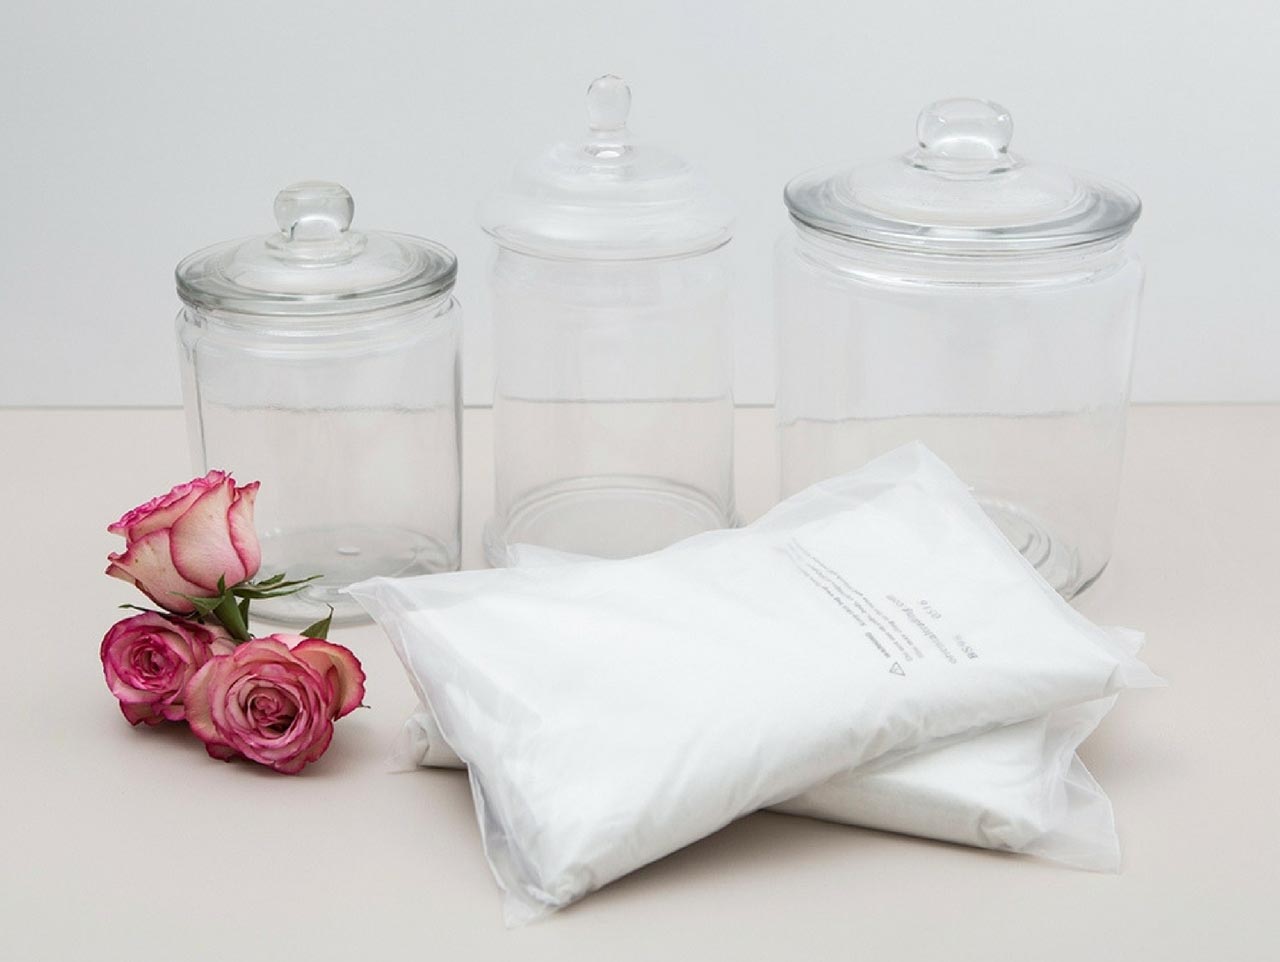
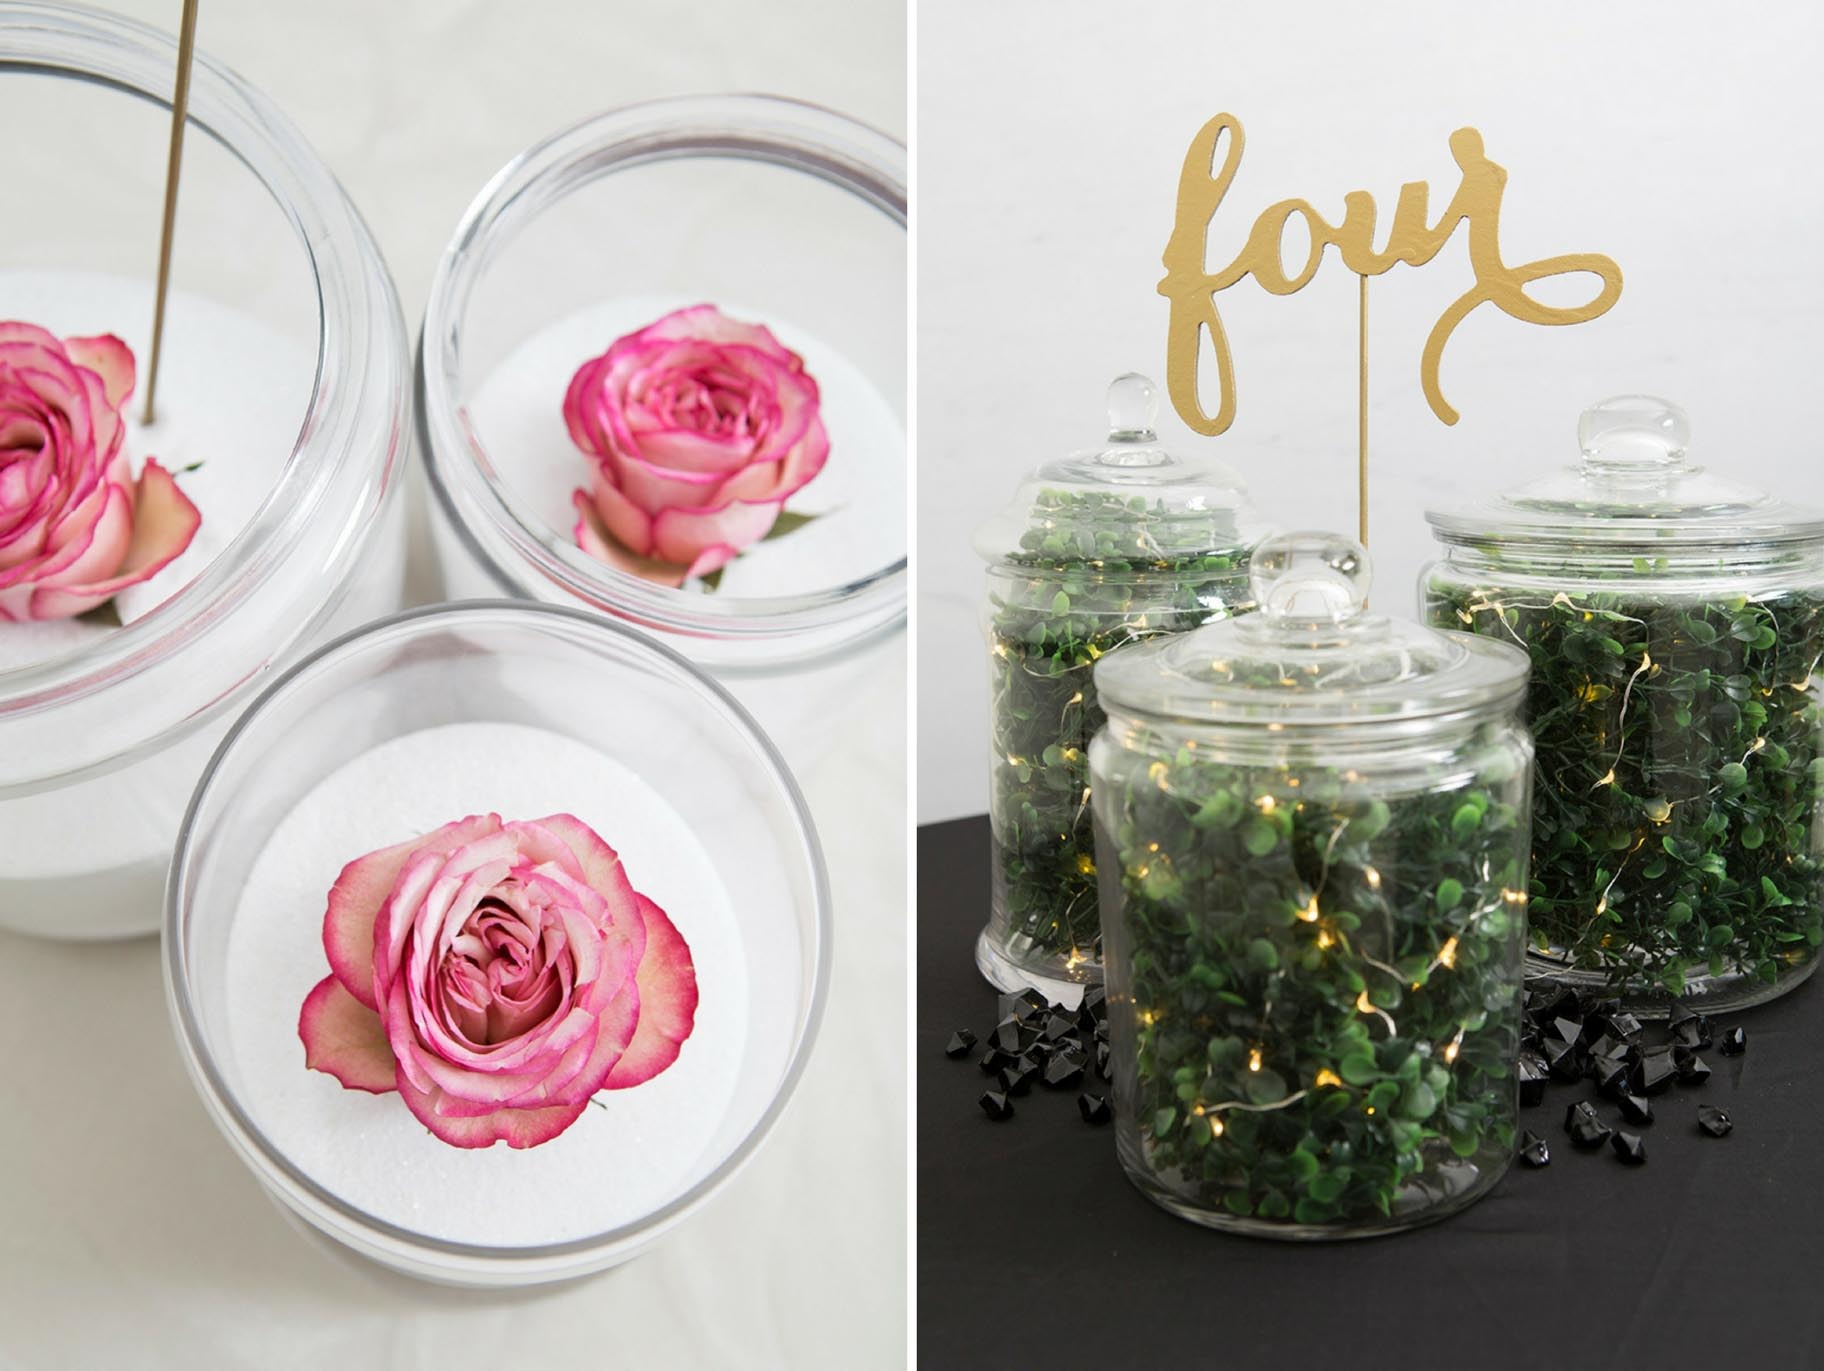
This second idea might be my favorite! Only two simple supplies; sand and pretty flowers! You can use roses, peonies, hydrangeas; almost any flower you like and the best part is that you don’t have to fill the jar with flowers, you can use individual blooms which makes each centerpiece much more budget friendly. I love the sand idea because I’m a beachy-gal but I think that these would be gorgeous for any type of event. How perfect would they be for a bridal shower?
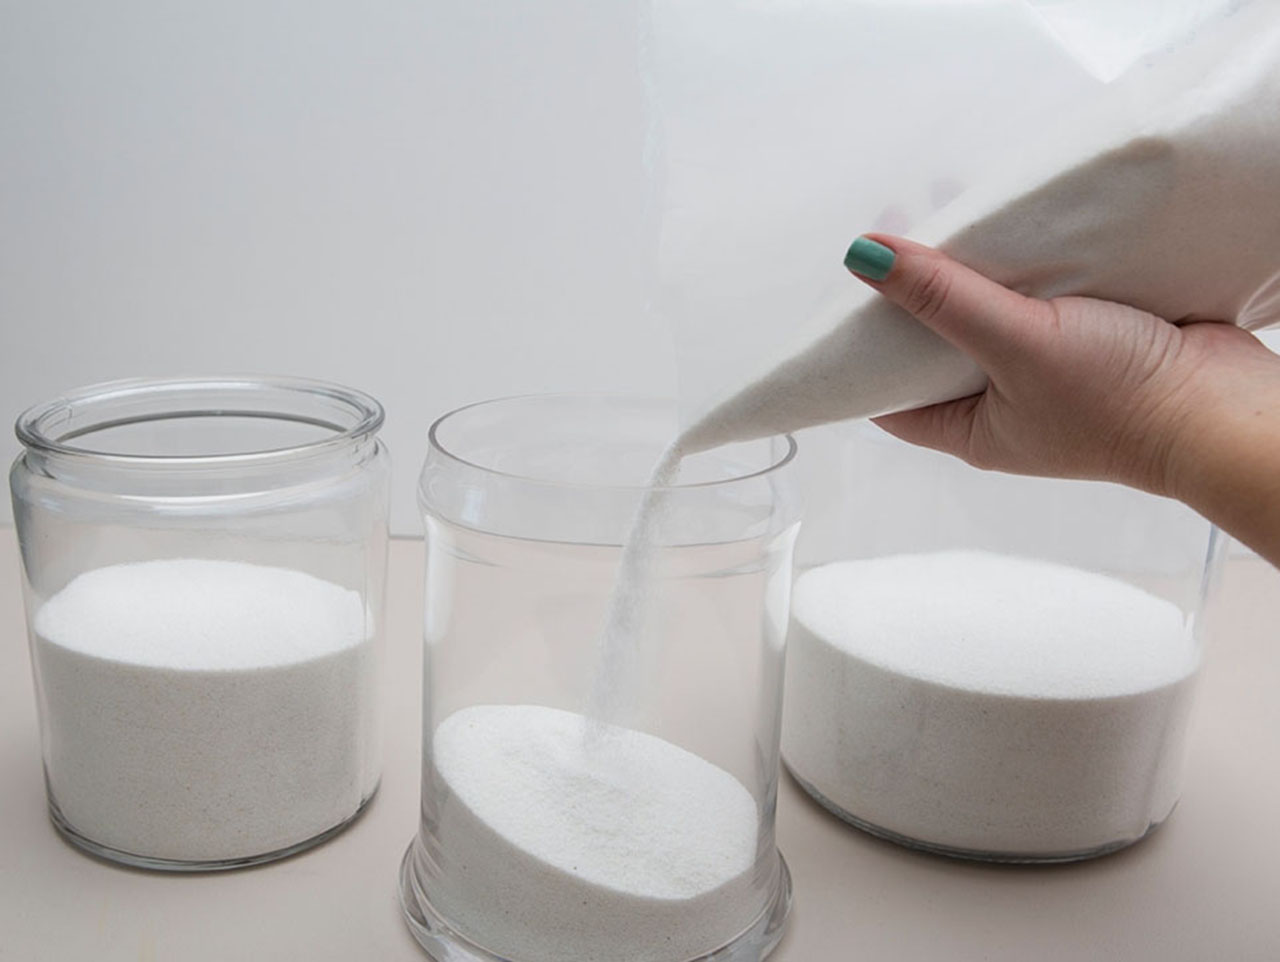
Fill each jar with sand. You’ll need roughly one bag per jar, but in this case the largest jar took more sand so I divided the three bags into the three jars.
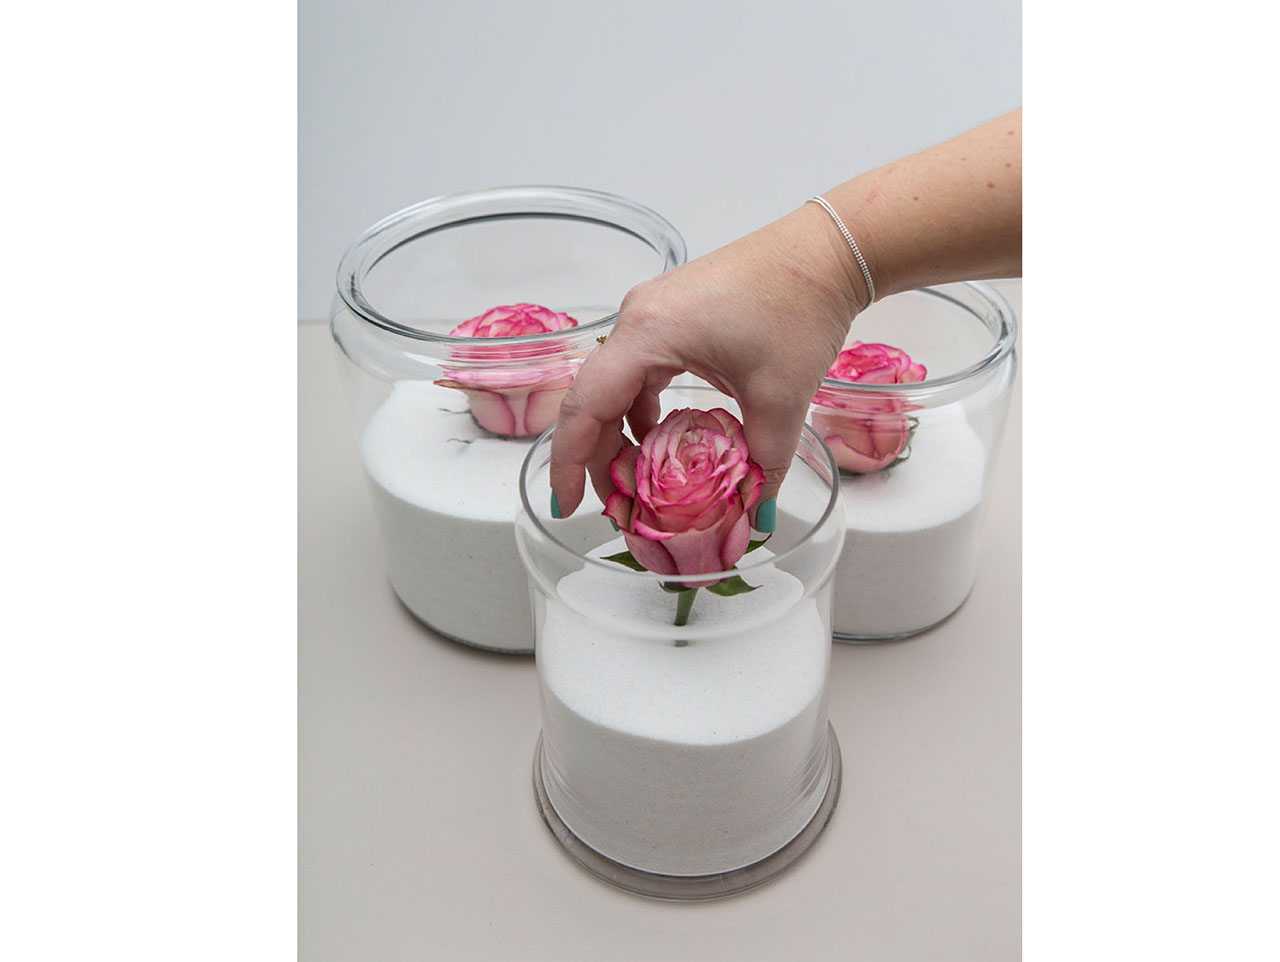
Then simply add a single bloom into the sand!
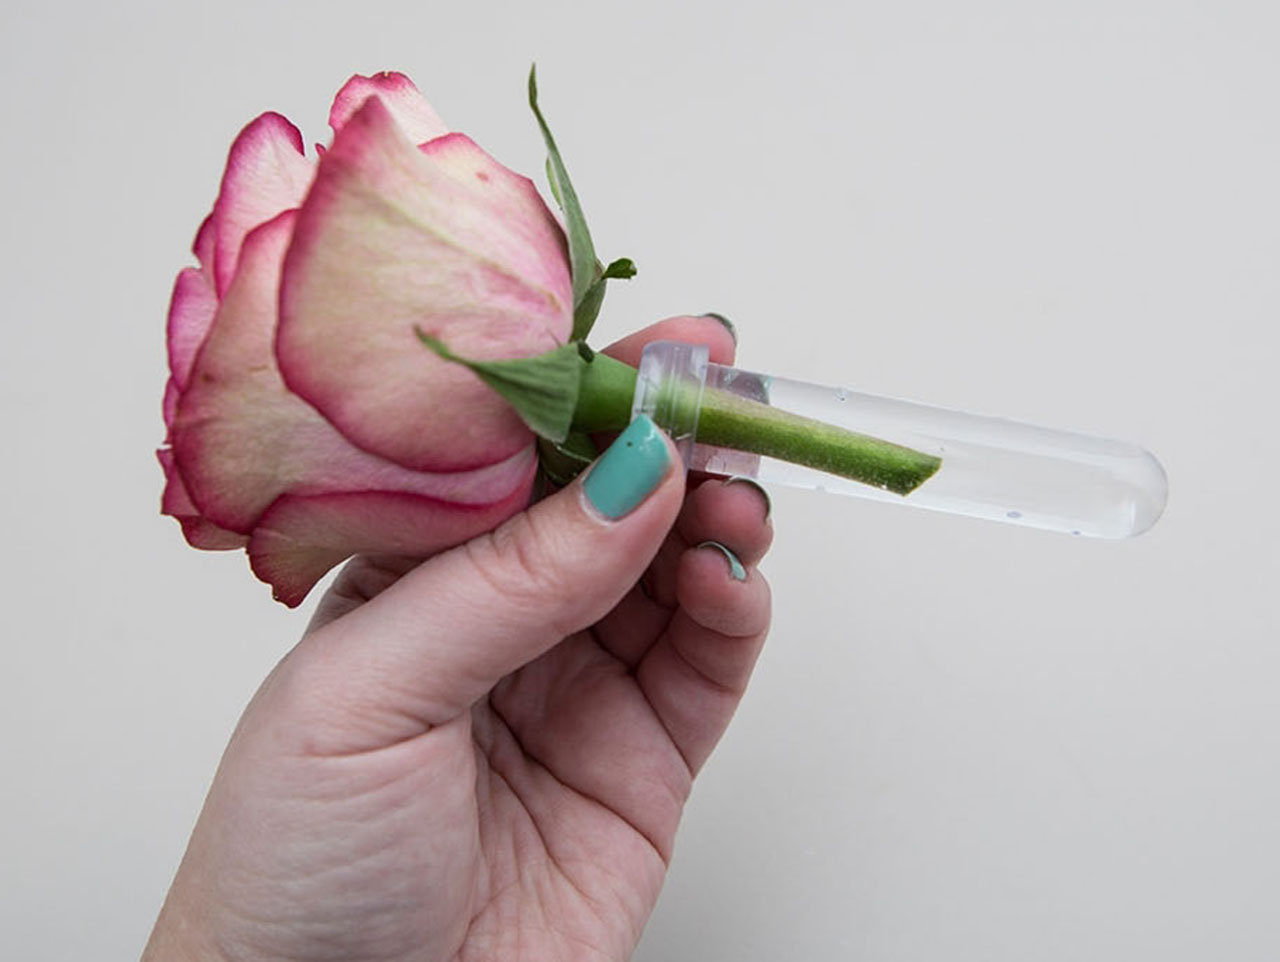
If you’re doing this for a bridal shower or birthday party that will only be a few hours, most flowers will be fine out of water. BUT, if you’re doing this for your wedding where they might be set up and displayed for 6-10 hours, you’ll want to consider buying flower water tubes to keep your flowers lively! If you use hydrangeas, you will need the flower tubes no matter what.
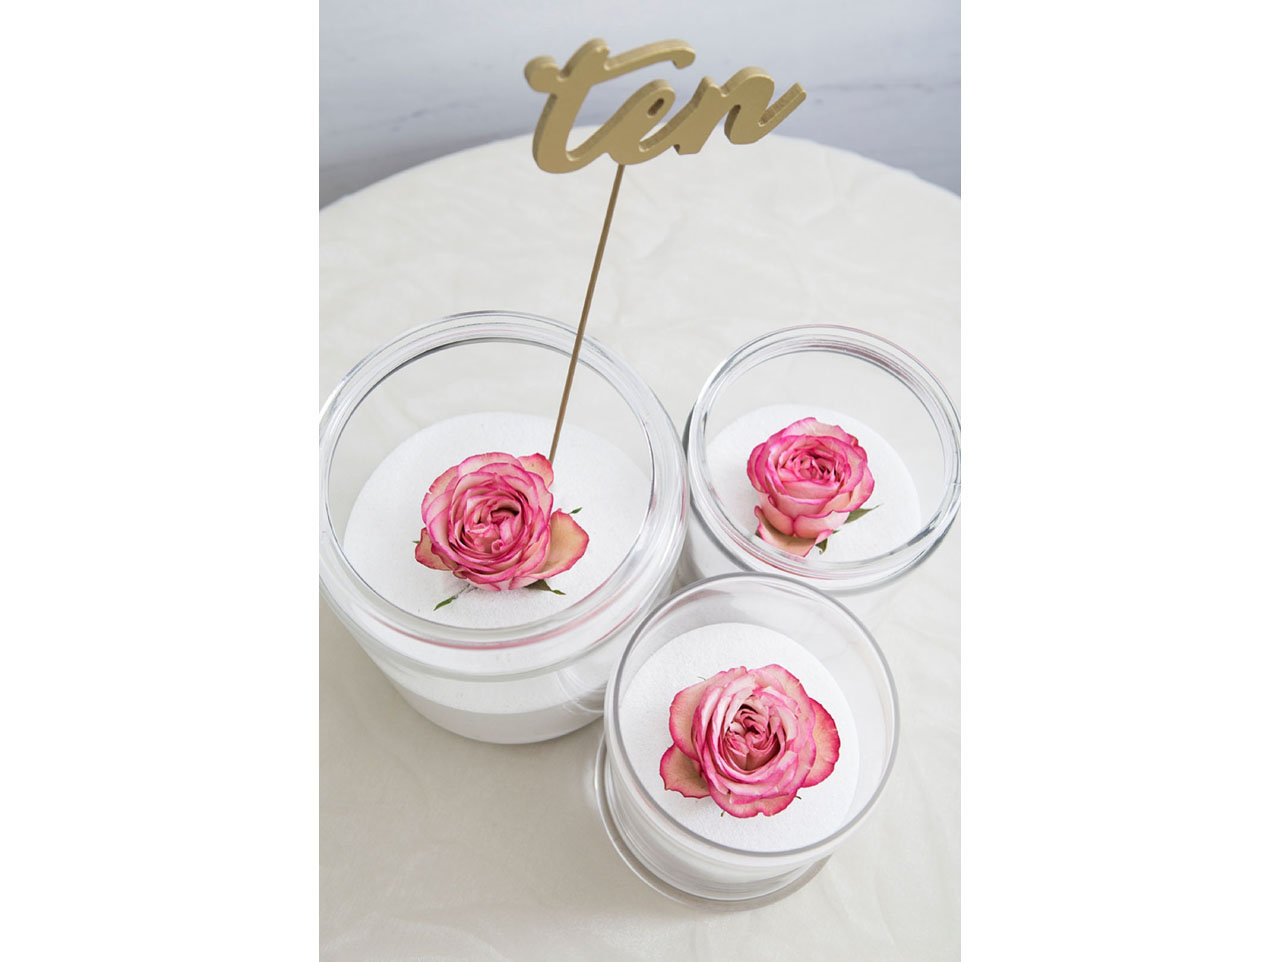
Stick a Gold Calligraphy Table Number in the sand of one of the jars and your look is complete! From beach-theme to simple elegance, this Sand + Floral centerpiece option is so pretty and stress-free to make! Make it your own by incorporating flower colors that go with your color palette!
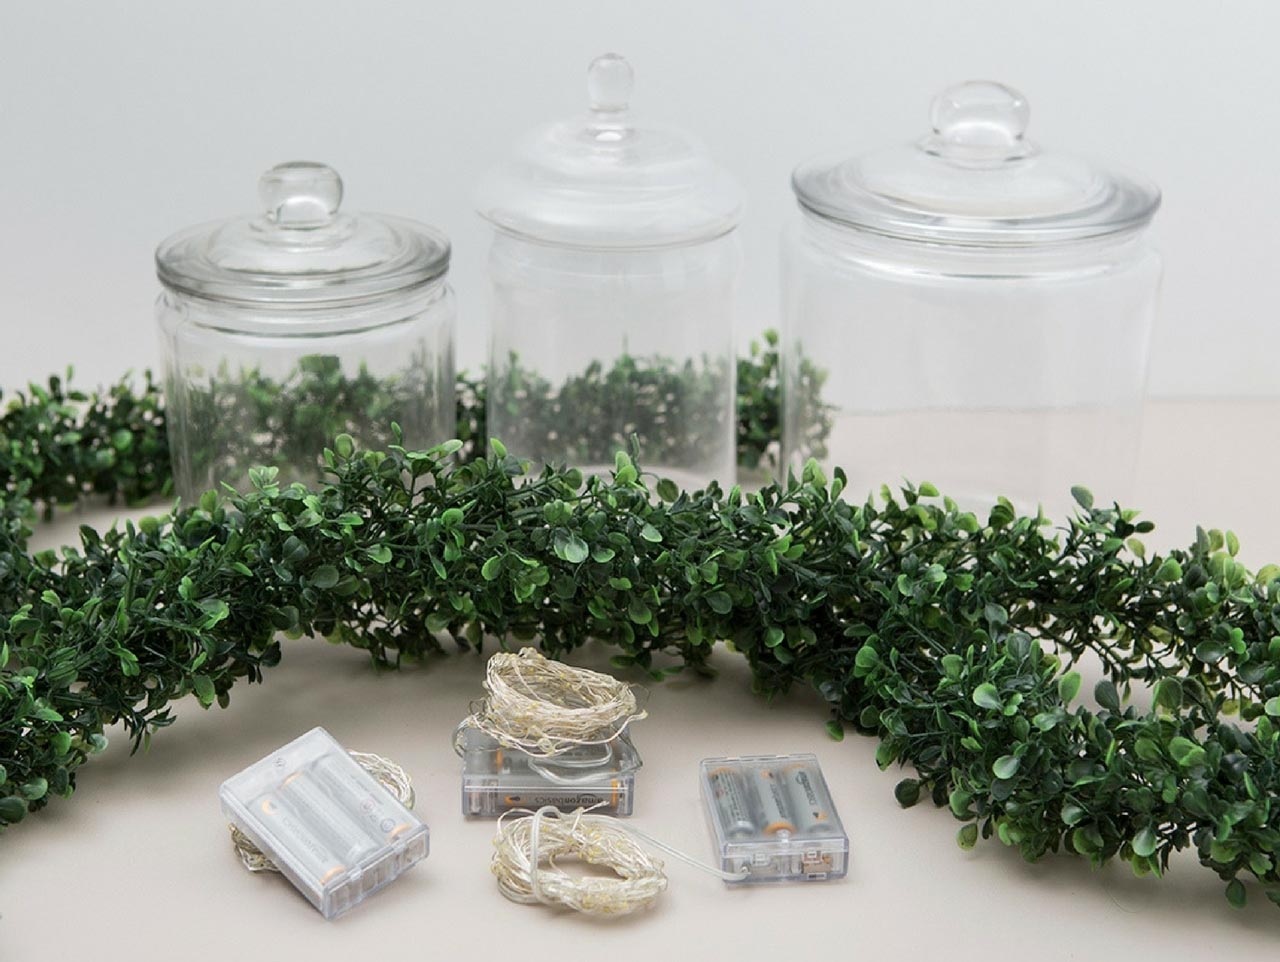
I know that I said the sand + flower idea was my favorite but I really wish you could see this idea in person because its just SO pretty. The mini LED String Lights are fabulous and will make your wedding tables sparkle all night long! Perfect for a spring or garden wedding.. and maybe even a Christmas wedding too! For this DIY, one boxwood garland strand will be enough to fill all three jars.
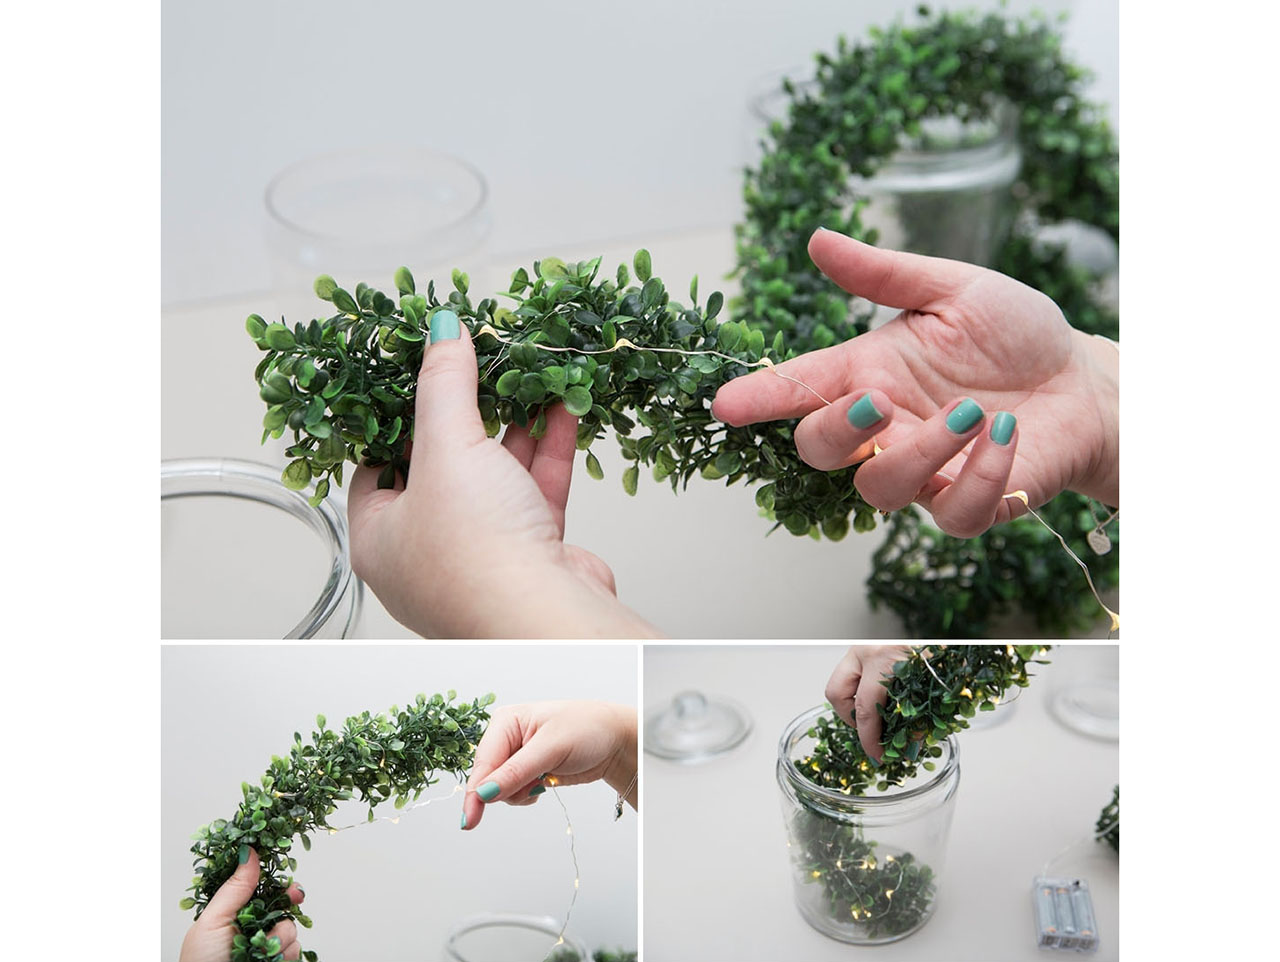
Simply wrap the boxwood garland with the LED lights.
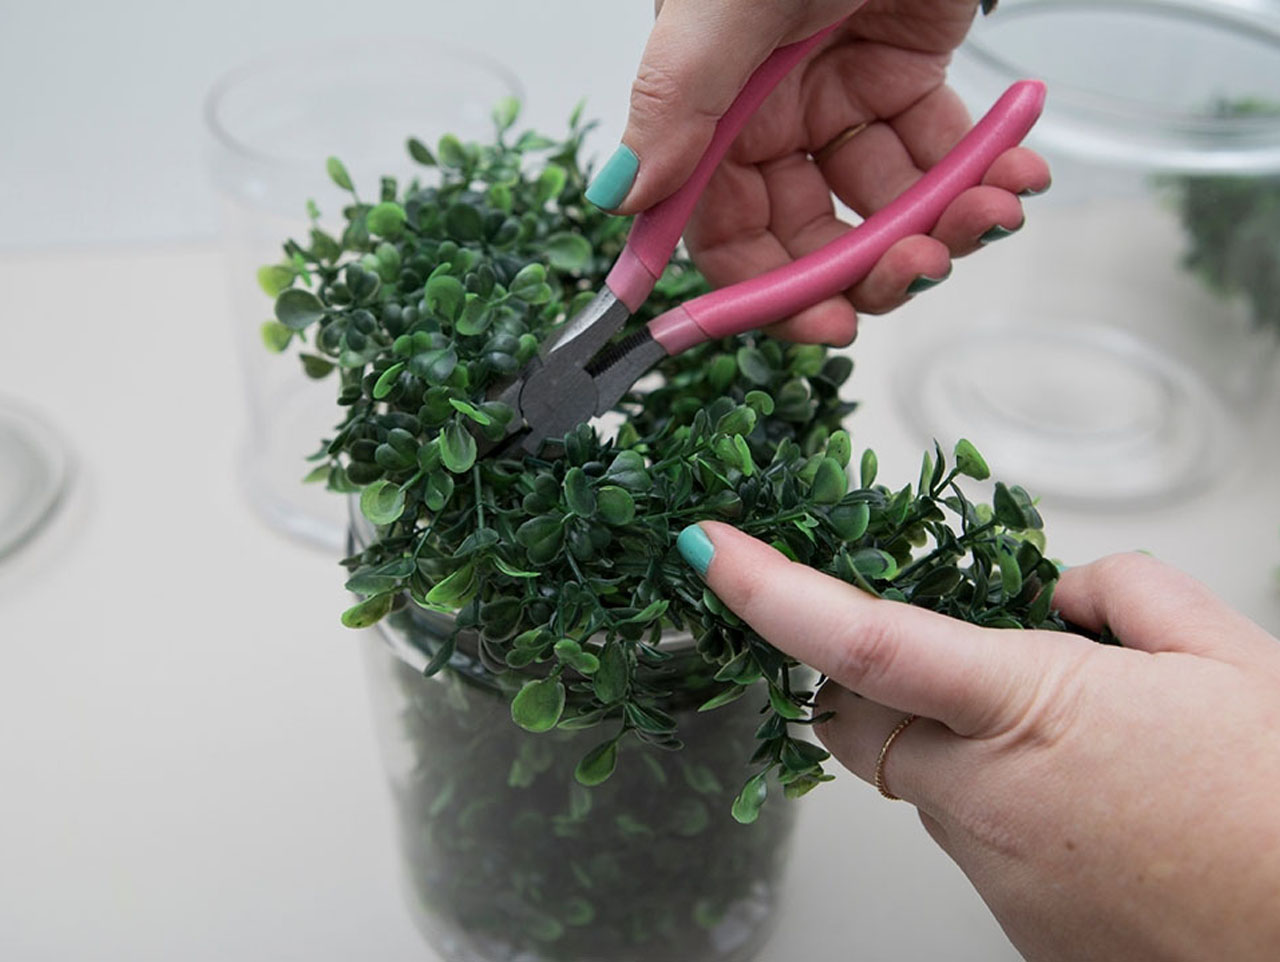

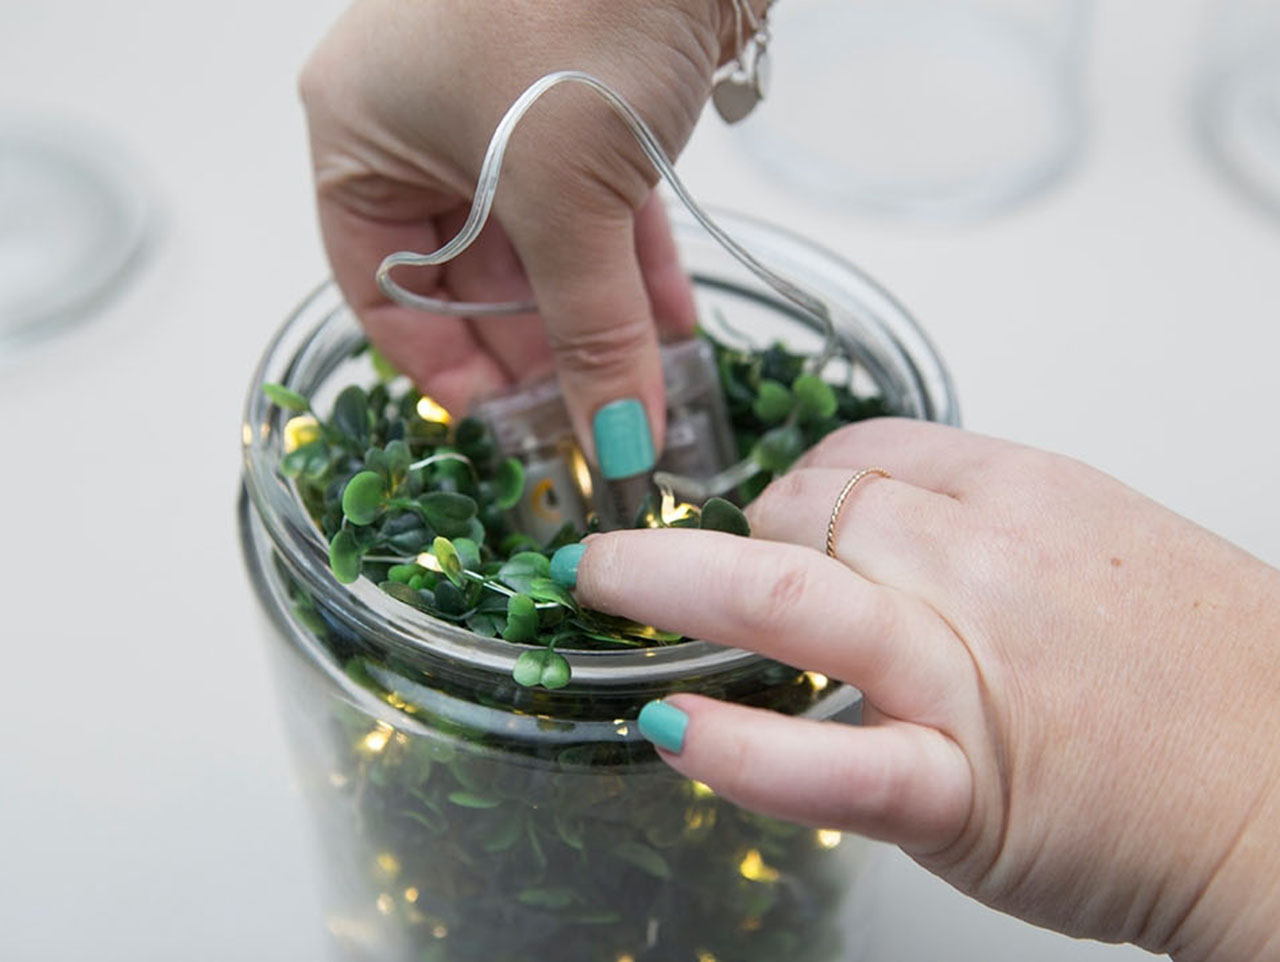
Fill each jar with its section of garland, trimming away what you don't need. And tuck the battery pack in the middle to hide it.
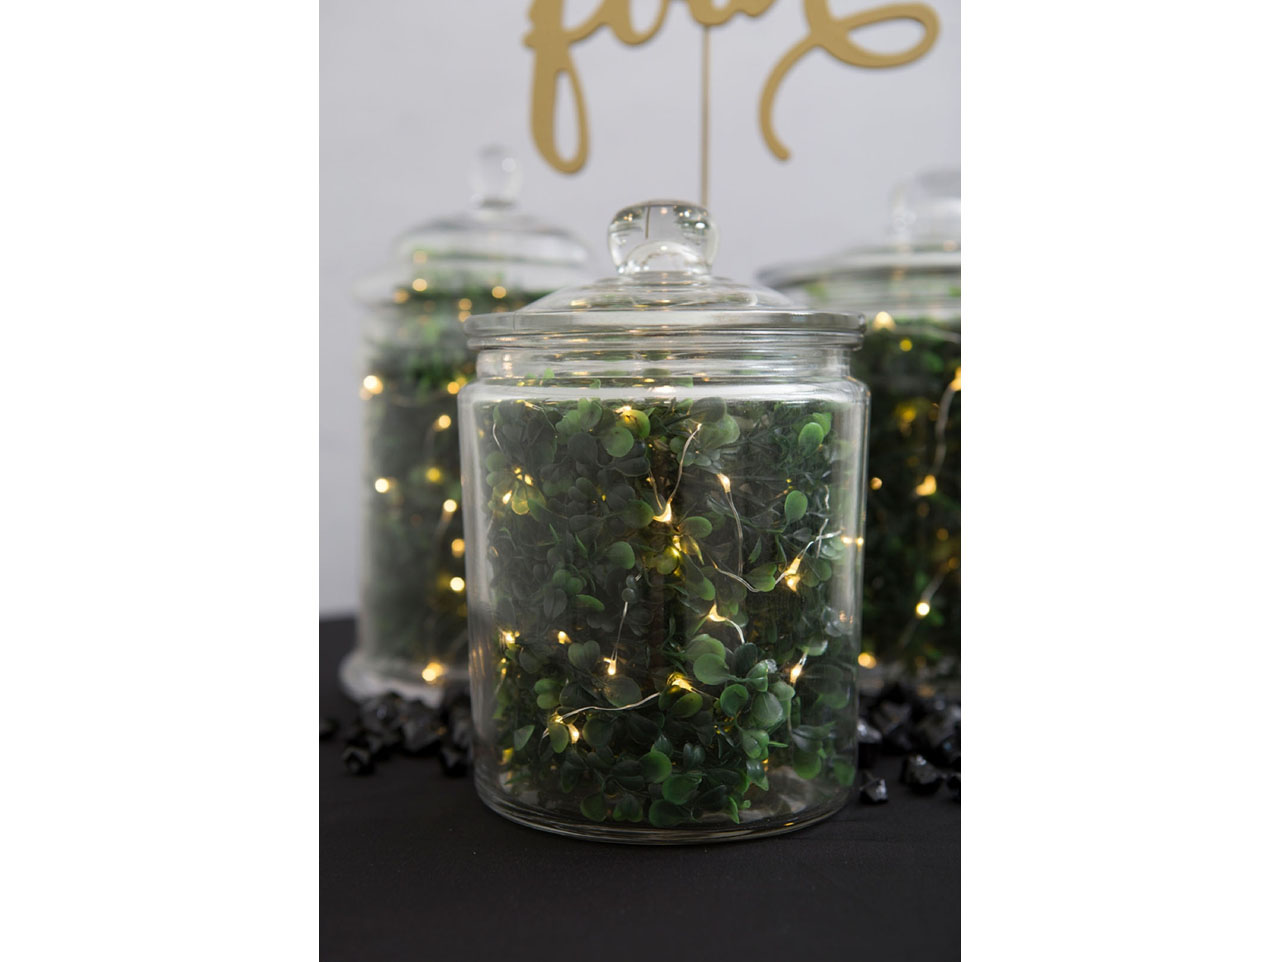
For finishing touches add a Gold Calligraphy Table Number and some Black Acrylic Ice to your table. Add the jar lids for a polished look.
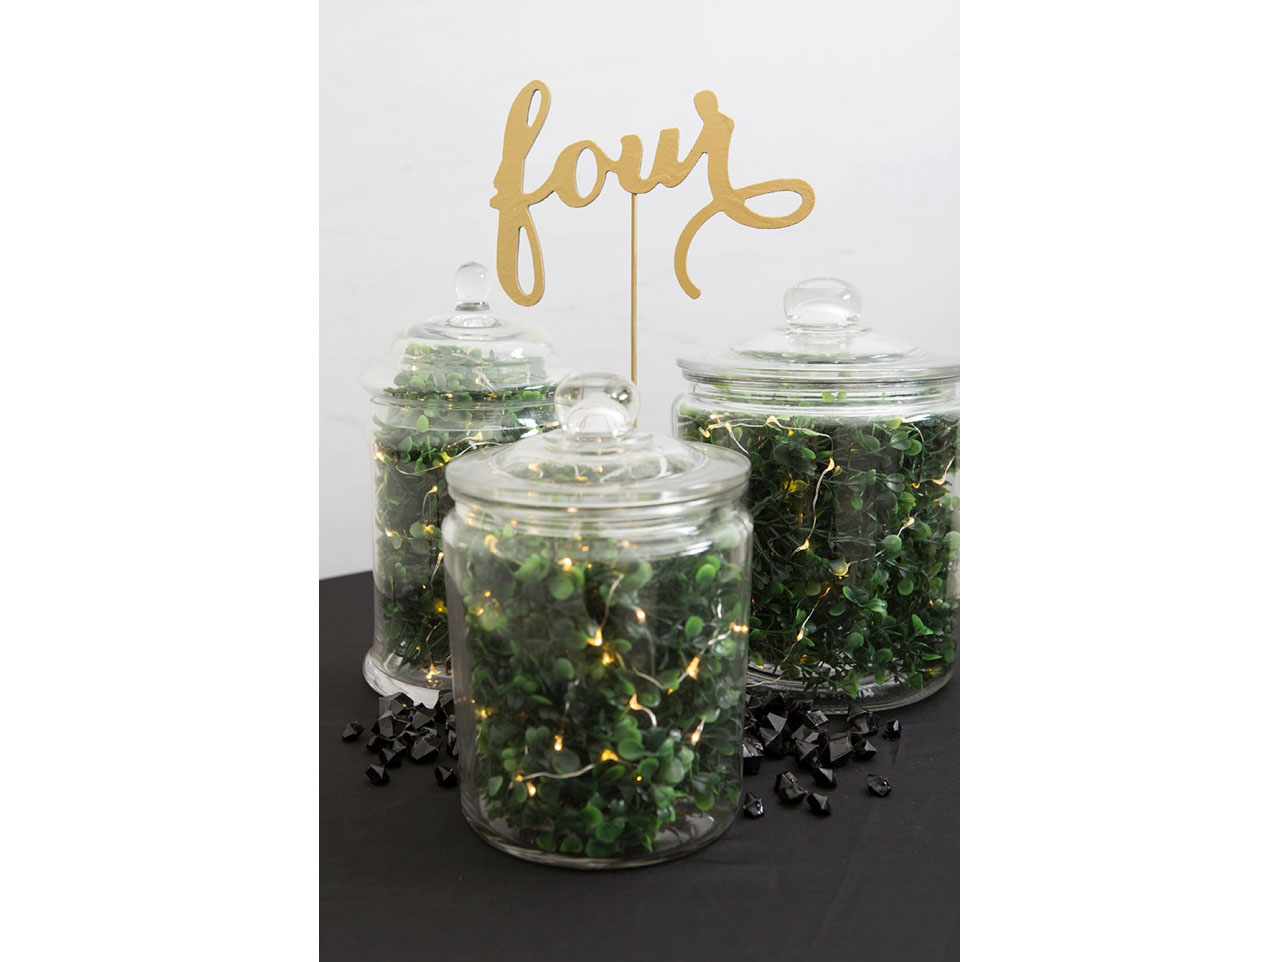
Well, there you have it! Three different centerpiece options from the same set of glass jars!! Which of the three designs was your favorite?

This first idea is the most classic of all. Using your choice of acrylic ice and floating candles, you can easily (and inexpensively) add a lot of sparkle and shine to any event table. Choose black and gold for a first-class wedding look or maybe go with something bold and bright like turquoise acrylic ice and teal floating candles! Divide the three bags of acrylic ice between the jars.

Add water to cover, at differing heights to give the centerpiece more dimension.

Then add a candle to each jar. The largest jar can easily hold three candles.

Light your candles and add a Gold Calligraphy Table Number to finish off your centerpiece.

This classic black and gold centerpiece was perfectly paired with a Gold Sequin Table Runner! Again, don't hesitate to switch up the colors of this centerpiece to the color palette of your wedding.

This second idea might be my favorite! Only two simple supplies; sand and pretty flowers! You can use roses, peonies, hydrangeas; almost any flower you like and the best part is that you don’t have to fill the jar with flowers, you can use individual blooms which makes each centerpiece much more budget friendly. I love the sand idea because I’m a beachy-gal but I think that these would be gorgeous for any type of event. How perfect would they be for a bridal shower?

Fill each jar with sand. You’ll need roughly one bag per jar, but in this case the largest jar took more sand so I divided the three bags into the three jars.

Then simply add a single bloom into the sand!

If you’re doing this for a bridal shower or birthday party that will only be a few hours, most flowers will be fine out of water. BUT, if you’re doing this for your wedding where they might be set up and displayed for 6-10 hours, you’ll want to consider buying flower water tubes to keep your flowers lively! If you use hydrangeas, you will need the flower tubes no matter what.

Stick a Gold Calligraphy Table Number in the sand of one of the jars and your look is complete! From beach-theme to simple elegance, this Sand + Floral centerpiece option is so pretty and stress-free to make! Make it your own by incorporating flower colors that go with your color palette!

I know that I said the sand + flower idea was my favorite but I really wish you could see this idea in person because its just SO pretty. The mini LED String Lights are fabulous and will make your wedding tables sparkle all night long! Perfect for a spring or garden wedding.. and maybe even a Christmas wedding too! For this DIY, one boxwood garland strand will be enough to fill all three jars.

Simply wrap the boxwood garland with the LED lights.


Fill each jar with its section of garland, trimming away what you don't need. And tuck the battery pack in the middle to hide it.

For finishing touches add a Gold Calligraphy Table Number and some Black Acrylic Ice to your table. Add the jar lids for a polished look.

Well, there you have it! Three different centerpiece options from the same set of glass jars!! Which of the three designs was your favorite?

