Use a flat bristled or sponge paint brush and acrylic paint to paint the largest DIY Ceramic Pumpkin white. Allow time for the paint to dry.

Using a flat bristled and acrylic paint to paint the stem largest DIY Ceramic Pumpkin gold. Allow time for the paint to dry.


Apply a coat of Glossy Mod Podge® to the stem. While the Mod Podge® is still wet, wrap the stem with a Gold Foil Leaf Sheet. Allow time for Mod Podge® to dry. Use a large paint brush to remove the excess gold foil and apply a coat of Mod Podge® on top of the foil to seal it.


Print and cut out one of the Halloween templates. Use one of these transfer techniques to apply the image to the middle of the ceramic pumpkin. I used the carbon transfer technique applying washi tape around the template to hold it in place while I traced the pattern. With the curves of the pumpkin, it was easiest to cut the template in half to transfer the image.

Next, pull off the template and trace the transferred pattern with a permanent marker or with acrylic paint, making sure to allow time for the paint to dry.


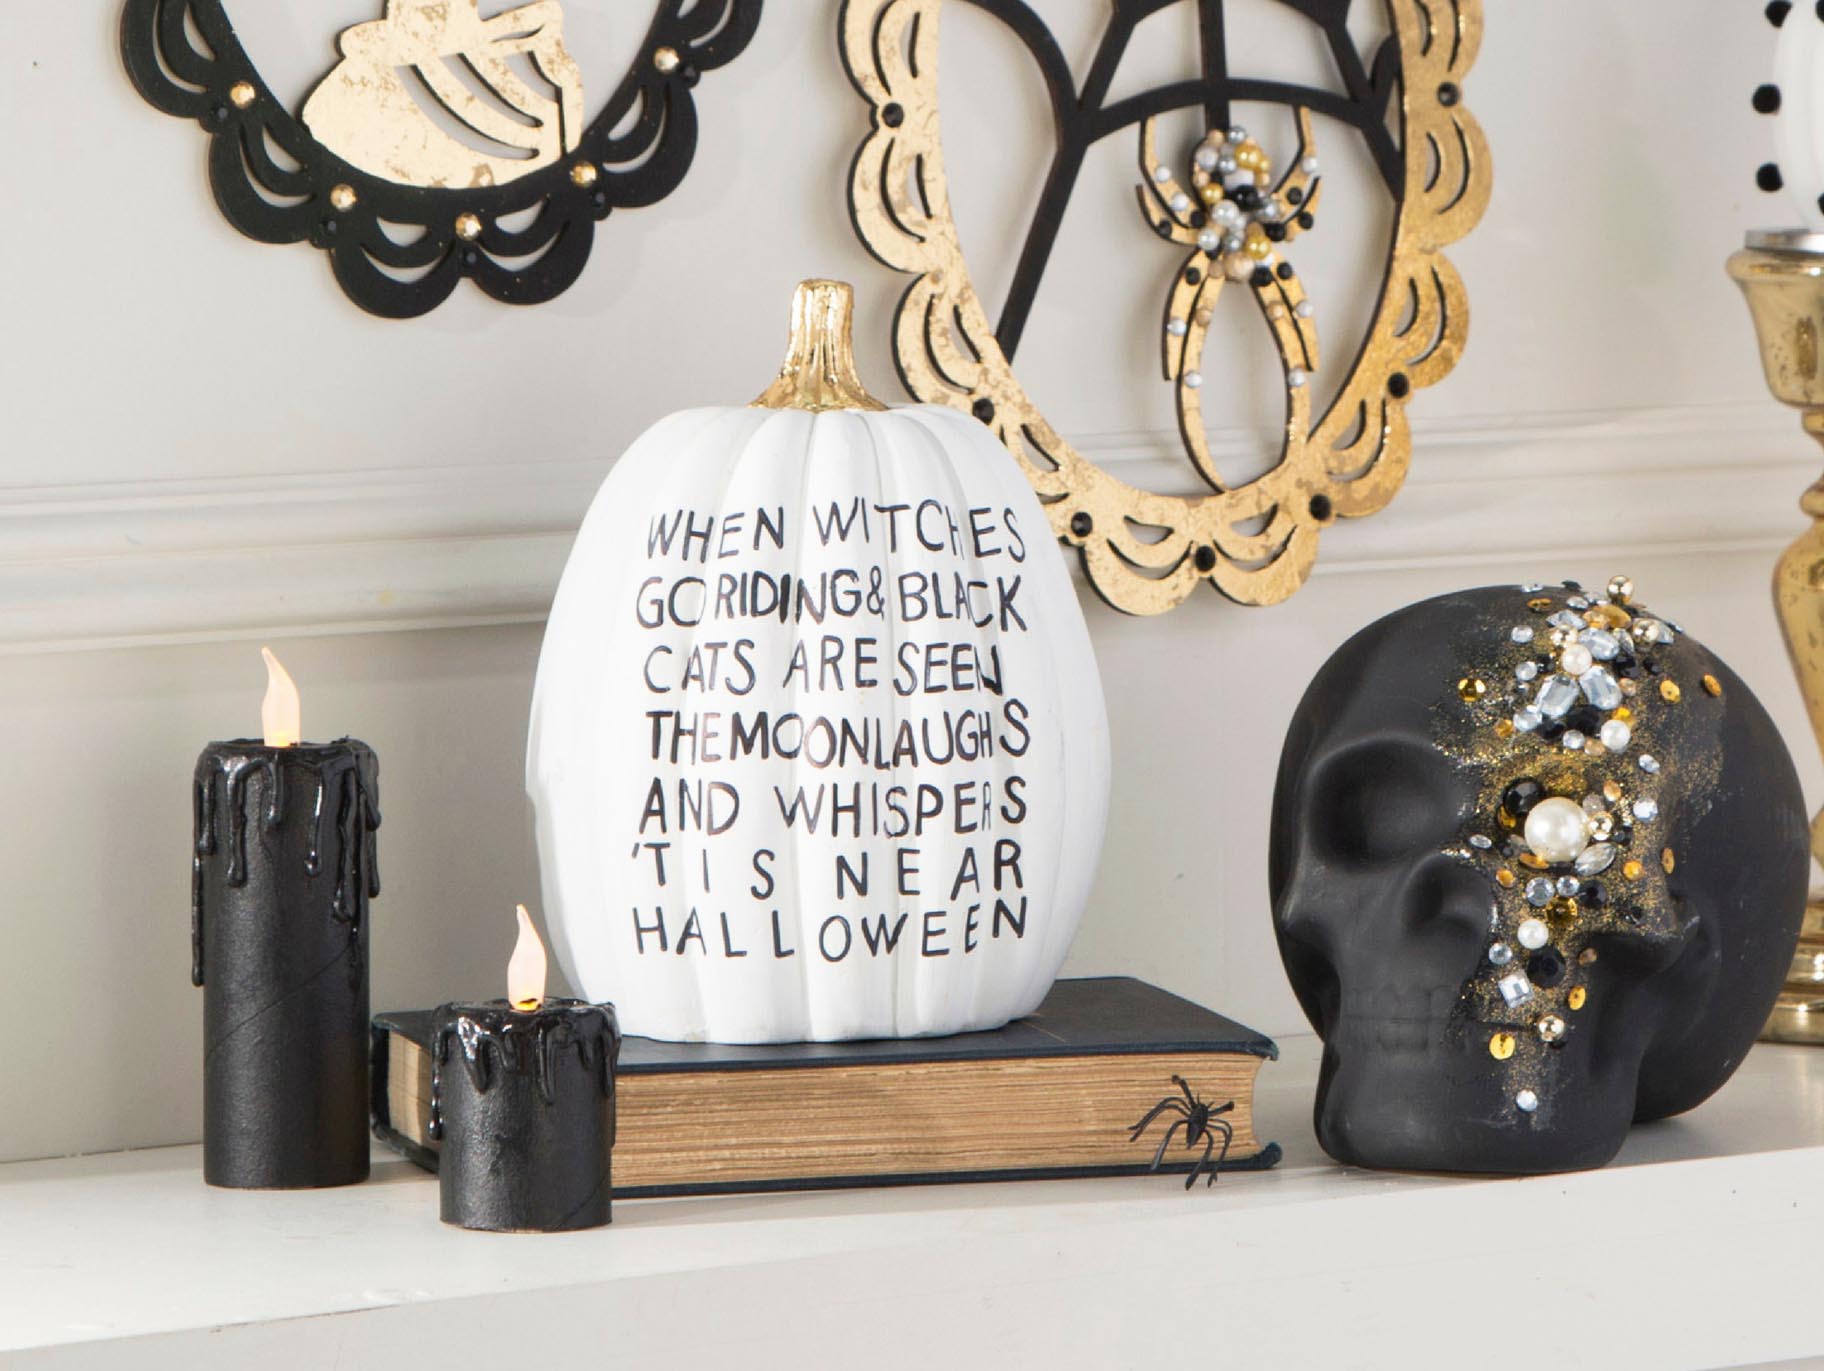
I provided two different templates so that you could either choose your favorite style of word. You could even put one word on each side of the pumpkin to be able to change your decor on a whim. Prop the pumpkins on top of Mercury Glass Candle Holders and make a few DIY Craft Tube Candles to display along with your Graffiti Pumpkin.
Want to add even more glam to your Halloween decor? Be sure to check out how to make a Gold Dripped or Pom-Pom Pumpkin, Halloween Cameo Signs, and an elegant Skull to really bring your mantle or entryway table to the next level.

Use a flat bristled or sponge paint brush and acrylic paint to paint the largest DIY Ceramic Pumpkin white. Allow time for the paint to dry.

Using a flat bristled and acrylic paint to paint the stem largest DIY Ceramic Pumpkin gold. Allow time for the paint to dry.


Apply a coat of Glossy Mod Podge® to the stem. While the Mod Podge® is still wet, wrap the stem with a Gold Foil Leaf Sheet. Allow time for Mod Podge® to dry. Use a large paint brush to remove the excess gold foil and apply a coat of Mod Podge® on top of the foil to seal it.


Print and cut out one of the Halloween templates. Use one of these transfer techniques to apply the image to the middle of the ceramic pumpkin. I used the carbon transfer technique applying washi tape around the template to hold it in place while I traced the pattern. With the curves of the pumpkin, it was easiest to cut the template in half to transfer the image.

Next, pull off the template and trace the transferred pattern with a permanent marker or with acrylic paint, making sure to allow time for the paint to dry.


I provided two different templates so that you could either choose your favorite style of word. You could even put one word on each side of the pumpkin to be able to change your decor on a whim. Prop the pumpkins on top of Mercury Glass Candle Holders and make a few DIY Craft Tube Candles to display along with your Graffiti Pumpkin.
Want to add even more glam to your Halloween decor? Be sure to check out how to make a Gold Dripped or Pom-Pom Pumpkin, Halloween Cameo Signs, and an elegant Skull to really bring your mantle or entryway table to the next level.


