Set up a strong backdrop stand according to the directions. The boxwood mats can get somewhat heavy so you will need to use a durable metal backdrop stand.
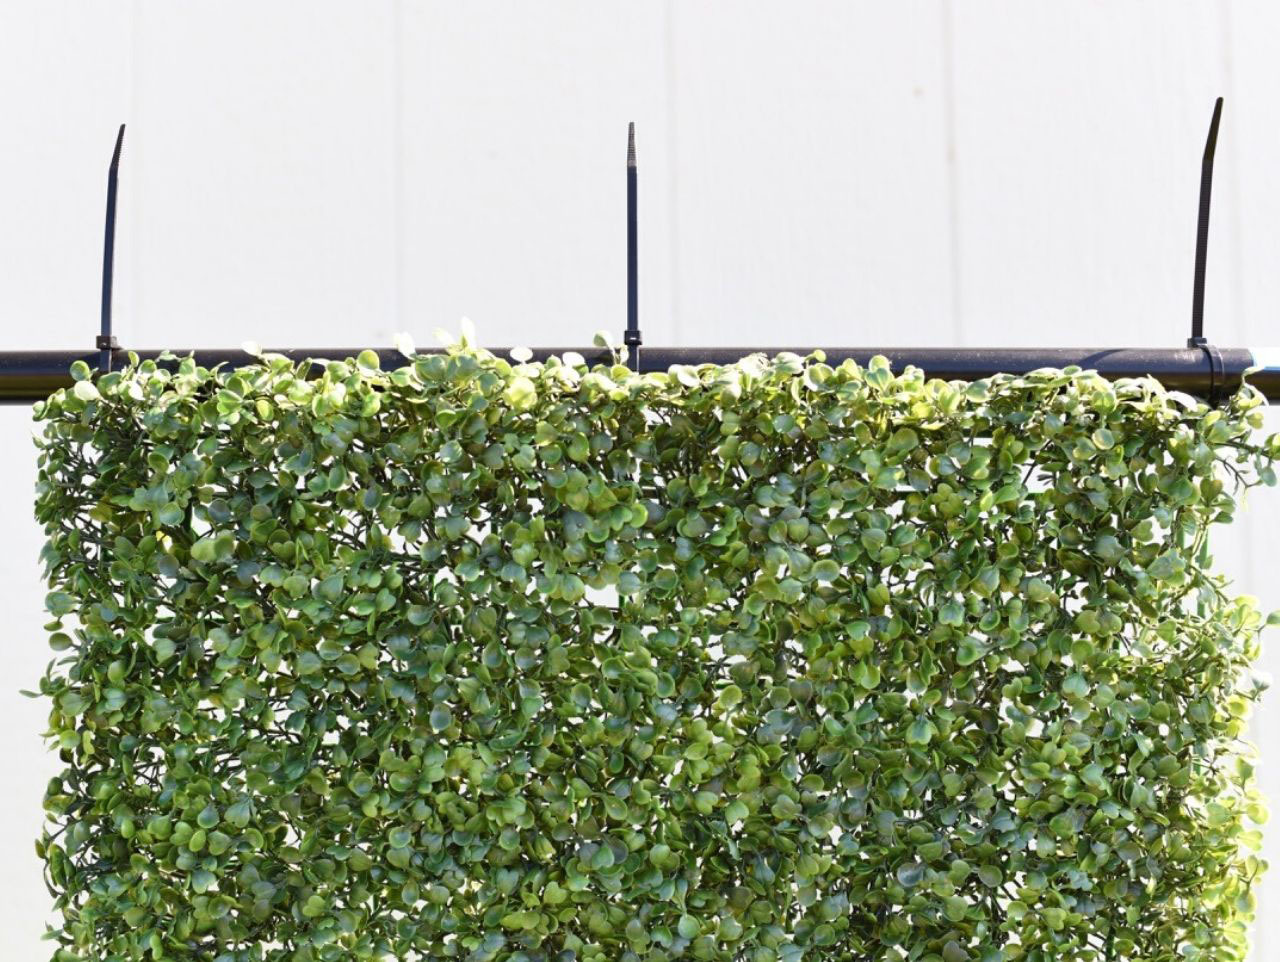
Attach a boxwood square to the metal backdrop using long black zip ties. You will need to use three zip ties along the top, with one in the middle and on each end.
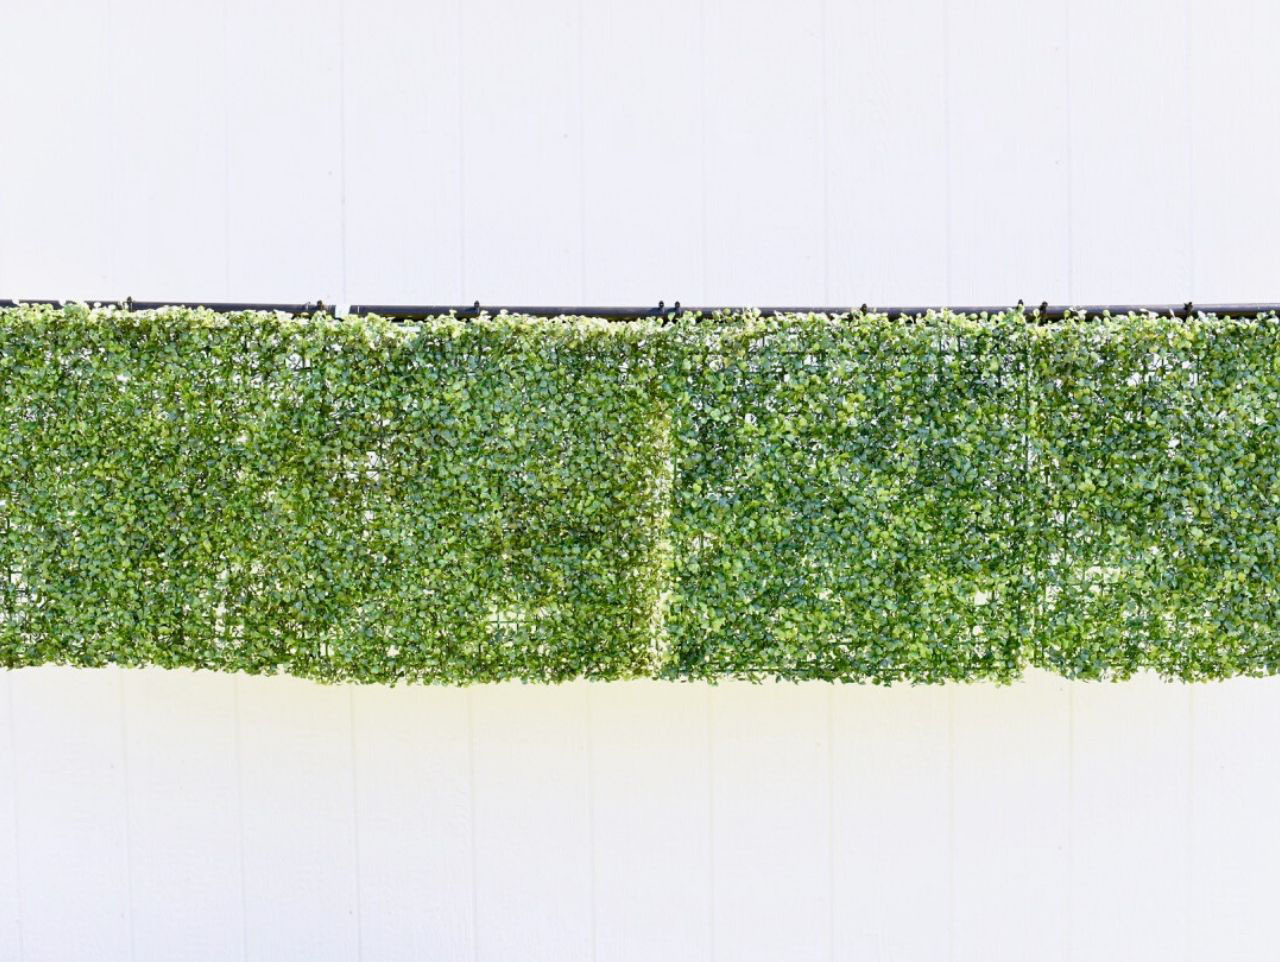
Trim the excess zip tie end off with strong scissors. Repeat steps one and two so that you have an entire row of boxwood mats side by side along your backdrop. I used five square mats going across the top.
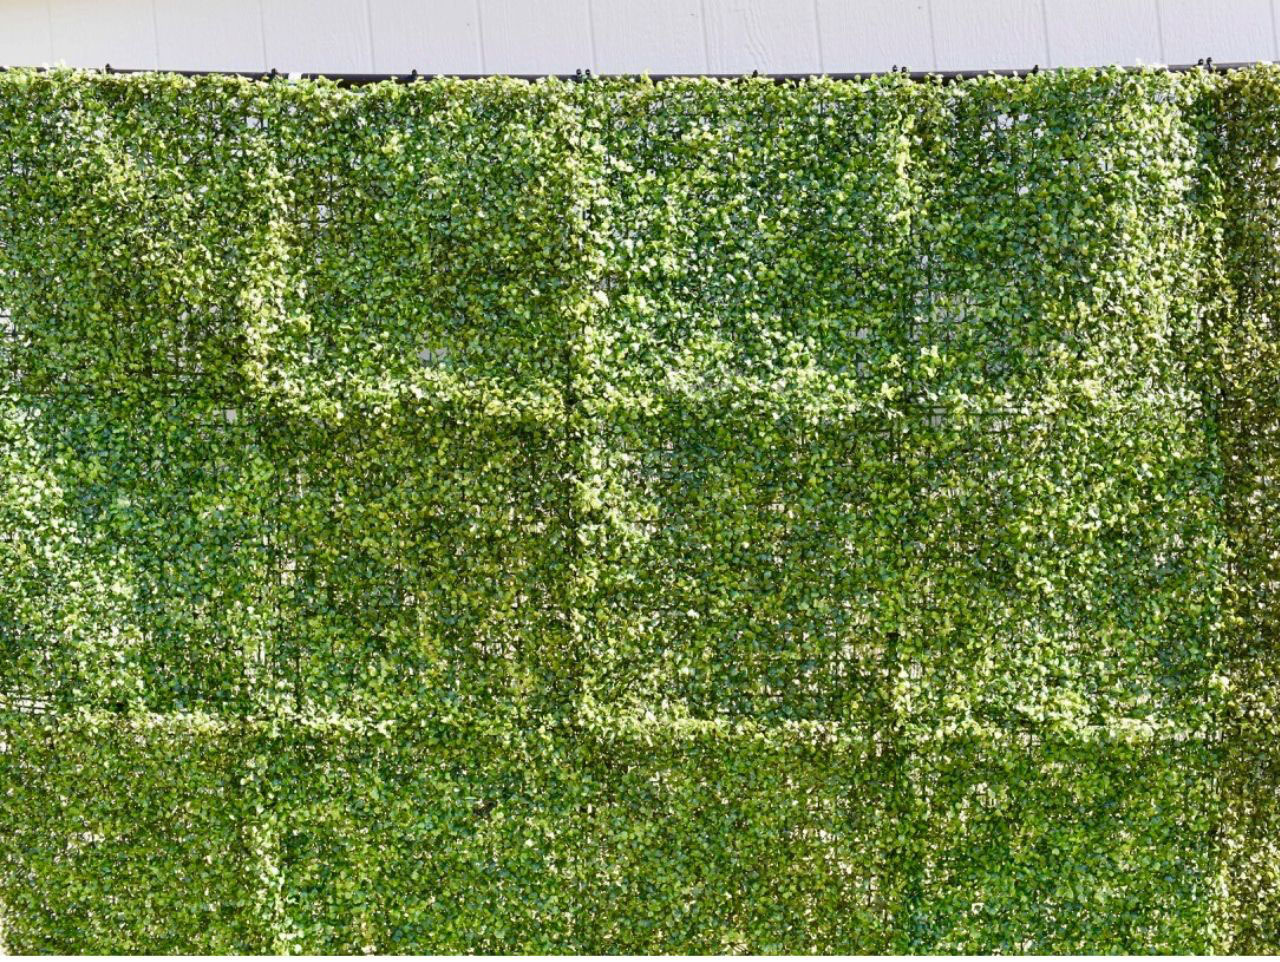
Use zip ties to attach the mats to each other on the sides. Trim the ends of the zip ties with scissors. Repeat so that you have three rows of boxwood squares with five across and at least three mats down.
Our Easter Bunny sat on a bench so we didn't need our backdrop to be as tall but if your Easter Bunny is standing you will need to use more mats than the 15 that we used because your backdrop will need to be taller.
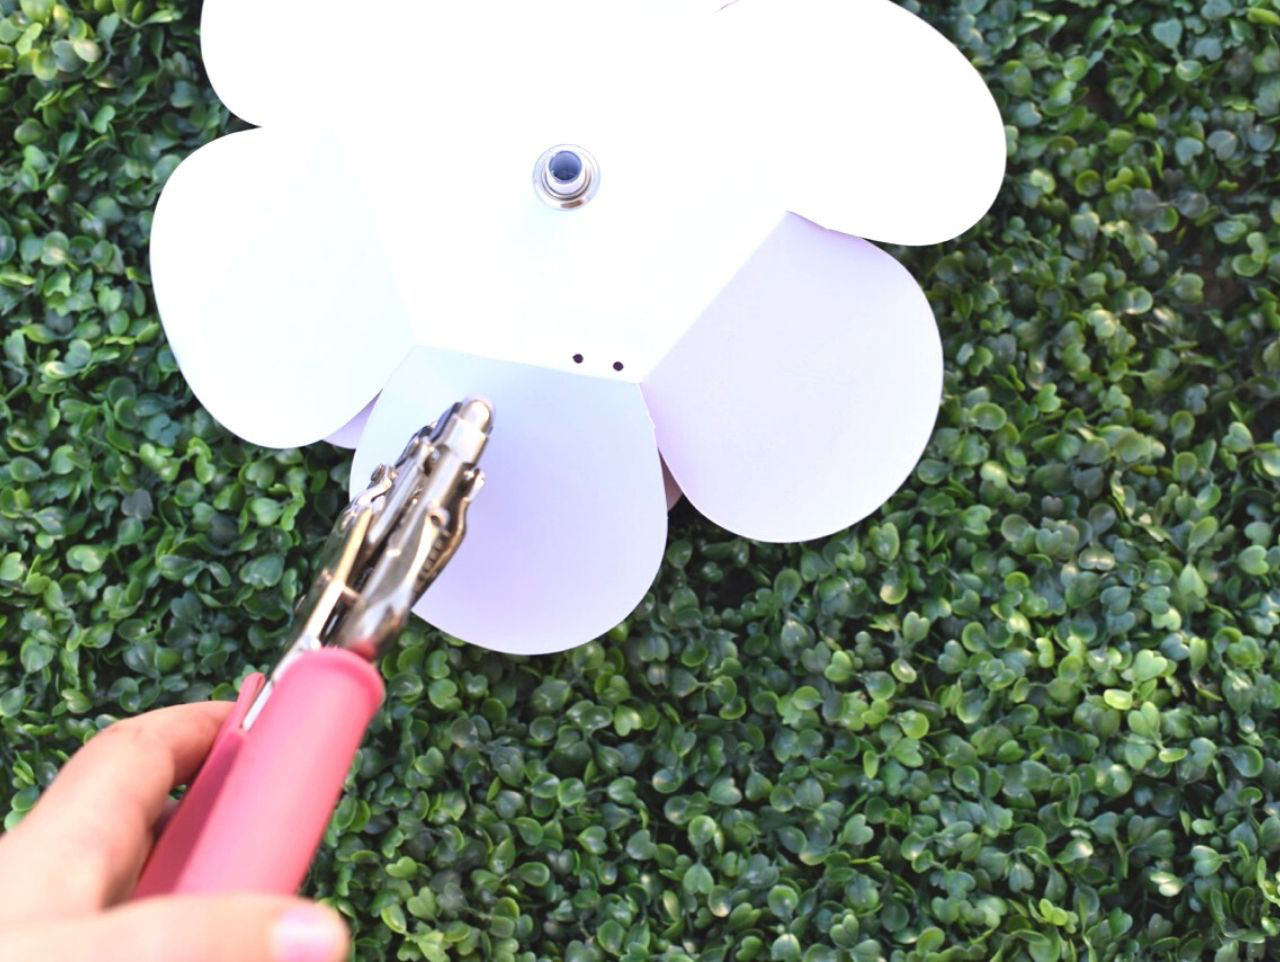
Fold along the lines of the white, pink, and pastel paper flowers. Use a hole punch to punch two small holes near each other on the back paper of each flower you will use.
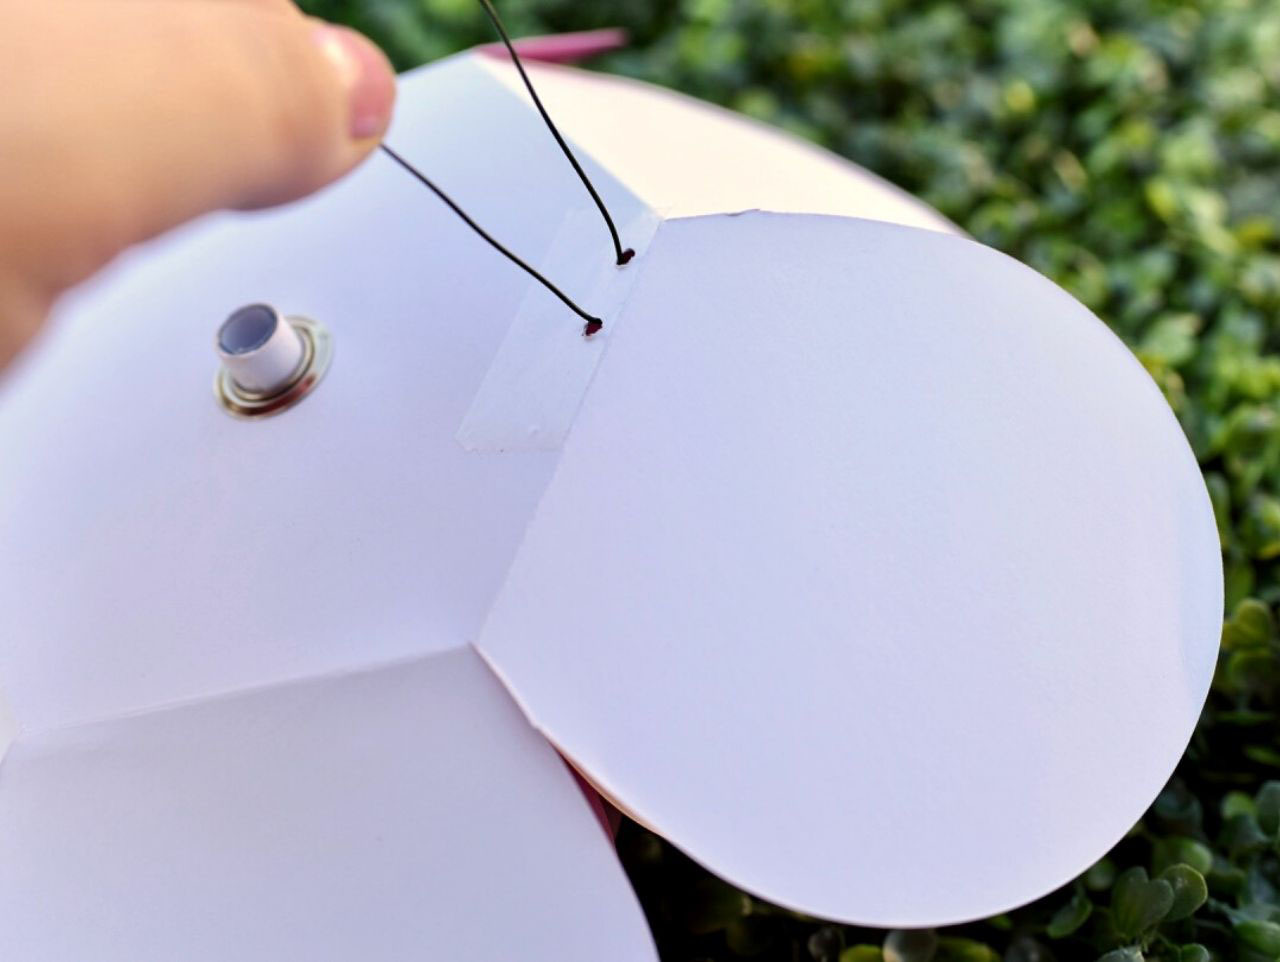
Cut a piece of green floral wire and place each end through the front side of the flower out through the back side.
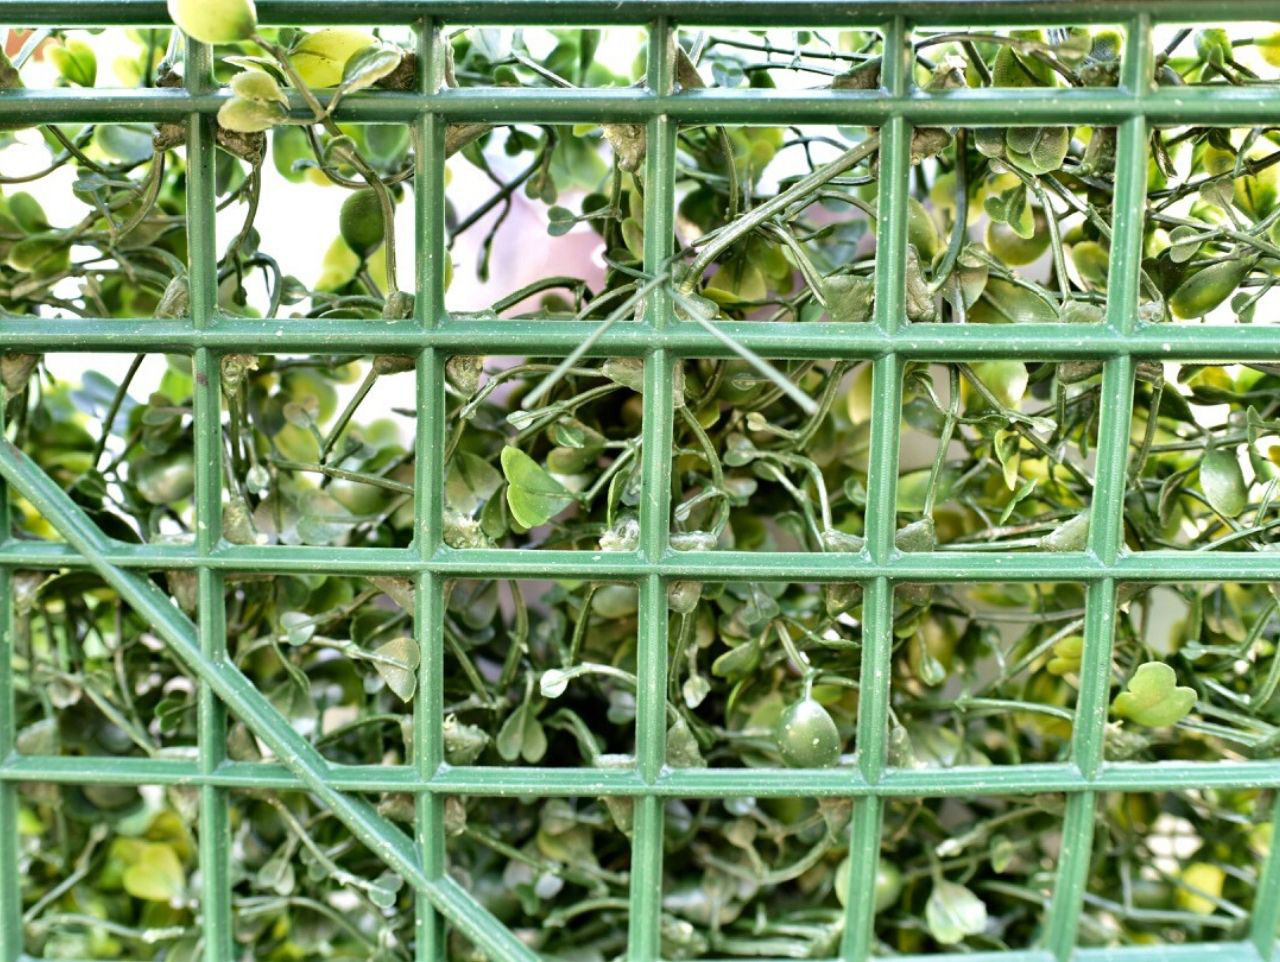
Press the flower to the boxwood backdrop where you would like it to go. Make sure that the wire is sticking through the backdrop, and have someone on the backside of the boxwood twist the wire together to attach it. Repeat for all of the flowers that you want to use, making sure to use a variety of colors and sizes.
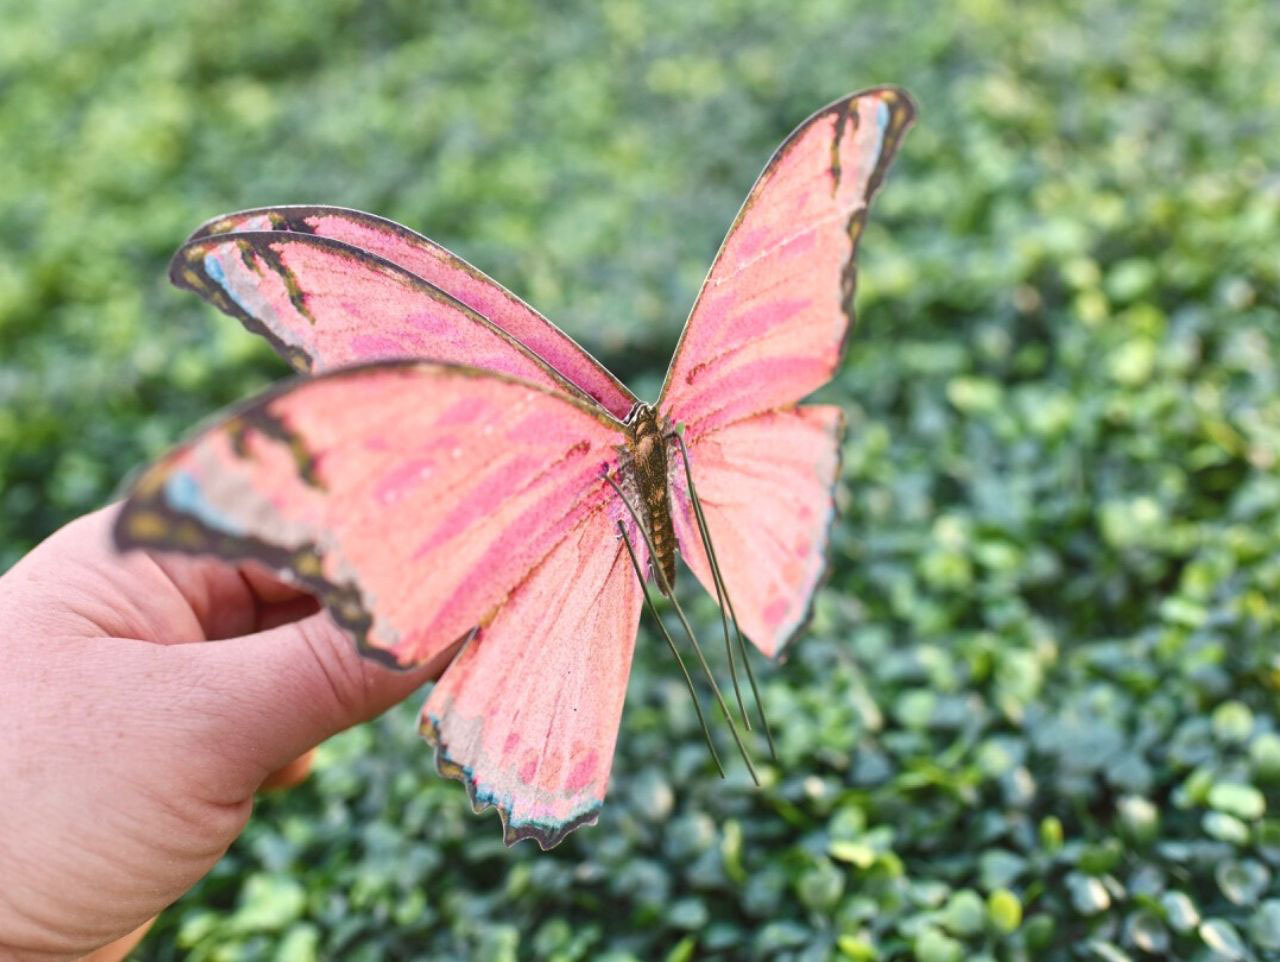
To add the paper butterflies, repeat these same steps by punching two holes, adding a piece of wire, and attaching to the backdrop.
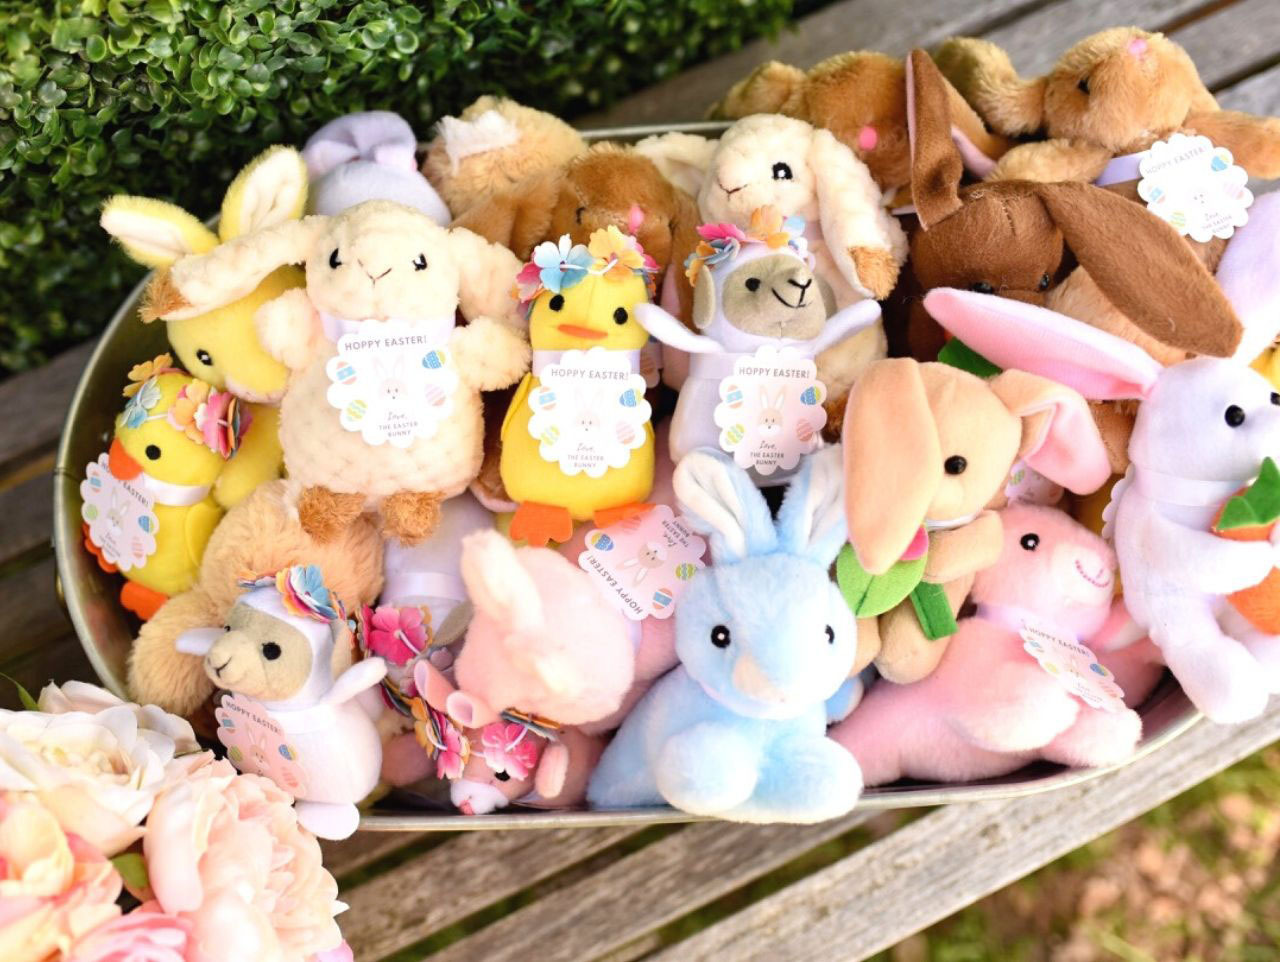
Add some satin ribbon and Free Printable Easter Tags around some Easter plushes for the Easter Bunny to pass out to the kids that take their photo with him. We wanted a variety of plushes from the kids to choose from so we used the chubby bunnies and ducks, stuffed Easter animals with flower crowns, leaping Easter bunnies, honeycomb Easter bunnies, and bunnies with flowers and carrots.
Place all the plushes with their tags in a large galvanized tub or basket.
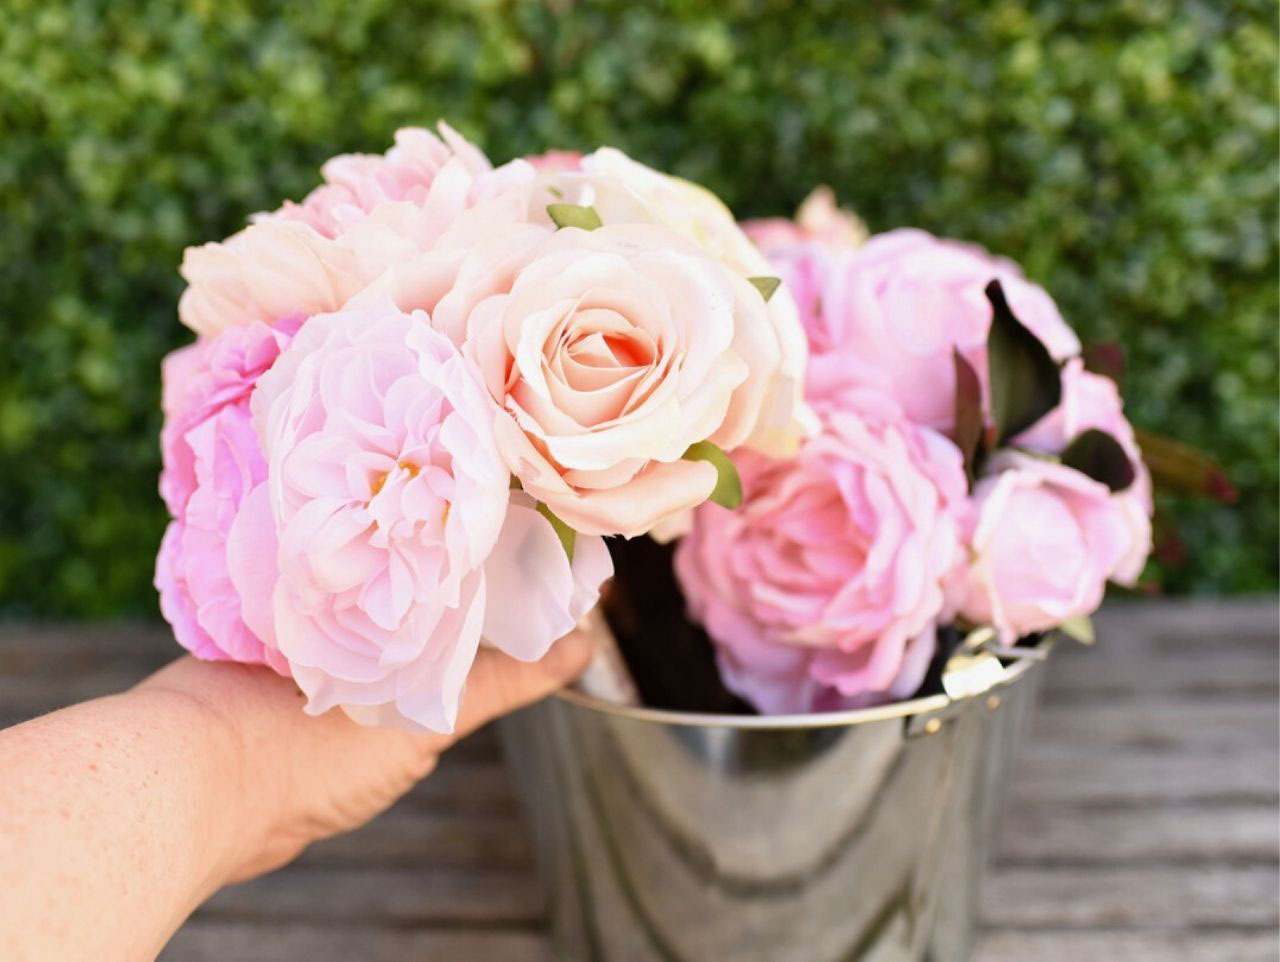
Fill galvanized pails with three or four flower bouquets for easy spring accents to place around the DIY Easter Bunny Photo Backdrop. I used the blush flowers, pink peonies, and ivory peonies. They are already come arranged in bouquets so all I did was place them in the buckets for a pretty hassle-free arrangement that can be used again and again.
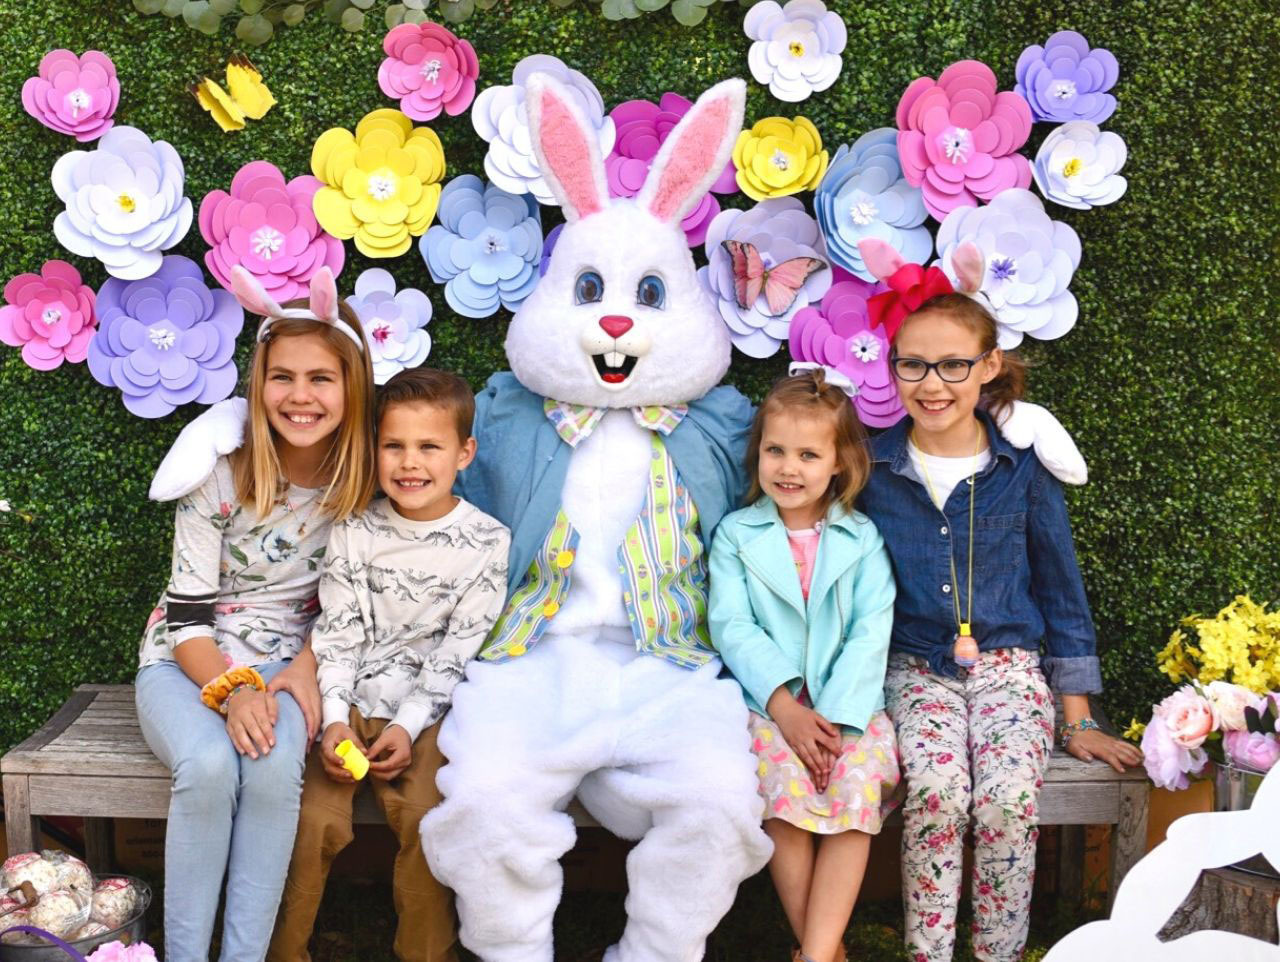
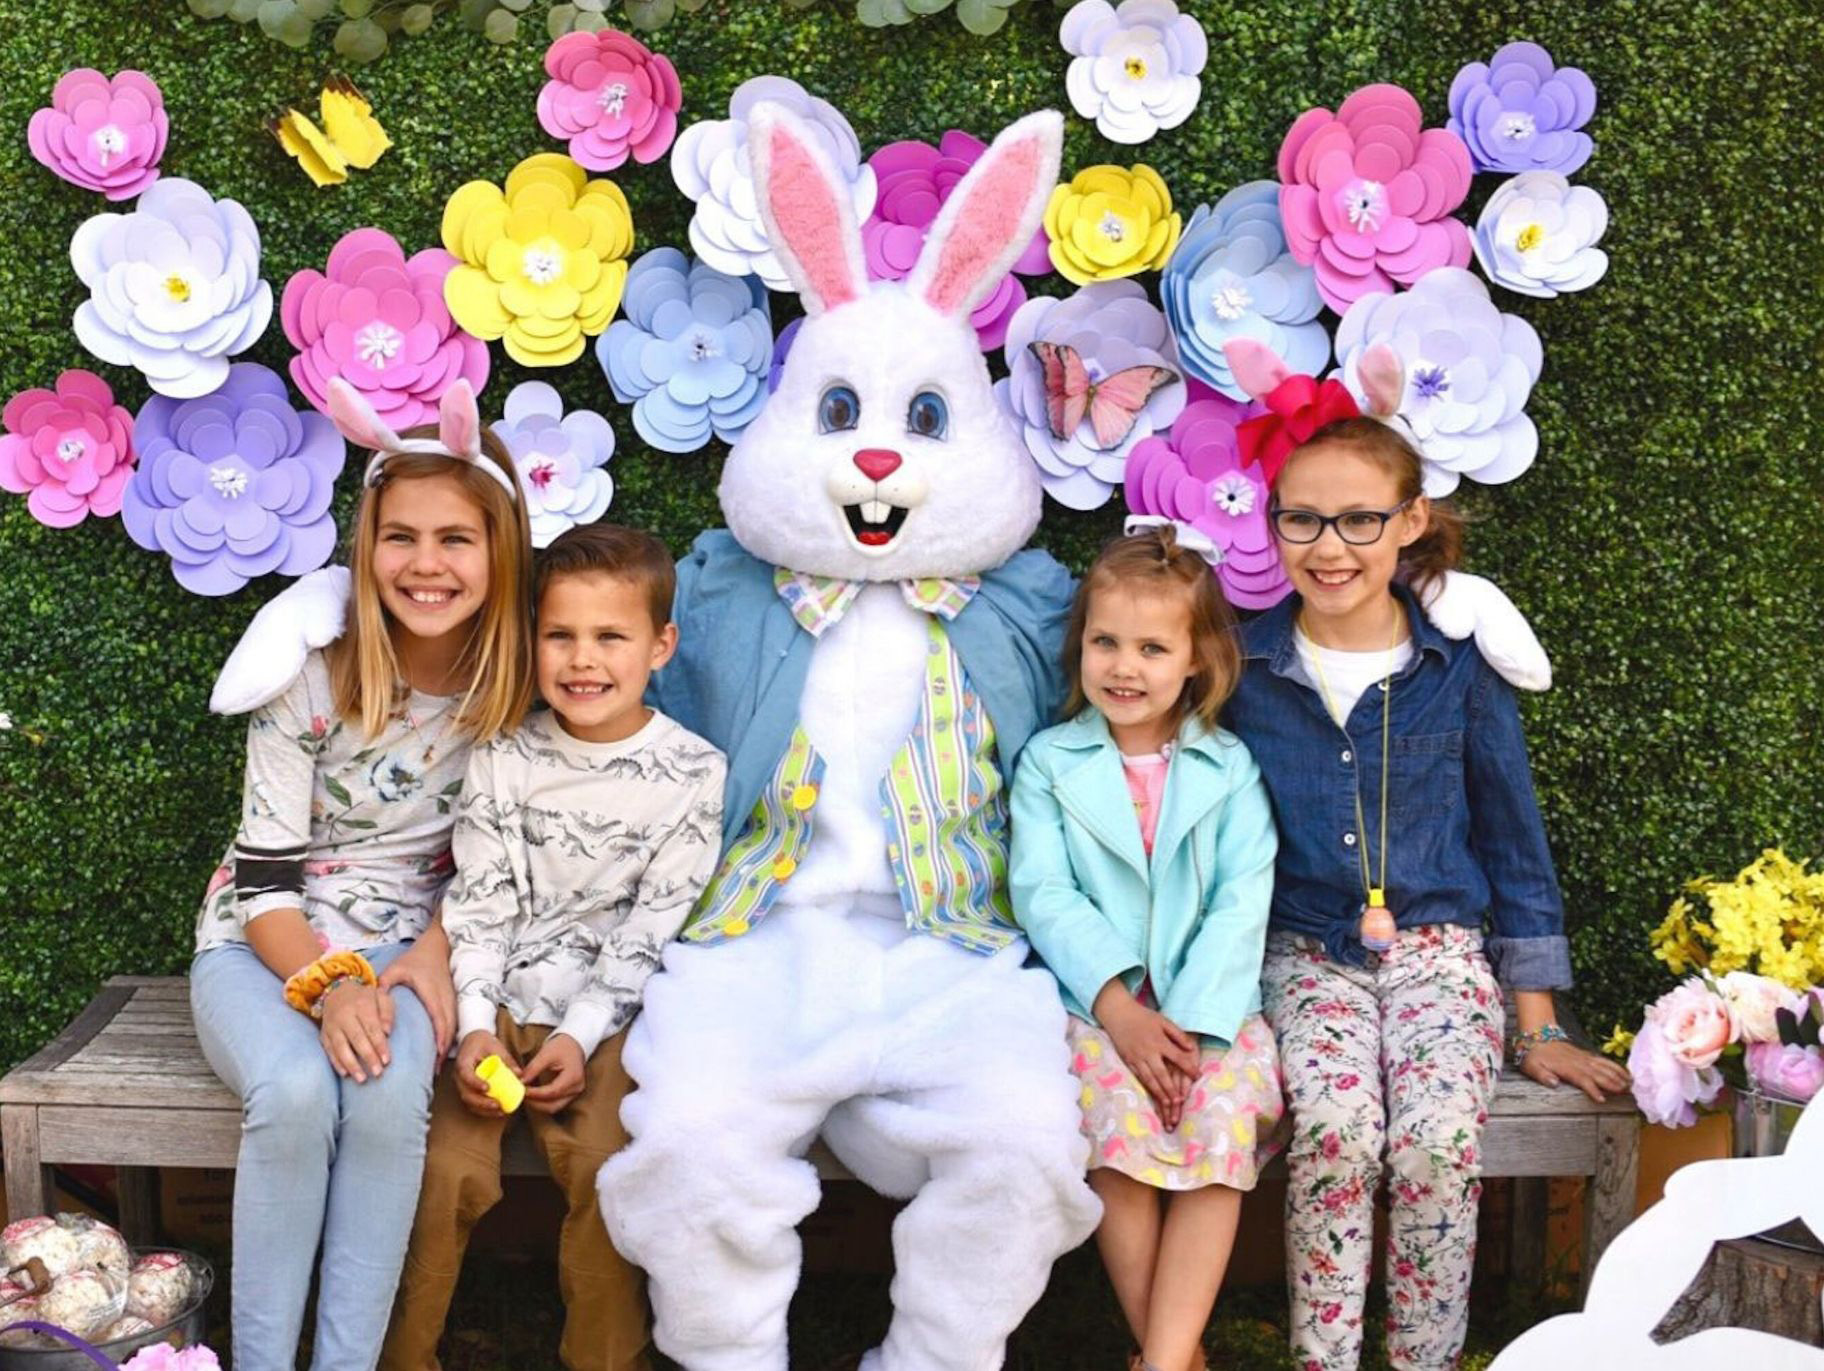
Now comes the fun part- picture time! The Easter Bunny costume looked absolutely incredible and the kids were so excited to see him come hopping in to see them. Everyone was so impressed with the Easter backdrop and the kids were thrilled with their Easter plushes from the Easter Bunny!
Get more Easter egg hunt ideas with our Easter Egg Hunt Ideas for Large Groups and Free Easter Egg Hunt Printable Pack.

Set up a strong backdrop stand according to the directions. The boxwood mats can get somewhat heavy so you will need to use a durable metal backdrop stand.
Attach a boxwood square to the metal backdrop using long black zip ties. You will need to use three zip ties along the top, with one in the middle and on each end.

Trim the excess zip tie end off with strong scissors. Repeat steps one and two so that you have an entire row of boxwood mats side by side along your backdrop. I used five square mats going across the top.

Use zip ties to attach the mats to each other on the sides. Trim the ends of the zip ties with scissors. Repeat so that you have three rows of boxwood squares with five across and at least three mats down.
Our Easter Bunny sat on a bench so we didn't need our backdrop to be as tall but if your Easter Bunny is standing you will need to use more mats than the 15 that we used because your backdrop will need to be taller.

Fold along the lines of the white, pink, and pastel paper flowers. Use a hole punch to punch two small holes near each other on the back paper of each flower you will use.

Cut a piece of green floral wire and place each end through the front side of the flower out through the back side.

Press the flower to the boxwood backdrop where you would like it to go. Make sure that the wire is sticking through the backdrop, and have someone on the backside of the boxwood twist the wire together to attach it. Repeat for all of the flowers that you want to use, making sure to use a variety of colors and sizes.

To add the paper butterflies, repeat these same steps by punching two holes, adding a piece of wire, and attaching to the backdrop.

Add some satin ribbon and Free Printable Easter Tags around some Easter plushes for the Easter Bunny to pass out to the kids that take their photo with him. We wanted a variety of plushes from the kids to choose from so we used the chubby bunnies and ducks, stuffed Easter animals with flower crowns, leaping Easter bunnies, honeycomb Easter bunnies, and bunnies with flowers and carrots.
Place all the plushes with their tags in a large galvanized tub or basket.

Fill galvanized pails with three or four flower bouquets for easy spring accents to place around the DIY Easter Bunny Photo Backdrop. I used the blush flowers, pink peonies, and ivory peonies. They are already come arranged in bouquets so all I did was place them in the buckets for a pretty hassle-free arrangement that can be used again and again.

Now comes the fun part- picture time! The Easter Bunny costume looked absolutely incredible and the kids were so excited to see him come hopping in to see them. Everyone was so impressed with the Easter backdrop and the kids were thrilled with their Easter plushes from the Easter Bunny!
Get more Easter egg hunt ideas with our Easter Egg Hunt Ideas for Large Groups and Free Easter Egg Hunt Printable Pack.

