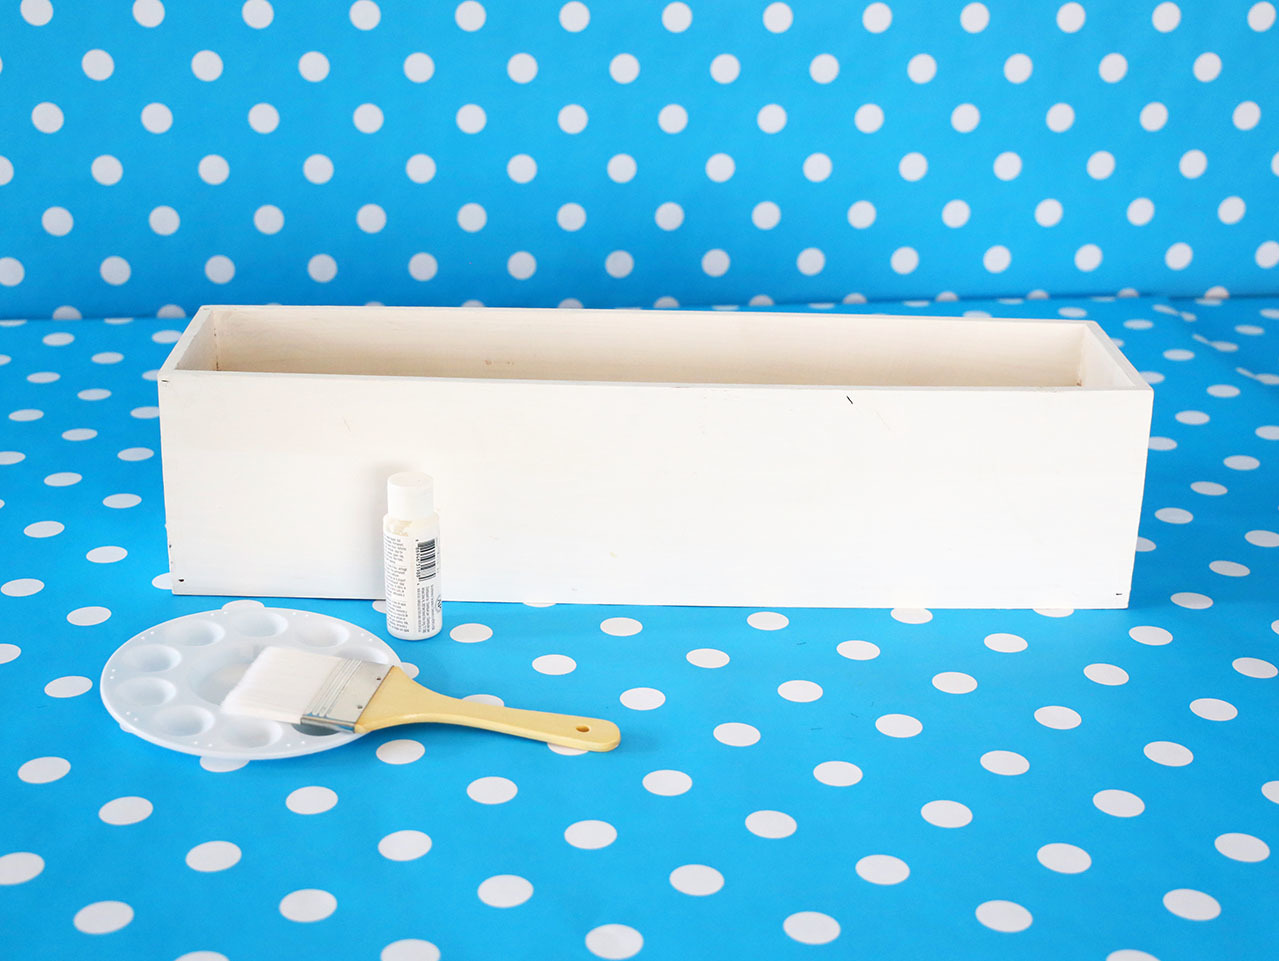
Paint a wood planter box fully with white paint. Be sure to paint inside the box at least 2-3 inches down inside the box. Let dry.
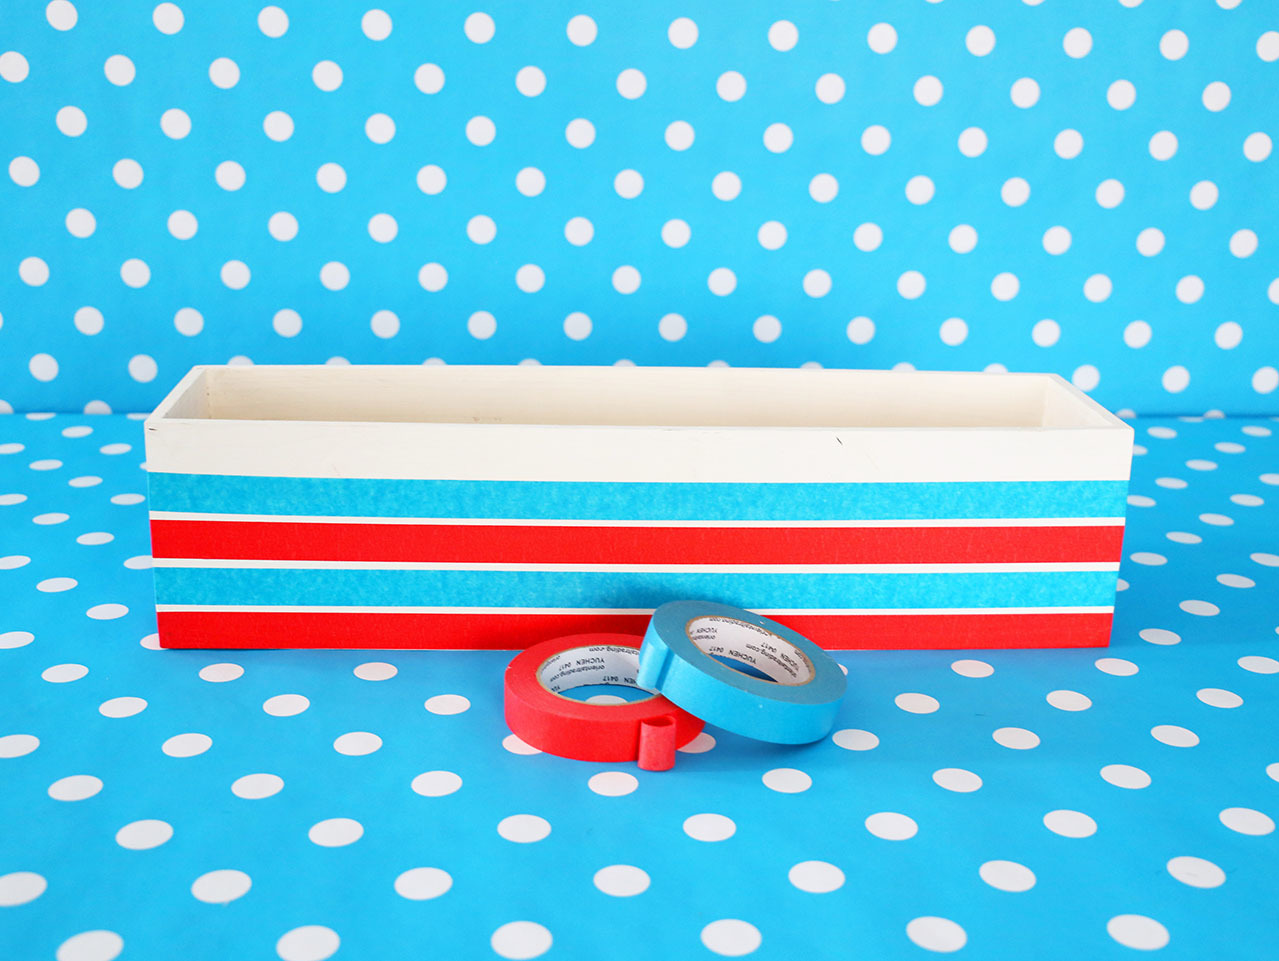
Starting at the bottom, put a strip of red masking tape all the way around the entire box. Repeat with the blue tape leaving a small gap between the red and blue tape. Do this again so you have two red and two blue stripes.
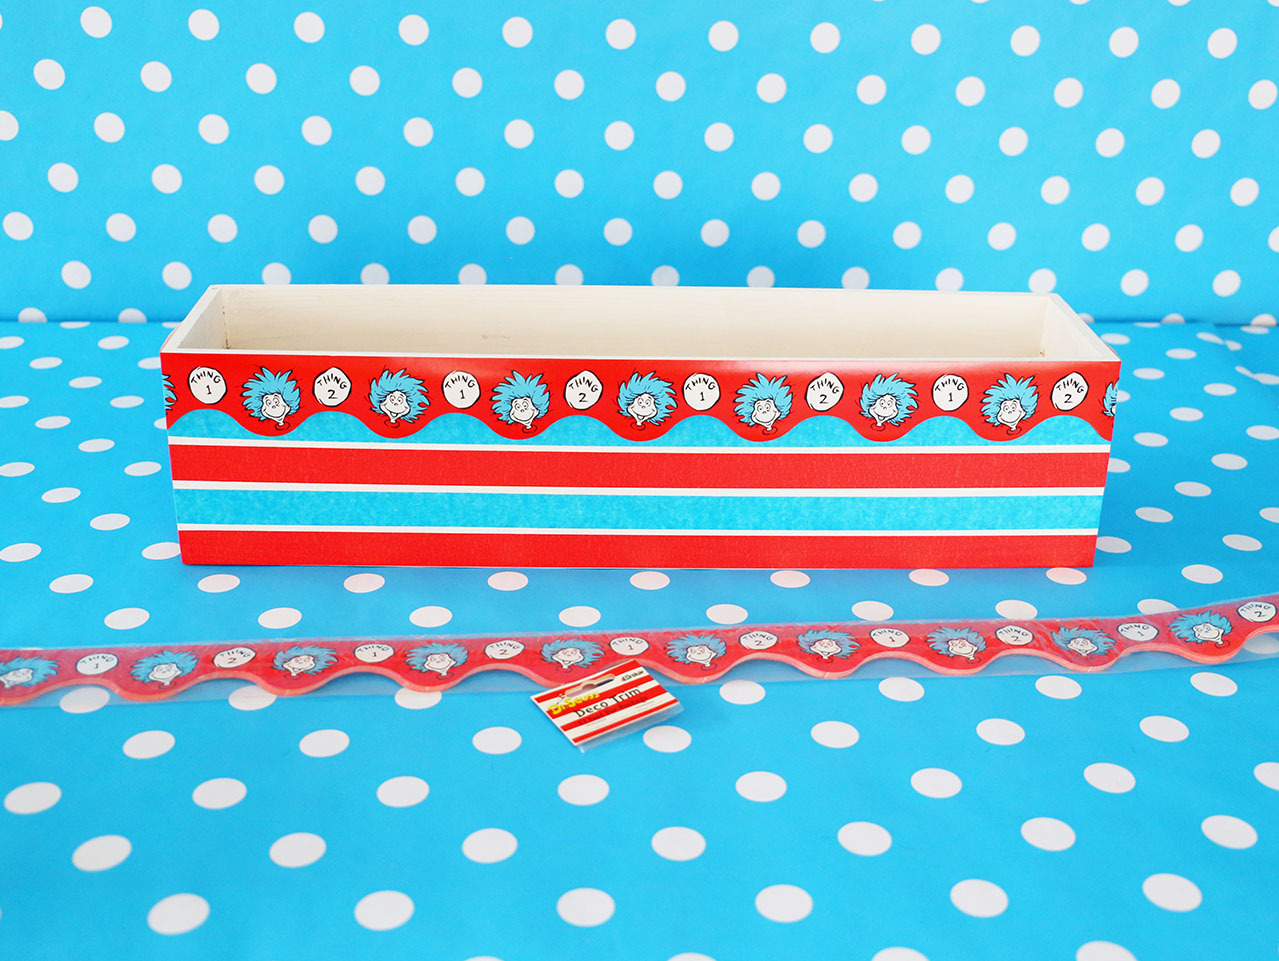
Place a strip of bulletin board border around the top edge of the entire box. Secure the ends with hot glue.
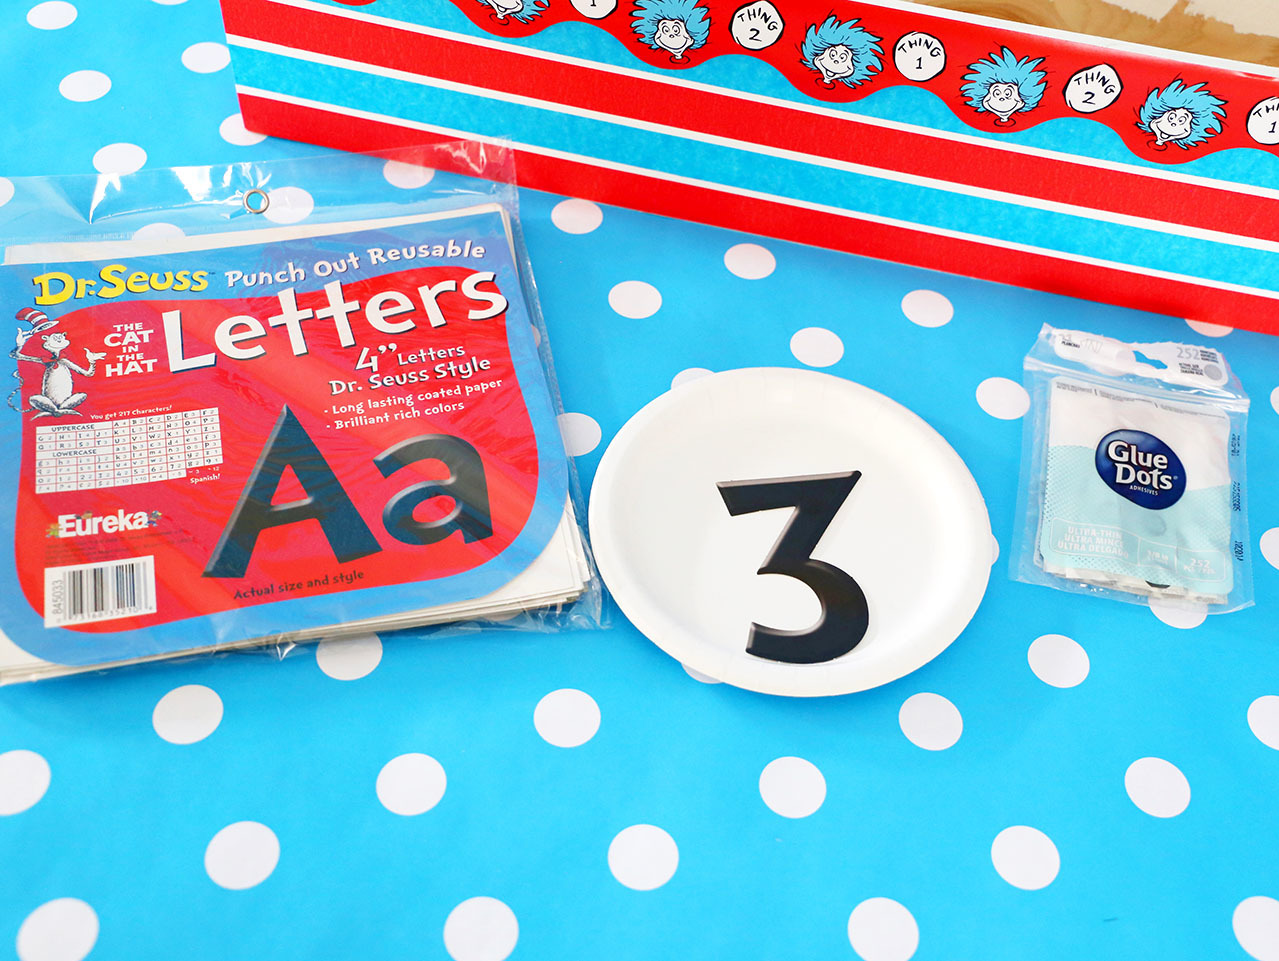
Punch out the #3 from the Dr. Seuss letter pack and secure it to the inside bottom of a white paper plate with glue dots. Be sure to put the number as far down on the inside of the plate as it will go so you have enough space to write above it.
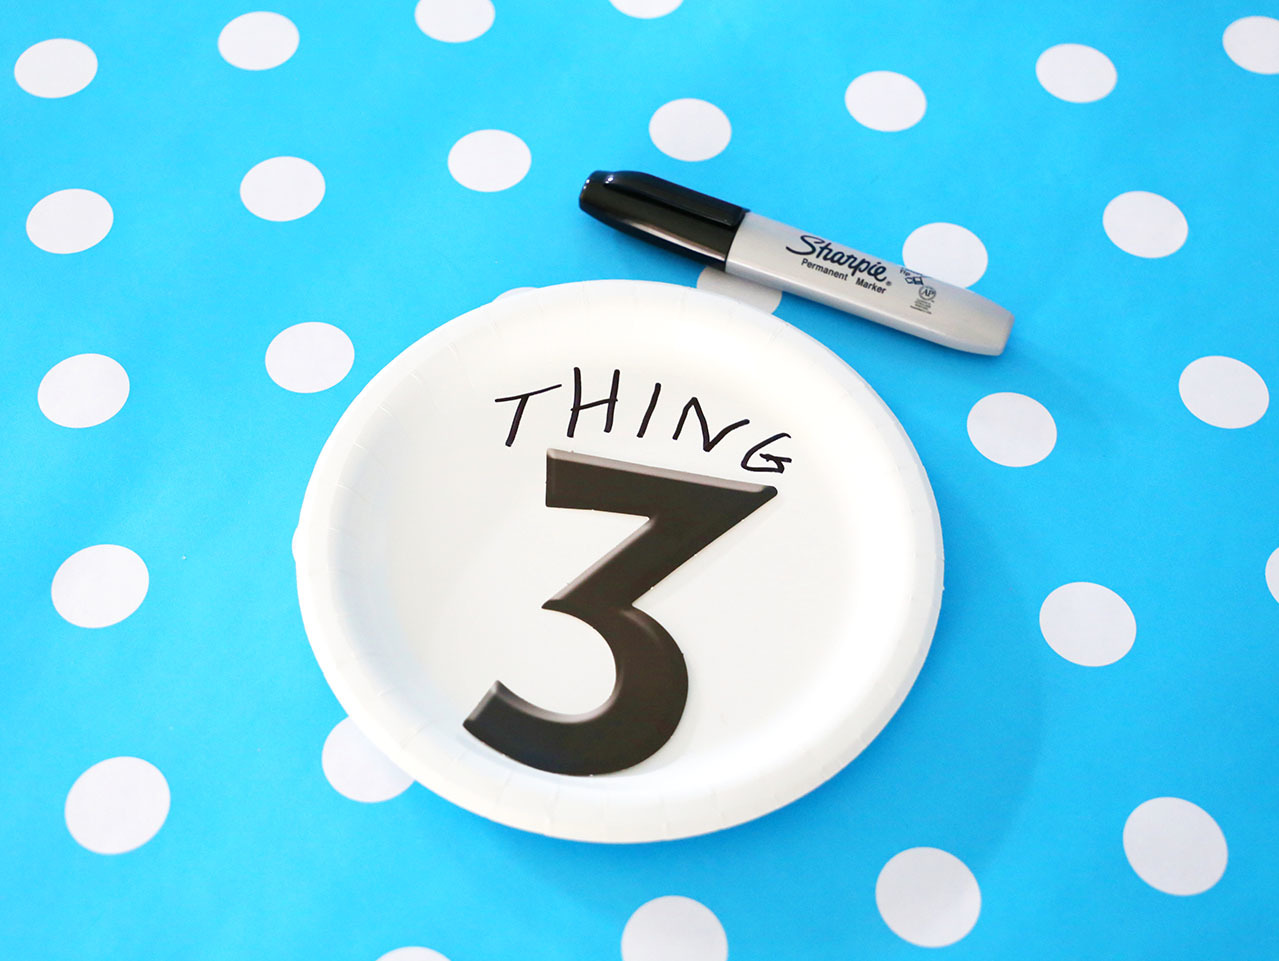
Using a black medium Sharpie® marker, write the word THING above the #3.
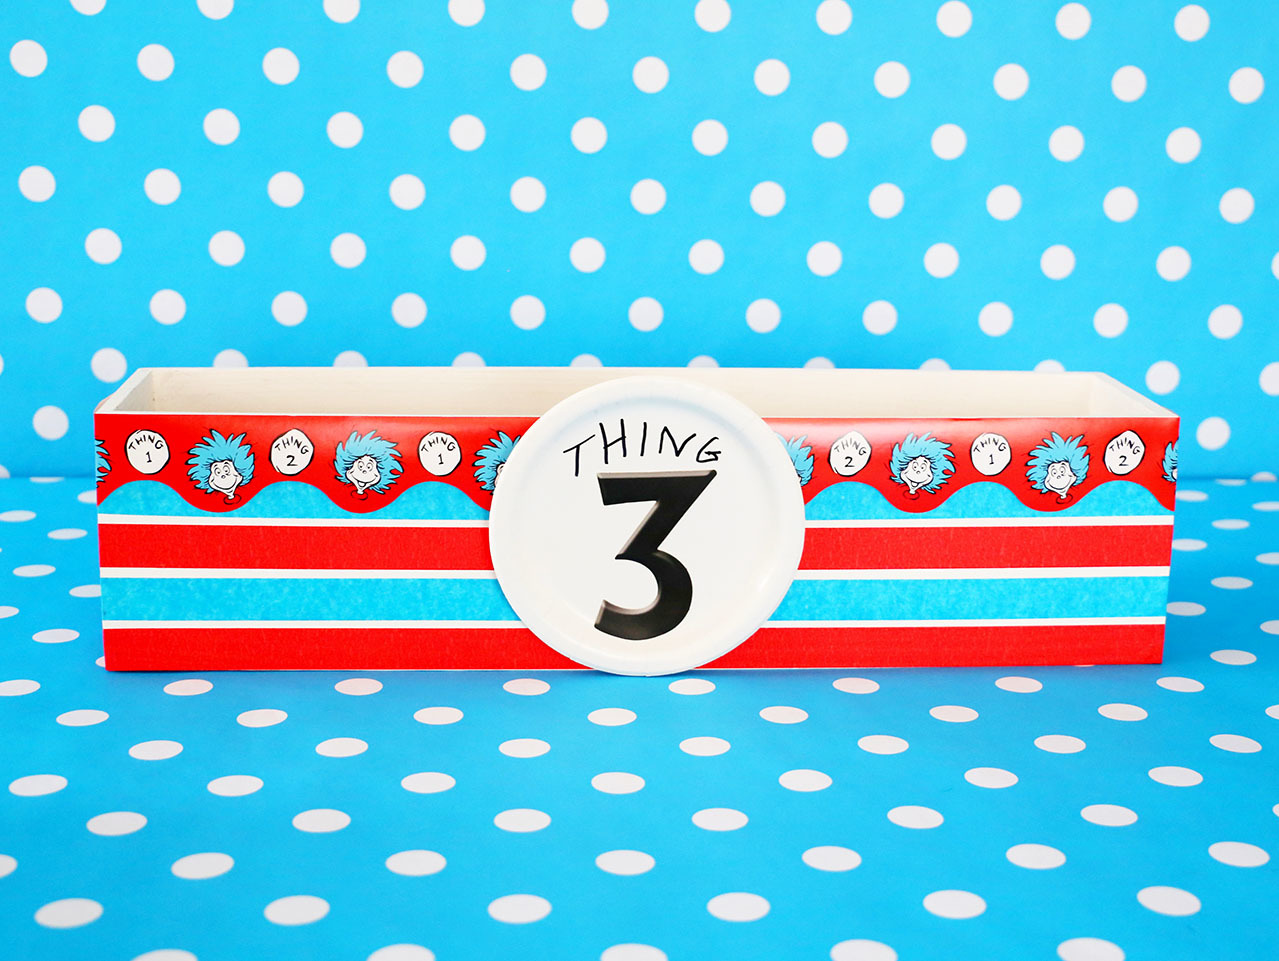
Glue the paper plate to the center of the white wood box. Be sure that the bottom edge of the plate is flush with the bottom edge of the box.
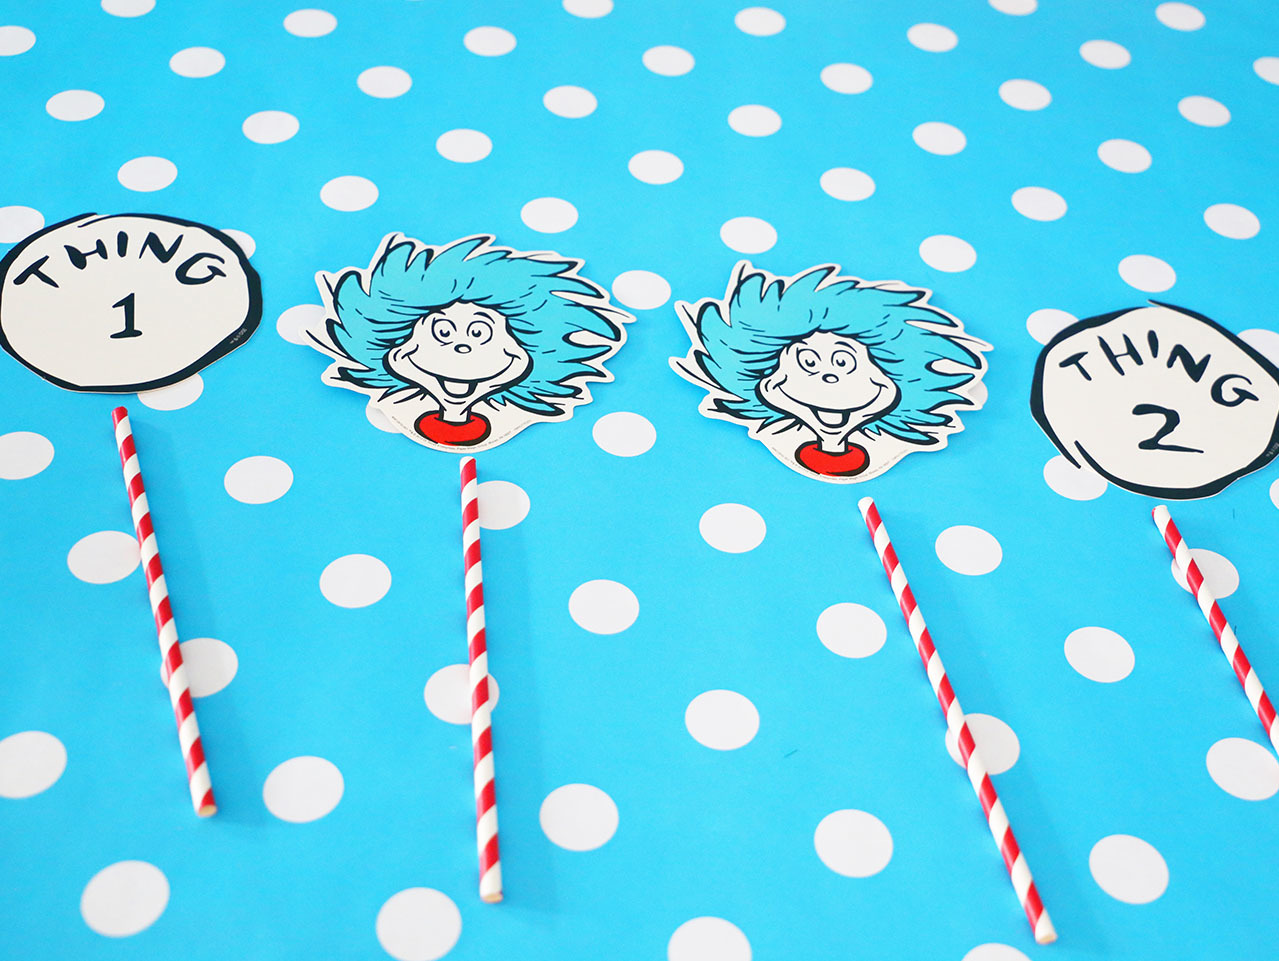

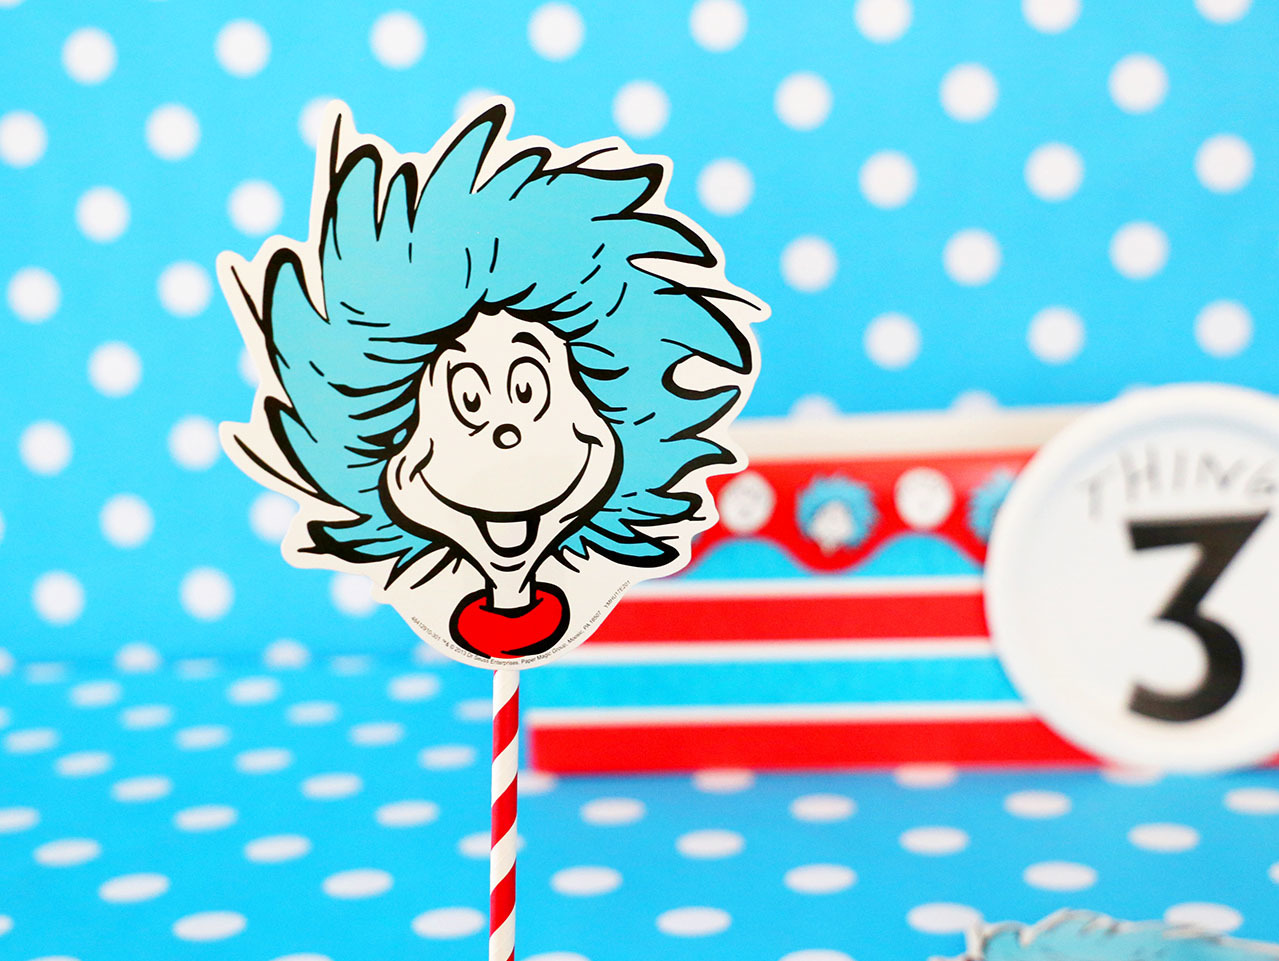
Using hot glue, attach two Thing 1 character cutouts and Thing 1 and Thing 2 photo prop to a red and white striped paper straw.
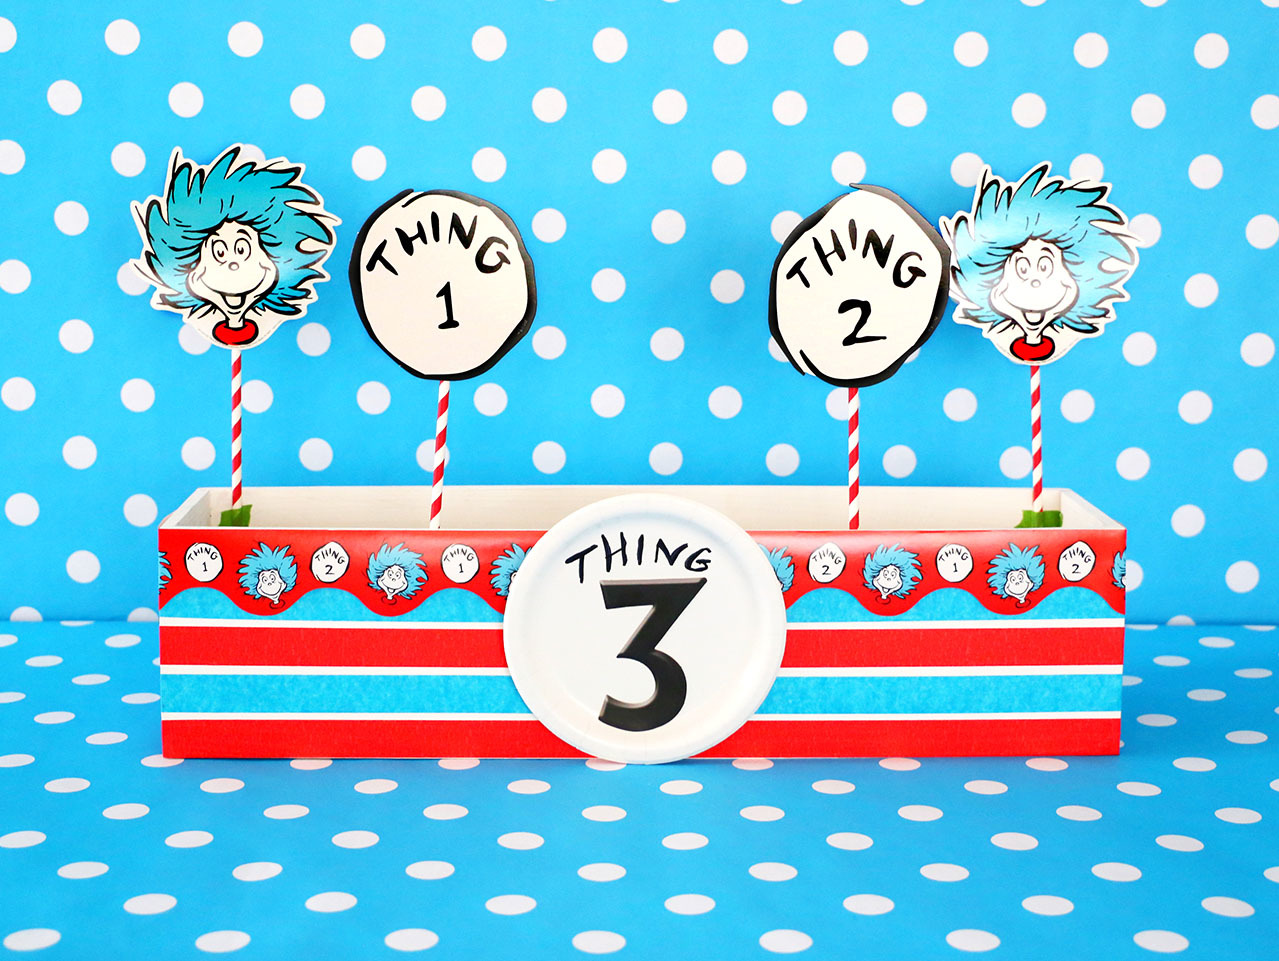

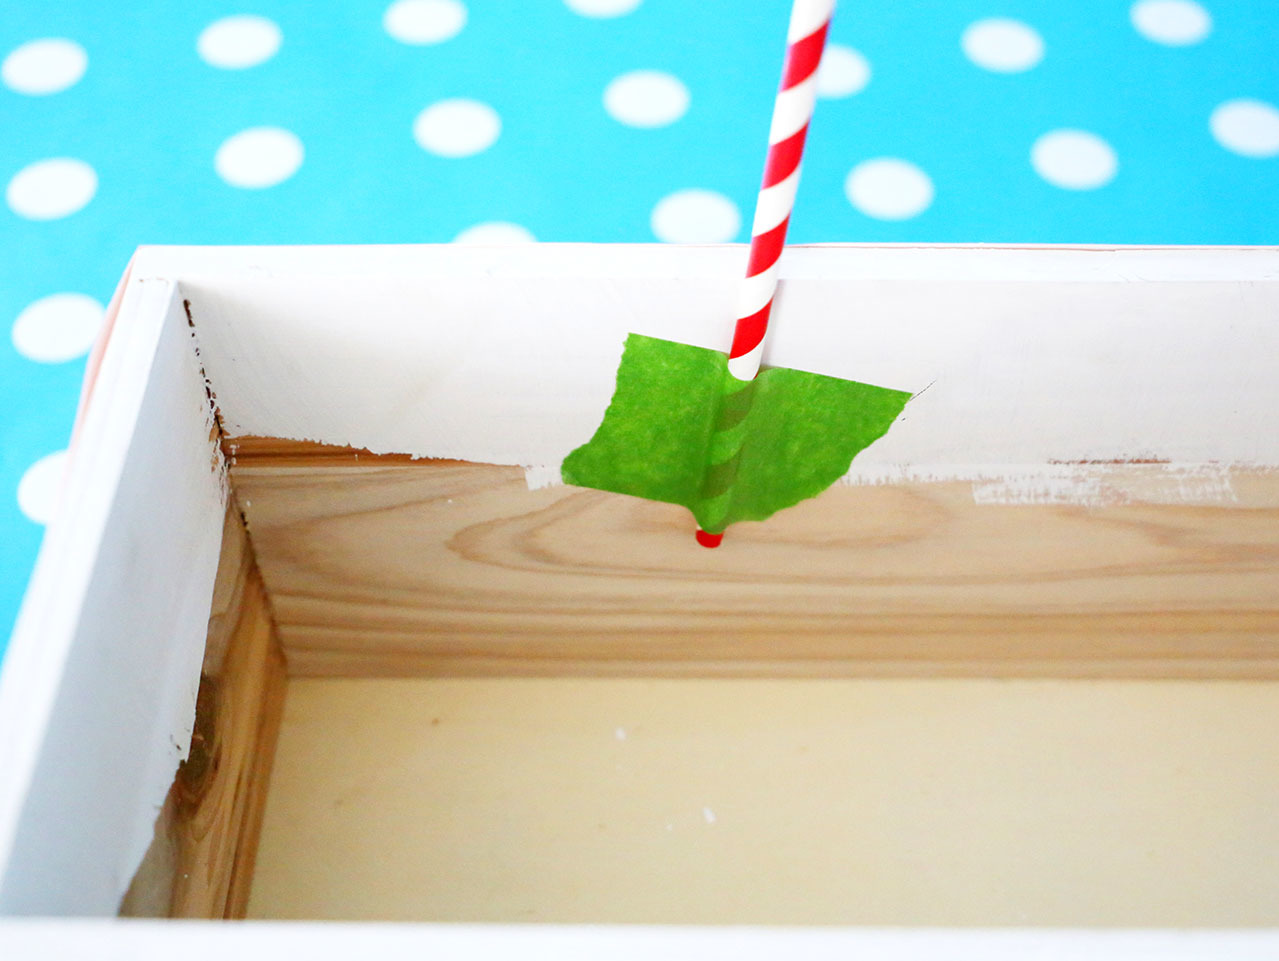
Attach each of the straw signs to the inside of the box using tape.
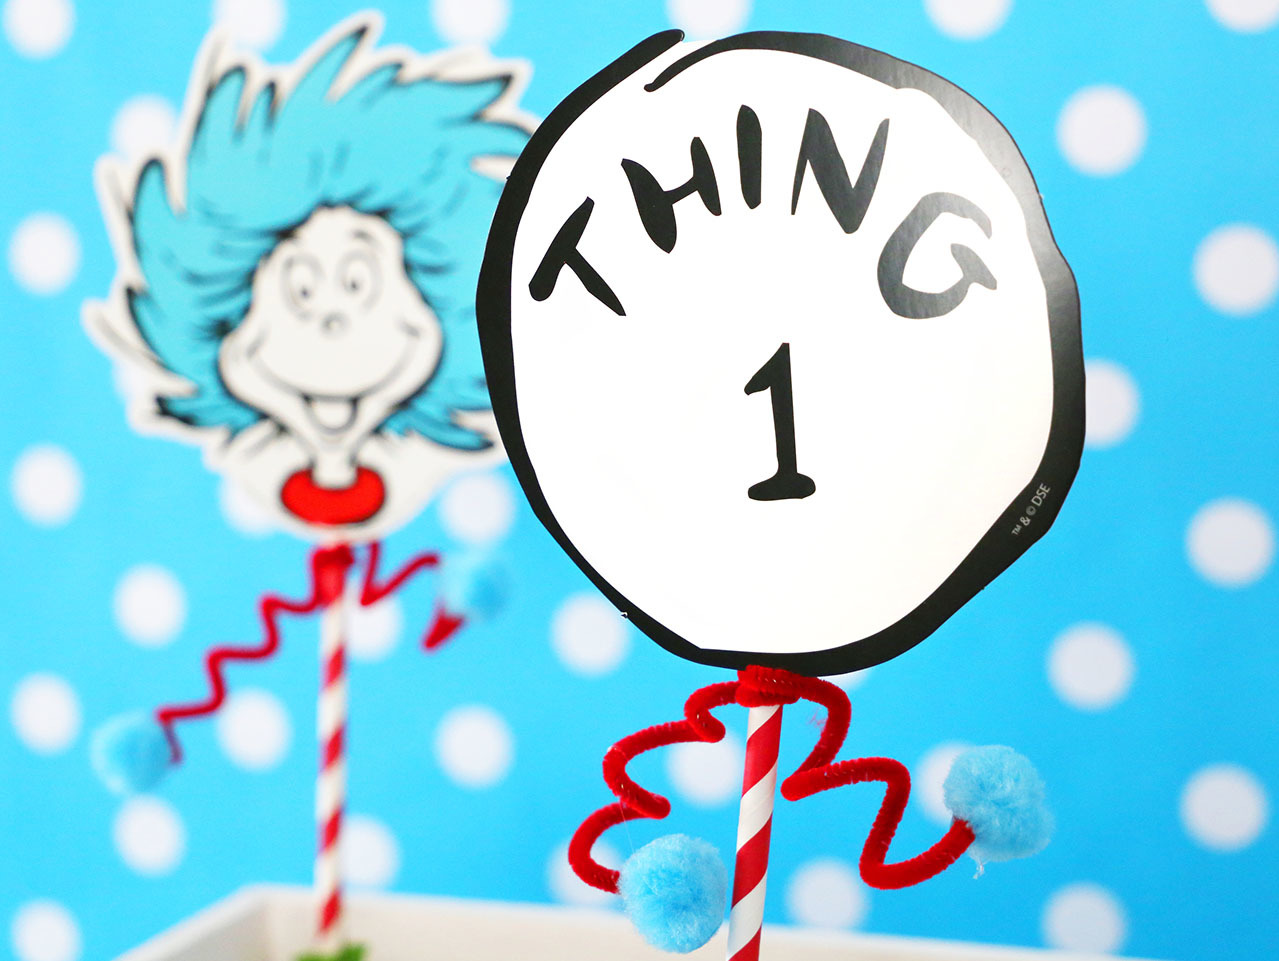

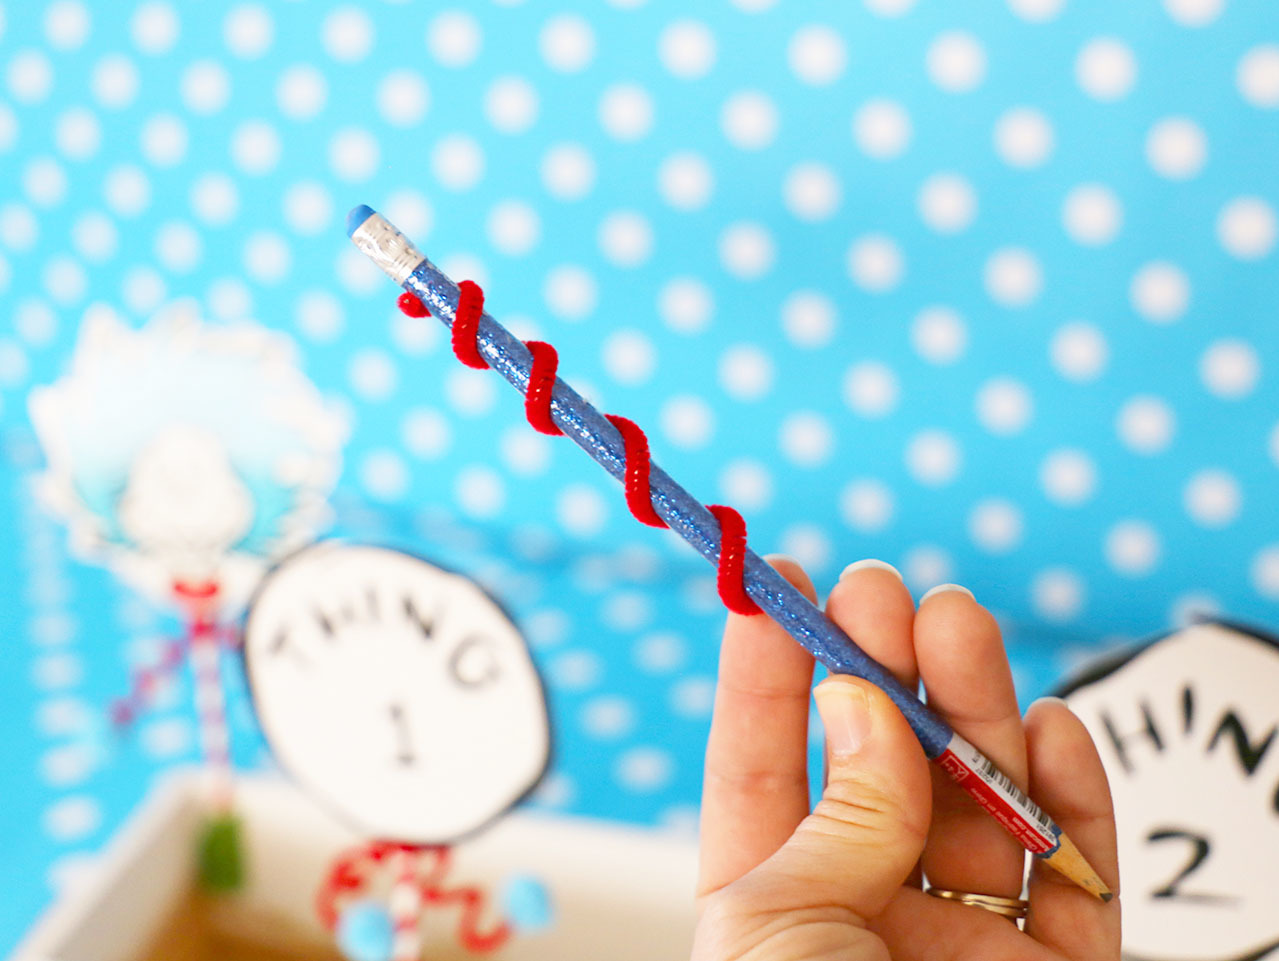
Twist a red chenille stem around the top of each of the straws leaving a long end on either side. Twist the chenille stem around a pencil to create a spiral and place a blue pom-pom on the end of the chenille stems with hot glue.
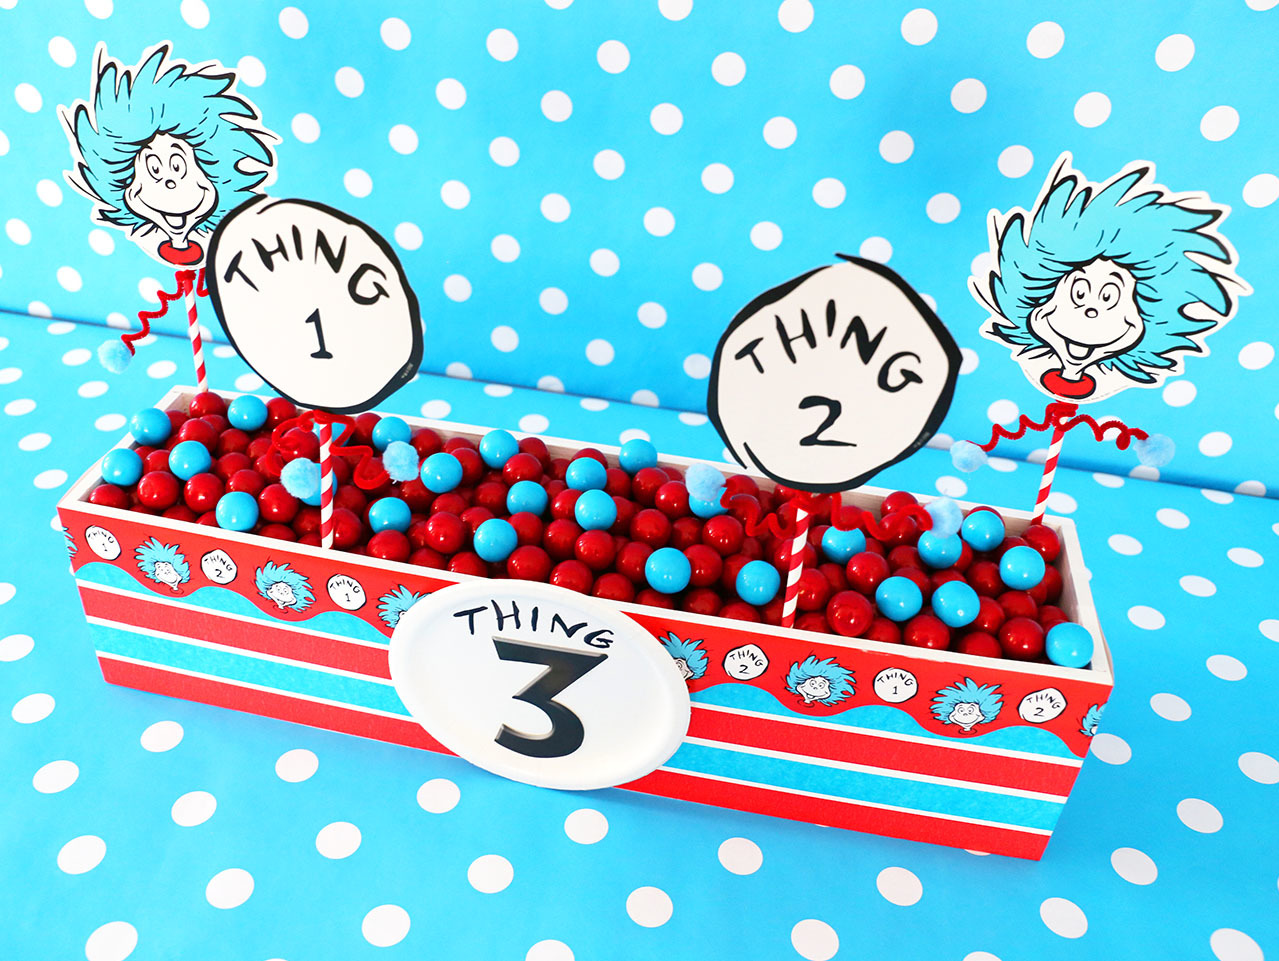
Fill the centerpiece box with red and blue gumballs. You can fill the box with bubble wrap or some other material and place the gumballs on top of that so you won't have to fill the entire box with gumballs.
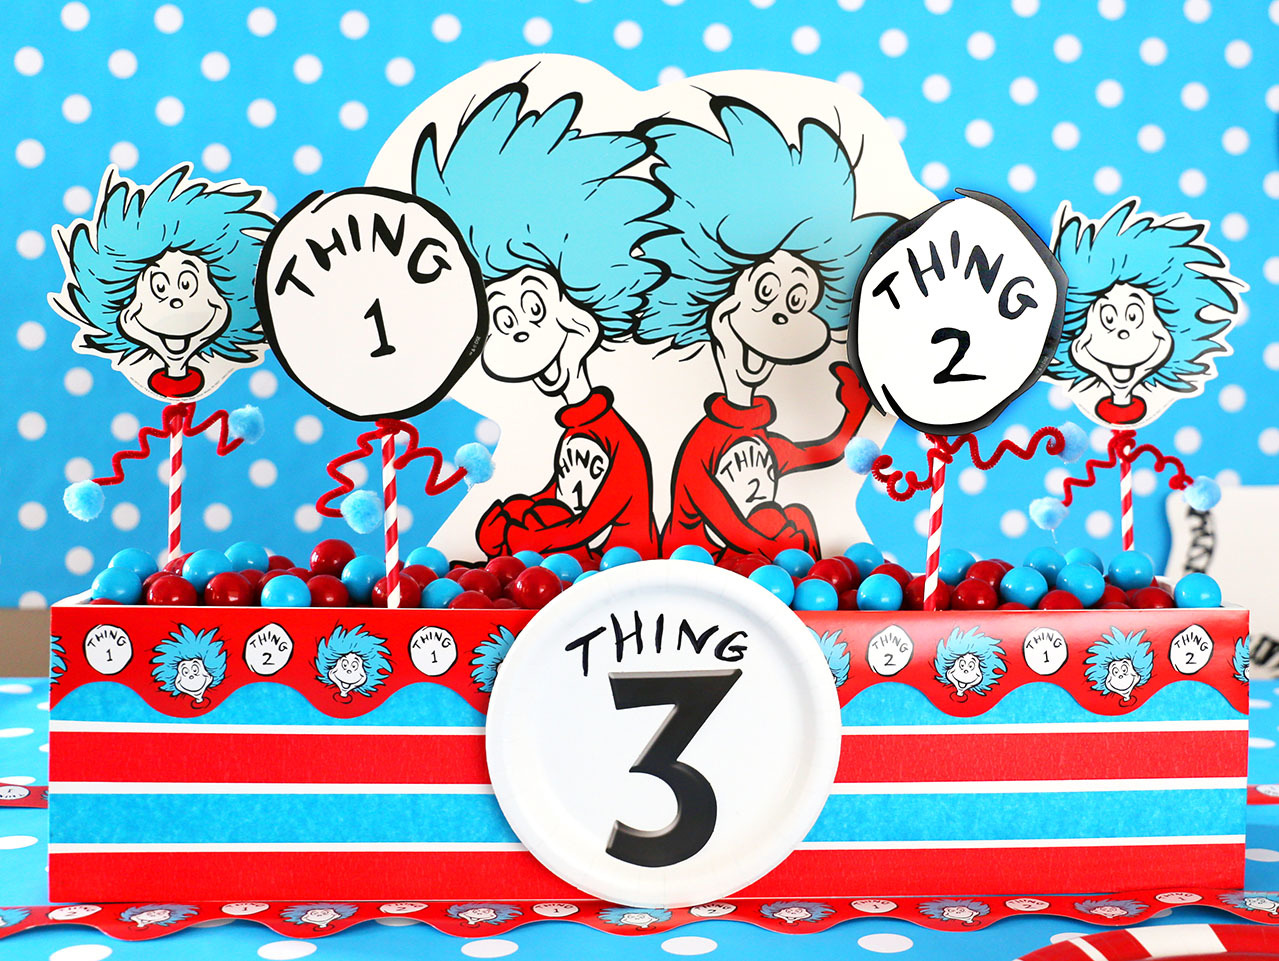

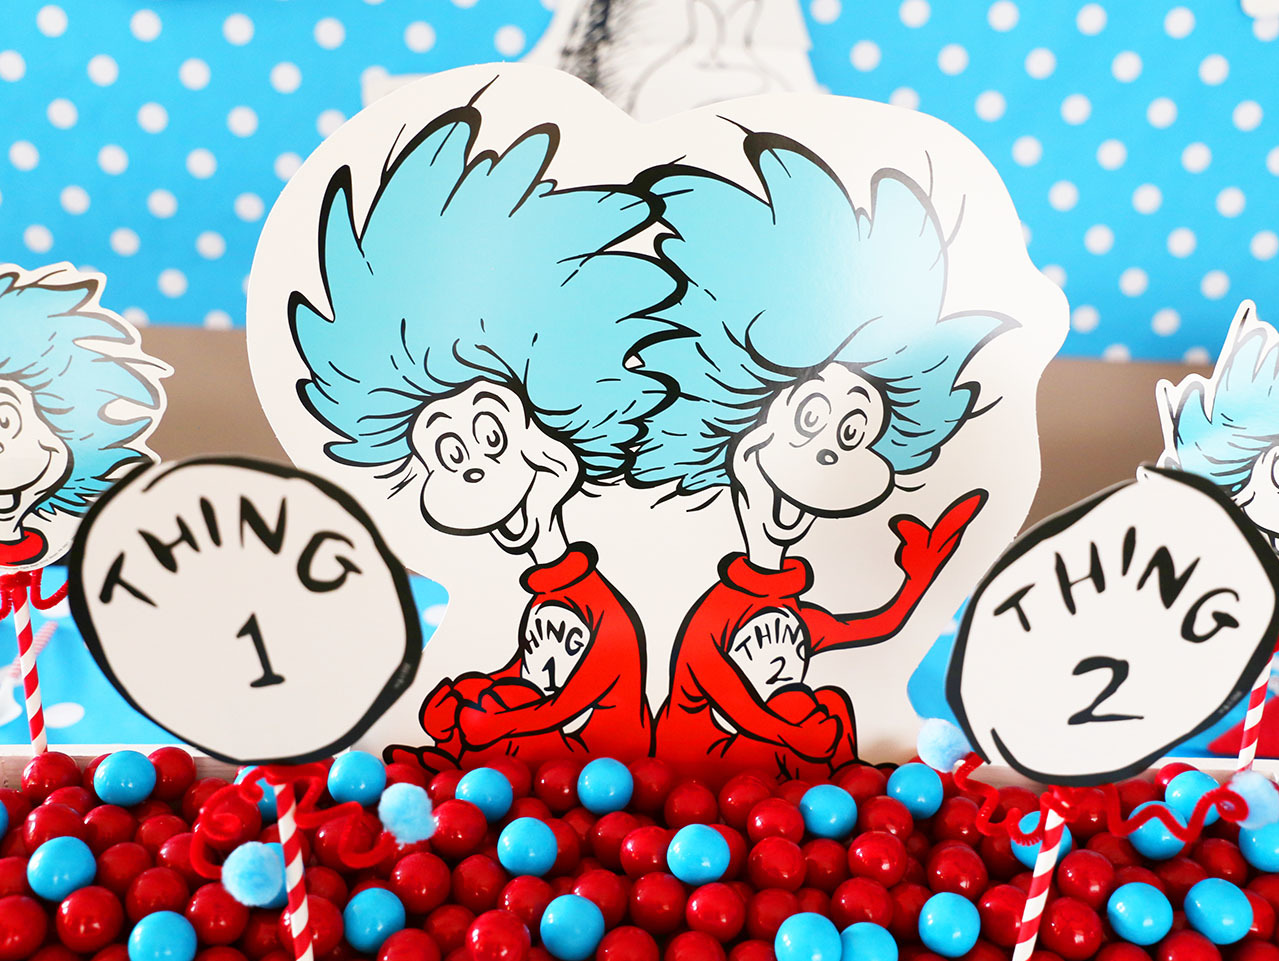
Place the Thing 1 and Thing 2 cutout from the Jumbo Dr. Seuss™ Characters Cutouts pack down inside the back of the centerpiece box so that it sits up against the inside back of the box. Now you're done. Check out how cool this centerpiece looks styled on my Dr. Seuss™ Thing 3 Birthday Party Table!

Paint a wood planter box fully with white paint. Be sure to paint inside the box at least 2-3 inches down inside the box. Let dry.

Starting at the bottom, put a strip of red masking tape all the way around the entire box. Repeat with the blue tape leaving a small gap between the red and blue tape. Do this again so you have two red and two blue stripes.

Place a strip of bulletin board border around the top edge of the entire box. Secure the ends with hot glue.

Punch out the #3 from the Dr. Seuss letter pack and secure it to the inside bottom of a white paper plate with glue dots. Be sure to put the number as far down on the inside of the plate as it will go so you have enough space to write above it.

Using a black medium Sharpie® marker, write the word THING above the #3.

Glue the paper plate to the center of the white wood box. Be sure that the bottom edge of the plate is flush with the bottom edge of the box.


Using hot glue, attach two Thing 1 character cutouts and Thing 1 and Thing 2 photo prop to a red and white striped paper straw.


Attach each of the straw signs to the inside of the box using tape.


Twist a red chenille stem around the top of each of the straws leaving a long end on either side. Twist the chenille stem around a pencil to create a spiral and place a blue pom-pom on the end of the chenille stems with hot glue.

Fill the centerpiece box with red and blue gumballs. You can fill the box with bubble wrap or some other material and place the gumballs on top of that so you won't have to fill the entire box with gumballs.


Place the Thing 1 and Thing 2 cutout from the Jumbo Dr. Seuss™ Characters Cutouts pack down inside the back of the centerpiece box so that it sits up against the inside back of the box. Now you're done. Check out how cool this centerpiece looks styled on my Dr. Seuss™ Thing 3 Birthday Party Table!


