

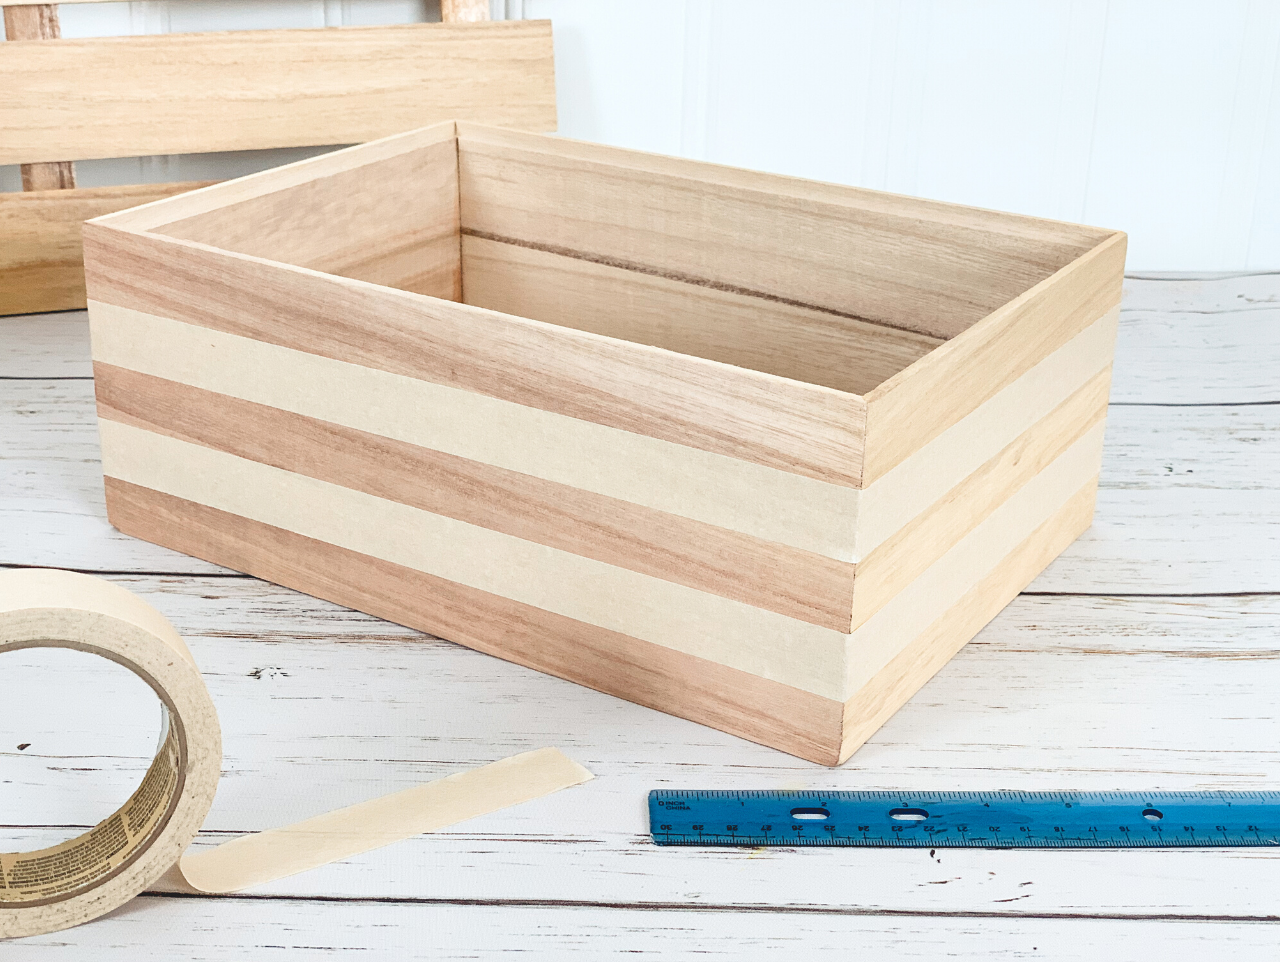
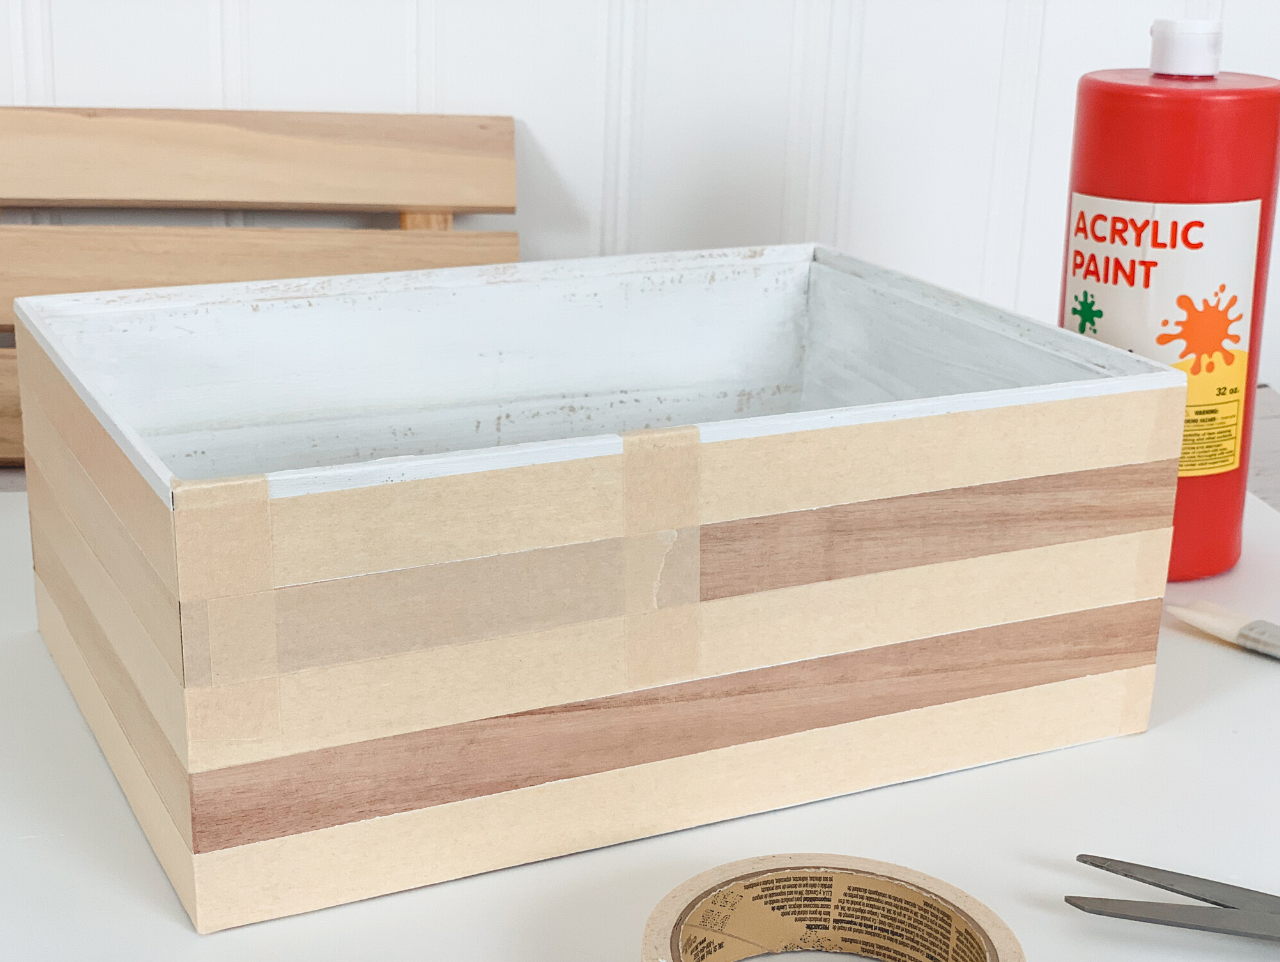
Begin by wrapping one-inch-thick masking tape around DIY Unfinished Wood Crates with Lids, creating "stripes." To make sure that we had perfectly spaced lines, we actually wrapped the entire box in strips of tape, then removed every other strip.
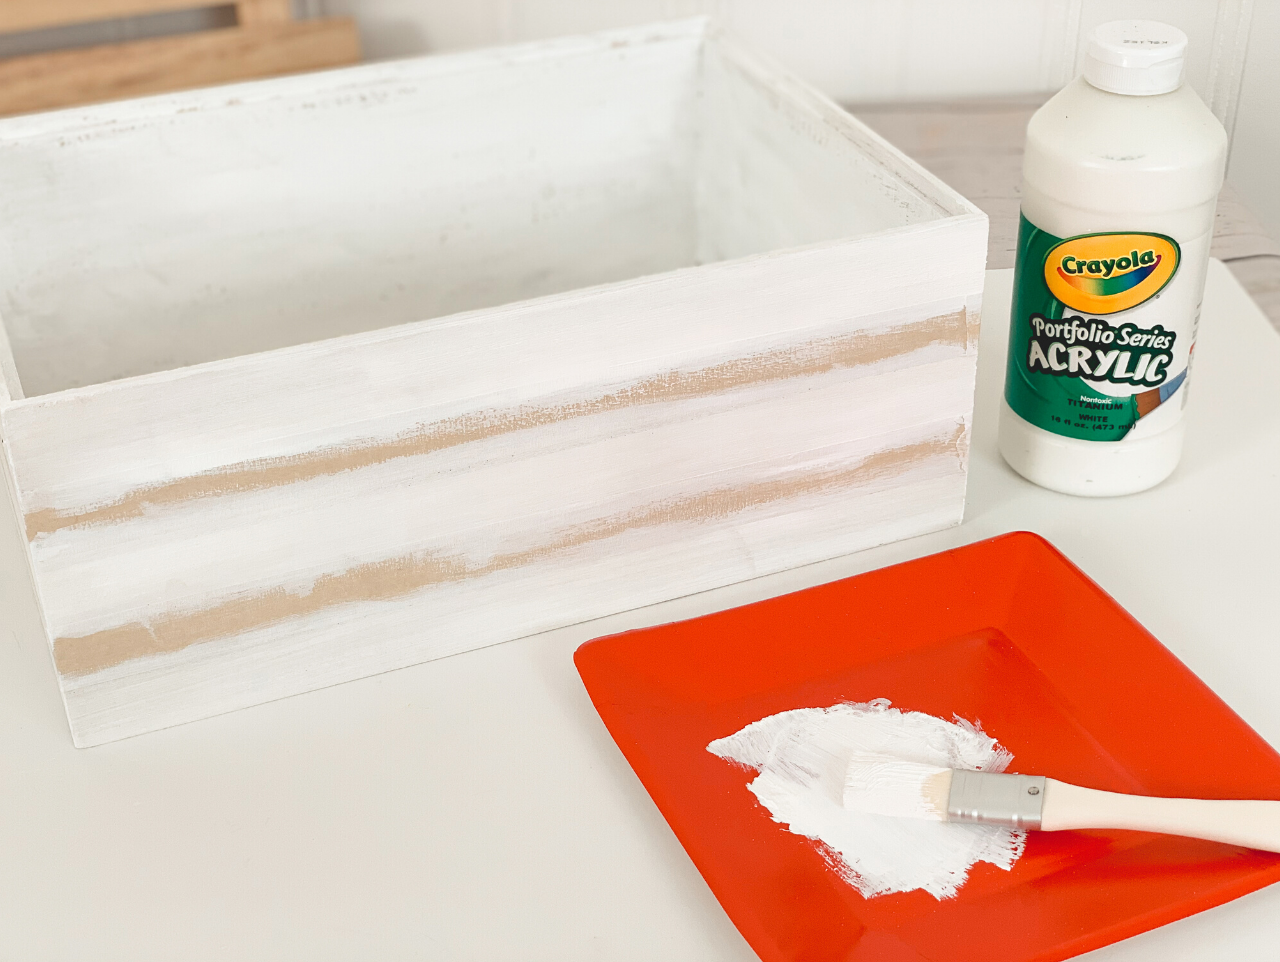
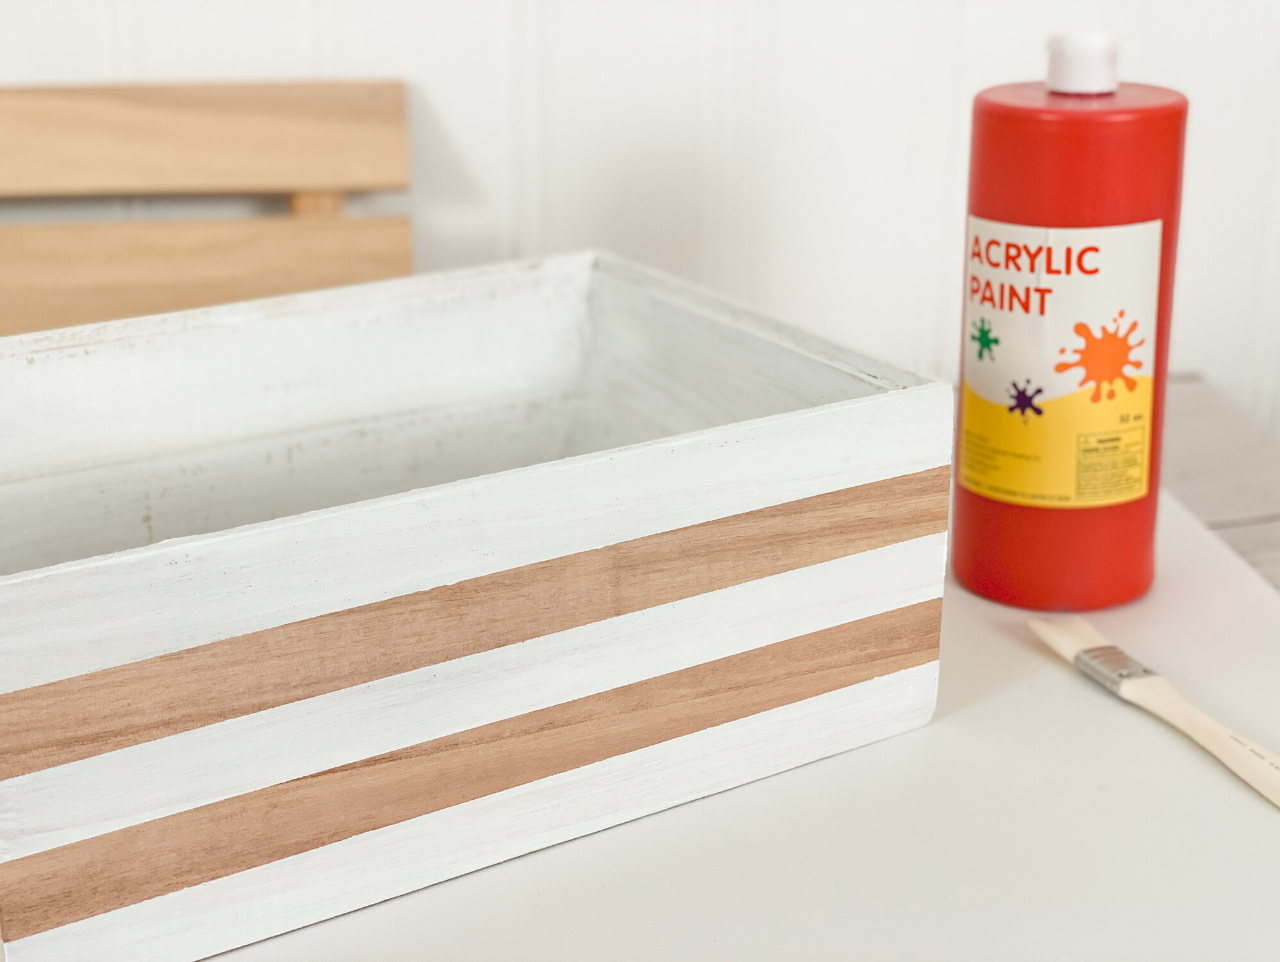
Use a paintbrush to apply Crayola® Washable White Acrylic Paint to the exposed stripes. Be sure to paint the top edge and inside of the box, as well. While the boxes are drying, apply white paint to the box lids and to 23 of the smallest stars in the DIY Unfinished Wood Stars set. Once the boxes are completely dry, slowly peel away the strips of masking tape.
Next, apply tape to the white painted stripes, taking care to line the tape up with the painted stripes as perfectly as possible. Use masking tape to create a rectangle for the blue stars section of the planter and cover that section completely. Our rectangles were about 5.75" x 2" for the smaller box and just under 6" wide by 3" for the larger box.
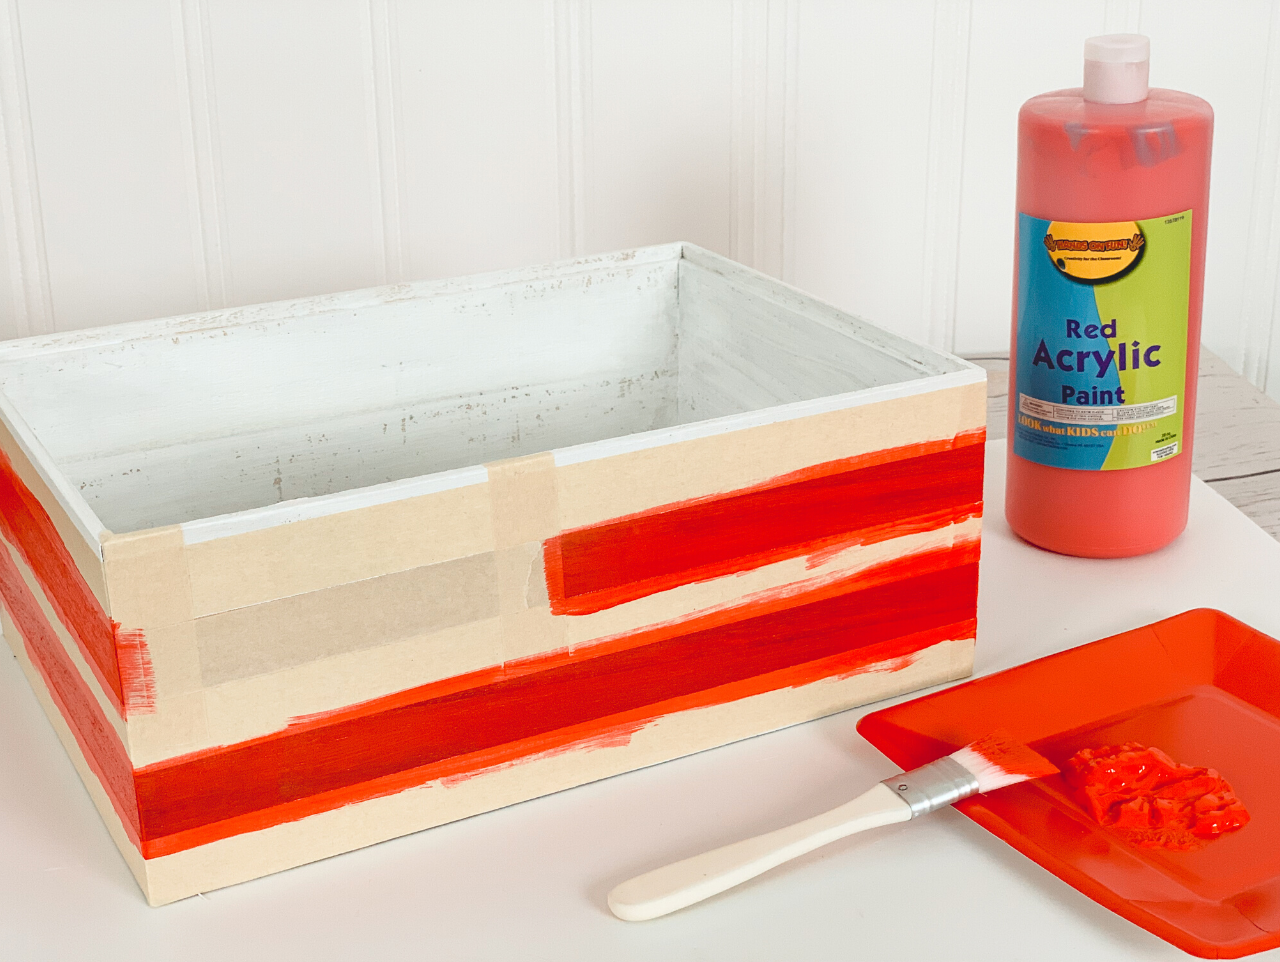
Apply Washable Red Acrylic Paint to the exposed stripes. Allow to dry completely, then carefully peel away the tape. Line the outside edges of the rectangle with tape and paint the remaining natural strip white to match the rest of the rectangle. Allow to dry, but do not remove the tape.
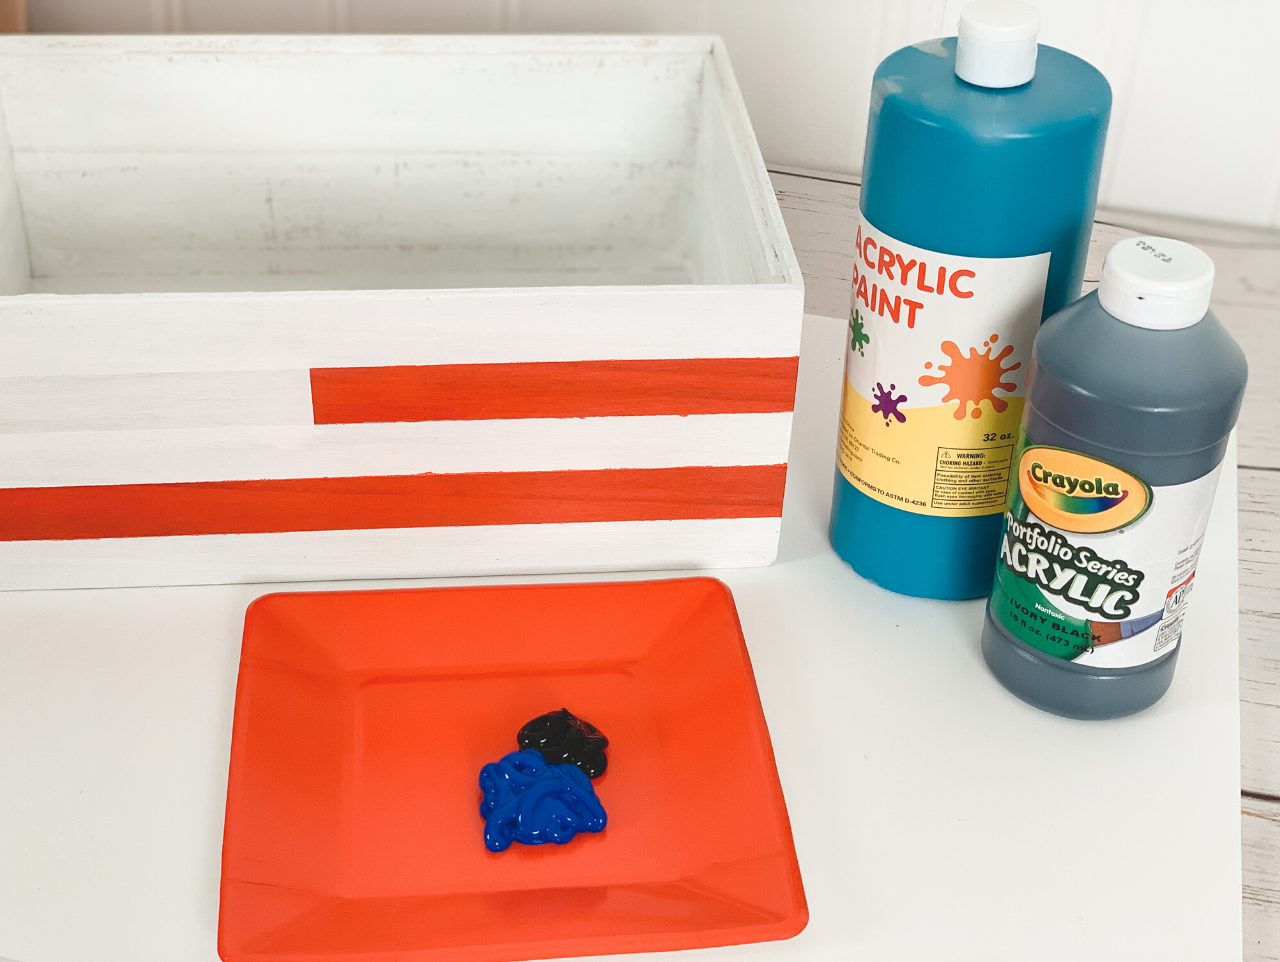
On a disposable plate, mix Washable Blue Acrylic Paint with a small amount of Crayola® Washable Black Acrylic Paint to create navy blue paint.
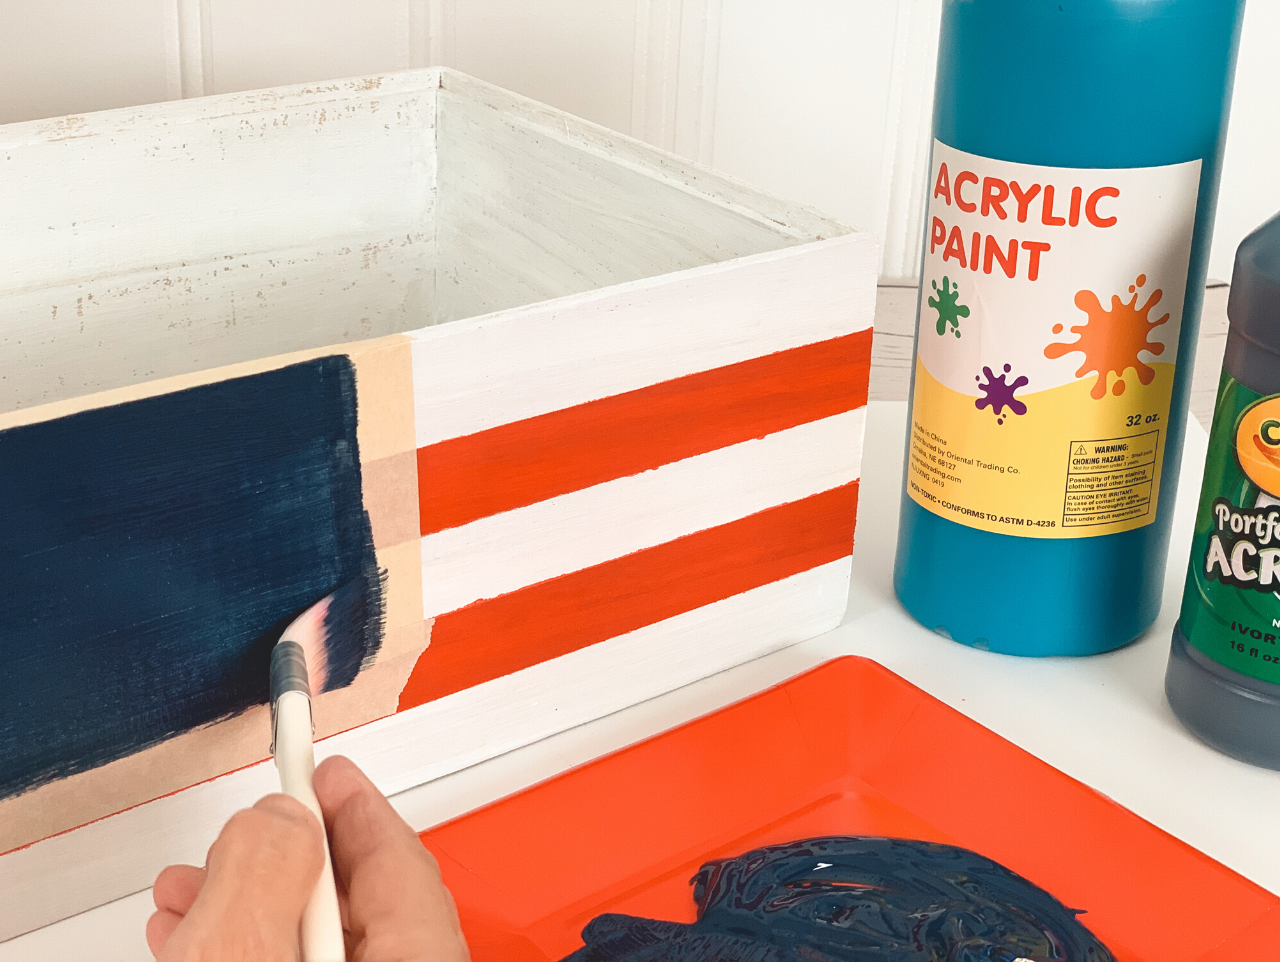
Paint the rectangular areas of the boxes with navy blue paint. Allow to dry completely. While the paint is drying, use a piece of sandpaper to distress the painted stars and box lids. Use an imperfect approach here, sanding more on edges that would naturally get more wear.
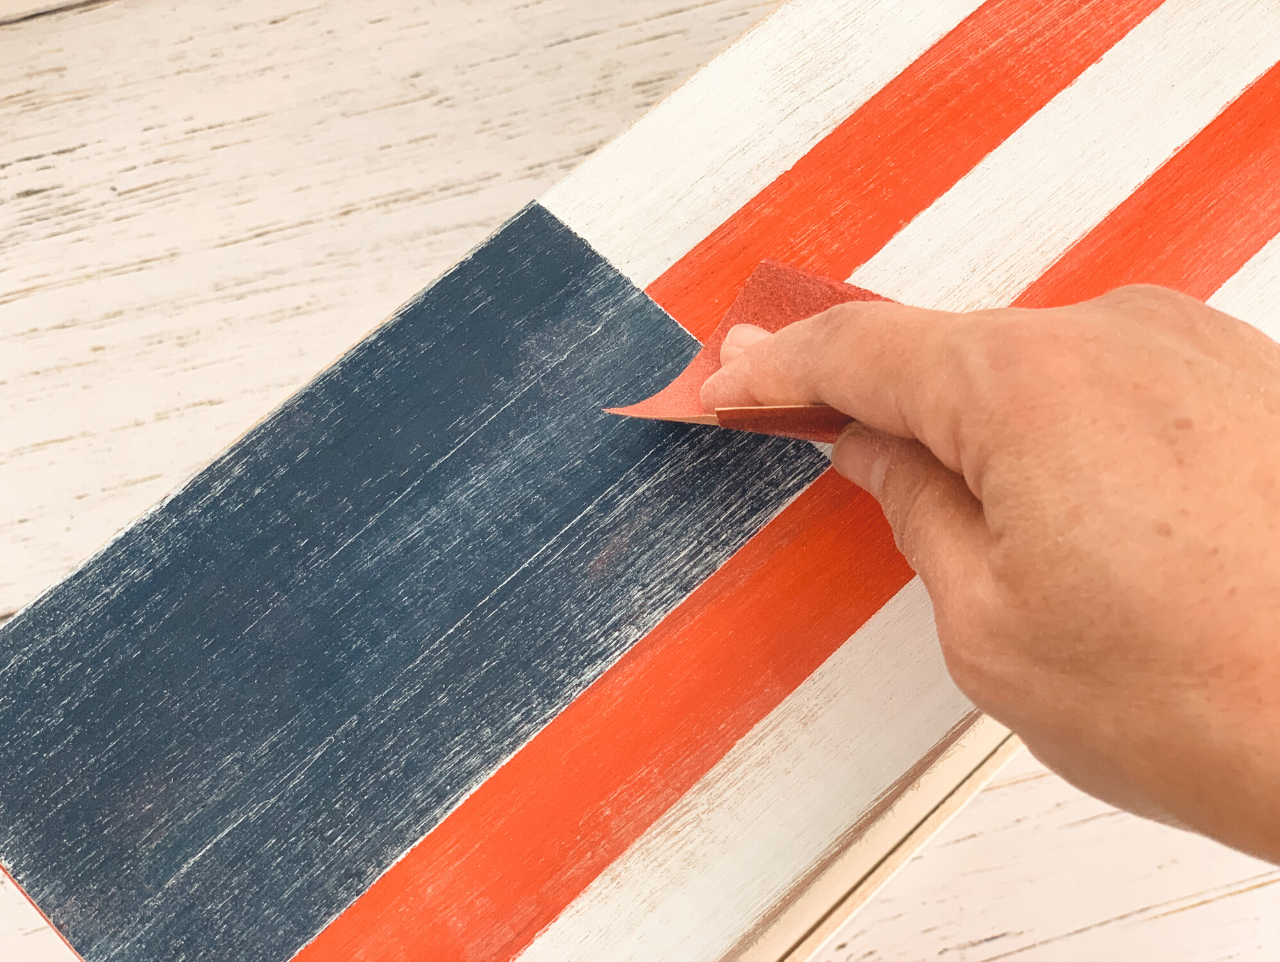
When the boxes are completely dry, remove the tape and begin sanding those, as well. As mentioned in step 6, apply more sanding to the edges to give the boxes a naturally distressed look.
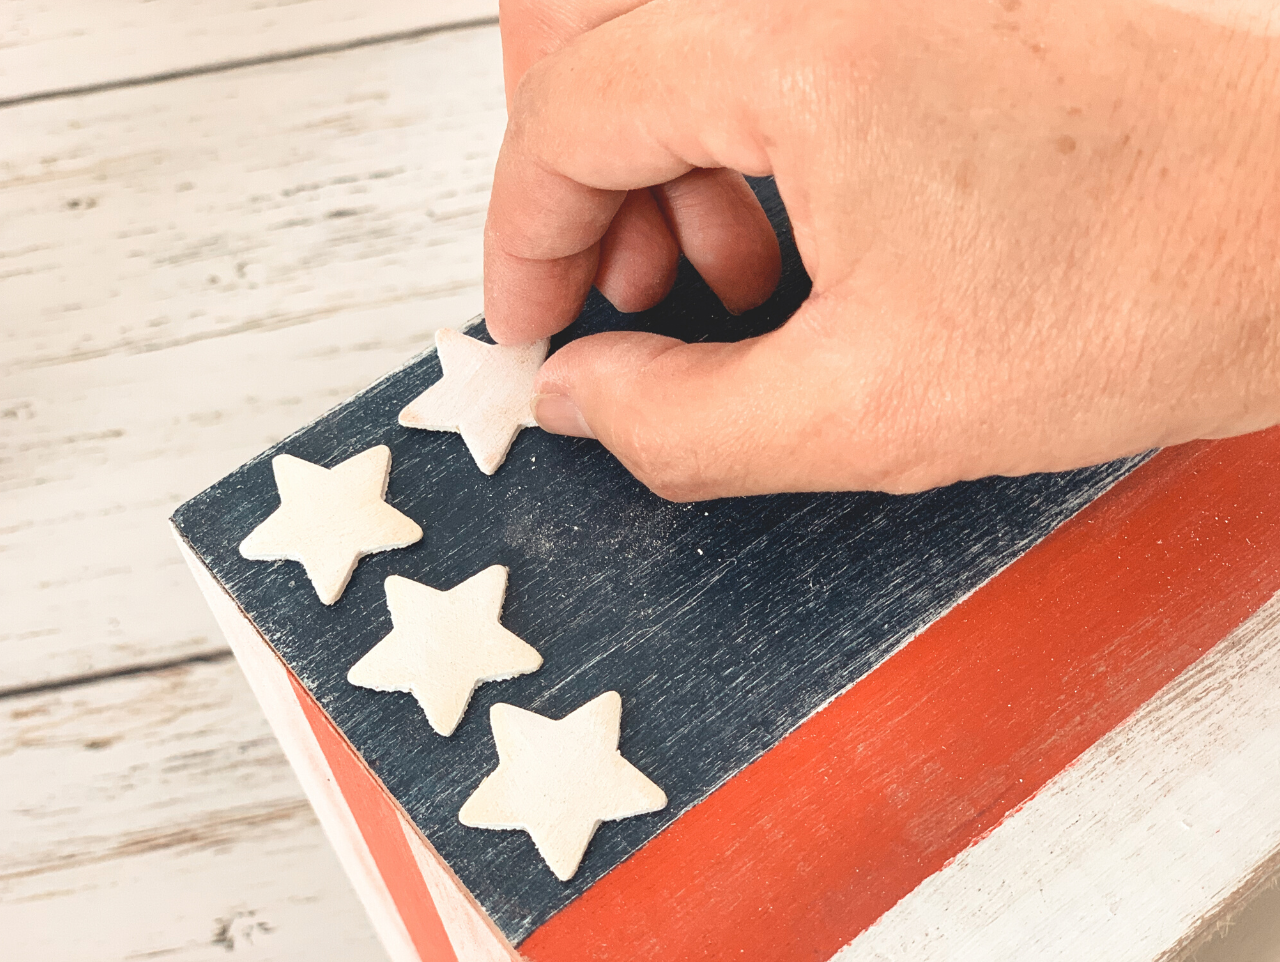
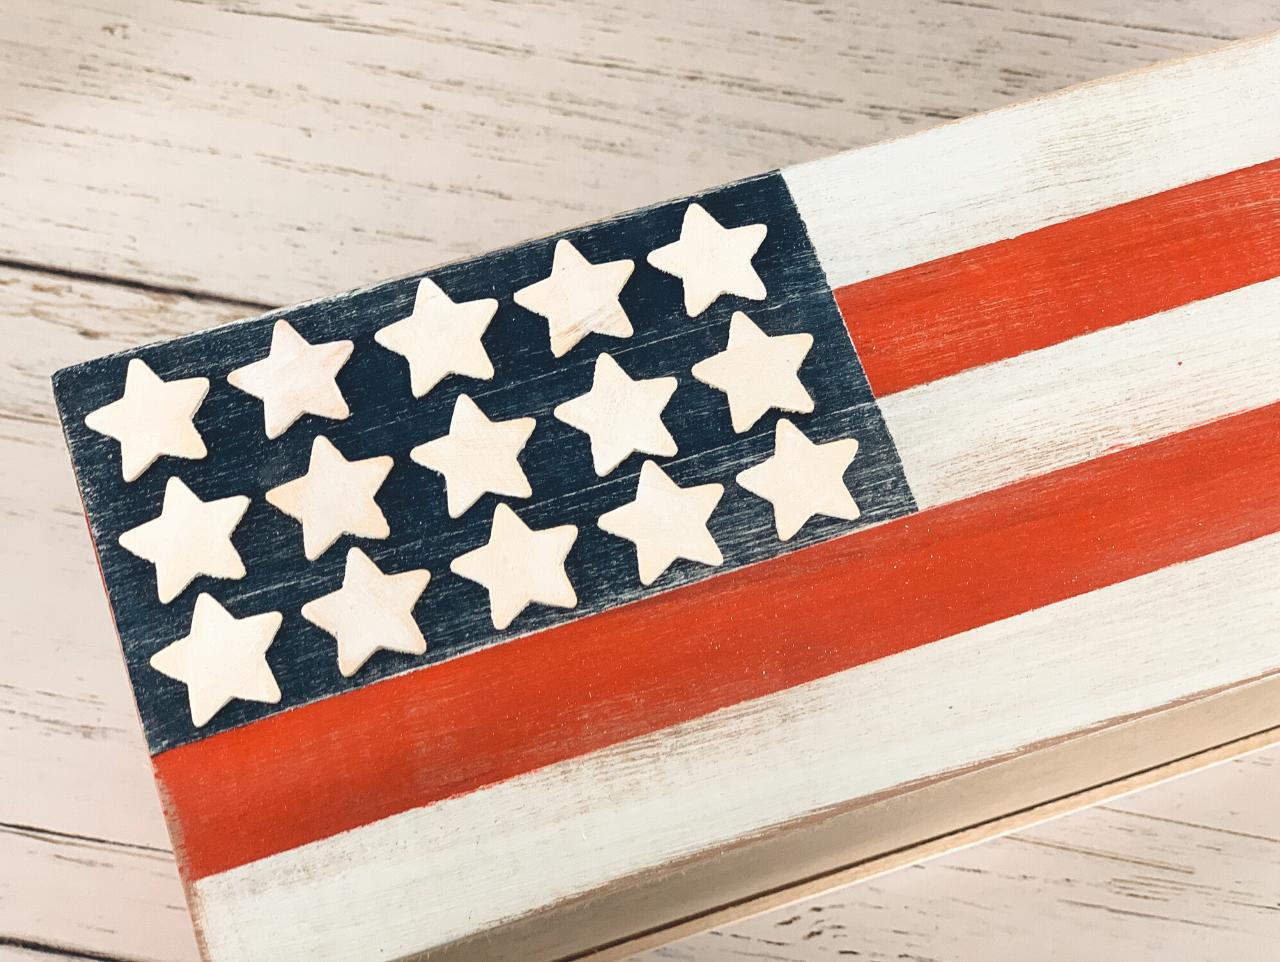
Use a hot glue gun to apply the stars to the blue rectangles of each box. For the small box we applied eight stars, and for the large box we applied 15 stars. If desired, seal the boxes with a clear matte sealant.
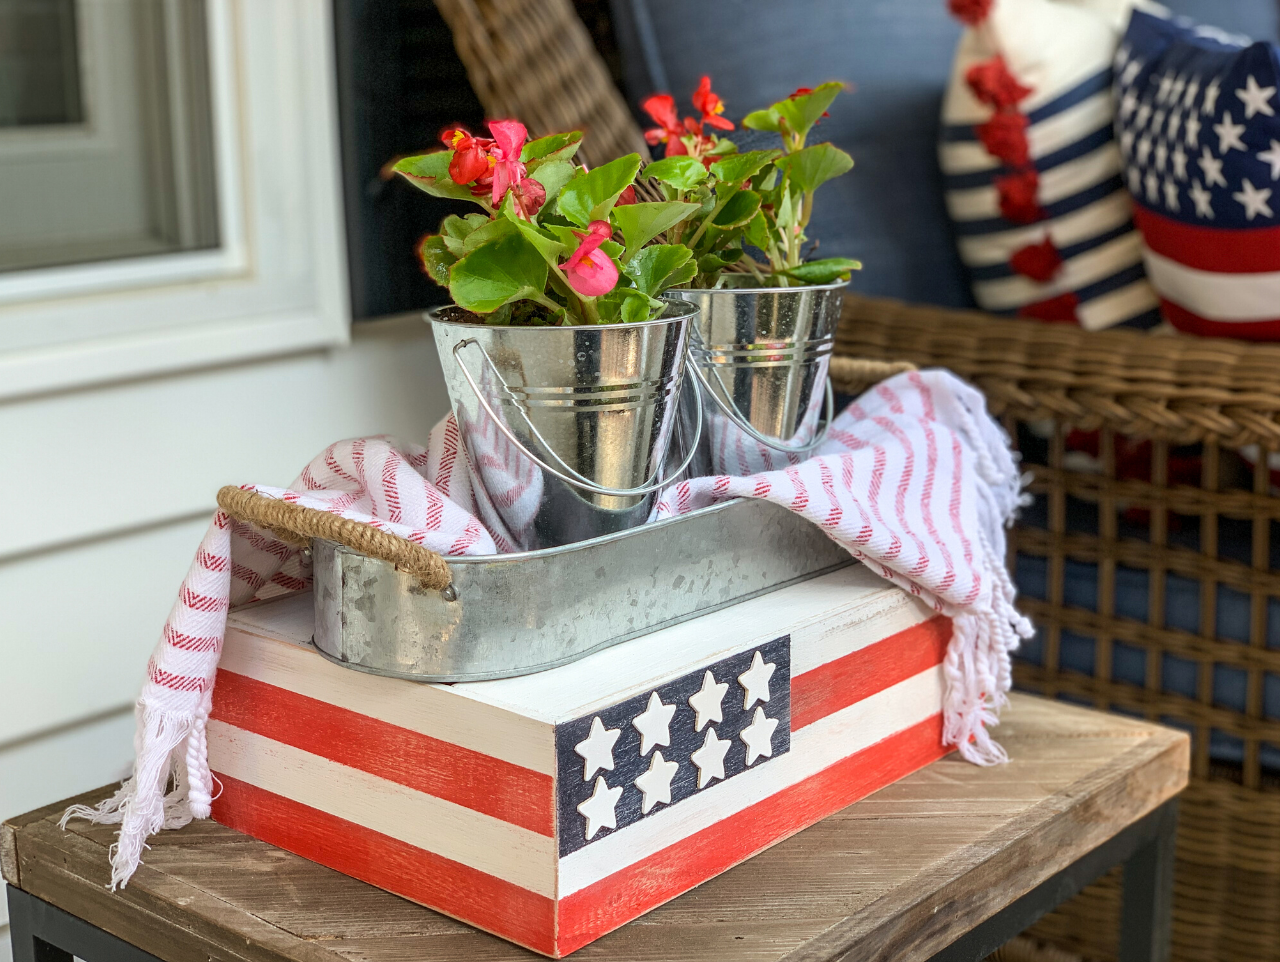
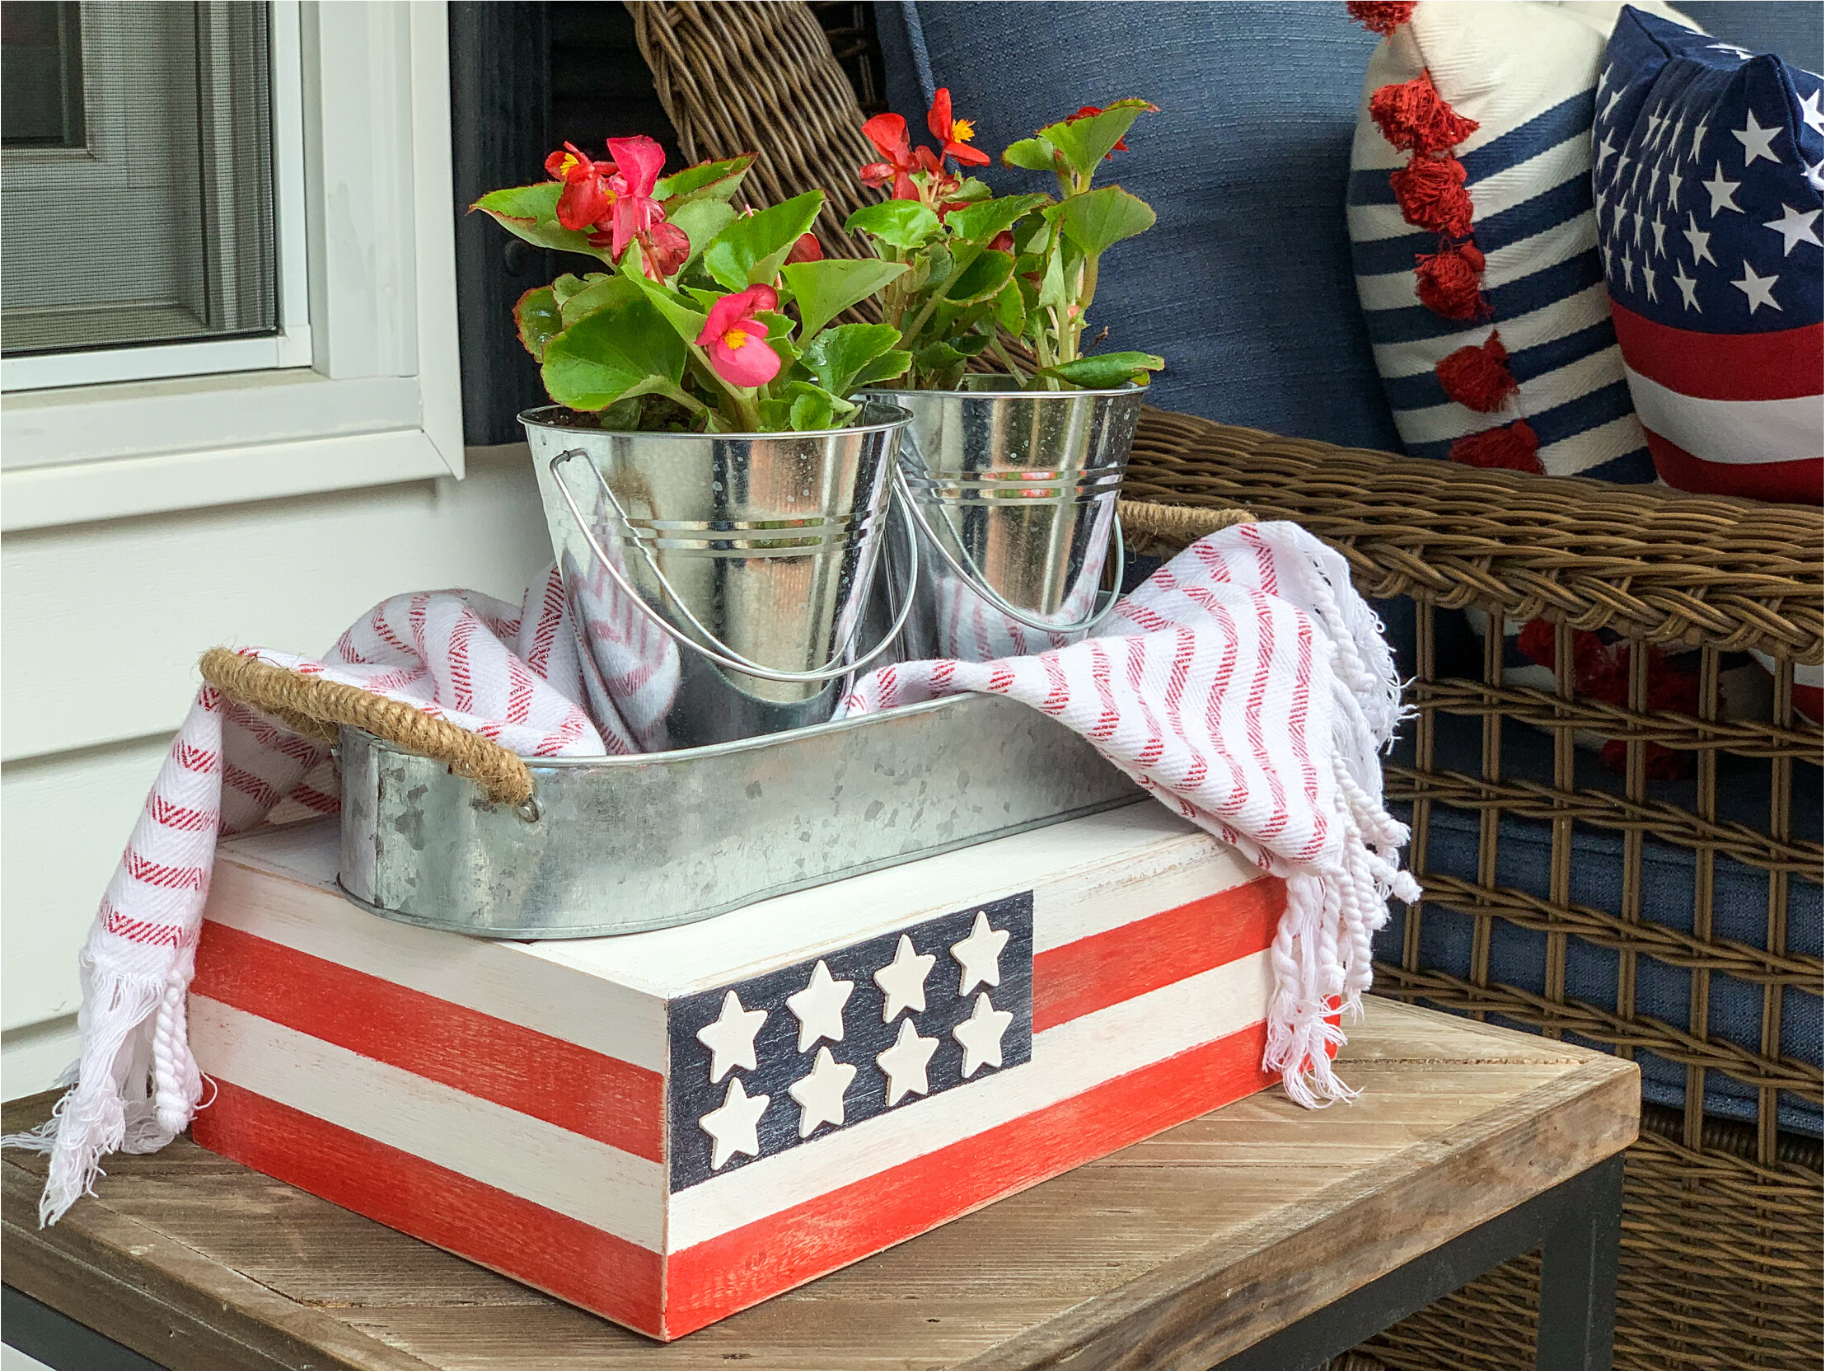
Fill the boxes with plants, use the boxes as serving trays, or add the lids and use the boxes as risers in your Memorial Day or 4th of July decor. We used our boxes as risers, which we topped with a Galvanized Metal Tray with Handles filled with flowers in Galvanized Metal Pails. For more ideas on how to incorporate these boxes into your decor, be sure to check out our 4th of July Patriotic Porch.
Begin by wrapping one-inch-thick masking tape around DIY Unfinished Wood Crates with Lids, creating "stripes." To make sure that we had perfectly spaced lines, we actually wrapped the entire box in strips of tape, then removed every other strip.
Use a paintbrush to apply Crayola® Washable White Acrylic Paint to the exposed stripes. Be sure to paint the top edge and inside of the box, as well. While the boxes are drying, apply white paint to the box lids and to 23 of the smallest stars in the DIY Unfinished Wood Stars set. Once the boxes are completely dry, slowly peel away the strips of masking tape.
Next, apply tape to the white painted stripes, taking care to line the tape up with the painted stripes as perfectly as possible. Use masking tape to create a rectangle for the blue stars section of the planter and cover that section completely. Our rectangles were about 5.75" x 2" for the smaller box and just under 6" wide by 3" for the larger box.
Apply Washable Red Acrylic Paint to the exposed stripes. Allow to dry completely, then carefully peel away the tape. Line the outside edges of the rectangle with tape and paint the remaining natural strip white to match the rest of the rectangle. Allow to dry, but do not remove the tape.
On a disposable plate, mix Washable Blue Acrylic Paint with a small amount of Crayola® Washable Black Acrylic Paint to create navy blue paint.
Paint the rectangular areas of the boxes with navy blue paint. Allow to dry completely. While the paint is drying, use a piece of sandpaper to distress the painted stars and box lids. Use an imperfect approach here, sanding more on edges that would naturally get more wear.
When the boxes are completely dry, remove the tape and begin sanding those, as well. As mentioned in step 6, apply more sanding to the edges to give the boxes a naturally distressed look.
Use a hot glue gun to apply the stars to the blue rectangles of each box. For the small box we applied eight stars, and for the large box we applied 15 stars. If desired, seal the boxes with a clear matte sealant.
Fill the boxes with plants, use the boxes as serving trays, or add the lids and use the boxes as risers in your Memorial Day or 4th of July decor. We used our boxes as risers, which we topped with a Galvanized Metal Tray with Handles filled with flowers in Galvanized Metal Pails. For more ideas on how to incorporate these boxes into your decor, be sure to check out our 4th of July Patriotic Porch.


