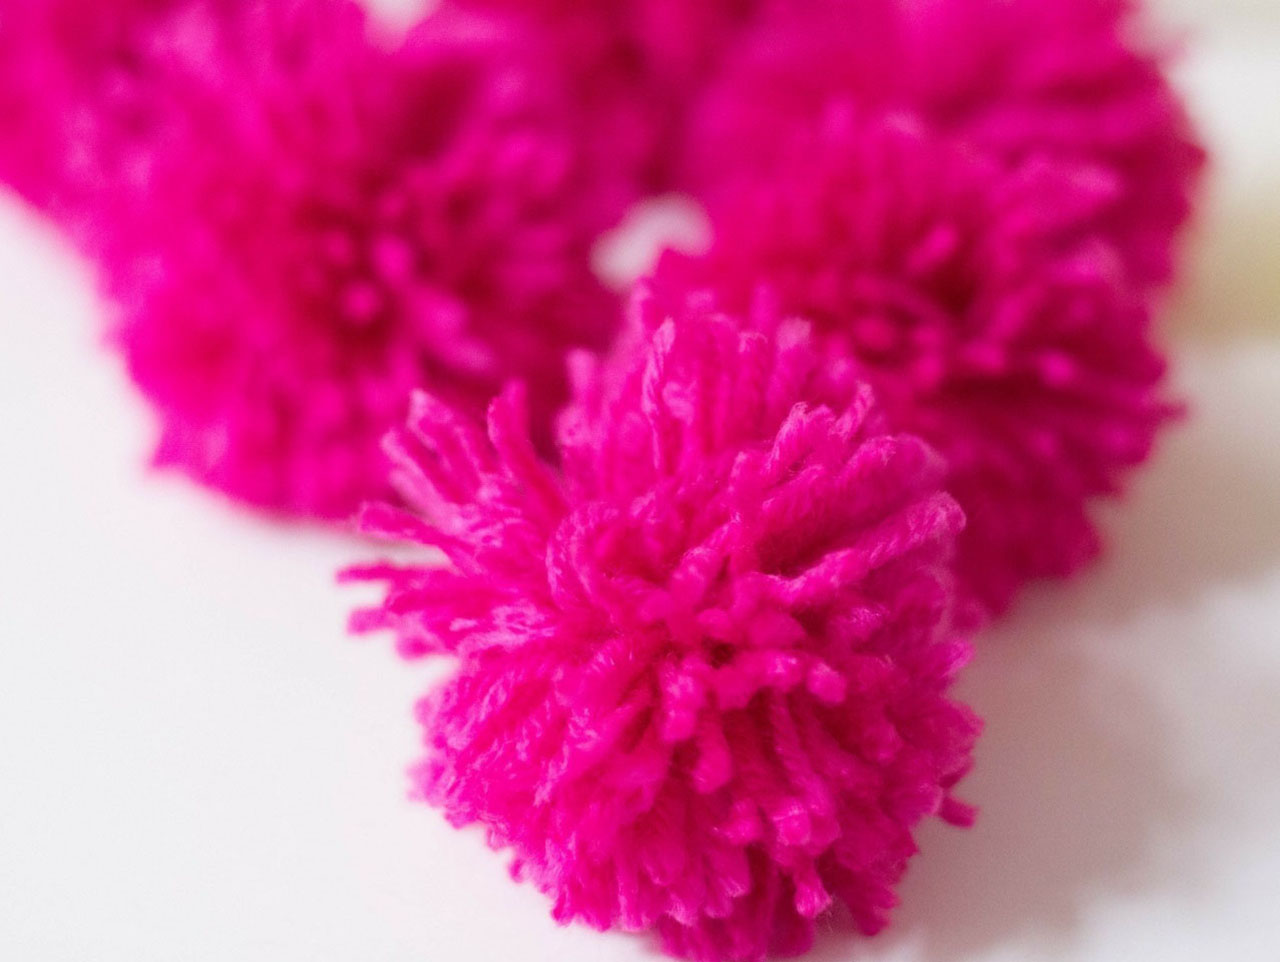
Using the pink Yarn, create four yarn pom poms that are approximately 3″ diameter. You’ll need six. Also create six smaller sized poms using the yellow yarn. Those should be approximately 1″ in diameter. Reserve for later use.
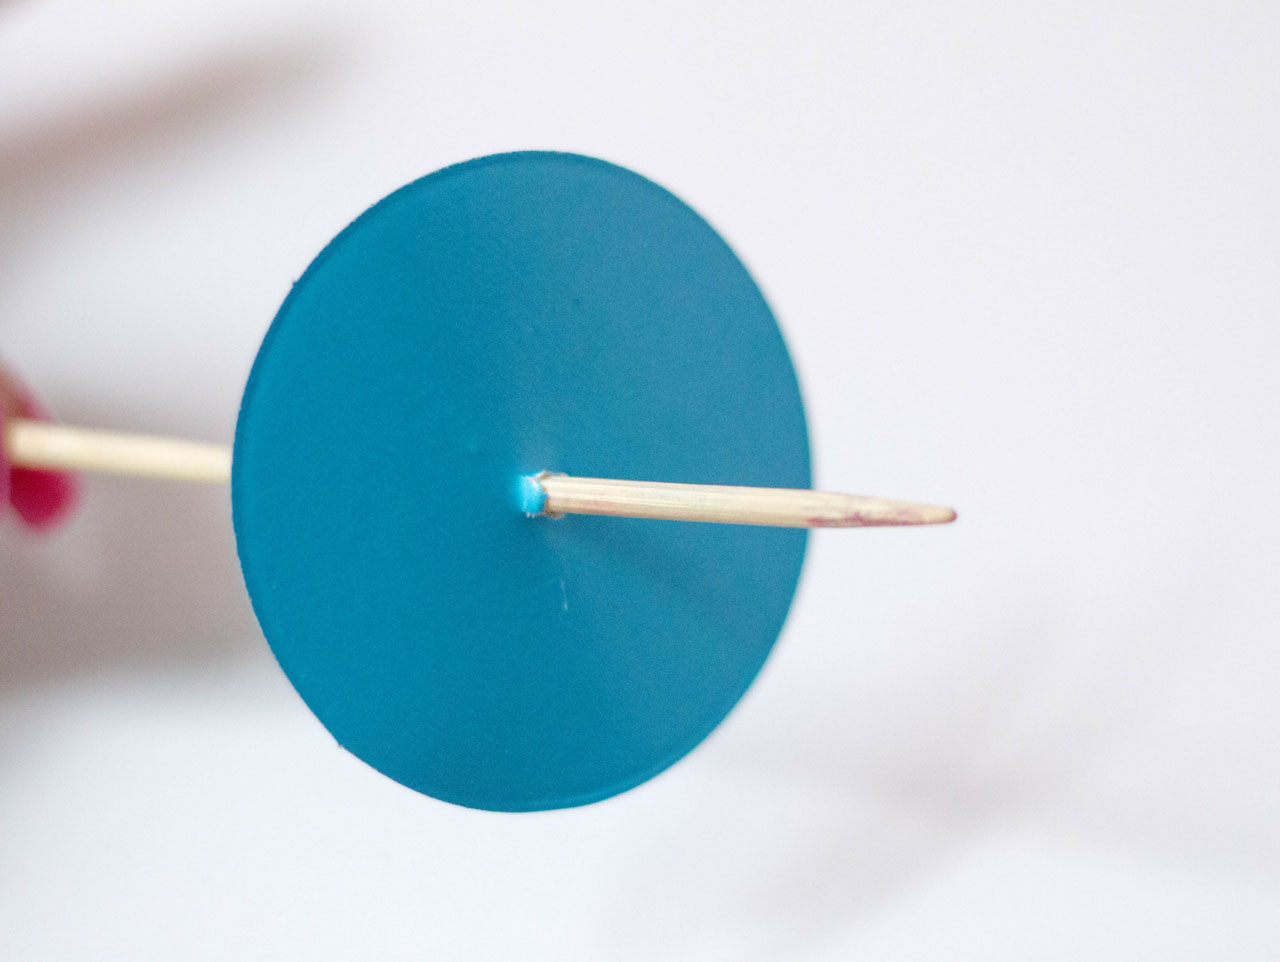

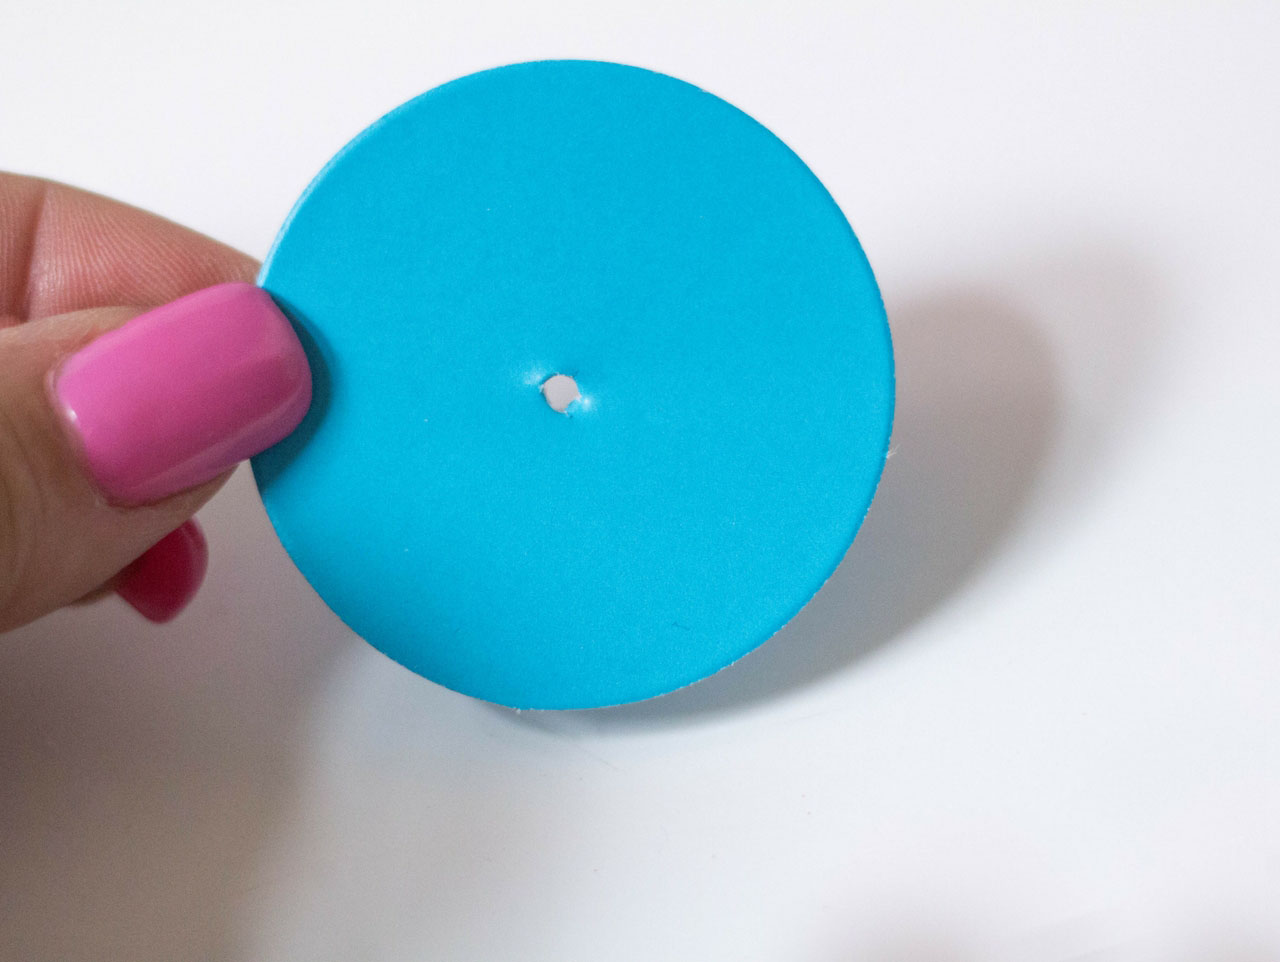
Using the sharp wood skewer, poke a hole in the center of the Cardboard Circles. We used 24 of each color in turquoise, yellow and hot pink.
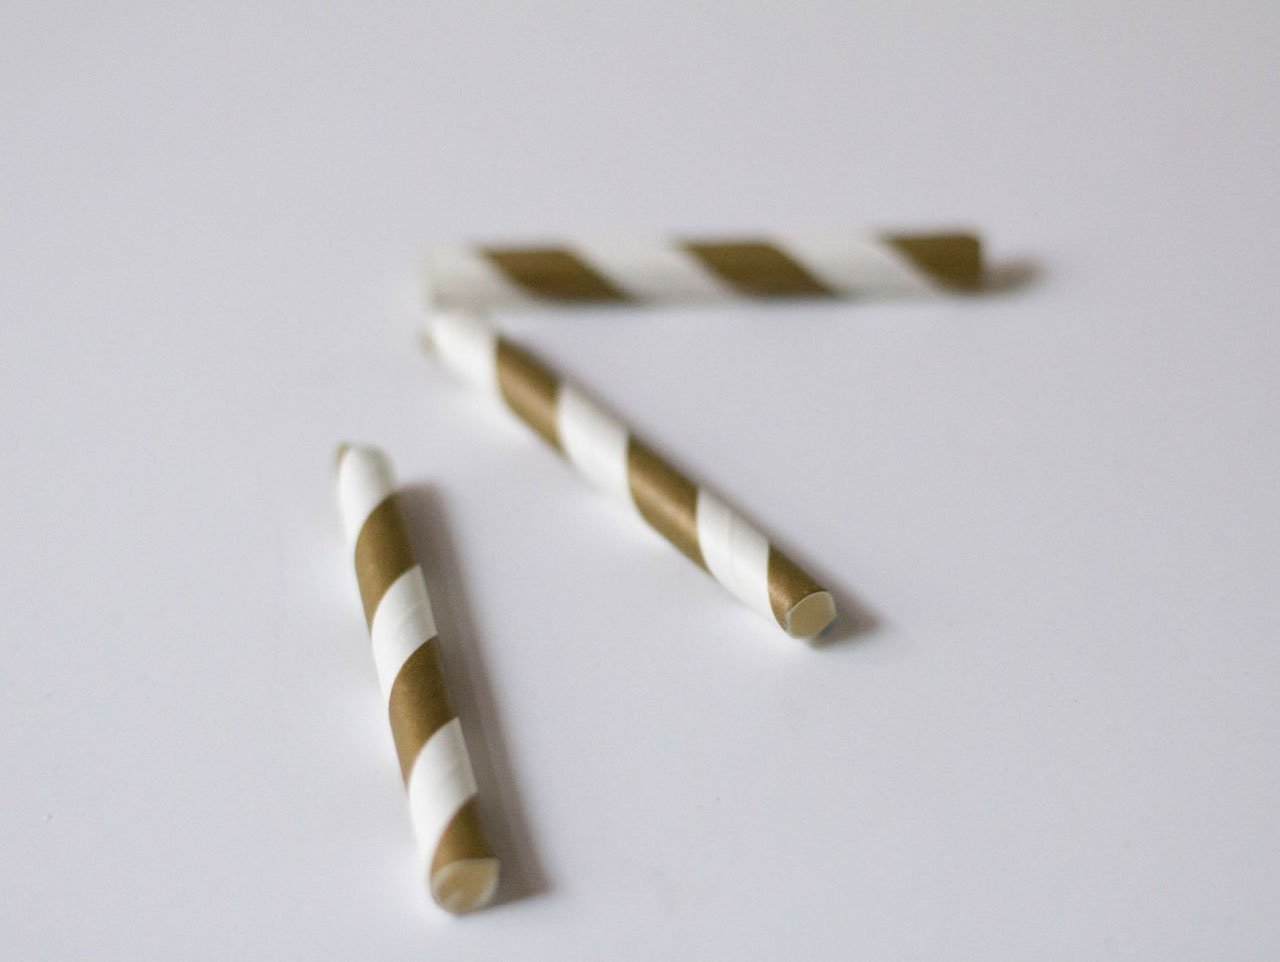
Use scissors to trim about 24 straws in two patterns into 3″ lengths.
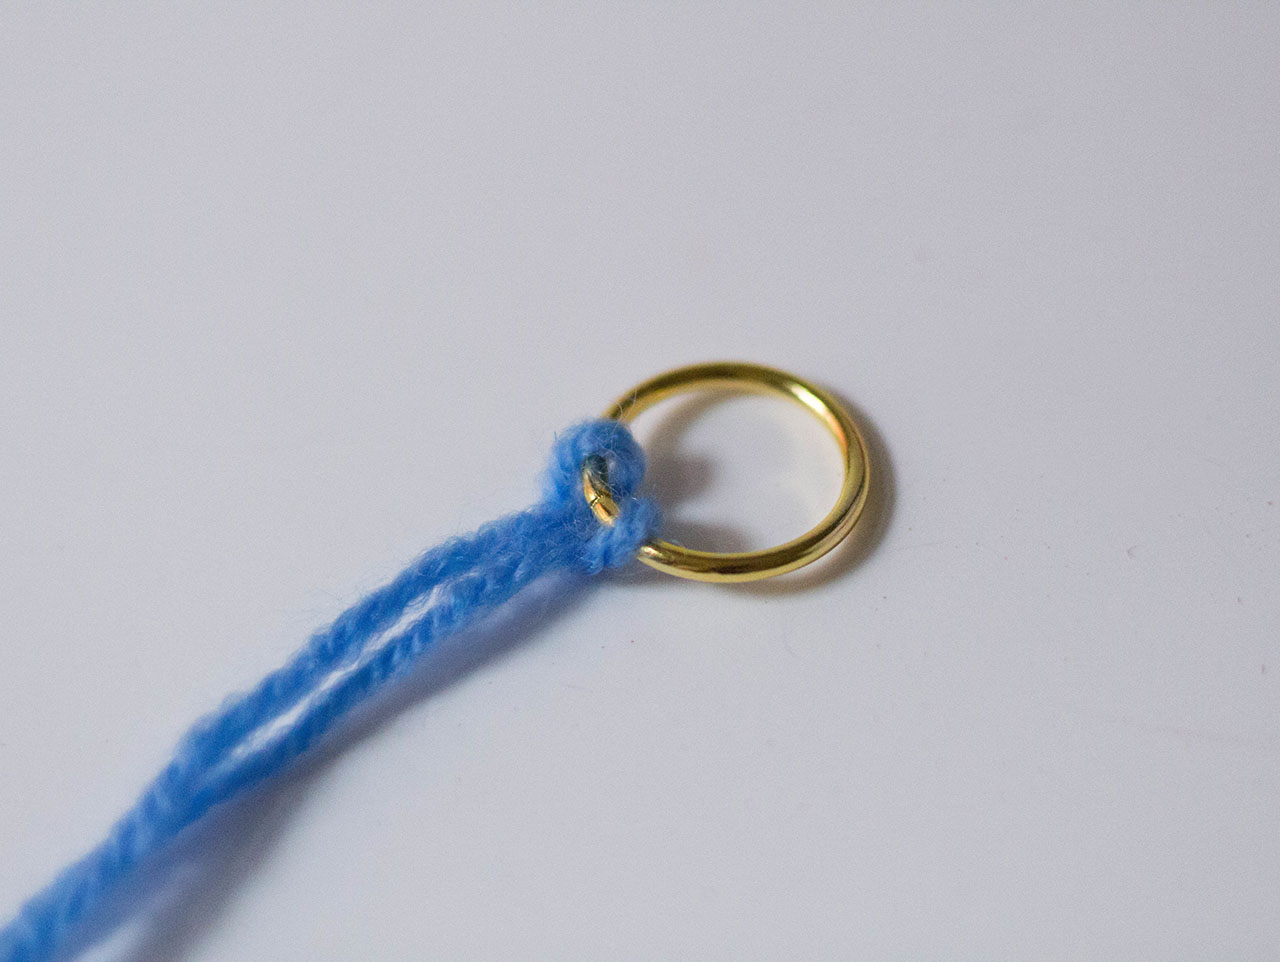
Measure six lengths of blue yarn that are approximately 36″ each in length. Loop them onto a Large Colorful Jump Ring until all six are connected and you have twelve long strings hanging down.
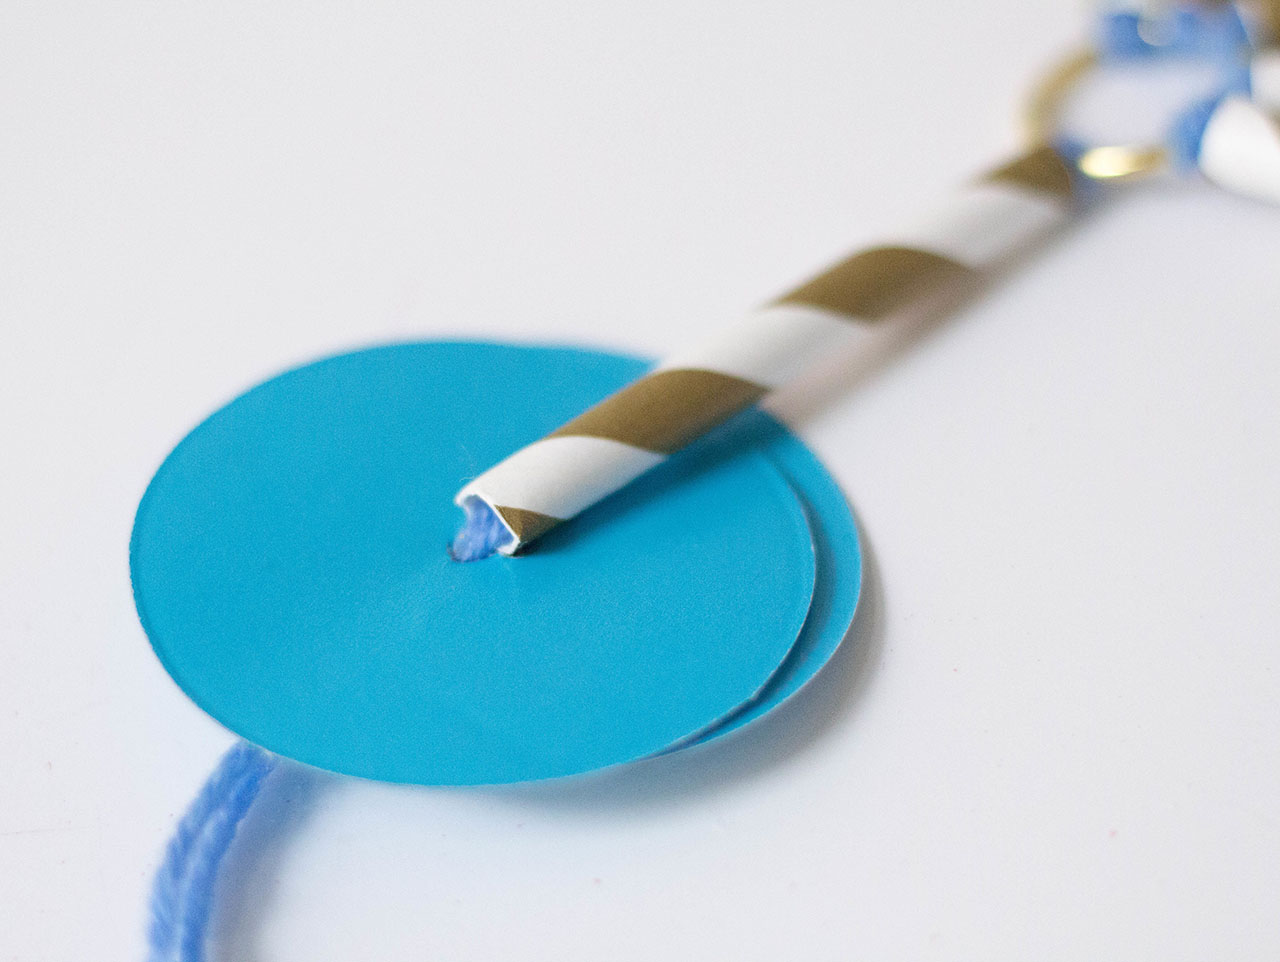
Using two strings of yarn together, add a striped straw section to both, using the skewer to help push it through, if needed. Follow this with two of the turquoise cardboard circles.
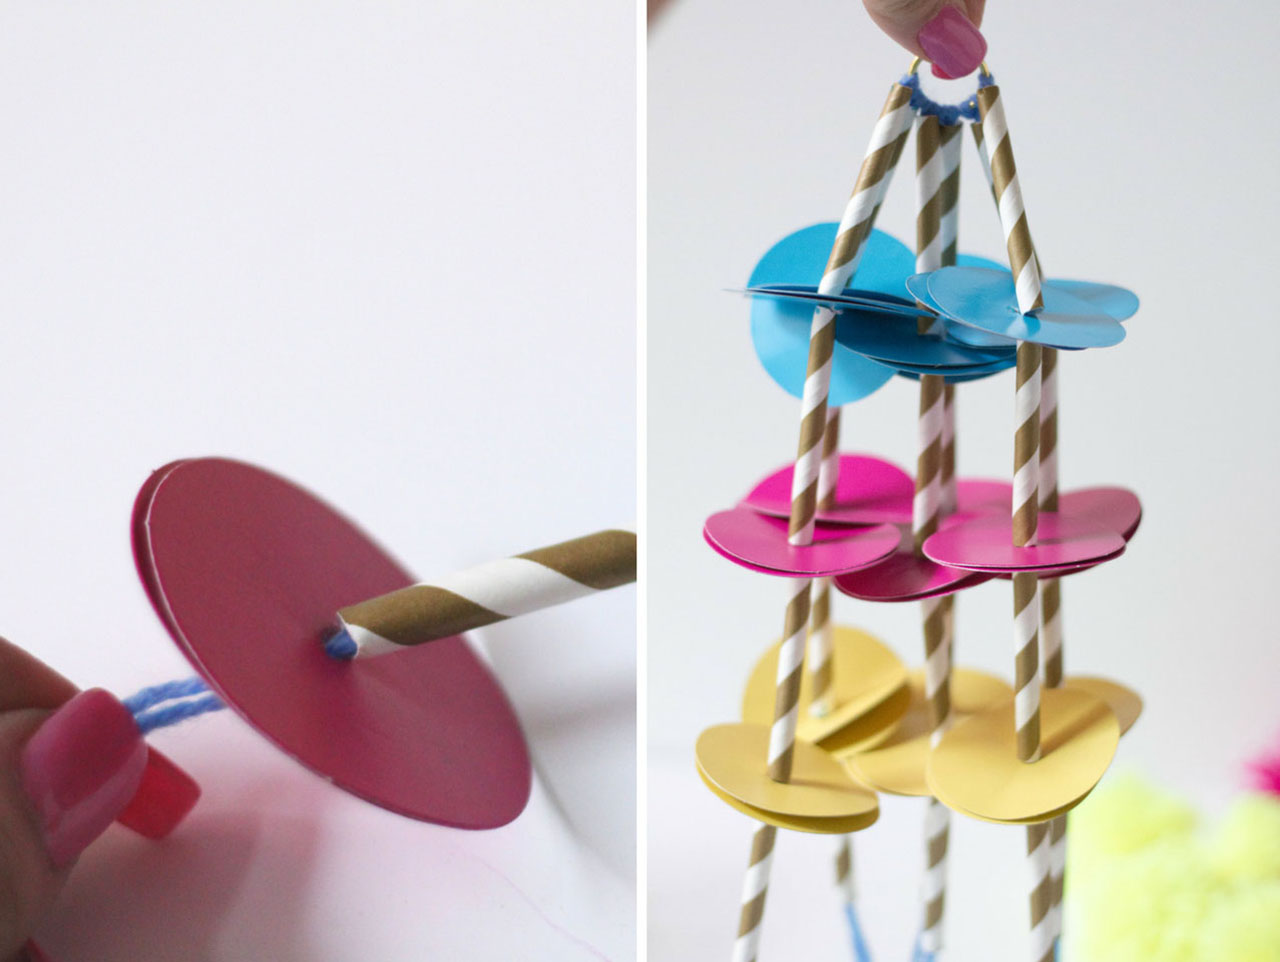
Add another straw section, then two hot pink circles. Repeat again, by adding a straw section and two yellow circles. Finish the pattern with a straw section. Repeat this six times, until your project appears as shown in the image.
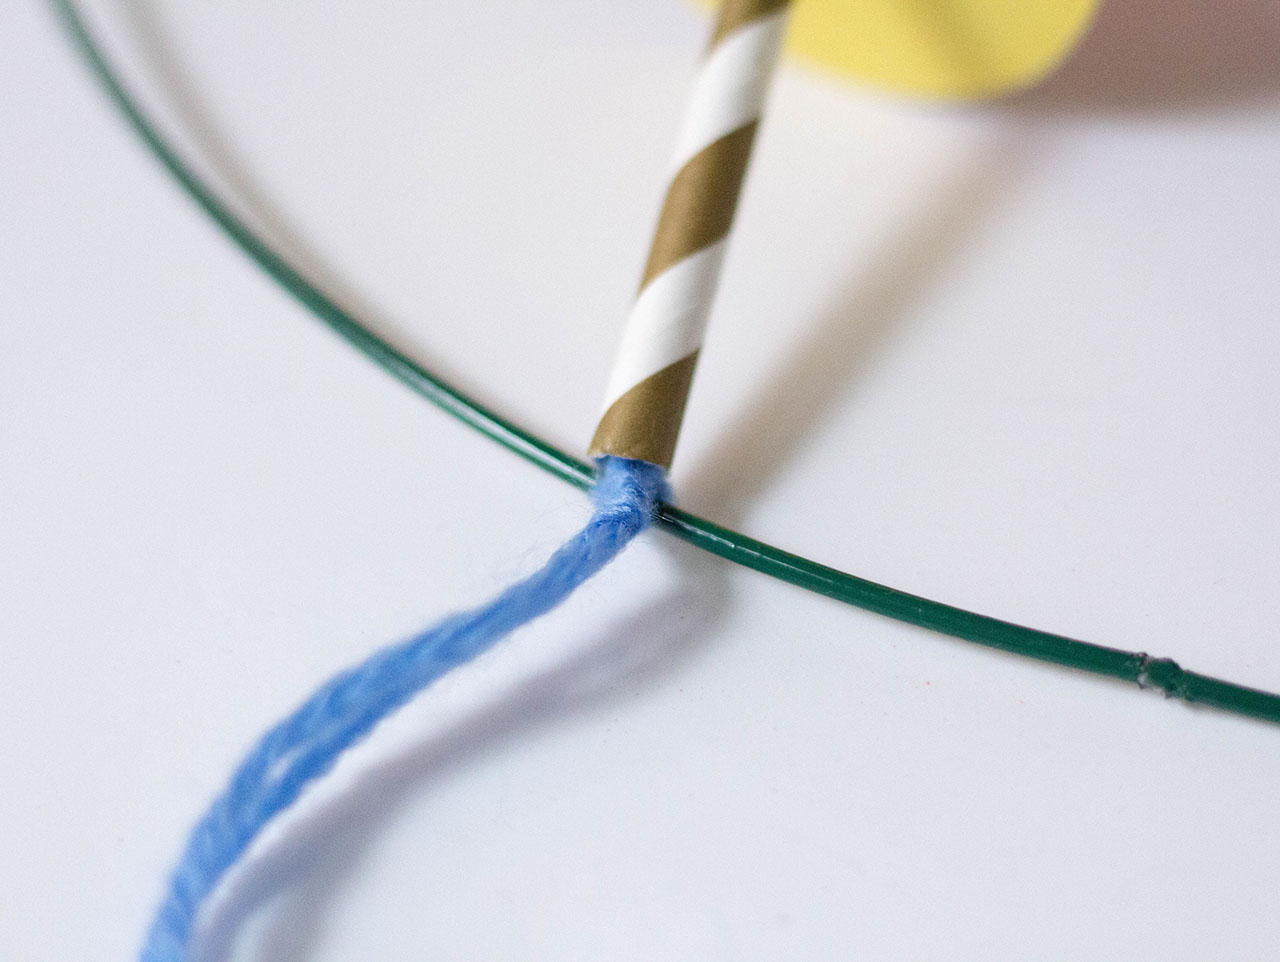
Place the end of one section on the ring of the Wire Wreath Frame, and tie a knot tightly where the straw meets the ring, pulling to eliminate slack. (separate the rings of the wreath frame using wire snips, if needed)
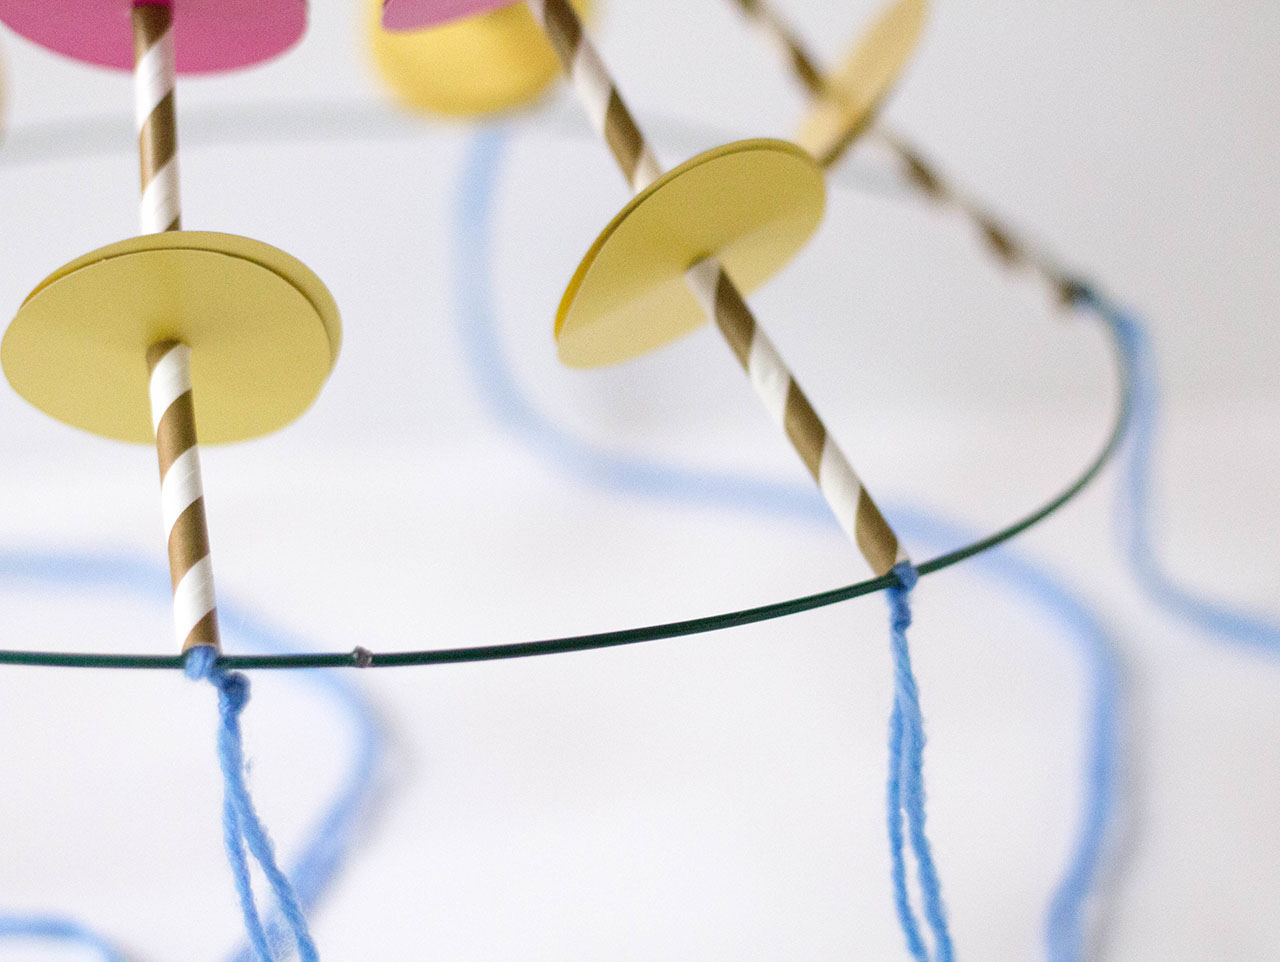
Repeat with each section, spacing evenly around the circumference of the ring, as shown.
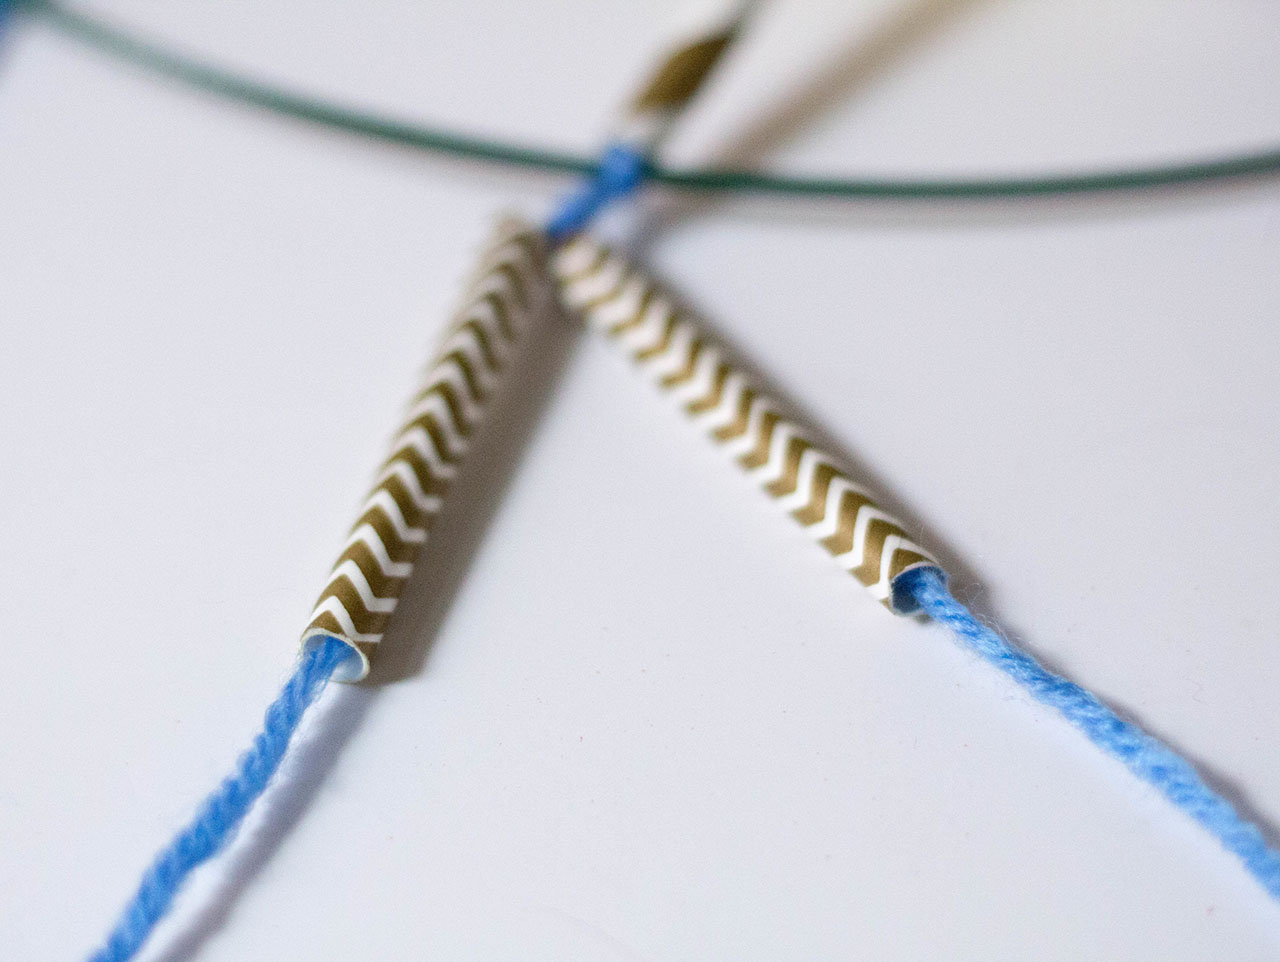
Now working below the ring, divide the two yarn strands and add a straw section. We used a different pattern than before to add interest.
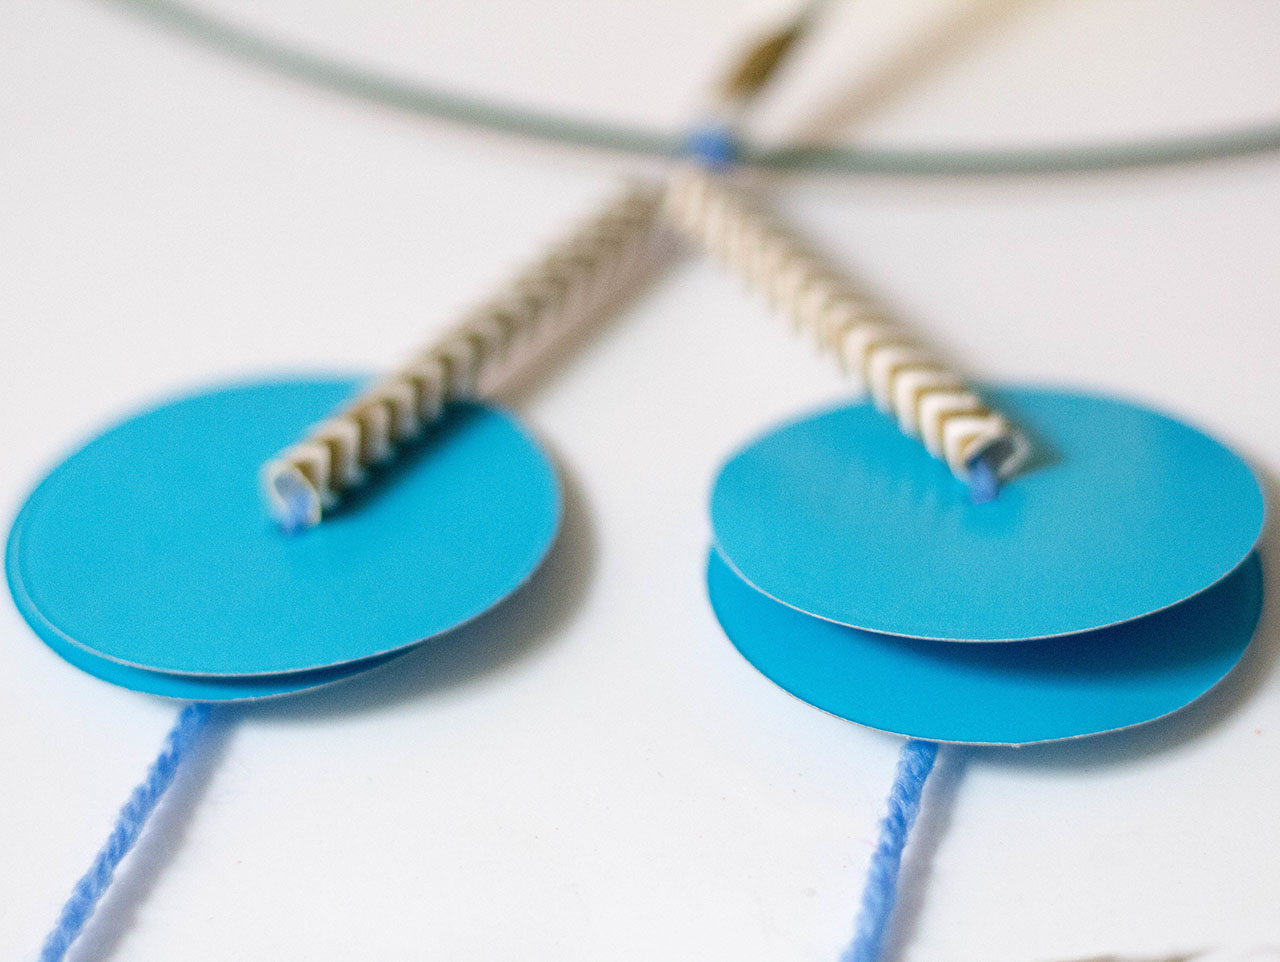
Add two turquoise circles below each straw. Repeat this for each section.
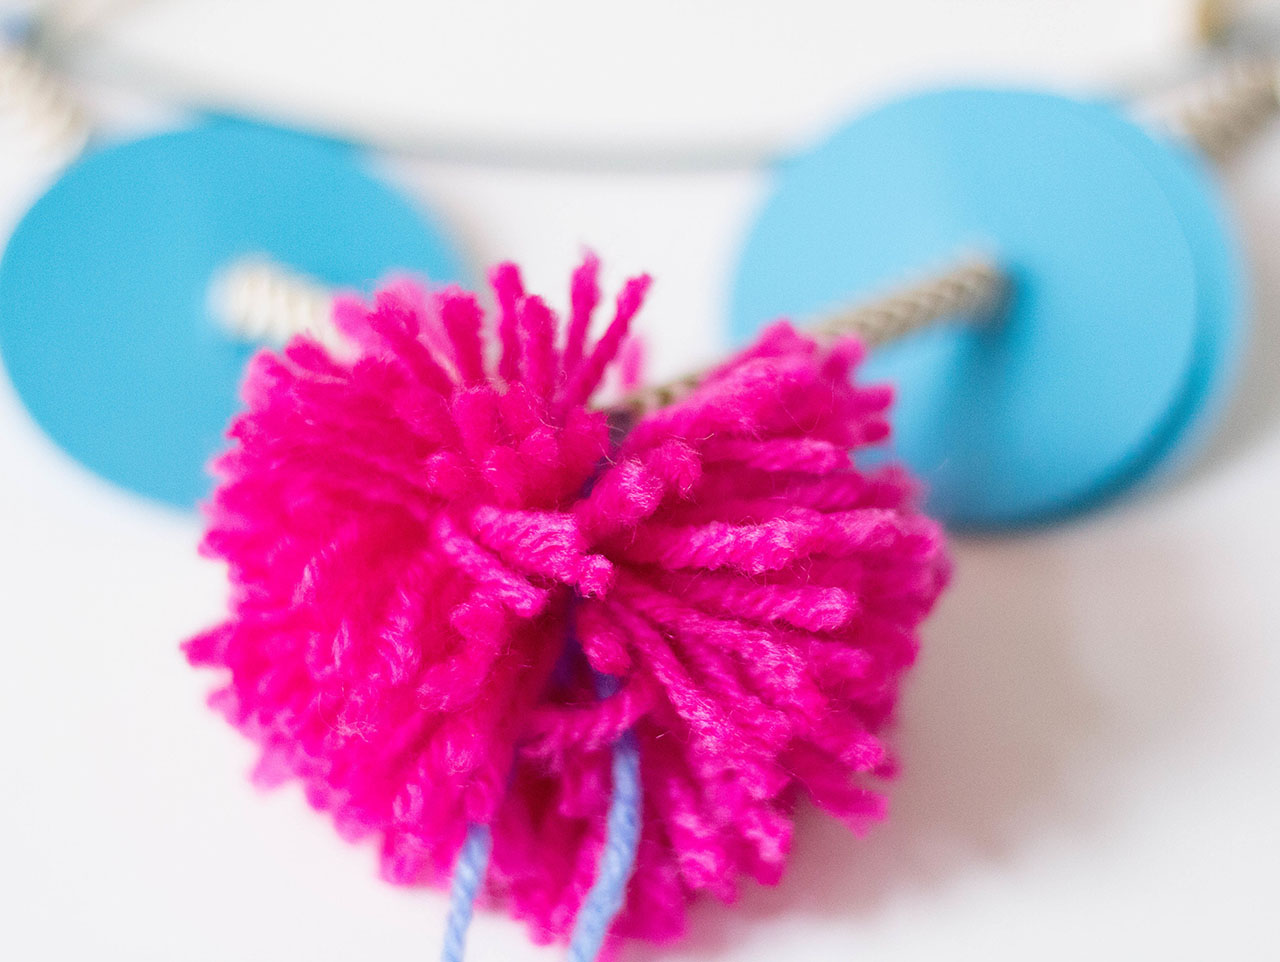
Add another straw section below each of the turquoise circles, then bring the outside sections together forming a “V” as shown. Tie securely, then add a large pom pom by tying it in, as well.
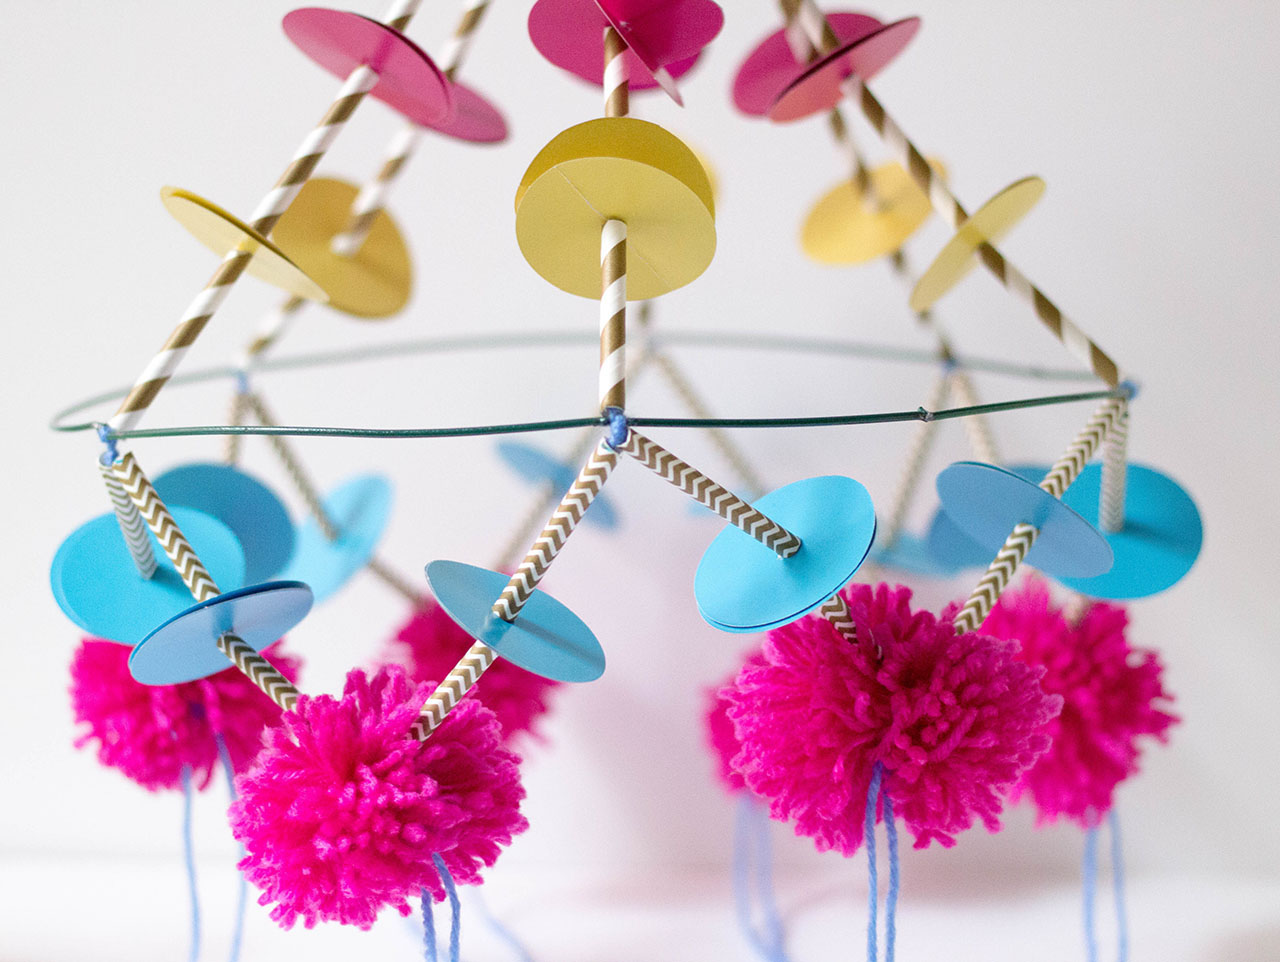
Repeat for each section. Your project should look like this:
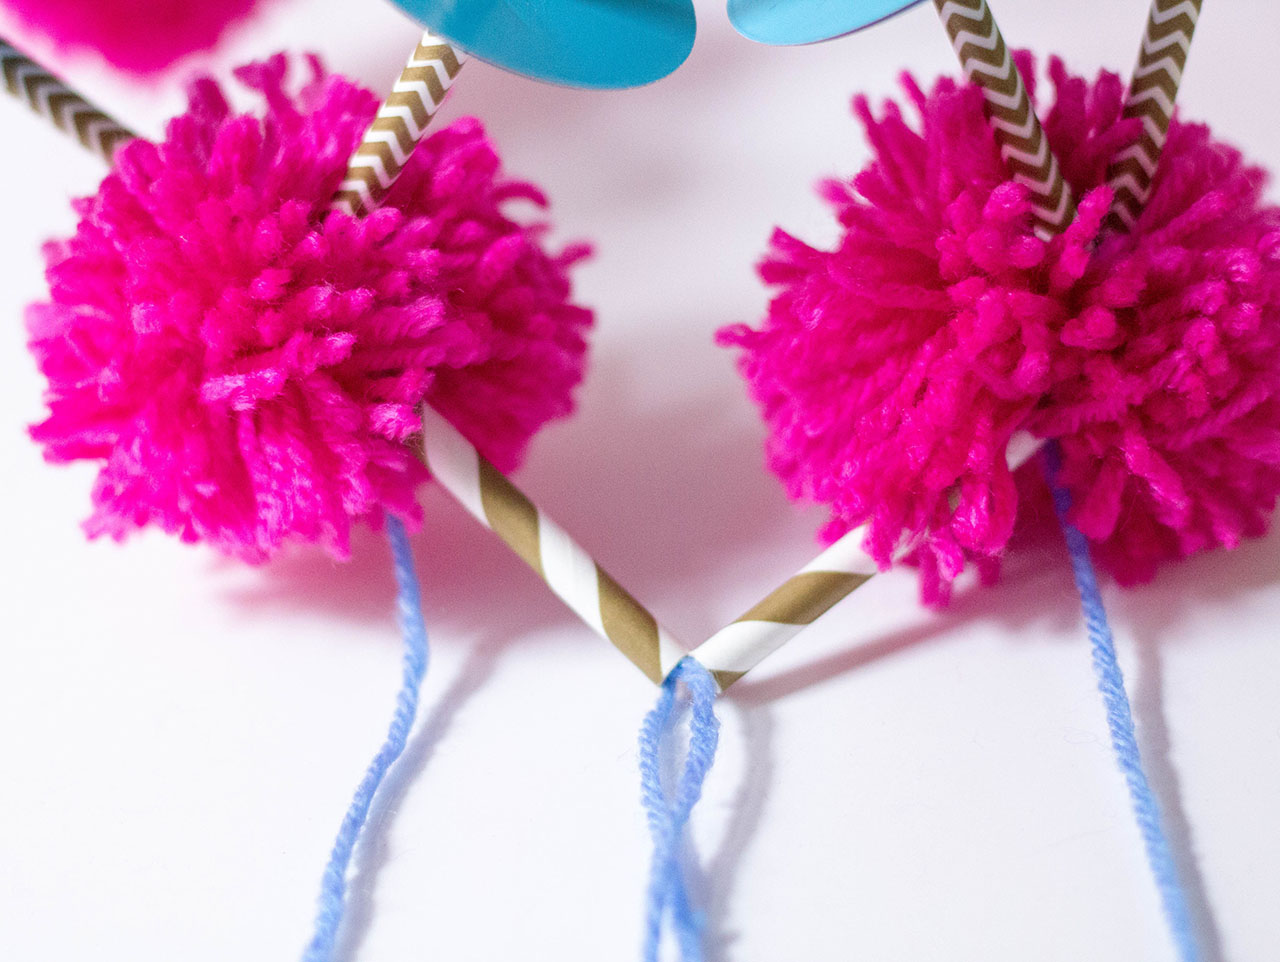
Divide the yarn strands in two again, and add more straw sections, as shown.
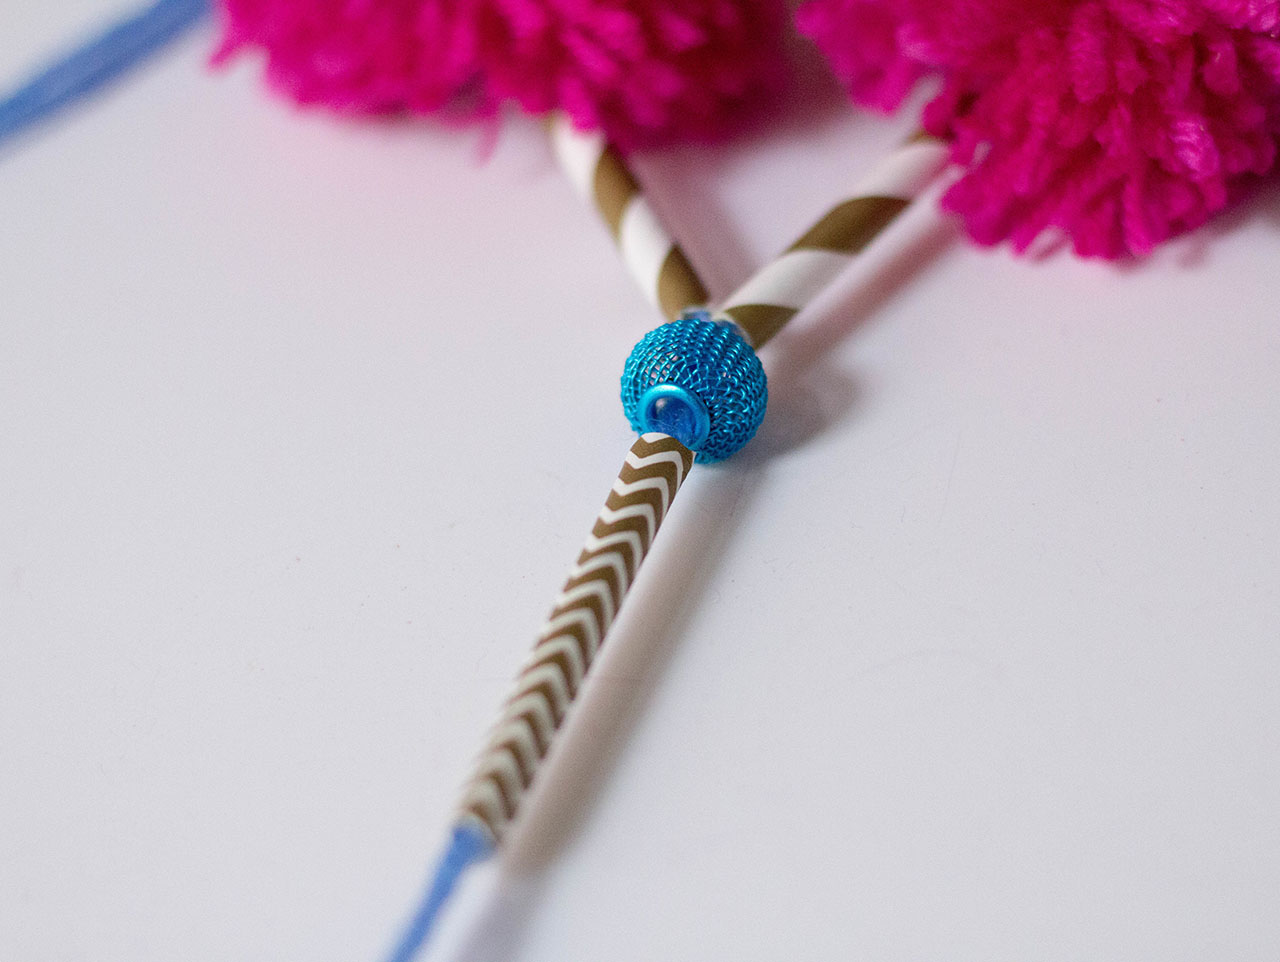
Connect the outside sections to make a “V” again, and add a Bead where the straws meet. With both strands together again below the bead, add a single straw section as shown.
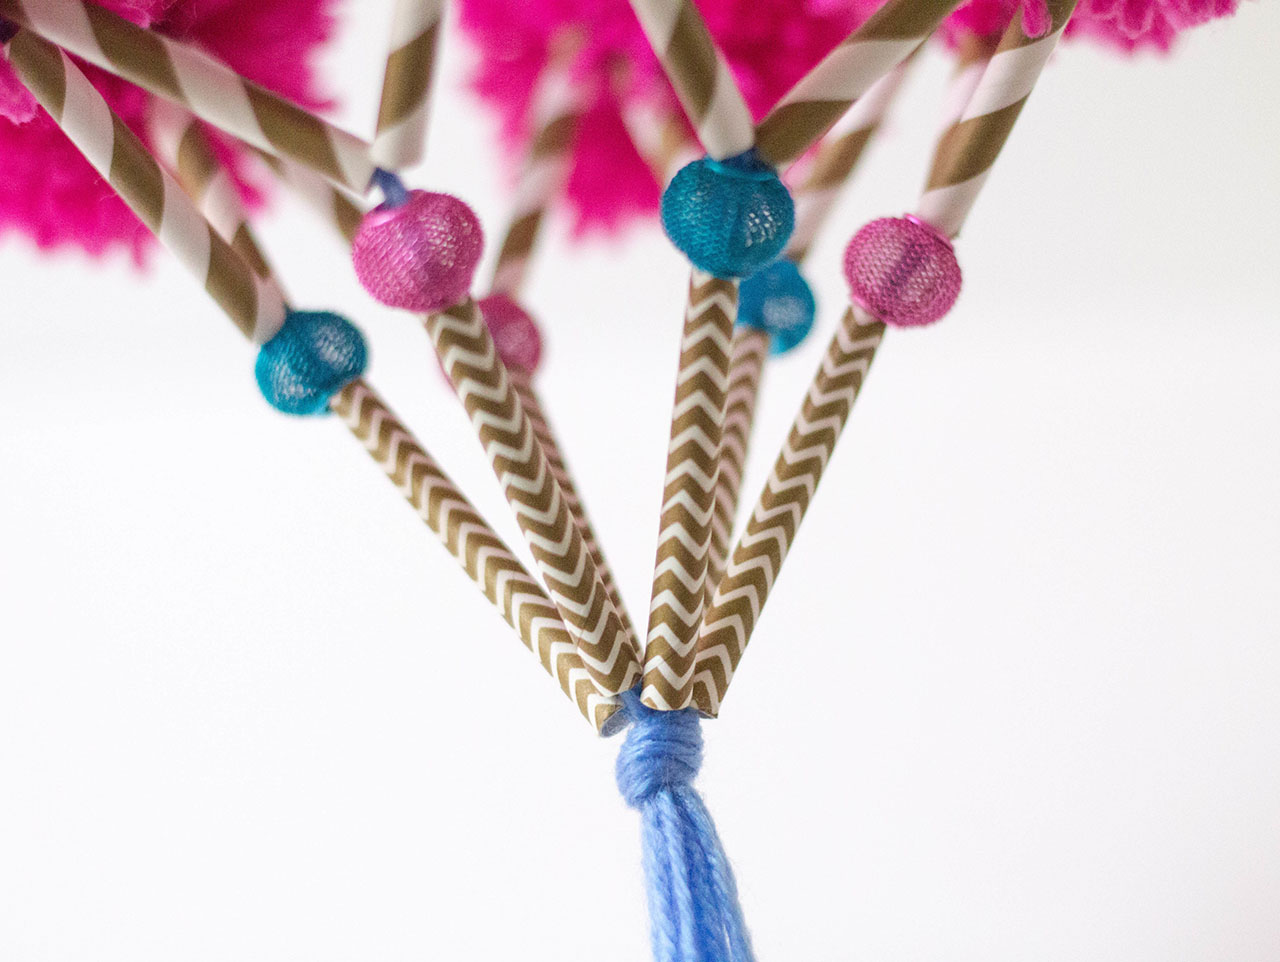
Repeat for each section, then connect all of the ends together in the center and knot securely.
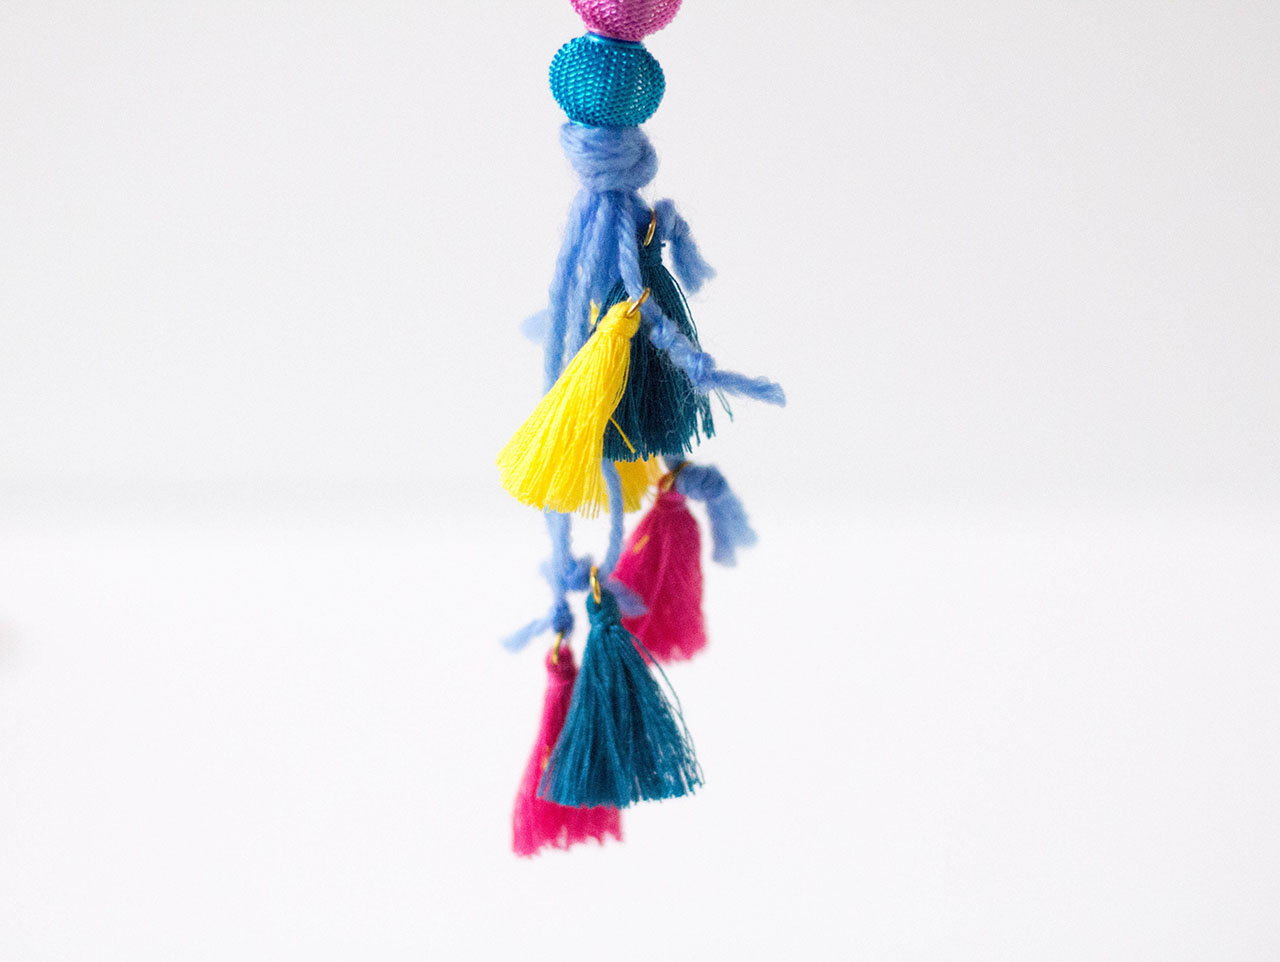
Trip the end of the yarn strands, and add Colorful Tassel Charms.
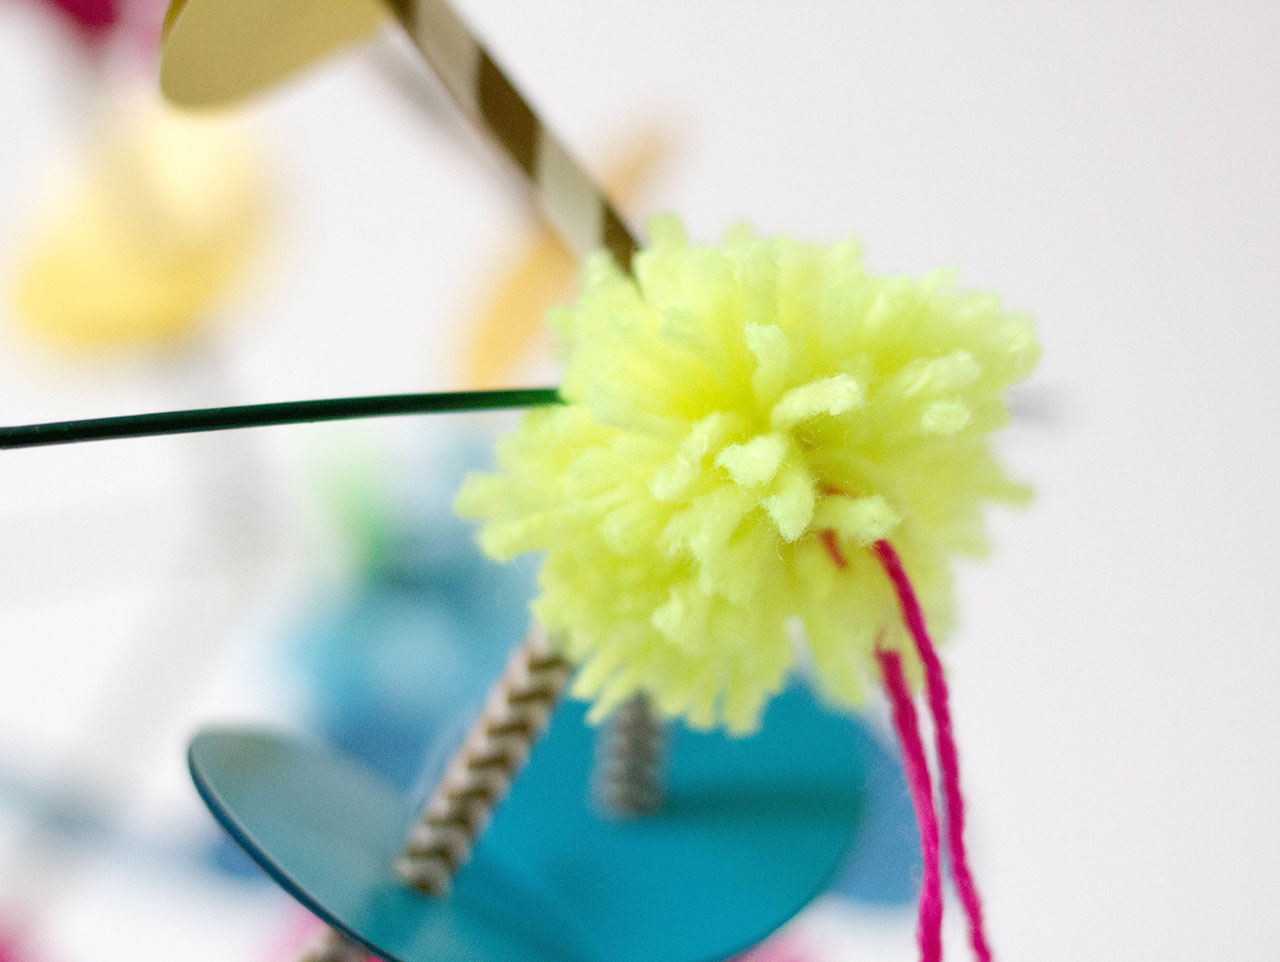
Returning to the ring portion of the project, use a piece of yarn to tie a small yellow pom pom to each section where a straw meets the ring. You can also use the faux flowers from the hair clips if you prefer them to the pom poms. Repeat at each intesecting point around the circumference of the ring.
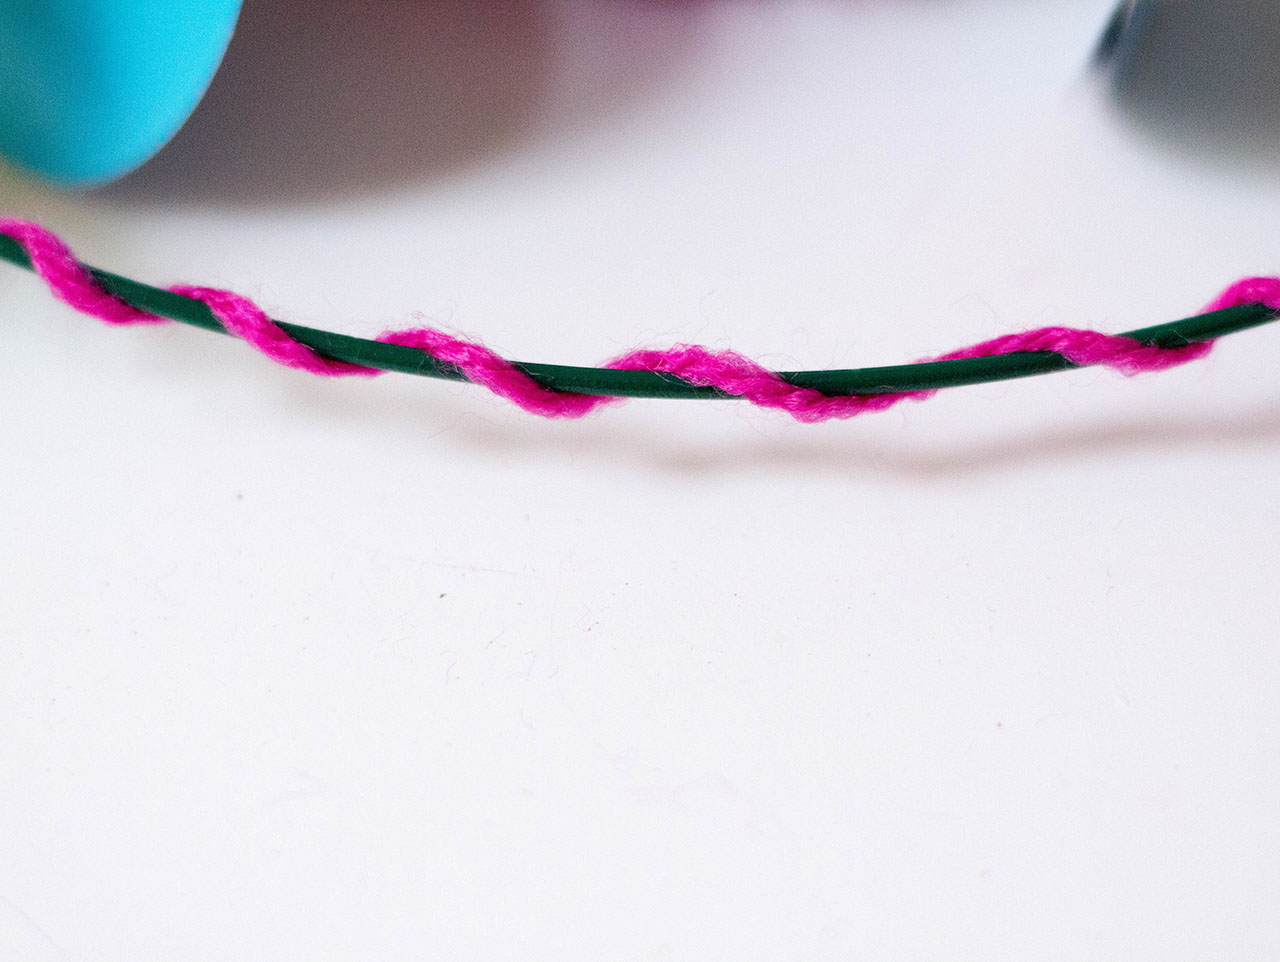
To add decorative appeal to the portion of the ring that is still exposed, we looped yarn around it as shown. You can also use colored cords if you prefer.
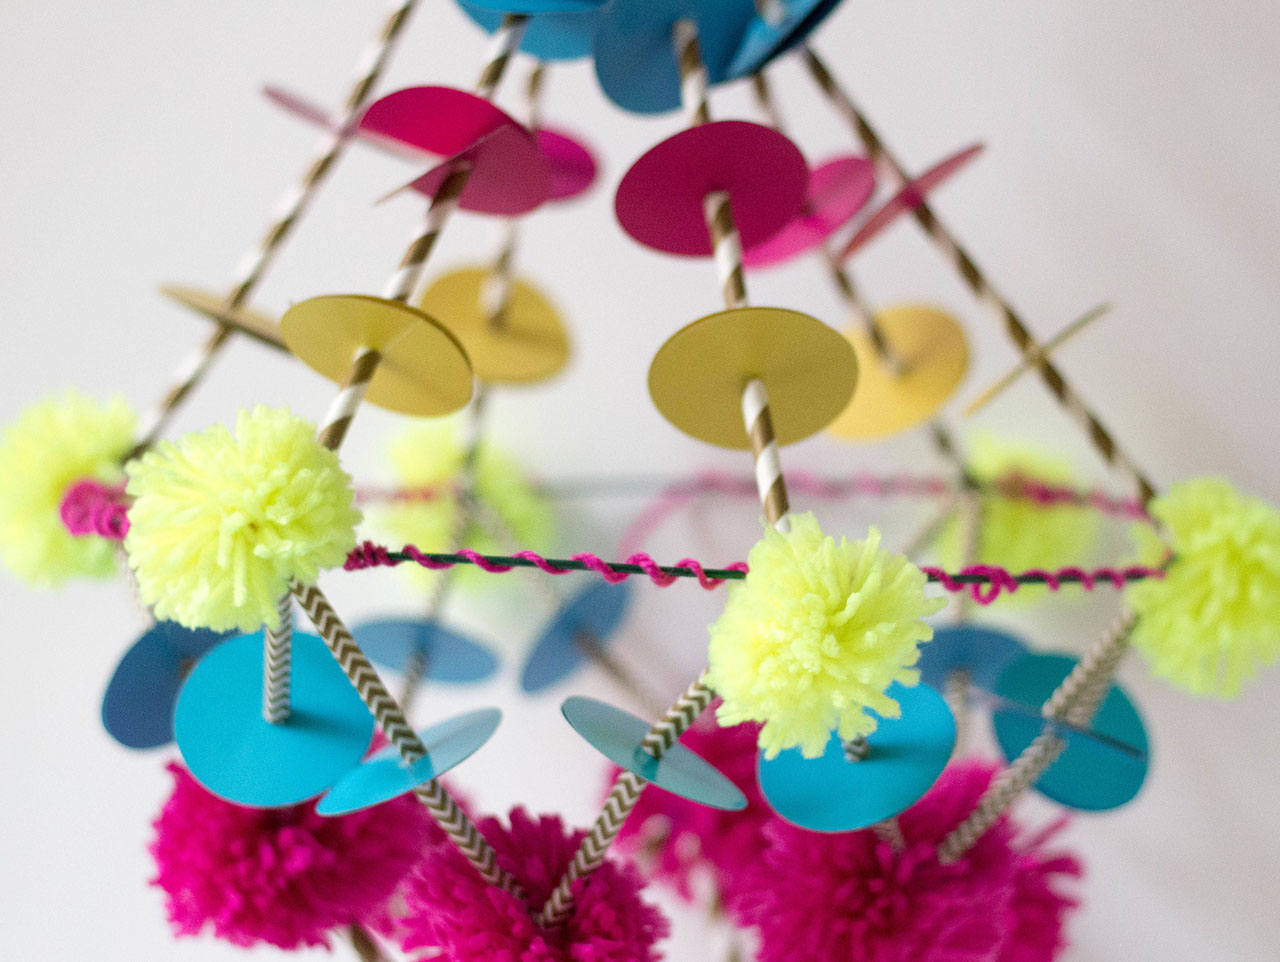

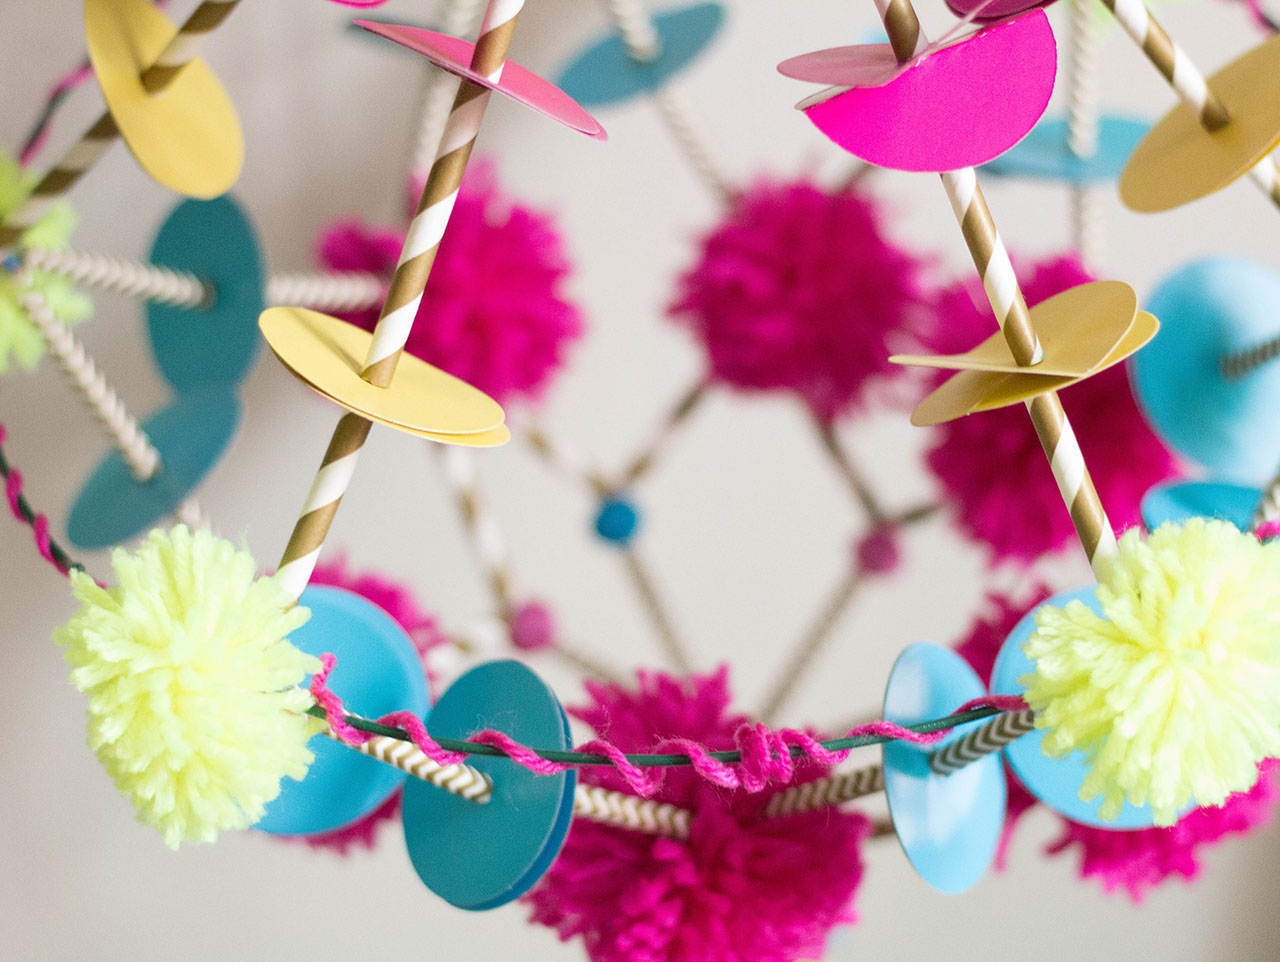
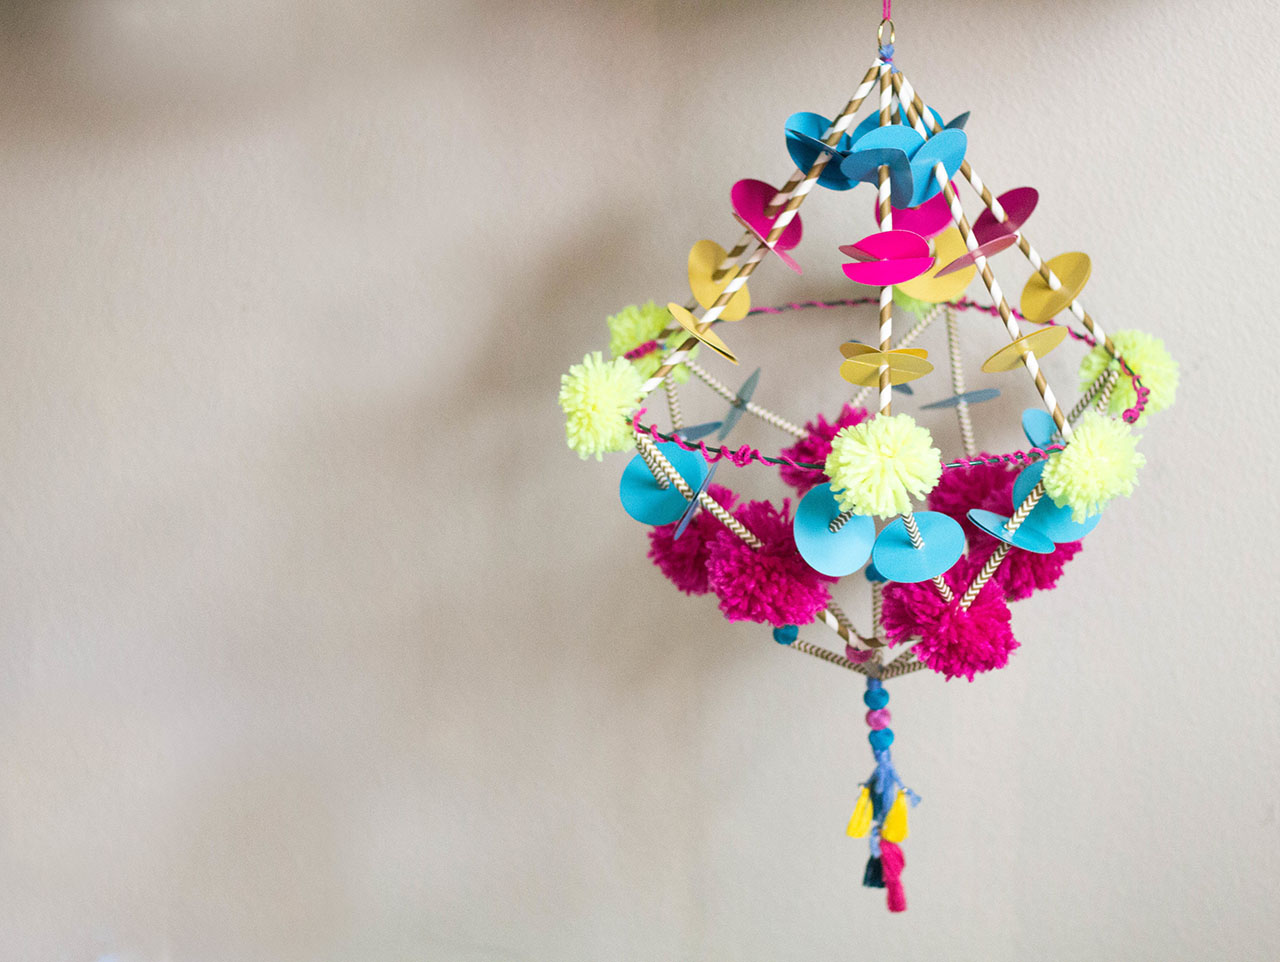
Your pajaki chandelier is now complete! You can hang it from the ceiling in a bedroom, or try suspending it from a beam or tree branch outdoors. These beautiful boho chic style creations look stunning in groups when hung at different heights, as well. Try different colors and materials to create a look that’s all your own!

Using the pink Yarn, create four yarn pom poms that are approximately 3″ diameter. You’ll need six. Also create six smaller sized poms using the yellow yarn. Those should be approximately 1″ in diameter. Reserve for later use.


Using the sharp wood skewer, poke a hole in the center of the Cardboard Circles. We used 24 of each color in turquoise, yellow and hot pink.

Use scissors to trim about 24 straws in two patterns into 3″ lengths.

Measure six lengths of blue yarn that are approximately 36″ each in length. Loop them onto a Large Colorful Jump Ring until all six are connected and you have twelve long strings hanging down.

Using two strings of yarn together, add a striped straw section to both, using the skewer to help push it through, if needed. Follow this with two of the turquoise cardboard circles.

Add another straw section, then two hot pink circles. Repeat again, by adding a straw section and two yellow circles. Finish the pattern with a straw section. Repeat this six times, until your project appears as shown in the image.

Place the end of one section on the ring of the Wire Wreath Frame, and tie a knot tightly where the straw meets the ring, pulling to eliminate slack. (separate the rings of the wreath frame using wire snips, if needed)

Repeat with each section, spacing evenly around the circumference of the ring, as shown.

Now working below the ring, divide the two yarn strands and add a straw section. We used a different pattern than before to add interest.

Add two turquoise circles below each straw. Repeat this for each section.

Add another straw section below each of the turquoise circles, then bring the outside sections together forming a “V” as shown. Tie securely, then add a large pom pom by tying it in, as well.

Repeat for each section. Your project should look like this:

Divide the yarn strands in two again, and add more straw sections, as shown.

Connect the outside sections to make a “V” again, and add a Bead where the straws meet. With both strands together again below the bead, add a single straw section as shown.

Repeat for each section, then connect all of the ends together in the center and knot securely.

Trip the end of the yarn strands, and add Colorful Tassel Charms.

Returning to the ring portion of the project, use a piece of yarn to tie a small yellow pom pom to each section where a straw meets the ring. You can also use the faux flowers from the hair clips if you prefer them to the pom poms. Repeat at each intesecting point around the circumference of the ring.

To add decorative appeal to the portion of the ring that is still exposed, we looped yarn around it as shown. You can also use colored cords if you prefer.


Your pajaki chandelier is now complete! You can hang it from the ceiling in a bedroom, or try suspending it from a beam or tree branch outdoors. These beautiful boho chic style creations look stunning in groups when hung at different heights, as well. Try different colors and materials to create a look that’s all your own!


