


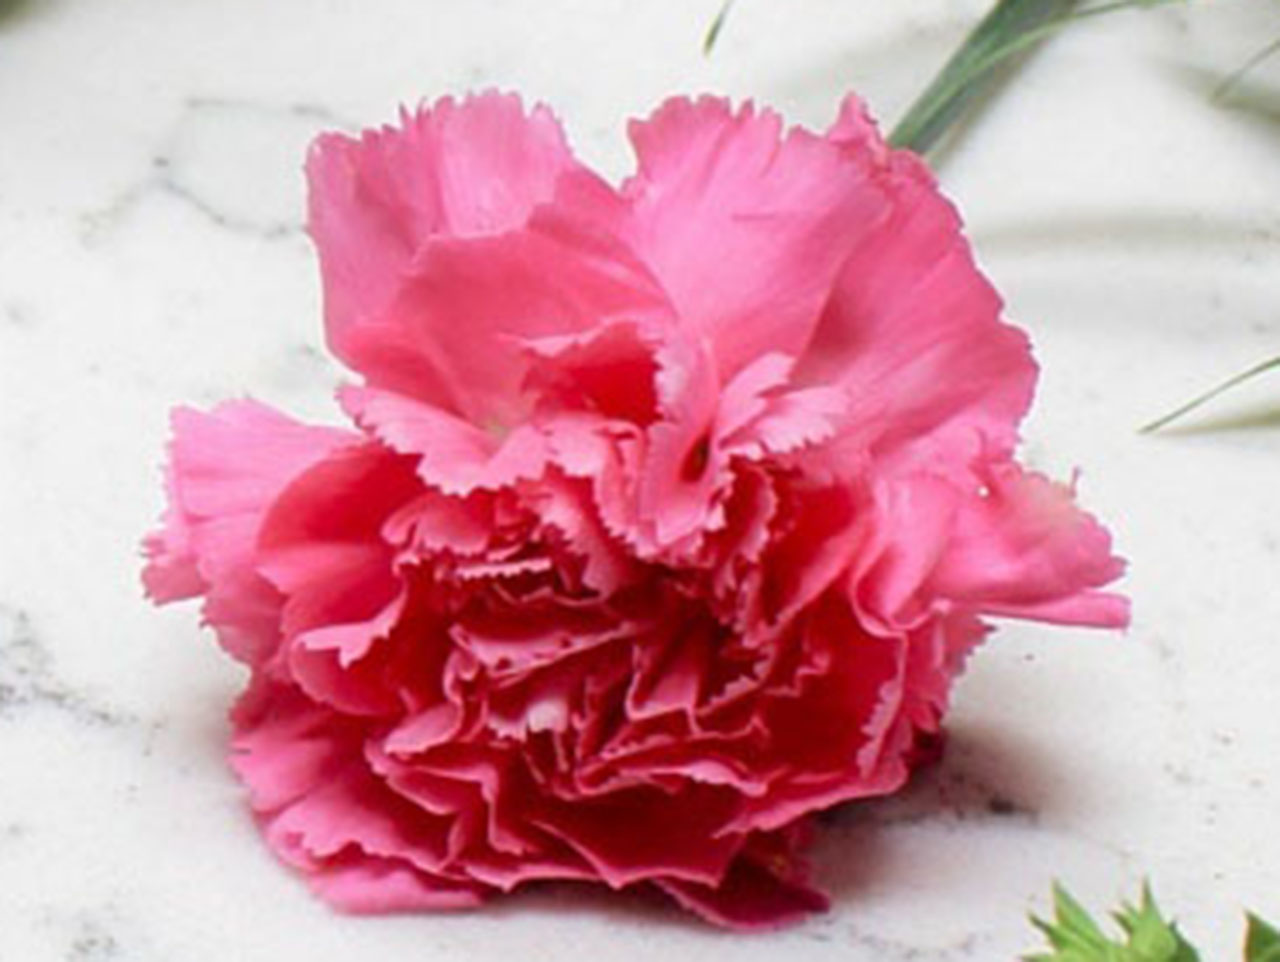
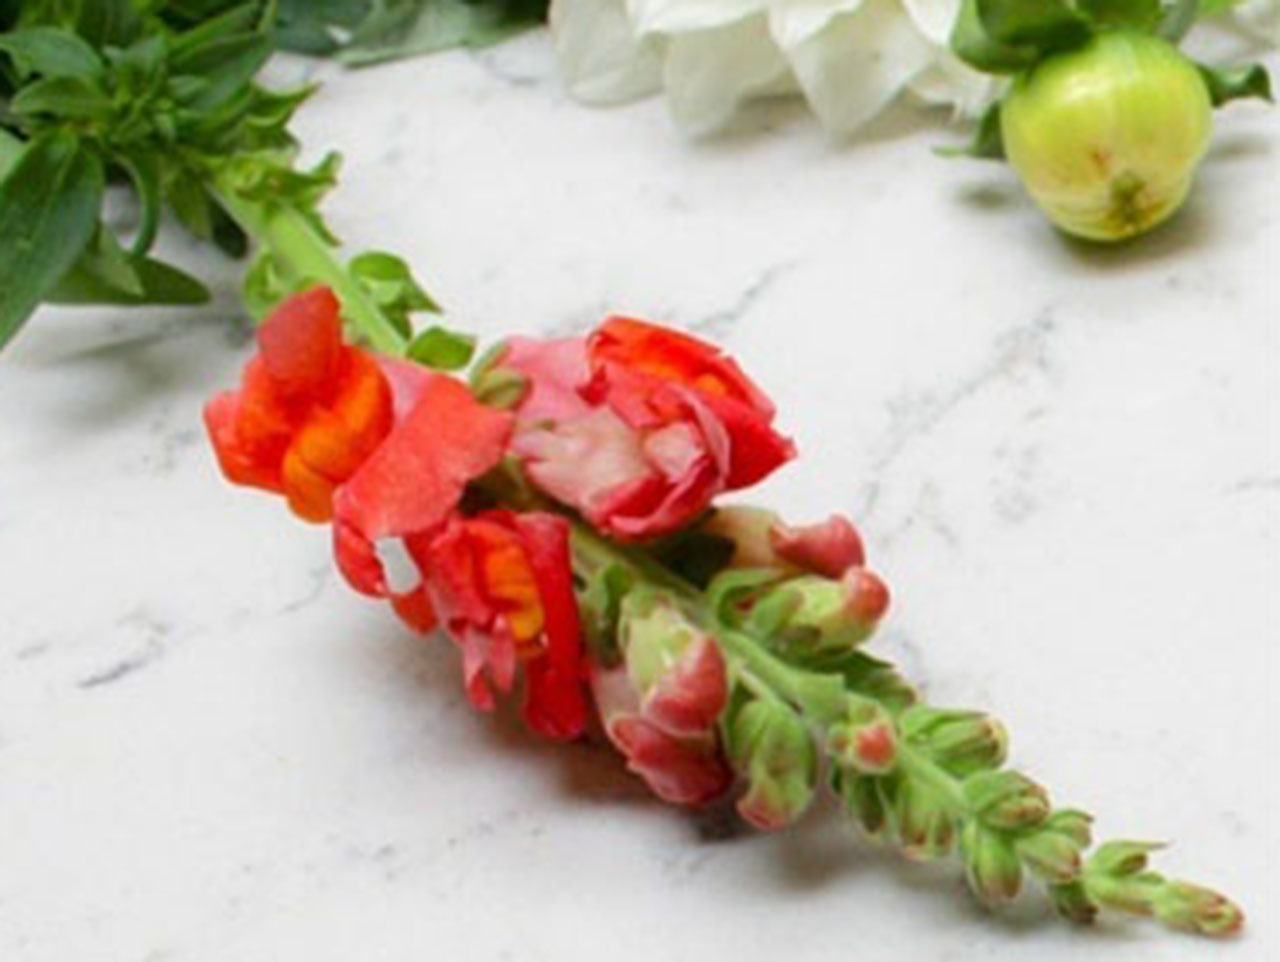
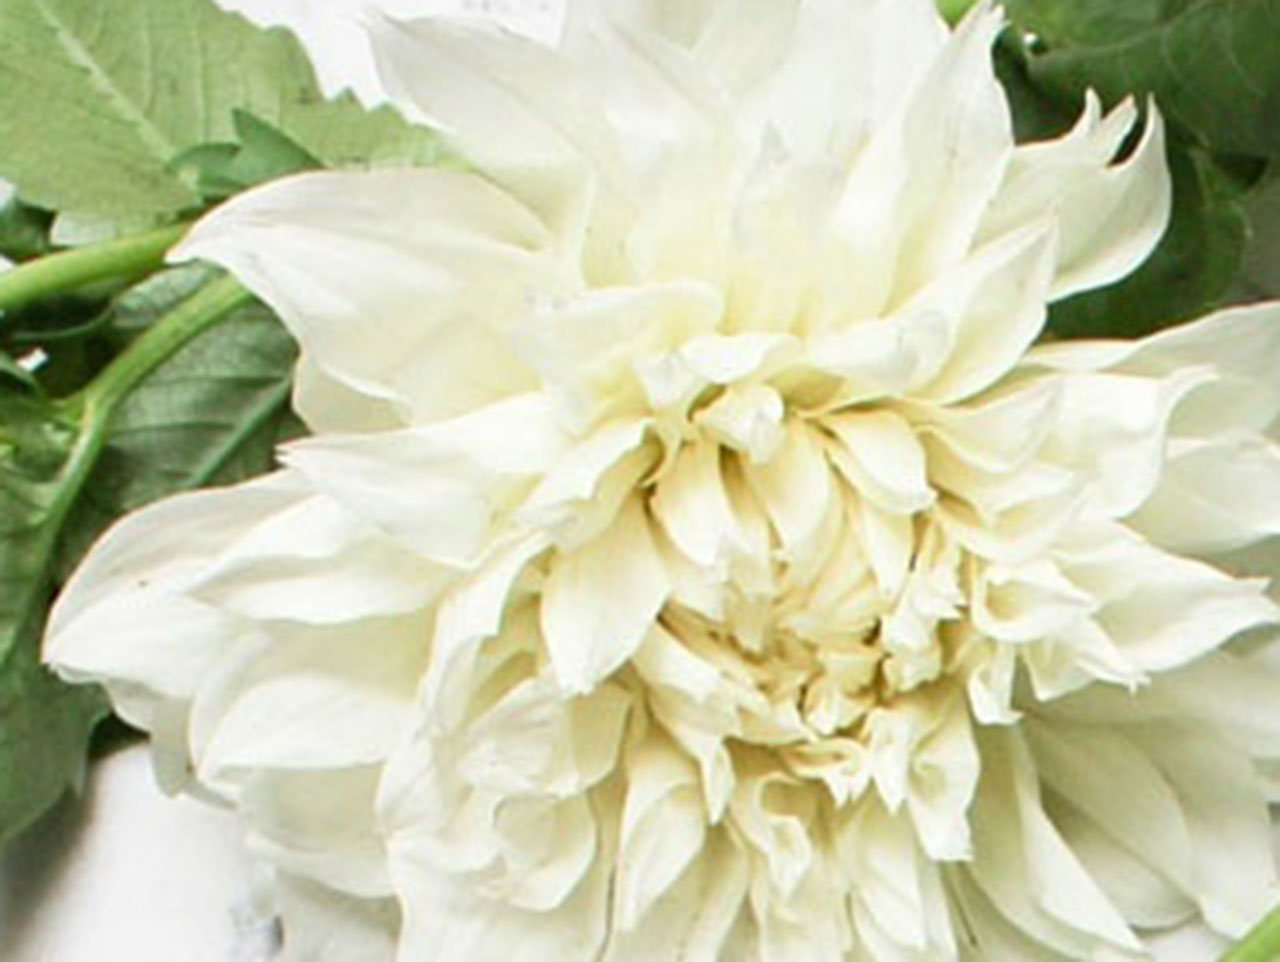
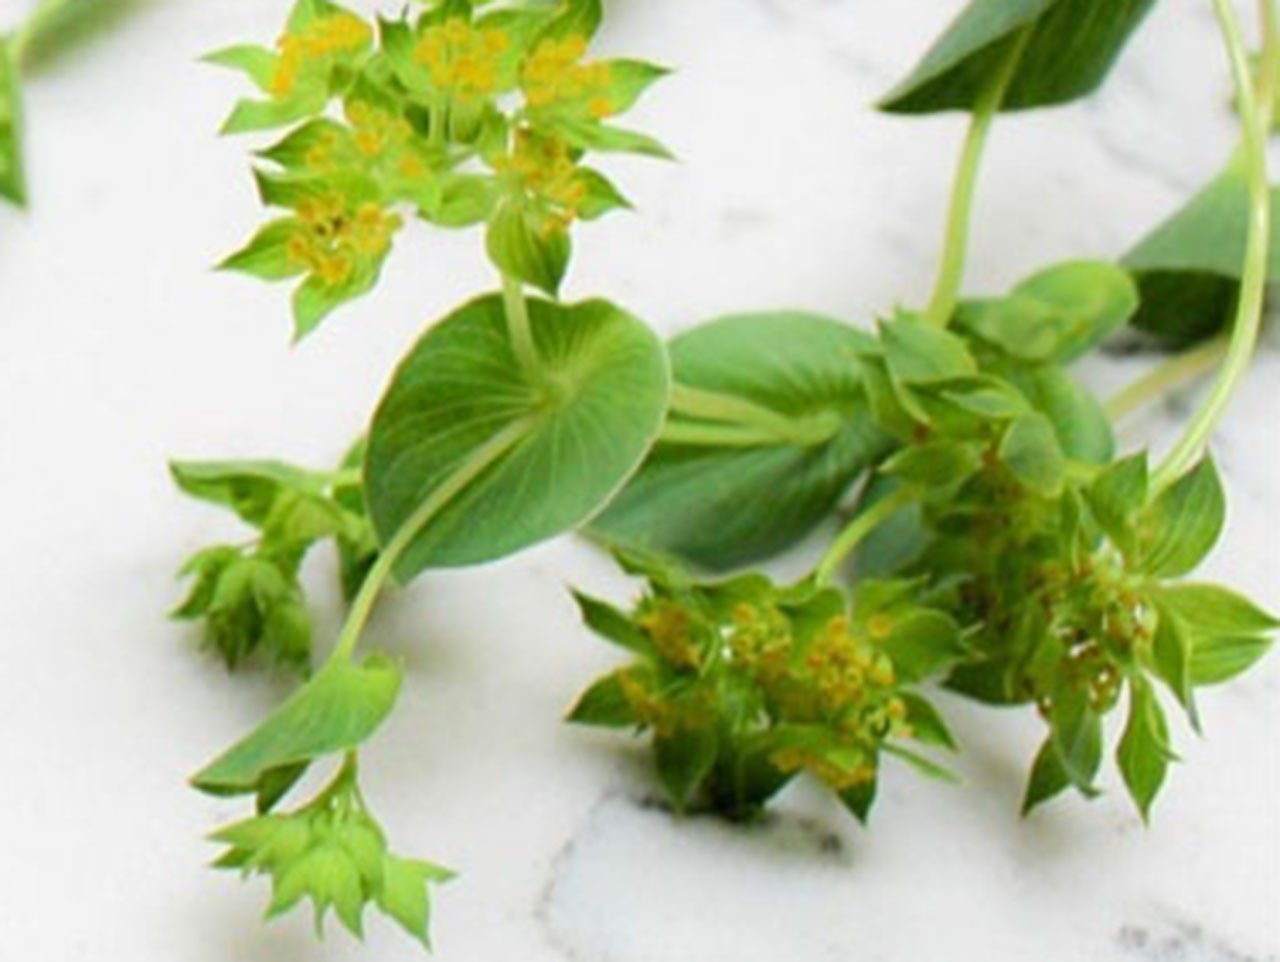
Trim flower stems to about 12″ in length. Reserve in fresh water in a cool place, away from direct sunlight.
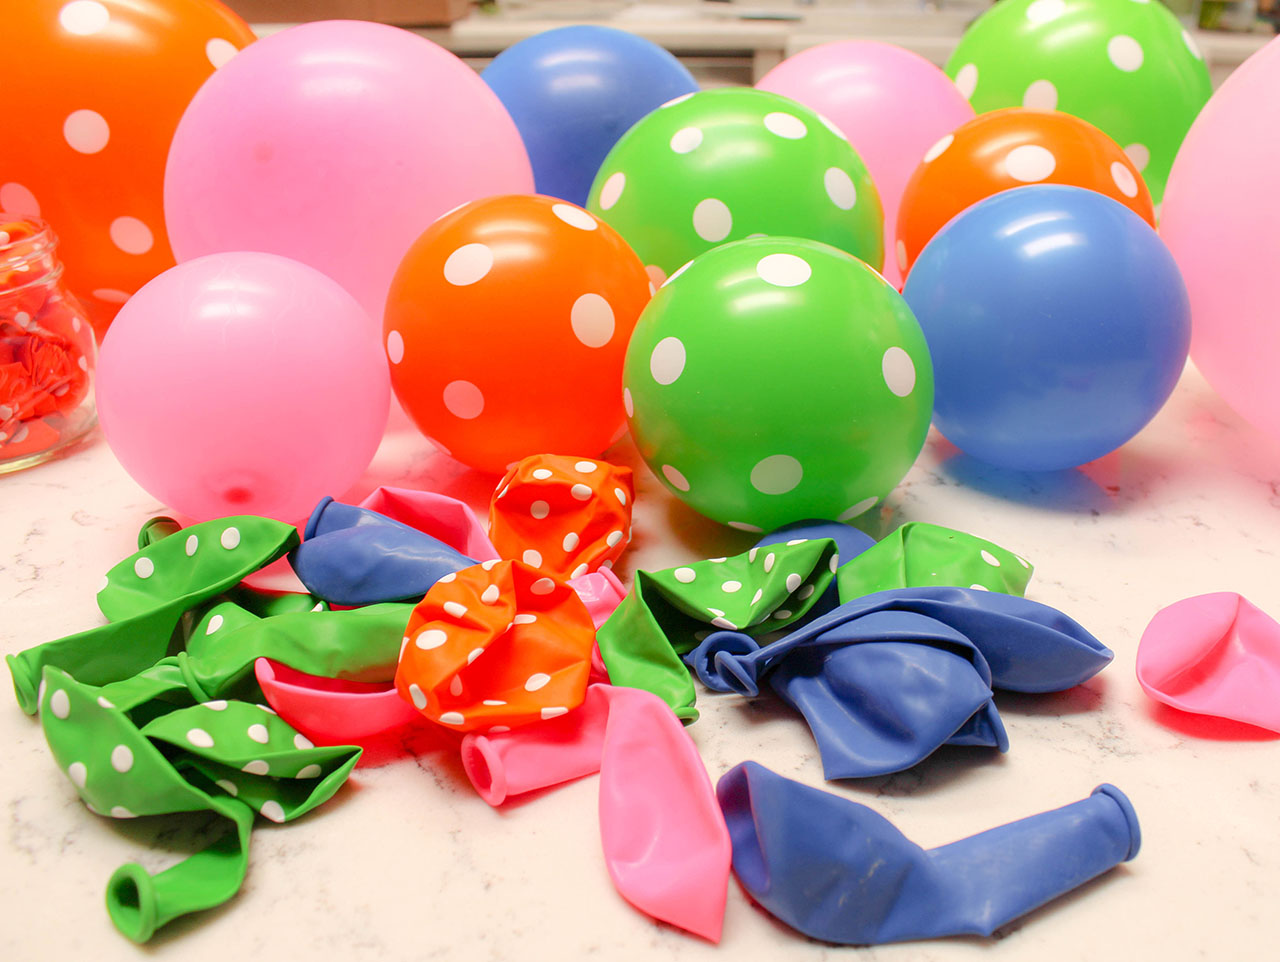
Begin inflating balloons. For this project, which was 18 feet in length, we used 24 of each color balloon. You may need more or less, depending on the desired length of your completed garland. Inflate the balloons to different sizes, and be sure to mix the colors evenly so that you don’t get too much of one color.
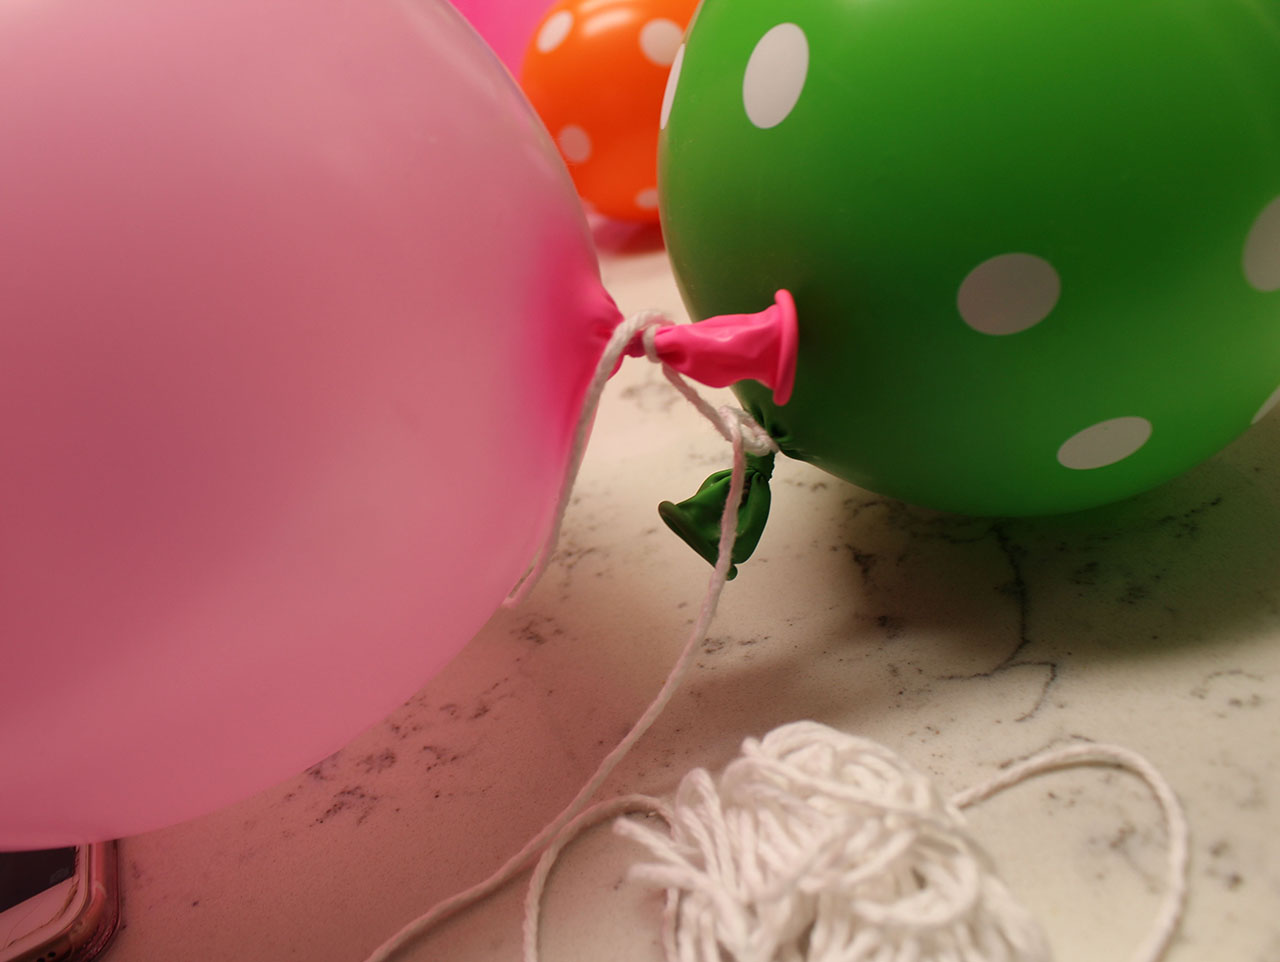
Starting at the center, tie the balloons to the twine, clustering together in groups of three or four. The goal is to conceal the tied off ends of the balloons, and to create fullness by varying the sizes. Tie larger balloons on first, then add smaller balloons to fill in the empty spaces. If you can’t cover all the empty space, don’t worry. The flowers that will be added in will help to conceal any empty areas.
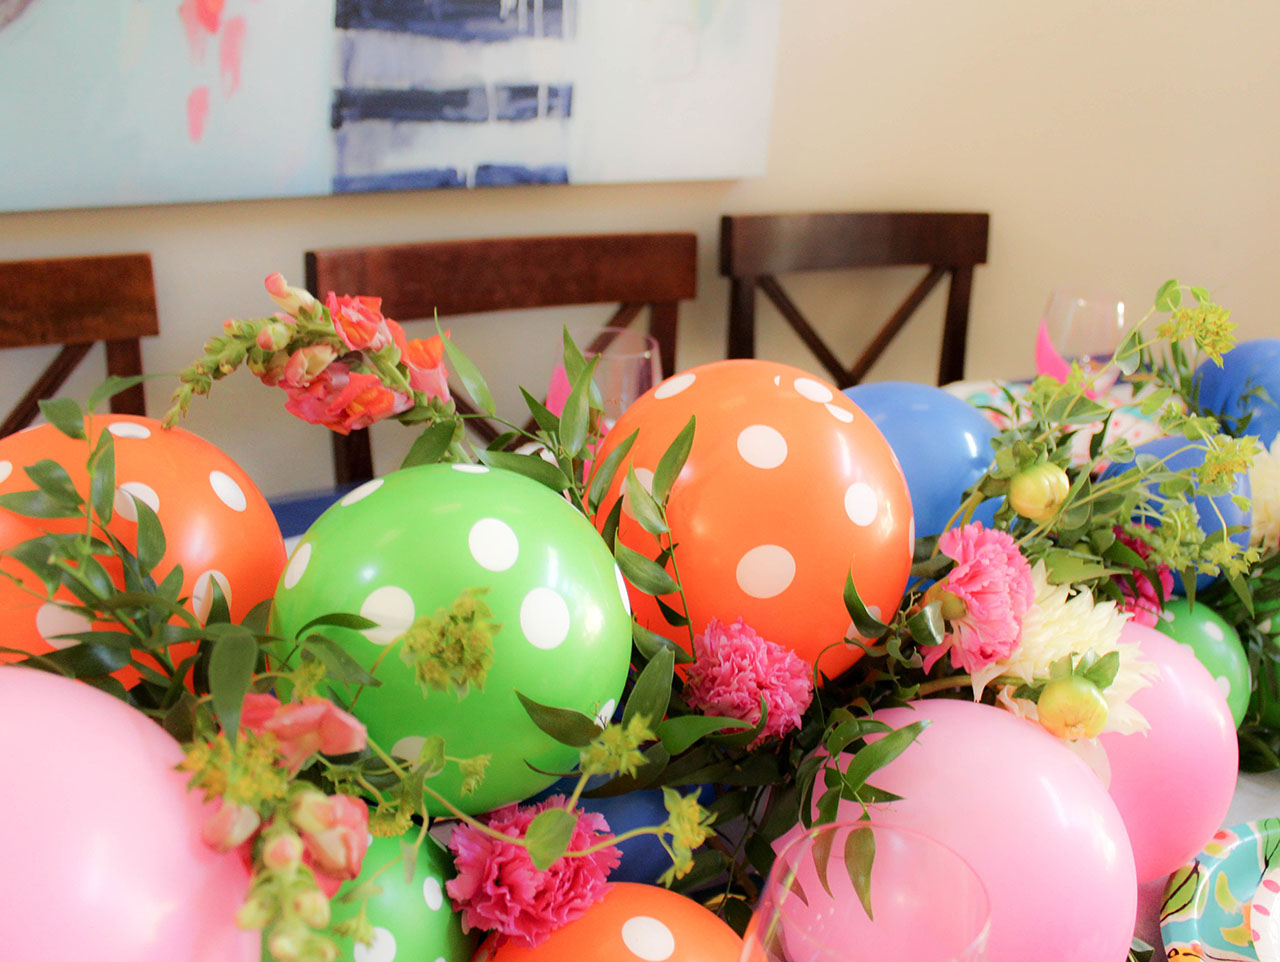
Lay your completed balloon table runner out on the surface that it will be displayed on. You won’t be moving it again from this point, so be sure it’s in the position you want for your event.

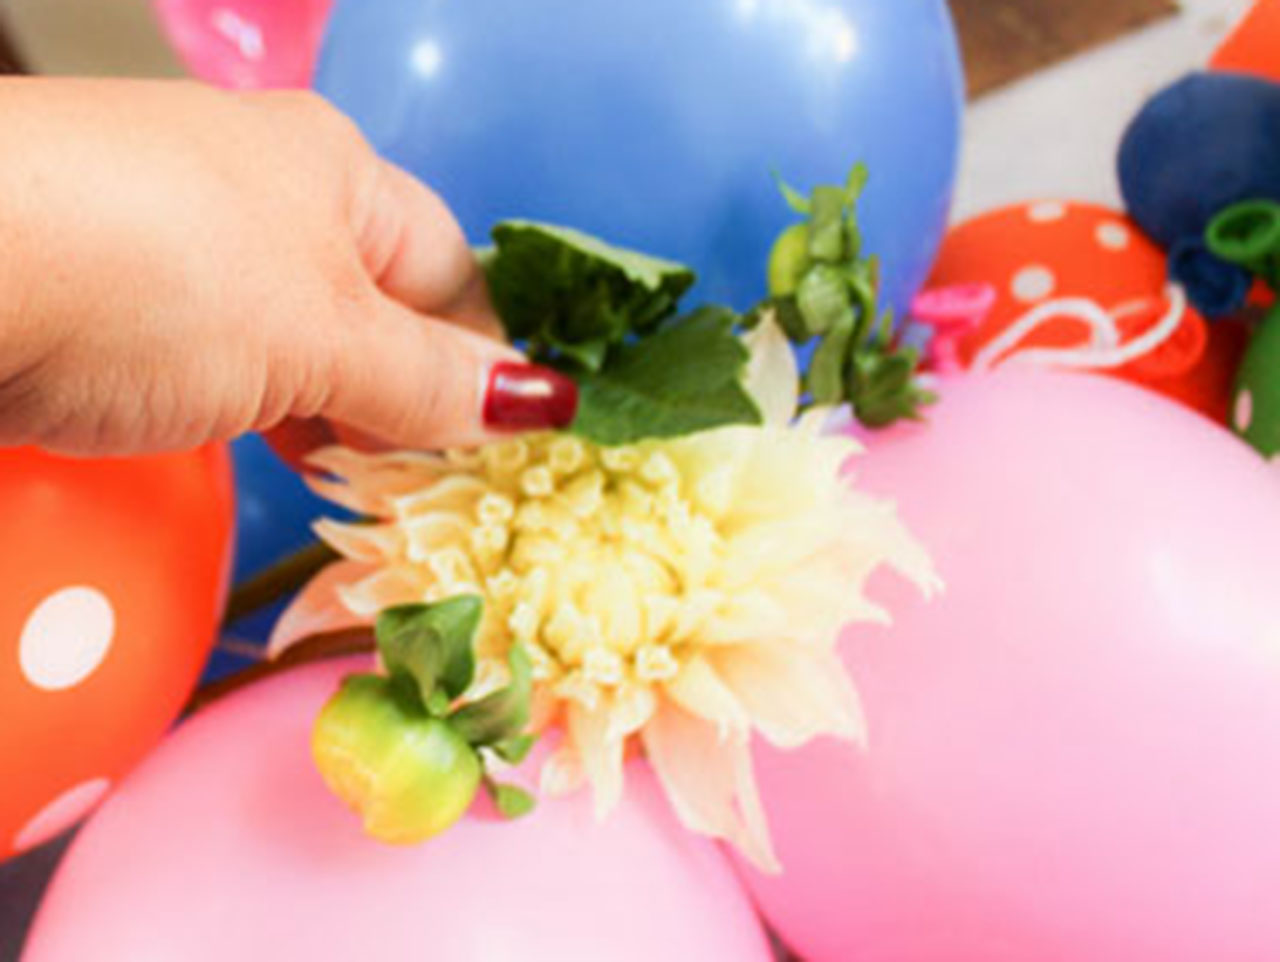
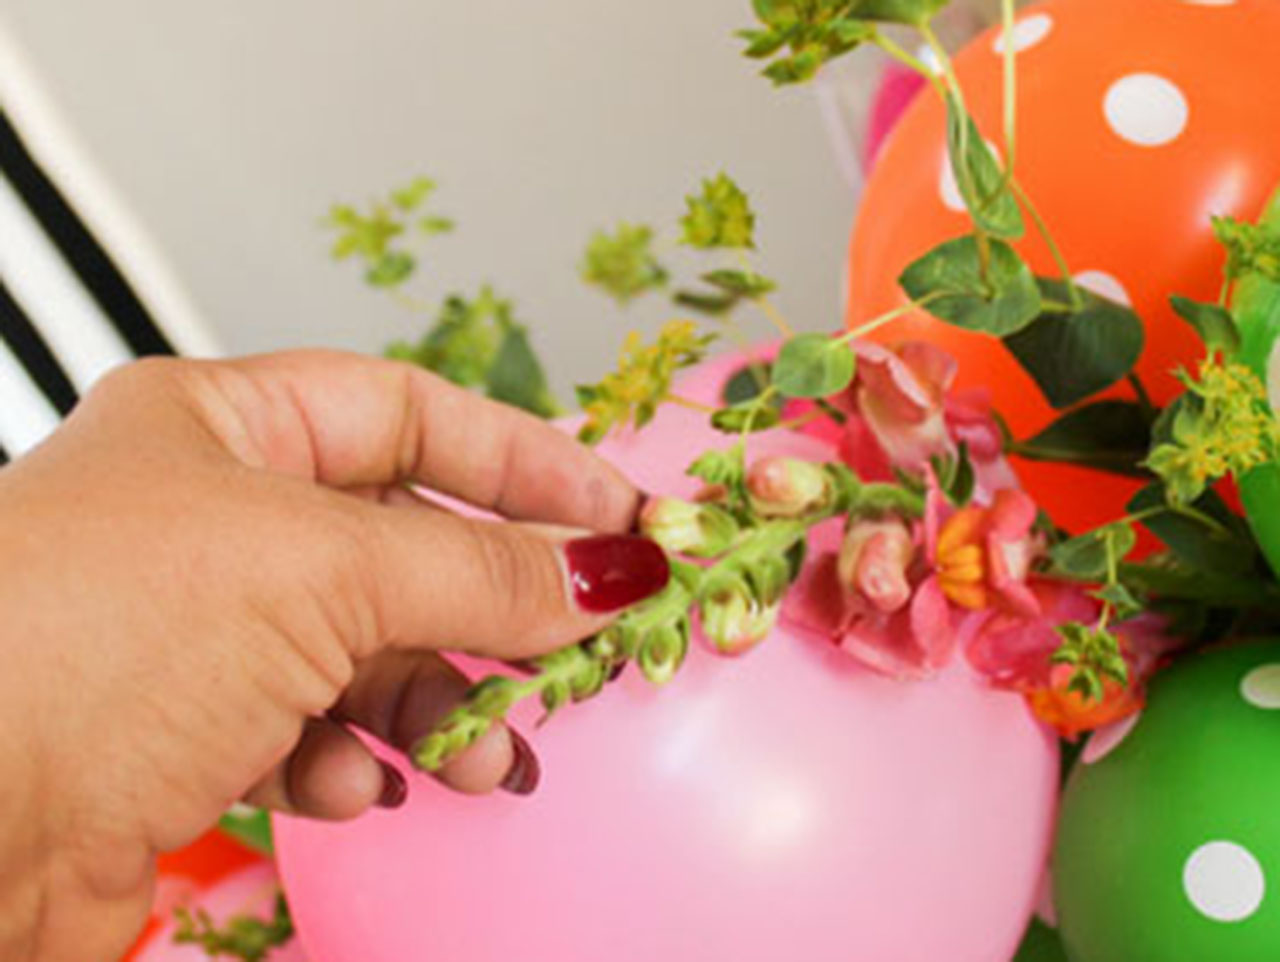
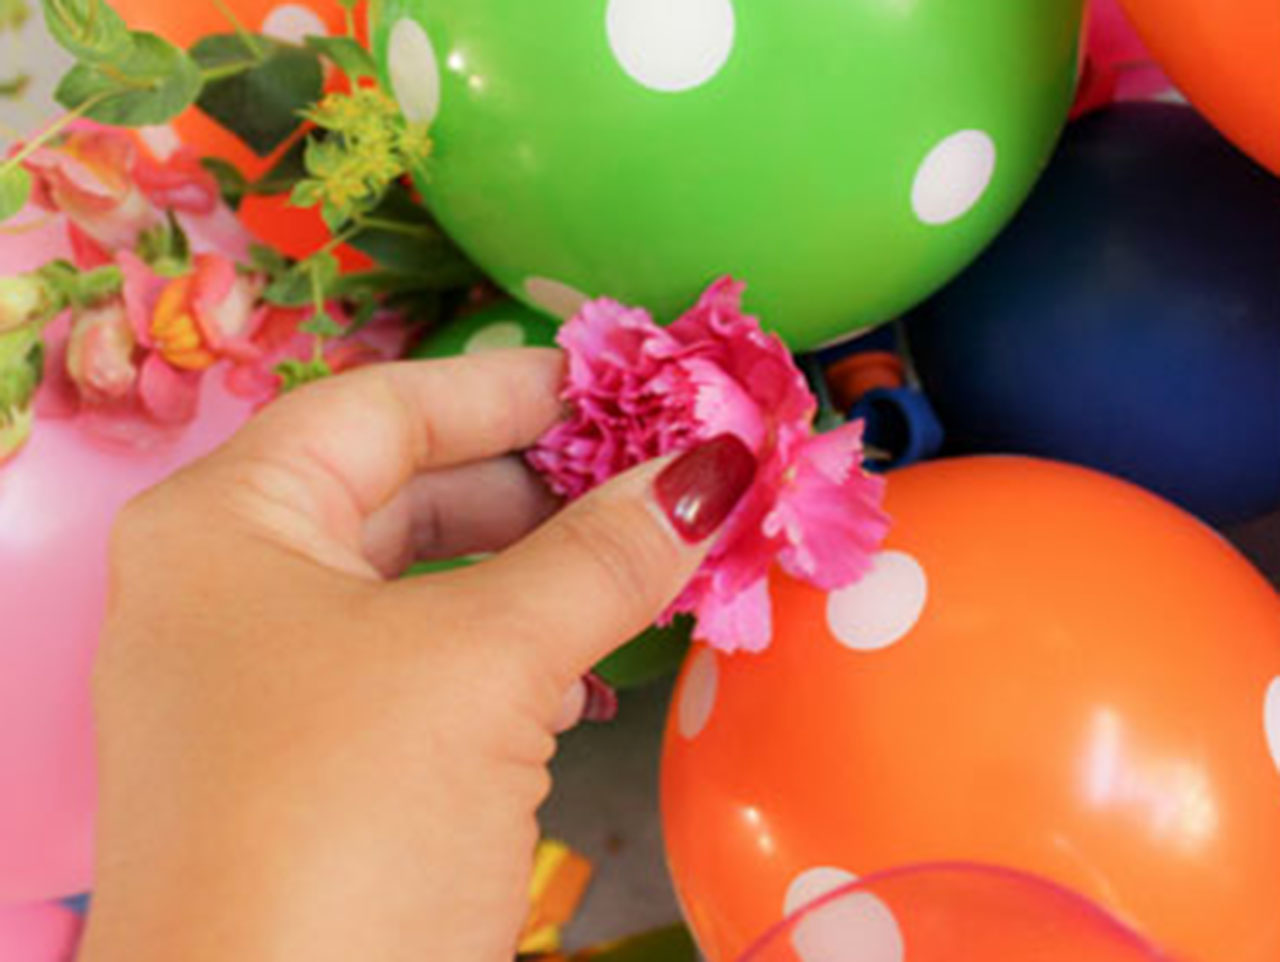
Bring your fresh flowers to the styling area, along with some paper towels to catch drips. As you remove stems, carefully dry the ends, then simply insert the flowers into the balloons until the stems are concealed. You may need to trim some stems as you work, so be sure to have your scissors handy! Continue adding in flowers, working from the center out. If any of the blooms seem to be slipping, or if you want to be able to move or hang the garland, you can tie them to the center string as you did the balloons.
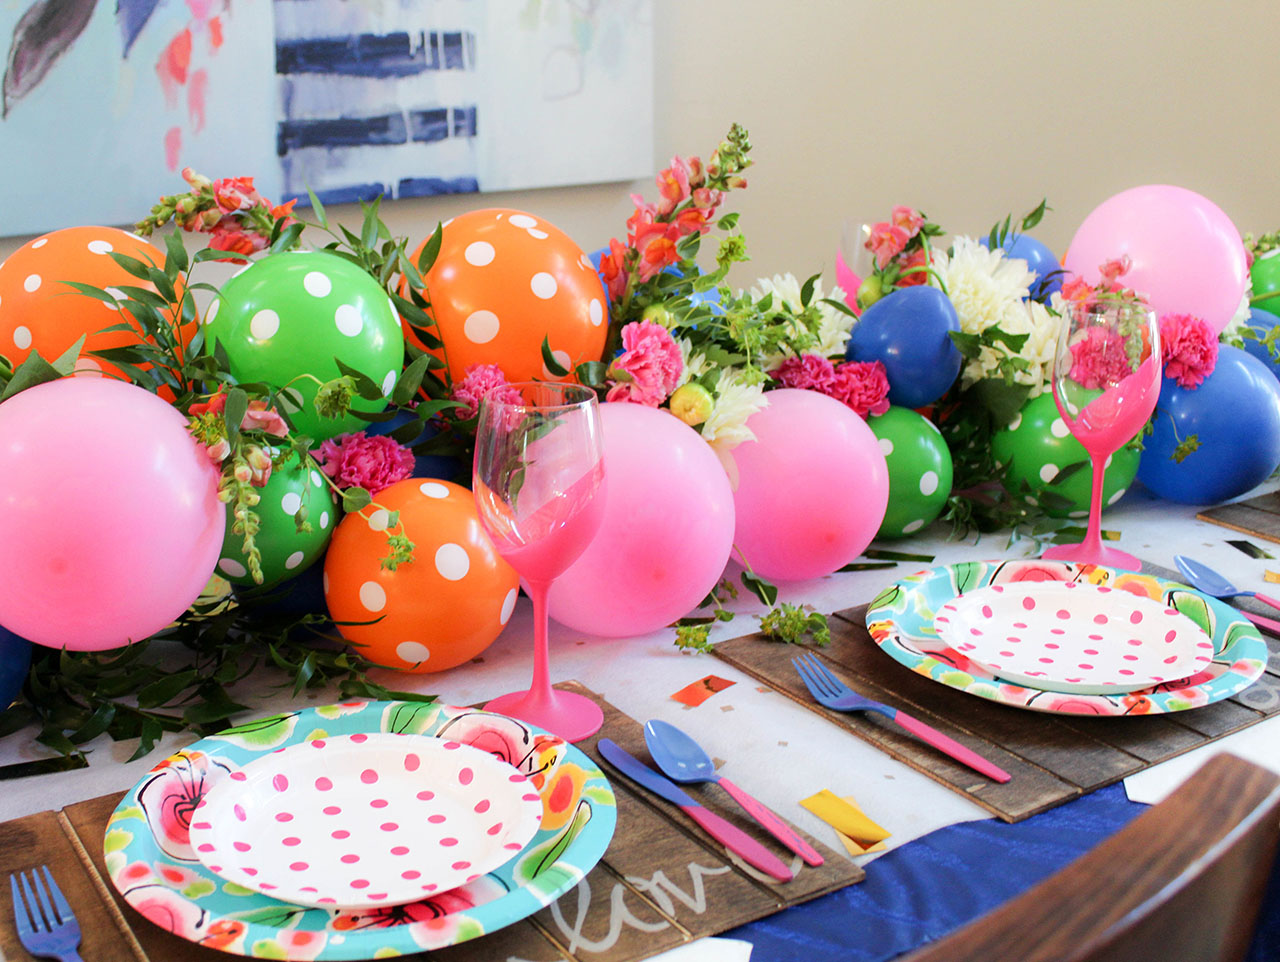
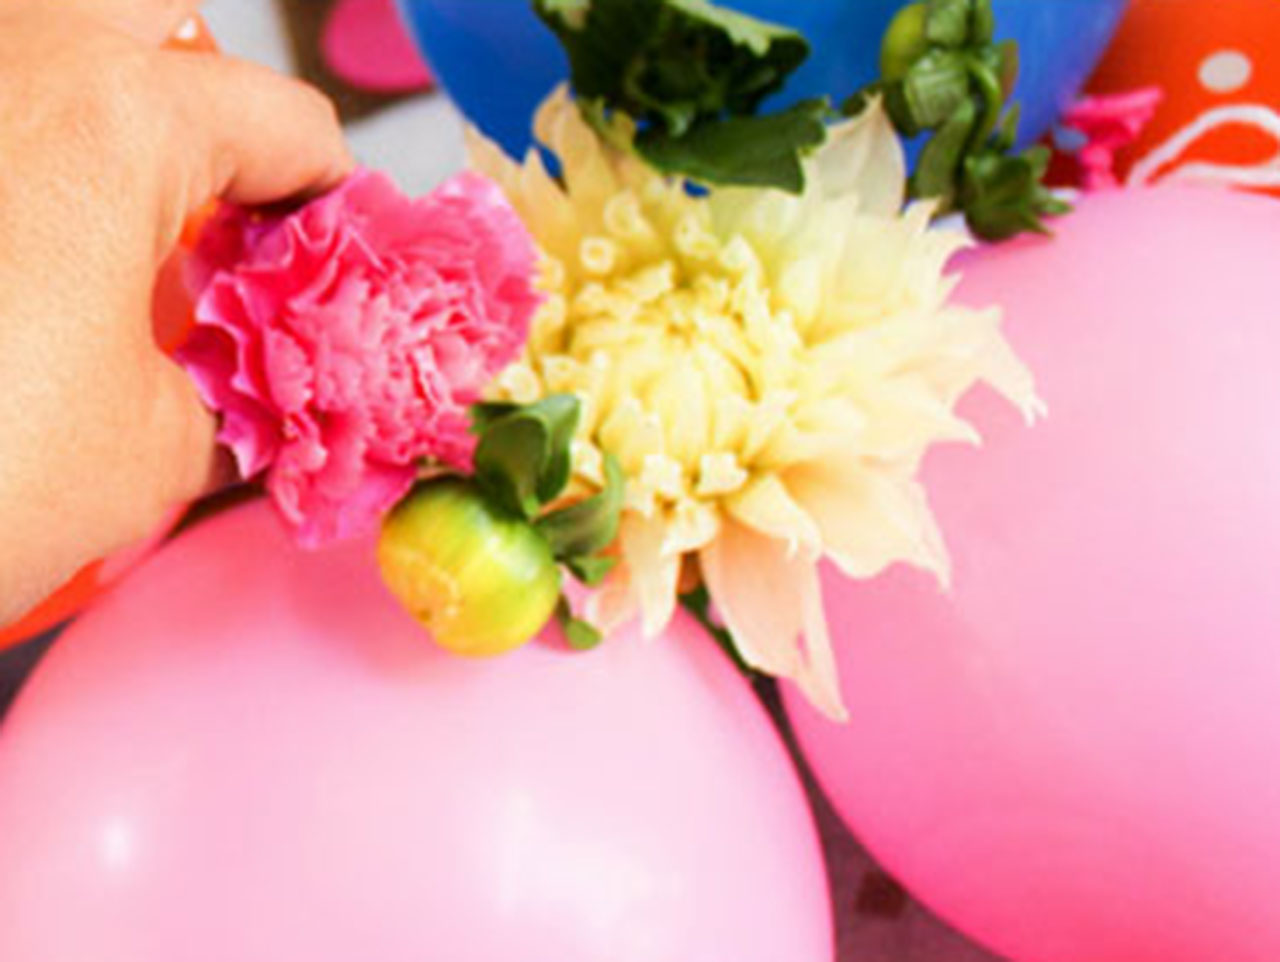
Congratulations! You’ve created a gorgeous flower filled balloon garland! This arrangement will keep fresh without water for several hours in a cool, indoor environment. If you’re planning to use this pretty piece outside or in a very warm environment, you might want to invest in some reusable plastic flower tubes to place on the ends of the stems, and keep the flowers hydrated. Love this look? For more inspiration be sure to check out my Whimsical Navy and Pink Wedding Tablescape, Painted Wine Glasses DIY and Wood Sign Placemats.
Trim flower stems to about 12″ in length. Reserve in fresh water in a cool place, away from direct sunlight.
Begin inflating balloons. For this project, which was 18 feet in length, we used 24 of each color balloon. You may need more or less, depending on the desired length of your completed garland. Inflate the balloons to different sizes, and be sure to mix the colors evenly so that you don’t get too much of one color.
Starting at the center, tie the balloons to the twine, clustering together in groups of three or four. The goal is to conceal the tied off ends of the balloons, and to create fullness by varying the sizes. Tie larger balloons on first, then add smaller balloons to fill in the empty spaces. If you can’t cover all the empty space, don’t worry. The flowers that will be added in will help to conceal any empty areas.
Lay your completed balloon table runner out on the surface that it will be displayed on. You won’t be moving it again from this point, so be sure it’s in the position you want for your event.
Bring your fresh flowers to the styling area, along with some paper towels to catch drips. As you remove stems, carefully dry the ends, then simply insert the flowers into the balloons until the stems are concealed. You may need to trim some stems as you work, so be sure to have your scissors handy! Continue adding in flowers, working from the center out. If any of the blooms seem to be slipping, or if you want to be able to move or hang the garland, you can tie them to the center string as you did the balloons.
Congratulations! You’ve created a gorgeous flower filled balloon garland! This arrangement will keep fresh without water for several hours in a cool, indoor environment. If you’re planning to use this pretty piece outside or in a very warm environment, you might want to invest in some reusable plastic flower tubes to place on the ends of the stems, and keep the flowers hydrated. Love this look? For more inspiration be sure to check out my Whimsical Navy and Pink Wedding Tablescape, Painted Wine Glasses DIY and Wood Sign Placemats.


