

Start by preparing your work surface. I love to use the disposable plastic tablecloths. The tablecloths make for an easy clean up! Fill the paint palettes with the finger paint.
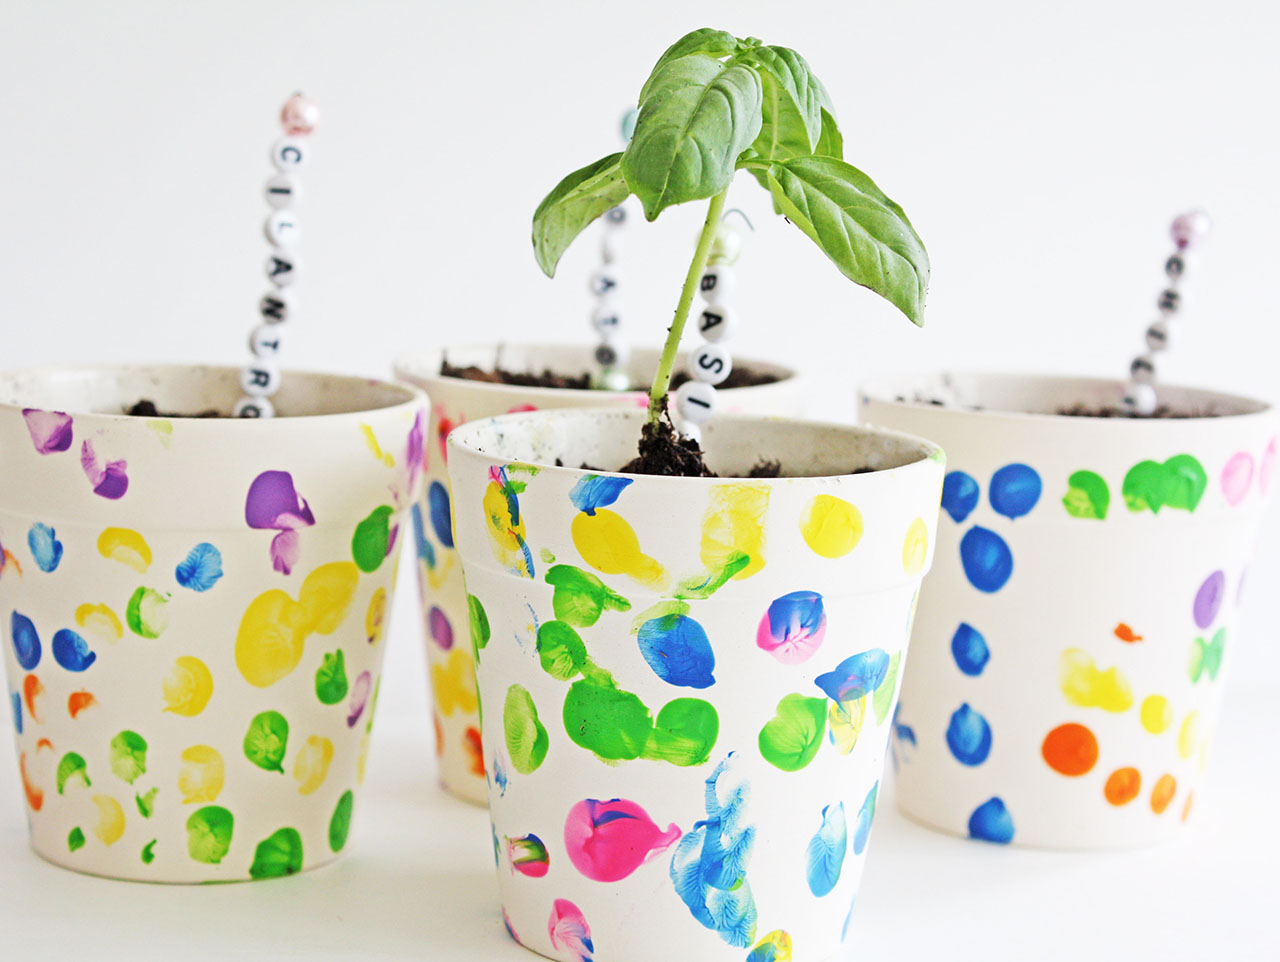
My kids wanted to make polka dot flower pots. I had them use their fingers to make the polka dots. Just make sure they have a paper towel nearby to clean their finger tips off before choosing a new color.


Allow the pots to dry in the sun or overnight. While the pots dry we can make the garden markers using floral wire and beads. Beads will last longer than the wooden craft stick markers and they don’t smear when they get wet. The pearl beads add the perfect Mother’s Day touch, don’t you think?
Clip a piece of floral wire. Take a pearl bead and slide it onto the wire. Fold over a small piece of wire on the top so the bead cannot slide off.

Using the white letter beads, slide on the letters of the plant name. For example, “cilantro”. Add another pearl bead to the bottom.


Take the wire and loop it through the pearl bead at the bottom. Pull the wire through. This will hold the beads in place.


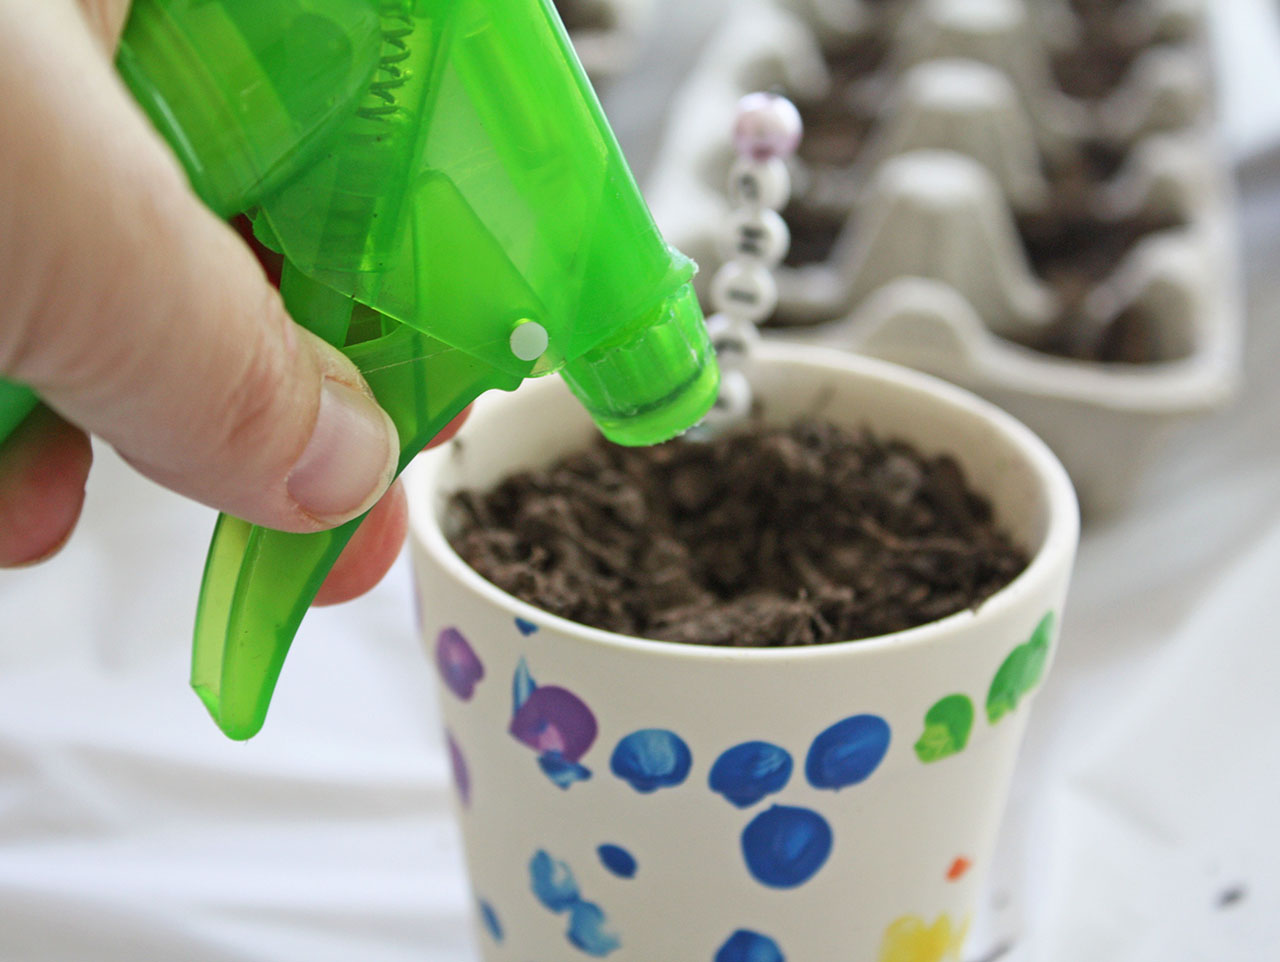
Trim the bottom of your garden marker. Make sure to leave enough wire to stick into the dirt. Fill the mini clay pots with soil. Have your child use their finger to dig a small hole in the dirt. Drop seeds into the hole and lightly cover with soil. Use a squirt bottle to wet the soil.
Add your beaded garden markers and watch your plants grow!

The kiddos had the best time making a mini clay pot garden! You know what, it was exactly what I wanted too. A handmade gift that I could use every single day. It will be so fun to watch the garden grow with my kids. What are your favorite Mother’s Day crafts? Check out how we made these simple, finger paint flower cards too! Finger painting gives your kids creative freedom. Kids of all ages are good at it and every piece of artwork is truly at “work of art”!


Start by preparing your work surface. I love to use the disposable plastic tablecloths. The tablecloths make for an easy clean up! Fill the paint palettes with the finger paint.
My kids wanted to make polka dot flower pots. I had them use their fingers to make the polka dots. Just make sure they have a paper towel nearby to clean their finger tips off before choosing a new color.


Allow the pots to dry in the sun or overnight. While the pots dry we can make the garden markers using floral wire and beads. Beads will last longer than the wooden craft stick markers and they don’t smear when they get wet. The pearl beads add the perfect Mother’s Day touch, don’t you think?
Clip a piece of floral wire. Take a pearl bead and slide it onto the wire. Fold over a small piece of wire on the top so the bead cannot slide off.

Using the white letter beads, slide on the letters of the plant name. For example, “cilantro”. Add another pearl bead to the bottom.


Take the wire and loop it through the pearl bead at the bottom. Pull the wire through. This will hold the beads in place.


Trim the bottom of your garden marker. Make sure to leave enough wire to stick into the dirt. Fill the mini clay pots with soil. Have your child use their finger to dig a small hole in the dirt. Drop seeds into the hole and lightly cover with soil. Use a squirt bottle to wet the soil.
Add your beaded garden markers and watch your plants grow!

The kiddos had the best time making a mini clay pot garden! You know what, it was exactly what I wanted too. A handmade gift that I could use every single day. It will be so fun to watch the garden grow with my kids. What are your favorite Mother’s Day crafts? Check out how we made these simple, finger paint flower cards too! Finger painting gives your kids creative freedom. Kids of all ages are good at it and every piece of artwork is truly at “work of art”!


