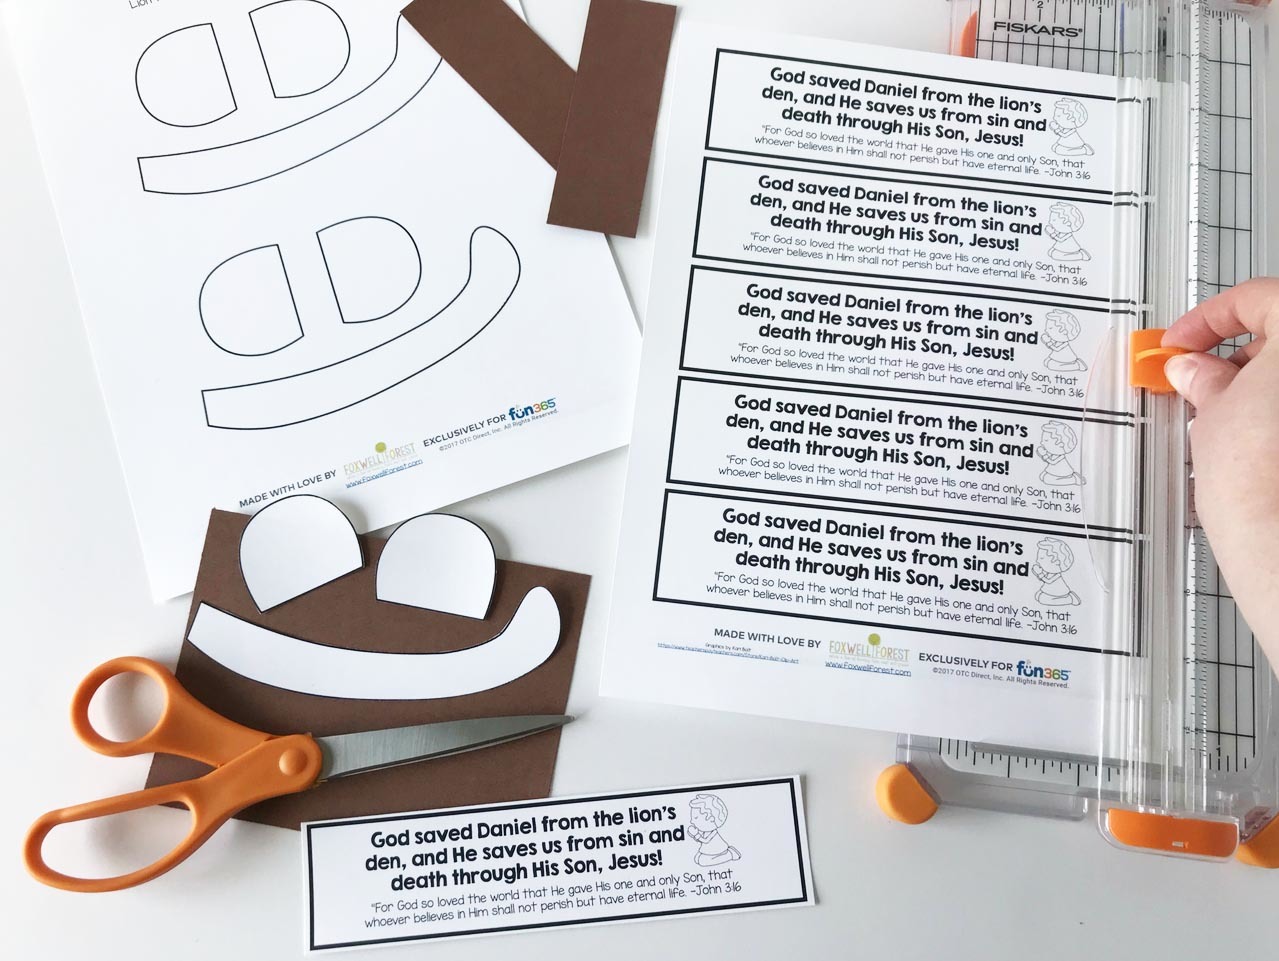
First, you will need to download and cut the paw and tail tracers and the sign that the lion will hold. Download the Free Tracer and Bible Verse Printables here! I printed the tracers onto white cardstock for extra durability. You will also need to cut 1 1/2 x 4 1/2 inch strips of brown construction paper for the lion's mane. You can get 16 strips out of one piece of brown paper and every student will need 13-14 strips. Each student will also need a quarter sheet of brown construction paper for them to trace their paws and tail onto. I just cut a piece of brown paper into fourths for this.
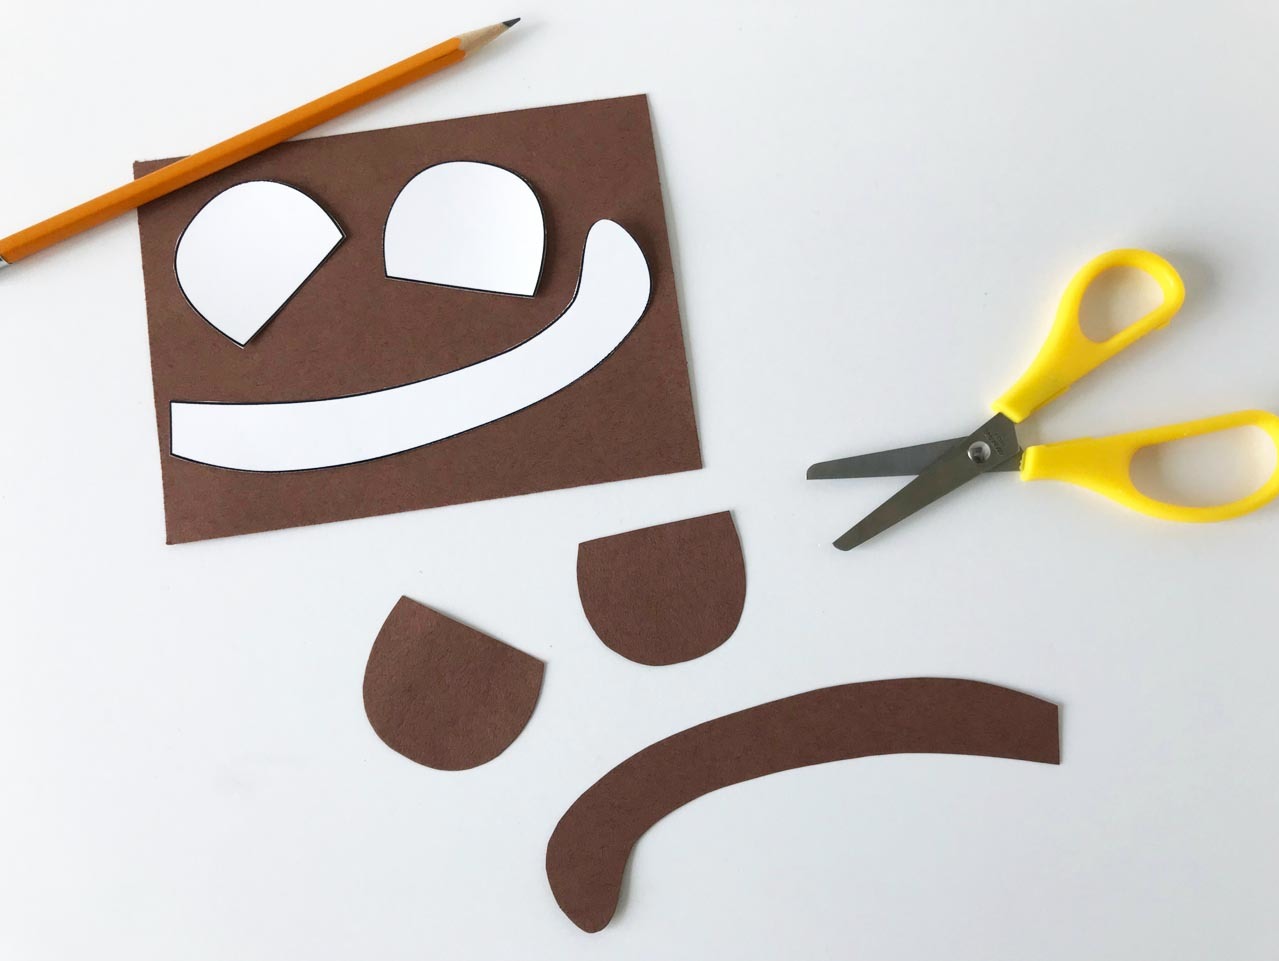
Use the quarter sheet of brown construction paper to trace and cut out two paws and tail.
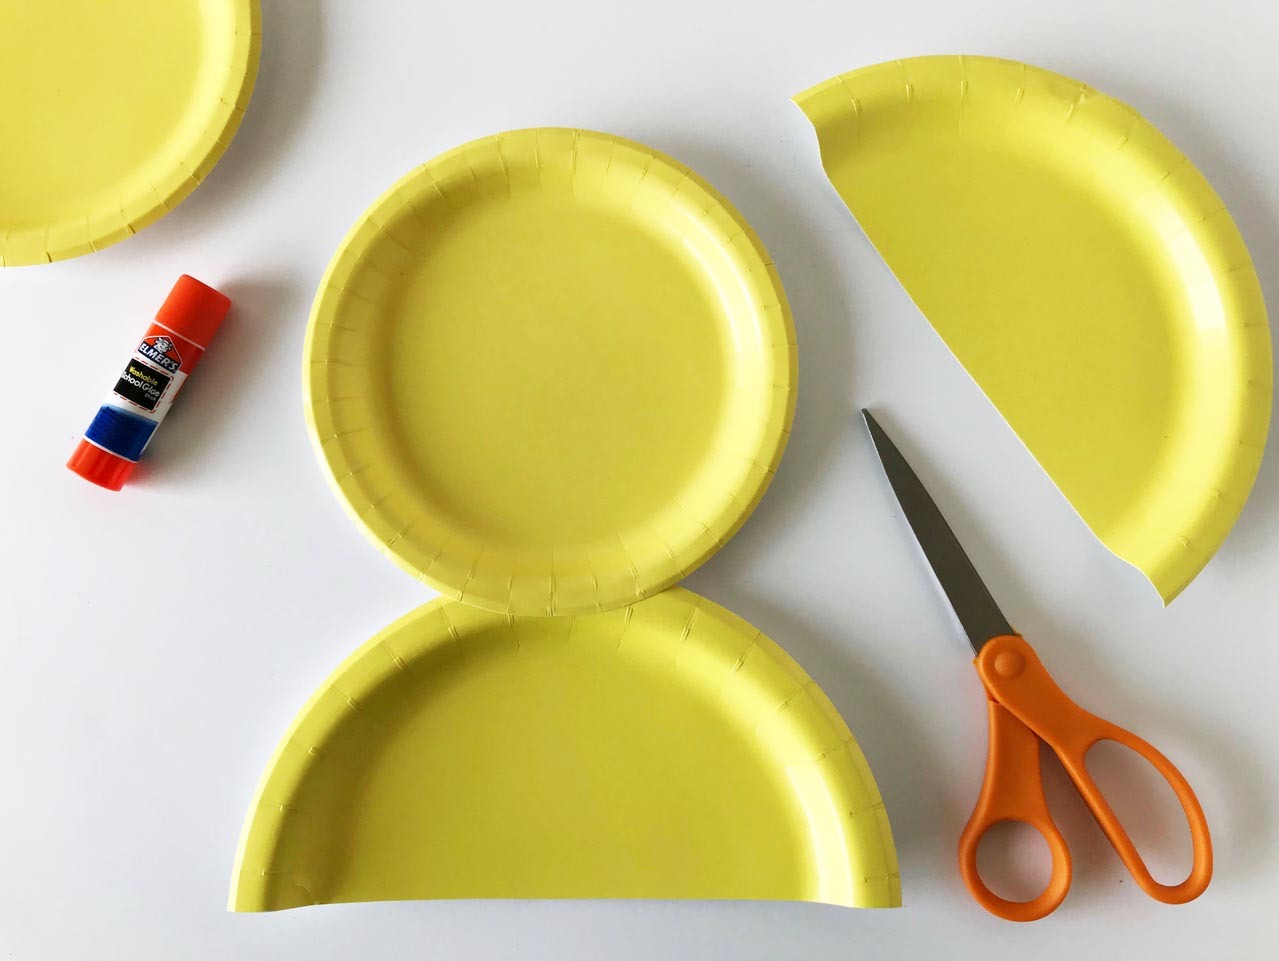
You will need to cut a dinner sized yellow paper plate in half for the body and glue it to a dessert sized yellow paper plate for the head.
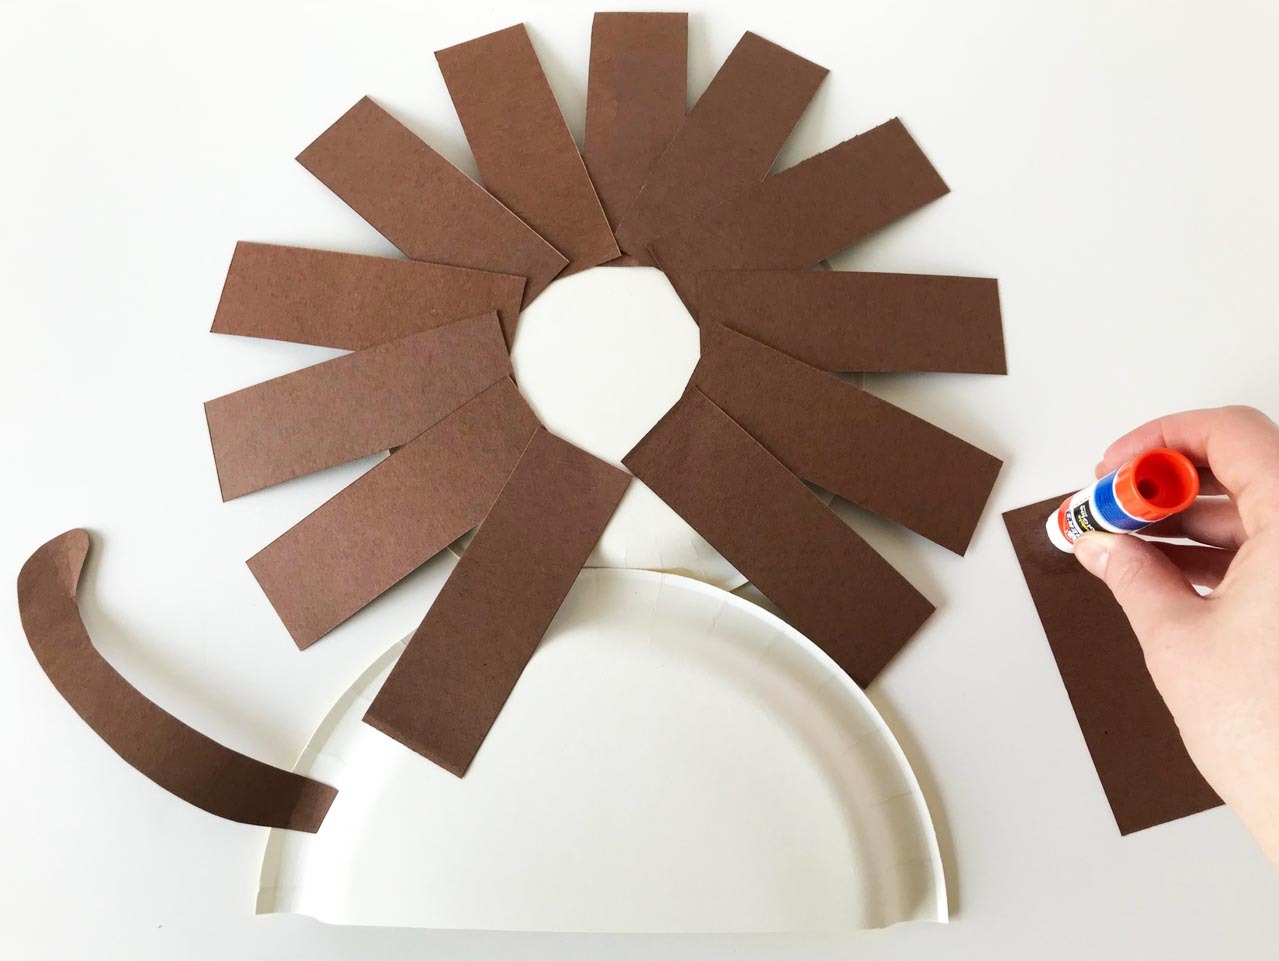
Then, you will flip the paper plates over and glue 13-14 strips of brown construction paper to the back of the lion's head, and the tail to the side of the body.
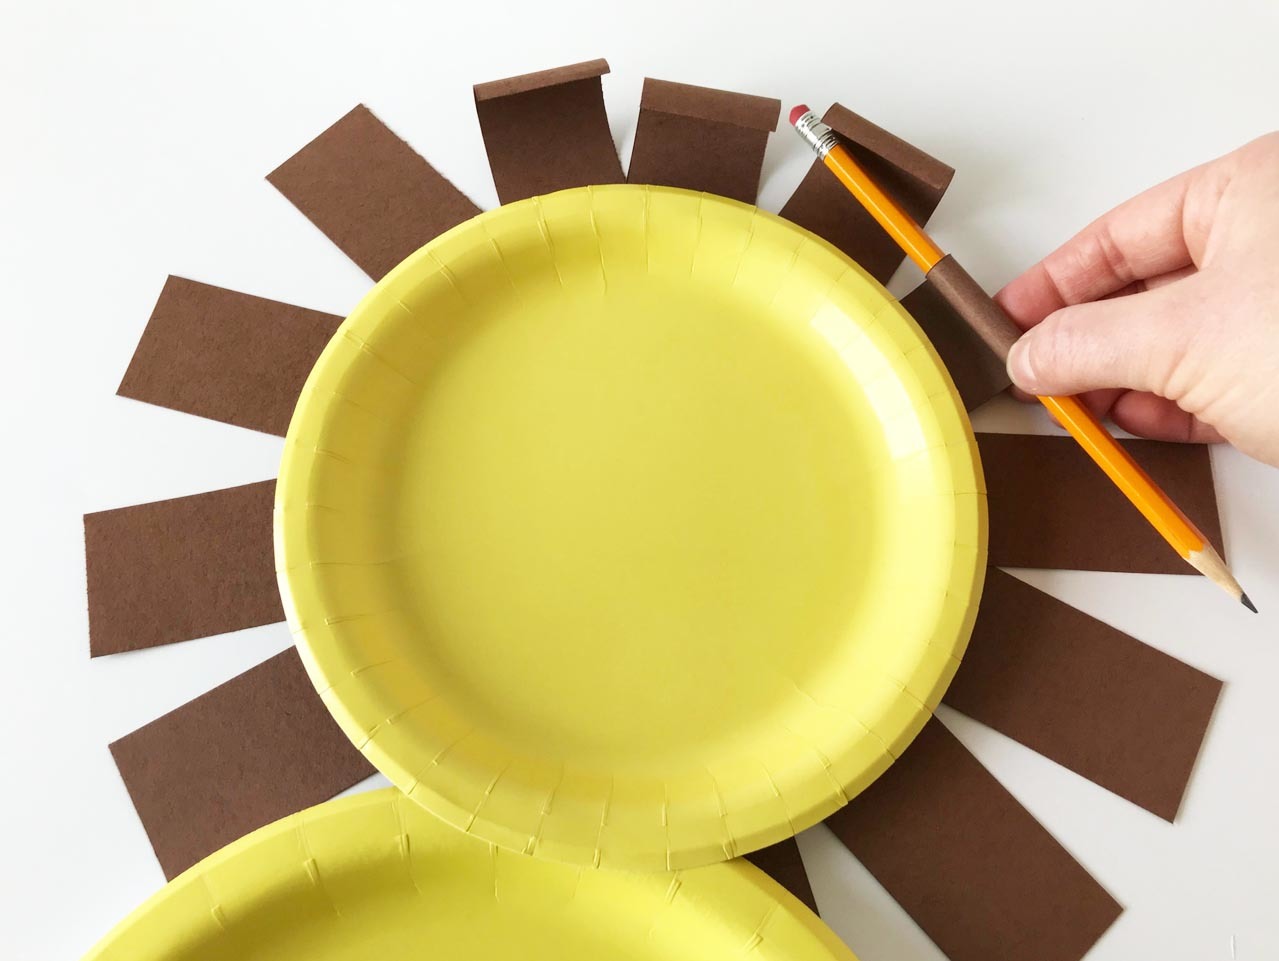
Next, flip the plates to the front and use a pencil to curl each of the strips of paper for the lion's mane.
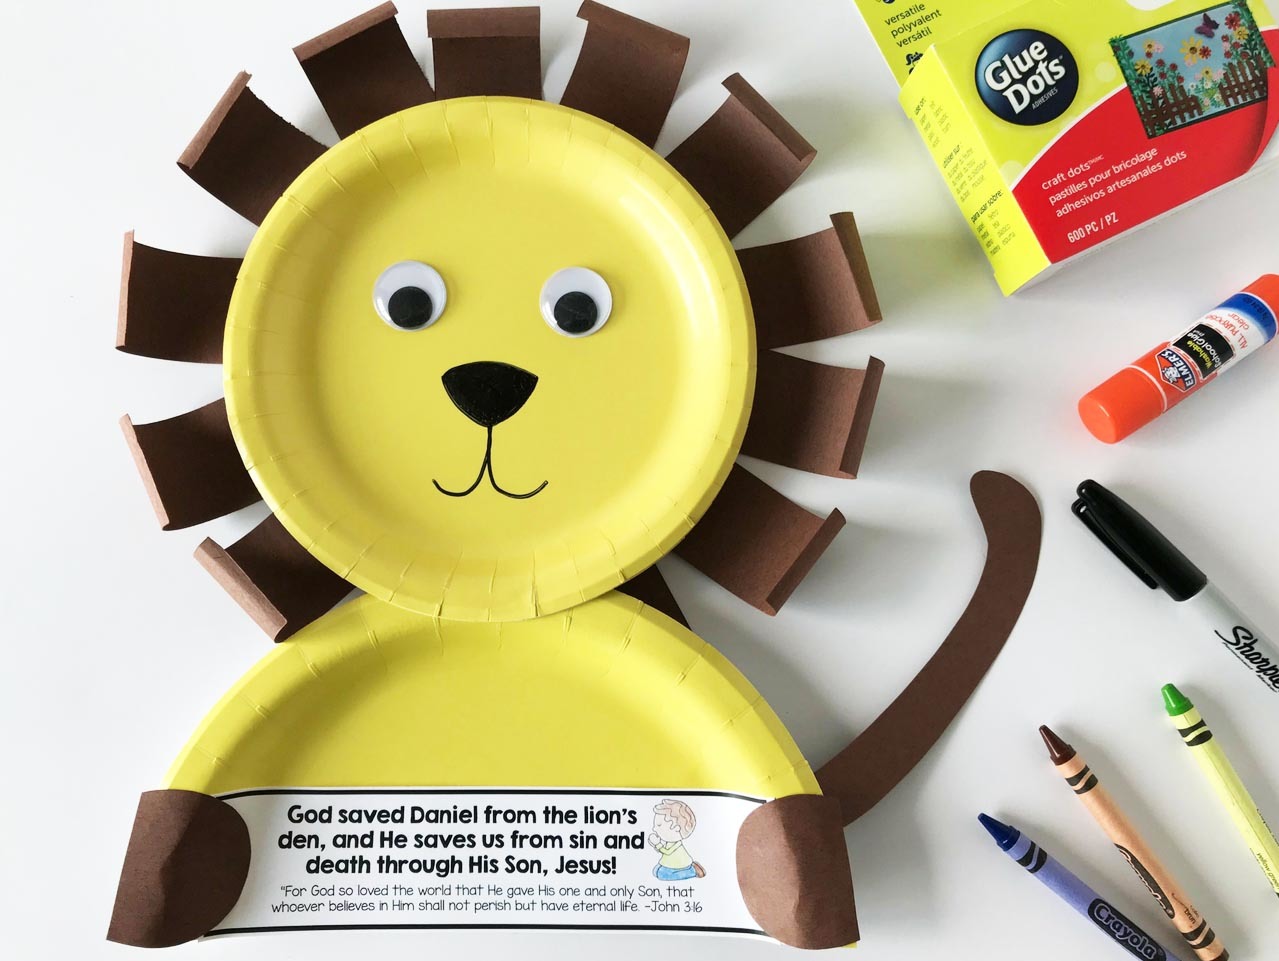
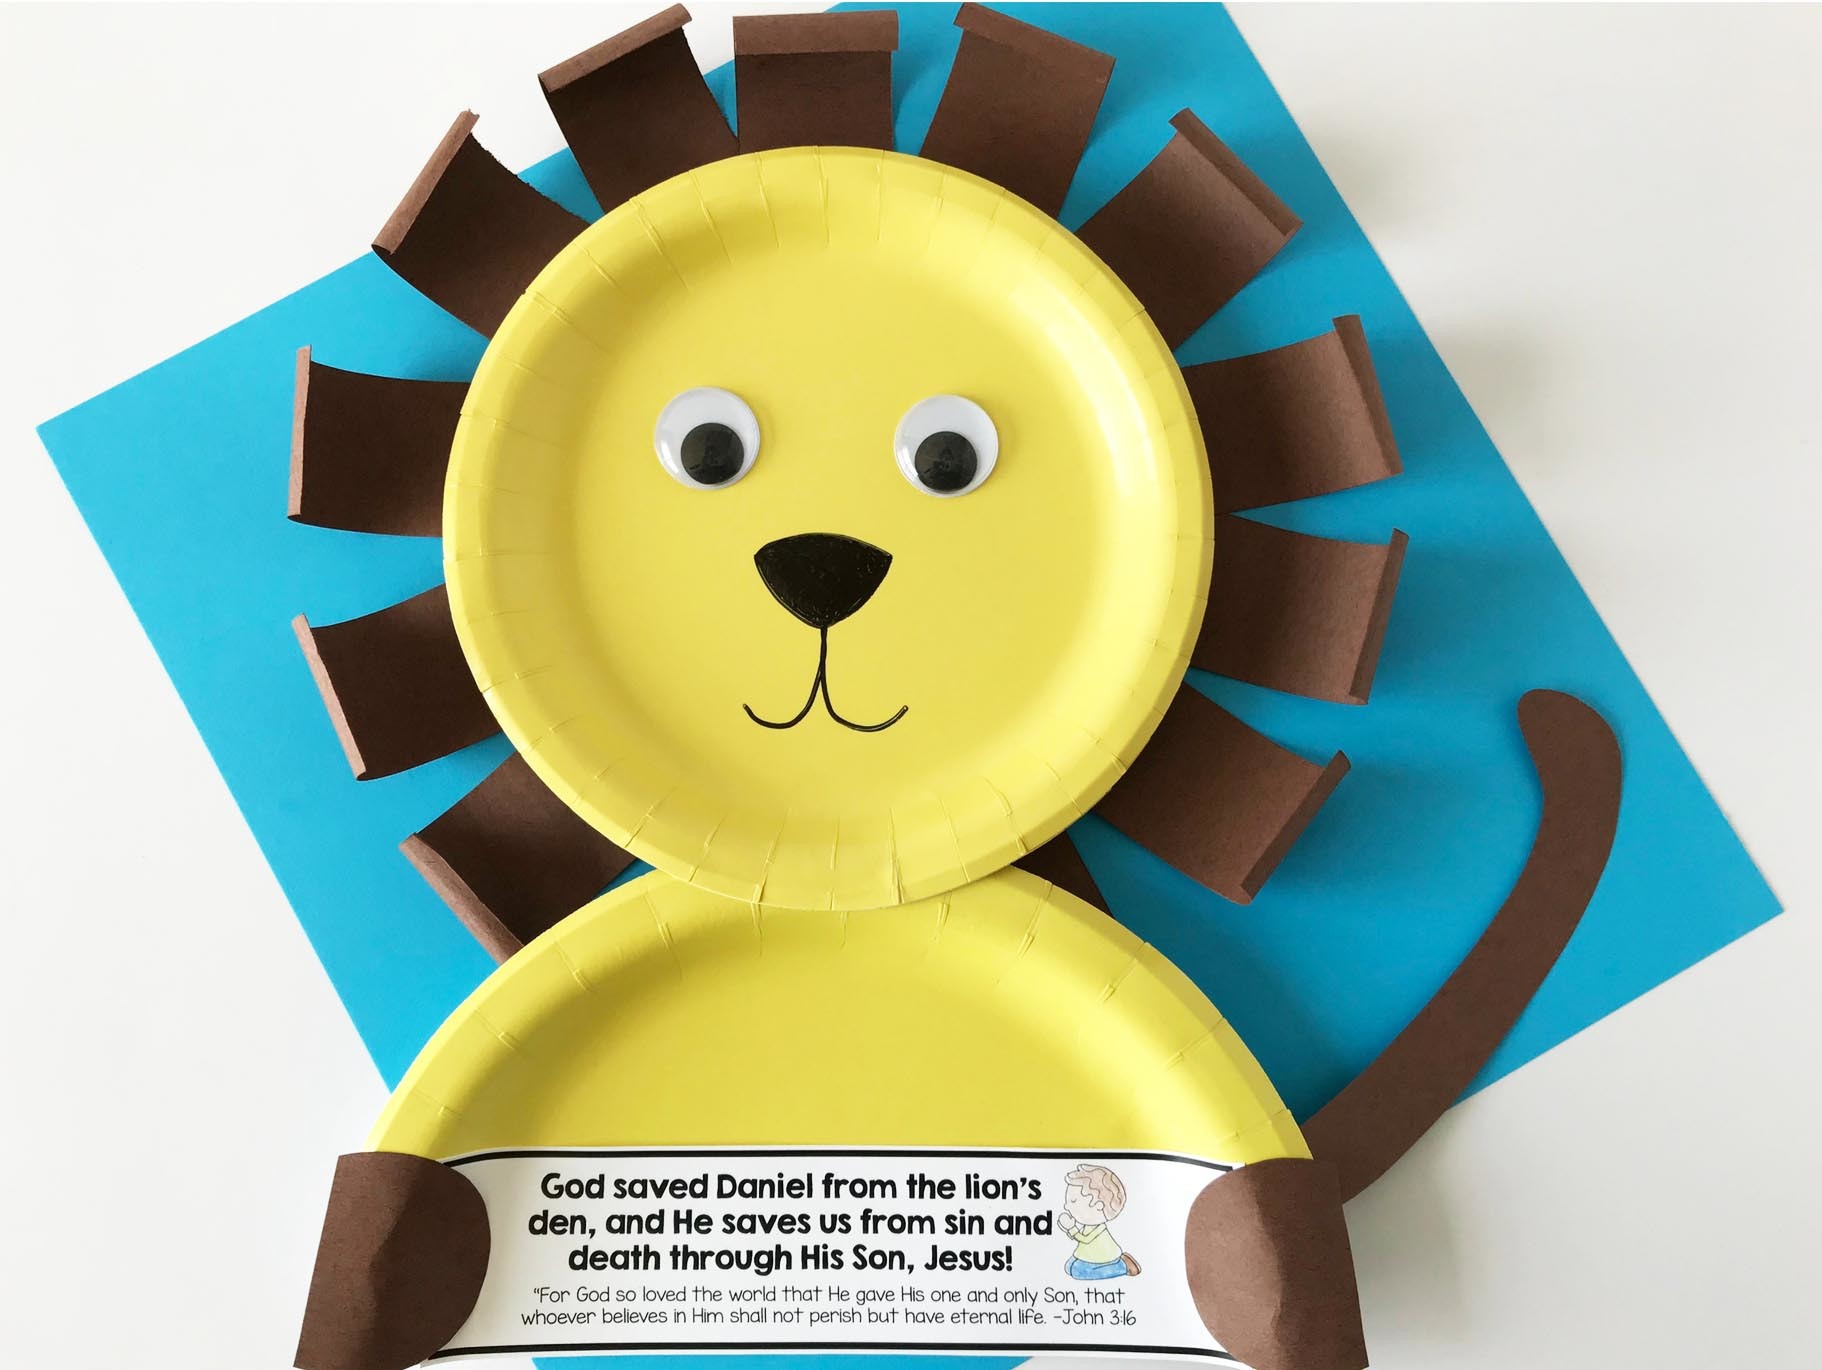
The last step will be to attach two large googly eyes and draw a nose and mouth with a black permanent marker. I recommend using glue dots for the eyes to help them stick quickly. You will also glue on the Daniel and the Lions' Den sign to the body along with the lion's paws, so that it looks like he is holding the sign. The little boy on the sign can also be colored in.
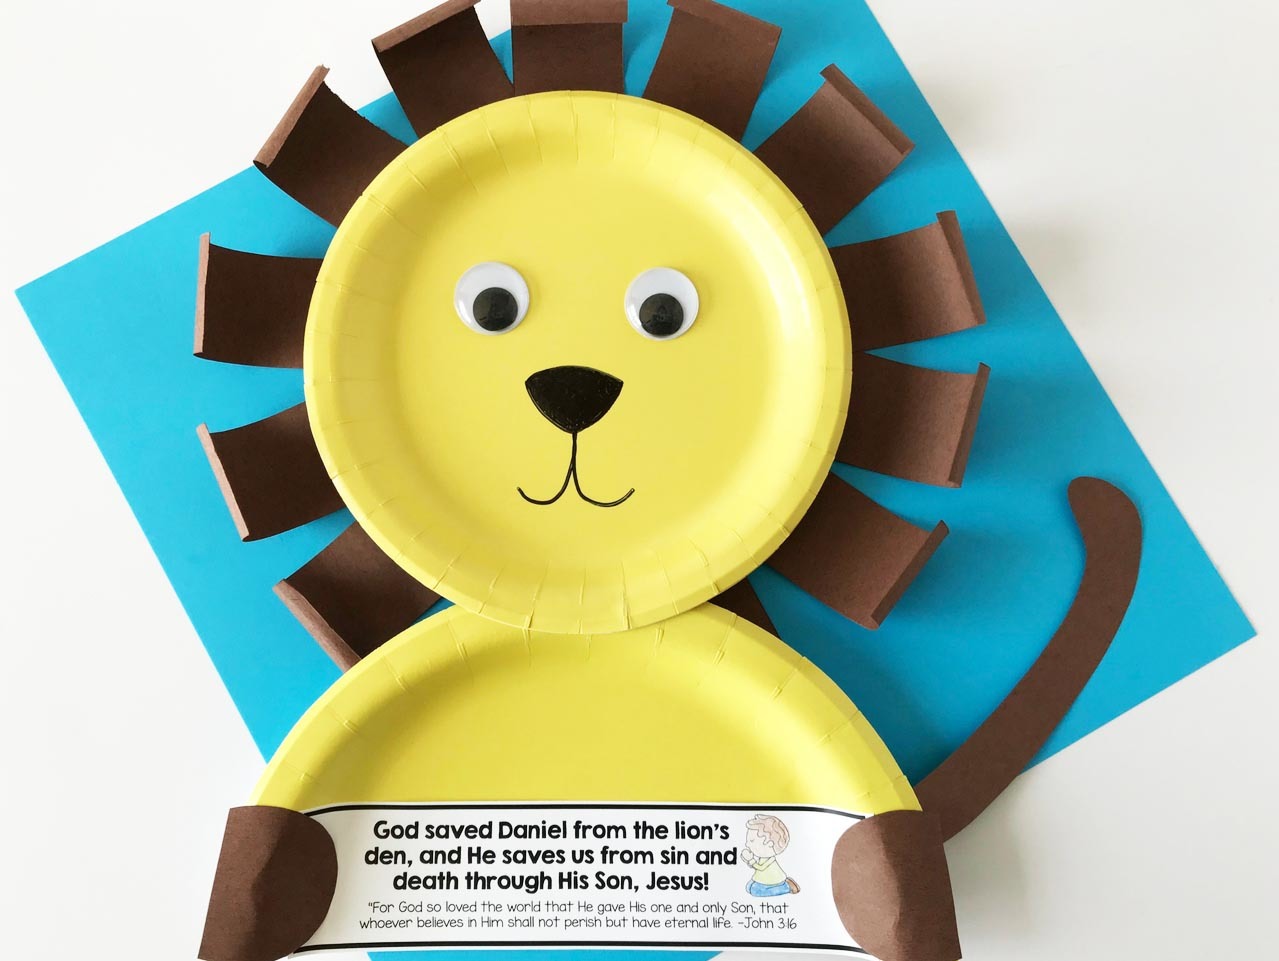
This craft is a fun addition to your Daniel and the Lions' Den lesson and reminds students how God saved Daniel from death and He also saves us from death through His Son, Jesus! If you're looking for more ideas for your Sunday School lesson on Daniel, read my Daniel and the Lions' Den Sunday School Plans HERE.

First, you will need to download and cut the paw and tail tracers and the sign that the lion will hold. Download the Free Tracer and Bible Verse Printables here! I printed the tracers onto white cardstock for extra durability. You will also need to cut 1 1/2 x 4 1/2 inch strips of brown construction paper for the lion's mane. You can get 16 strips out of one piece of brown paper and every student will need 13-14 strips. Each student will also need a quarter sheet of brown construction paper for them to trace their paws and tail onto. I just cut a piece of brown paper into fourths for this.

Use the quarter sheet of brown construction paper to trace and cut out two paws and tail.

You will need to cut a dinner sized yellow paper plate in half for the body and glue it to a dessert sized yellow paper plate for the head.

Then, you will flip the paper plates over and glue 13-14 strips of brown construction paper to the back of the lion's head, and the tail to the side of the body.

Next, flip the plates to the front and use a pencil to curl each of the strips of paper for the lion's mane.

The last step will be to attach two large googly eyes and draw a nose and mouth with a black permanent marker. I recommend using glue dots for the eyes to help them stick quickly. You will also glue on the Daniel and the Lions' Den sign to the body along with the lion's paws, so that it looks like he is holding the sign. The little boy on the sign can also be colored in.

This craft is a fun addition to your Daniel and the Lions' Den lesson and reminds students how God saved Daniel from death and He also saves us from death through His Son, Jesus! If you're looking for more ideas for your Sunday School lesson on Daniel, read my Daniel and the Lions' Den Sunday School Plans HERE.

