Create your very own Farmhouse Gallery Wall by following the step by step directions to mulitple DIYS. Craft one of these DIYs or craft them all, either way we have free printables and step by step directions to help you make these amazing pieces. Place these projects on your wall to create a eye-catching Christmas gallery wall. Be sure to download the Free JOY Printable Template here!
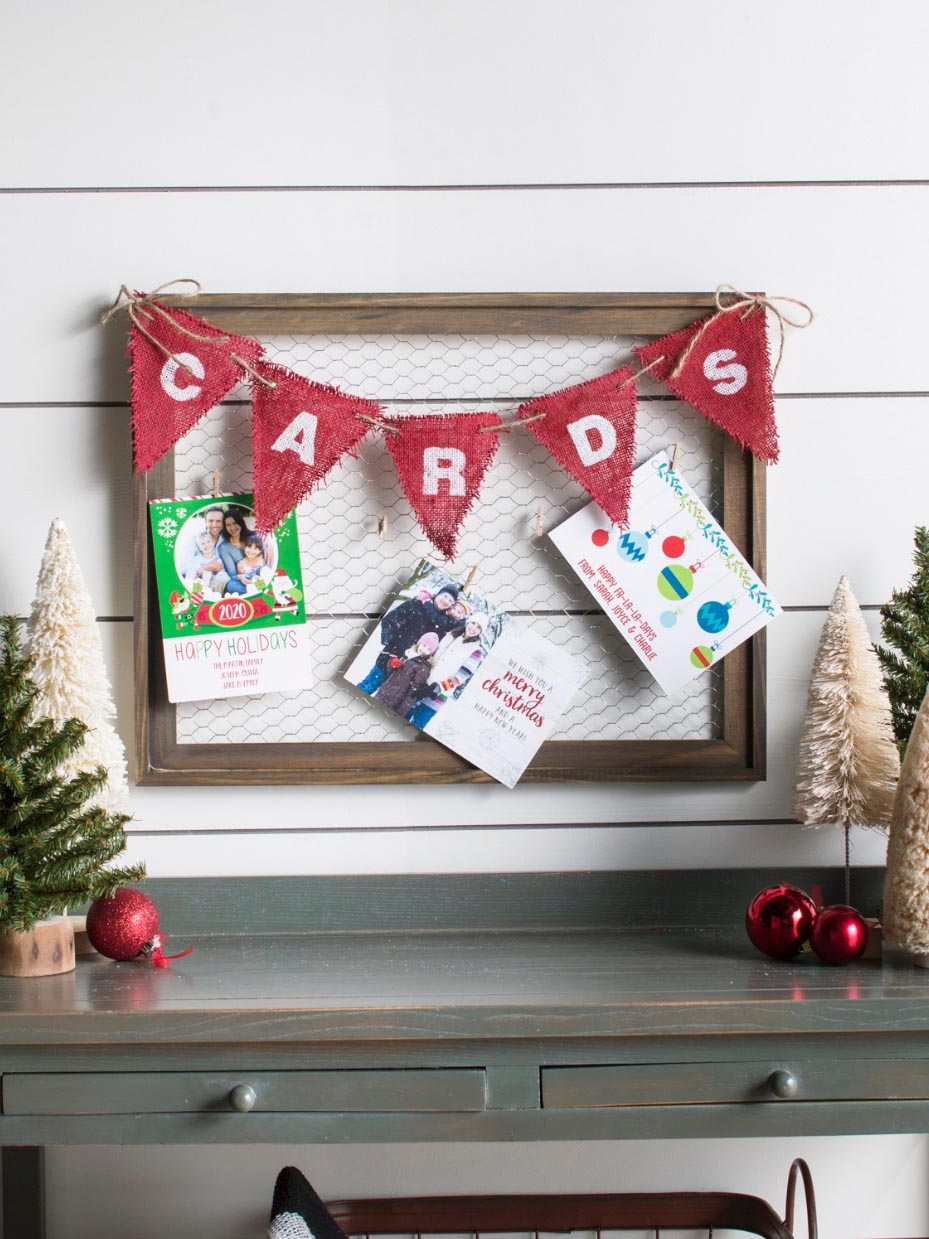
Organize and display your Christmas cards with this cute DIY Farmhouse Christmas Card Holder. Use a Large DIY Unfinished Wood Frame with Wire and Small Triangle Pennant Burlap Garland to create this card holder. It will look perfect in the entry way and on your gallery wall.
Make the Project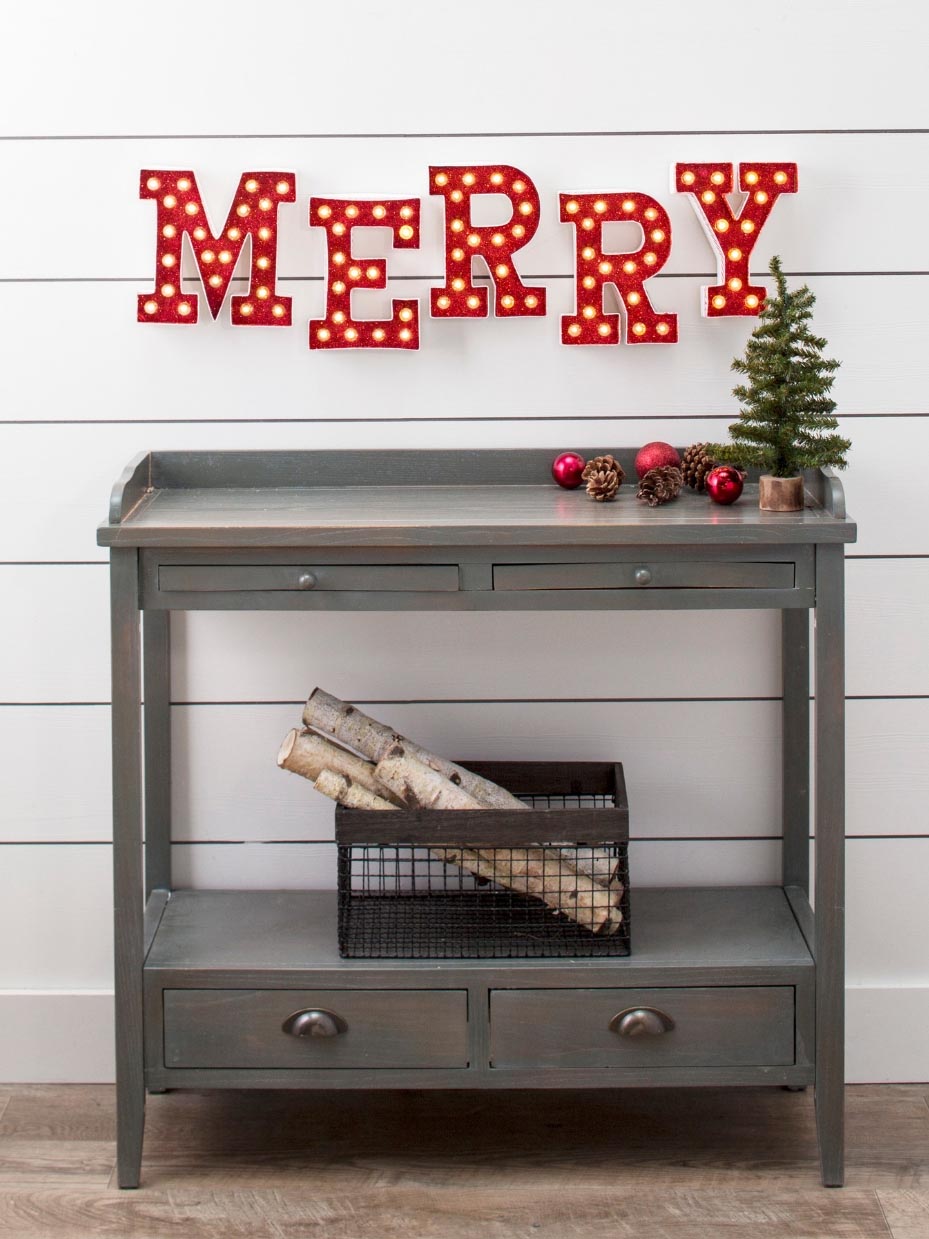
These marquee letters can be used to add a lighted element to your Farmhouse Christmas Gallery wall. Use a flat bristled paint brush and red acrylic paint to paint the inside of the MERRY Marquee Light Up Kit Letters. Once the paint is dry, apply a layer of Mod Podge® using a foam brush. While the Mod Podge® is still wet, shake on some red glitter. Continue applying Mod Podge® and glitter until the entire inside is covered making sure to work in small sections to ensure the Mod Podge® does not dry out. Apply a strip of striped washi tape around the outer edge of each of the letters to give an extra festive touch.
Shop It!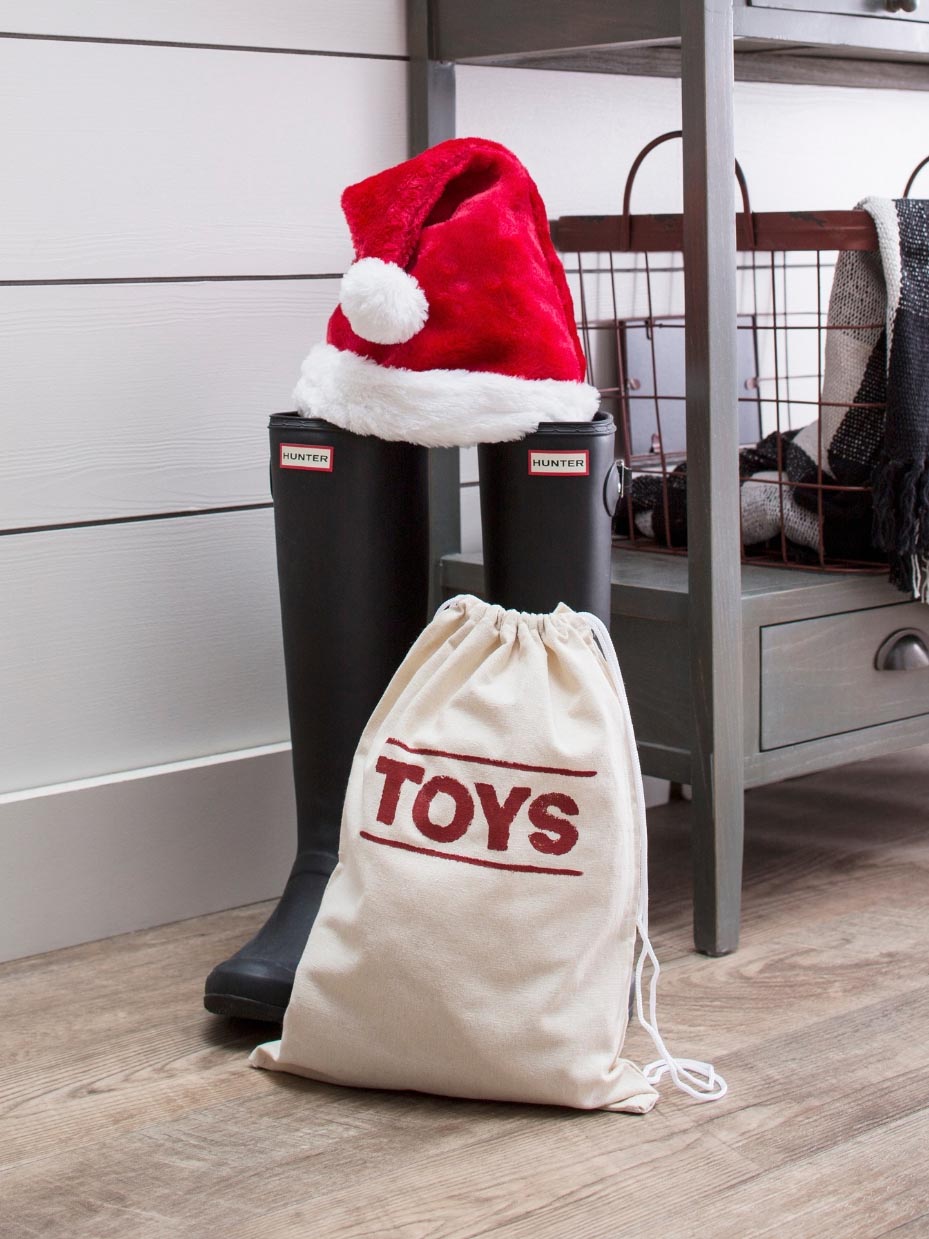
Add a little Christmas magic to your Farmhouse Christmas Gallery Wall with Santa’s Toy Bag. Find the letters for the word ‘TOYS’ from the Alphabet & Number Sponges. Place a small amount of red acrylic paint onto a disposable paper plate and pounce the sponges in the paint. Once the sponge is covered, stamp the letters onto a DIY Small Natural Canvas Drawstring Bag. Allow time for the paint to dry. Include some black boots and Santa’s Hat to complete the look.
Shop It!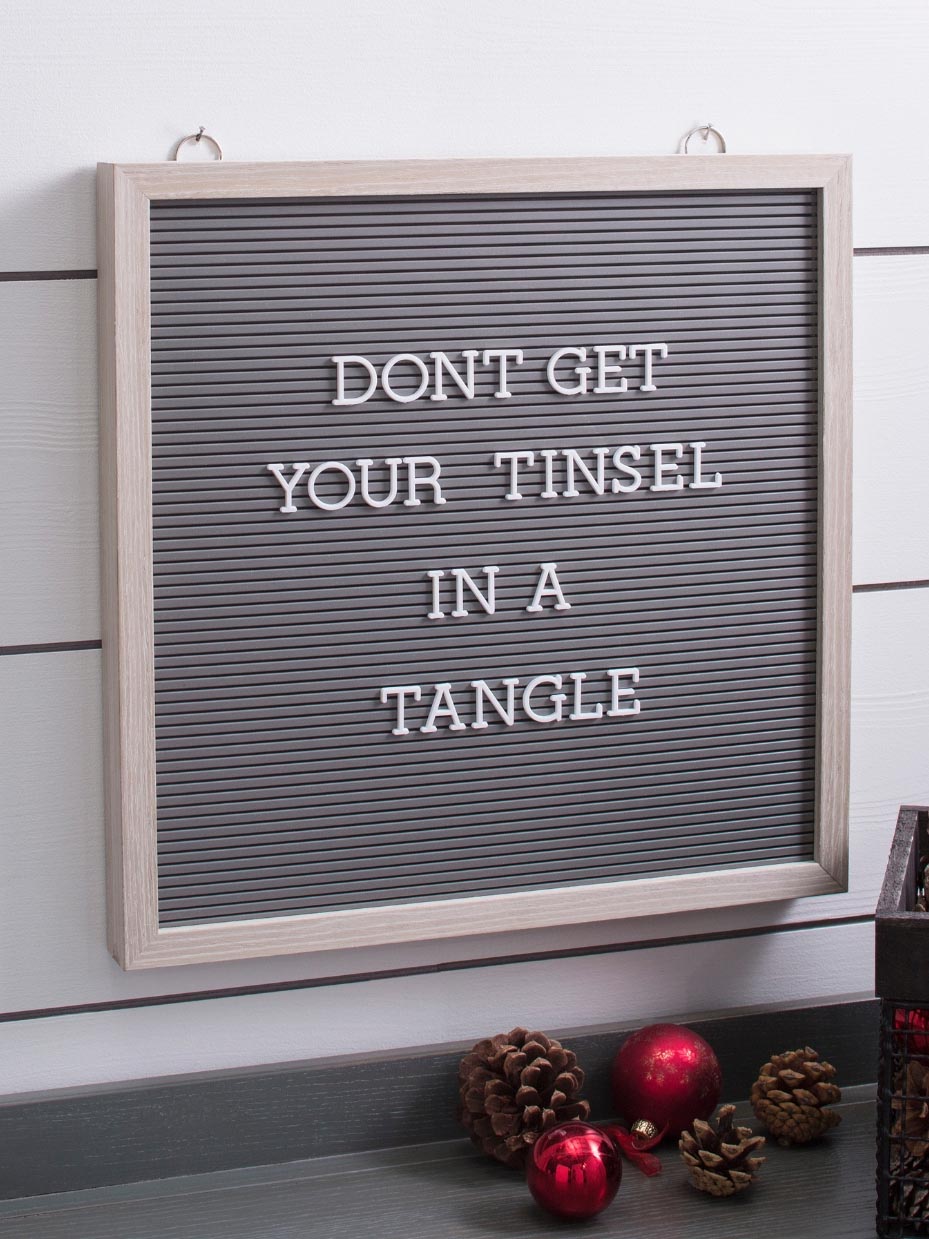
Letterboards are all the rage right now! Spell out a cute Christmas phrase like "Don't Get Your Tinsel in a Tangle." Hang your letter board on your gallery wall to bring the Christmas spirit into your home.
Shop It!
Download, print and cut out the Free DIY Hand Lettered Template. Use the carbon paper transfer method to transfer the image to the White Washed Wood Ornament and use a Paint Marker to trace over the letters. Hot glue a Large Christmas Sisal Wreath in place of the ‘O’ in the word ‘JOY’. Use a length of ⅝” Red Satin Ribbon to use as a hanger. Tie a pretty bow using 1 ½” Red Satin Ribbon and glue it to the top of the hanger to finish it off.
Download the Template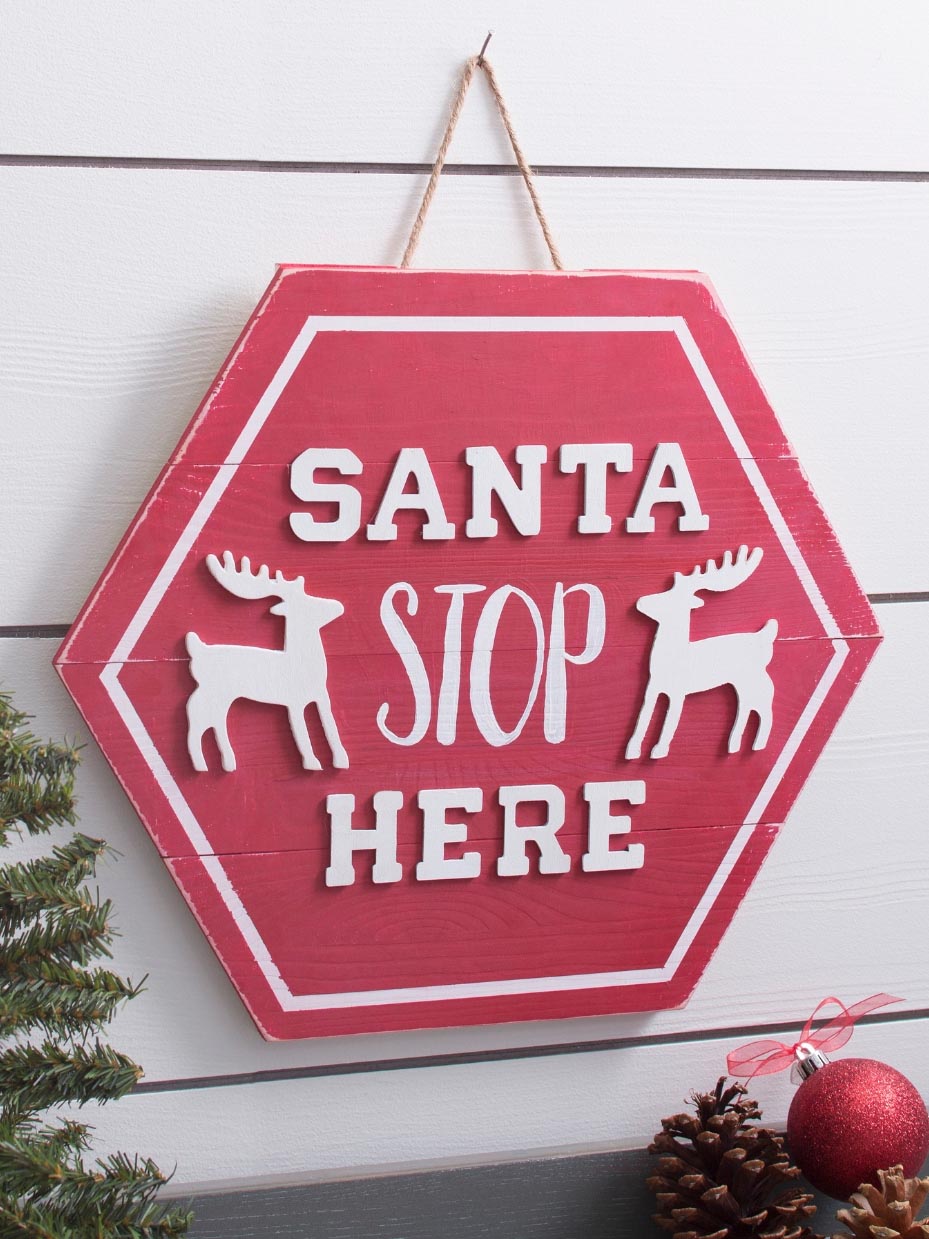
Invite Santa to your home with this cute sign. Use a DIY Unfinished Wood Hexagon Plank Sign, DIY Unfinished Wood Letters and DIY Unfinished Wood Reindeer Cutouts to create this adorable sign.
Make the Project
Count down the days till Christmas with this fun advent calendar with tags. You can make your advent calendar unique by embellishing each tag with a variety of items like a Green Frosted Sisal Tree, Wool Felt Pom-pom and Burlap holly bundle, red glittered DIY Unfinished Wood Reindeer Cutouts, Jumbo Goldtone Jingle Bells, Mini Pinecones strung with Red Bakers Twine or with a satin ribbon bow.
Make the Project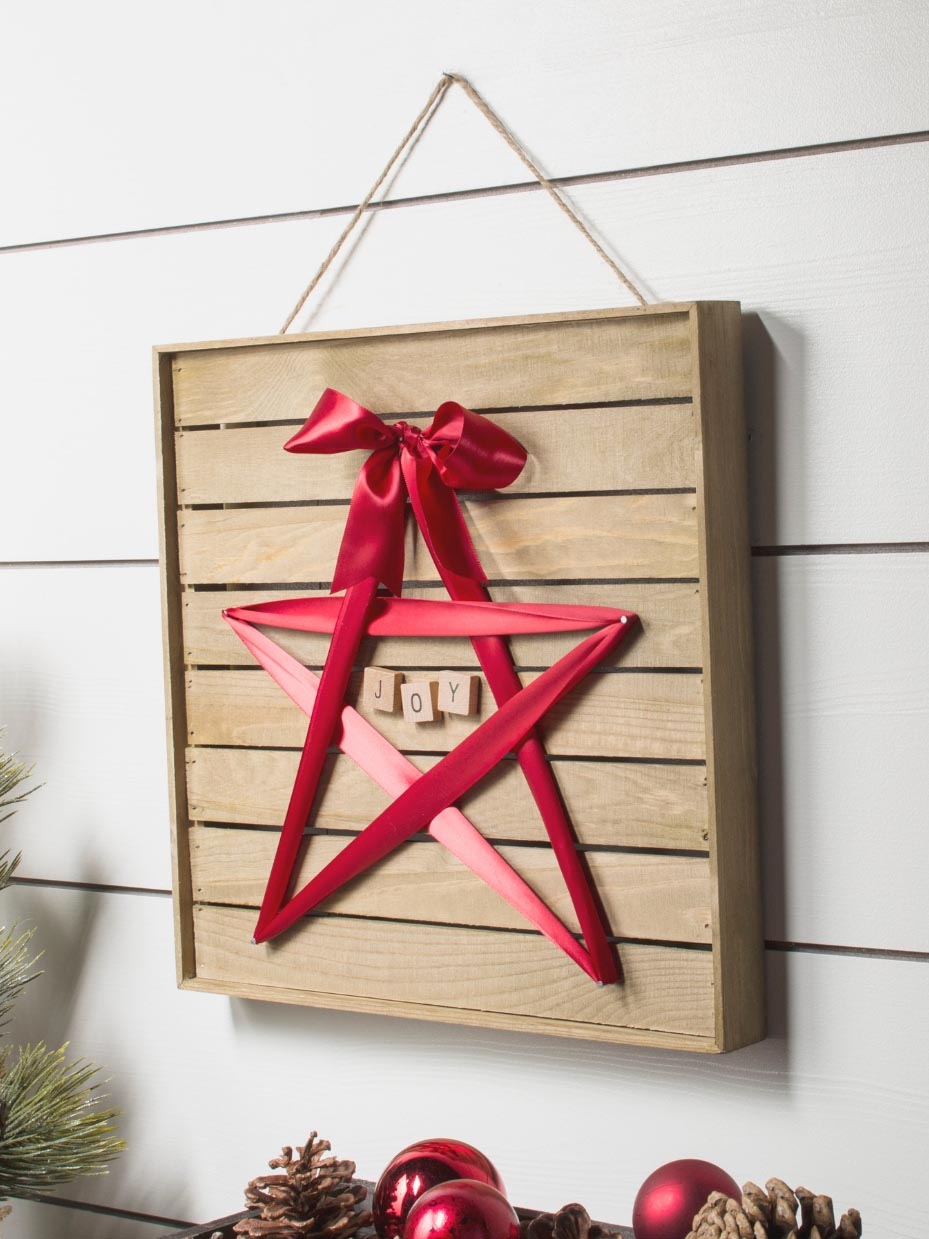
With a few simple craft supplies, you can create this Ribbon String Art. It will add the perfect rustic touch to your gallery wall and the red ribbon is a beautiful holiday touch.
Make the Project

